Blatant Self-Promotion, aka Shop My Etsy Shop for Christmas!

Blatant Self-promotion cradlerockigmama

After my Frugal Friday post, you might read this post and think “Hypocrite, much?”

I know, I know…but the real message of my “Just Say No to Christmas” post was to be aware of your spending this holiday season.

Not to not  spend anything.

So if you’re going to spend some money on gifts this year, and you’re being conscious of what you’re buying, you’ll probably want to buy something really cool that also does something good with your money, right?

Welcome to my Etsy shop! (grin)
And welcome to Darrel’s Etsy shop!

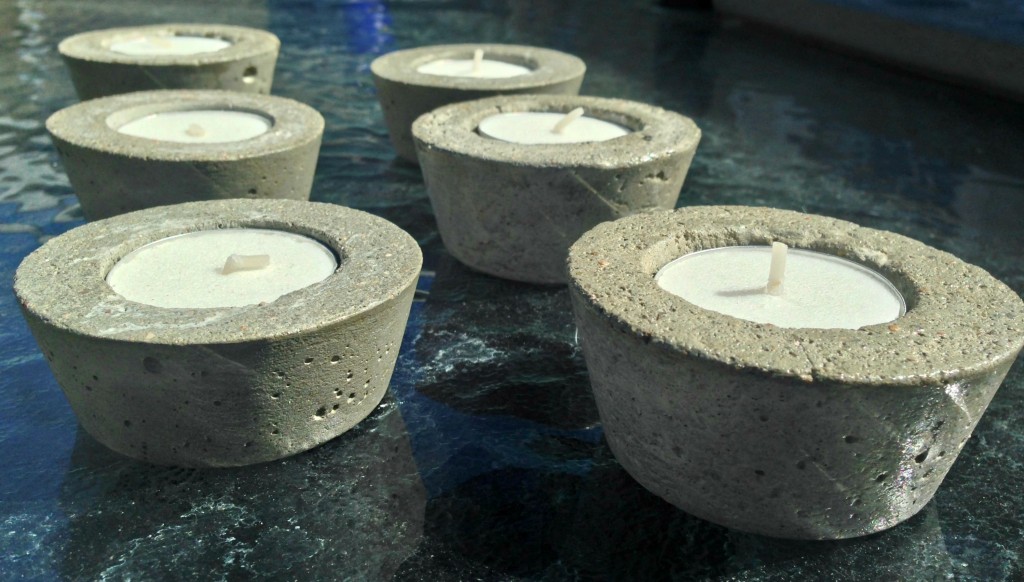
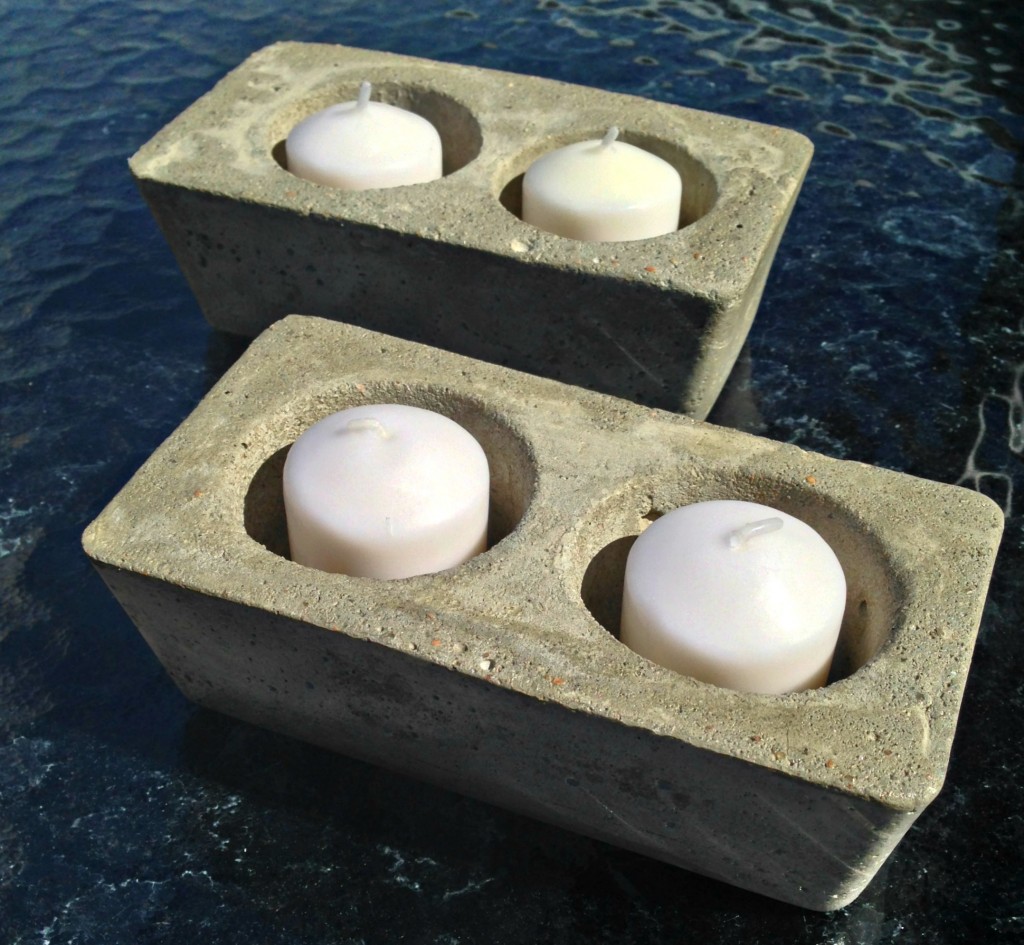
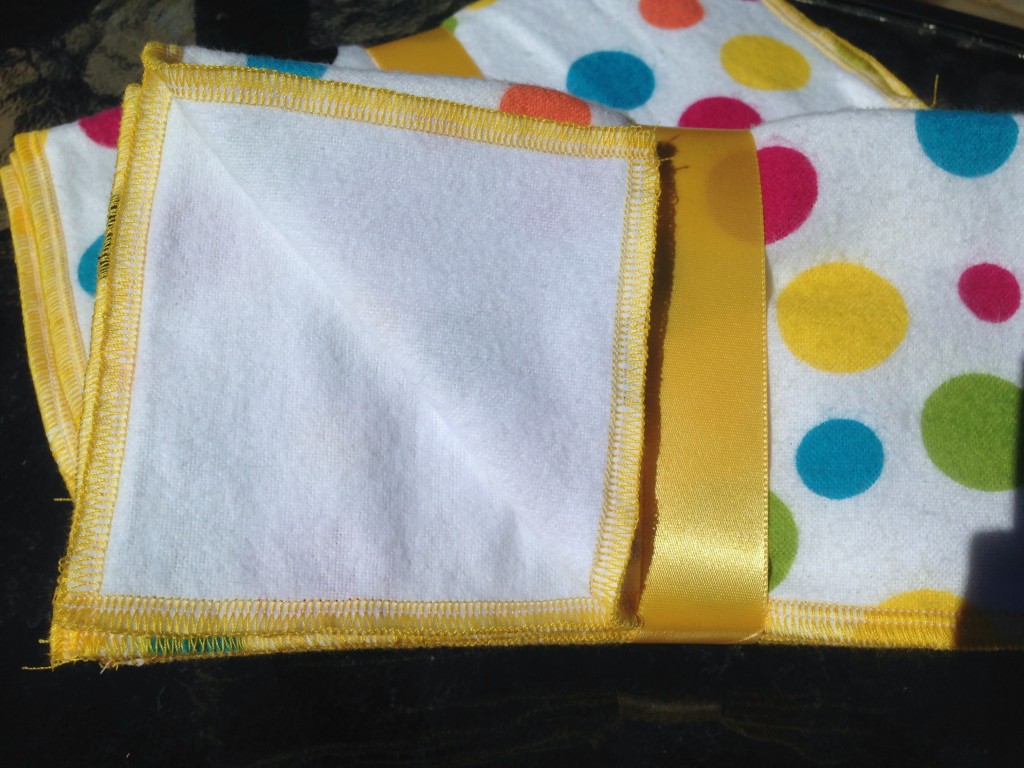
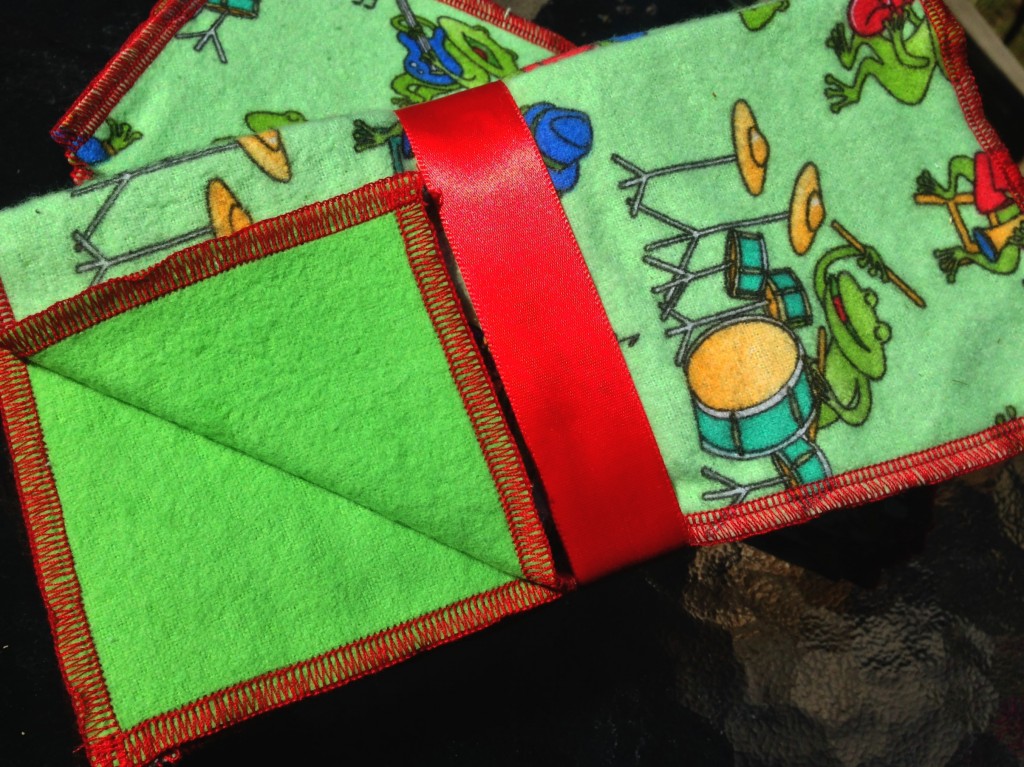
Here are just a few selections of things you’ll find that Darrel and I make and sell that might fit the bill as a unique Christmas gift for someone in your life (Click on the caption to go directly to the Etsy shop listing for anything that strikes your fancy!):

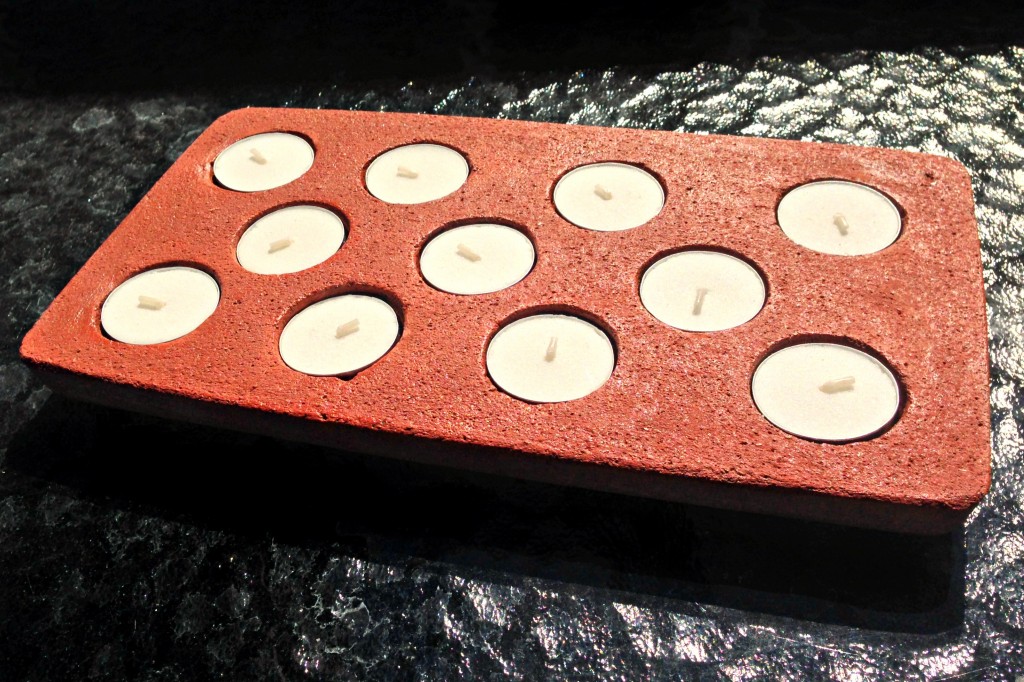
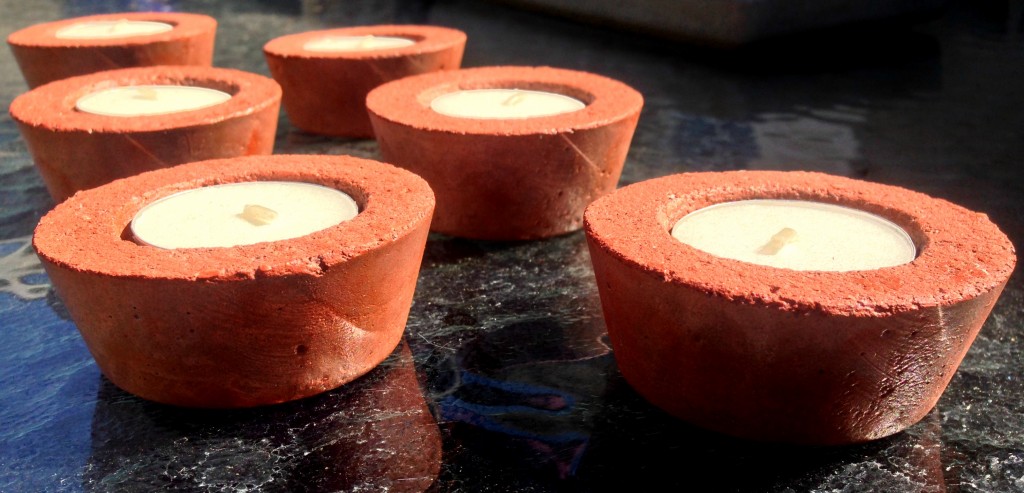
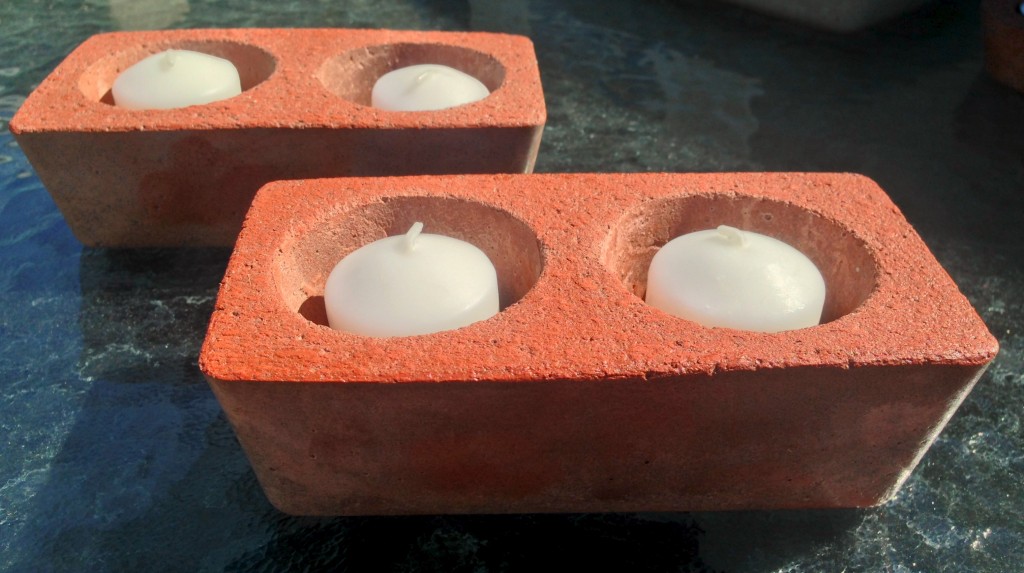
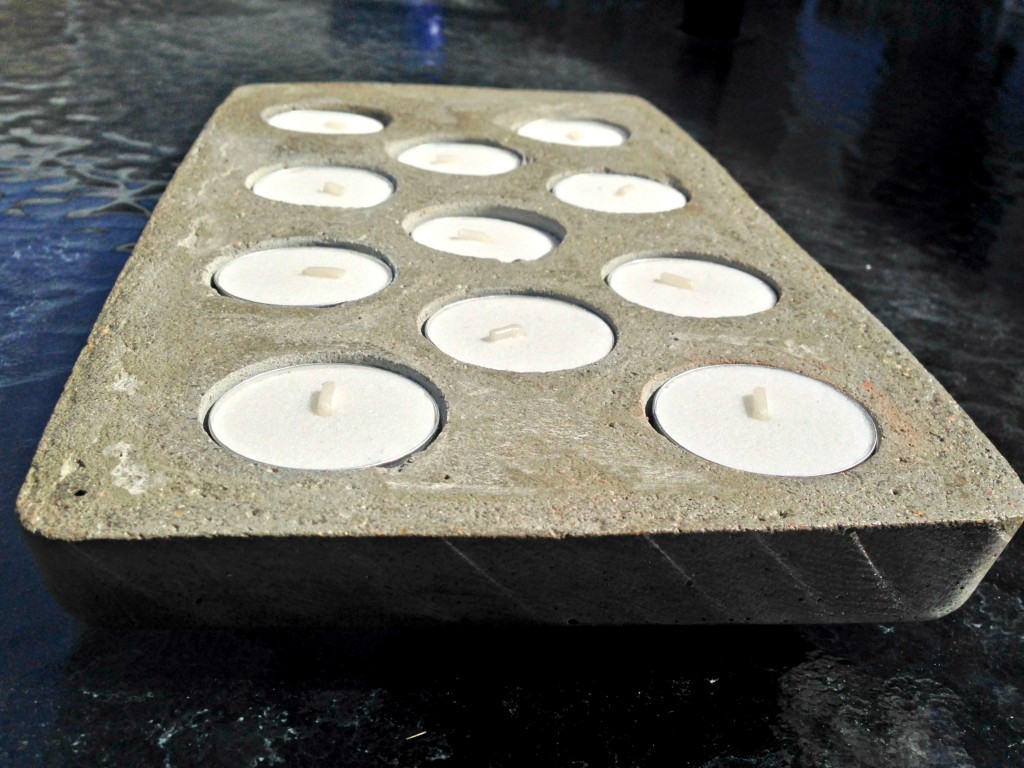
First, I played around with concrete…(that was fun!)

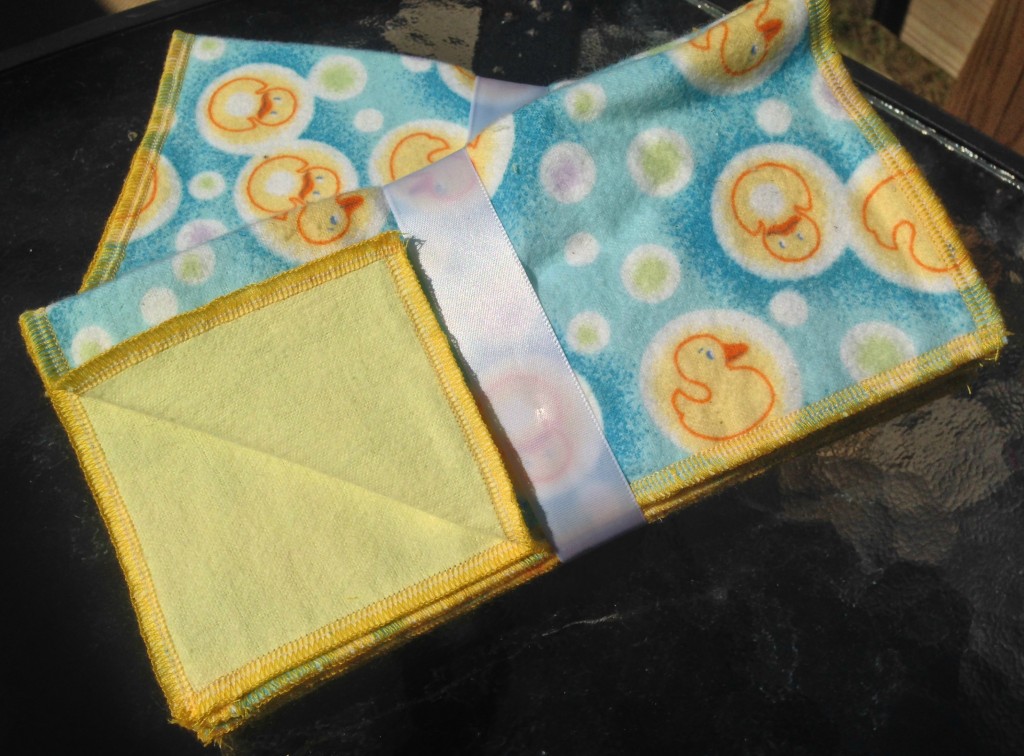
Then I made some more baby wipes (these things are awesome!)

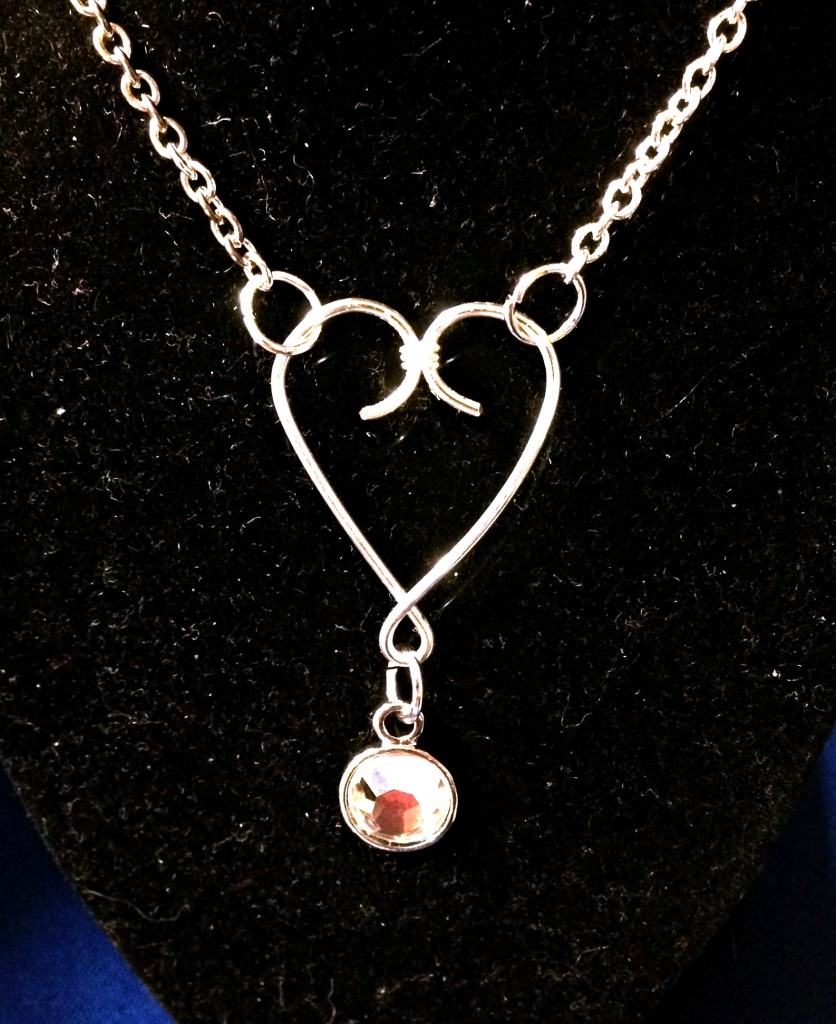
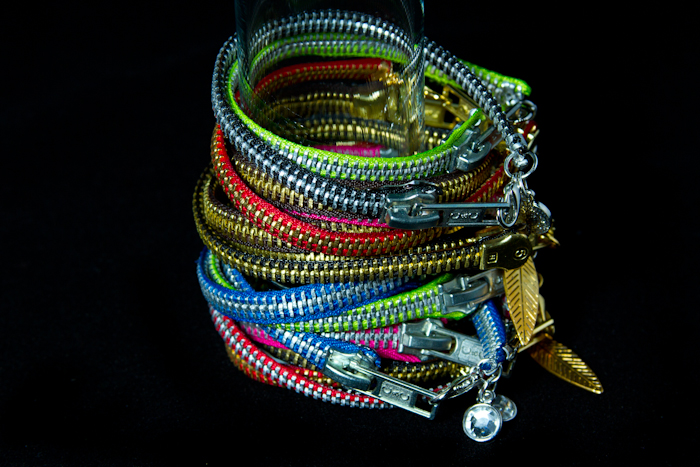
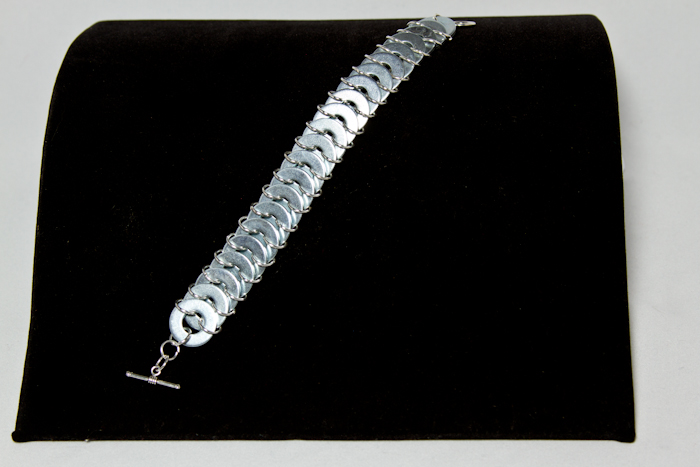
Then I made some more jewelry…

Then I had to make some awesome seat belt travel pillows!

These things are great! Put the flat part in the center under your seat belt (when you’re a passenger, of course!), and the side next to your head folds over onto itself making a perfect head support for car ride snoozes!

I even made them in smaller sizes for kiddos! They look exactly the same, just smaller. Click here for red, purple, or gray.

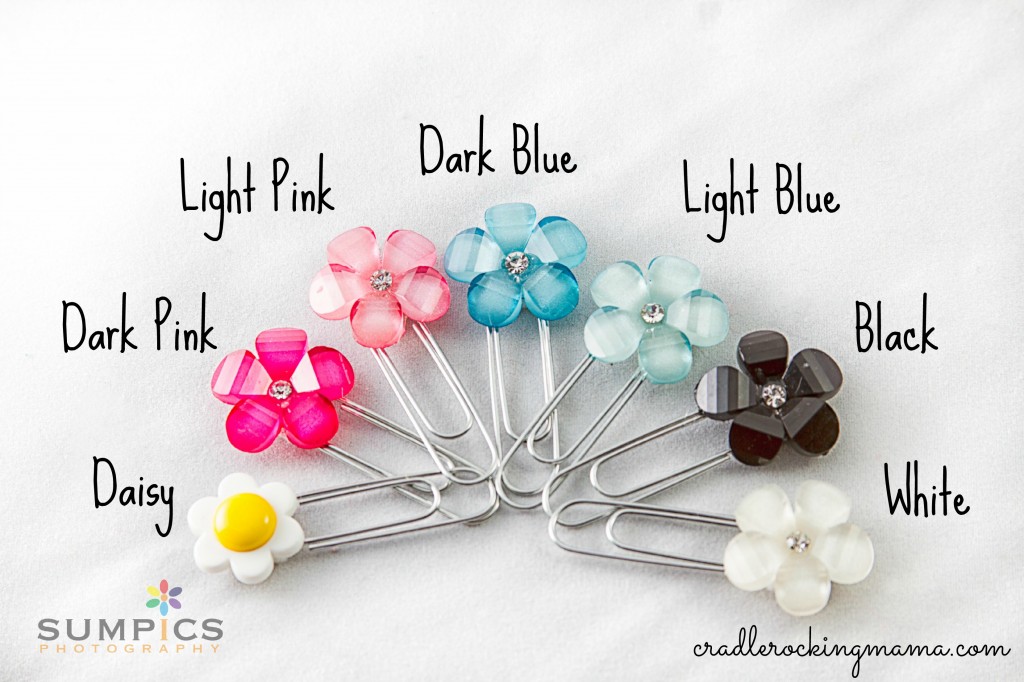
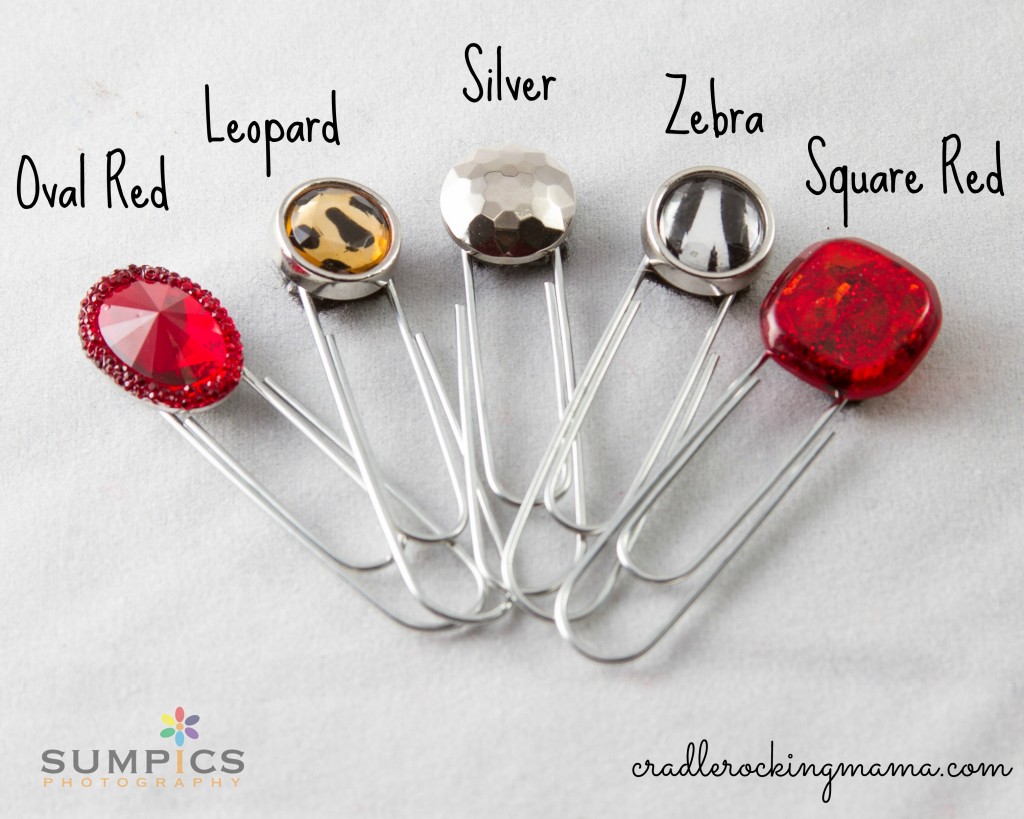
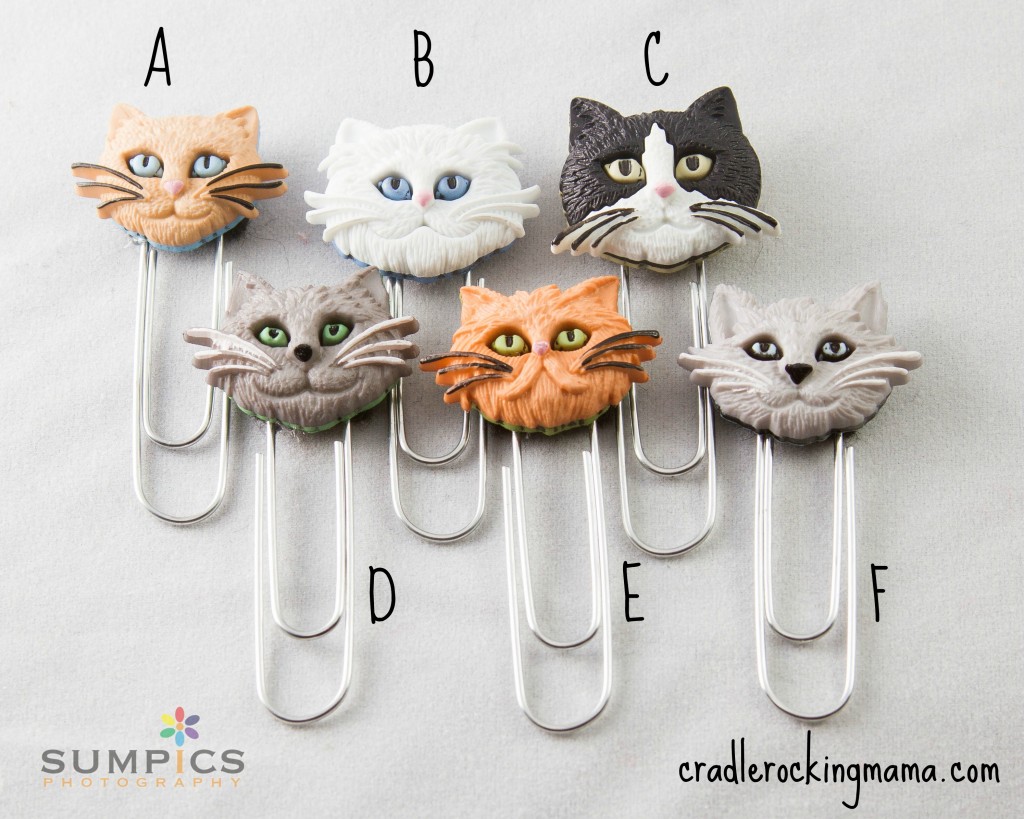
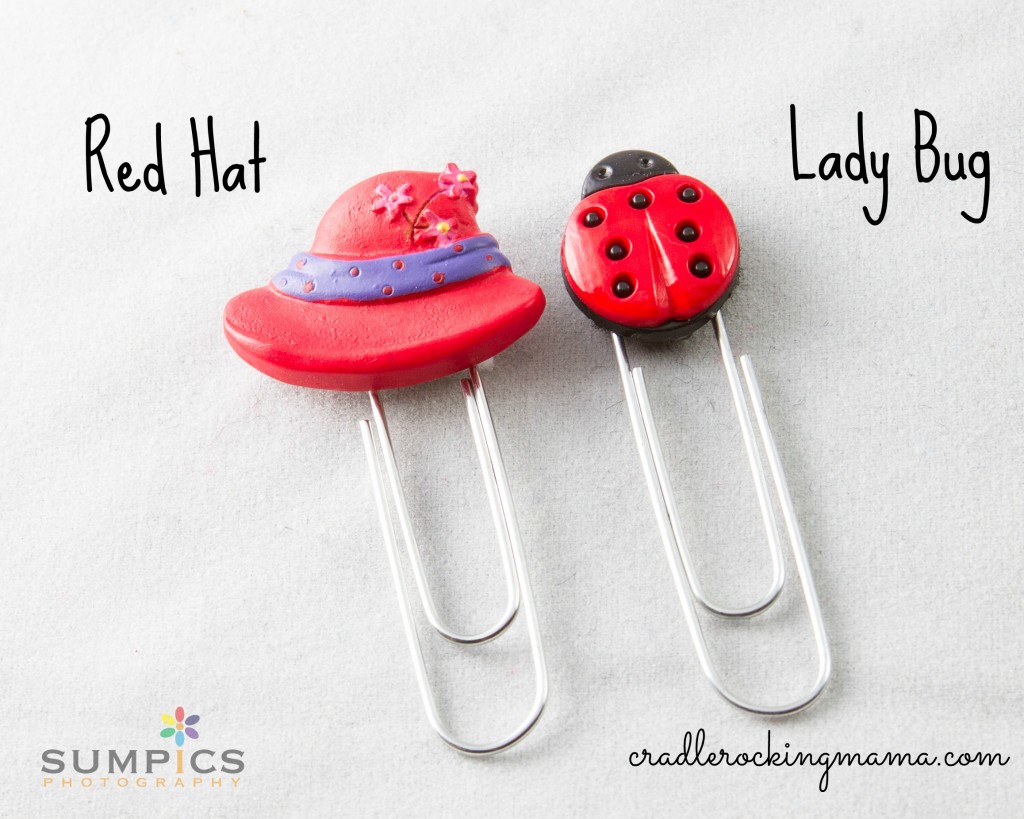
These are some really cool button bookmarks I made for the craft shows. They’re fun, they WORK, and they were my biggest seller…but at $1.00 each, they almost seemed like more trouble than they were worth to list on Etsy.

If you’re interested in a cute button bookmark as a perfect stocking stuffer, send me a message and I’ll figure out how to sell you one! Just tell me which one you’d like…

The Flower Bookmarks

The Flower Bookmarks

The Fancy Bookmarks

The Fancy Bookmarks

The Dog Bookmarks

The Dog Bookmarks

The Cat Bookmarks

The Cat Bookmarks

Red Hat and Lady Bug Bookmarks

Red Hat and Lady Bug Bookmarks

And, of course, Darrel has been selling prints like hotcakes, so take a peek at what awesome artwork you could buy for a fabulous Christmas present:

And I have to remind you that I’m an affiliate seller for Excalibur Dehydrators, and they are having a Cyber Monday sale for 10% off your entire order – including accessories! Just click on the photo below and use code 10CYBER at checkout! (This is a 24 hour sale for them; if you buy through my links, you’ll get free shipping and I get a small commission.)

__________

So there you have it! If you see anything that makes you say “Ooh!” we’d really love your business. If you would also be so kind as to SHARE this post everywhere you can to help drum up more business for us, we would really appreciate the help! 

Thank you for indulging me in a day of shameless plugging and self-promotion…I’ll be back to recipes and FPIES reactions (or lack of!) tomorrow!

Frugal Fridays – Just Say No to Christmas

Just Say No to Christmas cradlerockingmama

Well, not really.

It’s more like “just say no to the insanity surrounding gift giving over the holidays”, but that was WAY too long to use as a title.

This is a tough one; even with unemployment, under-employment, insecure employment, inflation, and all the other things that keep most of us on the financial straight and narrow, when it comes to holiday gift giving, it’s far too easy to drop our frugality like a rock.

Maybe we’re trying to hide our financial situation from our kids. Maybe we’re trying to create holidays filled with “magic and wonder” for them. Maybe we’re trying to re-create the Christmases of our own youth.

Maybe we’re just big ol’ suckers for our kids.

Or maybe we haven’t really gotten our priorities in order yet, and the “Christmas Machine” is a stronger lure than our own convictions of conscientiousness.

So for today, Black Friday, I’m taking this Frugal Friday opportunity to suggest that one of the best Frugal decisions we can make is to explore our motives behind Christmas extravagance. 

Children don’t need a ton of toys to be happy. I found an interesting article, “7 Secrets of Highly Happy Children”, and found it telling that not once  were expensive doo-dads mentioned. This lined up with other articles about children’s happiness I read, that all had two things in common:

children are happiest when they experience unconditional love and have time to spend with their families. 

Not when they are overwhelmed by the sheer number of toys under the tree.

Our children don’t NEED 42 boxes of prettily wrapped treats to open on Christmas morning to feel magic and joy. They don’t need to have so many toys they cannot possibly remember their own personal toy store inventory.

What they do need, and lots of it, is time to play, time to hang out with their families, and a gigantic slathering of unconditional love on a daily basis. 

All of that is free to give, and would provide a greater source of happiness for our children than whatever the newest, bestest gadget or toy ever could.

Besides, how can we teach our children financial responsibility when we’ve shown such flagrant disregard for fiscal facts in exchange for momentary joy? We can’t. We simply can’t.

The same goes for the adults in our lives who are our gift recipients. Most of them are more interested in spending time with us than they are in whatever “goody” we present to them on Christmas morning.

Sure, for some people, ‘gift-giving’ is part of how they express their love; but that doesn’t mean we must ignore our desire for frugality and responsibility! In fact, that’s a call to engage our minds and use some creativity!

What I’d like to encourage us to all do today is to stop and THINK. Think about why we want to give so many gifts, what we could do to cut back on the volume of gifts while increasing the value of those gifts, and how we can create magic and joy in the holidays for our kids without breaking the bank.

Some ideas:

Utilize Advent calendars. Make the month a countdown, with NO GIFTS attached to the days! Instead, attach an activity or a conversation starter to each day until Christmas, which will give you more time to spend with your kids and something to do or talk about.

Have a family gift. Have your kids brainstorm ideas of something you could give as a family to a group or person in your community. On Christmas morning, let THAT be the “big gift” to open. The parents decide which gift to give from the ideas the kids help generate, and on Christmas morning the kids get to find out what they were able to give.

Some things I’ve heard of along these lines were new sports equipment for a local soccer team that was underfunded, Christmas gifts for the children in an impoverished family, and a months worth of groceries for a single mother.

Allowing the children to experience the entire family giving something so highly valued and appreciated as a unit gave them a greater thrill than opening their own gifts Christmas morning.

Give memberships instead of toys. If your children are really interested in animals, give them annual tickets to the Zoo. Science? The Science Museum. Give them the tickets, and a promise that you WILL fulfill: to take them there at least once a month for the next year. They will appreciate that time and experience more than a new video game, by far.

Give them coupons. “Good for one ‘date’ with Mom.” “Good for one trip to the ______.” Give your kids a coupon book of specific experiences they can call in that require you and your attention. Remind them of their coupon books throughout the year, and when issued a coupon by your child? Fulfill the promise. They’ll love it!

Follow the “it was good enough for Jesus” approach. This one might be hard to do if you already have older children who are accustomed to many presents under the tree, but might be useful for those of us with smaller kids. This approach says three gifts were all that Jesus was given on his birthday; so three gifts is good enough for our kiddos, too.

Some people go even further, making it one thing they want, one thing they need, and a book to read…or some other variation. This approach automatically holds us back from spending a fortune on gifts and encourages thoughtfulness in our gift giving.

Implement the “Santa Toy Exchange”. If you “do” Santa Claus in your house, tell your kids that Santa will always bring presents to children around the world, but that he also does something really, really cool: he collects toys that are in good condition but are no longer wanted from privileged children and gives them to children whose parents can’t afford to buy them toys, in addition to the gifts from him.

Then have your kids go through their toys and gather all unwanted or unused toys and put them underneath the tree before bed on Christmas Eve. The next morning, those old toys will be replaced with new gifts (which magically happens overnight when you put them all in the trunk of you car to take to the donation center).

This one is excellent, because it teaches charity and giving, while also decreasing clutter. Win-win!

Encourage – and give – handmade gifts. Look for things you can make for your family, for your children, and for your friends. Help your children find and make things for their gift-giving opportunities. Learning to make something beautiful, useful, and valuable will be a self-esteem booster for your kiddos, not to mention an excellent opportunity to spend time together and teach them about financial responsibility.

Forget gifts altogether! I worked with a lady once who explained that her parents never gave gifts to their kids for birthdays or Christmas. Instead, they put a deposit into a bank account for their children (all six of them!). When each child turned 18, they went shopping with their kids…HOUSE SHOPPING. Whether the child was going to college or trade school, wherever they planned to spend the next few years of their life, their parents were able to turn that (now hefty) bank account over to the kiddo as a down payment on a home.

This lady and her siblings each then rented out the rest of the rooms in the house to cover the mortgage, and upon graduation, they had a house either entirely or mostly paid off all to their very own. They were able to either keep the home and leverage it for more real estate ownership, or kick out their roommates and have a home to live in while they started their careers that only cost them taxes and insurance.

It was downright inspiring to me to hear such excellent financial education from this lady, and, in fact, she and her 5 siblings were ALL doing very well financially in their adult years. Even the ones who wound up in lower paying fields than their siblings didn’t truly need  to work for their money; they had learned about investments and being frugal and wise from their parents, and all of them were able to pursue careers they loved, regardless of the paycheck.

If that’s not a gift worth giving, I just don’t know what is!

*****

There are tons of sites with information about how to “unplug the Christmas machine”, and I have no desire to summarize all the data available in one single post. In fact, there are whole books written about this subject!

I’m also not saying we shouldn’t spend ANY money on gifts! In fact, some of the suggestions I offered could be quite expensive!

This Frugal Friday I just want to encourage awareness, thoughtfulness, and a full exploration of what we all truly want from the holidays for our family, and how we might be able to achieve that in a frugal, responsible way.

Let’s just think about what we do this Christmas, and make sure our actions line up with our beliefs.

After all, spending time with our kiddos on handmade gifts sounds like a lot more fun than being trampled in a Black Friday stampede, doesn’t it?

Hope that helps!

__________

How does your family handle Christmas giving? What cool traditions do you have?

Gluten/Dairy/Egg/Soy-Free Pumpkin Pie & Crust

Pumpkin Pie & Crust Gluten-Dairy-Egg-Soy Free CradleRockingMama.com

On occasion I come up with a recipe that just makes me feel all warm and fuzzy inside.

This is one of them.

Of course, that could be just because it’s pumpkin pie, and that happens to be one of my FAVORITE desserts of all time!

Pre-TED and FPIES, Thanksgiving was the one and only occasion during the year I would eat a pumpkin pie. Every year, we made three pumpkin pies for my family: one for me, one for my dad, and one for everyone else to share!

Daddy and I LOVE pumpkin pie, in case you couldn’t tell.

I never consciously thought it, but when we realized Jed had issues with dairy and soy at his first solid-food-eating Thanksgiving, my heart broke a little when I realized I couldn’t share my passionate love of pumpkin pies with my son.

I found a decent recipe for him, nonetheless, and it tasted just as good as the original, dairy-laden version that I had held so dear my entire life! He liked it pretty well, too!

And then, last year, fructose malabsorption showed up and wrecked my recipe. I didn’t have time or energy to figure out a pumpkin pie for last years Thanksgiving feast, but this year, oh, this year I managed to make a masterpiece!

No Dairy. No Soy. No Wheat. No Egg. Very little fructose, and that’s only in the ginger.

AND I made a gluten-free pie crust that rocks!

So, a little late in the day, but with still enough time for y’all to make this for your own feast tomorrow, I present: A FREAKING AWESOME PUMPKIN PIE!!!

First, make the crust.

This is going to seem an awful lot like a regular pie crust, but it has no wheat or gluten so it works a little differently.

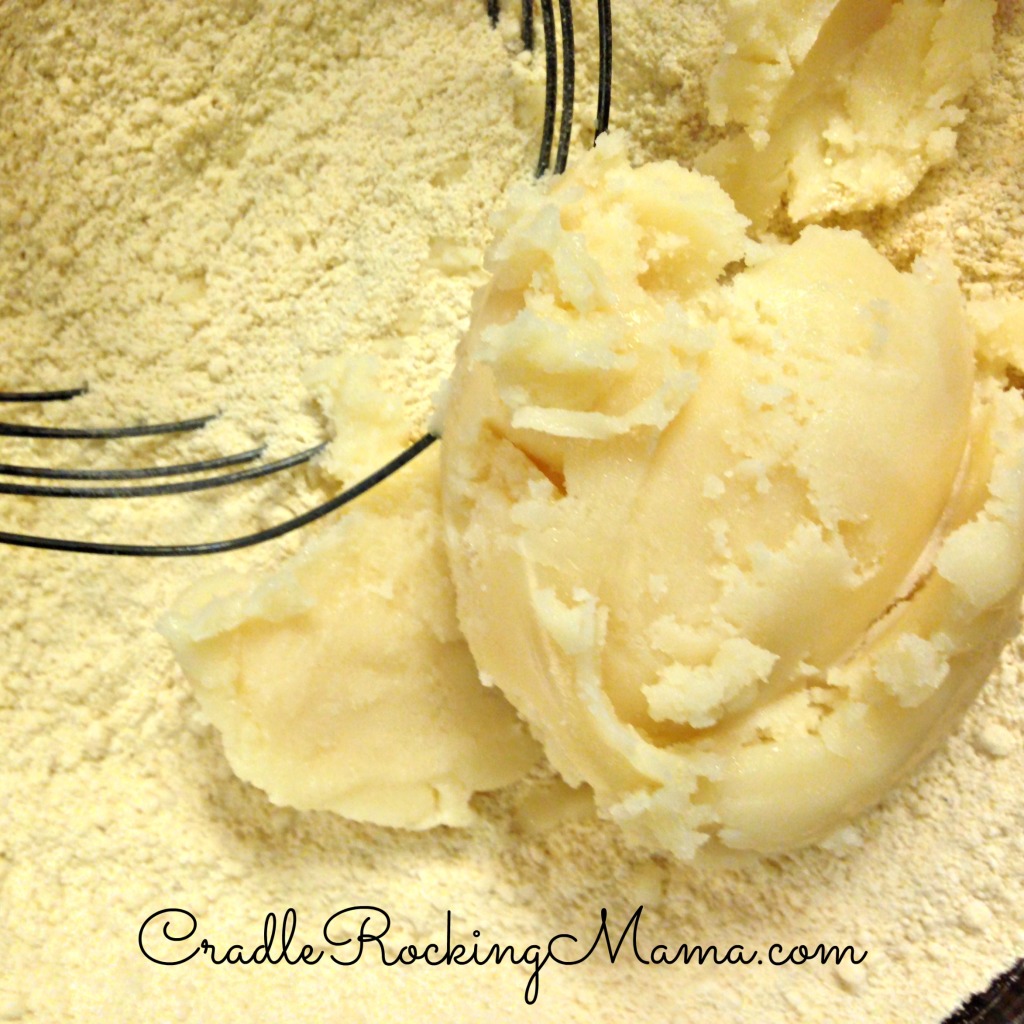
Gather your flours, mix them well in a bowl, and then get some fat. I used tallow (and why don’t you have tallow around, by the way, after learning all the awesome ways it can be used?), but regular shortening, lard, or vegan butter would work fine. Using a non animal product in the crust would also make this recipe Vegan, which is always sought out at the holidays!

Ready to Become Pie crust CradleRockingMama.com

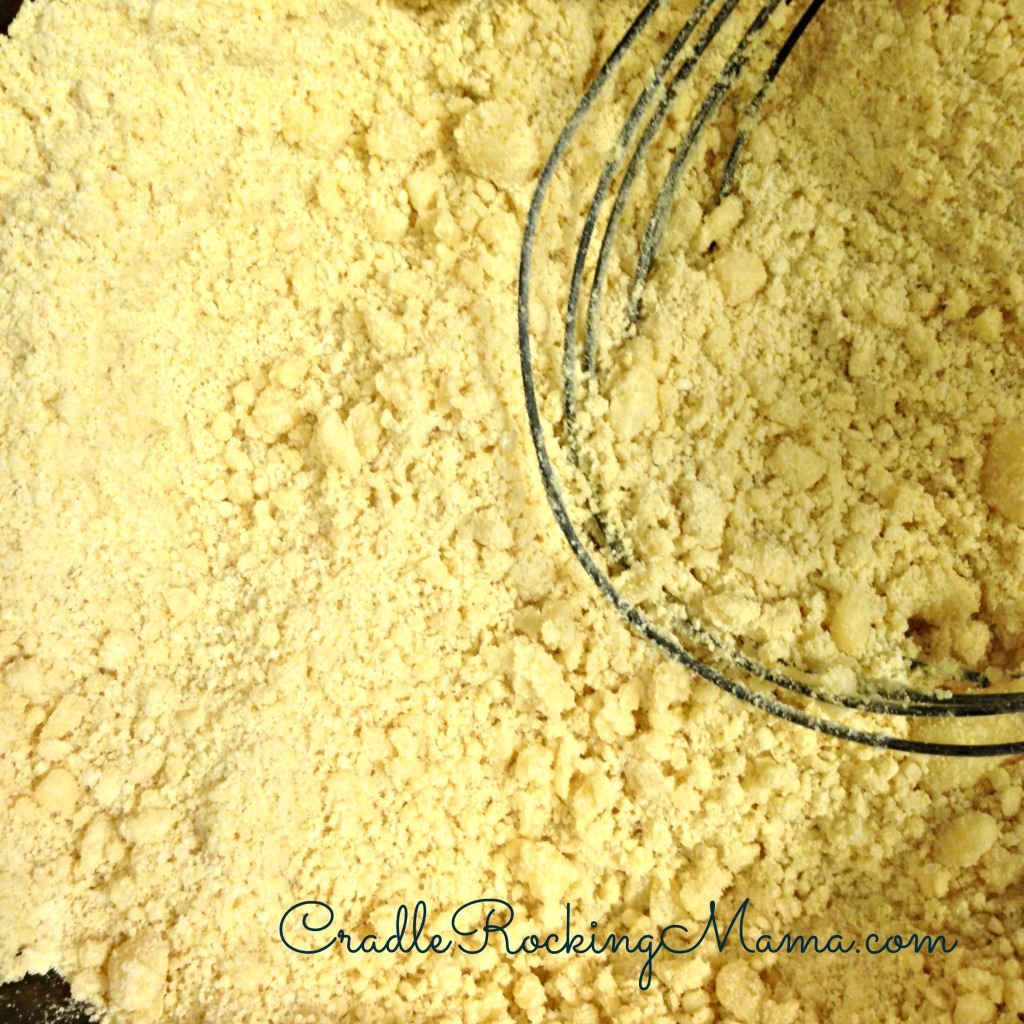
Using a pastry cutter, chop the tallow into the flours until you have that gorgeous, flaky crumble.

Almost Pie Crust CradleRockingMama.com

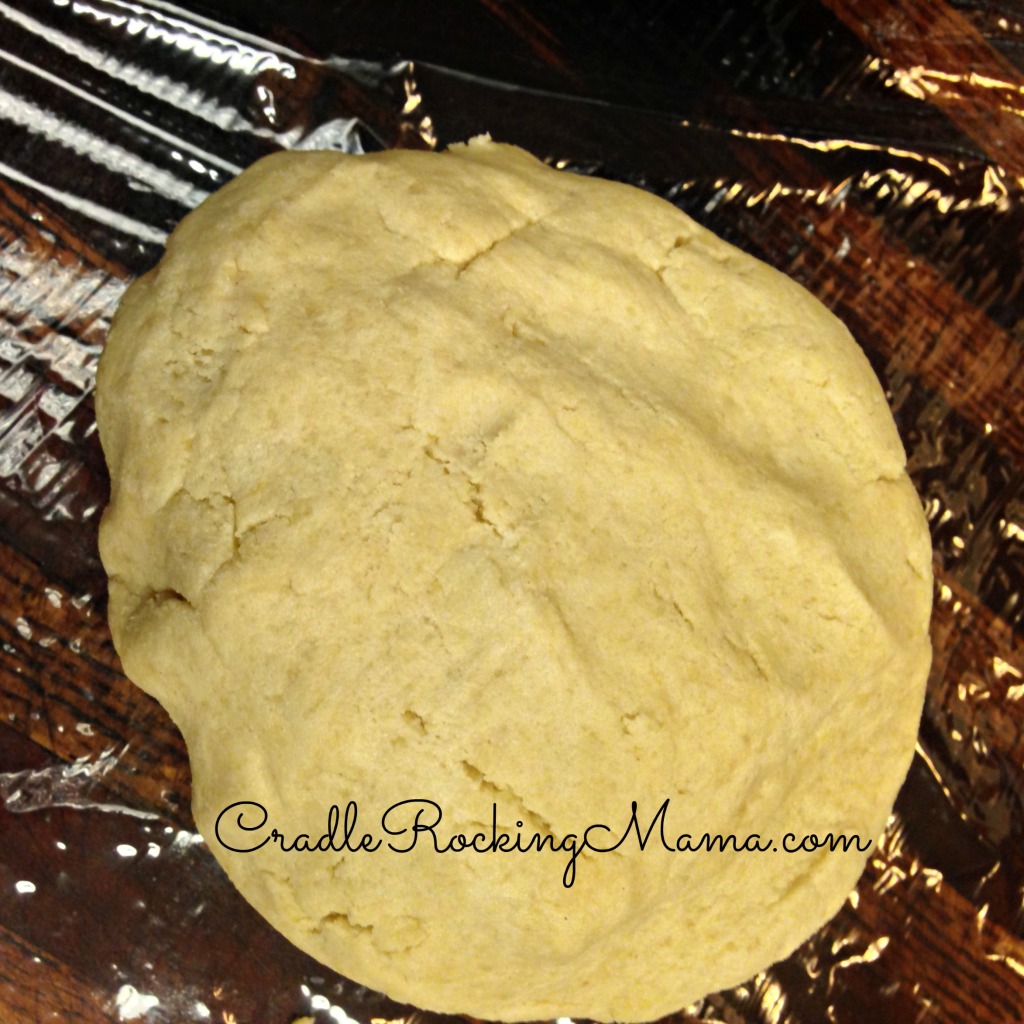
Then add ice cold water 1 T. at a time and use your hands to press it into a lovely dough. I used about 5 T. total for mine, but 4 T. is a good guideline.

Pie Crust Ready to Cool CradleRockingMama.com

Now, at this point, I tried to treat the pie crust like a regular pie crust. I wrapped it in saran wrap and put it in the fridge until I was ready to roll.

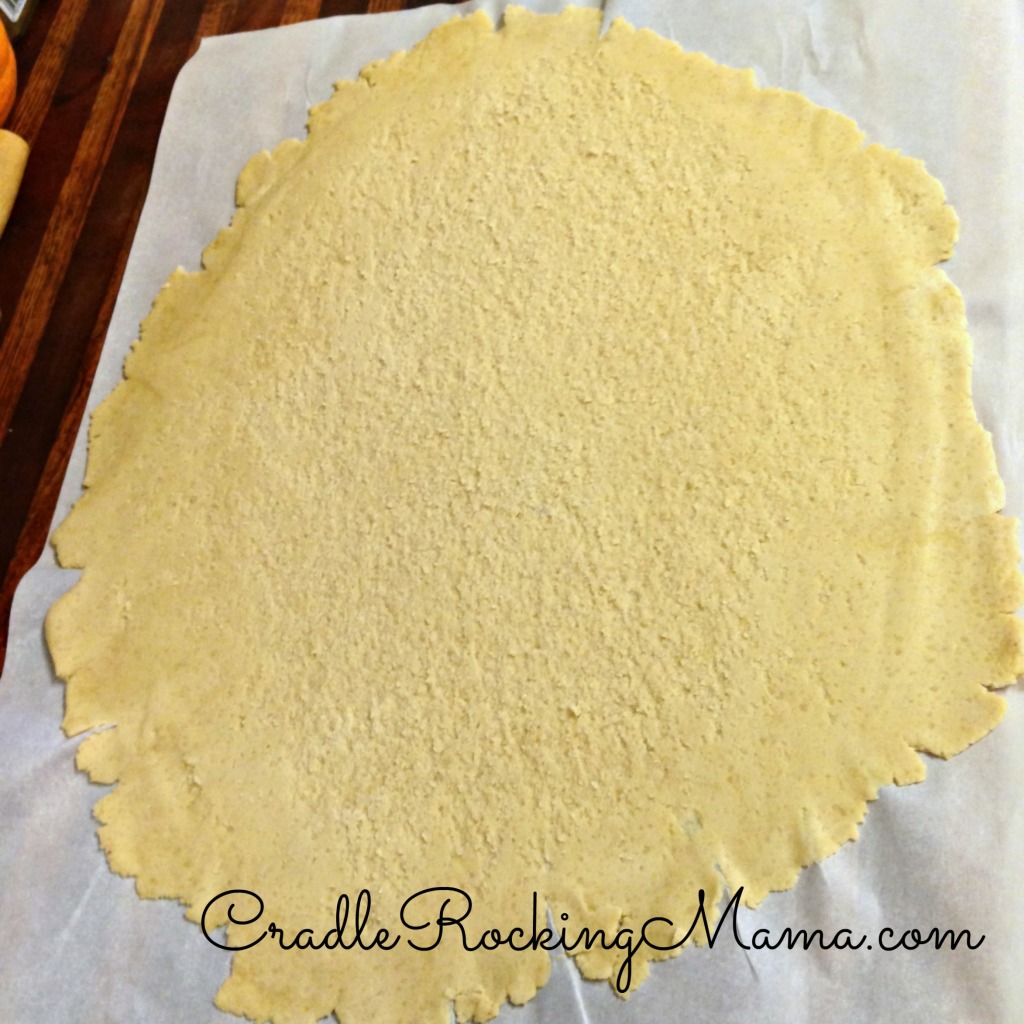
Then I laid the dough on a sheet of parchment paper, put another sheet of parchment paper on top, and rolled it out in an irregularly shaped circle.

Pie Crust rolled out CradleRockingMama.com

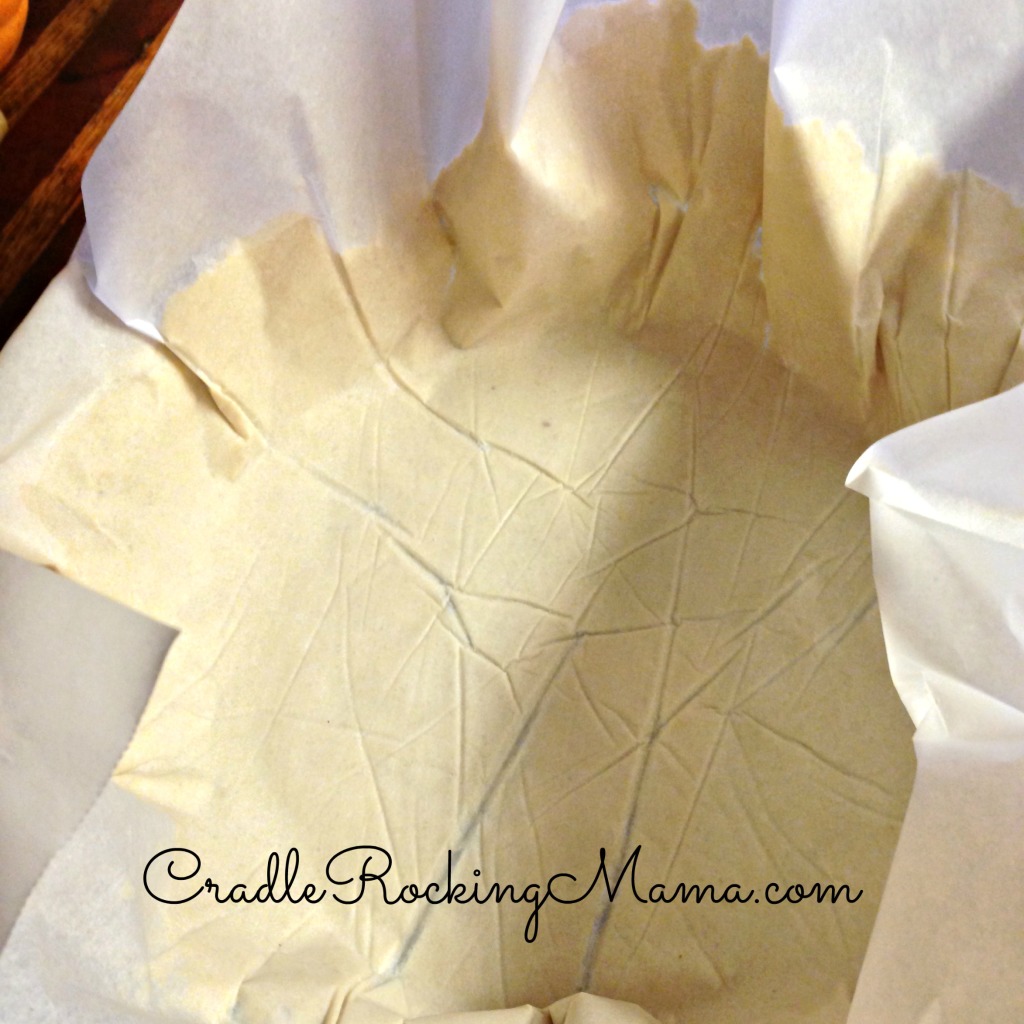
Then I flipped the crust over into my pie plate, and attempted to pull off the second sheet of parchment paper.

Pie Crust Flipped into Pie Dish CradleRockingMama.com

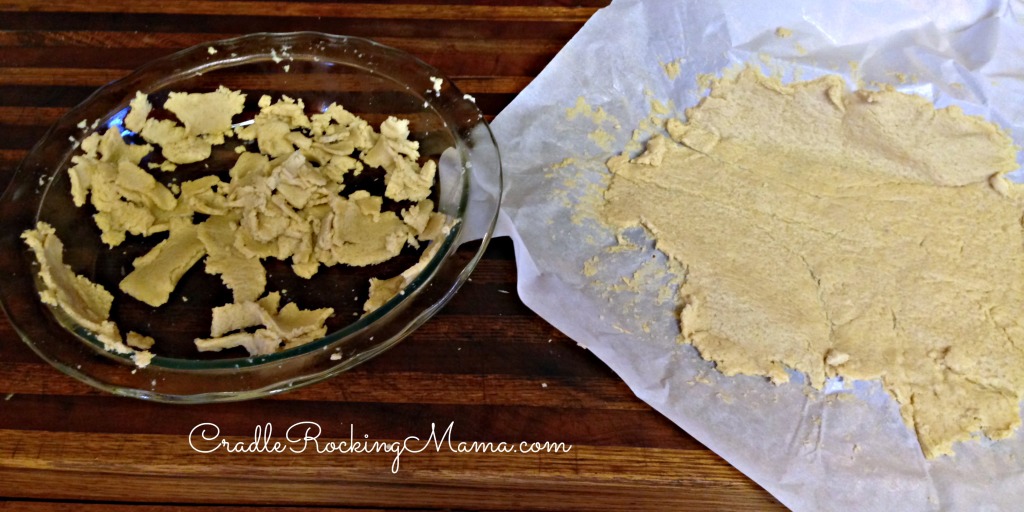
Epic. Fail.

Epic Pie Crust Fail CradleRockingMama.com

This is when Captain Obvious of the “Duh” Patrol flew down and slapped me upside the head: this isn’t a normal pie crust.  It isn’t going to hold together like a wheat/gluten filled pie crust.

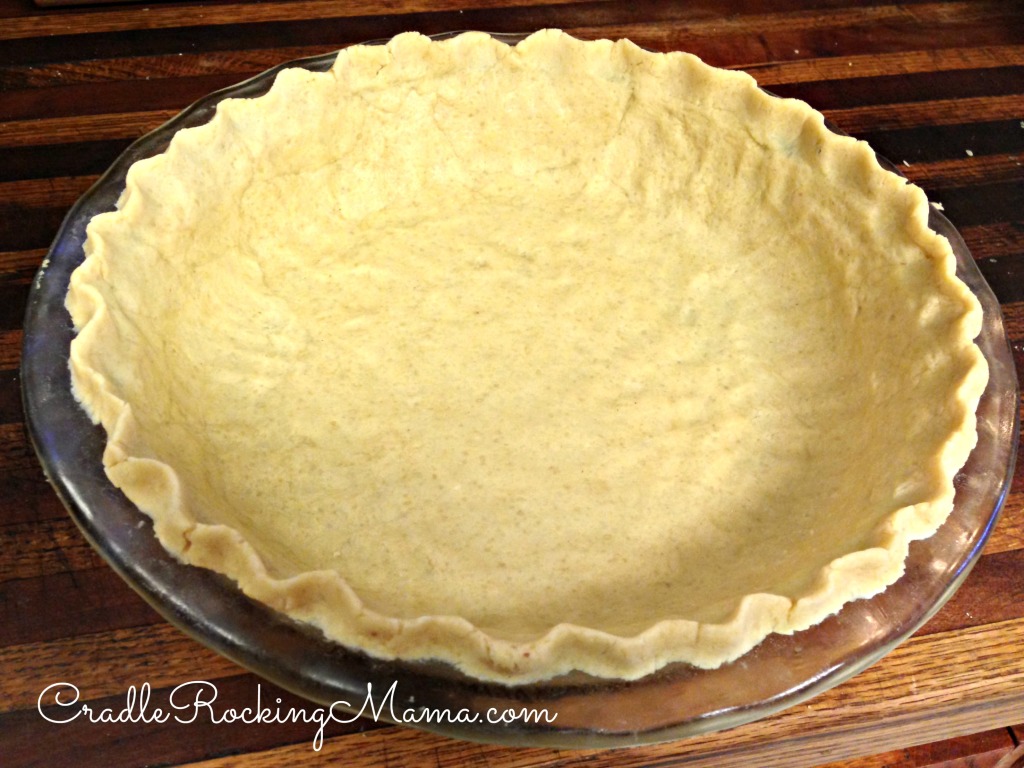
So I simply scraped up all the dough, laid it in the pie plate, and used my hands to press the dough into shape.

Perfect.

Perfect Pie Crust CradleRockingMama.com

All of that is to say: once you’ve made your dough and you’re happy with the texture of it, just go ahead and throw it in your pie plate, press it into place with your fingers, and then toss the whole plate with the ready dough into the fridge until you’ve made your filling.

Now, for the pumpkin filling.

If you’ve searched for a way to make a pumpkin pie filling that doesn’t have any dairy, you’ll have seen that about 80% of the options out there call for tofu.

First of all, ew.  (Personal taste, there!) Secondly, that’s soy, and I try to avoid GMO’s/soy whenever possible. Thirdly, I’m not convinced Jed has outgrown any soy issues he has, so we avoid it for that reason alone.

So what’s a pumpkin pie lovin’ girl to do? How do you get that custard-y, rich, creamy goodness without tofu or evaporated milk?

Believe it or not, the answer is FLOUR.

The addition of some flour to the filling makes the texture and taste just right!

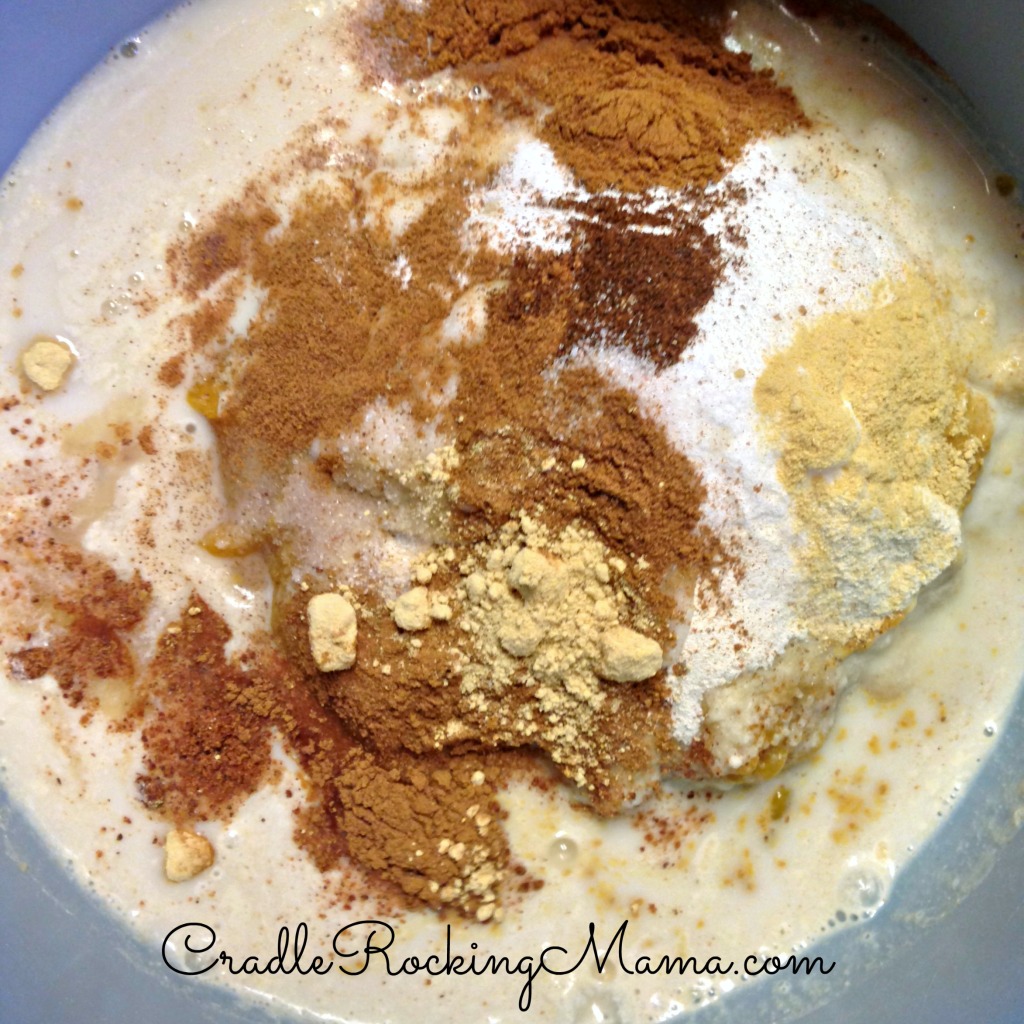
So the next part is easy: dump all the ingredients into a bowl…

Pumpkin Pie Ingredients  CradleRockingMama.com

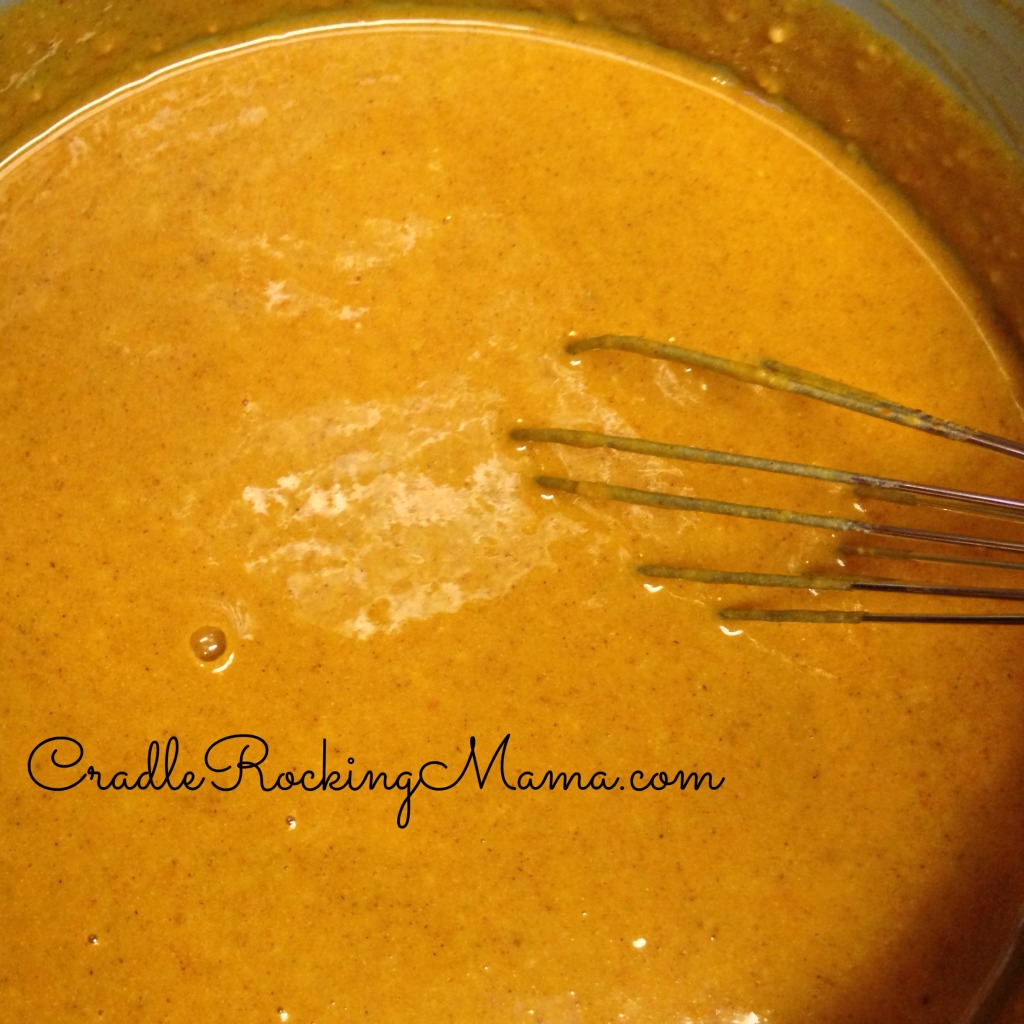
whisk together…

Pumpkin Pie Filling CradleRockingMama.com

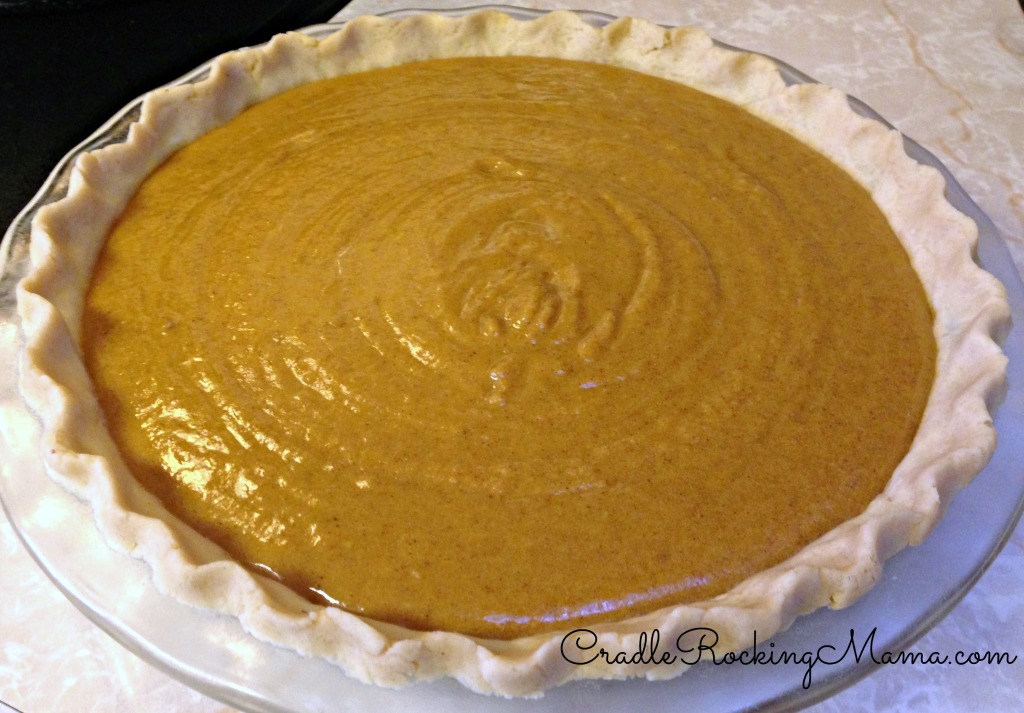
and pour into your pie crust.

Perfect Pumpkin Pie ready to Bake CradleRockingMama.com

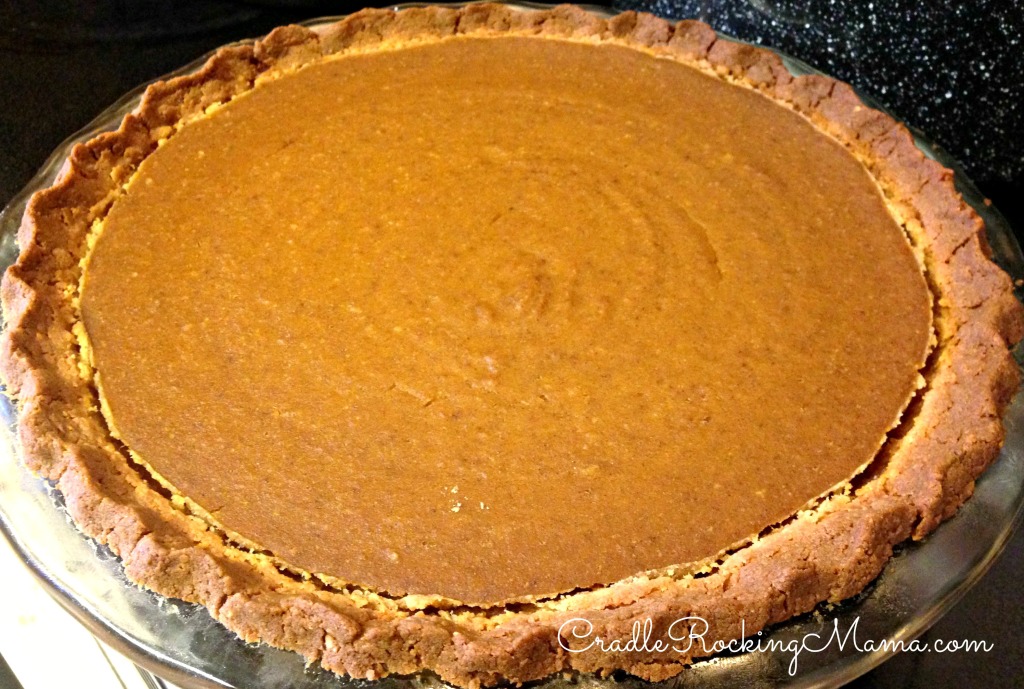
Throw in the oven and bake for an hour, and voila! Pumpkin pie that almost anyone can eat, and everyone will enjoy!

Gorgeous Pumpkin Pie CradleRockingMama.com

Now, again, Captain Obvious didn’t slap me upside the head in time, so don’t make the mistake I did. The pie crust is – once again, NOT a regular pie crust! Cover the exposed edges with foil or one of those fancy pie crust thingies from the beginning, because I didn’t, and it slightly burned the exposed edges of my pie.

The unexposed pie crust? PERFECT! Flaky and tender and oh my GOD I want to eat this pie!!!

If you’re using a 9.5 inch pie plate, which is what I used, you might find that one recipe of the filling isn’t quite enough to fill the pie. I used about 1.5 recipes of the filling to make this as full as I wanted it. If you’re using a smaller pie plate, one filling recipe will probably be enough.

If you have to make a second batch to top off your pie, you can simply pour the rest of the filling into a glass dish and bake it for a crustless pumpkin pie custard dessert! (Jed wolfed that down immediately!)

Other than that, this turned out to be an exceptionally delicious Thanksgiving dessert that I cannot WAIT to be able to dig in to!

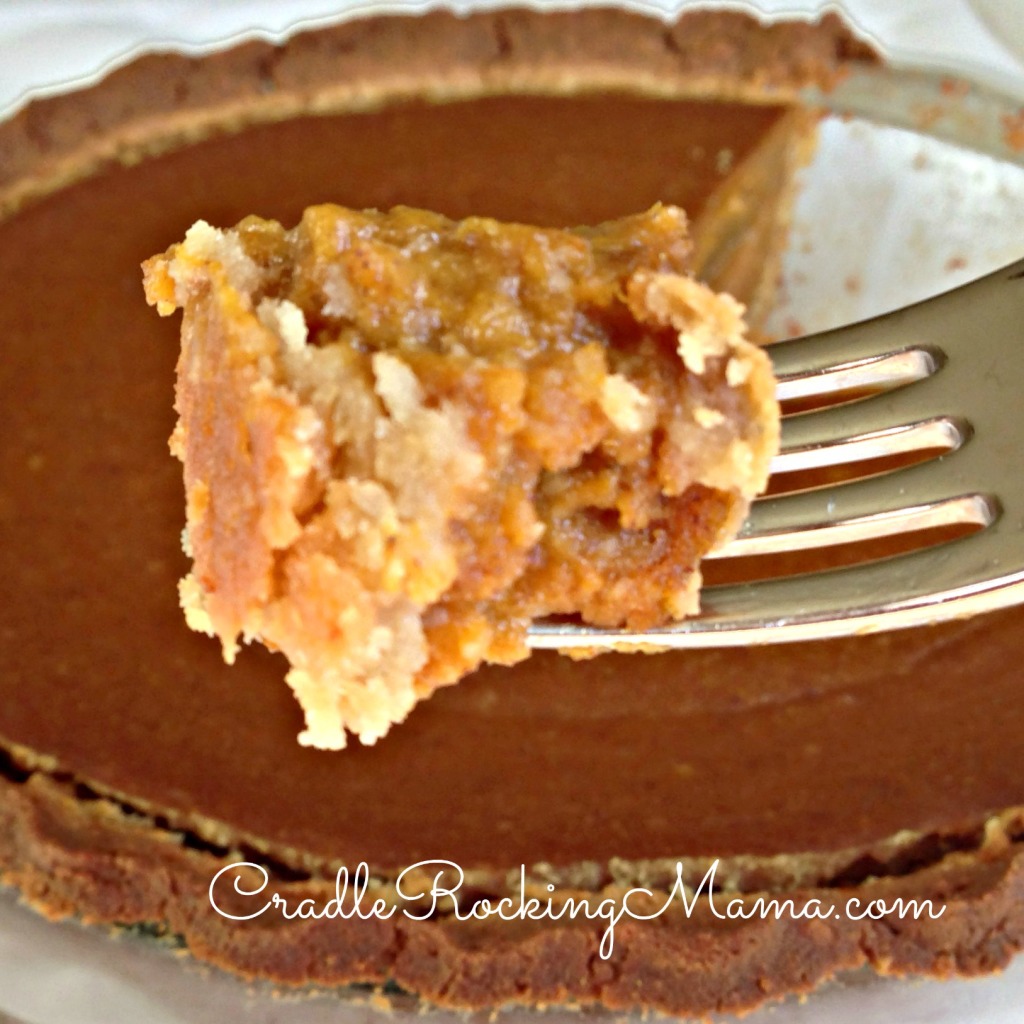
Oh, and you’ll want to let your pie cool completely before cutting in to it. Otherwise, the filling will still be too loose to stay on your fork. It has to set. Be patient. I know it’s hard to wait, but it’s worth it!

Delicious Bite of Pumpkin Pie CradleRockingMama.com

Happy Pumpkin Pie Day! I mean, Happy Thanksgiving!

I hope you’ll share your pie, but if you don’t, I understand

Gluten/Dairy/Egg/Soy-Free Pumpkin Pie & Crust
 
Prep time
Cook time
Total time
 
Never sit out Thanksgiving again! Savor this delicious gluten-free, dairy-free, egg-free, and soy-free pumpkin pie and pie crust. In fact, bring this to a traditional dinner and watch as your friends and family devour it without realizing it isn't the traditional recipe!
Author:
Recipe type: Dessert, Thanksgiving
Serves: 1 person
Ingredients
  • For the crust:
  • ½ c. millet flour
  • ½ c. quinoa flour
  • ½ c. almond flour (use another flour if making this top 8 free)
  • ½ c. tallow/shortening
  • 4 T. cold water
  • For the filling:
  • 1 can pumpkin puree (~15 ounces)
  • 1 c. milk (whatever your personal alternative milk preference)
  • 1 c. dextrose or ⅔ c. sugar
  • ⅓ c. almond flour (use another flour if making this top 8 free)
  • ⅓ c. quinoa flour
  • 2 tsp. cinnamon
  • 1½ tsp. ginger
  • ¼ tsp. cloves
  • ¼ tsp. nutmeg
  • ½ tsp. salt
Instructions
  1. Make the pie crust first: put all the flours and fat in a bowl; using a pastry cutter, cut together until flaky.
  2. Add cold water 1 T. at a time until the dough comes together like a pie dough.
  3. Press the dough into a pie pan and form a pretty edge on top, if you like.
  4. Turn on the oven to 350 degrees F.
  5. Begin making the filling: put all filling ingredients into a bowl and whisk together.
  6. Pour into the prepared pie crust.
  7. Put in the heated oven and bake for 50-60 minutes.
  8. Enjoy your delicious, almost-everything-free, allergy friendly pumpkin pie!

What’s your favorite dessert of all time? The one you won’t share, even with your kids?


This post shared with:

AllergyFreeWednesdays

Gluten Free Wednesdays and Real Food Wednesdays.

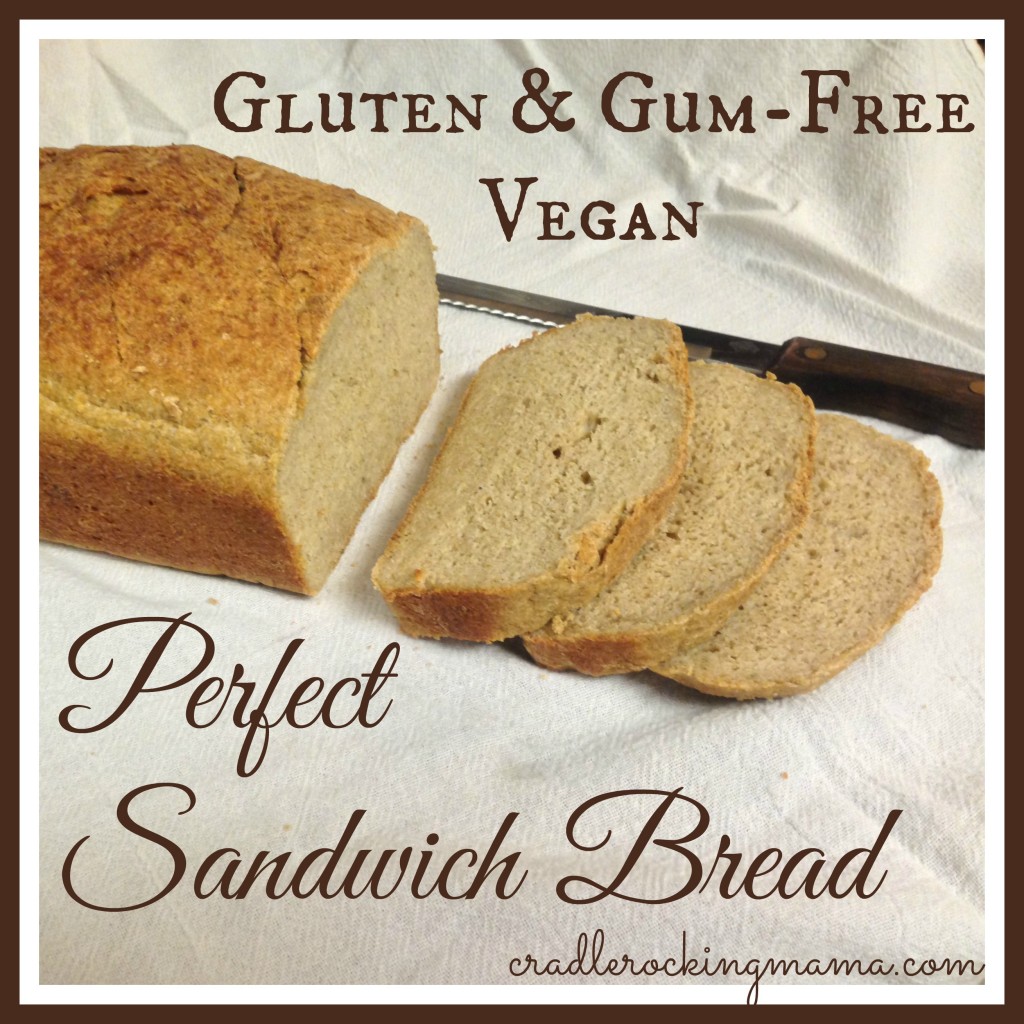
Perfect Sandwich Bread – Gluten & Gum-Free & Vegan!

Gluten & Gum Free Vegan Perfect Sandwich Bread cradlerockingmama

Before I talk about this AWESOME recipe, I thought I’d give you a little update. Last night, Zac had a definite FPIES reaction. No confusion; his diapers told the story quite clearly. (I’ll refrain from details, as I’m about to talk about food!)

We’re not 100% sure it is the broccoli, but the odds are in favor of it at this point. So, broccoli is shelved for now, and we’ll move on to something else when he gets back to baseline.

It’s sad, but I’m not going to let it get me down. He does have ONE safe food, after all! 

And I’m way too thrilled about today’s recipe to let myself get bummed out about anything! I’m doing a “Zac happy dance” about this one: a gluten free, gum free, vegan sandwich bread that KNEADS!!!

Sometimes in cooking, there is no need to reinvent the wheel. I mean, I love experimenting in the kitchen, but I do have two little boys that are VERY demanding, so at times (especially when it’s a particularly challenging feat in front of me) I simply search for a recipe online and give it a shot.

After my last bread-making fiasco, that’s exactly what I did. This time, I specifically searched for “gum-free” recipes, because I really would like to avoid using guar and xanthan gum if at all possible.

Xanthan gum is not what I would call real food; it’s a bacteria grown on corn, produced in a lab. That’s enough for me to want to avoid it! Guar gum is real food, however, it is harder to find in stores, and seems to reduce the absorption of glucose. That’s a problem for Jed, because glucose helps offset any fructose he might ingest. No absorbing glucose=Jed going wonky from fructose.

In any event, I don’t like gums and would rather not use them.

Only one problem with that: they’re sort of “magic ingredients” in almost ALL gluten-free recipes!

One place, however, had a recipe that looked promising: Farmhouse Seed Bread over at Nourishing Meals.  I made a few tweaks (did you expect any different?) and in the end I wound up with THE PERFECT FREAKING SANDWICH BREAD.

No joke, here, folks! If you’re gluten-free, stop making whatever bread you’re  making and start making this one!

It feels  like bread dough. It kneads  like bread dough. And it tastes  like real bread, not a facsimile.

Sigh. I miss bread.  Now, fortunately, Jed does not have to miss bread any more! Bring on the French Toast! The grilled cheese sandwiches! The turkey sandwiches! The toast! (Do you have ANY IDEA how much easier lunchtime is going to be for me thanks to this bread? Did I mention I’m happy dancing in my chair as I write this??!)

OK, so, go read the original post, because there are lots of good tips in there, and you may decide you want to make it exactly the way they do. Then come back here and see what I did:

First, I gathered up all my ingredients. When I’m making a new recipe, I like to have everything ready at the beginning so I don’t get out of synch along the way…especially with something like this, where you’ll be proofing yeast and other timely steps.

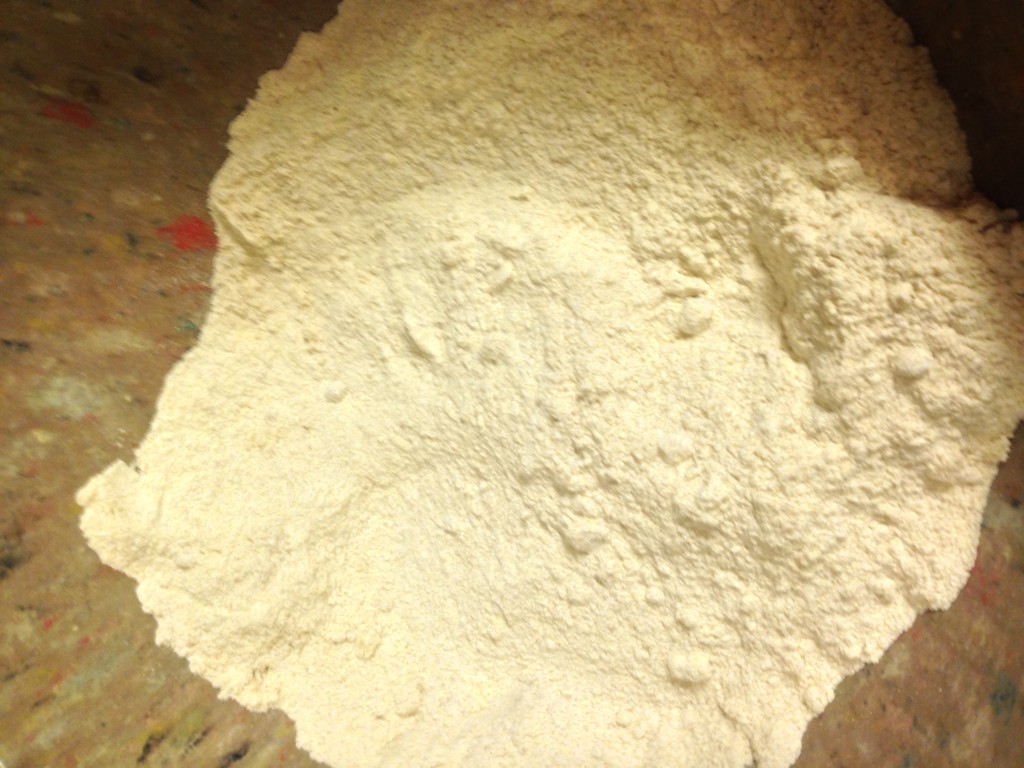
All the dry ingredients went into one bowl…

Dry ingredients all measured out and ready.

Dry ingredients all measured out and ready.

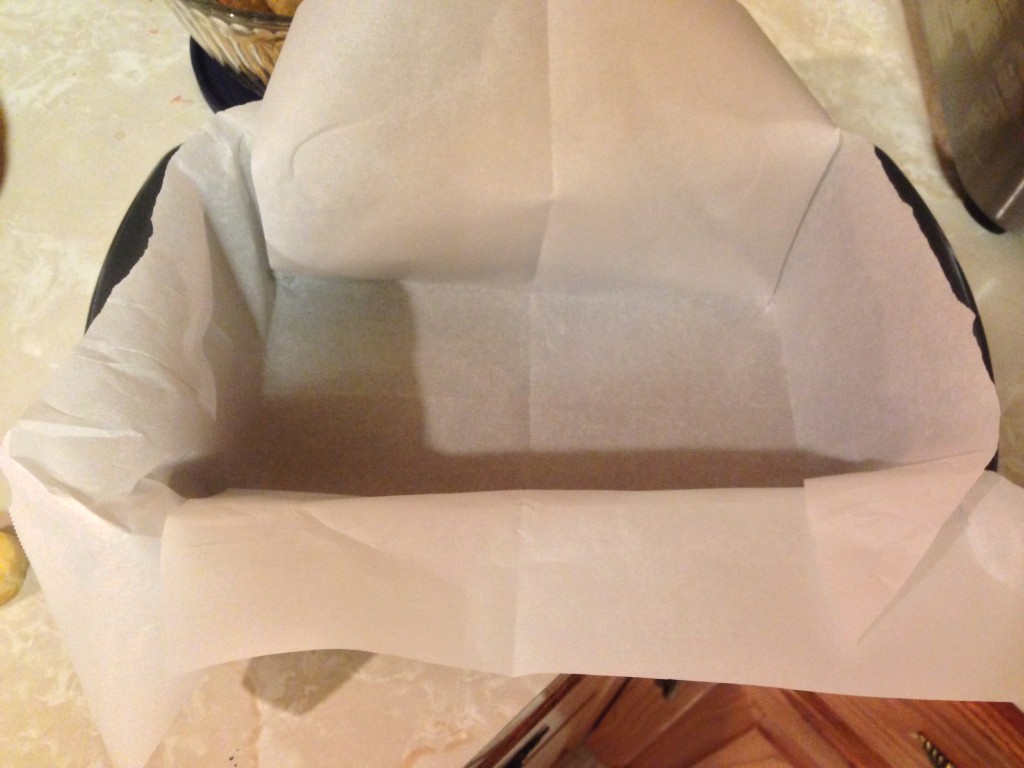
I lined my loaf pan with parchment paper…

Lined loaf pan ready to go.

Lined loaf pan ready to go.

And then I got the wet stuff ready to go.

Technically, these are all considered 'wet' ingredients

Technically, these are all considered ‘wet’ ingredients

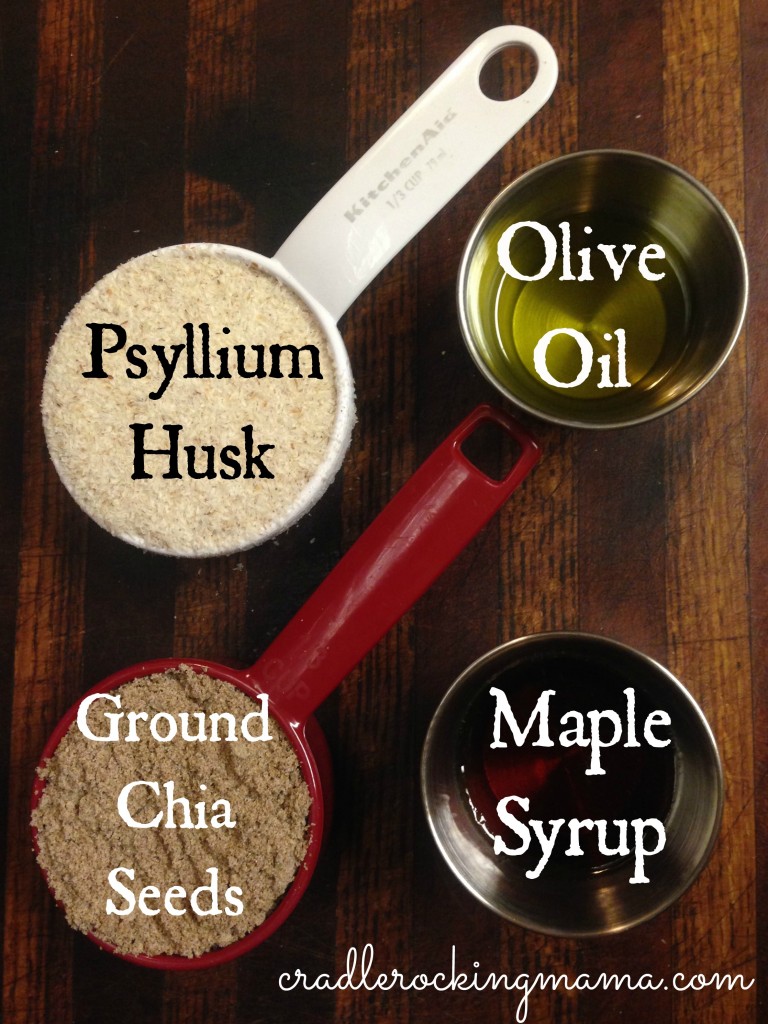
I ground the chia seeds in a coffee grinder, measured out the psyllium husks, maple syrup and olive oil, and then got some warm water in a measuring cup to start proofing some yeast!

The psyllium husks and chia seeds are the secret ingredients to this bread; they’re the reason it kneads, they’re the reason it doesn’t require any gums. I’d used chia before, but had never heard of psyllium husks. Fortunately, my health food co-op carries them, but you can find these at health food stores as a dietary supplement.

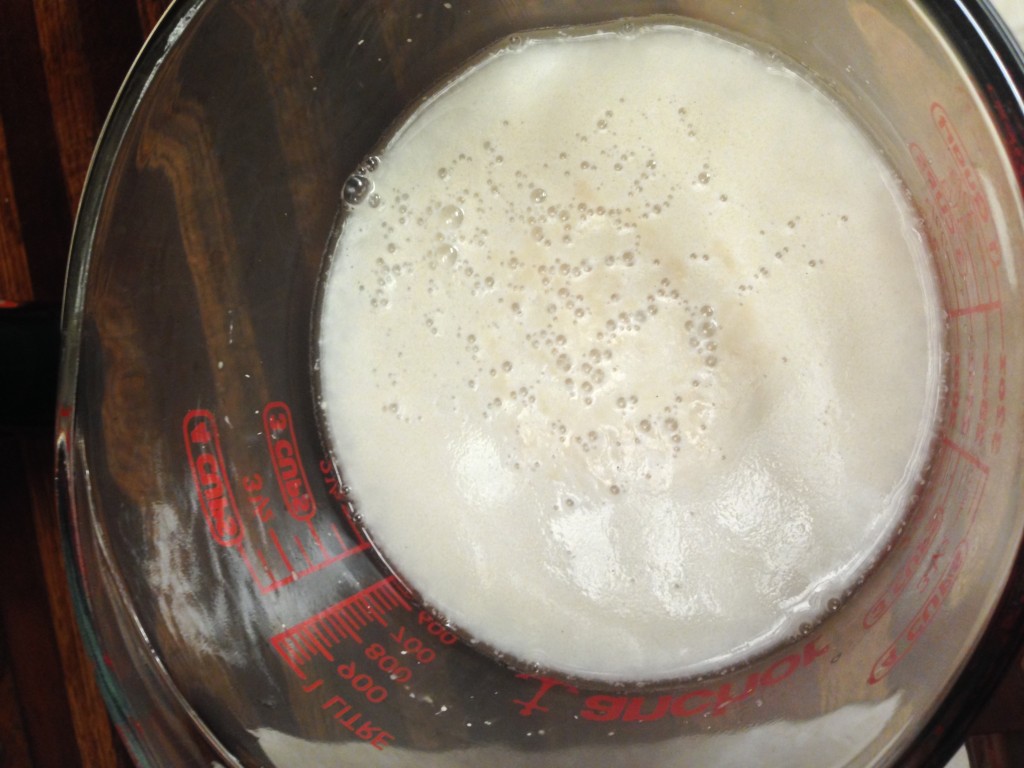
Proofing yeast is very important; I’m glad I didn’t skip this step! The first proofing I did showed me my yeast had fizzled. I grabbed a new jar, and bam! Bubbles and foam! Whew!

Make sure your water is warm but not hot; look for 105-110 degrees F.

Add the yeast and a tsp. of maple syrup to the water, whisk it together, and let it proof for 5-10 minutes. If you get bubbles and/or foam, you’re good to go! Otherwise, toss it and start over.

Foamy bubbles! I'm so happy!

Foamy bubbles! I’m so happy!

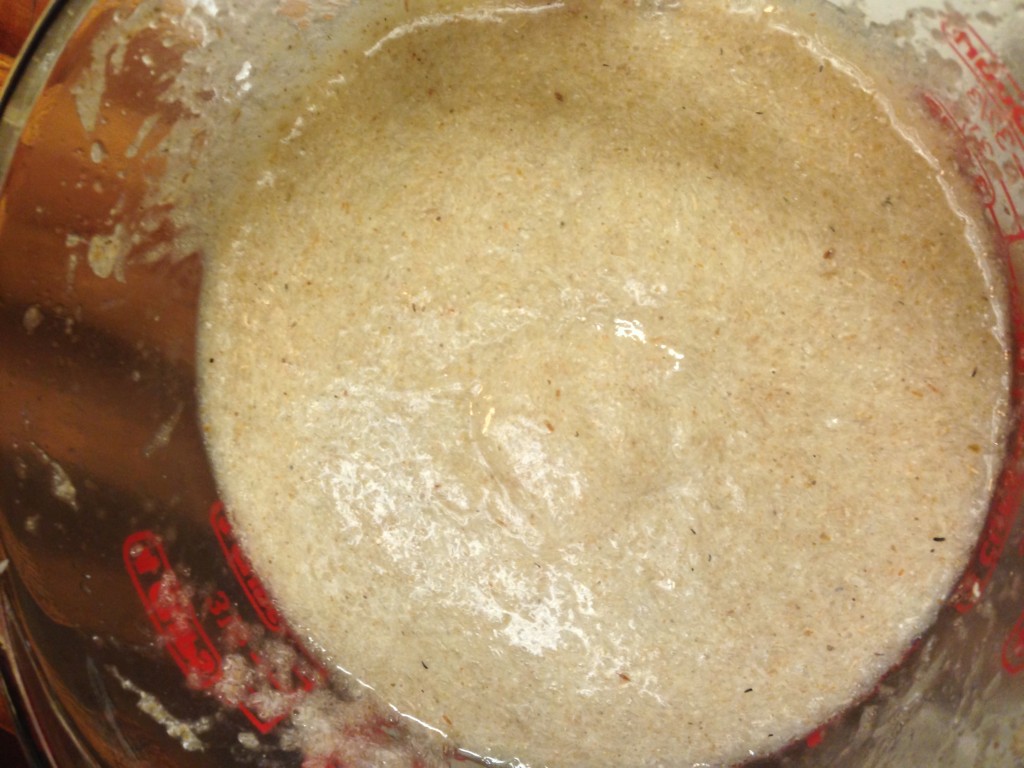
Once the yeast has proofed, add the rest of the ‘wet’ ingredients (the maple syrup, olive oil, psyllium seed, and chia seed), whisk them together and let them sit for ONE MINUTE. The chia and psyllium will gel up really quickly and become difficult to work with if you let it sit for too long. One minute is just perfect before mixing the wet into the dry.

One minute after adding the rest of the wet ingredients.

One minute after adding the rest of the wet ingredients.

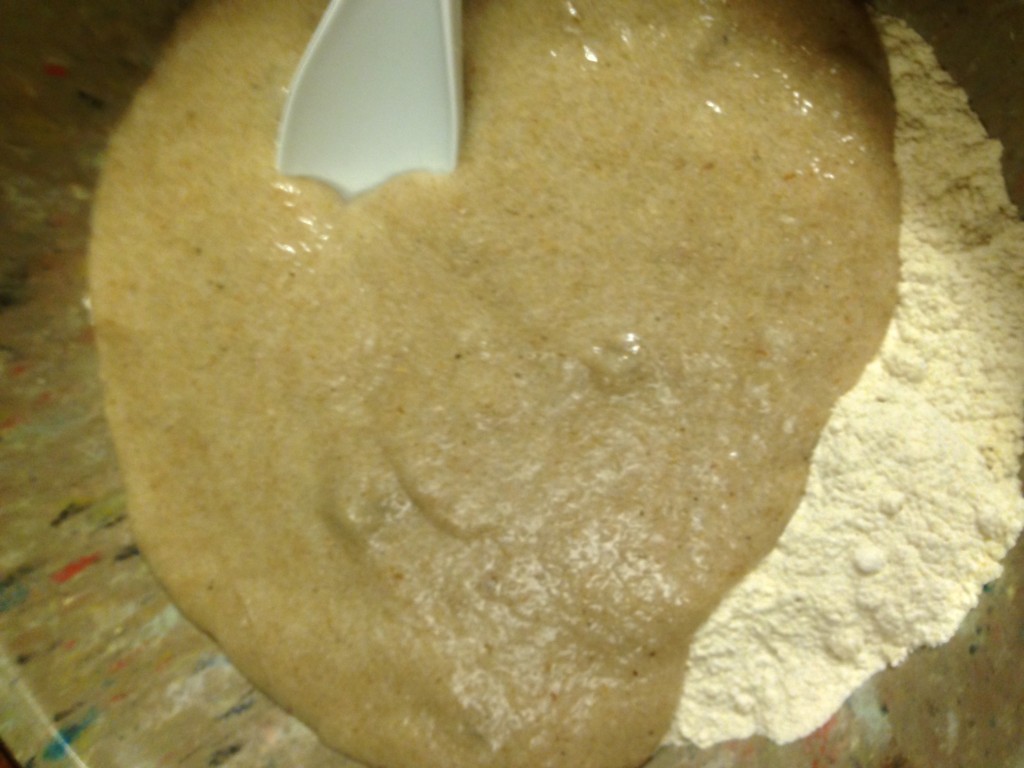
Then whisk them again and pour them on top of the dry ingredients.

Ready to combine!

Ready to combine!

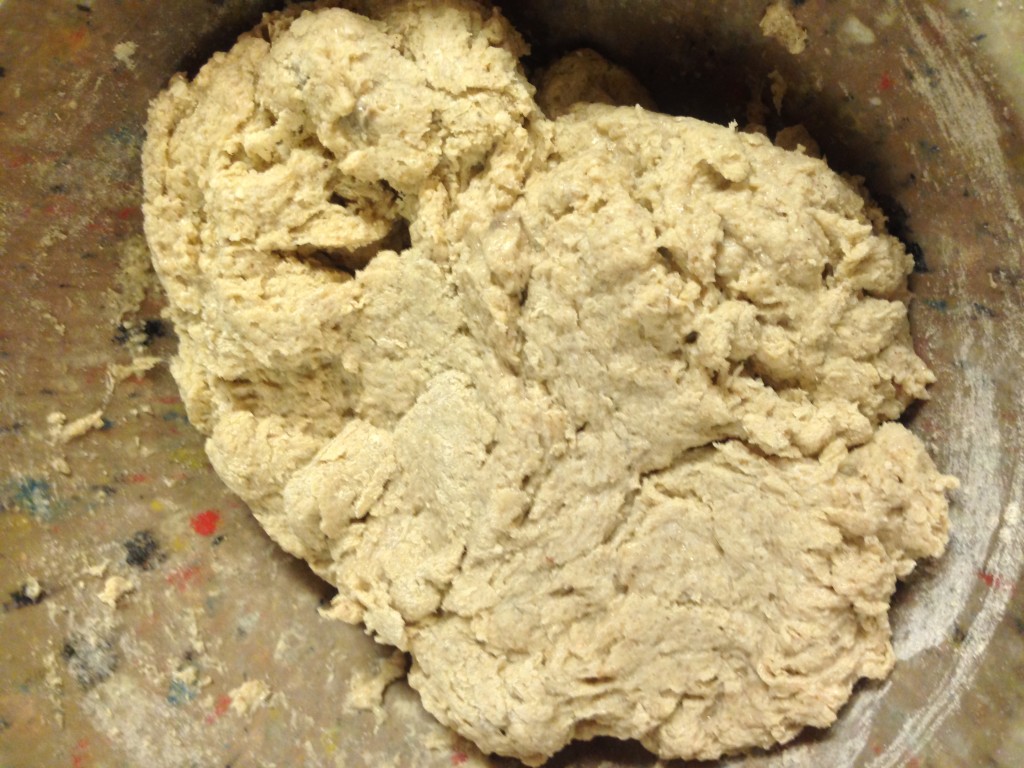
After a good arm workout stirring, the dough will suddenly come together to look like, well, DOUGH!

Bread dough! Ain't it gorgeous?

Bread dough! Ain’t it gorgeous?

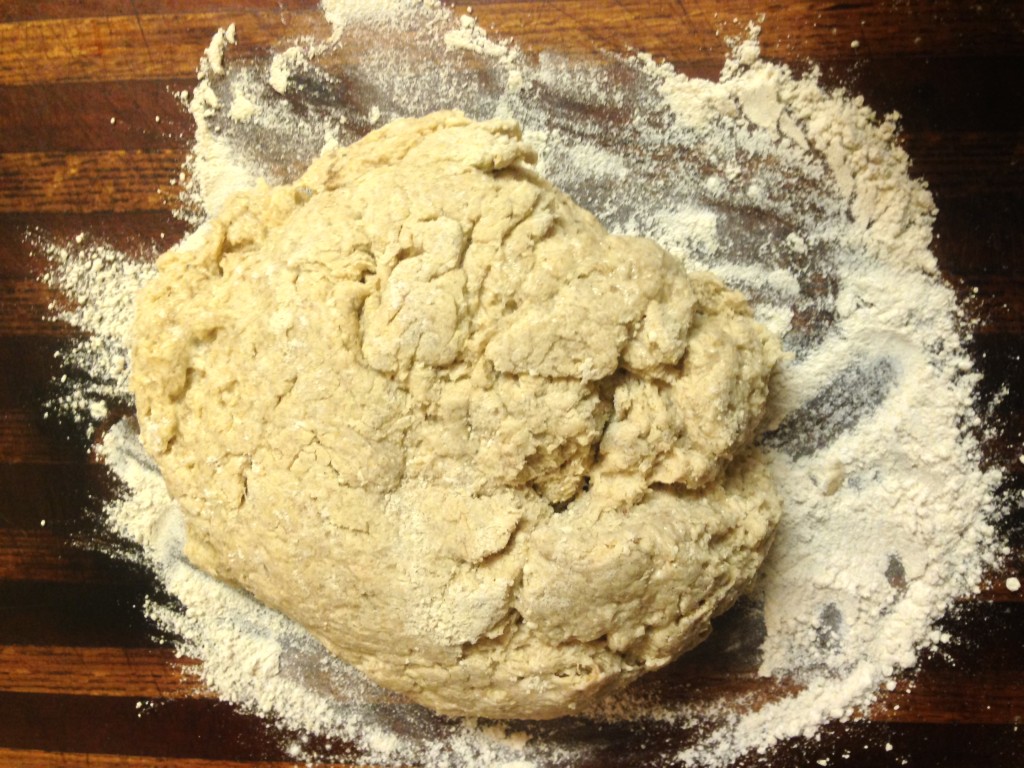
Take that lovely bread dough and turn it out on a lightly floured surface. Mine wasn’t terribly lightly floured. I got a bit heavy handed with it. Oops.

On a flour surface, ready to knead!

On a flour surface, ready to knead!

Throw some more flour on top and start kneading away!

You’ll wind up adding about 1/2 to 3/4 c. of flour to this as you knead; don’t add too much or it will make the dough too dense, but you will need to add some.

Now, I LOVE baking bread. I love kneading it, and working the dough in my hands. Pre-FPIES, I made ALL our bread from scratch, so I consider myself a fairly good baker.

This is not a wheat dough.  You can’t work it like you would a gluten-filled dough. Yes, you do get the great pleasure of kneading, but not the “knead for ten minutes” kind of kneading you get with a normal loaf of bread.

After just about a minute or two of kneading, this dough felt “done” to me; if I’d kept working it, it would have kept getting sticky and I’d have had to add far too much flour to make it feel right again.

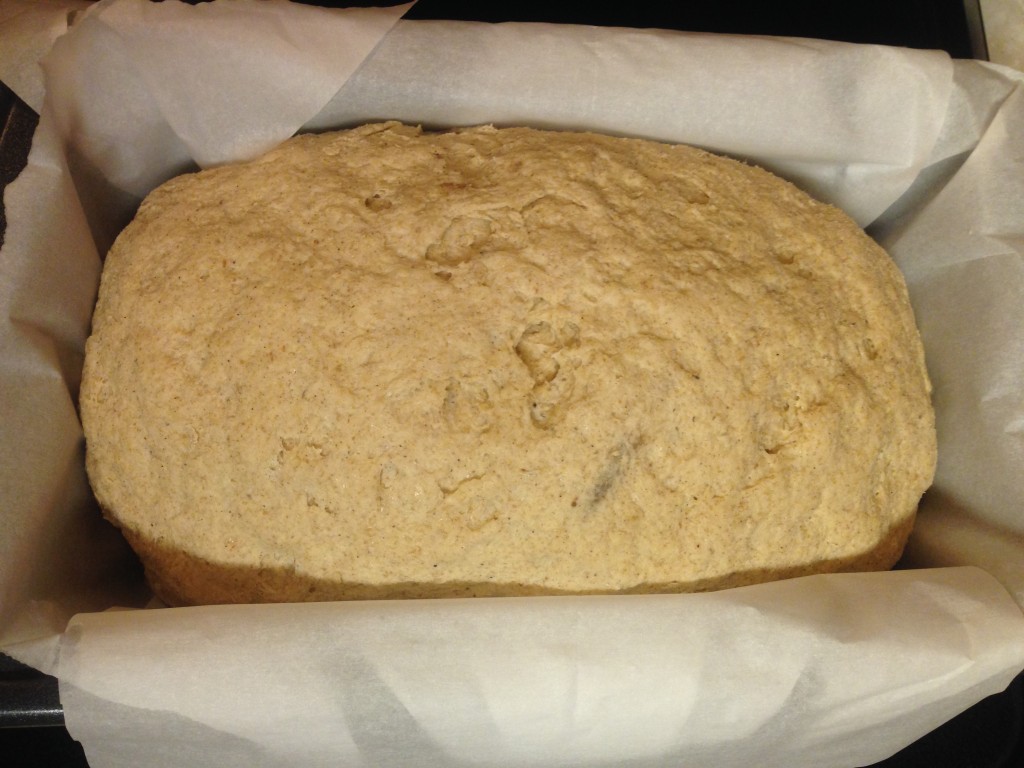
So in the interest of not making a brick of bread, I stopped, shaped it into a loaf, tucked the ends under all pretty-like, and plopped it in my parchment-lined loaf pan.

Plopped into the loaf pan!

Plopped into the loaf pan!

Then I covered it with a wet towel and sat it on my stove to rise. At the time, I had a roast in the oven (at 300 degrees), so the top of my stove was pleasantly warm, but not hot.

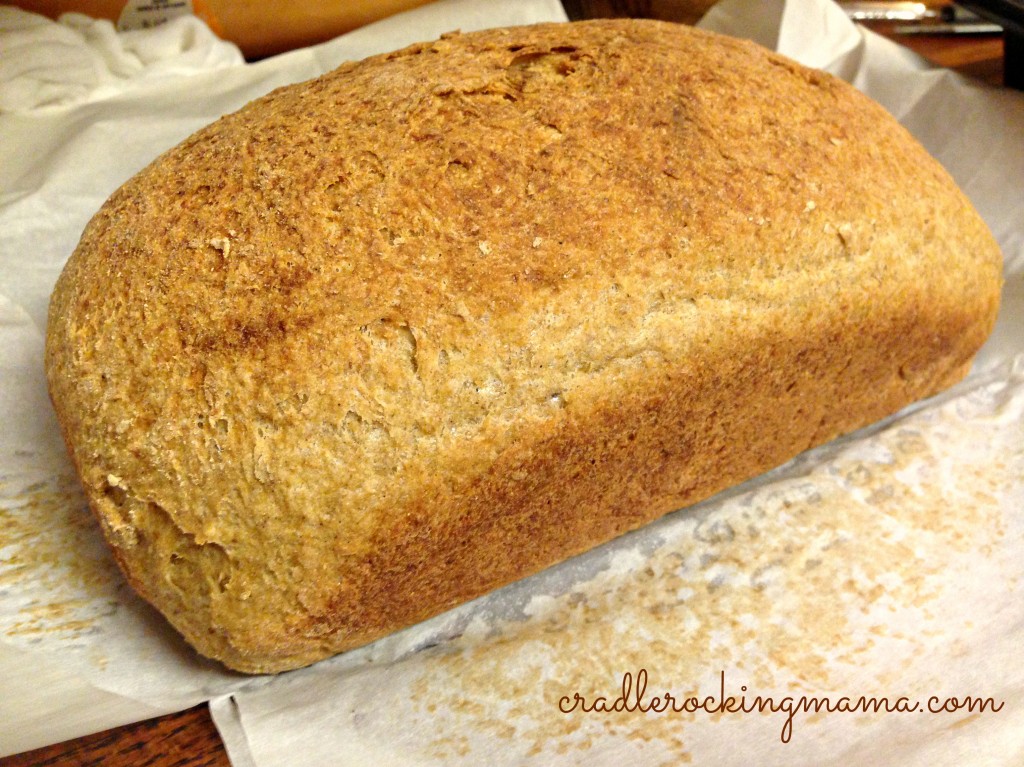
The recipe said to let it rise for an hour, but after only about 35 minutes, I noticed my loaf had risen to just over the top of the loaf pan! It was almost doubled in size already! So into the oven it went (after adjusting the temperature), where it baked for 40 minutes. It came out looking like this:

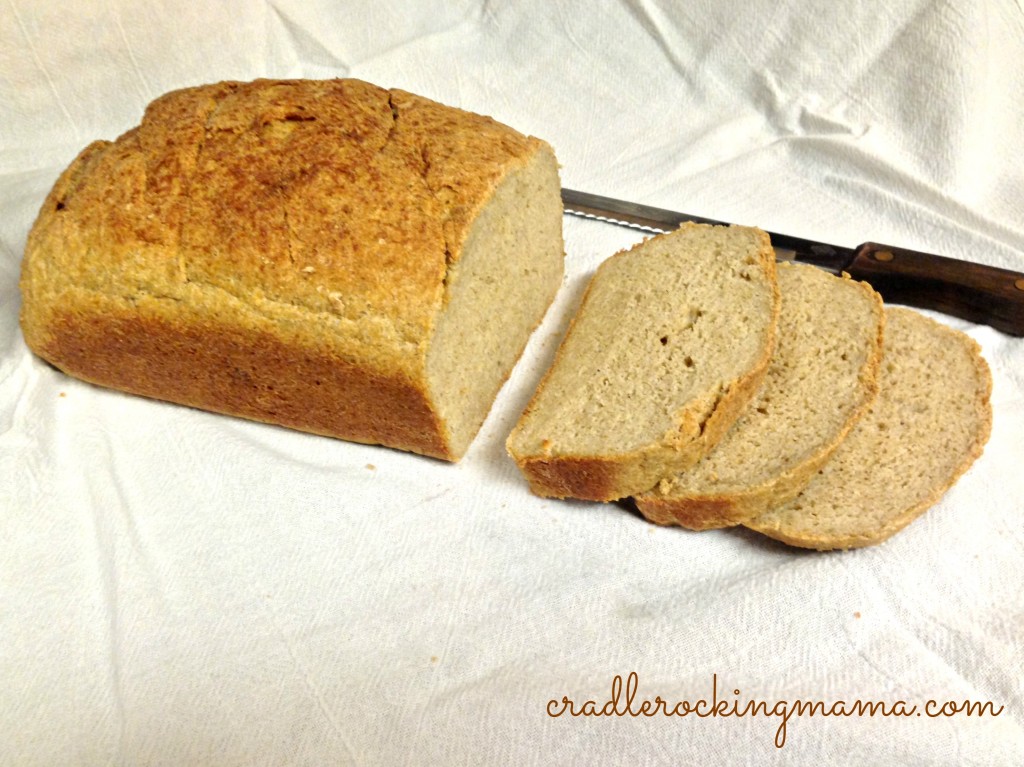
Gorgeous, beautiful, perfect bread loaf!

Gorgeous, beautiful, perfect bread loaf!

The instructions were very clear: let this bread cool and rest for 30-60 minutes before slicing in to it. Otherwise, it will be gummy and icky. If you wait, it will be perfect.

Jed didn’t want to wait. We had some words about disobedient children after he took a pizza cutter to the top of my perfectly beautiful bread loaf. After I’d ensured that he understood why I was upset with him, I went ahead and cut the loaf, even though it still felt somewhat warm to the touch.

Fortunately, all was not lost! The bread was gorgeous!

Slicing the loaf.

Slicing the loaf.

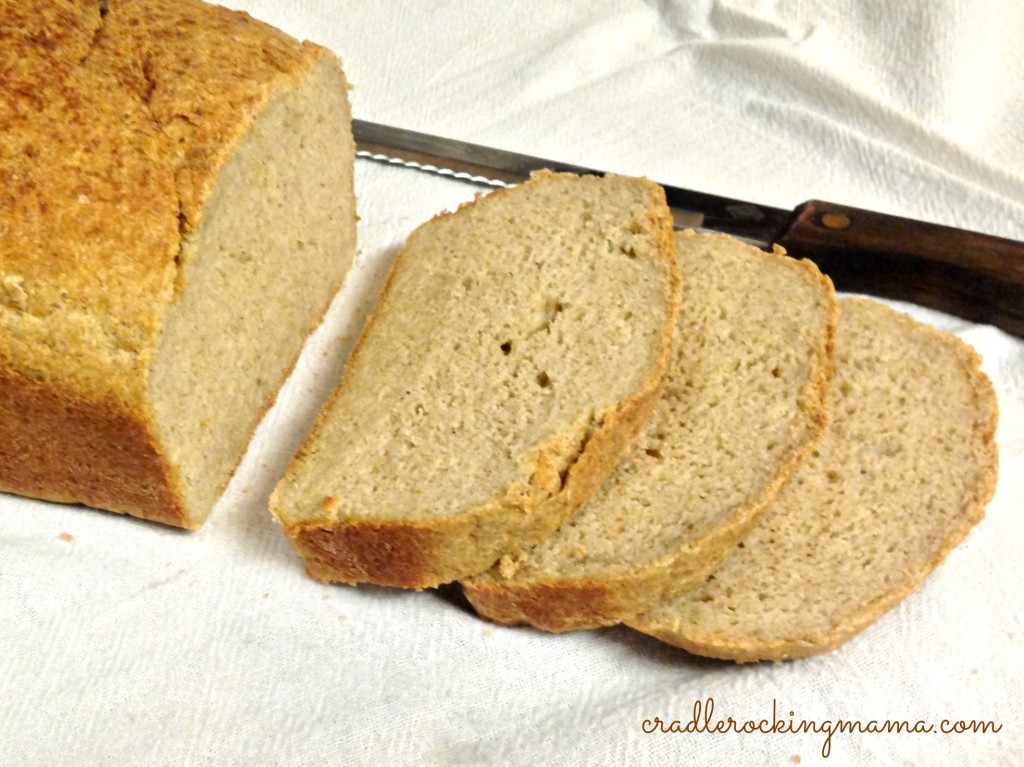
Here’s a closer look at those slices….

Oh, yum...

Oh, yum…

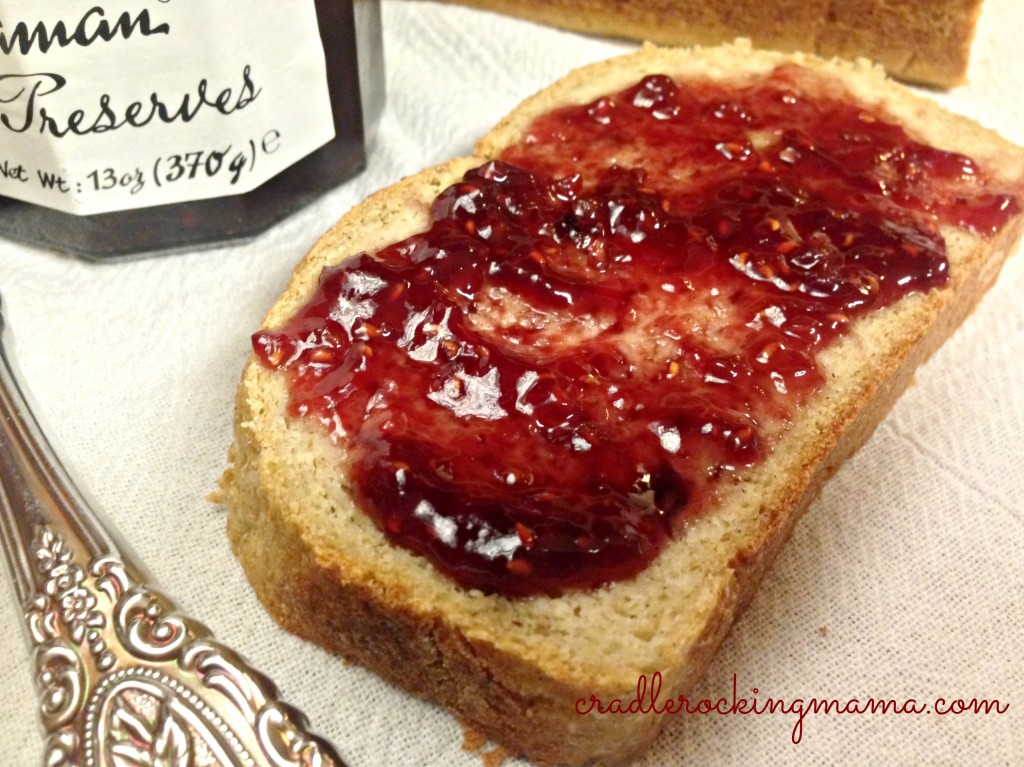
And I just couldn’t resist…

Drool. Just drooling here.

Drool. Just drooling here.

Darrel did say it was a little “thicker” than he likes his bread, so maybe I need to let it rise a little more next time. Jed certainly liked it, and both of the fellas said it tasted like bread and would certainly work for them!

I’m thinking this bread recipe is more likely to resemble a crusty, whole grain type bread, rather than a typical, fluffy white American bread. That’s okay, though! It’ll certainly fill you up!

I plan to make this bread into tiny little balls on Thanksgiving morning to turn into dinner rolls for Jed. And I know I encouraged you to “think outside the cold turkey sandwich” on Thanksgiving, but I really am so glad Jed will now be able to participate in that tradition!

One day, I’m going to eat this bread and swoon in happiness. I hope you get to swoon sooner than I will!

Perfect Sandwich Bread - Gluten & Gum-Free & Vegan!
 
Prep time
Cook time
Total time
 
A perfect slice of sandwich bread for anyone who is vegan, gluten-free, and fructose conscious. It's amazingly good!
Author:
Recipe type: bread, vegan, gluten-free, fructose-friendly, gum-free
Serves: 1 loaf
Ingredients
  • DRY INGREDIENTS
  • 1 c. millet flour
  • 1 c. sorghum flour
  • ½ c. quinoa flour
  • ½ c. almond flour (to make this allergy free, sub another flour for this)
  • 1½ tsp. sea salt
  • WET INGREDIENTS
  • 2½ c. warm water (105-100 degrees)
  • 2¼ tsp. active dry yeast
  • 1 tsp. maple syrup
  • 2 T. olive oil
  • 2 T. maple syrup
  • ⅓ c. ground chia seeds
  • ⅓ c. whole psyllium husks
Instructions
  1. Put the warm water in a bowl or a large measuring glass.
  2. Add the yeast and tsp. of maple syrup; whisk together. Let rest for 5-10 minutes to proof.
  3. Mix dry ingredients together in another bowl, and line a loaf pan with parchment paper.
  4. Once the yeast has proofed, pour the rest of the ‘wet’ ingredients into the yeast mixture. Whisk ingredients together and let stand one minute to let gel.
  5. Whisk wet ingredients again after one minute, then pour into the dry ingredients.
  6. Using a spoon, mix the ingredients together until so thick you can’t stir any more.
  7. Dump the dough out onto a lightly floured surface and knead to incorporate all the flour.
  8. Add more flour as needed to make sure the dough holds together and isn’t too sticky.
  9. Shape the dough into a loaf and drop it in a loaf pan.
  10. Cover with a wet towel and place in a warm spot to rise; let rise to double its’ original size.
  11. While the dough is rising, turn the oven on to 400 degrees F.
  12. Once the dough is doubled in size, place the loaf pan in the oven and bake for 40 minutes.
  13. Remove from the oven and let cool on the counter for 30-60 minutes until completely cool.
  14. Slice and enjoy your delicious, gluten-free, gum-free, vegan sandwich bread!

Have you found a great gluten and gum free bread recipe? Please share it!

__________

This post shared with:

Gluten Free Wednesdays and Real Food Wednesdays.

Ch-ch-ch-changes!

Ch-ch-ch-changes cradlerockingmama

It’s been a big weekend with a lot of changes for our family!

Friday morning Darrel announced over breakfast that he was 100% confident that quinoa had proven safe for Zac. Which meant we were ready to move on to the next food trial.

Eek!

We decided on broccoli, so Friday night I steamed up one stalk of broccoli and served it for dinner.

Zac. LOVED. It.

Loved it as in “help Mommy scrape the broccoli off the platter onto the tray table with his fork” loved it!

He ate an entire stalk of broccoli that night, and seemed just fine.

Saturday night repeated the performance. Zac loves his broccoli!

It didn’t deter him from eating quinoa nuggets and crackers, either. He continued to chomp down on those all day Friday and Saturday.

Sunday, however, was not so great.

He suddenly had no appetite. For breakfast he barely managed to eat two quinoa nuggets, when he’d previously eaten between 6-15 nuggets per meal.

He didn’t eat any crackers that day, either. At lunch he ate about 7 nuggets, but only one for dinner.

He was mildly cranky and clingy all day, and just seemed…out of sorts. Not himself.

We decided not to give him any more broccoli for a while, but shortly after making that decision, he suddenly seemed to snap out of it!

After nursing him at bedtime, he popped up, all smiles, waved at Daddy, grinned and tried to grab my phone, and had the “glimmer” back in his eyes. He proceeded to babble more than he had the entire day, and when I asked if he wanted some quinoa nuggets he clapped his hands, nodded yes, and bounced with glee when I picked him up.

Then he let me put him in the high chair, which he had not let me do all day long. He helped me put the tray on his chair, and clapped his hands and did his “happy dance” in the seat when I brought him some nuggets.

Then he ate 8 nuggets without stopping, while watching Baby Einstein on TV with his little feet crossed at the ankles. Just chillin’, Mama!

So I’m not convinced this is an FPIES thing. It could well be the early signs of a reaction, but I’m wondering if there aren’t some other explanations for his Sunday strangeness.

For starters, normal FPIES reactions don’t usually get better that quickly. They usually continue to escalate downwards.

Secondly, his poop is just fine, and for him strange poops are one of the first things we see during an FPIES reaction.

Also, broccoli can have a gassy, upset tummy effect on people sometimes, so that could be playing a part.

He’s also been drooling crazy amounts this weekend at moments, leading us to suspect teething is rearing its ugly little head, too.

Plus, one other BIG change in our house happened this weekend that could have thrown him out of whack.

Remember when I talked about needing to get rid of the cats and replace our carpeting because of corntamination and Zac’s bucket needing to be kept empty? It was a small paragraph in a large post, and I didn’t think much of it beyond that being a part of our story to tell.

Well. After reading that post, a dear friend of mine in town contacted me and offered a gift to my family I couldn’t believe: she and her husband wanted to replace the carpeting in our living room for us.

I couldn’t believe her generosity! I’m still sort of flabbergasted about the whole thing.

It’s taken some time to figure out the what and when of it all, but Friday morning we met at the store and picked up all the supplies, that night Darrel ripped out all the carpeting in our house, and Saturday morning began floor installation!

My friends want to remain anonymous, but they know who they are. What they can’t possibly know is the depth of gratitude Darrel and I feel towards them for this incredibly perfect gift for Zac. There are just not enough words to say it, and certainly not good enough words to say how much we appreciate them for what they’ve done.

Removing the tea and potato chips from my diet, I believe, helped Zac find his first safe food.

Removing all the trace contamination from the cat food and litter residue will, I believe, continue to allow him to find safe foods.

They didn’t just give us flooring; in no small way, they gave my son the ability to eat and stay alive. 

No, there just aren’t enough words for this one. Not at all. 

(excuse me while I go sniffle a bit)

Okay, so, back to the ‘Zac Sunday Strangeness’…all that ripping up flooring and putting new flooring down kicked up a lot of dust and cat hair, so that could have been something that made Zac feel a little off, too.

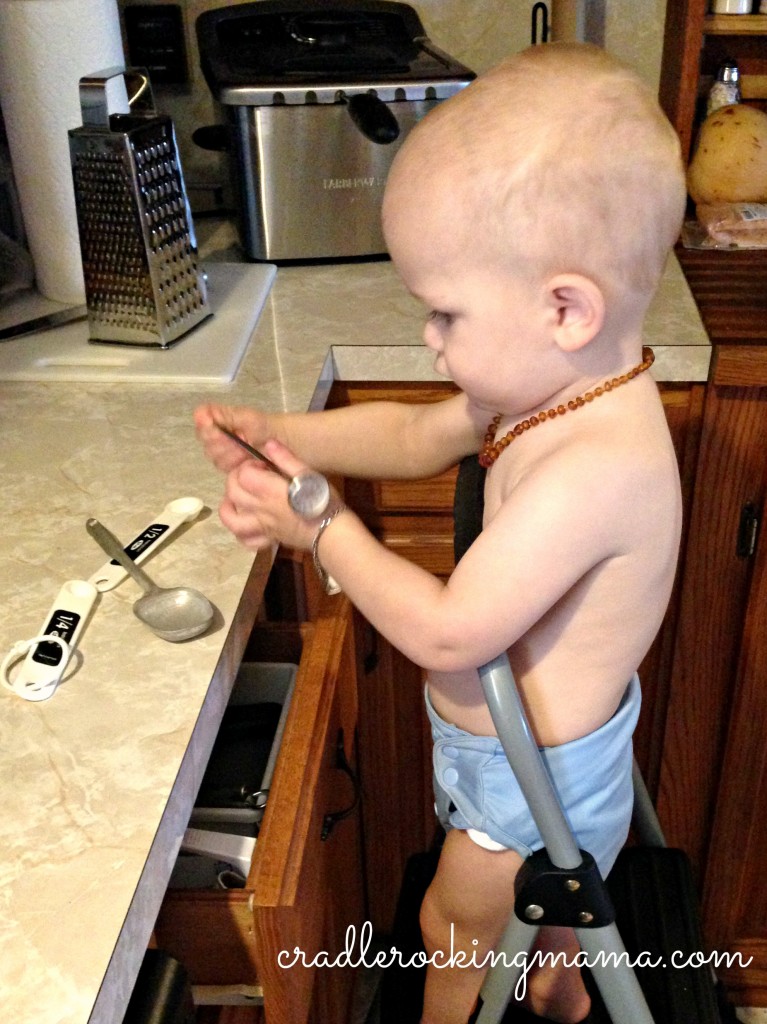
Zac finally getting to explore the kitchen during living room construction! He's never been allowed to wander in the kitchen at all, and he enjoyed playing with tupperware and my baking spoons!

Zac finally getting to explore the kitchen during living room construction! He’s never been allowed to wander in the kitchen at all, and he enjoyed playing with tupperware and my baking spoons!

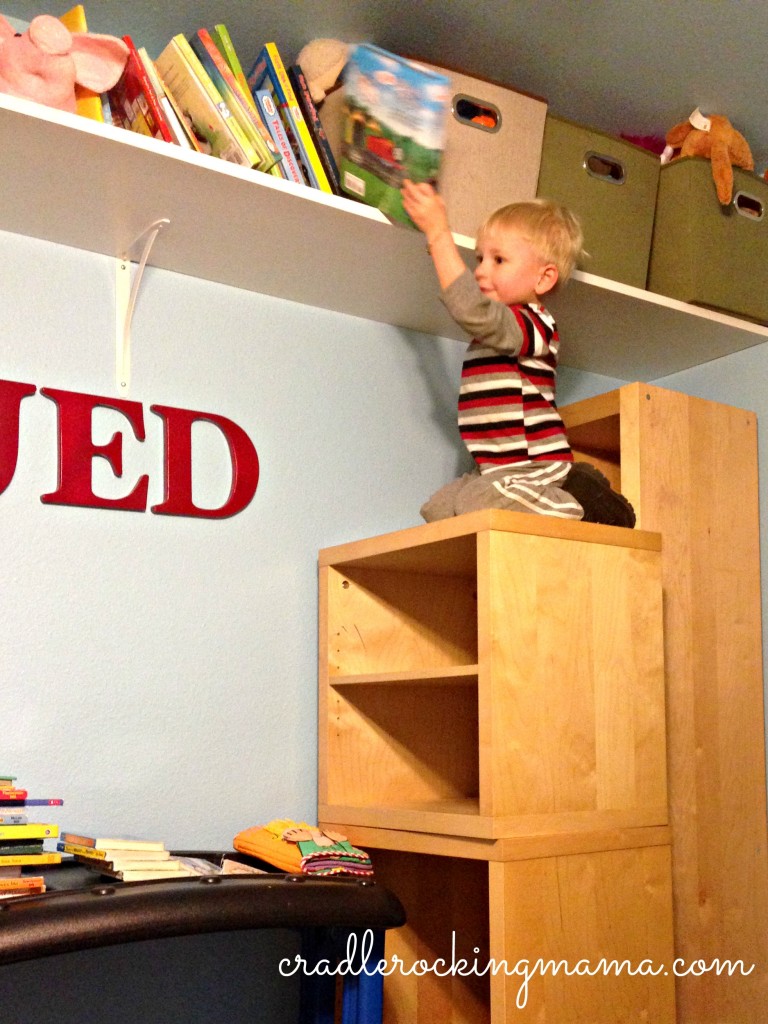
Jed taking advantage of the living room furniture we had to stack in his room to climb and get the books on the HIGH shelf! Little monkey!!

Jed taking advantage of the living room furniture we had to stack in his room to climb and get the books on the HIGH shelf! Little monkey!!

In the end, I don’t think he’s having an FPIES reaction to broccoli. My gut is telling me it’s teething, broccoli gas, and maybe dust allergies that made him so weird on Sunday.

So, fingers crossed that tonight I can give him a much smaller serving of broccoli, and that over time, he’ll build up the enzymes to digest broccoli without getting painful gas. The teething will get better, and the cat hair and dust will settle, and in a few weeks, we’ll be calling broccoli SAFE! (Oh, I hope!)

Another big change happened on Sunday night. My parents were finally ready to take the cats in, so we drove the cats over to Grandma and PopPop’s house.

Jed thought it was great fun to go on a car ride with the kitties…until we got in the car to come home. Then it wasn’t okay.

“I need my cats!” he cried. And continued to cry that off and on for the next 50 minutes as we drove home.

Sigh…I’d tried to explain what was going to happen to him beforehand, but I guess he just didn’t understand. Now his little heart is broken, and that makes my already sad heart want to break, too.

For their part, the cats will be fine. When we got there, they both hid out under the couch, but they both know my parents and will acclimate quickly, I’m sure.

After all, any house where they can wander freely without children shrieking or scaring them half to death MUST be an improvement, right?

So now I just have to figure out how to recover the furniture we have, and sell our sofa (no way to recover that), and do a last big clean sweep through the house to remove all remaining cat traces, and we will have de-catted the house effectively for Zac!

I sure hope I’m right, and that all these changes help Zac keep an empty bucket and a growing list of Safe Foods. This was absolutely a whirlwind weekend for us. I think my head is spinning!

Oh, and at their weekly Sunday weigh-in, both boys gained weight!

Zac has finally, blessedly, GAINED ONE WHOLE POUND!! He’s 21 pounds right now, which is the most he’s ever weighed! I’ll say it again: God Bless Quinoa!!!

Jed is up to a whopping 29.4 pounds, which is the most HE’S ever weighed!  Woot!!

Keep growing, babies!!

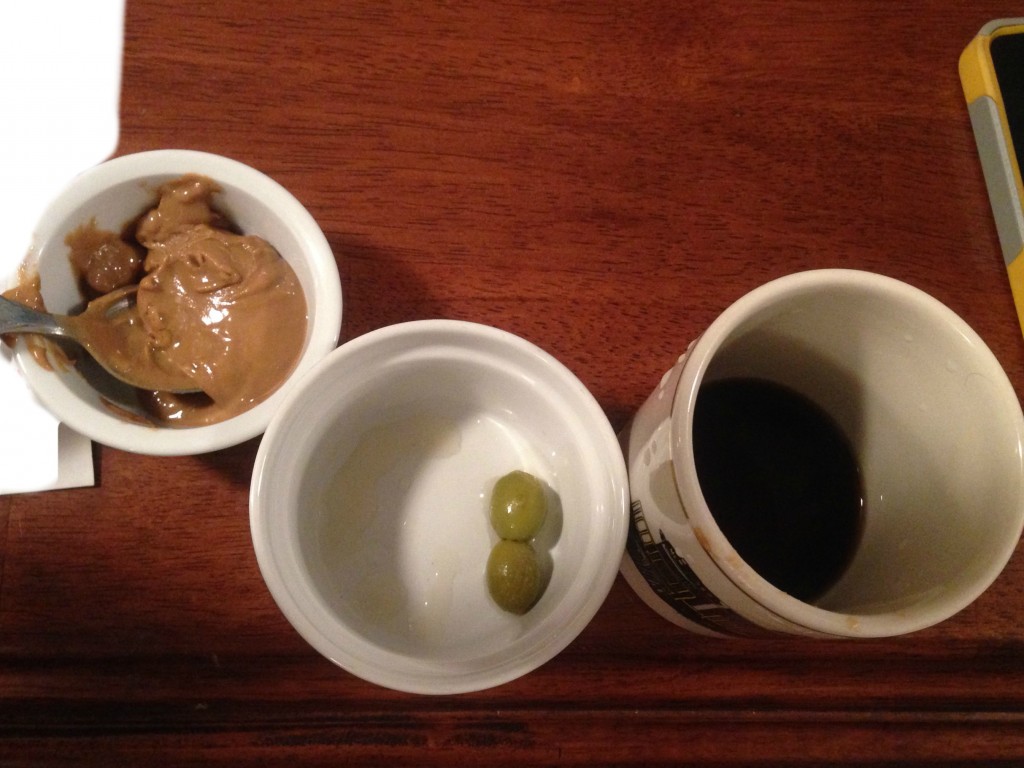
How Jed gained weight when THIS is a typical snack for him, I'll never know: sunbutter, green olives, and coffee. Yuck!

How Jed gained weight when THIS is a typical snack for him, I’ll never know: sunbutter, green olives, and coffee. Yuck!

__________

So, what’s the most extreme thing you’ve ever done for your kids health? 

Frugal Fridays – Stretch A Chicken

Frugal Fridays Stretch A Chicken cradlerockingmama

I know, I know, this isn’t exactly a new idea. But it’s quite brilliant at stretching your budget, and therefore earns a spot on the Frugal Friday roster.

Make your chicken work, baby! Take every little part of it and make it squawk for mercy from the relentless stretching you put it through!

Everyone says to do this, but sometimes it sounds a little overwhelming. Sometimes a visual aid is helpful, amiright?

So today I’m sharing how I took 4 chicken leg/thigh quarters and turned them into 3 dinners and 2 lunches for my two fellas.

Start off with buying some chicken.

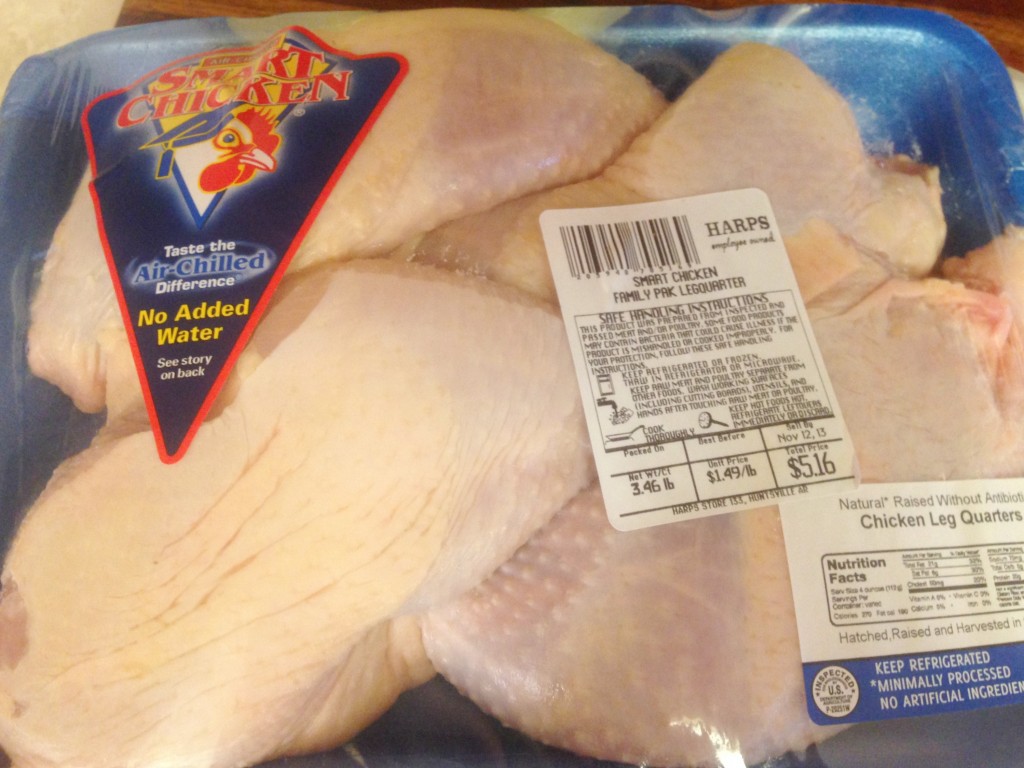
My chicken

My chicken

This is the best chicken I can find in my area, unless and until my parents stop raising laying hens and start raising meat chickens. You’ll notice I spent $5.16 for this package of 4 chicken leg quarters.

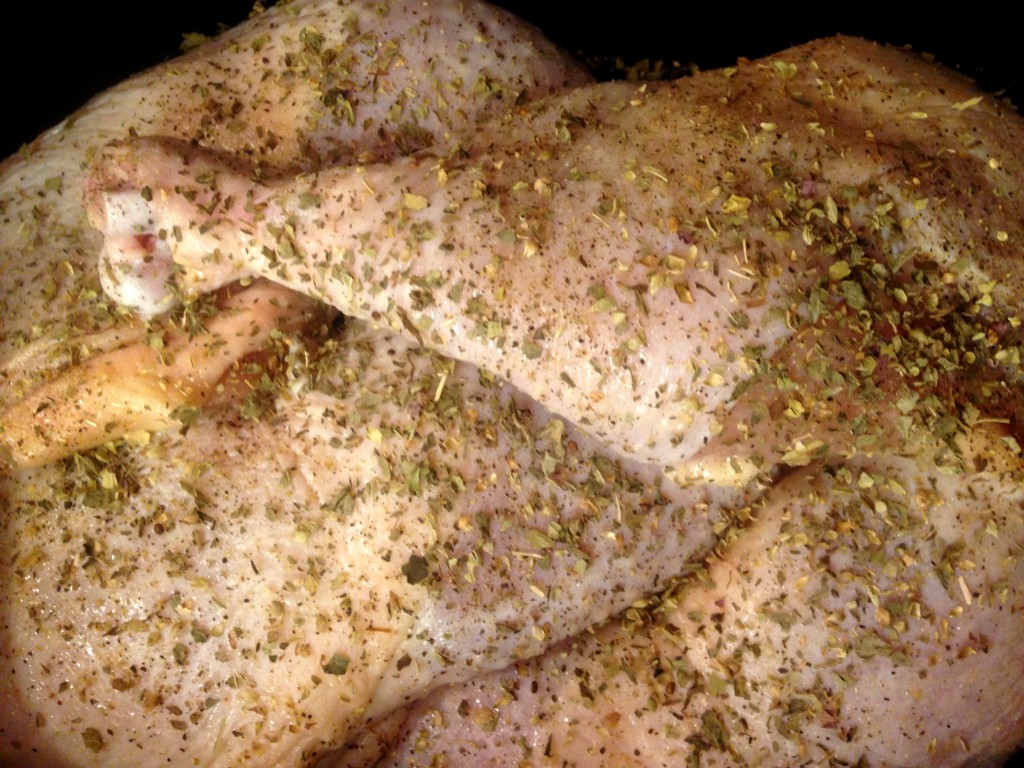
I took my chicken and put it in a crockpot, then seasoned it lightly with sea salt, pepper, basil and oregano. No real reason, except that Darrel and Jed like those flavors. You can season your chicken however you like.

Seasoned in the crockpot.

Seasoned in the crockpot.

I let it go on high for about 6 hours, which fully cooked the chicken and gave me a nice start to a broth.

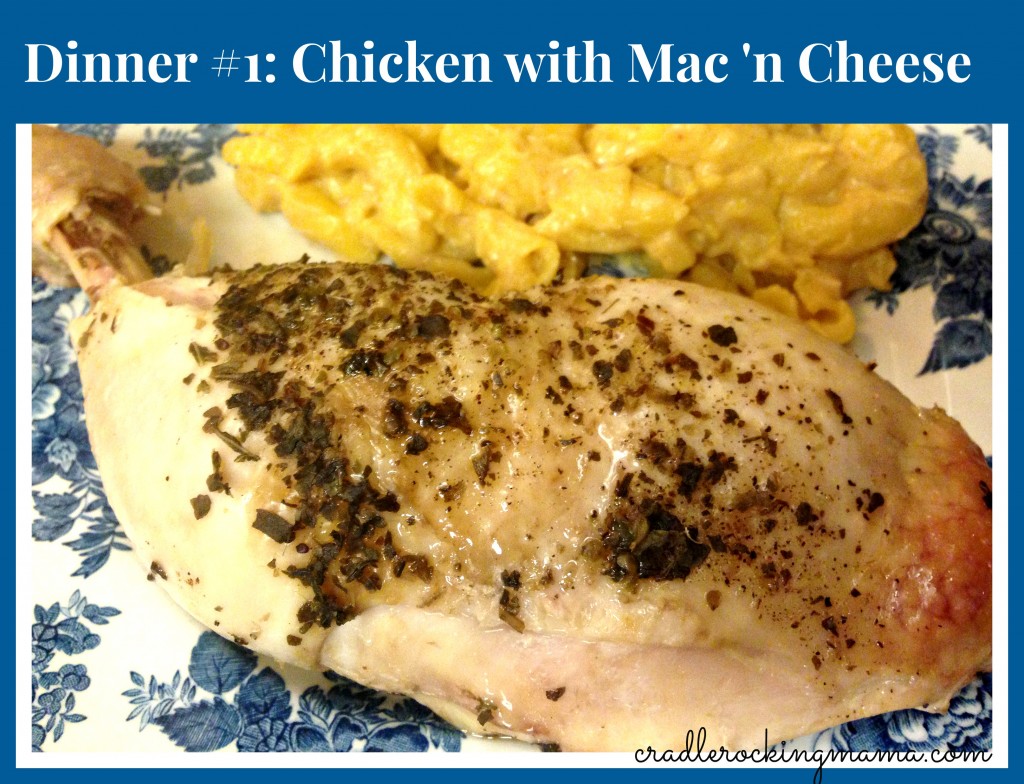
That was it for Dinner #1: each fella got a chicken quarter and some Mac ‘n Cheese.

Dinner #1 Chicken with Mac n Cheese cradlerockingmama

Of course, Jed didn’t eat all of his chicken, so we simply picked what he hadn’t eaten, added some Mac ‘n Cheese and his leftover chicken to a container, and Lunch #1 was ready for the next day.

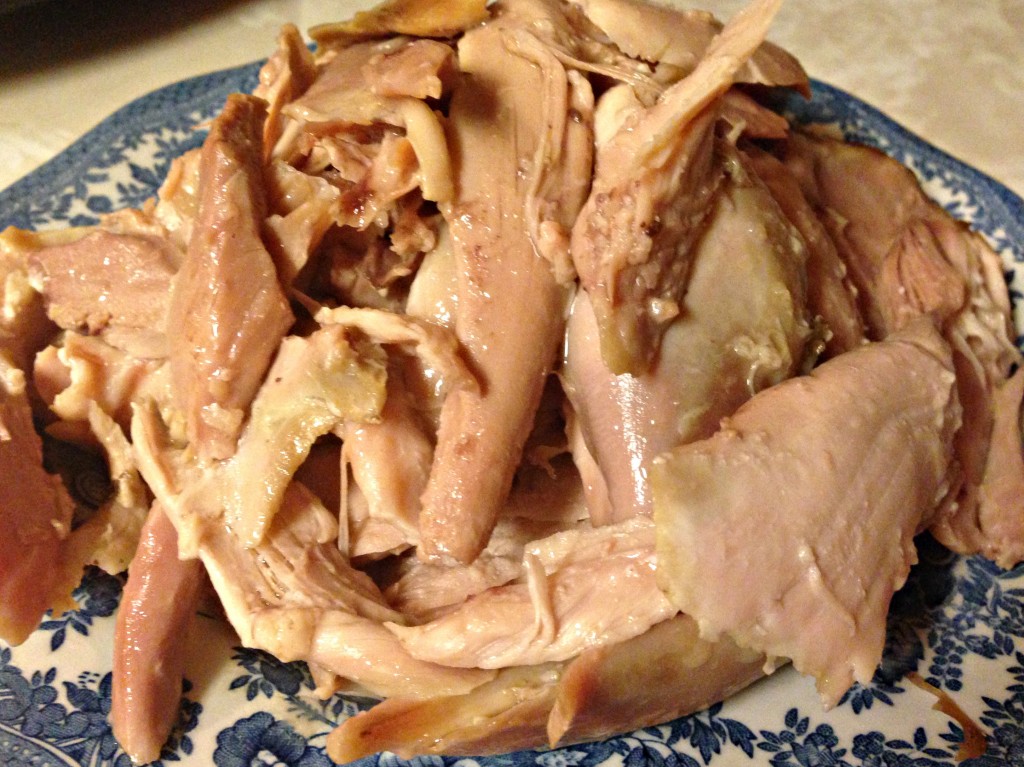
The rest of the chicken, I picked off the bones.

Picked chicken, ready to go for the next meal.

Picked chicken, ready to go for the next meal.

Then I tossed the bones back into the crockpot, added water, and set it up to cook on high for 24 hours to make a nice chicken broth. That netted me about 8 cups of chicken broth, plus the fat that rose to the top that I can use in other ways. (No picture of that, but, well, it’s broth!)

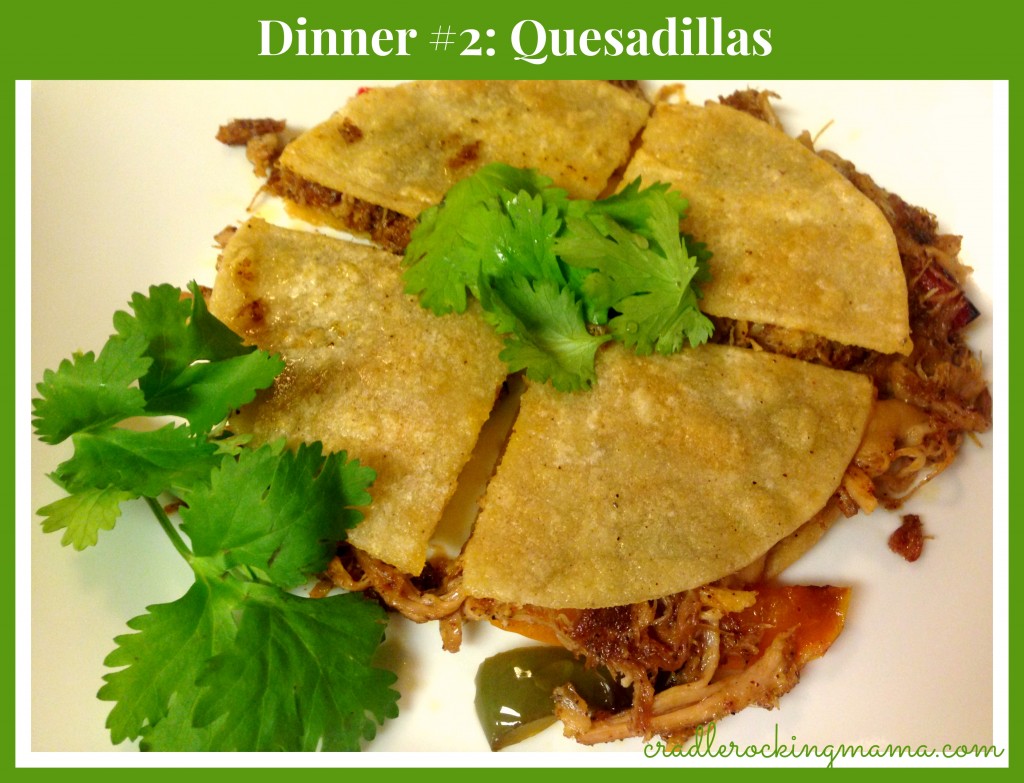
For Dinner #2, I vacillated. Finally, because I’d made that yummy Cauliflower Cheese, I decided to go for some Quesadillas.

Dinner #2 Quesadillas cradlerockingmama

This would have been a great time to make either the Chicken & Rice Casserole, or the Hearty Creamy Chicken Soup. But, I had cheese, so why waste it?

This time, I did  have my homemade taco seasoning mix ready to go, so I used that. (Recipe will come, I promise!)

Unfortunately, my guys LOVE my salsa, and had scarfed down a TRIPLE BATCH of it in less than a week! (Jed will actually just drink it out of the bowl!) So I didn’t have any salsa to go with the quesadillas. No problem, though, because I just whipped up a serving of guacamole and they were quite happy.

After eating their fill of quesadillas, I still had a decent portion of taco-seasoned-chicken leftover. 

There was enough to make Jed a quesadilla for lunch the next day, so that was Lunch #2. 

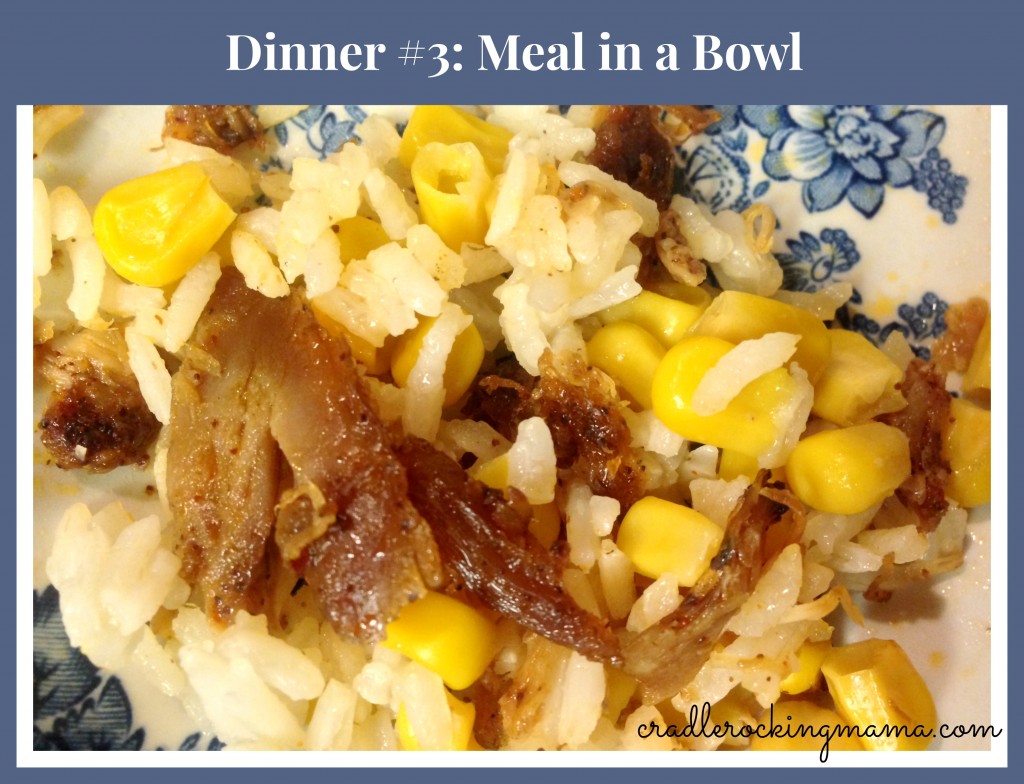
After that, though, there wasn’t just a ton of meat. Honestly, I didn’t think it would stretch quite this far! But to make it stretch all the way and beg for mercy, I did a “meal in a bowl”: I cooked some rice, heated up some corn, and mixed the rice, corn, and taco meat together in a bowl and called it “dinner”!

Dinner #3 Meal In a Bowl cradlerockingmama

I used 2 cups of my chicken broth to cook the rice with, and still have about 6 cups of broth to throw in the freezer for other purposes.

All in all, I managed to make this $5.16 package of chicken into 8 servings of food for my two guys. That’s a mere .65 cents per serving for their protein source, which, when you can’t do most beans, is a really good deal! (That’s not counting the value of the broth, either.)

I could have gotten it cheaper, of course, if I’d used coupons. As it is, this was a ‘special’ price at the grocery store. So you’ll want to pay attention to how much you’re paying for your chicken to begin with.

After you’ve gotten your excellent price point, then it’s up to you to stretch your chicken as far as you can.

I think I’ve shown a pretty good example of stretching some chicken meat. Just plan ahead, and think “How can I use every part of this ______?” and you’ll be fine.

This is an appropriately timed Frugal Friday post, I think, because next Thursday most of us will be faced with a friggin’ TON of leftover turkey meat!

So I’d encourage you to think outside the “cold turkey sandwich” on Black Friday and find ways you can stretch that Thanksgiving turkey in to multiple full meals for your family.

Remember, anything you can do with chicken, you can do with turkey, instead. 

Hope that helps!

__________

What are your favorite ways to stretch a chicken (or turkey)? Any tips you’d like to share? Leave a comment!

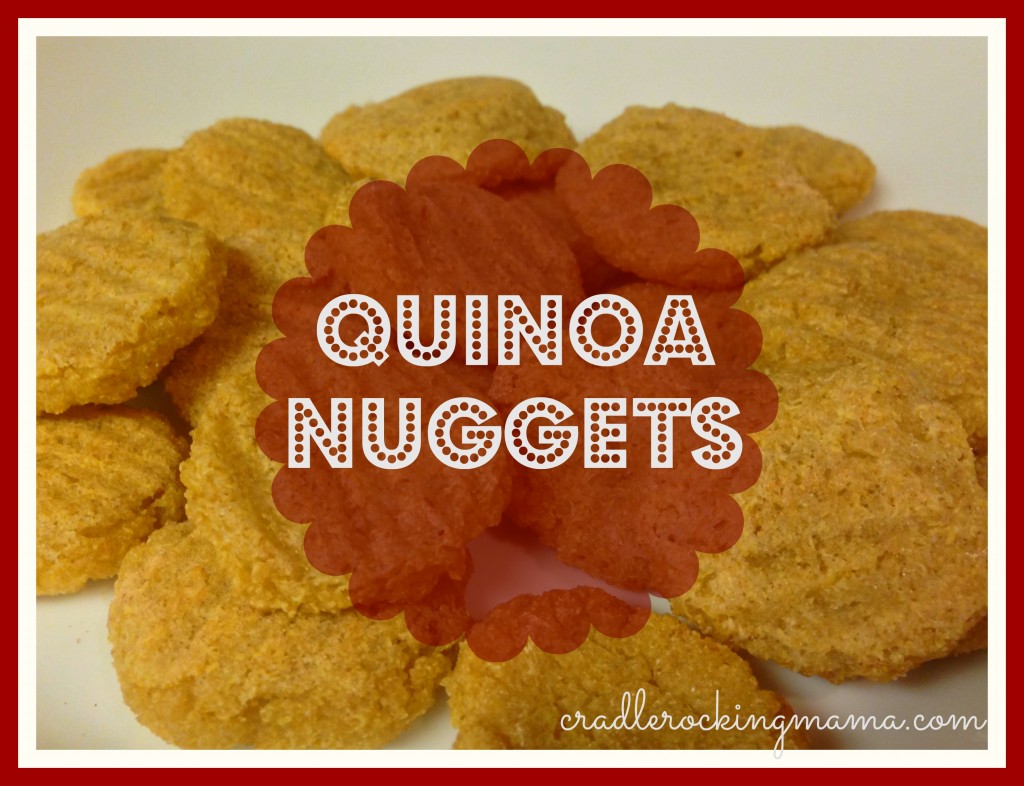
Quinoa Nuggets

Quinoa Nuggets cradlerockingmama

When I shared our glorious quinoa pass, I was bombarded with cheery congratulations from tons of people. (Thanks again!)

One of those lovely folks, Wendy, shared on my Facebook page that she makes quinoa nuggets for her kids. Her instructions were simple: “Puree cooked quinoa with Real Salt, a little turmeric, garlic powder and onion powder. Form into little flat coins and bake them on parchment until slightly crunchy, flipping halfway through. You can add chopped or pureed veggies to the mix for a more complete meal. They might freeze well but they go too quickly at my house.”

When I read that, I sort of drooled a little. Doesn’t that sound delish?

While I’m ecstatic over Zac’s quinoa success, he still has only one safe food…so her recipe can’t really be done as is in my kitchen – yet.

Still, it is a great idea, and served as a fabulous inspiration for my own version of Quinoa Nuggets!

For Zac, I made them very plain. They’re just pureed quinoa!

It’s really simple, so here’s the basic instructions, and, as Wendy indicated, if you have any safe seasonings, flavorings, or veggies, feel free to add to this!

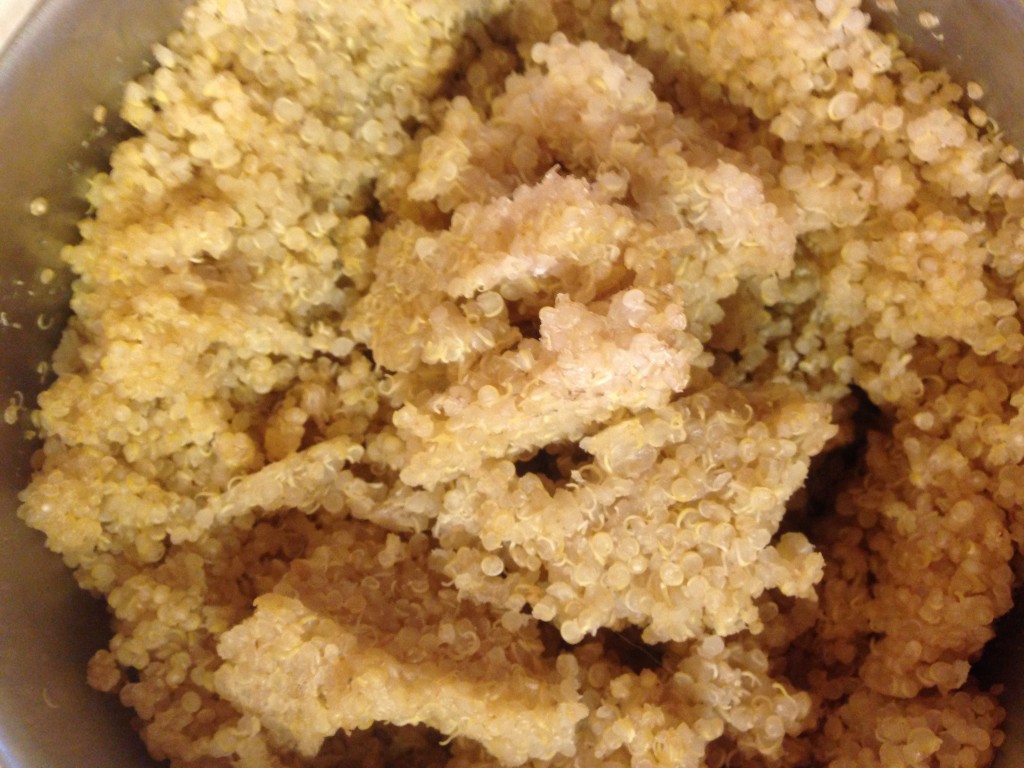
Cook up some quinoa seeds. In case you don’t know, quinoa cooks a lot like rice does. Add twice as much water as you do quinoa seeds to a pan, bring to a boil, drop to a simmer and cover with a lid. Let cook for 15 minutes or so, until all the water has absorbed and the seeds are nice and puffy.

Cooked quinoa

Cooked quinoa

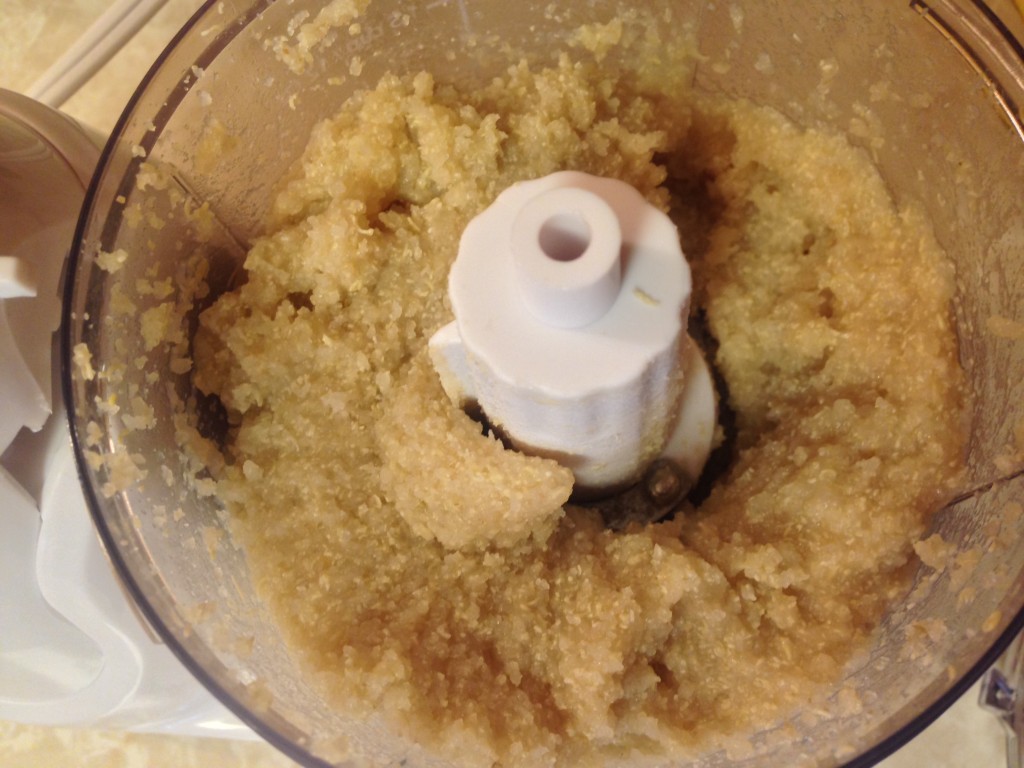
Then toss it in a food processor and puree it!

Pureed Quinoa seeds

Pureed Quinoa seeds

Then get out a baking sheet and cover with parchment paper.

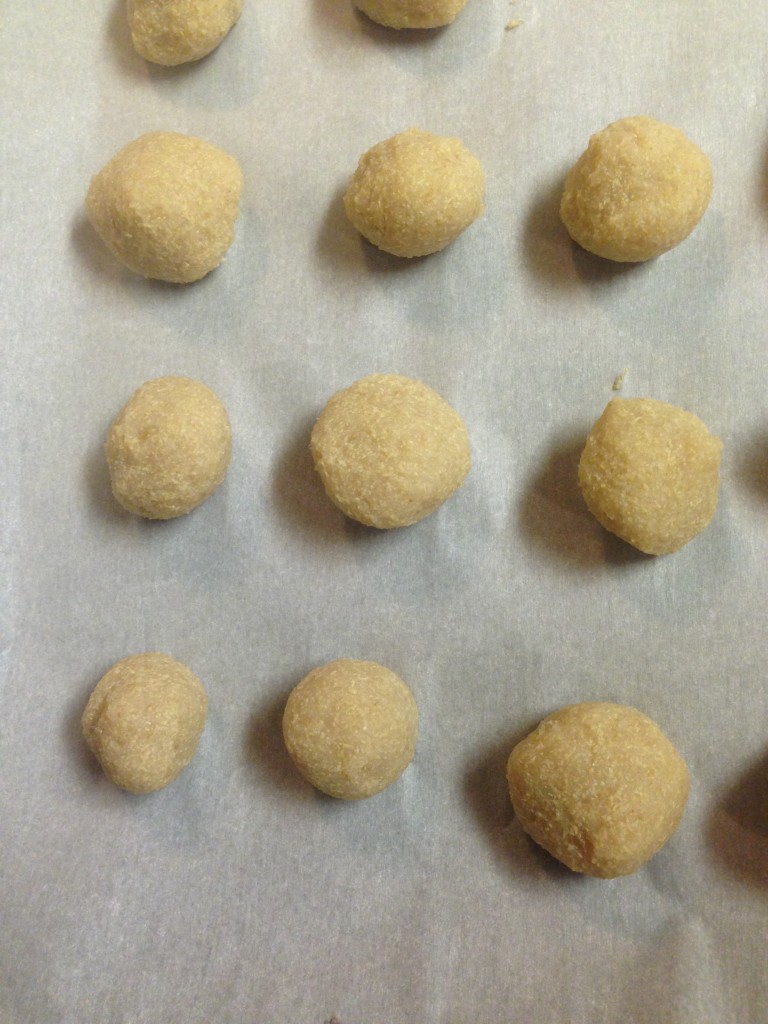
Take small spoonfuls of the quinoa puree and roll into balls between your palms. Lay the balls out on the baking sheet.

Quinoa balls

Quinoa balls

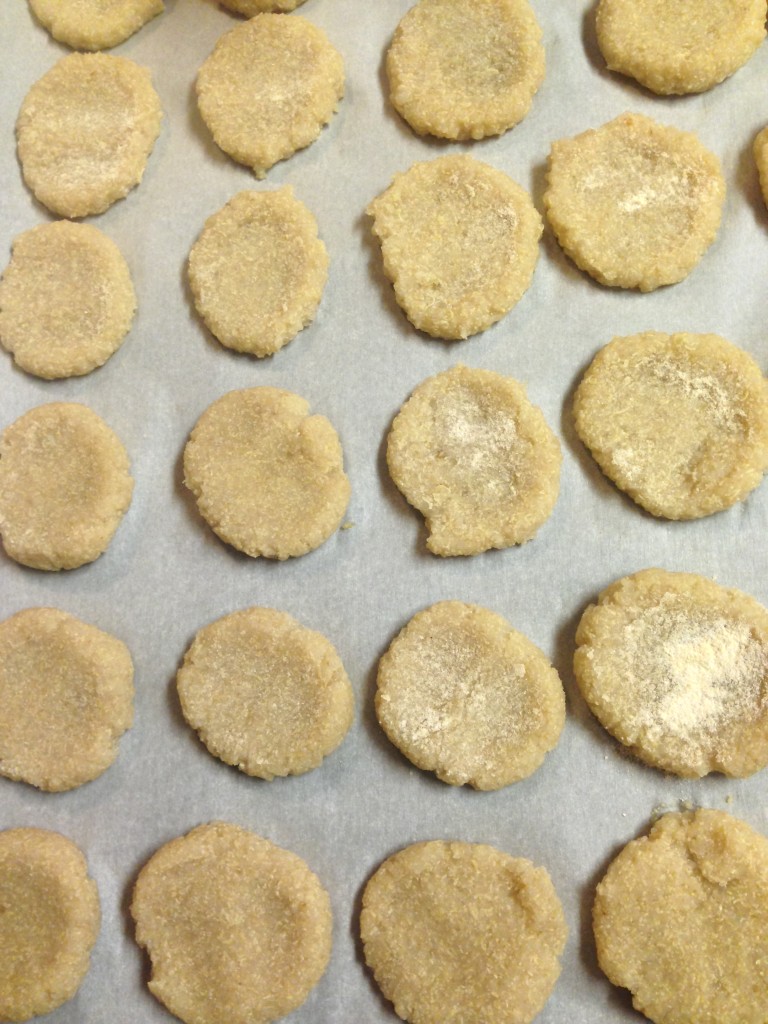
Then use your fingers or the back of a spoon and press down until they look like, well, chicken nuggets!

Pressed and ready to bake

Pressed and ready to bake

Some of mine were a little more ‘wet’ than others and I had to use some quinoa flour to keep them from sticking to my spoon, so that’s a quick fix if you find your quinoa balls are too sticky to work with.

Then pop them in the oven and bake!

I set the temperature at 375 and cooked for 20 minutes on one side, then flipped them all over and cooked for another 15-20 minutes.

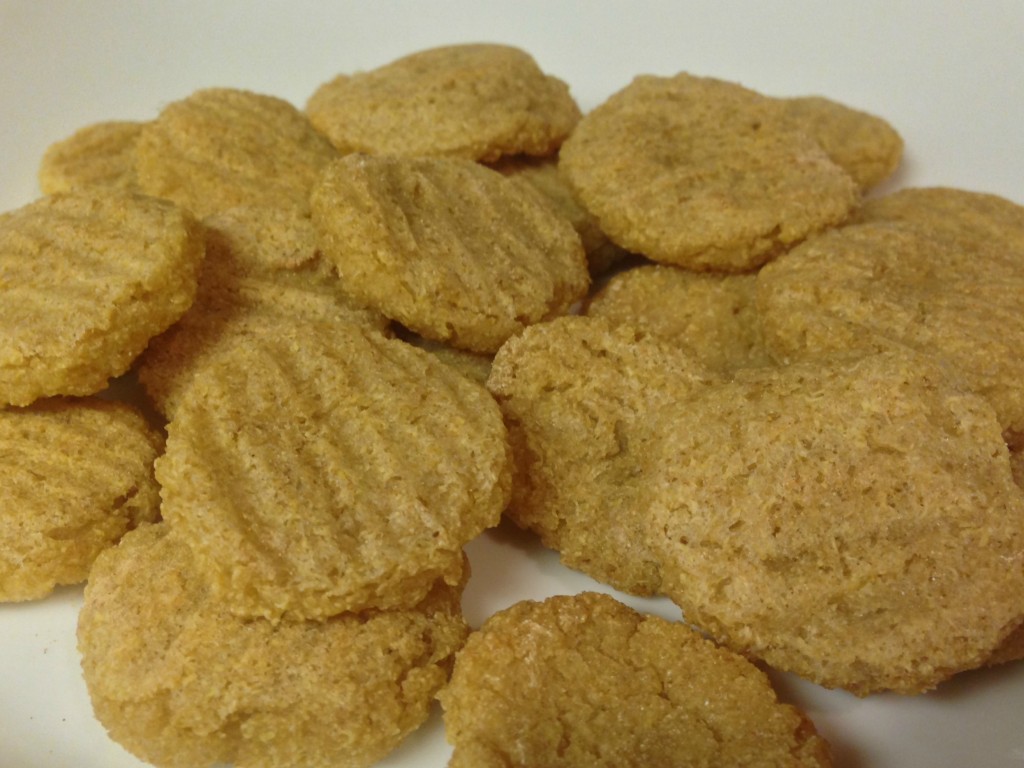
Baked and ready to eat!

Baked and ready to eat!

They’re really good! Soft on the inside and a little crispy on the outside, and Zac ate 2 cups worth of quinoa in 2 days!

Well, he had some help.  We’re having to physically ban Jed from the nuggets, as he seems to think they’re delicious, too! As with the quinoa crackers, he grabs nuggets and brings them to Zac – one for Zac, one for him!

Darrel was even impressed with them; he liked the taste, but mostly he liked that they’re a great finger food, like the crackers, but they’re a vehicle for Zac to ingest larger quantities of food more easily than the crackers allow.

However, as I said, these nuggets are rather…plain. Bland. Boring. Which isn’t really surprising, right? I mean, it’s just pureed quinoa after all.

So get creative! This is a good ‘base’ recipe to start you off, and you’ll be limited only by your imagination. 

For my part, I plan to try these with a finely shredded potato, sea salt, black pepper, and maybe some browned off ground beef added…and I might try frying mine instead of baking them! I’ll let you know how they turn out.

**UPDATE**
Since I first posted this recipe, Zac found a second safe food: pork! So I have now made these by adding 1/2 c. of cooked pork roast to the food processor before rolling them into nuggets.

They turn out beautifully, but they don’t need to cook as long as the plain quinoa nuggets! I’ve been doing 18 minutes on one side, and only 5 minutes on the other. If I cook them the full 35 minutes, they get a little overdone and dry.

So there’s another option for you to try with your meat of choice! Enjoy!

Quinoa Nuggets
 
Prep time
Cook time
Total time
 
Highly adaptable, this is the basic recipe base for a quinoa nugget. Add almost anything to make these however you would like!
Author:
Recipe type: snack, finger food, appetizer, main course
Serves: about 65 nuggets
Ingredients
  • 1 c. uncooked quinoa seeds
  • 2 c. water (or broth)
Instructions
  1. Cook the quinoa seeds according to directions.
  2. Puree the cooked seeds in a food processor.
  3. Heat the oven to 400 degrees, and line a baking sheet with parchment paper.
  4. Take small spoonfuls of the puree, roll into balls, and lay on the baking sheet.
  5. Using your fingers or the back of a spoon, press the balls into flattened, nugget shapes.
  6. Put the baking sheet into the heated oven; cook for 17-20 minutes.
  7. Remove from oven, flip the nuggets over, and cook for another 15 minutes.
  8. Enjoy your healthy little nuggets!

I’d love to hear how YOU spruce up your quinoa nuggets! What would (or do) you add?

__________

This post shared with:

Gluten Free Wednesdays and Real Food Wednesdays.

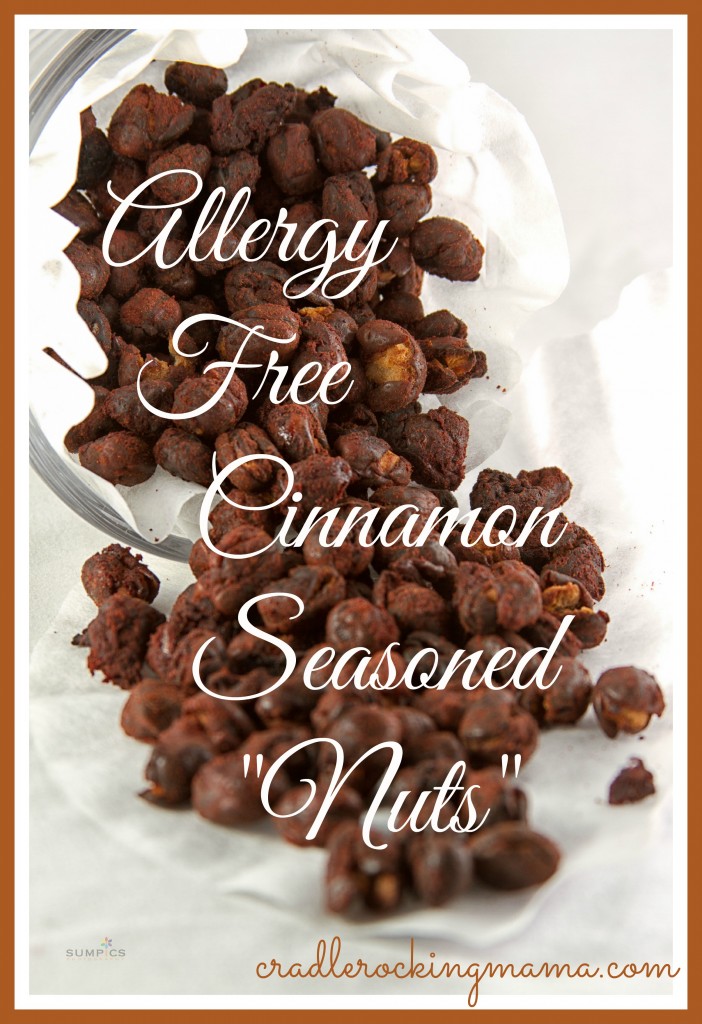
Cinnamon Seasoned “Nuts” – Allergy Free!

SumPics Photo Blog

Before Halloween, I was looking around for treat recipes for Jed. Flipping through Living Without magazine, I was intrigued by one of their Halloween recipes: Sweet & Spicy Cinnamon Garbanzo Beans.

I never got around to making it before Halloween, but better late than never, right? So I made it this weekend.

When I read the recipe, I envisioned it making something sort of candy-like. When Darrel tried these, though, at first he thought they were nuts!

Not exactly candy-like, but not bad at all! In fact, I think this is a perfect snack to make for Thanksgiving and Christmas; I always think of nuts – whether seasoned or plain – as a fall/winter/holiday snack.

So, these aren’t nuts. But they resemble  nuts.

If you’re allergic to nuts, this will undoubtedly fit the bill to give you a nice, seasoned “nut” to munch on this Thanksgiving!

They’re ridiculously easy, too.

I made adjustments to the magazine recipe to fit our specific needs. I used fava beans instead of garbanzo, and maple syrup and dextrose instead of honey and sugar, all out of respect to Jed’s FructMal.

Feel free to try garbanzo beans, if you like, but I don’t know how they’ll turn out. And honey and sugar would surely be delicious, if you can use them.

So here’s what you do:

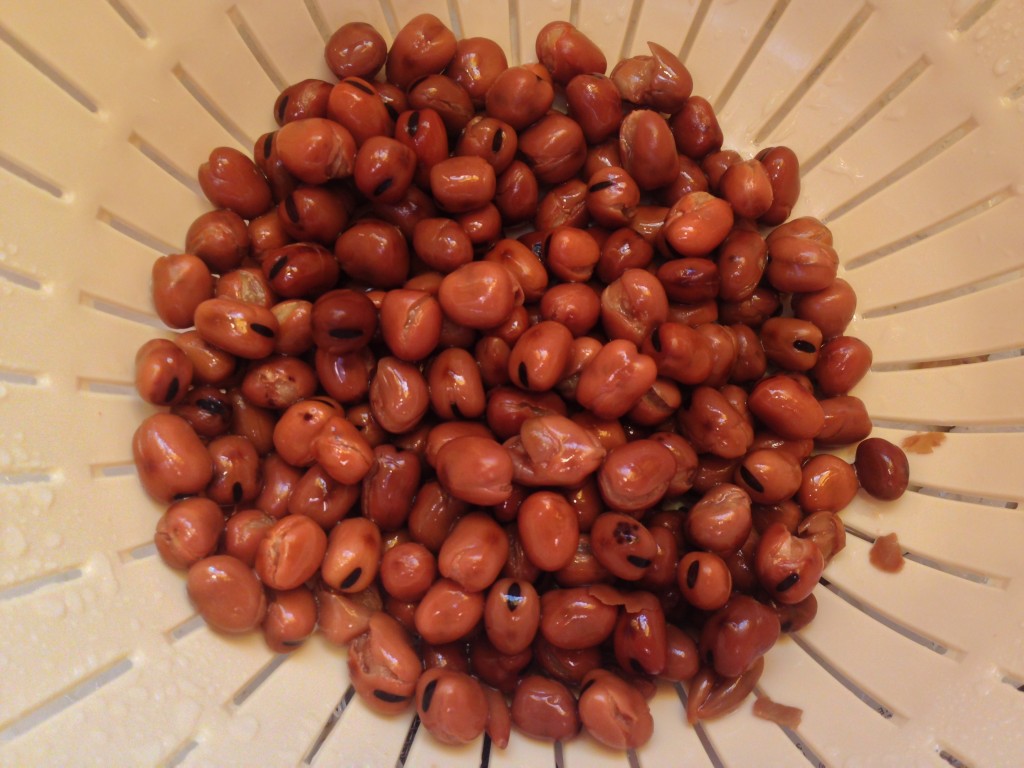
Open a can of fava beans, drain and rinse them in a strainer.

Fava Beans, drained and rinsed

Fava Beans, drained and rinsed

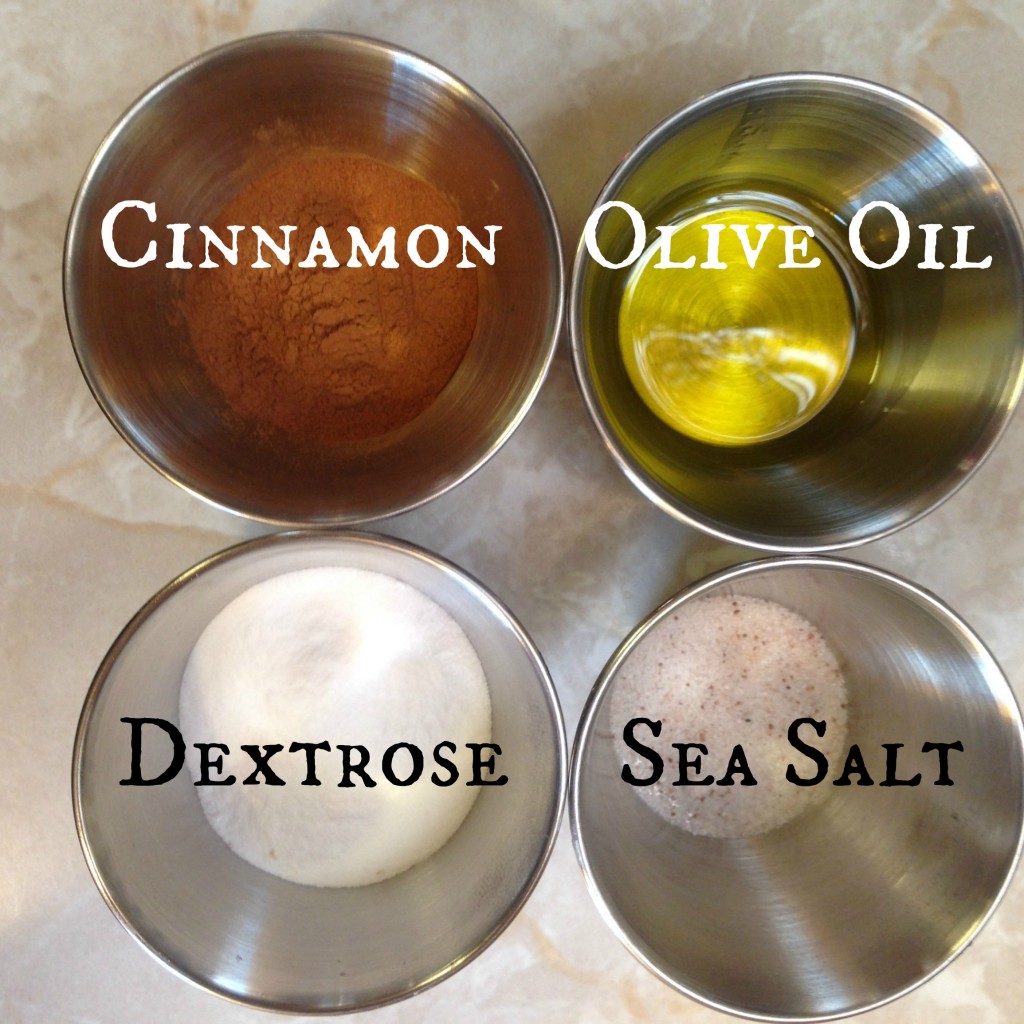
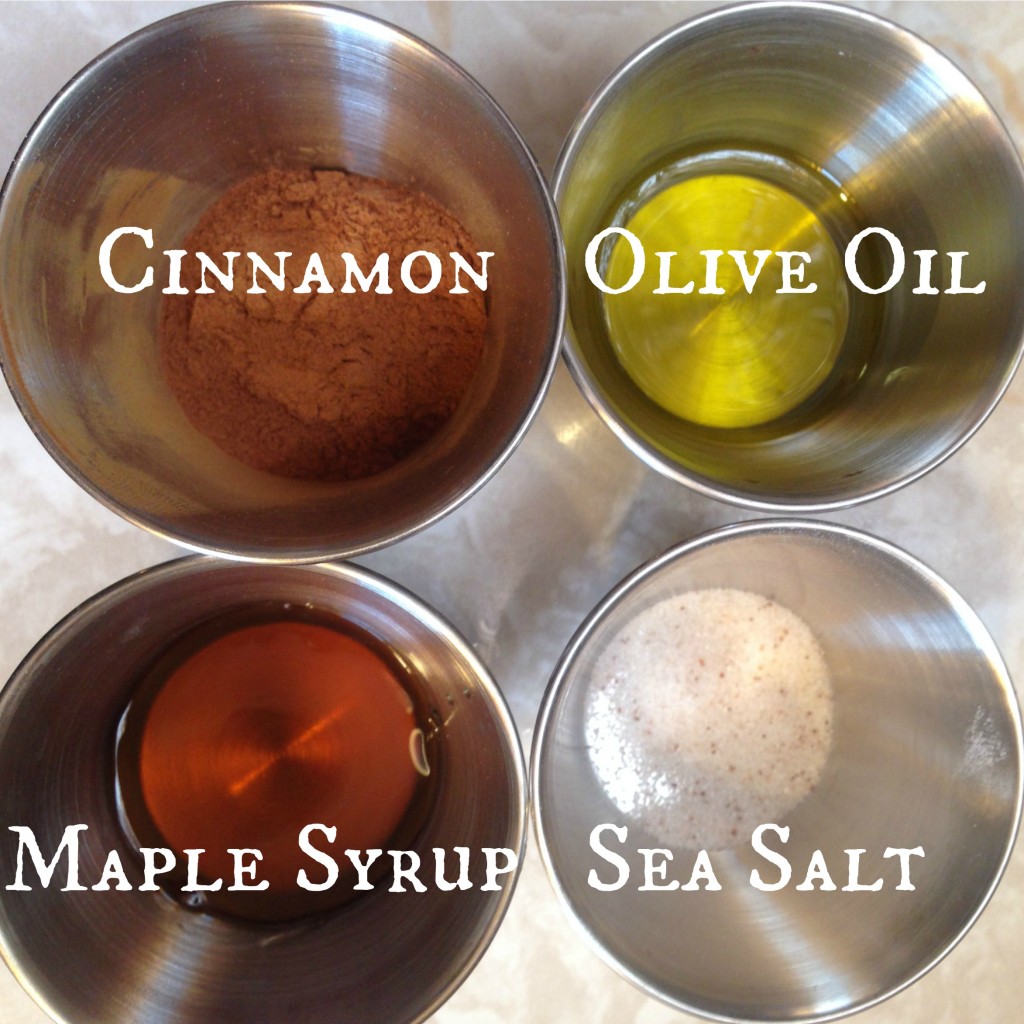
Gather the sea salt, oil, sweetener, and cinnamon

Mis en Place with Dextrose as the sweetener...

Mis en Place with Dextrose as the sweetener…

Mis en Place with Maple Syrup as the sweetener

Mis en Place with Maple Syrup as the sweetener

And dump them in a bowl with the beans. Stir until the beans are well coated.

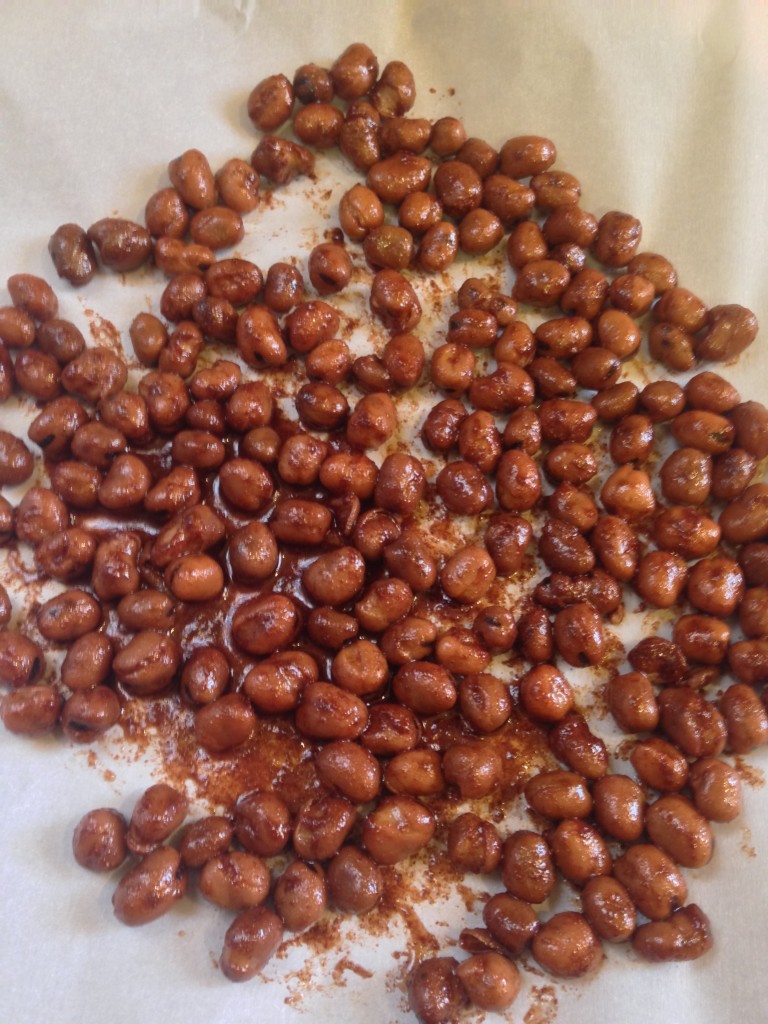
Line a baking sheet with parchment paper and pour the beans into a single layer on the pan.

Beans on the tray, ready to pop in the oven!

Beans on the tray, ready to pop in the oven!

Bake for 45 minutes, stirring the beans every 15 minutes.

When done, let them cool a bit and store in an airtight container.

I made one version with dextrose and one version with maple syrup, and strangely enough Darrel preferred the dextrose version best.

Play around and figure out which flavor combination you like best, and enjoy the baking process. Your house will smell divine while these cook!

Cinnamon Seasoned "Nuts" - Allergy Free!
 
Prep time
Cook time
Total time
 
Author:
Recipe type: snack
Serves: 2 cups
Ingredients
  • 1 can fava beans (2 c. cooked beans)
  • 1 T. oil (I used olive oil)
  • 1 T. maple syrup OR 1.5 T. dextrose
  • 2 tsp. cinnamon
  • ¼ tsp. sea salt
Instructions
  1. Preheat the oven to 400 degrees. Line a baking sheet with parchment paper.
  2. Rinse and drain your fava beans.
  3. Place all ingredients in a large bowl and stir until the beans are well coated in the seasonings.
  4. Spread the beans in a single layer on the parchment paper.
  5. Bake for 45 minutes, stirring every 15 minutes.
  6. Enjoy your nut-free "nuts" this Thanksgiving!

How do you season your nuts (or beans)?


This post shared with:

realfoodallergyfree   

and Real Food Wednesday.

Why Some Days Should Just End in Vodka

Why Some Days Should Just End in Vodka cradlerockingmama

She woke up bright and early on Sunday morning, a tad annoyed that her 17 month old son had decided the whole family needed to GET UP NOW! Still, it seemed like it would be a good day.

They planned to go to church, for starters; something they hadn’t been able to do for a long time.

After the family was showered and dressed, she and her husband cooked breakfast and everyone ate. While they ate, her husband suddenly stopped and began making odd faces. He’d gotten something stuck in the gums of one of his teeth and it would not come out.

He tried flossing, brushing, and toothpicks, and the food was still wedged between his tooth and gums.

Despite his tooth pain, and in plenty of time to be early for church, they loaded up the car. As she turned the key in the ignition, nothing happened.

click click click

‘Oh, no’, she thought.

Her husband pulled his car around and got out the jumper cables. After following all proper procedures for a jump start, she tried to turn on the car again.

Nothing.

click click click

Sigh. So, back in to the house they went, unloading all the kids and supplies. She sat and nursed her 17 month old while her husband and 3 year old went out to clean out the other car and move the car seats over.

Her husbands car was smaller and would be far more cramped, but it would have to do as the ‘family’ car until they could figure out what was wrong with her SUV.

They weren’t outside for long, though. After just a few minutes, they came back inside.

After listening to her 3 year old tell an excited story about “cleaning out Daddy’s car”, her husband told the truth: “No, we did not clean out my car. The minute I turned the car on, the power steering went out.”

She paused for a moment, mouth agape, before busting out into laughter. “Are you kidding me?” she asked.

“Nope.” he replied.

Heaving a big sigh, she grabbed her phone and called her Dad. A mechanic, he usually could guide her right, car-wise. Dad said he was on his way over to help, and she took the opportunity to put the baby down for a nap.

Minutes before her Dad arrived, the baby woke up. Her husband picked him up, and he immediately snuggled in for a “Daddy Shoulder Snooze”.

Snoozing on Daddy

Snoozing on Daddy

It was so comfortable, apparently, that he snoozed there for two hours. Long after her Dad (Grandpa) had said he couldn’t do anything to fix the cars, long after they needed to head to town to pick up essential supplies for the week, long after lunchtime, the baby snoozed, effectively prohibiting them from doing anything productive.

Finally, he woke up. After a quick lunch for everyone, they headed in to town. First stop: the auto parts store, where for $10, they got new fuses for the power steering that, fortunately, fixed that particular problem.

With one fully functioning vehicle, they headed for groceries.

While at the grocery store, she saw a sign for $15 off a turkey if accompanying a $50 purchase. She knew she’d be spending that much, so she decided to go ahead and get the Thanksgiving turkey.

It seemed the day had finally taken a turn for the better.

The whole family arrived home, the groceries were unloaded, and her husband jumped back in the car to head off to a photo shoot.

She headed in to the kitchen to make dinner for her 3 year old and herself. She’d planned ahead and had lots of yummy leftovers in the fridge, so she expected this would be an easy task.

While grabbing the bowls of food out of the fridge, her 3 year old decided he HAD to have a treat from the freezer. In the balancing act that followed, trying to lean over to avoid being slammed in the knees by the freezer door and keeping the food in hand, her grip slipped and the bowls fell down on the bottom edge of the fridge.

And the bottom-most bowl, filled with an entire cooked, picked pot roast, shattered into a million pieces in her hands.

Glass flew everywhere! It was in the fridge, the seal of the freezer door, the floor, her clothes, and the bowl she was holding had turned into sharp edges of knives cutting in to her fingers.

After ordering her son to leave the kitchen pronto, she hussled the food bowls safely to the kitchen counter, and grabbed a paper bag to deposit the broken glass she was holding. She was grateful that, though it certainly felt  like she was holding on to broken glass, she appeared to have escaped unscathed.

A few minutes in to sweeping up the mess, however, she realized she was wrong. She had bled all over the broom handle without even realizing.

The two cuts on her fingers were not too bad, but were the type that don’t register pain at first…meaning they were a tad deeper than anyone could want.

Walking wounded aside, it also meant that her ‘quick dinner’ idea of leftover pot roast was in the garbage – literally – and she had nothing to eat for dinner.

So she finished heating up food for her son and grabbed a steak from the freezer for herself to begin thawing.

Long after her son had refused to eat any of his dinner by way of crying tantrums, she finally ate. And then it was bedtime.

She stuffed the boys into their pajamas, clean diapers, and got them ready for bed. As she laid down with the boys, one nursing quietly and calmly, and the 3 year old bouncing, wiggling, rolling, thrashing, and occasionally giggling, she felt a sense of dread come over her.

Sure enough, the antics of the 3 year old discouraged the baby from falling asleep, and as soon as his belly was full of milk he popped up with a smile, ready to play.

She cried ‘uncle’, and took the kids back to the living room. Letting them burn off some more energy seemed an easier task than fighting to get them to sleep for the next two hours.

So she cleaned the kitchen and had the house almost ready to close up for the night, when the cries and whining from the living room told her that, an hour and a half after bedtime, the boys were finally ready to fall asleep.

So back to bed they went, and this time, both boys fell asleep.

Unfortunately, so did she. This is unfortunate only because the next morning, she woke to find that the Thanksgiving turkey she’d bought for such a good price the day before was still in its shopping bag in her dining room. Falling asleep so early, she hadn’t realized it had not been put away, nor did her husband realize it when he got home from his photo shoot.

It did still feel very cold, and frozen inside (though the outside was softer to the touch in places) so she put it in the freezer and said a little prayer that no one who eats it will contract food poisoning on Thanksgiving.

After rescuing the turkey from thaw-dom, she called the mechanic shop she and her husband use and got some pointers on how to try and fix her car. If those tricks didn’t work, they said she’d need to tow her car in to them.

She also spoke with her husband, who reported that the tooth pain was worse and that he would need to visit the dentist to have the problem fixed.

The car tricks didn’t work, and she called a tow truck driver.

The mechanics called and not only is her battery shot, but the water pump is leaking.

She should have her car back sometime on Wednesday.

She spent two days looking around for the Candid Camera, sure that this was some sick prank being played on her.

But, nope. Murphy just decided to unleash his Law on her family this weekend.

She’d like to kick Murphy’s butt. Or kick back a cocktail, either one.

Do you ever have days like that?

__________

Yes, every word of this story is true, and is exactly what happened on Sunday and Monday. When I started writing it in first-person, though, it sounded WAY too much like whining, so I thought I’d shake things up a bit. 

Seriously, though? TWO cars down, a dentist visit, a ruined pot roast (when we’re almost out of safe beef for me and can’t get our cow in to butcher until December), cuts on my fingers, wild child bedtimes and a tow truck ride all at once? Ugh!

The only thing that made the whole last two days bearable was the fact that ZAC CAN EAT QUINOA!!!

That little fact is gonna make rainbows out of storm clouds for a long time for me!!

ZAC CAN EAT!!!!!!!

Oh My! Quinoa crackers are awesome!!

Oh My! Quinoa crackers are awesome!!

Today is 7 full days of quinoa, and we are 95% sure that

QUINOA IS SAFE FOR ZAC!!!!

(Cue the angels singing, the birds chirping, the sun shining, and children laughing.)

Or just click here to see how I’m REALLY feeling!

Oh, yeah…it feels SO GOOD!!

So. By Tuesday night Zac made it clear to us that he just doesn’t care for plain cooked quinoa flakes, but he LOVES the crackers! As a result of his particular tastes, he’s been chowing down on quinoa teething crackers all week. I’ve had to make three and a half batches for him!!

After a week of eating them, he still claps his hands and grins when I hand him crackers. When he’s sitting in the high chair at mealtimes, he actually kicks his feet and does a little wiggle dance in the chair when we bring him his food!

And can I just tell you how WONDERFUL it is to have him join us at the table for mealtimes? We have hated – absolutely loathed – the “leave him in the living room while we eat and he stares at us and cries the whole time” thing these many, many months.

It feels like we’re, dare I say it, normal  now.

Or, at least, on the way to normal.

For the first time in his life, he has had solid poop. Solid, fall off the diaper in a clump, no blood, no mucous, normal baby poop.

It’s been glorious.

I’ve taken pictures just to document. I’ve had to fight the urge to post said pictures on social media to share the wondrous, glorious joy that is normal, healthy poop out of my baby. (And aren’t you glad I’ve fought that urge? )

He’s dropped nursing from a ridiculous 5-8 hours a day to a more sane 4-5 hours a day, and the number of nursing sessions has dropped by a third.

I’m feeling confident that I can add back in my morning pumping session again to start stockpiling milk!

Having a safe food brought to light just HOW detrimental the lack of food has been for him.

This week, he has vocalized far more than he has in his entire life. Prior to quinoa, he would go “mamamama”, bleet out an occasional “MA!”, and put some effort into saying ‘cat’, though his version was more “Ca ca ca ca”.

Since Monday, though, he’s babbling in the way most babies are at 10-14 months old, and finally said “Da!”, much to Darrel’s pleasure.

He’s also become a LOT more physical. He’s more confidently running, climbing, and maneuvering around the obstacle course that is my living room. He doesn’t fall down as often.

And quinoa has also, apparently, given him the energy to fully express his personality; something I’m trying to come to terms with.

I’ve always thought of Zac as my “easy-going” boy. He’s always been a lot more go with the flow, take it in stride, “whatever, Mommy!” than Jed ever was.

I think that was just a lack of nutrition, now. Because directly correlating with his quinoa ingestion was a sudden BLOOMING of ATTITUDE.

This child is not a pushover, oh no! Turns out, he has VERY definite ideas about what he likes, does not like, wants, and you know what else? He’s just as (and maybe MORE) mischievous as Jed.

Lord, give me strength! I don’t know how I’ll cope with TWO children with such big personalities!

<you know I love it!>

Anyway, we’re saying only 95% sure it is safe because of two things: one, we haven’t tried whole cooked quinoa seeds yet, and two, he may have gotten a little accidental ingestion exposure to chicken last Thursday.

The kids and I went to have dinner with my Dad, and Jed was eating chicken. Some pieces of chicken fell off his fork onto his chair, and before I realized it, Zac had grabbed some in his hand. He was choking on something when I got to him, and as he had chicken in one hand and a cracker in the other, I don’t know which it was.

Probably chicken, though, because, of course!

Anyway, he was a tad clingy and cranky on Friday, and his poops on Saturday had some mucous in them, but otherwise has been perfectly fine!

So he may have just gotten a little chicken and had an almost non-reaction that gave us some little weirdness, or it might be an early sign that quinoa isn’t working.

I’m voting for chicken, but it does shave some percentage points off the 100% for now.

And since I had read that the whole cooked quinoa seeds are harder to digest, we held off on those until today. We wanted to see how he handled the easiest-to-process version of quinoa before we moved on.

Still, 95% is freakin’ AWESOME! Enough so that I’m going to start eating quinoa, and we are moving on to cooked quinoa seeds today.

We still want to wait at least another week before we start another food trial, though.

Normally, I’m the more hesitant, cautious parent in regards to food trials, but right now I’m chomping at the bit to try something else and Darrel is pulling back on the reins.

He wants to be absolutely sure quinoa is safe before we move on, considering this is the 3rd time we’ve tried quinoa. He doesn’t want to have to re-trial it later, and with that, I fully agree.

So maybe on Thanksgiving we can throw some steamed broccoli at Zac. Or some banana slices. Or…who knows! But it won’t be any sooner than Thanksgiving.

I feel like the most enormous weight has been lifted off my shoulders, y’all! I don’t think I even realized just HOW stressed and worried I was about Zac’s lack of food until he finally had one.

In the last week, I’ve realized I’m not as worried about money. Yeah, things still suck for us, but if Zac can get three or four foods on his safe list, I can go back to work sometime next spring. That would be enough that his breast milk consumption would drop to a rate I could keep up with, so even with no formula, I’d be back to earning a paycheck.

We can figure out how to survive until then, I’m sure.

I’m not as worried about Zac’s speech, or lack thereof. His sudden increase in babbling reassures me that it was, in fact, the lack of muscle development in his throat that was holding him back on that front. I’m sure he’ll be talking in no time!

I’m not as worried about accidental ingestions. With the quinoa crackers, he has NOT been eating things off the floor in the living room. Sure, if you put him within reach of other foods, he’ll grab them and try to snack, but random crap off the floors? Apparently, not nearly as tasty as his crackers!

That means he’ll stay at baseline more easily, and food trials will come quicker and more reliably now.

I’m just not as worried as I was prior to last Monday, and the relief I’m feeling makes it clear to me that I was slowly being buried alive under that worry without realizing the full weight of it all this time.

I feel like I could float right through the clouds!

We’re not out of the woods yet; one food does not a balanced diet make. And every food he gets from here on out will still have to be trialed extensively.

Not much has actually changed. 

Except that EVERYTHING has changed!

At 17.5 months old, ZAC FINALLY HAS A SAFE FOOD!!!!

God Bless Quinoa. 

__________

How did you feel when your child finally got their first safe food? How long did it take before you found the winning food?