


Before I talk about this AWESOME recipe, I thought I’d give you a little update. Last night, Zac had a definite FPIES reaction. No confusion; his diapers told the story quite clearly. (I’ll refrain from details, as I’m about to talk about food!)
We’re not 100% sure it is the broccoli, but the odds are in favor of it at this point. So, broccoli is shelved for now, and we’ll move on to something else when he gets back to baseline.
It’s sad, but I’m not going to let it get me down. He does have ONE safe food, after all!
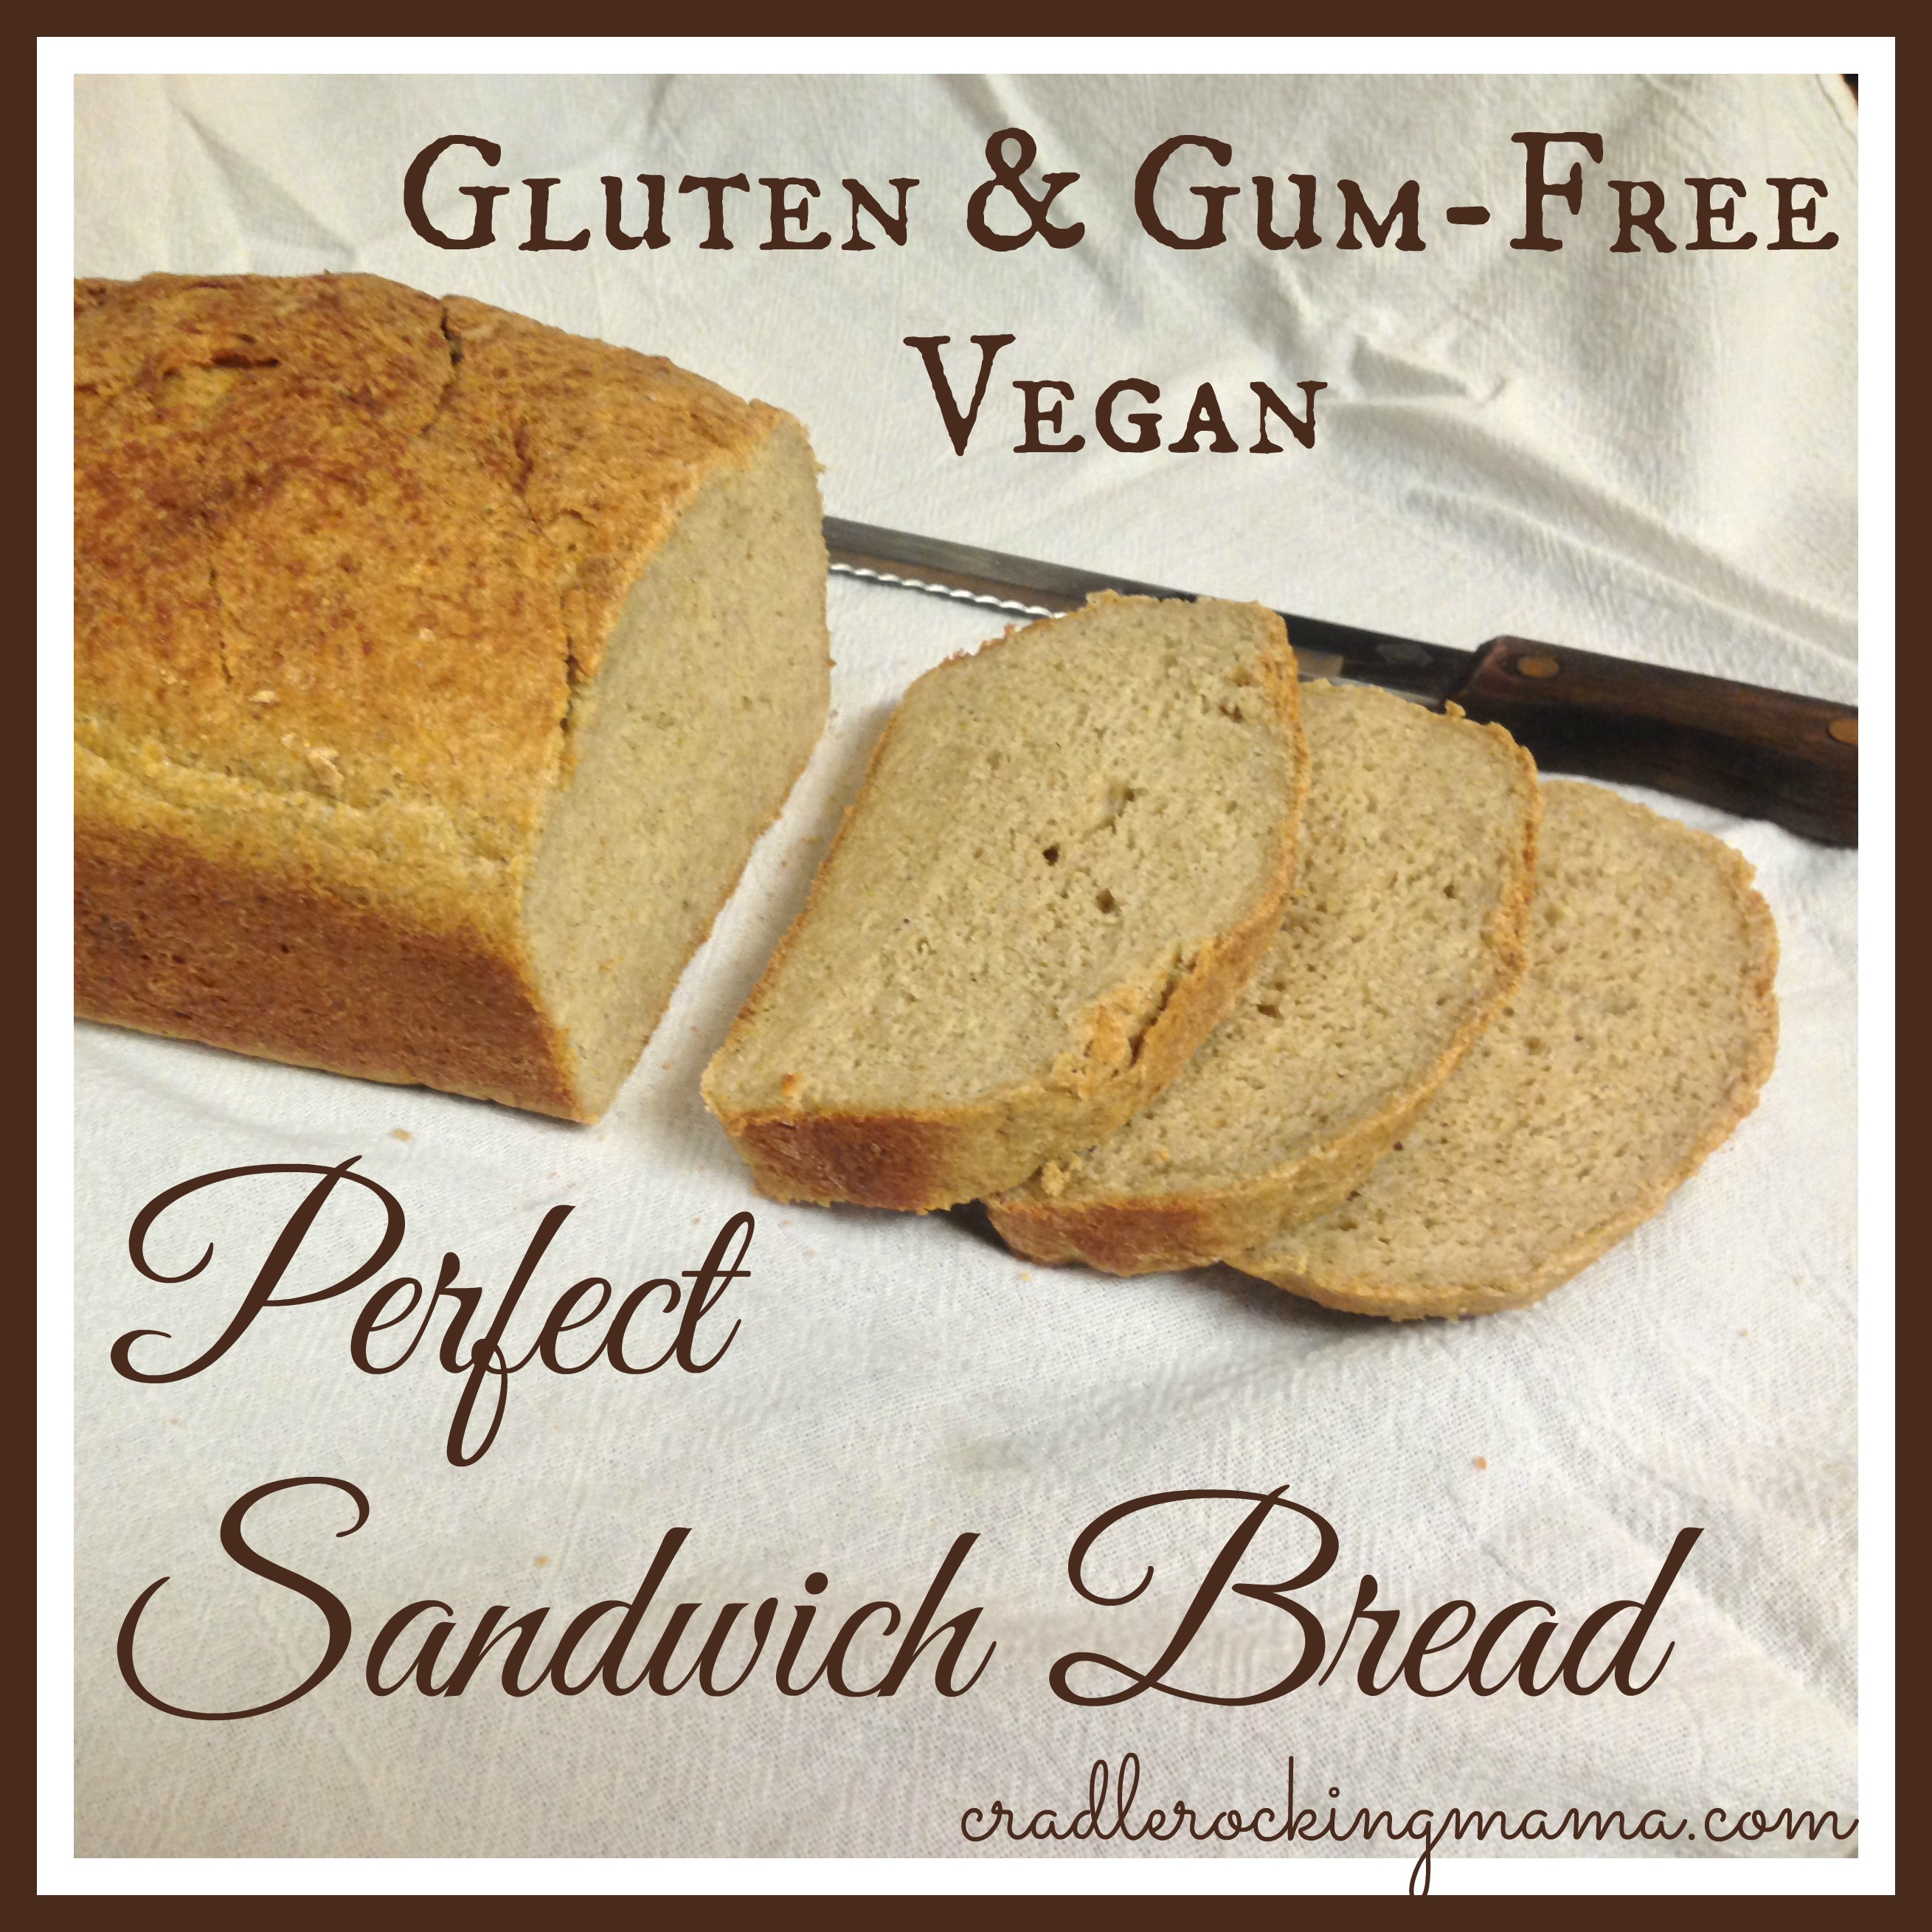
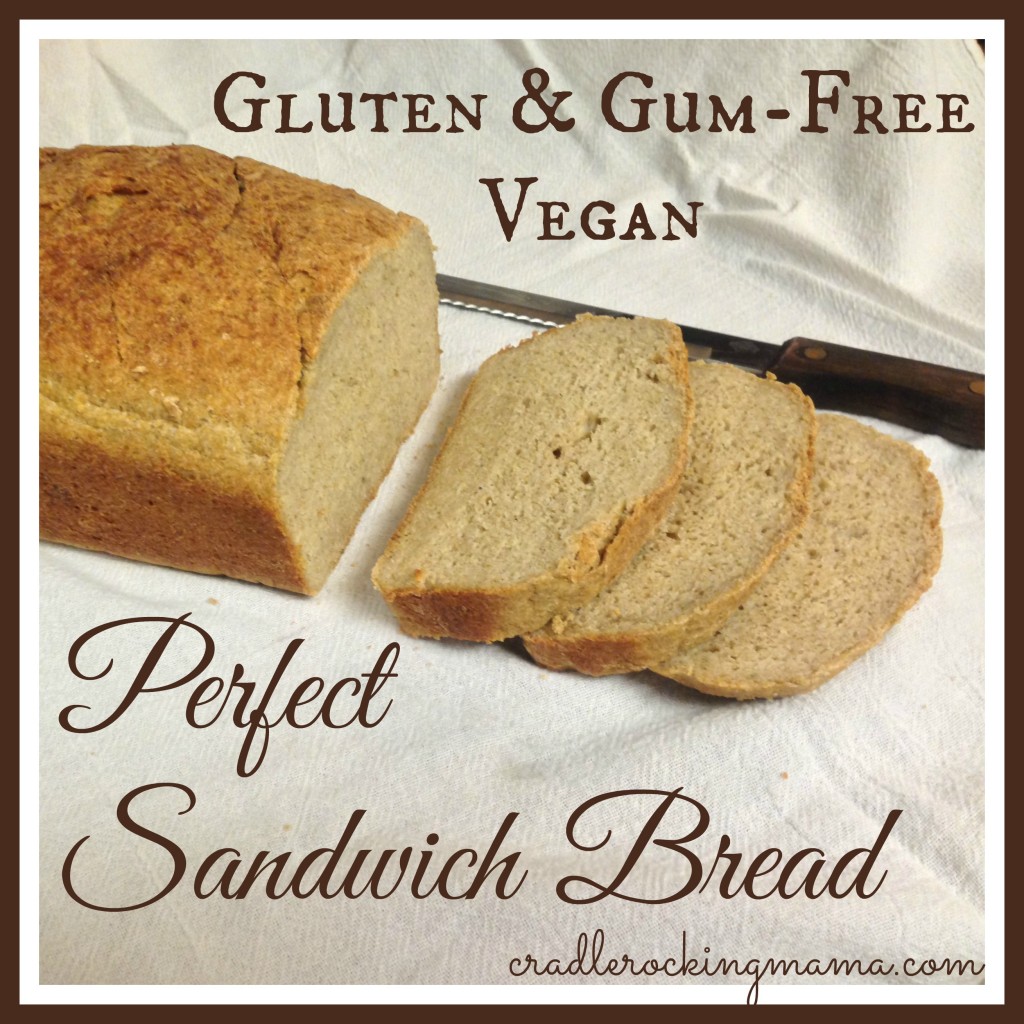
And I’m way too thrilled about today’s recipe to let myself get bummed out about anything! I’m doing a “Zac happy dance” about this one: a gluten free, gum free, vegan sandwich bread that KNEADS!!!
Sometimes in cooking, there is no need to reinvent the wheel. I mean, I love experimenting in the kitchen, but I do have two little boys that are VERY demanding, so at times (especially when it’s a particularly challenging feat in front of me) I simply search for a recipe online and give it a shot.
After my last bread-making fiasco, that’s exactly what I did. This time, I specifically searched for “gum-free” recipes, because I really would like to avoid using guar and xanthan gum if at all possible.
Xanthan gum is not what I would call real food; it’s a bacteria grown on corn, produced in a lab. That’s enough for me to want to avoid it! Guar gum is real food, however, it is harder to find in stores, and seems to reduce the absorption of glucose. That’s a problem for Jed, because glucose helps offset any fructose he might ingest. No absorbing glucose=Jed going wonky from fructose.
In any event, I don’t like gums and would rather not use them.
Only one problem with that: they’re sort of “magic ingredients” in almost ALL gluten-free recipes!
One place, however, had a recipe that looked promising: Farmhouse Seed Bread over at Nourishing Meals. I made a few tweaks (did you expect any different?) and in the end I wound up with THE PERFECT FREAKING SANDWICH BREAD.
No joke, here, folks! If you’re gluten-free, stop making whatever bread you’re making and start making this one!
It feels like bread dough. It kneads like bread dough. And it tastes like real bread, not a facsimile.
Sigh. I miss bread. Now, fortunately, Jed does not have to miss bread any more! Bring on the French Toast! The grilled cheese sandwiches! The turkey sandwiches! The toast! (Do you have ANY IDEA how much easier lunchtime is going to be for me thanks to this bread? Did I mention I’m happy dancing in my chair as I write this??!)
OK, so, go read the original post, because there are lots of good tips in there, and you may decide you want to make it exactly the way they do. Then come back here and see what I did:
First, I gathered up all my ingredients. When I’m making a new recipe, I like to have everything ready at the beginning so I don’t get out of synch along the way…especially with something like this, where you’ll be proofing yeast and other timely steps.
All the dry ingredients went into one bowl…
Dry ingredients all measured out and ready.
I lined my loaf pan with parchment paper…

Lined loaf pan ready to go.
And then I got the wet stuff ready to go.
Technically, these are all considered ‘wet’ ingredients
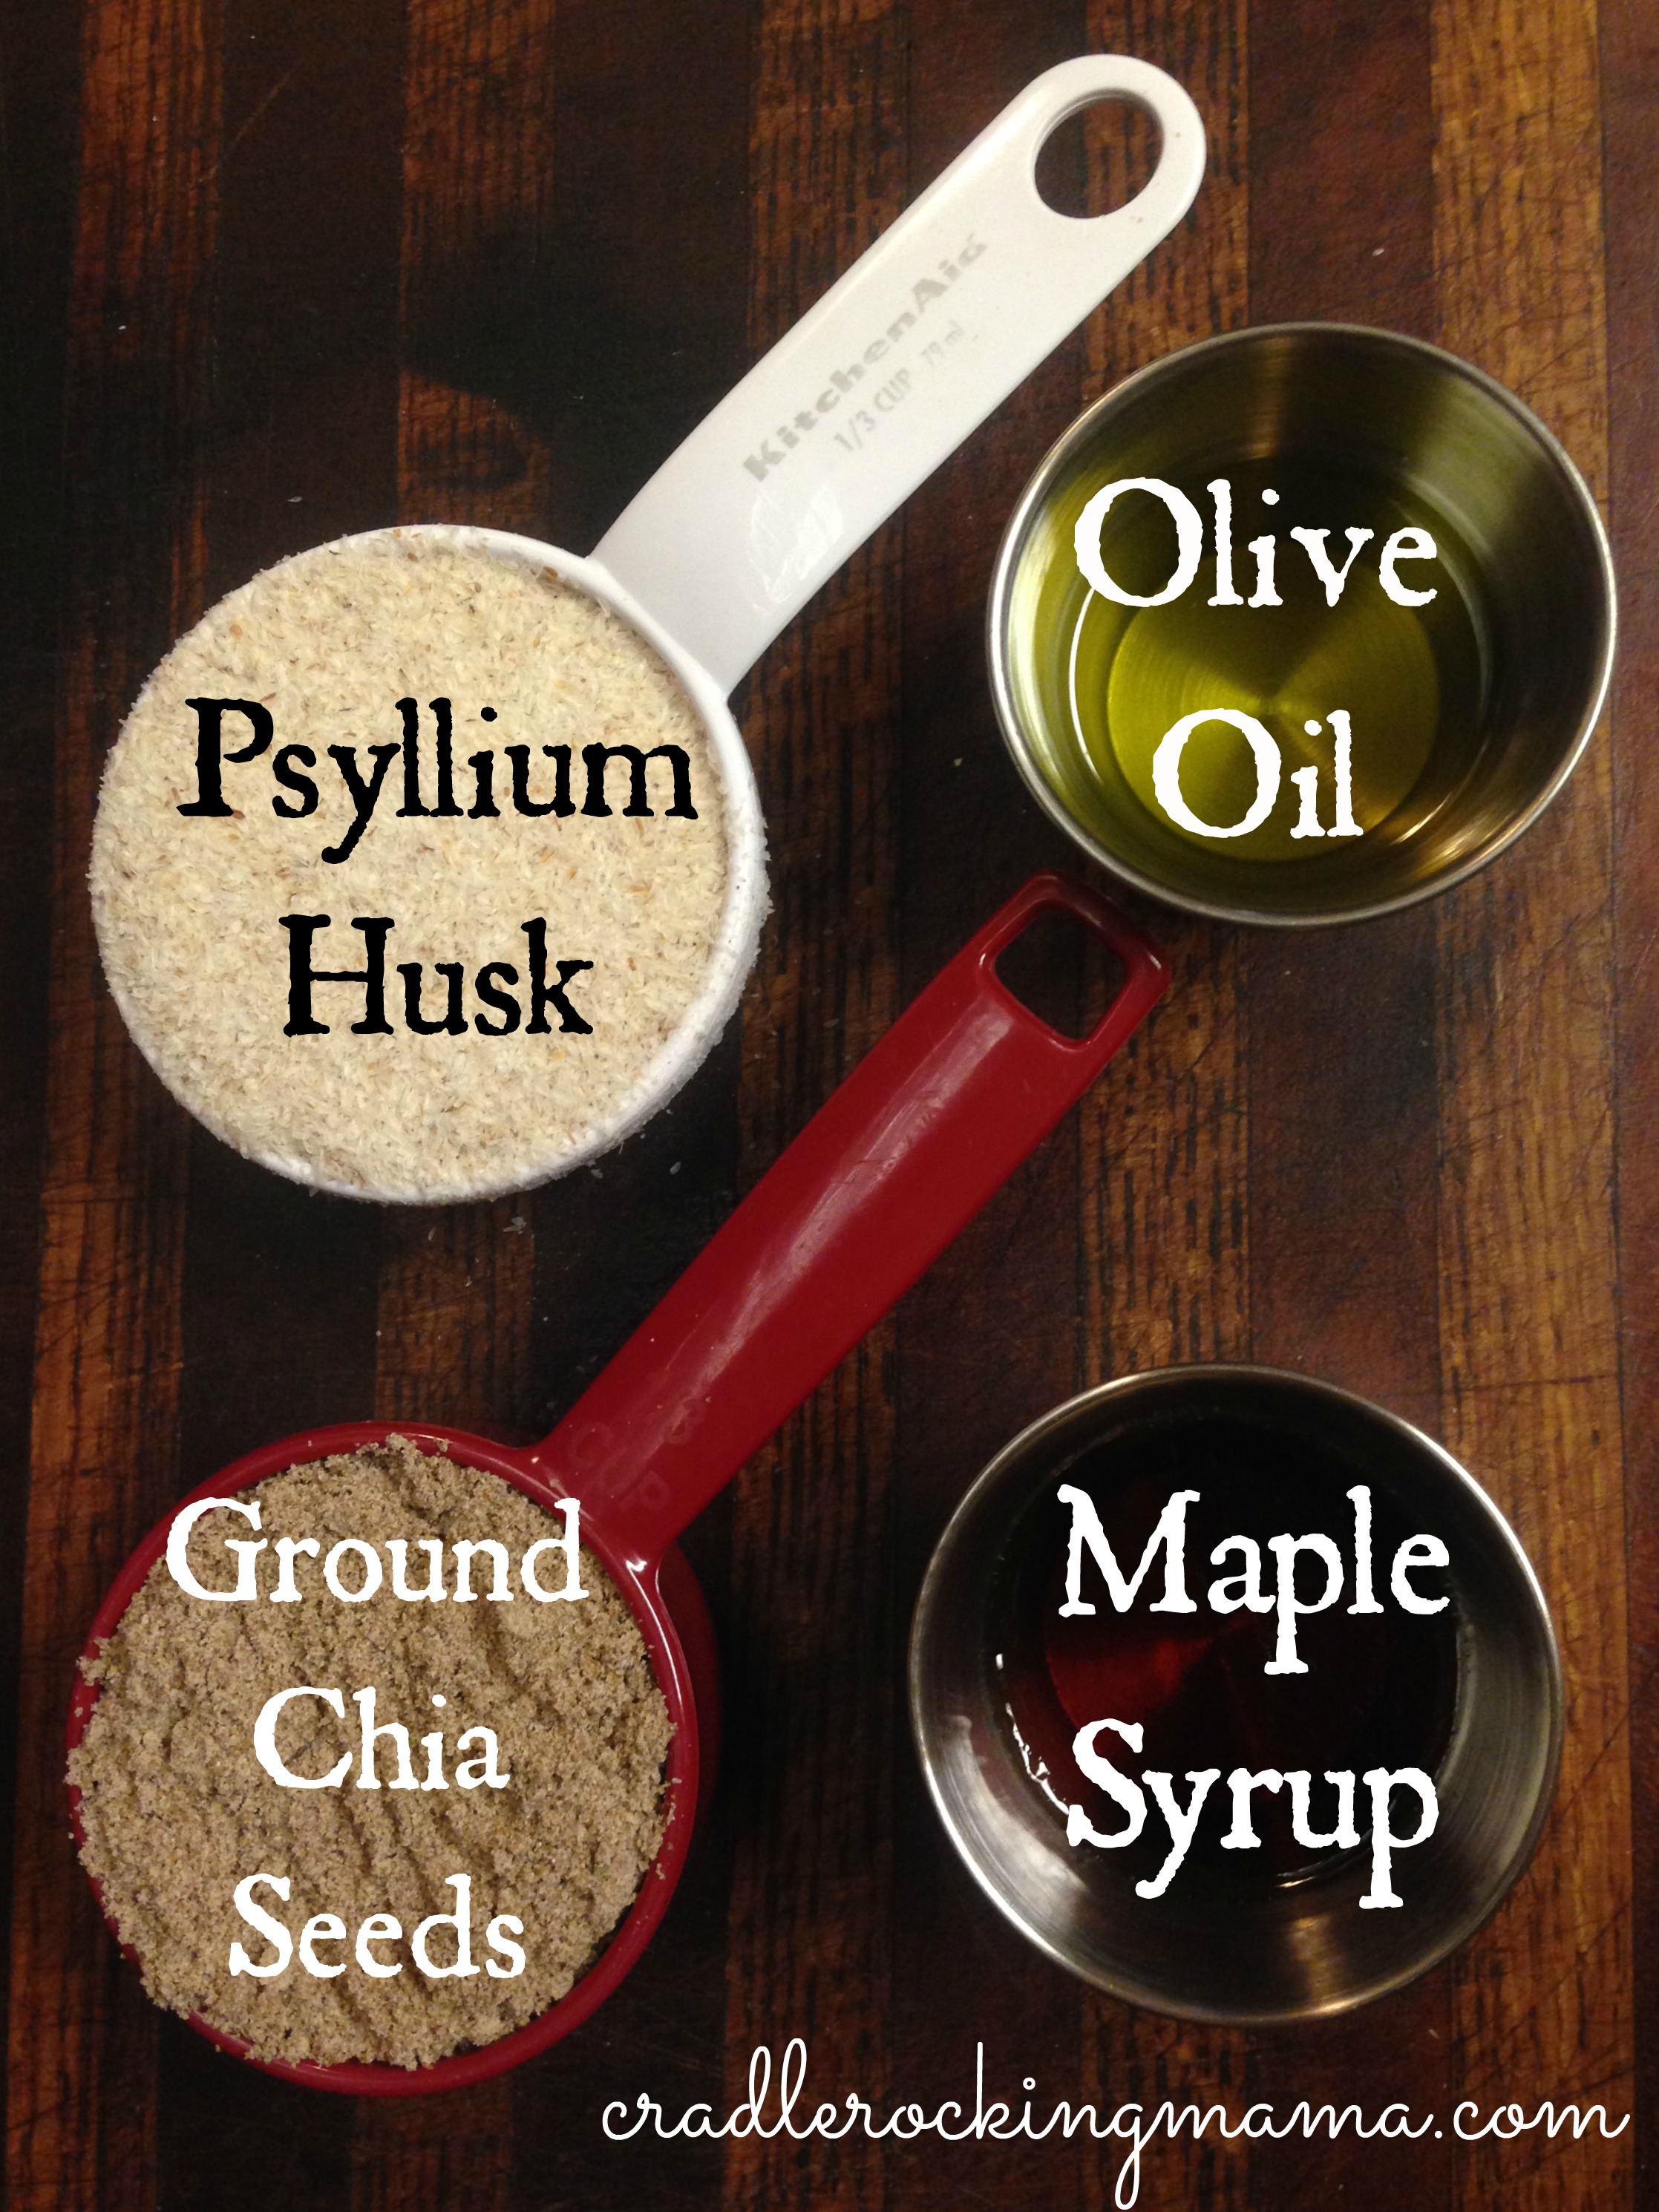
I ground the chia seeds in a coffee grinder, measured out the psyllium husks, maple syrup and olive oil, and then got some warm water in a measuring cup to start proofing some yeast!
The psyllium husks and chia seeds are the secret ingredients to this bread; they’re the reason it kneads, they’re the reason it doesn’t require any gums. I’d used chia before, but had never heard of psyllium husks. Fortunately, my health food co-op carries them, but you can find these at health food stores as a dietary supplement.
Proofing yeast is very important; I’m glad I didn’t skip this step! The first proofing I did showed me my yeast had fizzled. I grabbed a new jar, and bam! Bubbles and foam! Whew!
Make sure your water is warm but not hot; look for 105-110 degrees F.
Add the yeast and a tsp. of maple syrup to the water, whisk it together, and let it proof for 5-10 minutes. If you get bubbles and/or foam, you’re good to go! Otherwise, toss it and start over.
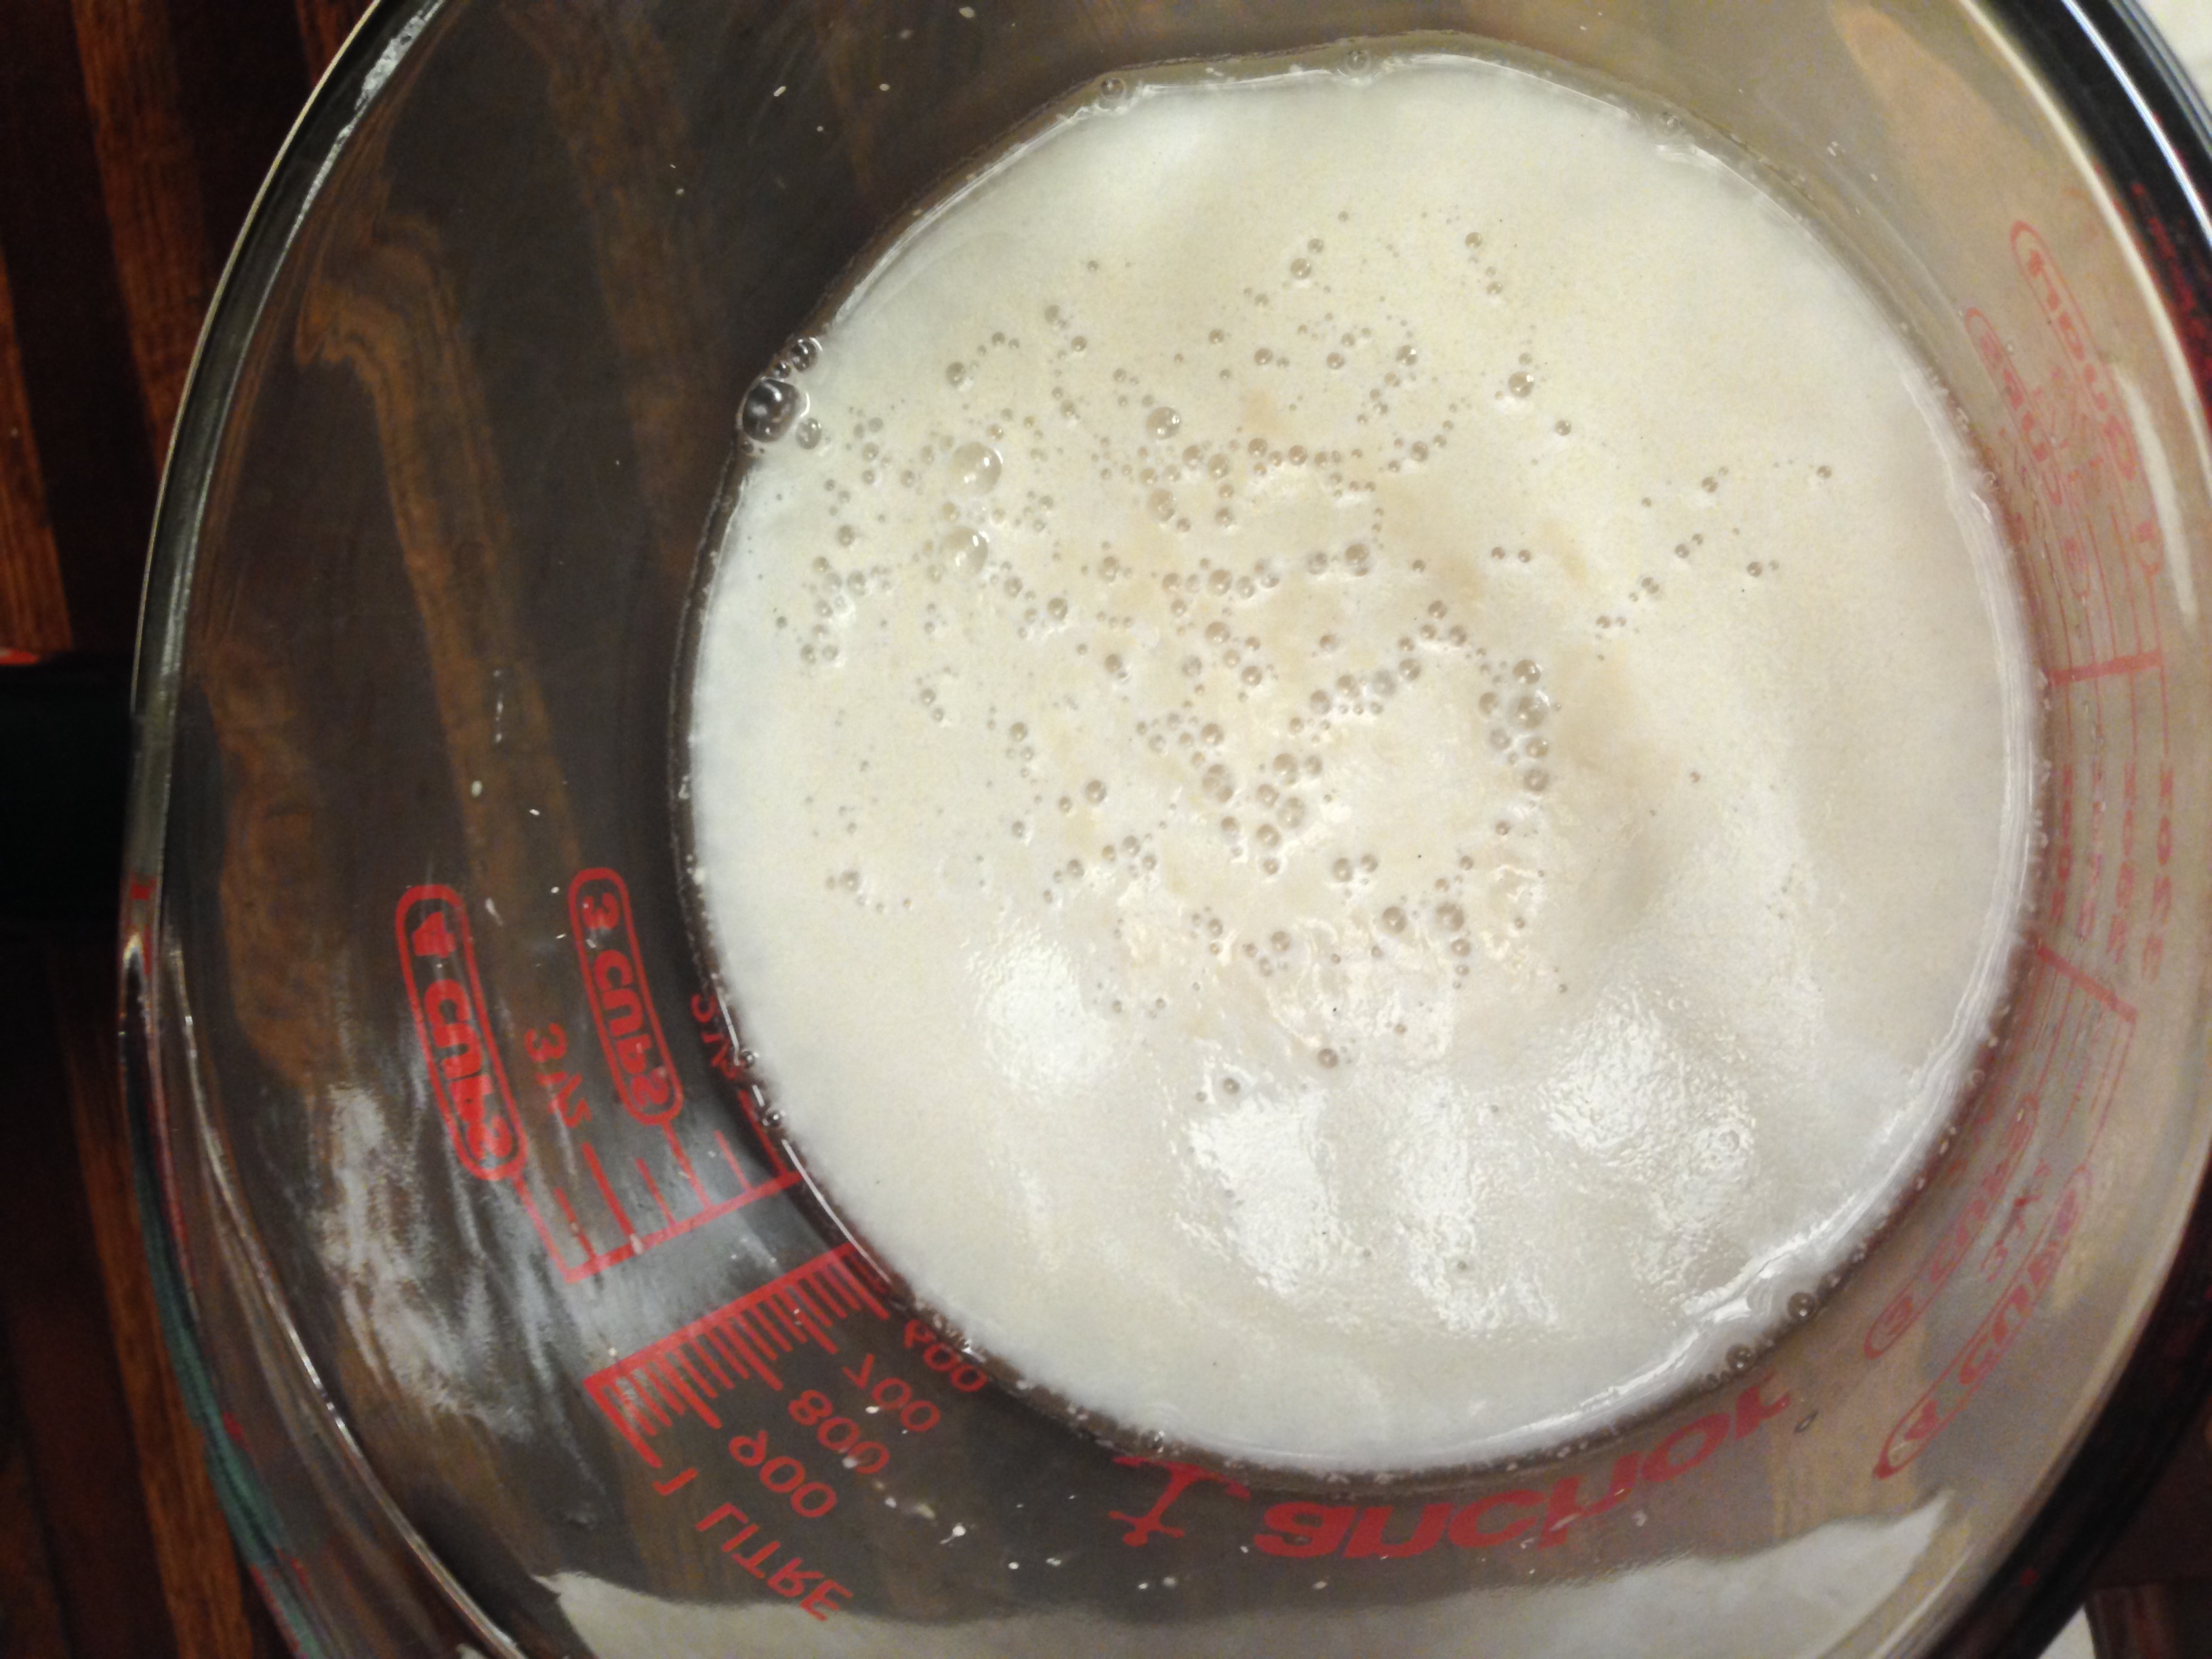
Foamy bubbles! I’m so happy!
Once the yeast has proofed, add the rest of the ‘wet’ ingredients (the maple syrup, olive oil, psyllium seed, and chia seed), whisk them together and let them sit for ONE MINUTE. The chia and psyllium will gel up really quickly and become difficult to work with if you let it sit for too long. One minute is just perfect before mixing the wet into the dry.

One minute after adding the rest of the wet ingredients.
Then whisk them again and pour them on top of the dry ingredients.
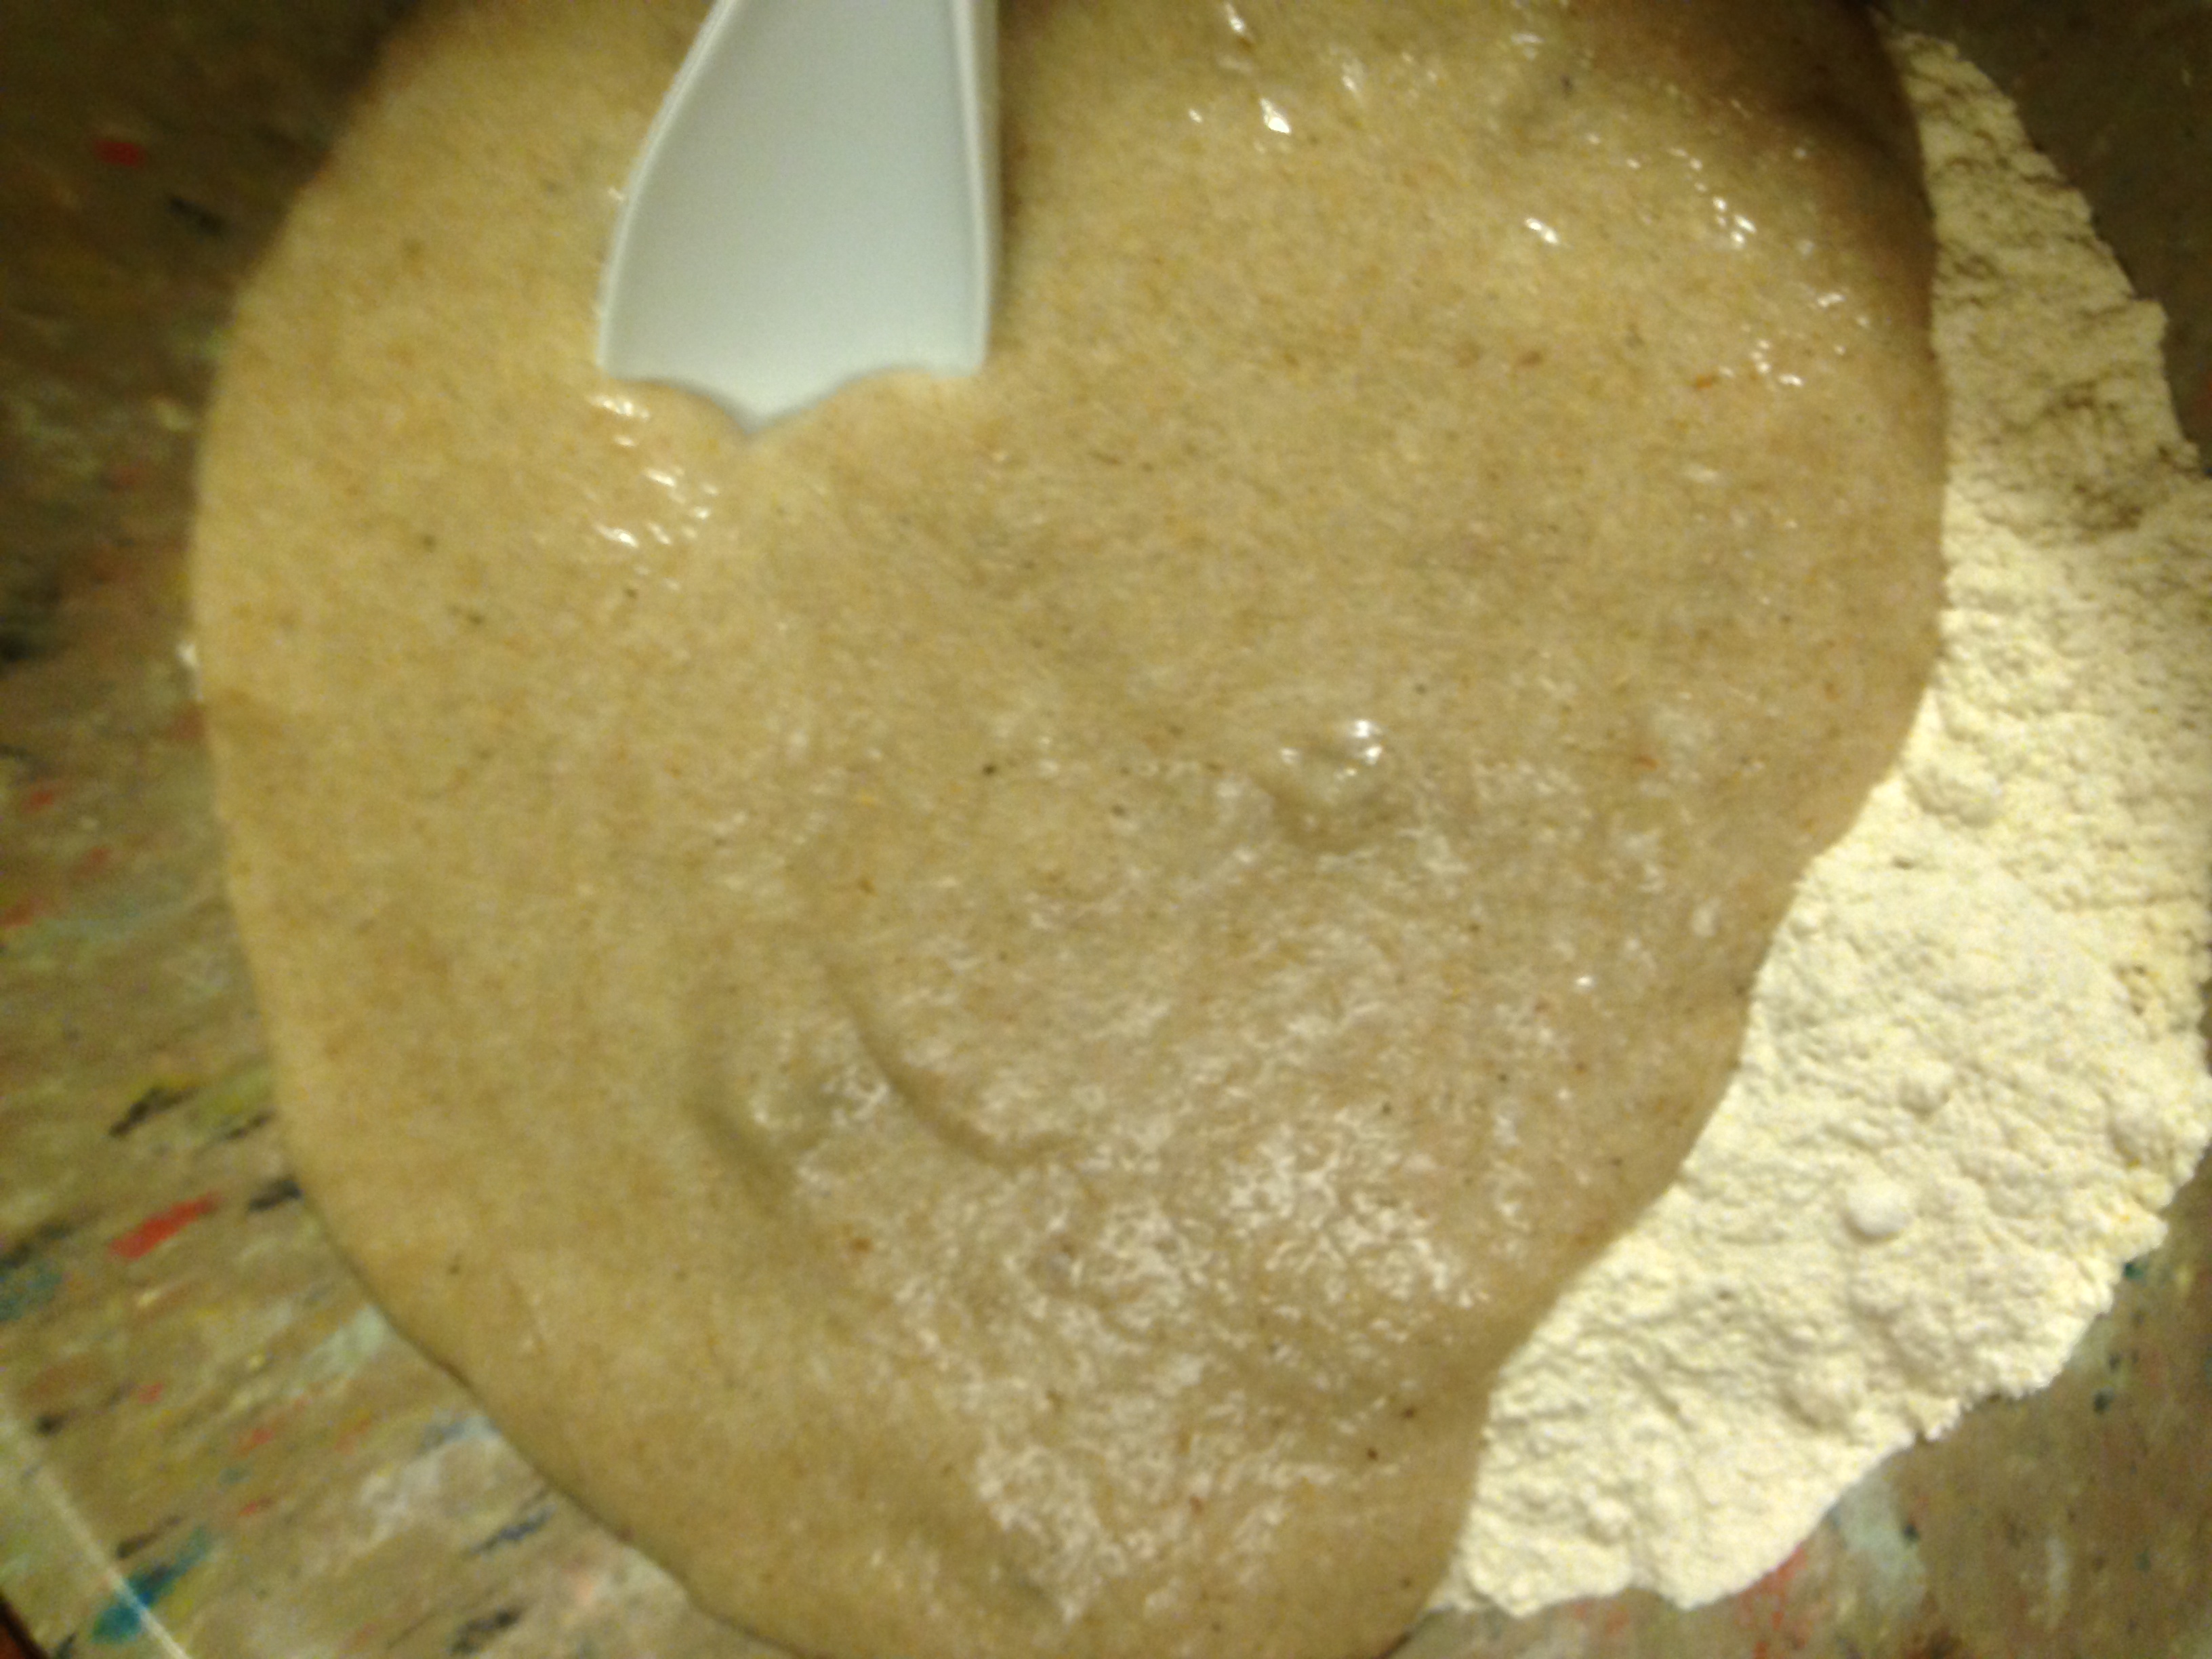
Ready to combine!
After a good arm workout stirring, the dough will suddenly come together to look like, well, DOUGH!
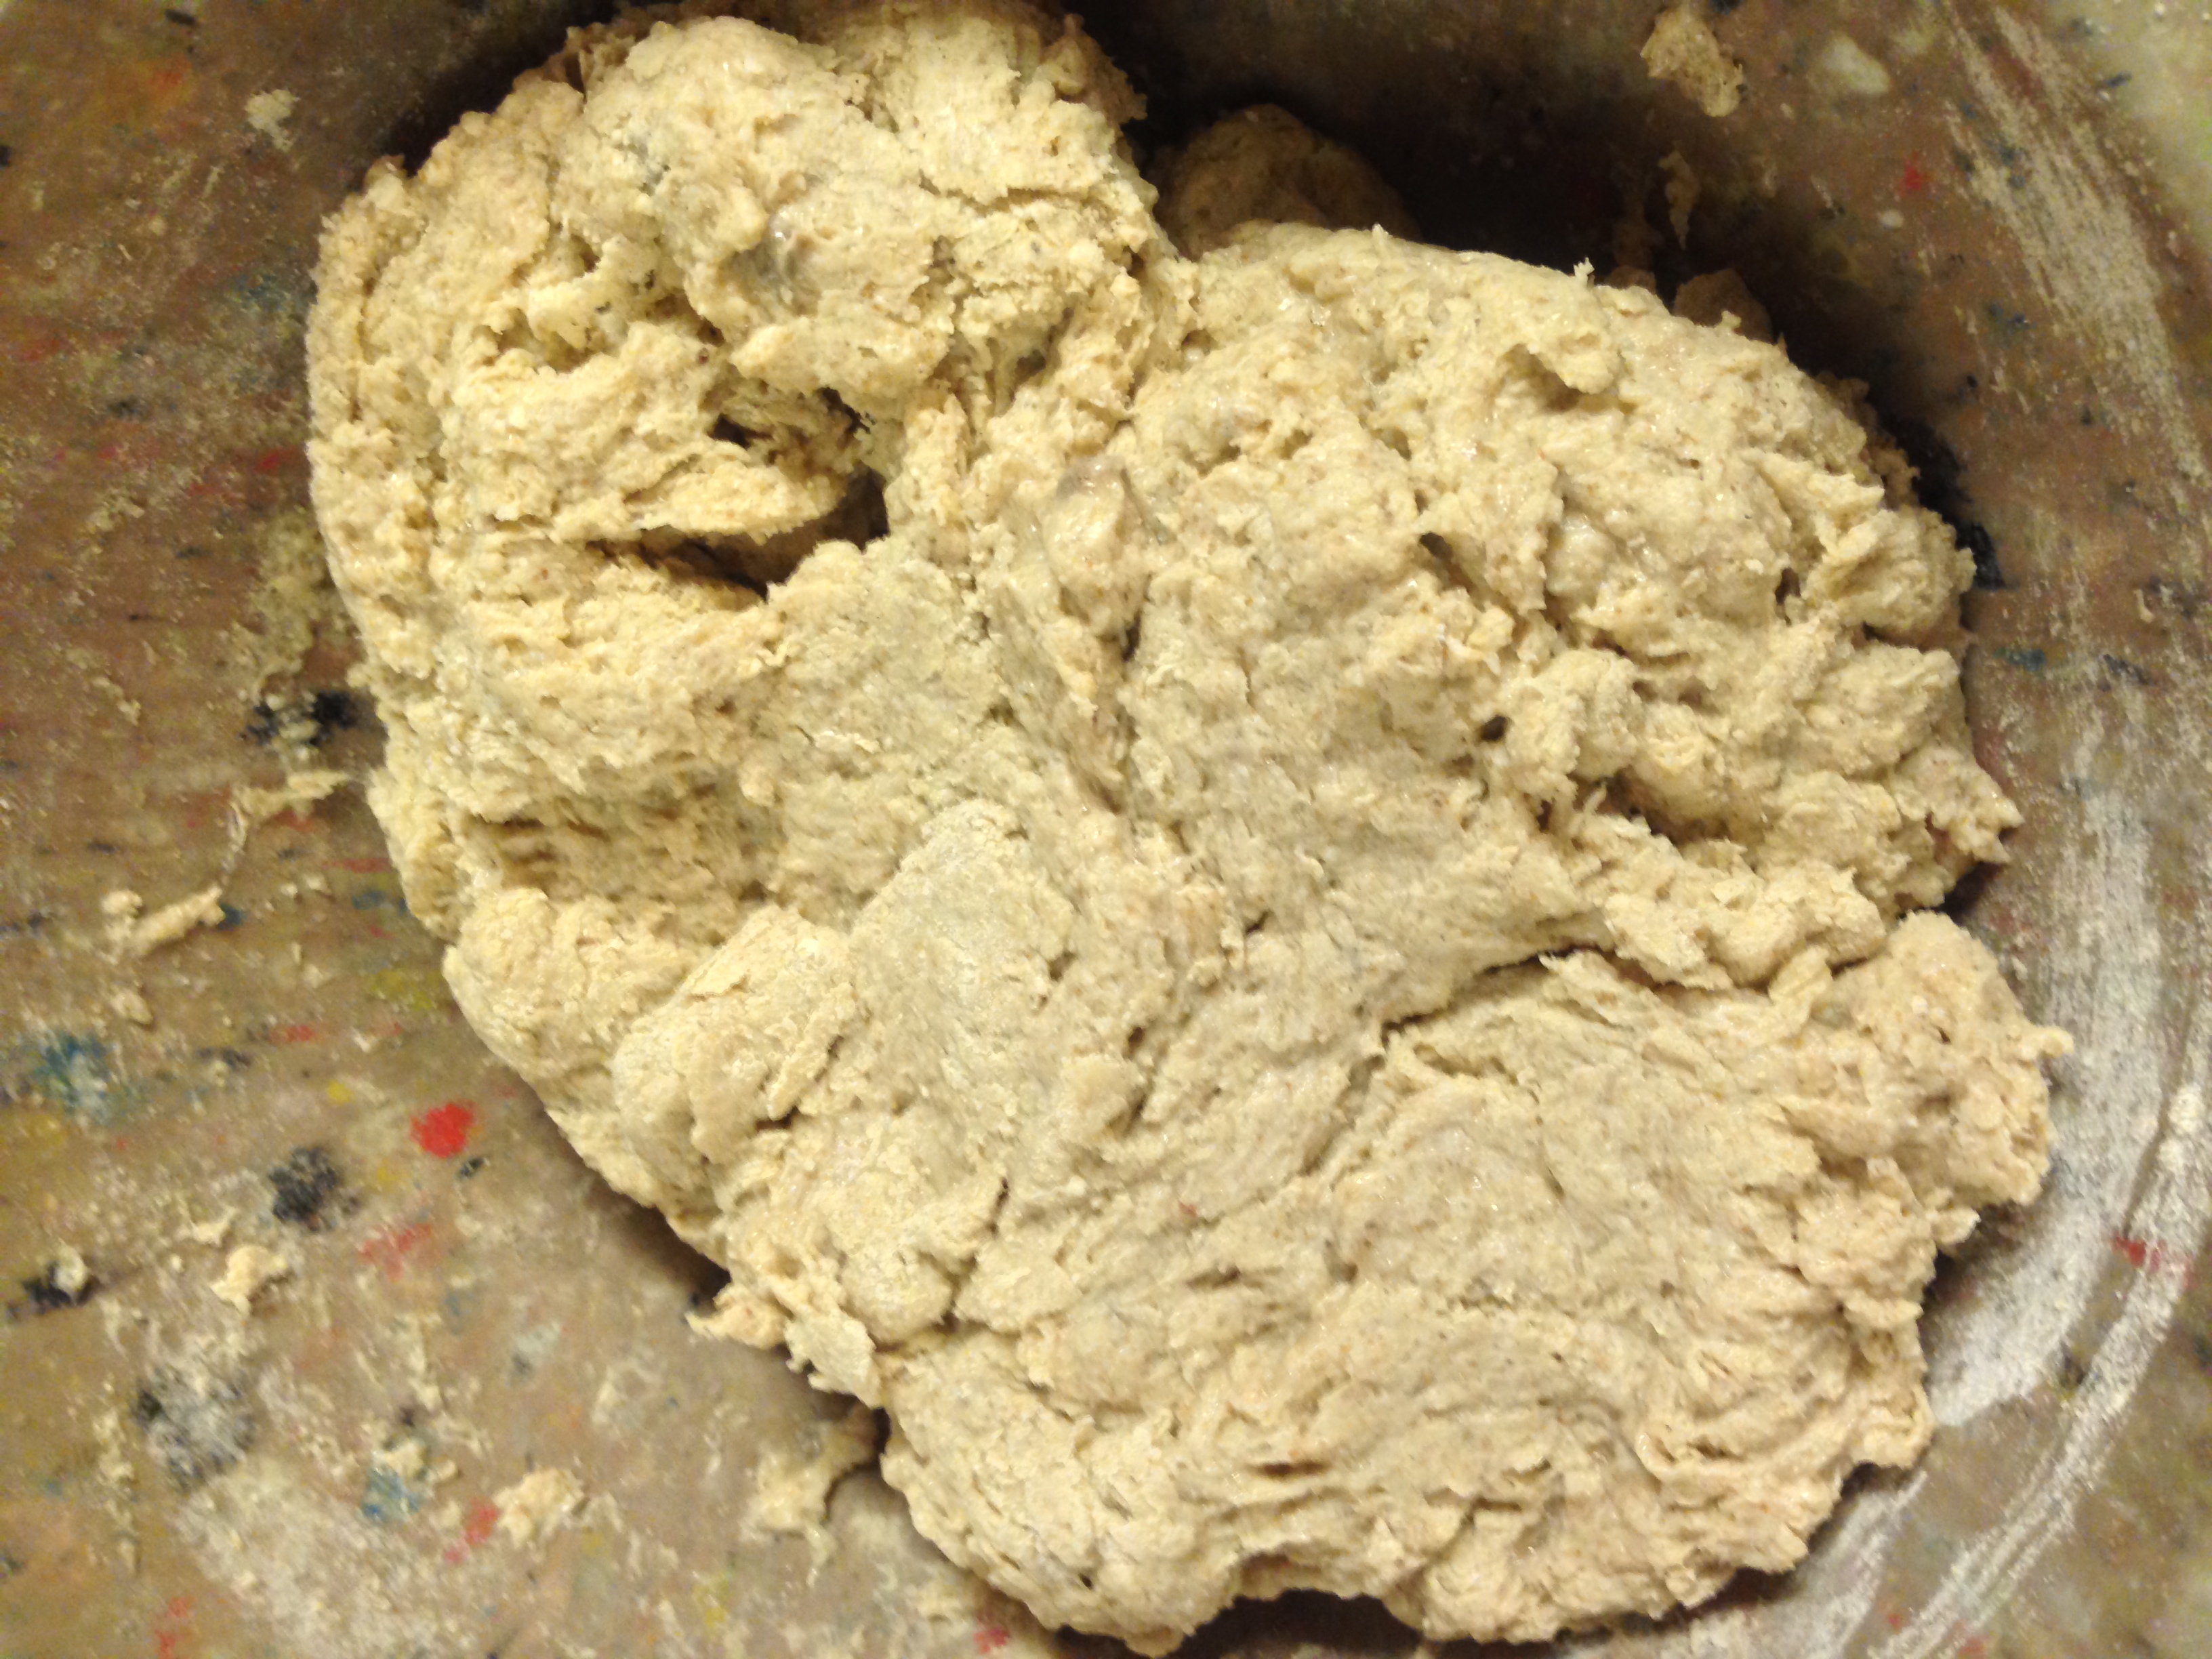
Bread dough! Ain’t it gorgeous?
Take that lovely bread dough and turn it out on a lightly floured surface. Mine wasn’t terribly lightly floured. I got a bit heavy handed with it. Oops.
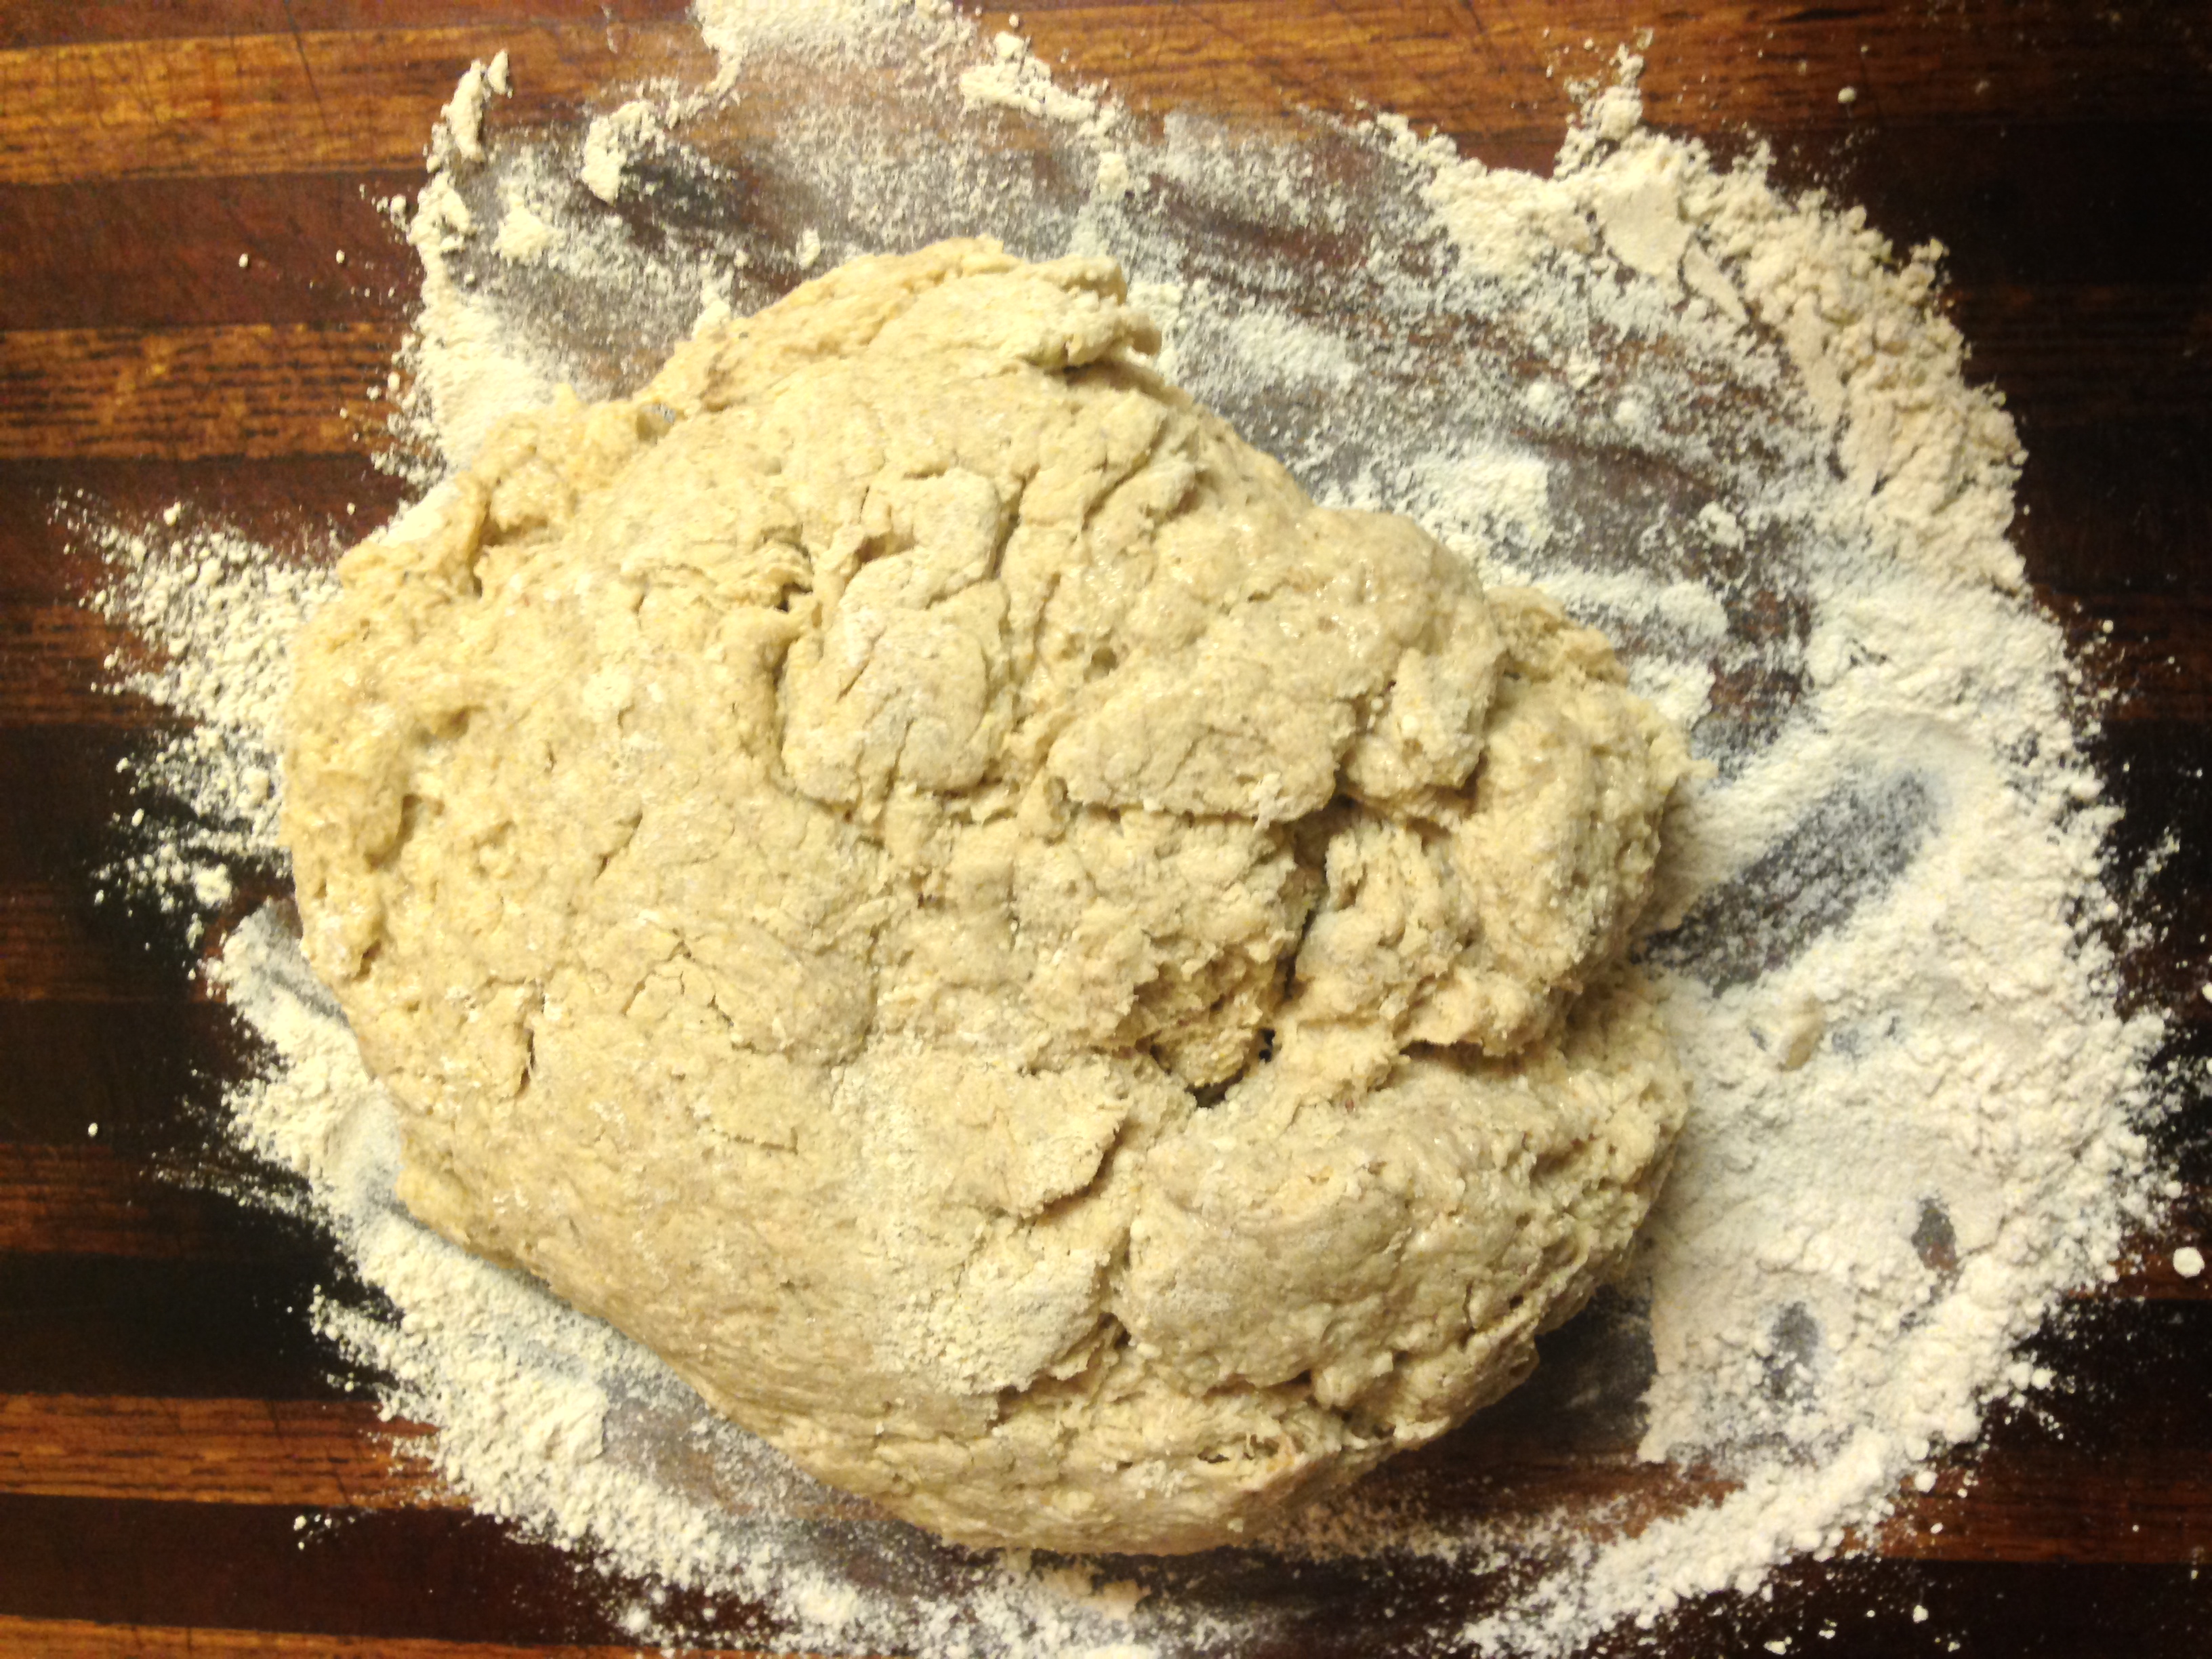
On a flour surface, ready to knead!
Throw some more flour on top and start kneading away!
You’ll wind up adding about 1/2 to 3/4 c. of flour to this as you knead; don’t add too much or it will make the dough too dense, but you will need to add some.
Now, I LOVE baking bread. I love kneading it, and working the dough in my hands. Pre-FPIES, I made ALL our bread from scratch, so I consider myself a fairly good baker.
This is not a wheat dough. You can’t work it like you would a gluten-filled dough. Yes, you do get the great pleasure of kneading, but not the “knead for ten minutes” kind of kneading you get with a normal loaf of bread.
After just about a minute or two of kneading, this dough felt “done” to me; if I’d kept working it, it would have kept getting sticky and I’d have had to add far too much flour to make it feel right again.
So in the interest of not making a brick of bread, I stopped, shaped it into a loaf, tucked the ends under all pretty-like, and plopped it in my parchment-lined loaf pan.

Plopped into the loaf pan!
Then I covered it with a wet towel and sat it on my stove to rise. At the time, I had a roast in the oven (at 300 degrees), so the top of my stove was pleasantly warm, but not hot.
The recipe said to let it rise for an hour, but after only about 35 minutes, I noticed my loaf had risen to just over the top of the loaf pan! It was almost doubled in size already! So into the oven it went (after adjusting the temperature), where it baked for 40 minutes. It came out looking like this:
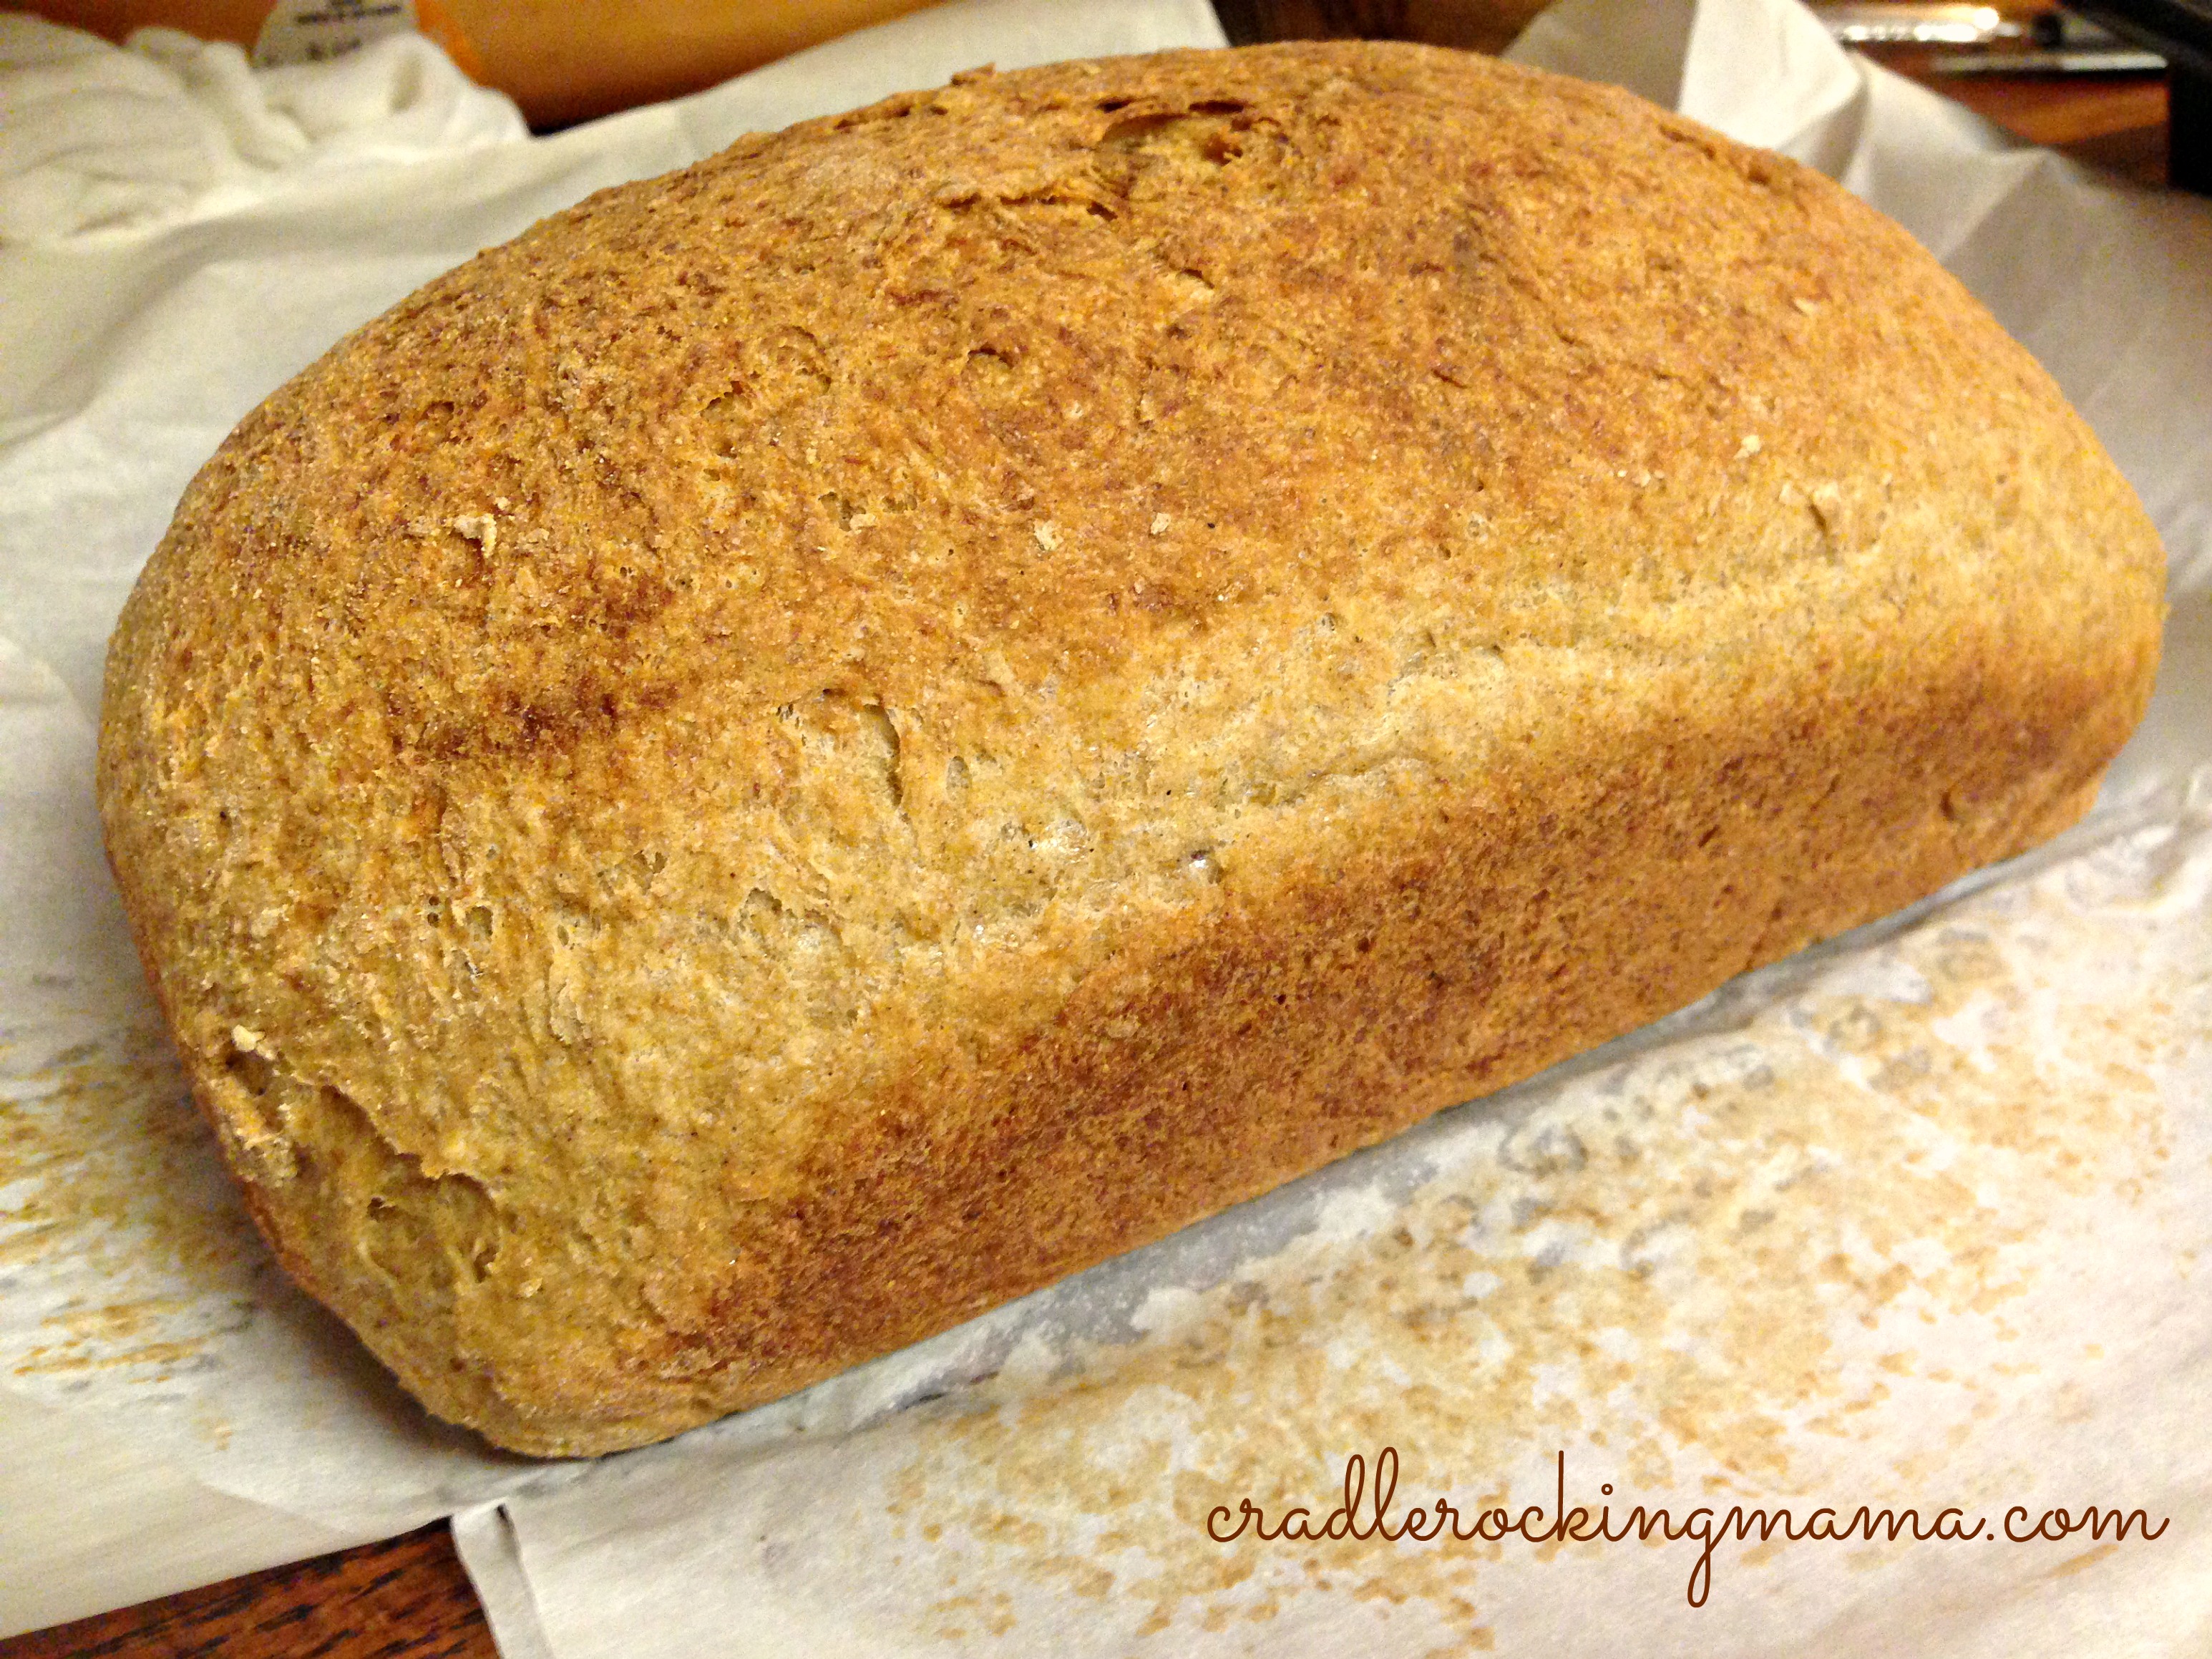
Gorgeous, beautiful, perfect bread loaf!
The instructions were very clear: let this bread cool and rest for 30-60 minutes before slicing in to it. Otherwise, it will be gummy and icky. If you wait, it will be perfect.
Jed didn’t want to wait. We had some words about disobedient children after he took a pizza cutter to the top of my perfectly beautiful bread loaf. After I’d ensured that he understood why I was upset with him, I went ahead and cut the loaf, even though it still felt somewhat warm to the touch.
Fortunately, all was not lost! The bread was gorgeous!
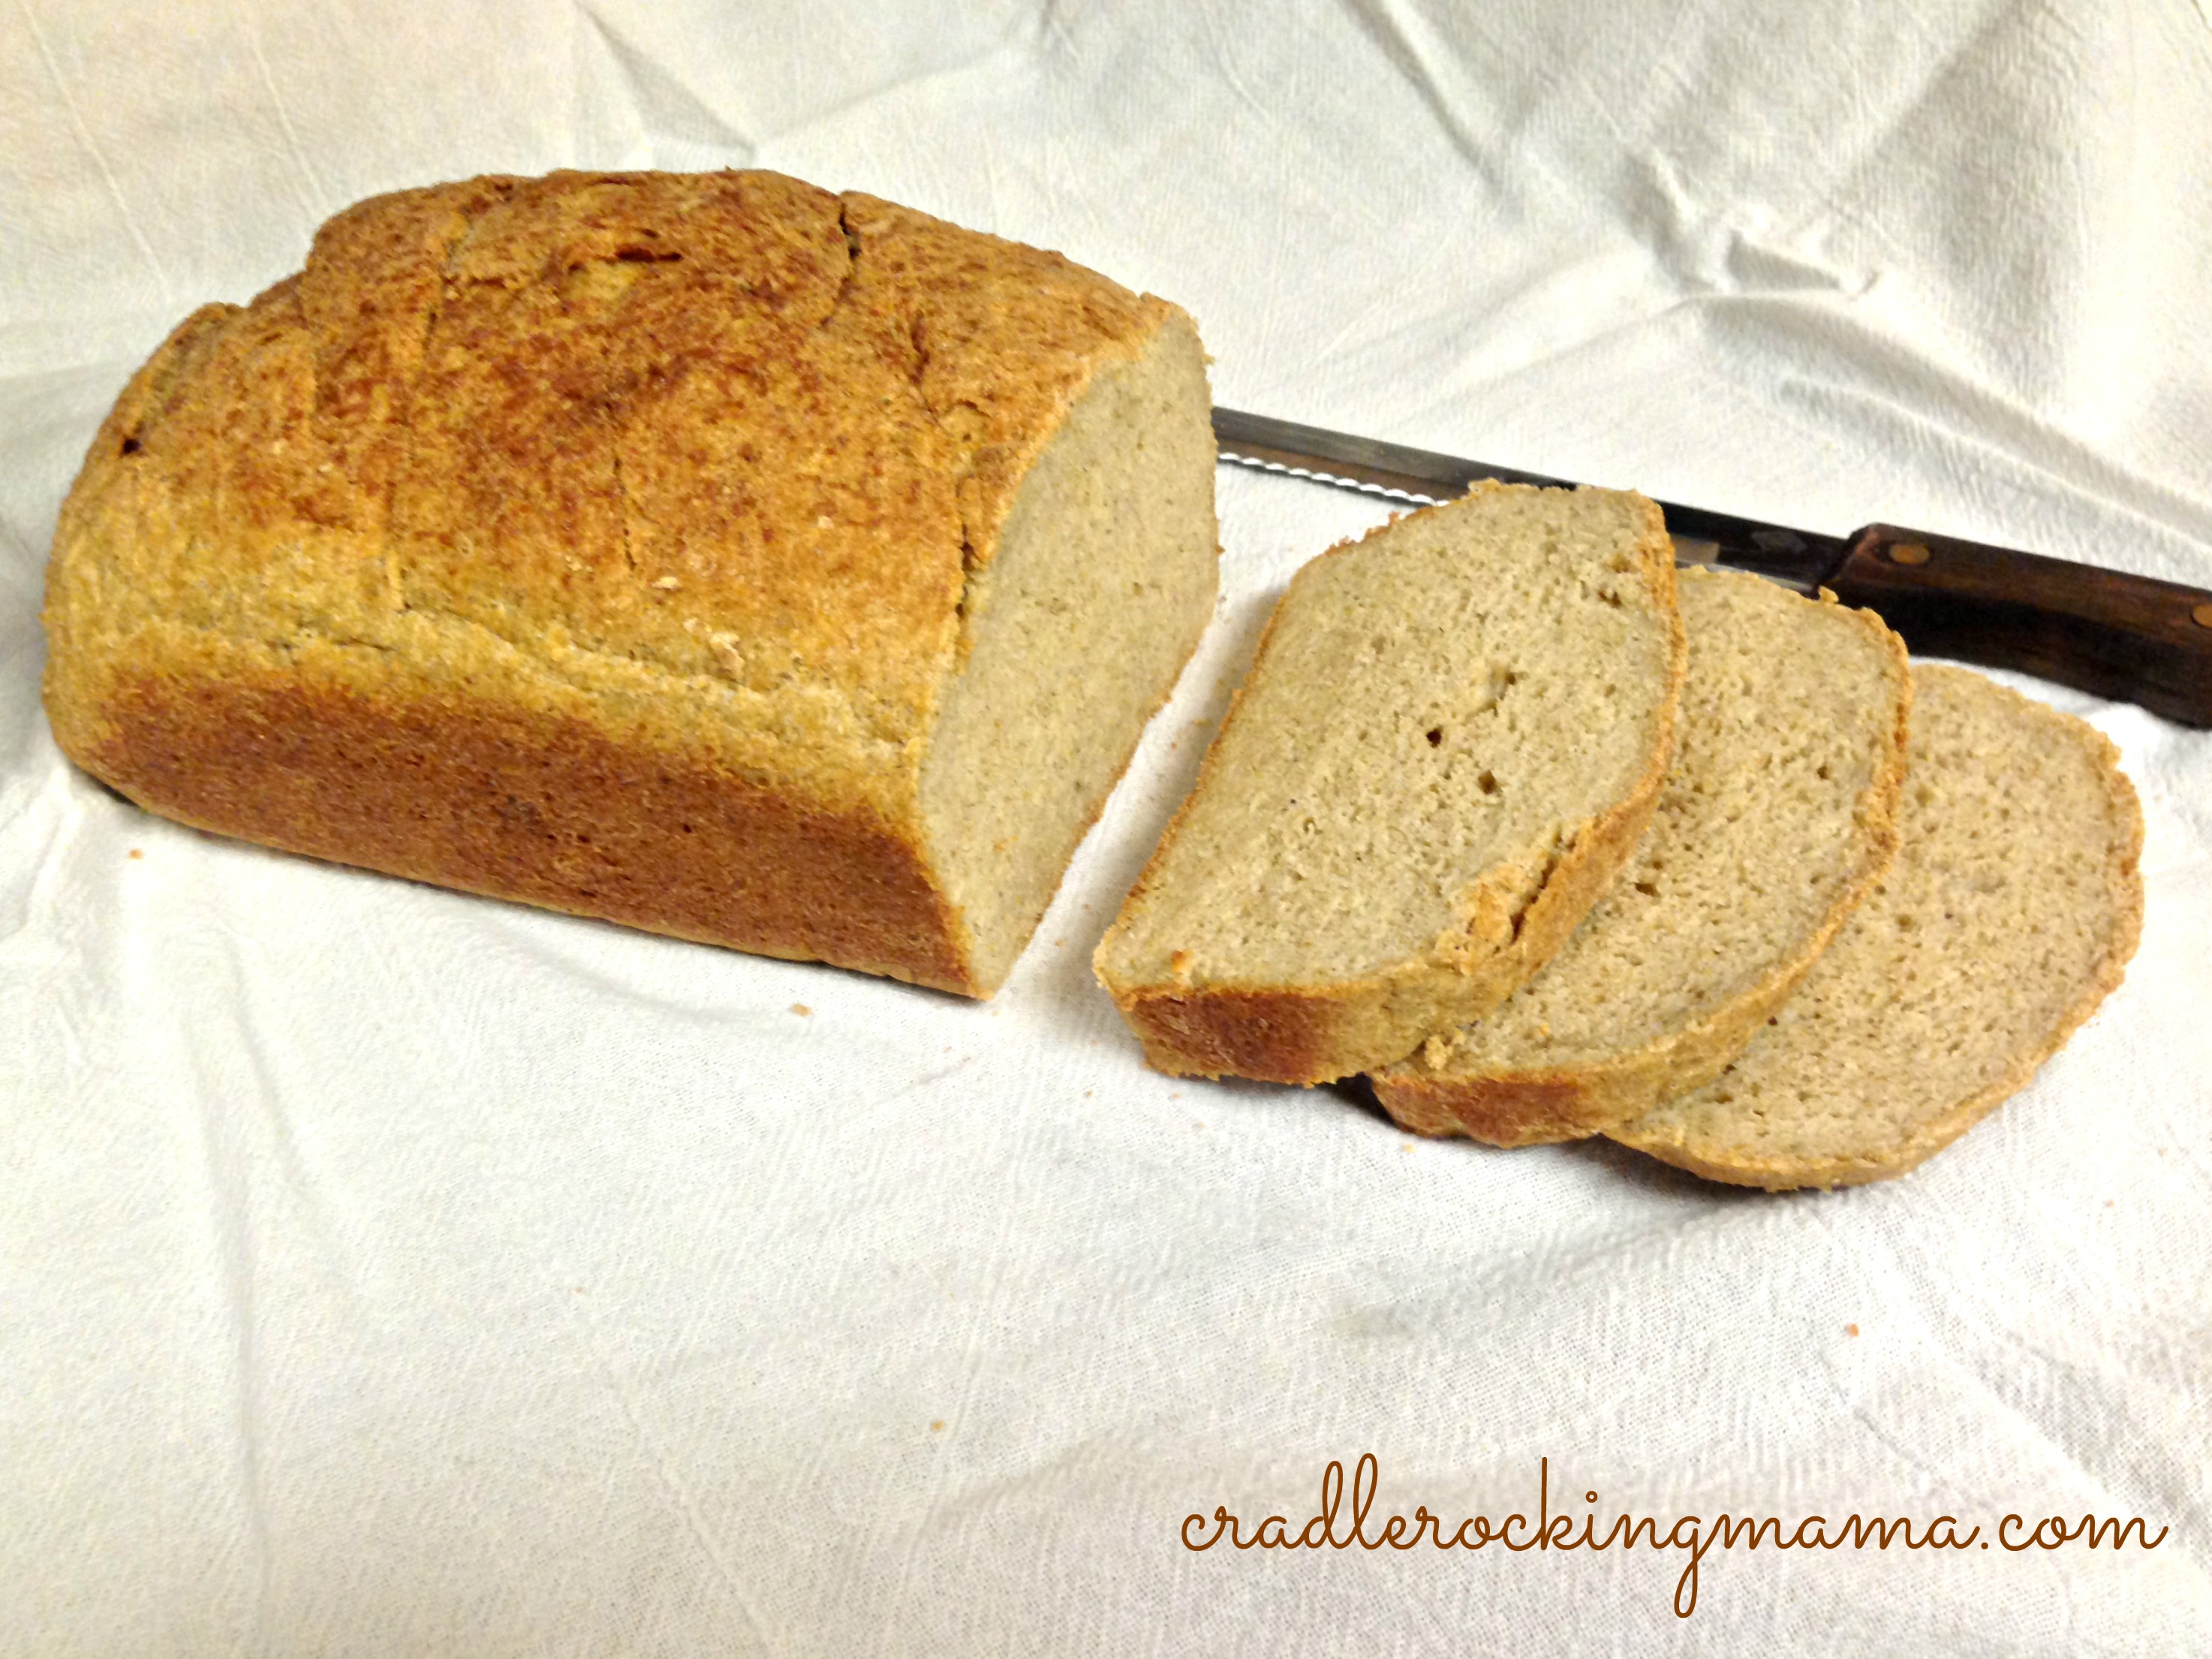
Slicing the loaf.
Here’s a closer look at those slices….
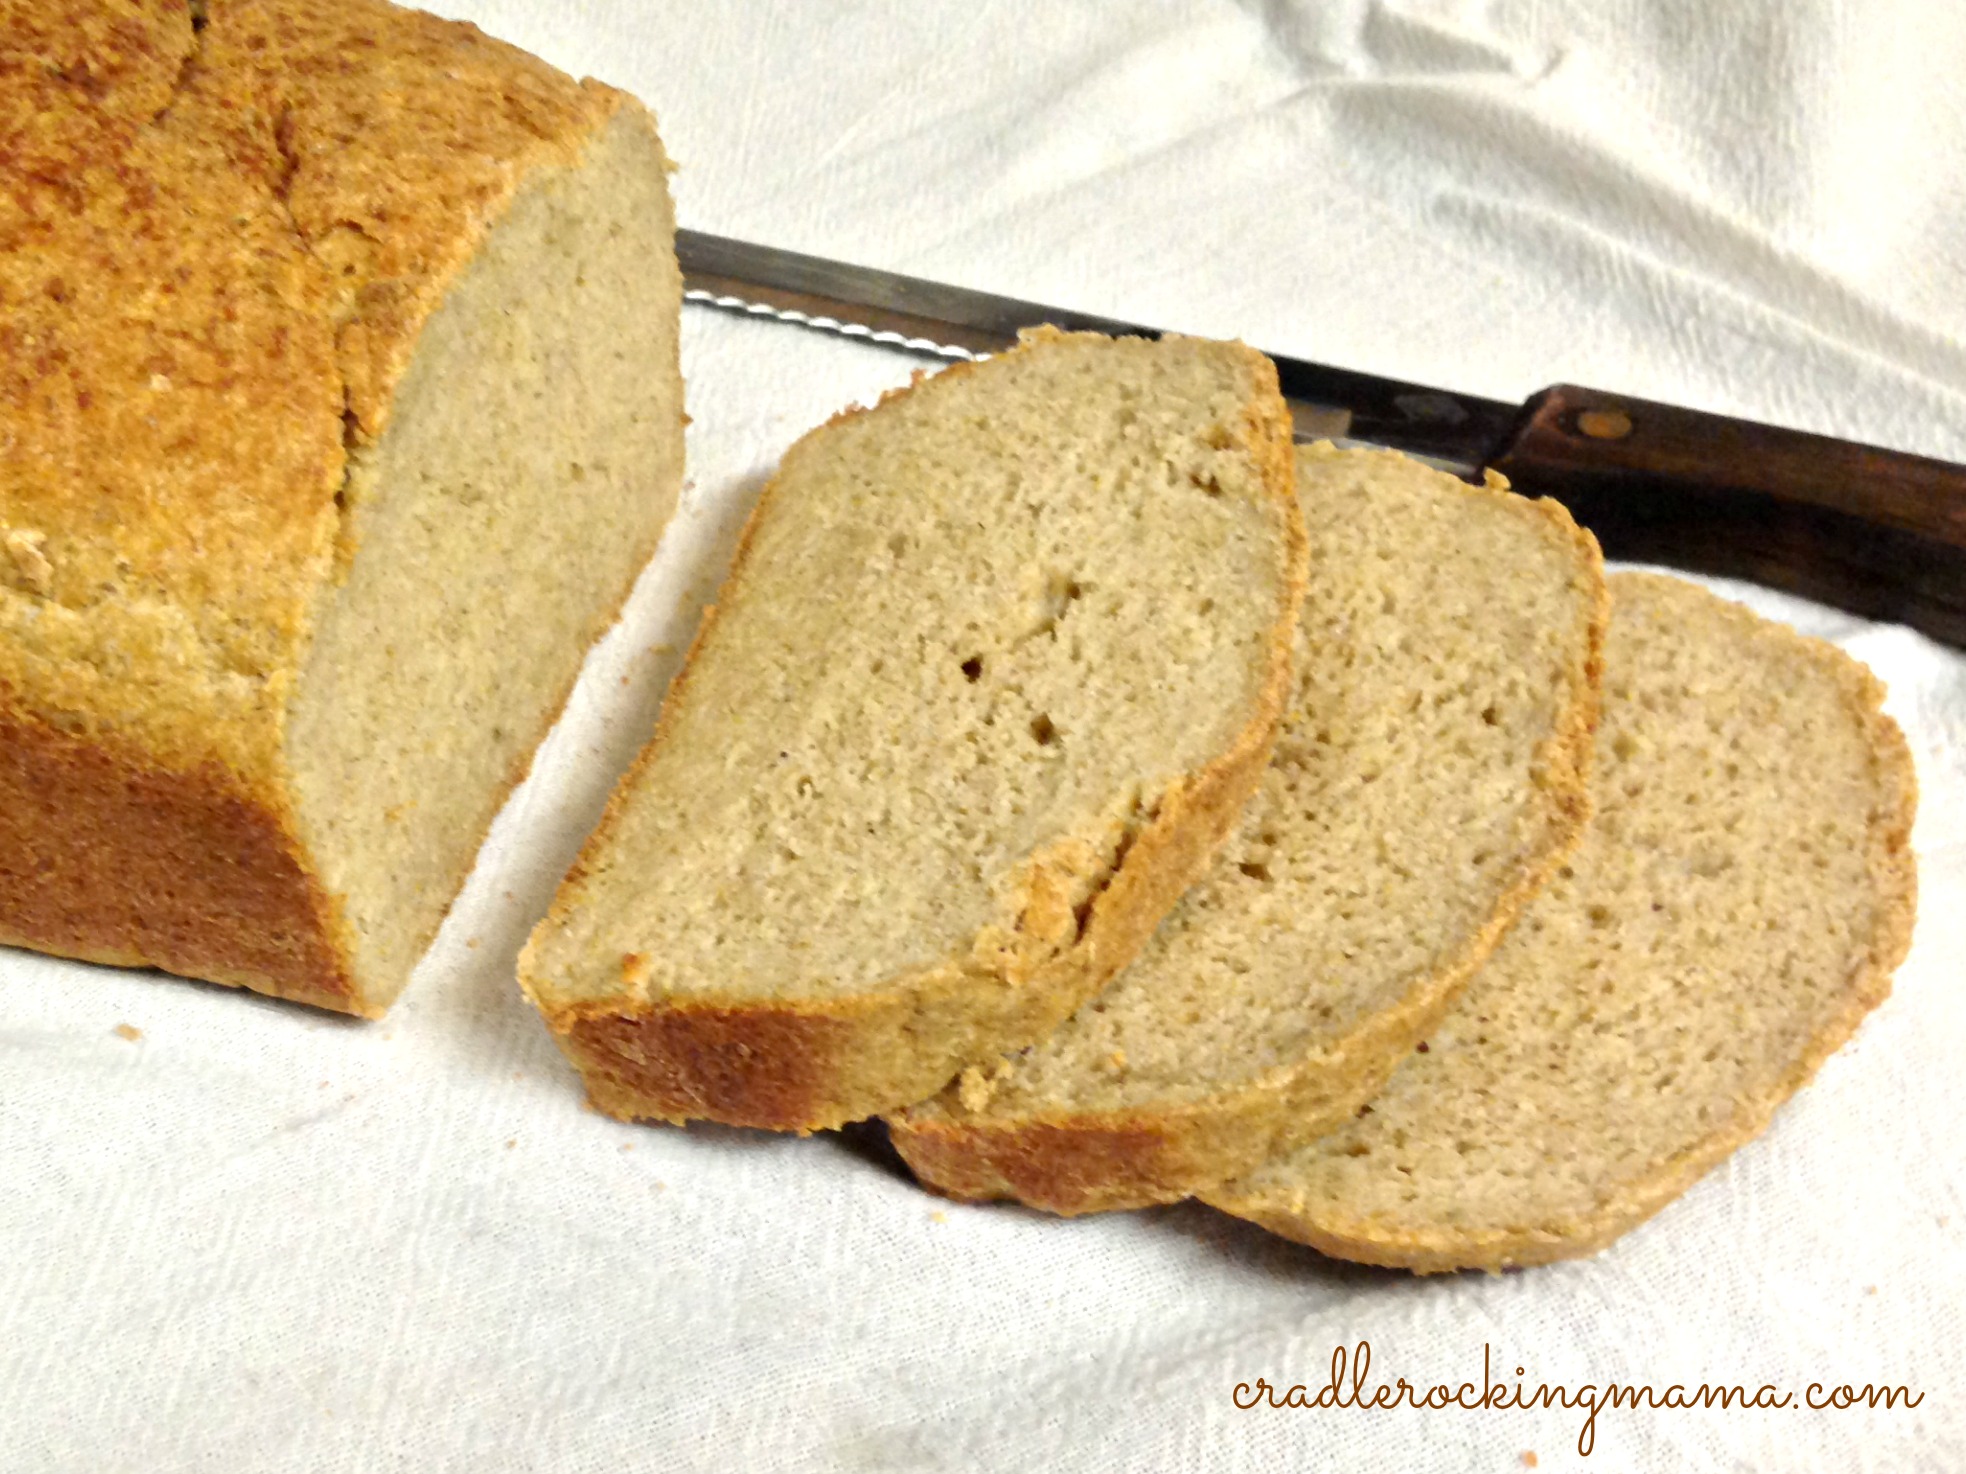
Oh, yum…
And I just couldn’t resist…
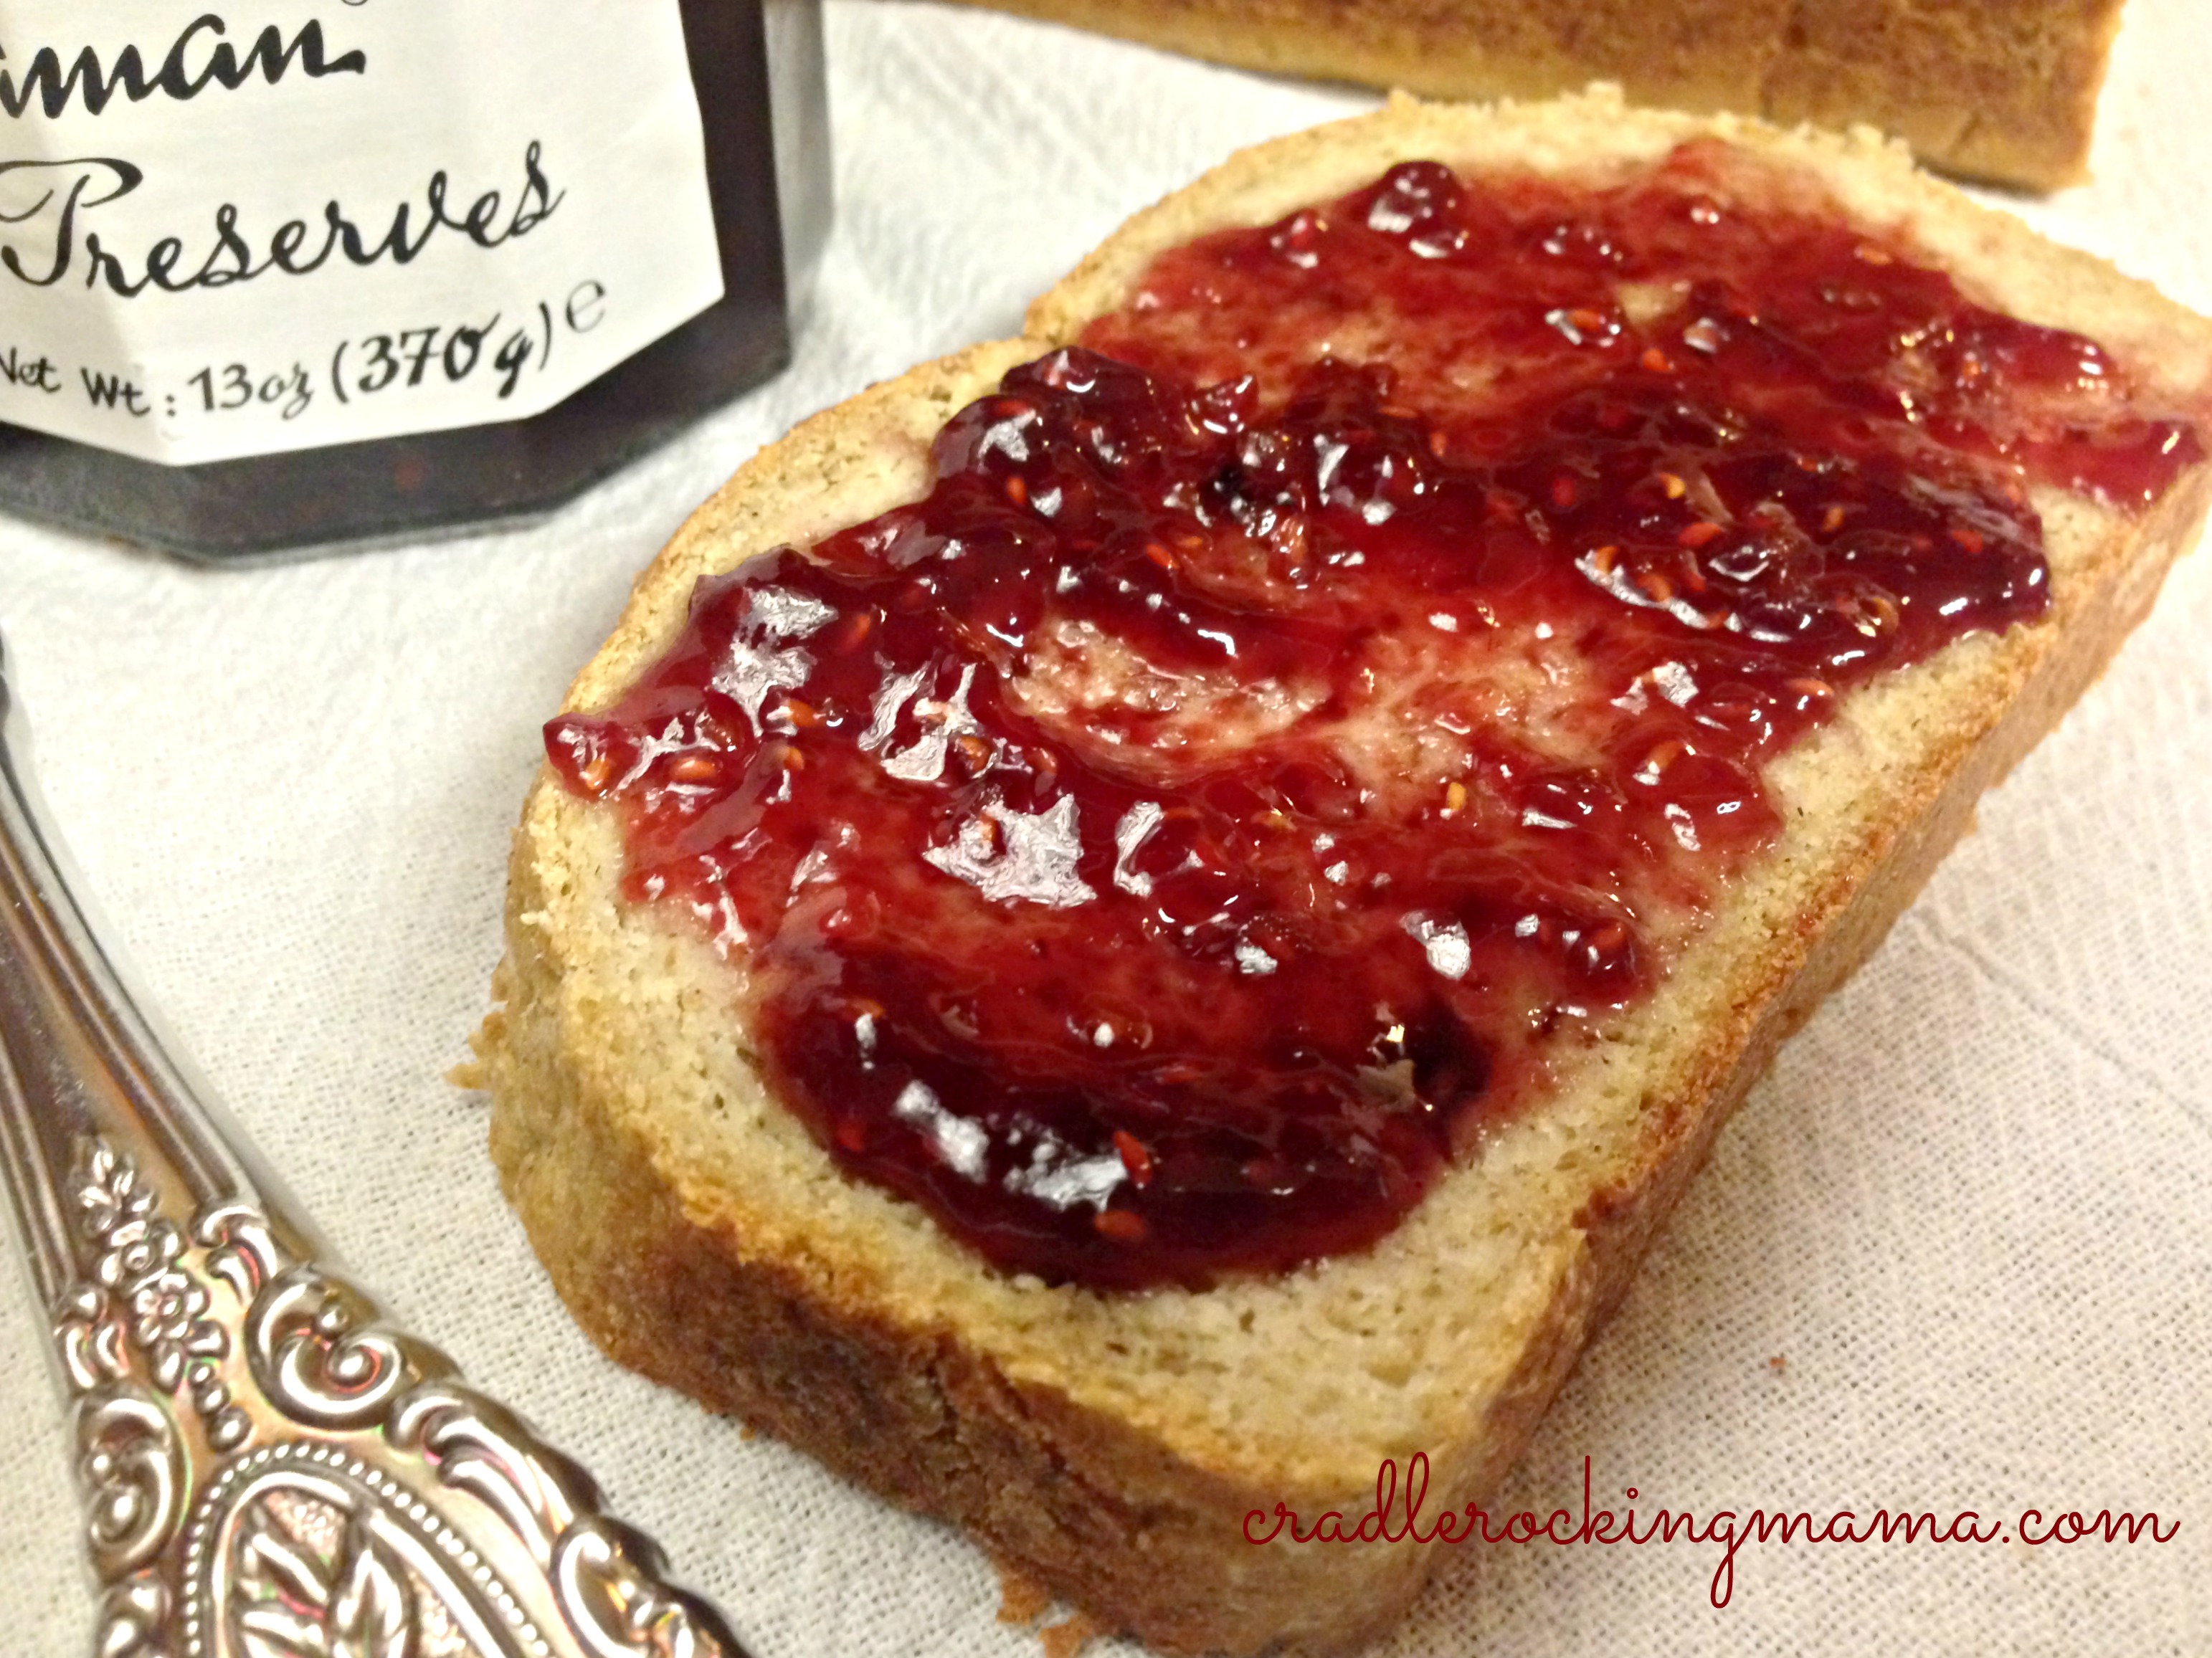
Drool. Just drooling here.
Darrel did say it was a little “thicker” than he likes his bread, so maybe I need to let it rise a little more next time. Jed certainly liked it, and both of the fellas said it tasted like bread and would certainly work for them!
I’m thinking this bread recipe is more likely to resemble a crusty, whole grain type bread, rather than a typical, fluffy white American bread. That’s okay, though! It’ll certainly fill you up!
I plan to make this bread into tiny little balls on Thanksgiving morning to turn into dinner rolls for Jed. And I know I encouraged you to “think outside the cold turkey sandwich” on Thanksgiving, but I really am so glad Jed will now be able to participate in that tradition!
One day, I’m going to eat this bread and swoon in happiness. I hope you get to swoon sooner than I will!
- DRY INGREDIENTS
- 1 c. millet flour
- 1 c. sorghum flour
- ½ c. quinoa flour
- ½ c. almond flour (to make this allergy free, sub another flour for this)
- 1½ tsp. sea salt
- WET INGREDIENTS
- 2½ c. warm water (105-100 degrees)
- 2¼ tsp. active dry yeast
- 1 tsp. maple syrup
- 2 T. olive oil
- 2 T. maple syrup
- ⅓ c. ground chia seeds
- ⅓ c. whole psyllium husks
- Put the warm water in a bowl or a large measuring glass.
- Add the yeast and tsp. of maple syrup; whisk together. Let rest for 5-10 minutes to proof.
- Mix dry ingredients together in another bowl, and line a loaf pan with parchment paper.
- Once the yeast has proofed, pour the rest of the ‘wet’ ingredients into the yeast mixture. Whisk ingredients together and let stand one minute to let gel.
- Whisk wet ingredients again after one minute, then pour into the dry ingredients.
- Using a spoon, mix the ingredients together until so thick you can’t stir any more.
- Dump the dough out onto a lightly floured surface and knead to incorporate all the flour.
- Add more flour as needed to make sure the dough holds together and isn’t too sticky.
- Shape the dough into a loaf and drop it in a loaf pan.
- Cover with a wet towel and place in a warm spot to rise; let rise to double its’ original size.
- While the dough is rising, turn the oven on to 400 degrees F.
- Once the dough is doubled in size, place the loaf pan in the oven and bake for 40 minutes.
- Remove from the oven and let cool on the counter for 30-60 minutes until completely cool.
- Slice and enjoy your delicious, gluten-free, gum-free, vegan sandwich bread!
Have you found a great gluten and gum free bread recipe? Please share it!
__________
This post shared with:
Pingback: Food, Food Everywhere, and Not A Bite To Eat - Cradle Rocking Mama
Pingback: French Toast – Vegan & Gluten-Free (and Delicious!) - Cradle Rocking Mama
Pingback: My Kitchen Sees A LOT of Action - Cradle Rocking Mama
Pingback: When Recipes Go Wrong - Cradle Rocking Mama
Pingback: Surviving Thanksgiving with Food Allergies/Intolerances - Cradle Rocking Mama
Pingback: The Best Food Allergy Thanksgiving Tips - Cradle Rocking Mama
Pingback: Vegan Gluten-free Bread – Food