Little Boy Blues

It’s been a while since I really just wrote about what is happening with the boys, so here’s the latest:

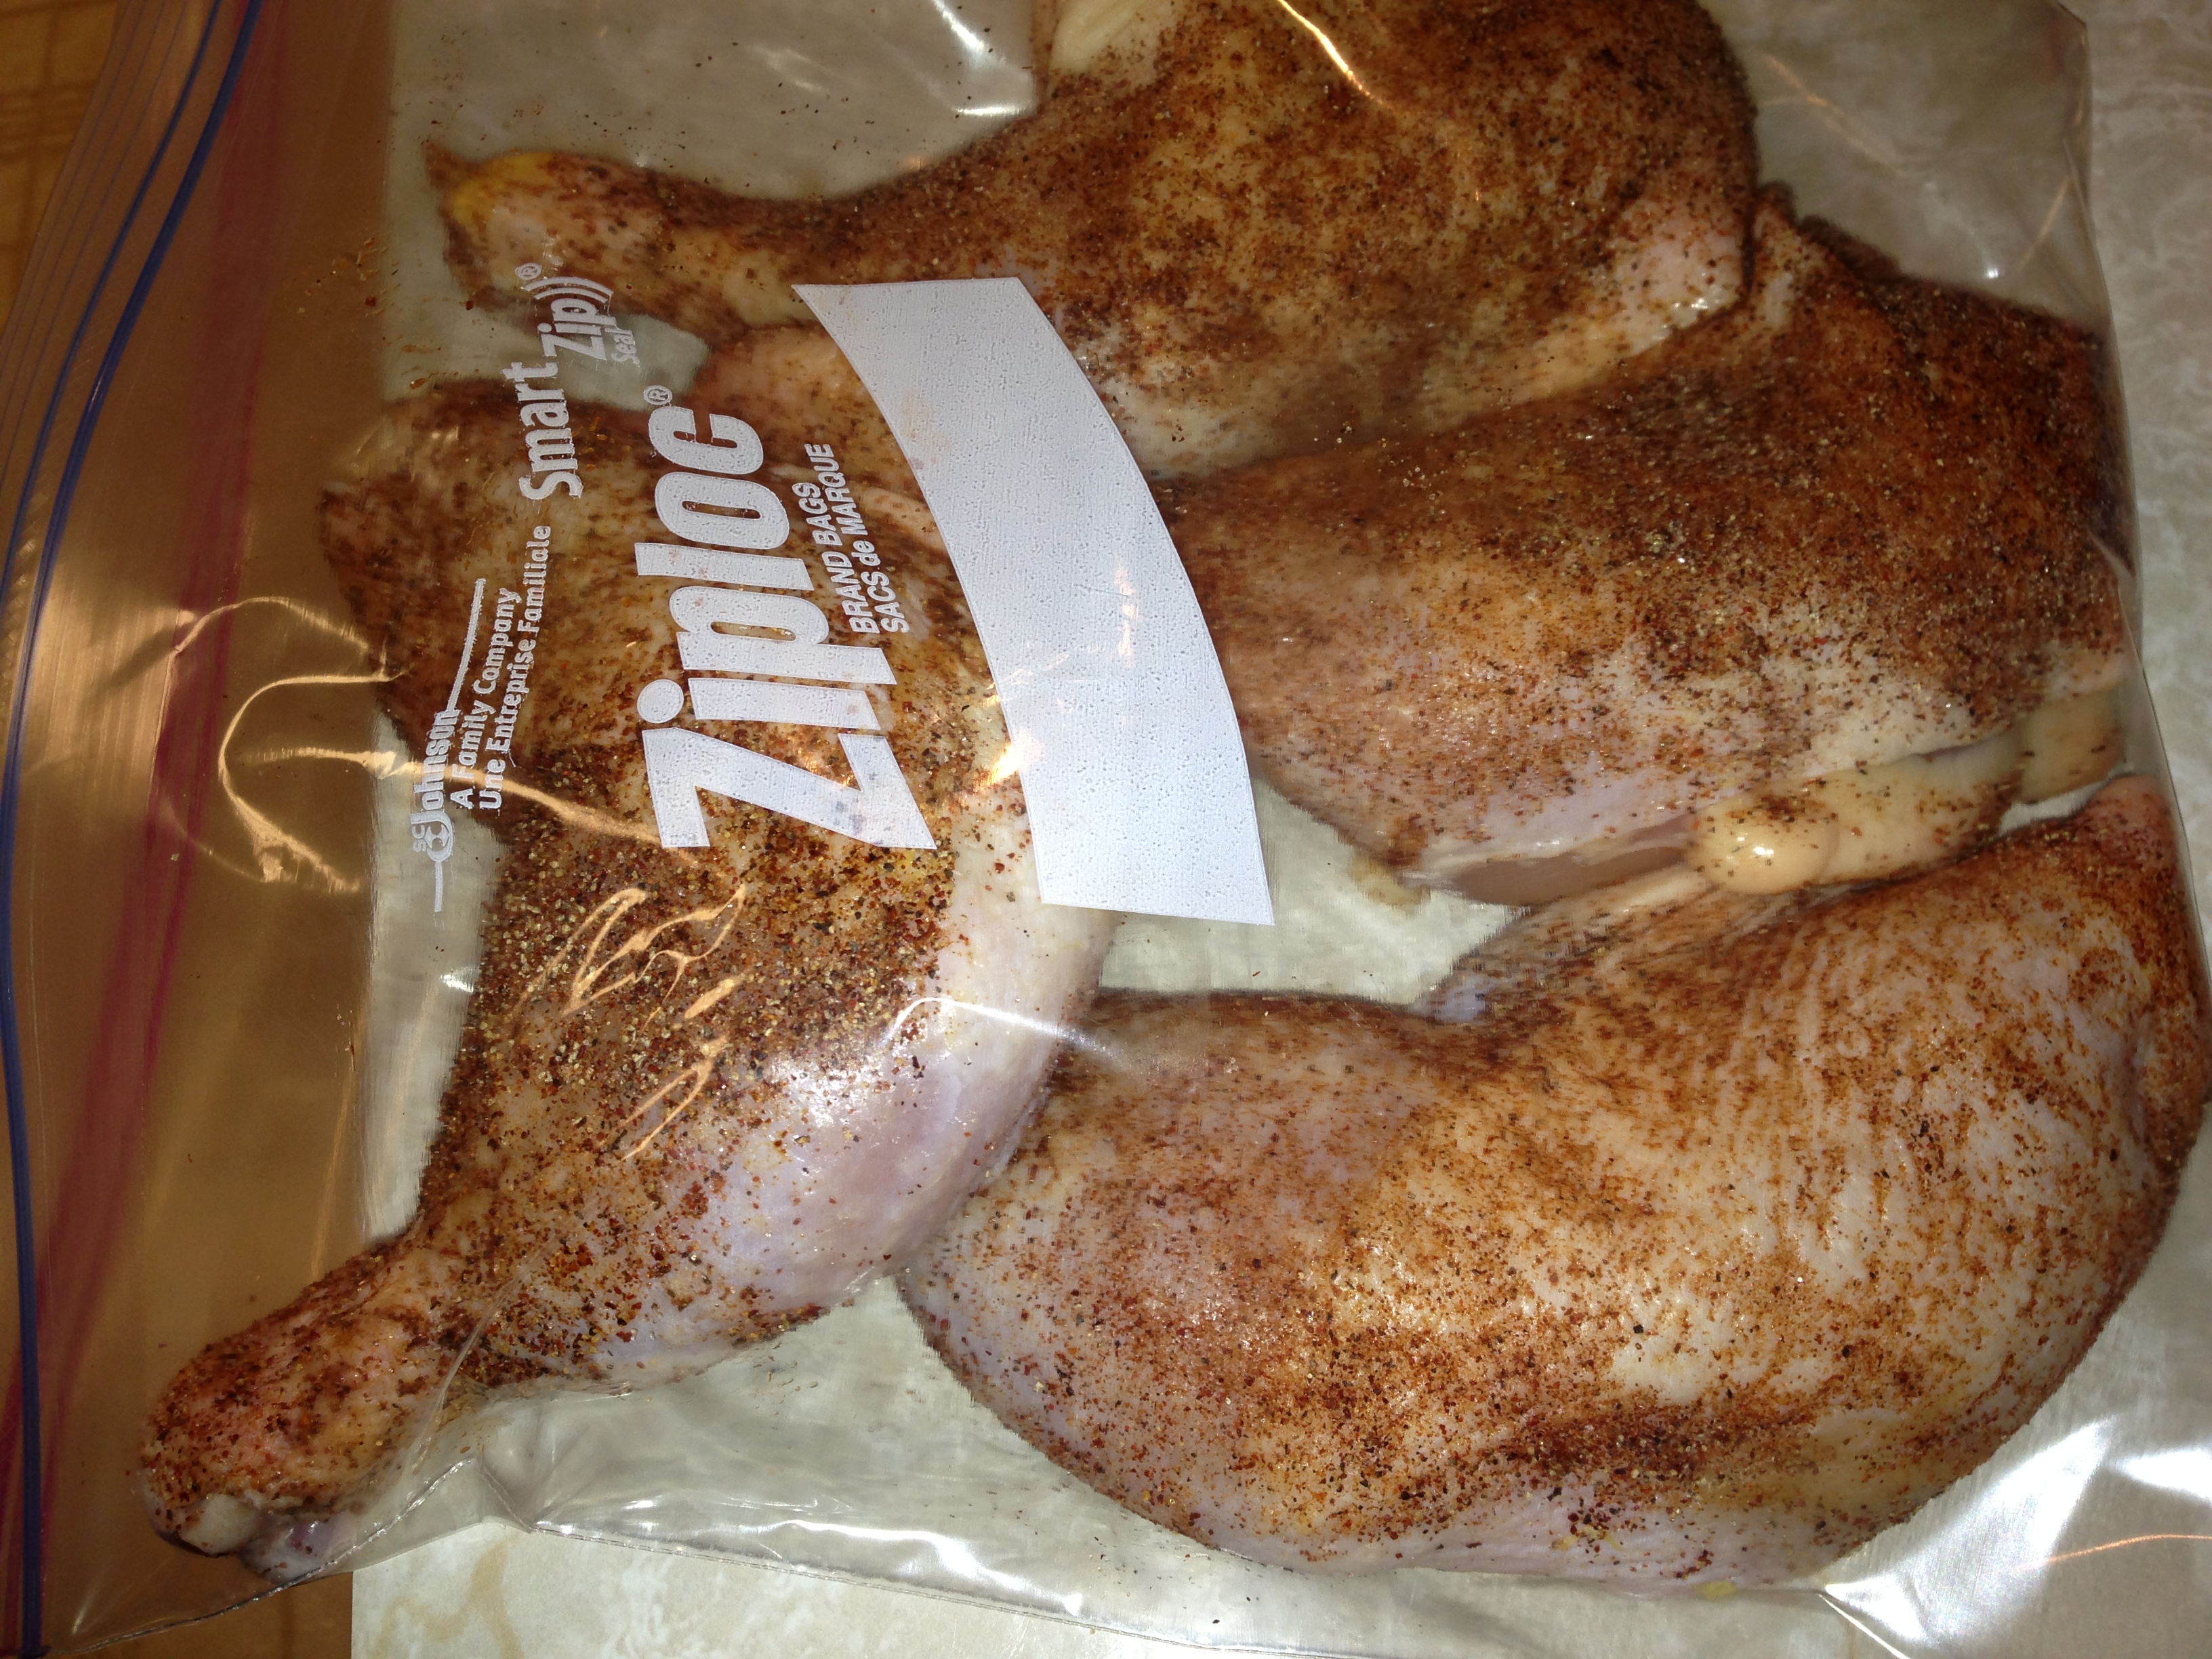
Jed is doing well on our Fructose Malabsorption diet, and we’re trialing him on different foods to see how he handles them.  So far, we’ve tried coconut shreds, coconut milk, garlic, onion, and, accidentally, zucchini!

Chocolate Pudding Face!

Chocolate Pudding Face!

Garlic gave us clear cut symptoms almost immediately and was clearly a fail.  However, I was using garlic powder for the trial (as that was all I had in the house!) so I do wonder if just a clove or two of garlic in a dish for flavoring would be a problem.  I may decide to give that a trial at some point.

Coconut shreds also gave us some clear symptoms, but I just couldn’t let it go.  We can avoid coconut shreds pretty easily, but coconut milk is a godsend to a dairy-free kitchen, and I HAD to know if it was going to be a problem or not.  Thank goodness I pushed through!  Turns out, real coconut milk (in the can, not the boxed drink) poses NO problem whatsoever for Jed – so we can bring whipped cream, my hot chocolate recipe, coconut milk ice cream and all sorts of other yummies back into rotation.  Happy dance!

Onion concerned me; it has fructans just like garlic, so I was pretty sure it would be no good.  Still, I had to try because it certainly makes food taste better!  So I added half an onion chopped up to a few dishes and gave them a try.  Turns out that onion is okay!

The only time we had any confusing signs was the very last day we were trialing onion, when we saw some undigested food in his diaper.  But, it was bell pepper skins and what looked like the seeds from a zucchini.  Bell pepper skins are a tad tough to digest, so I rank them up there with corn (you know you Mama’s have seen whole corn kernels in diapers before!) and don’t worry too much about it.

I was updating our diet book with our “go” and “no-go” foods for Jed, when I saw that zucchini is actually on the “avoid” list for fructose!  My brain switched that around completely somehow, so I didn’t realize that I had actually given him two trials at once the night before the concerning diaper: onion AND zucchini!

So, I’ll keep giving him onion, but keep an eye on it, and we’ll give a separate trial for zucchini just to see.  I honestly think the onion is going to be fine as an addition to a whole dish for flavoring purposes, but that onion rings or my 4 onion soup (it’s heavenly!) are probably not going to pass muster for his little tummy.  Just Mommy Gut chiming in on that one.

Next, I really want to try him on wheat.  My homemade honey wheat bread is one of our favorite foods in this house, and I’m pretty sure I can make it with maple syrup instead of honey for the purposes of testing wheat.  That way, even if it’s a no-go food for Jed, he’ll have been able to enjoy having a slice of toast and a sandwich for a day or two before we have to pull it back out of his diet.  (Though, does he really enjoy eating the foods that wind up causing him problems?)

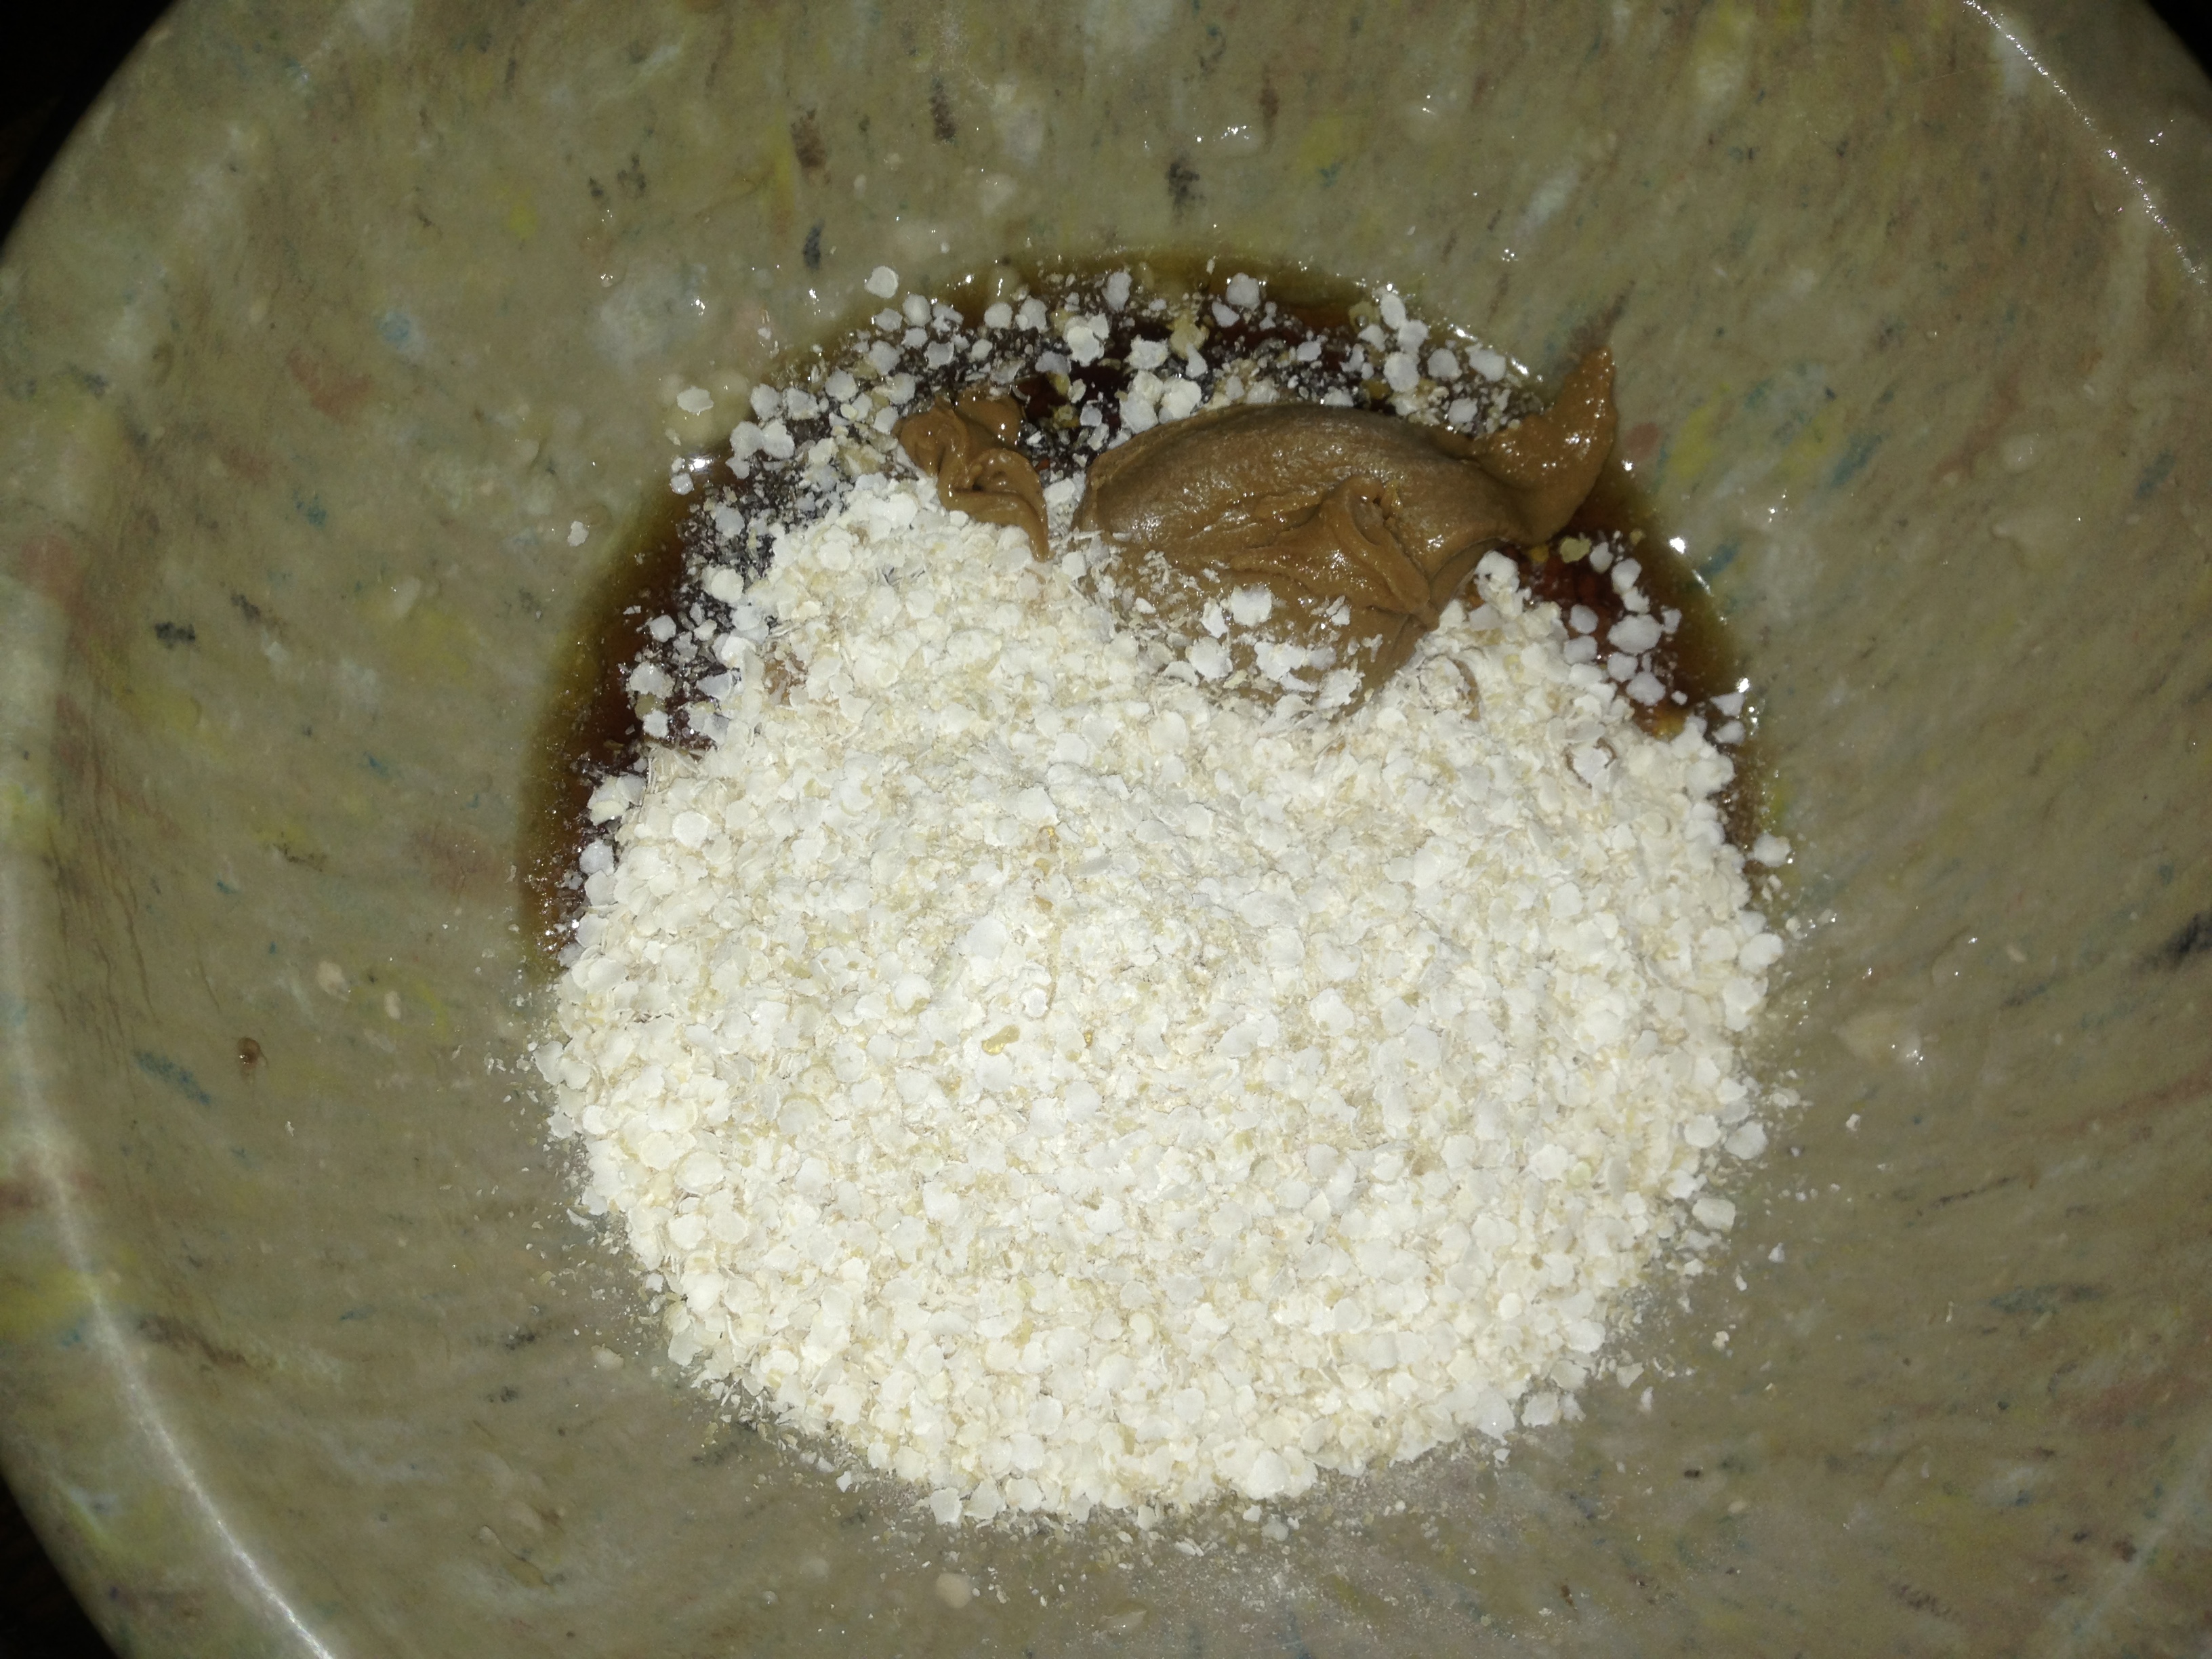
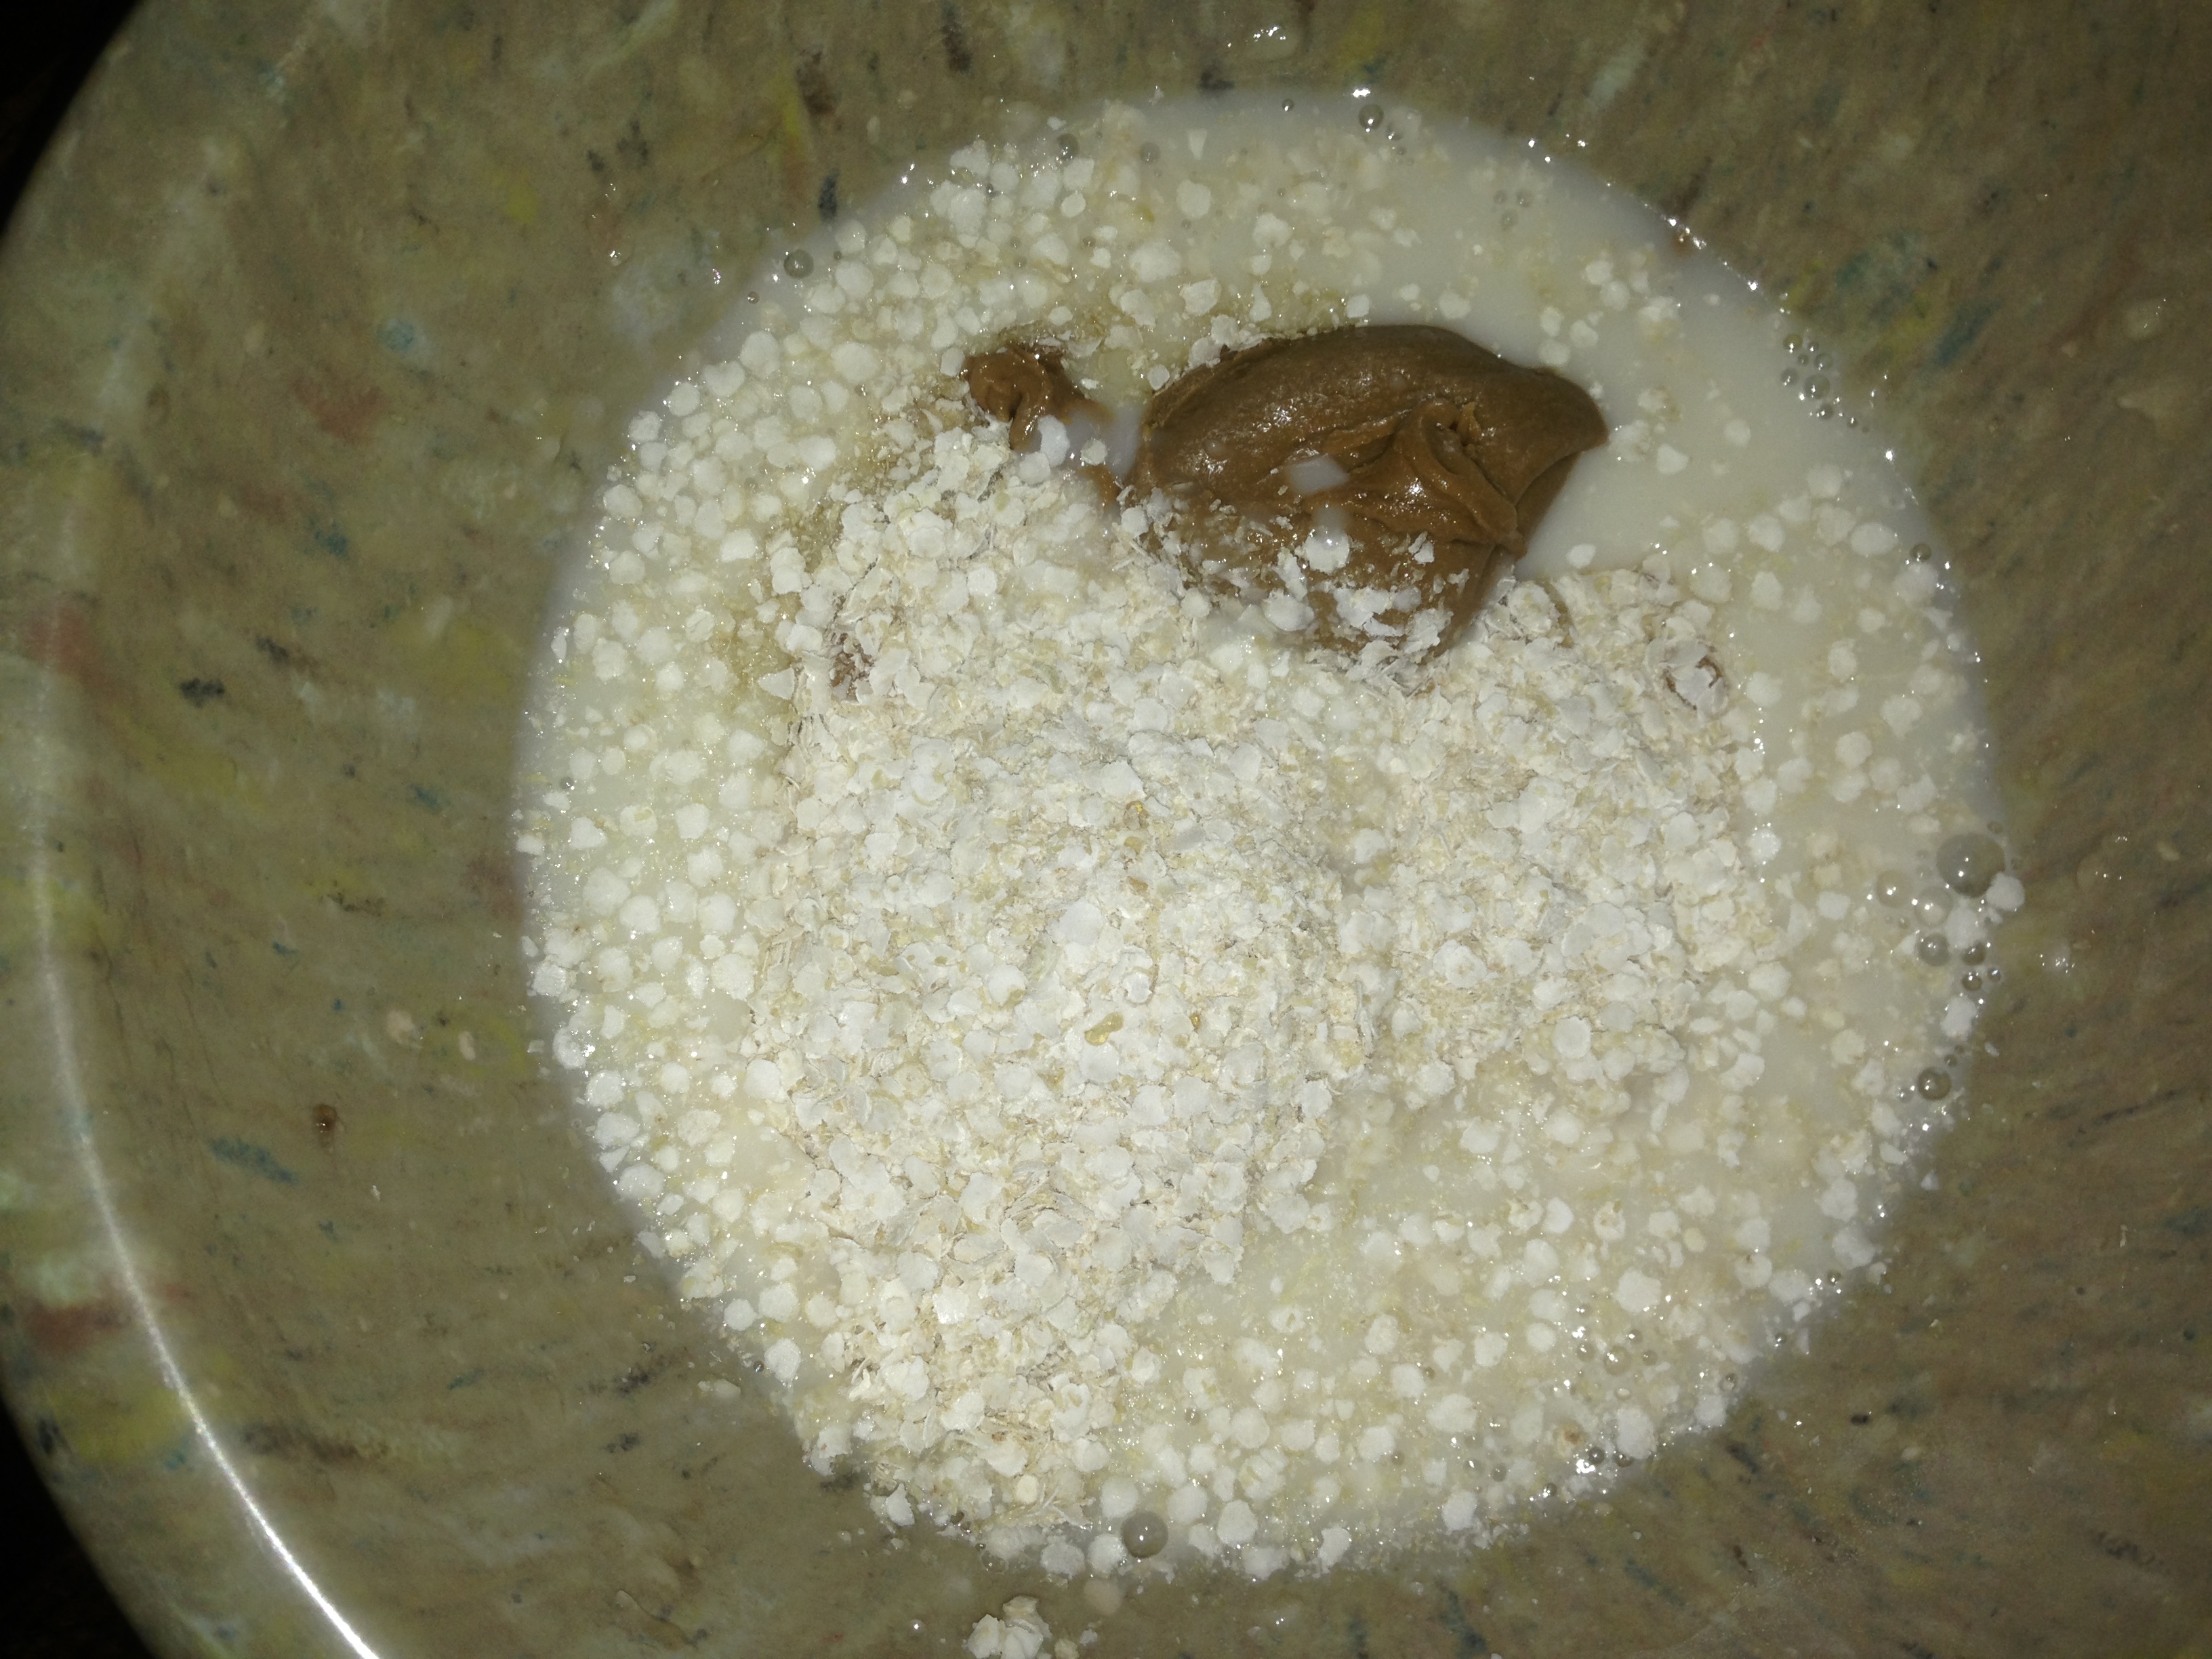
We’ve pulled peanut butter out of his diet, too.  He definitely had a reaction at one point, and we were confused at that time about whether it was peanut butter or cross-contamination of the rye bread we were giving him.  Thinking through it in hindsight, though, it was not the first time he had been given that rye bread so the idea of it being cross-contamination (with egg or dairy, for example) doesn’t hold much weight.

At the same time, he’d had peanut butter many, many times before, too, and hadn’t had reactions.  Then our new allergist (love that man!) pointed out that sometimes peanut can cross-react with certain pollens, so voila!  Our answer: Jed can handle peanut butter…unless there is something going on pollen related in our area, and then it breaks him out in hives, rashes, and makes him want to put Neosporin on his tongue.

Frankly, sunbutter makes him just as happy and doesn’t leave me debating on dipenhydramine or Epi-pen, Jr. use, so, see ya, Peanuts!  I’d just as soon not take risks with peanuts!

One thing that hasn’t really improved is weight.  As of yesterday, he weighed a whopping 26.2 pounds.  He’s been steadily holding on to the 26-27 pound range since January, and we just can’t seem to get him to gain weight.  Even when he eats well.  Very frustrating.

So that’s where we are at with Jed.

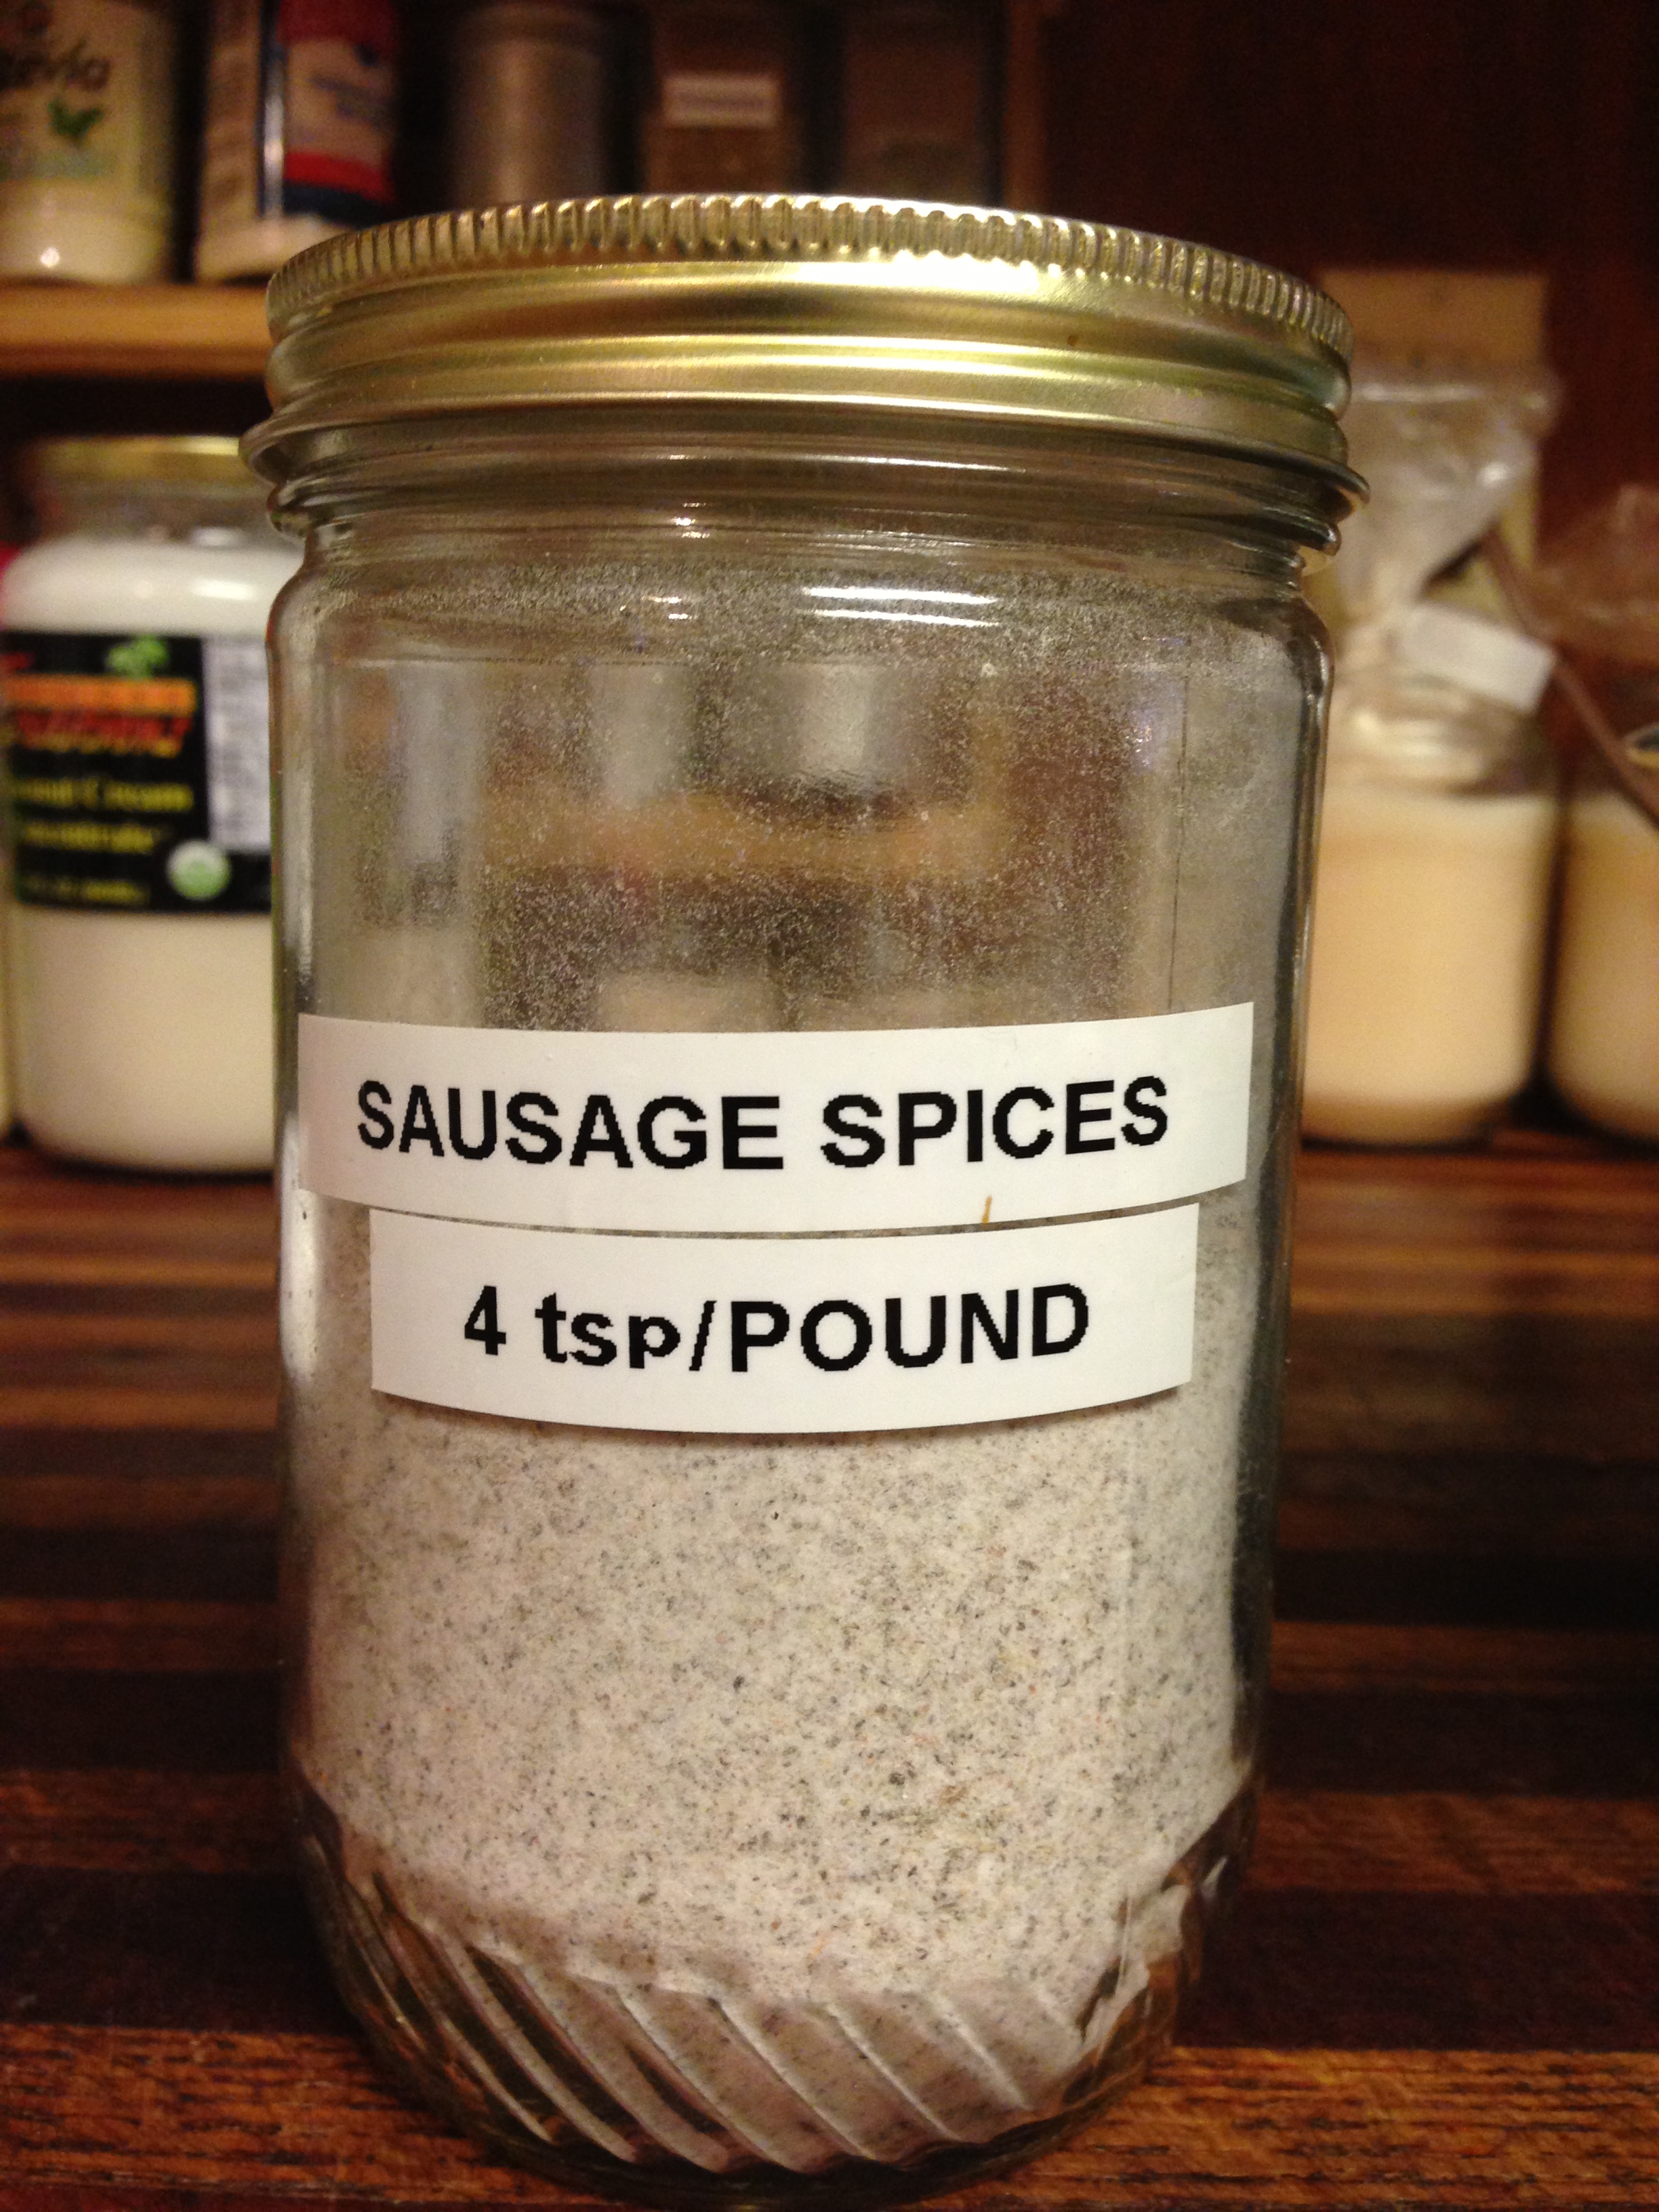
Zac, on the other hand, isn’t doing so well.  Between ibuprofen, acetaminophen, board books, examining room table paper, stray sausage crumbs, stickers off sunglasses at the dentists office, kitty litter, cheerios, non-toxic soy paint and a crumb he got on Feb. 25th that I didn’t even write about he’s been almost constantly reacting since the beginning of November!  

Me and Zac in a Box.  That's entirely too appropriately metaphorical for my tastes, actually.

Me and Zac in a Box. That’s entirely too appropriately metaphorical for my tastes, actually.

Three days ago I thought we were finally, FINALLY on the upswing towards getting to baseline and then BAM!  Two days ago it started: mucous filled diapers with a nasty smell and trace blood in testing, frequent sleep disturbances and comfort nursing.

Sigh…

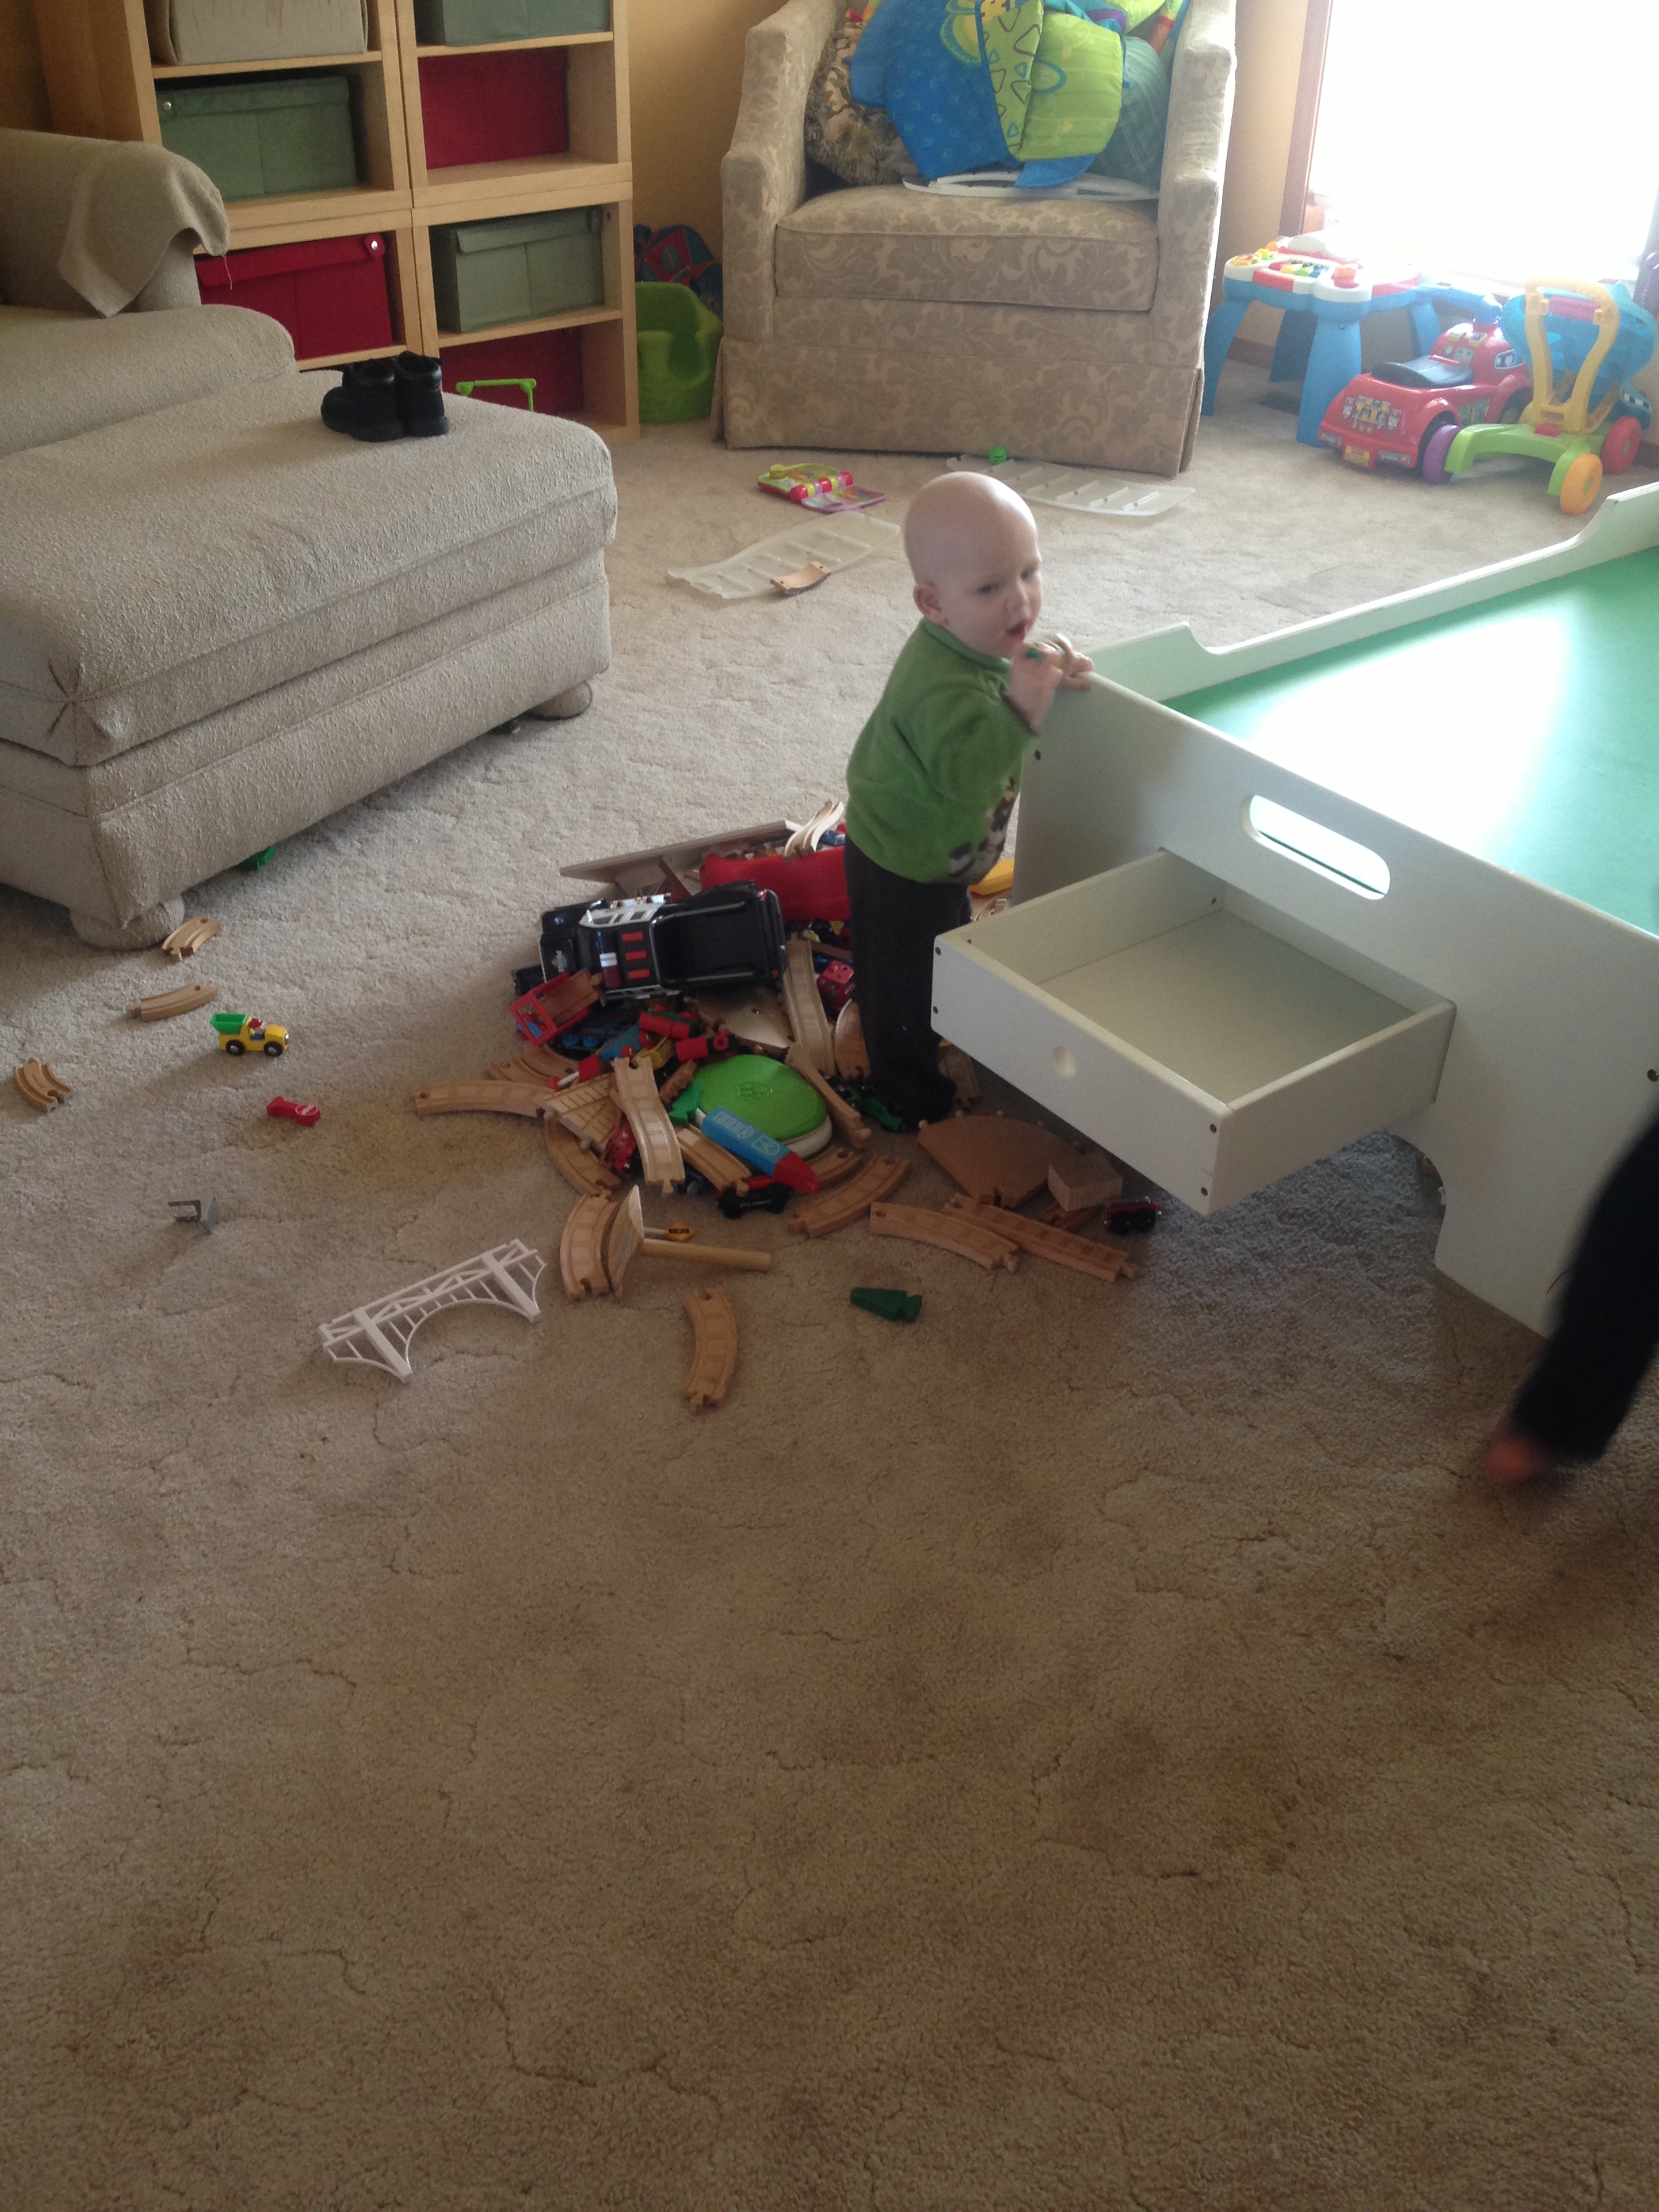
The worst part is that this time I don’t even have a CLUE what could be causing it!  He’s no longer allowed on the floor in the kitchen or dining room and there is no food allowed in the living room.  We still sweep the floors multiple times a day.  And in his diapers I have found WHOLE carpet fibers (really, Zac?), a freaking FEATHER (from WHAT??), and some unidentifiable “somethings” that LOOK like they might be food, but really, I honestly don’t know.

Not to mention the leaves and twigs I’ve found that I can only guess he found on the carpet after being tracked in by me or Darrel.  (Whatever genius decided that houses don’t need an entryway but instead should have the front door open directly into the living room needs to be slapped. Just sayin’.)

Do leaves and twigs have proteins in them that can set off FPIES reactions?  I don’t know!

What about the wool in the carpet fibers?  Or how about the feather from whatever unidentified fowl that he ate?  I don’t know!

Folks, I’m about at my wits end, here.  I don’t know what else we can do to get him to baseline.  But here are my thoughts:

  • Start using separate scrub brushes for cleaning my cookware, plates, and utensils from the “regular” meals I make.  (Hasn’t been a problem, but just in case.)
  • Shoes come off before we walk on the carpet.  (This is going to be tough.)
  • In addition to sweeping, we will now vaccuum the carpets at least twice daily.

And if all else fails?  His cute little tushie is just going to have to move in to the pack ‘n play.  I know he wants to cruise and attempt walking (he’ll stand all by himself and even take single steps in the last week!) but even if it delays his walking skills we have GOT to get this kid healthy!  I’m sure I will be greeted with hours of wailing and screaming about this, but I have flat run out of ideas.

Sigh…I really want to stop seeing diapers that make my stomach drop.

And I really want to feed my son.  Really.

So, that’s where we’re at.  Would you mind praying for us, and maybe offering any suggestions that would work to keep a curious crawler from putting every single thing he finds into his cute little mouth?  Thanks!

Vegan Cheese Quesadillas

I had to share this with you!  This was dinner for the boys last night:

IMG_6350

Pretty unremarkable looking, I suppose…until you find out that these quesadillas were made with homemade vegan cheddar that TASTES GOOD!!!

I wish I could take credit for this recipe, but I cannot.  The brilliant mind behind this is Mary Banducci, over at Sweet Roots.  While I want you to go visit her site and read all her cheese recipes (and look at her other brilliant stuff, too!) this was just too good not to show you how easy it is, and I had to share.  (Mary, if you read this – my family is madly in love with you for giving us back CHEESE! Kisses!)

So, last summer, shortly after Zac was born, I discovered this recipe.  I was so excited I almost hurt myself getting to the kitchen to make it – and it came out divine!  For the first time in his life, Jed got to have bean and cheese burritos, and quesadillas, and I got to eat vegan cheese that didn’t taste like feet.  (Sorry, Daiya – I just can’t stomach you!)

Then, a week later Zac was hospitalized and this whole elimination diet journey began for us and I have not been able to make this cheese for us ever since!

Well, last week we were busy testing out Jed’s reaction to coconut.  The verdict: he doesn’t do well with actual shredded coconut, but he could drink whole milk coconut by the can and it’s just fine on his tummy!  WOOT!

Coconut milk is one thing I really want in my kitchen if we have to be dairy free.  It makes so many gorgeous dairy substitutes, and many of them are tastier than the original! So I was very busy doing a happy dance this week and suddenly remembered this delicious cheese recipe.

Yesterday, while Zac was down for his nap, Jed and I ventured into the kitchen and made some.

KITCHEN TIP: When cooking with toddlers, it makes life a lot easier if you utilize mise en place.  Then you don’t have to worry about having your attention scattered when your little one is near a hot stove; everything is ready to go!

Mise en place ingredients

Mise en place ingredients

First, Mary has you boil two cans of full-fat coconut milk until they are no longer separated.

Coconut milk in the pot, starting to heat up

Coconut milk in the pot, starting to heat up

Jed likes to help stir anything and everything in the kitchen!

He's learning early - taste-testing while cooking is one of the best parts!

He’s learning early – taste-testing while cooking is one of the best parts!

Once it gets to a good, hot temperature, add your vinegar, agar flakes, and salt.

My little helper dumping the ingredients in the pan while I whisk.

My little helper dumping the ingredients in the pan while I whisk.

Whisk constantly and bring that to a boil for 15 minutes.  (I just saw that Mary has updated her recipe to include instructions for using Agar POWDER, which means you can boil for a shorter time.  That is VERY useful for cooking with a toddler!)

At this point, Jed entertained himself playing with the ingredients still in ramekins on the stove top, which lasted about 6 minutes.  Then he played with the can opener for a couple minutes.  Then he wanted to stir for a minute.  Then he started to lose interest.  So, when you reach this sort of long step when cooking with a toddler, make sure to have ‘entertainment’ available so you don’t lose their interest!

After 15 minutes, you add the rest of the ingredients.

Adding the last few ingredients!

Adding the last few ingredients!

You have to WHISK CONSTANTLY at this point!  It quickly starts coagulating and needs constant motion.

So, of course, this was when Zac woke up from his nap!  Obviously!  

I shoved the cheese off the stove, raced in, grabbed him, raced back, and one handed stirred while instructing Jed to drag the bouncy chair in from the dining room.  He did, and I took a quick couple of seconds to unceremoniously shove Zac into the bouncy chair before turning my attention back to the cheese.  Whew!  It wasn’t ruined!

After 5 more minutes of stirring, I took it off the heat and poured it into a greased dish.

AND...we have CHEESE!

AND…we have CHEESE!

Now, something I remembered from the first time I made this is that it is very greasy.  Maybe I’m doing something wrong from her recipe, but this time I made sure to pour off as much of the grease as possible before pouring the cheese part into the dish.  Then, after the cheese was in it’s resting place, I used paper towels to blot the surface of the cheese and remove more excess grease.

I’m glad I did, because it made a HUGE difference!  This was much more like a cheese than the first time I made it!

He's so proud of himself for helping me make cheese!

He’s so proud of himself for helping me make cheese!

Once you’ve got your cheese poured out, it needs to cool.  I put mine in the fridge until I was ready to use it, which was about 6 hours later, but it really only needs an hour or two in the fridge before it is good to go.

After cooling in the fridge for a couple hours...

After cooling in the fridge for a couple hours…

...and a lovely wedge cut out for display!

…and a lovely wedge cut out for display!

Now, Mary says the cheese will get firm enough to grate; mine has never managed that.  It’s more of a soft cheese.  Then again, I never use liquid smoke in the recipe like she says, and I didn’t have smoked paprika, only regular paprika, so maybe that has something to do with it.  It doesn’t matter, though.  Either way, it’s delicious and it melts beautifully!

I’m not going to write the recipe down here, because in this instance I just did exactly what she said (with a couple of omissions but no substitutions or changes).  So if you want to make this – and you SHOULD want to make this – go visit Sweet Roots and come back to thank me for sharing her with you!

Now with all this beautiful cheese, what to make for dinner?  

Quesadillas, of course! 

Since I already had some chicken cooked and shredded, I simply chopped up some bell pepper, mushrooms and onions and tossed them into a pan with olive oil.

Orange bell peppers, onions, and mushrooms softening in the pan

Orange bell peppers, onions, and mushrooms softening in the pan

We’re moving on to trial onions on Jed now, so the next few days will have very onion-y food in our house!

I cut a lime in half and squeezed some lime juice on top of the veggies while they cooked.

I can't help it...limes are just pretty.

I can’t help it…limes are just pretty.

I had planned on using my homemade taco seasoning mix, but we were out!  Ack!  I didn’t have time to make more before the recipe was ready to move on, so I decided to just go simple: lime, salt and pepper.  Turns out?  Good move.  Darrel said it was very flavorful but not overwhelming.

Then I tossed in the chicken to heat up and get some of that yummy flavoring…

Some chopped up chicken warming in the pan...

Some chopped up chicken warming in the pan…

And when that was all heated up I dumped it into a bowl, scraped all the little ‘bits’ out of the inside of the pan and added some more olive oil to heat.  Then I tossed in a corn tortilla to begin warming.  If you can use flour tortillas, feel free, and if you need to make your own homemade quinoa tortillas, those would almost certainly work fine, too.  I just happened to have corn tortillas in the fridge!

I scooped out a couple of heaping spoonfuls of my chicken mixture and threw it on half the tortilla, then sliced a few ‘slices’ of cheese and put those on top.

Ready to fold...

Ready to fold…

Then I folded the corn tortilla over the filling and cooked it for a few minutes on each side until it was crispy good!

I went and dug out some of my homemade, fresh salsa from the fridge, used a pizza rotary cutter to cut the quesadillas into finger food sized pieces for Jed, and dinner was served!

IMG_6350

I’ve already been informed that this needs to be lunch today, too.  

LOVE winning recipes!  

I SO hope Zac passes all of these foods so I can eat them, too.  THIS was a huge temptation for me – I LOVE quesadillas!

__________

VEGAN CHEESE QUESADILLAS

– 1 bell pepper (we used an orange)
– 1/2 cup mushrooms
– 1/4 cup chopped onion
– juice of half a lime
– about 1-1 1/2 cups pre-cooked, shredded chicken
– olive oil
– corn tortillas (or whatever flour is safe for you)
– 1 recipe of vegan cheddar cheese from Sweet Roots
– 1 cup of fresh salsa (for dipping)

  • Chop up the bell pepper, onion and mushrooms into small pieces.  Toss them in a pan with olive oil on medium heat to begin softening.
  • Squeeze the juice from half a lime on the veggies.
  • Add the chicken to the pan to let it warm.  Add some sea salt and pepper, too.
  • When it is heated all the way through, pour off the chicken mixture into a bowl and scrape out the bottom of the pan.
  • Add more olive oil to heat, and toss in a tortilla.
  • Scoop a few spoonfuls of chicken mixture onto the tortilla, and top with a few small slices of vegan cheddar cheese.
  • Fold the tortilla over the mixture to make a half-moon shape.  Cook for a few minutes, then flip and cook on the other side until crispy and delicious!
  • Serve with Salsa, and enjoy your vegan quesadillas that taste like the real thing!

__________

Have you made a homemade cheese before?  How about a homemade vegan cheese?  How did they turn out?  What do you put on your quesadillas?

__________

This post featured by Whole New Mom on  AllergyFreeWednesdays


And shared with:

Real Food Wednesdays

Frugal Ways, Sustainable Ways

Step A-waaay From the Playground Equipment!

Does adult supervision really mean within arms reach?

Does adult supervision really mean within arms reach?

Last Friday was an absolutely gorgeous day here: 74 degrees, bright, sunshiny and breezy. It was the Perfect Spring Day; so perfect that I just HAD to take the kids to the park!

You know when you were a kid and the playground was this bizarre world of social rules that sometimes didn’t make sense?  Yeah.  It’s still like that as an adult.

I’m not sure I’m a great playground Mama.

To keep my boys healthy, I have to watch them like a hawk!  Everything and anything they can shove in their mouths must be scrutinized, examined and judged.  Every activity they are invited to must pass through my “FPIES Eyes” to determine the risk versus reward of going.

Perhaps in response to my need for constant vigilance regarding their food, I’ve found myself getting more and more chilled out about things other parents seem to be terribly concerned about.  

Like playing.  

The way I see it, my sons lives are hampered, in many ways, by their food restrictions.  I will be a constant, hovering presence any time they are near food.  So to teach them independence, to teach them responsibility and self-respect, I need to back off  every other chance I get.

Like at the park.

So here we are, playing at the park.  Jed is not quite 3 years old.  He’s scampering around the “big kid” playground structure, having the time of his life.  Other kids, from his age up to around ten years old, are scampering around the equipment, too.

And so are their parents.

ON the playground equipment.  

The equipment designed for 5 to 12 year olds.

Am I the ONLY person shaking their head at this?

I just wanted to ask these parents, “How would YOU have felt at 7 years old if your Mommy was three feet away from you while you played on the jungle gym?”  Because I would have hated that and I’m sure they would have, too.

Jed loves to have sand and/or water poured on him, so he thinks other kids love it, too.  He was playing with some little girls in the sandbox (all of whom were at least 5 years old) and decided to pour sand on their heads.  As I expected, they didn’t like it!

Now, when I was a kid and a little boy poured sand on me, I yelled at him.  I told him “Don’t do that!”  When he did it again, I threw sand at him AND told him ‘no’.  When he did it a third time, I punched him!  Then I left and played somewhere else.

End of story.  Case closed.  He learned not to mess with me, and I learned to stand up for myself.  (Years later, I dated that boy, but that’s another story!)

So is that what these little girls did?

Pshaw!  No way!  Without saying a word to Jed, they turned and ran to their mother.  Conveniently, I had struck up a conversation with their mom and was chatting with her while this was going on, so when the girls came up to whine to their mother about Jed, I was able to hear the entire exchange.

Their mom, a very nice woman, started in with “Well, he’s just a little boy.  He doesn’t know any better.”  Which was true – he IS a little boy and doesn’t know any better.  My question is, how is he going to learn?

So I told the girls, “Girls, if he does it again, yell at him.  Tell him not to do that to you.  If he keeps trying to do it, throw sand back at him.  The only way he’ll learn how to act around you is if you teach him that throwing sand is not okay!”

This, as you might imagine, did not go over well with their Mom.  

She didn’t like the idea of her girls throwing sand at my son – even WITH my permission!

Later on, Jed started playing with a little boy about two years older than him.  They were playing some kind of ritualistic “King of the Hill” type thing they had made up.  Jed stood on top of the platform and the little boy tried to climb up the ladder and get onto the platform.  Jed screamed at him.  The boy screamed back.  They screamed at each other until Jed giggled and ran away, the boy climbed up, and before I knew it, they were in reversed positions with Jed climbing the ladder and the boy on the platform, still screaming at each other (and grinning and giggling the whole time, might I add!).

The little boys dad was yelling at him “Be nice!  He’s just a little boy!  Let him up the ladder!  (firmer) Son – I said play nice!”

Sigh…

OK, so maybe this will be an unpopular point of view (or maybe you’re all Free-Range Parents and I won’t get lynched!), but here are my thoughts on these “playground vignettes”:

Climbing and crawling on playground equipment is how kids learn what their body can do, and how to make their body do it.  It’s how they learn balance and coordination.  It’s also where they learn courage, determination, and judgement: “I don’t think I can make that step” or “I am GOING to reach that top level if I have to try all day!”  (Sound familiar to thoughts you had when you were a kid?)

If a little girl 5 or 6 years old doesn’t know how to stand up to a 2 year old by herself, how on earth is she going to be able to stand up for herself against a potential date rapist in another decade?  Tell him to wait a second while she calls her Mommy? (No, I don’t think this means she’ll never learn how to stand up for herself…the question is, where and when?) 

Little boys play differently than little girls; it’s all about dominance and proving your ‘manliness’ – even at a young age.  That doesn’t mean they can’t be friends and play nicely together, but when you put two little boys together, they WILL compete with each other and they WILL try to assert dominance.  

Um…have you ever seen two men meeting for the first time?  SAME THING.  

It’s a guy thing, and to constantly tell our sons to “play nice” (code for “stop asserting your dominance in this current contest of wills”) is essentially neutering them; handicapping them in their ability to navigate the world of masculinity that they are destined to live. Sometimes our sons will win the contest and sometimes they will lose.  It’s how they learn when and how to assert their dominance as they grow into men.  It’s good!

The playground, ladies and gents, is WHERE kids learn how to interact with other kids.  It is WHERE kids learn how to stand up for themselves, how to deal with jerks and bullies, how to assert dominance – and then express kindness and empathy.

How on earth can our children do that when Mommy or Daddy is three feet away telling them what to do and how to do it?  

They can’t.  

Now, there is a time and place for parental intervention.  If a child has crossed a line and the other children are not able to stop the misbehavior – of course, step in.  If there is a seriously stupid test of bravery they’ve created that will easily result in bloodshed – of course, step in.

There are other examples I could list, but, frankly, we’re supposed to be the adults!  We’re supposed to have the judgement to see when kids need a guiding hand and when they Just. Need. To. Be. Kids.  

Not to sound cliched, but kids are people, too.  Not all people are nice.  Not all people are going to be your friend.  Not all people are going to play fair.  To force our kids to adhere to these “play nice” rules is demeaning and insulting to our kids: they need to learn how to function in the real world, not the world where “hurt feelings” are to be avoided like the plague.  (Don’t we all get our feelings hurt as adults?  Imagine how bad it would be if you were never taught coping skills for that as a child!)

So for the social graces, the mental health, and the self-confidence of our next generation, please, parents, I’m begging you: Step away from the playground equipment!  

__________

What do you think?  Are we doing our children any favors by micromanaging every interaction they have? Or are we teaching them something useful?

Banana Quinoa Breakfast Bake

Banana Quinoa Breakfast Bake CradleRockingMama.com

A while back, one of the moms on the FPIES boards asked for quinoa recipes. Another Mama recommended the website Healthful Pursuit, saying she had a ton of quinoa recipes! Always on the lookout for new recipes – or inspiration for creating my own – I checked it out.

Am I ever glad I did!  

She has lots of delicious, healthy looking recipes on her site, but the biggest boon to the Cradle Rocking Kitchen is her idea of a “breakfast bake”.  I made her Pumpkin Spice Quinoa Breakfast Bake (with MANY modifications) for Darrel and Jed and they both loved it!  Darrel did say it was very “heavy”, but very yummy and filling.

Still, right after I served it to them, Jed started having some fructose-y reactions, and we weren’t sure where they stemmed from.  Was it the coconut I put in something he’d had the day before?  The peanut butter in another recipe?  The ginger or the pumpkin in the breakfast bake?

We didn’t know. So we decided to pull back and trial each ingredient individually.  (For the record, it was the coconut. Boo.)

In the meantime, I hated the idea of giving up an excellent breakfast idea!  Breakfast has gotten pretty boring around here, what with our many dietary restrictions.

I perused the rest of Leanne’s breakfast bake recipes, but they almost all were heavy on the fructose!  The reason I made the pumpkin one in the first place was that it was the easiest to eliminate fructose from; none of the others that I saw were nearly as easy to modify.

So, I decided to get creative and make my own breakfast bake…inspired by the brilliant mind of Leanne at Healthful Pursuit.  Somehow, I think she’d be pleased with what I wound up with.  (Well, I hope, anyway!)

So here’s what I did:

First, I mashed up one whole banana in a bowl.

Mashed Banana

Mashed Banana

Then I added 1/3 cup of quinoa flakes, and topped that off with 1 T. of sunbutter, and 2 T. of maple syrup.

Quinoa, sunbutter and maple syrup

Quinoa, sunbutter and maple syrup

Threw in about 1/4 cup of almond milk.

A little almond milk...

A little almond milk…

Mixed it all together and threw it into a greased dish.  Ta-da!  Ready to go into the oven!

Ready to bake!

Ready to bake!

I thought I’d try the microwave to see if it would work like the inspiration recipe did.

It did!

3 minutes later, and I had a CAKE!!

Cake for breakfast? Of course!

Cake for breakfast? Of course!

Jed certainly scarfed it down.  In fact, it’s one of the few new recipes I’ve tried that he will eat every.single.time we serve it.  It’s really cute, actually – he’ll come to the table, look up and see I’m bringing him the Banana Bake, and scream “CAKE!!” and start bouncing in his chair.

I sure like it when my kiddo goes NUTS over HEALTH FOOD!!

Since the first time I made it, I’ve messed around with it a bit.  I now add some vanilla, and that usually means I have to increase the quinoa flakes to compensate.  Since everything is better with vanilla, though, I think it’s worth it!

I hope you like it, too – it sure makes getting breakfast on the table in the morning a whole lot faster and easier!

Banana Quinoa Breakfast Bake
 
Prep time
Cook time
Total time
 
A moist, delicious "cake" that's actually a fabulous breakfast food!
Author:
Recipe type: breakfast, top 8 allergy free, fructose friendly, gluten free
Serves: 1
Ingredients
  • 1 banana
  • ⅓ c. (plus ~1 T.) quinoa flakes
  • 1 T. sunbutter (you could easily use peanut butter if that's safe)
  • 2 T. maple syrup
  • ¼ c. milk (whatever milk you can safely use)
  • 2 tsp. vanilla
  • 1 tsp. baking powder
Instructions
  1. Mash the banana in a bowl.
  2. Add the other ingredients.
  3. Mix until well blended.
  4. Use some oil to grease an oven and/or microwave safe bowl.
  5. Pour your batter into the bowl.
  6. Zap it in the microwave for 3 and a half minutes, or bake at 350 degrees for about 30 minutes.
  7. Enjoy health food that masquerades as a CAKE for breakfast!

If you’d like, top this with a safe whipped cream and REALLY feel indulgent!

__________

Do you have any creative breakfast bake ideas?  Please share!

__________

This post featured by Tessa the Domestic Diva at 

realfoodallergyfree

And shared with Real Food Wednesdays 

 Frugal Days, Sustainable Ways

Apparently Teething Makes FPIES Kids Sick

…at least, when their Mama doesn’t pay enough attention to what they are teething on!

As a modern, good mother, I made sure to get lots of solid wood toys for my boys to play with.  Like Jed’s Thomas Trains, and the entire wooden layout.

Zac has been delivering tiny, little bitty flecks of green and red in his diapers for the last month, and we had no idea what they were from.  He’s also been having mild to medium FPIES reactions for the last month, but we never connected the two.  There were always things that explained his bigger reactions that made sense.  (Kitty litter, stickers, sausage and paper, for example!)

But I’m starting to wonder if those lovely red and green flecks might not be making it harder for him to bounce back from his reactions, now that I finally figured out where they are coming from:

Train layout accessories

Train layout accessories

Do you see what I see?

A close up of the teeth marks and missing PAINT

A close up of the teeth marks and missing PAINT

I’ll bet you money that these toys were painted with non-toxic paints; which, as we all know, means SOY and/or CORN.

Both of which are suspected triggers for Zac!

So, all the wooden painted toys like this are hidden away now, except, of course, for the trains themselves.  I think Jed would suffer a nervous breakdown if we took away his Thomas trains…and he does a pretty good job of keeping those away from his brother anyway (“No! Mine!” is a common refrain from the living room).

Maybe, just maybe we’ll finally get some diapers that DON’T test positive for blood, and we can finally start him on the probiotics.

I’m trying really hard not to beat myself up over this; how long will it take before I can spot the danger from a mile away, instead of up close in my rear-view mirror?

But why, oh WHY does Zac insist on ONLY teething on things that will make him sick?  Why aren’t the gel cooler teethers satisfactory?  Ugh…

Anyone else have a “head slap” moment over wooden toys? 

My Path To Motherhood and a Big Reveal!

Every mother has a story; the story of how she became a mother, the story of how being a mother has changed her.  Today I’m writing about my path to motherhood over at The Happiest Mom.

I’m very excited about writing for Meagan; her blog (and book) is an inspiring, calming influence on me when my fears, worries and concerns about motherhood get me worked up.  So being selected to guest post on her site is an honor and a thrill!

I hope you’ll go read it, and I hope you’ll keep visiting her for your own dose of comforting, “you’re doing a good job” inspiration!

__________

Prompted by my first foray into ‘being published elsewhere’, I’m flinging off the cloak of anonymity and making the bold move of Revealing Our Identity!

When I began blogging, the Geek and I had concerns about privacy and security.  What can I say…we’re parents, and fairly private people to start with!  That’s why I started out using pseudonyms for my family.

But then the Geek started a blog to support his growing photography passion, and I started featuring his photographs (occasionally) on my blog…with his business logo watermark on them!

And I wrote a few posts that made mention of things in my local area.

And the Geek started sharing and liking everything I did on Facebook with this blog.

And we both started realizing…you know?  The truth is, anyone who really  wanted to know could figure out who we are.  Besides, the odds are against anything weird or bad happening to us because I write this blog; after all, newspaper columnists and book authors reveal their names and photographs and somehow only rarely deal with any negative fall-out from that.

So why are we being all hush-hush secretive about ourselves?

We couldn’t think of a really good reason, so with the Geek’s approval, we’re “coming out”!

HI!

My name is Carrie Summers.  I’m a Flight Attendant for a Major International Airline and have been working for them since I was 19 years old.  I’m based in the New York/Newark area, so I have a lot of experience with New York and New Jersey.  (Really neat places, both of them!)

Hiya!

Hiya! I’m not sure if I like my new hair cut yet.

I’m 35 years old, and originally from Houston, Texas.  As I mentioned in my anniversary post, when I met the Geek I chose to move to his location: Northwest Arkansas.

It’s a pretty interesting area, actually.  I mean, it’s Arkansas; being from Texas, we made disparaging jokes about Arkansans all the time!  But it’s also the headquarters for Wal-mart, JB Hunt and Tysons, and there’s a major university near us, to I sort of live in the perfect mesh of wealthy-big-business, college town, and country living.

I’m very happy here.

The Geek is my husband, Darrel.  He really is a computer geek – a DBA (Database Administrator) at the local university.  He’s also a fairly new photographer that is quickly growing in his skills.  (He’d grow a lot faster if he had more time to practice and more money for better gear!  But, you know, we have kids.)

Our Engagement Photo...pre-marriage, pre-kids - don't we look YOUNG!

Our Engagement Photo…pre-marriage, pre-kids – don’t we look YOUNG! (Though, this was before the weight loss for me.)

In fact, he started his photography blog to force him to devote a little bit more time to his growing art by doing a “365” project: one picture and post per day for a whole year.  I’m not even a photographer (as you can tell from many of my blog pictures!) and I find it interesting, as he discusses the thinking and technique behind the pictures he takes.  Check it out, if photography is interesting to you:  SumPics Photography.

He’s originally from this area, but left as a young adult and lived in lots of places around the country.  After joining the military, he even got to live in Italy for two years!  Once he was done with his military service, he came back here to finish college, and settled down for lack of any better ideas about where to live.

Then he met me, and the rest is history!

Mr. Charm is our sweetheart Jed.  I didn’t just come up with our pseudonyms out of thin air; he really is an incredibly charming kid!  He’s full of spunk and has a natural joie de vivre that I’m actually a little envious of at times.

This is pretty much how Jed looks almost all the time.  Running and giggling.

This is pretty much how Jed looks almost all the time. Running and giggling.

He’s fun, love, giggles, sweetness, and stubborness all wrapped up in an adorable nearly-three-year-old package.

Mr. Happy is our adorable Zac.  Again, his pseudonym came from his personality – he is absolutely the happiest baby I’ve ever seen!  While Jed is a happy kiddo, too, Zac is a more mellow, easy-going happy; he rarely gets upset.  Even with the many days he must be uncomfortable, or even in pain, he really only ever cries if he’s hungry, tired, or has a ‘reaction’ poopy diaper (he won’t cry if he has a normal poopy diaper – funny, huh?).

And this is pretty much how Zac looks all the time.  Smiling and intent.

And this is pretty much how Zac looks all the time. Smiling and intent.

He’s probably at least as determined as his brother, and we think he might even be physically stronger than his big brother, which is a scary proposition.  Jed is pretty strong; Zac can almost hold his own with Jed, and they’re 23 months apart.

It’s going to be so much fun watching these boys grow up together!

So, that’s who we are.

It’ll be a lot easier to write without the fake names – though I’ll probably still use them on occasion.  They fit my boys so well!

It’s nice to meet you!

What’s In YOUR Honey?

The remains of my last jar of local, raw honey.  LOVE the crystallization!

The remains of my last jar of local, raw honey. LOVE the crystallization!

This is just turning into a regular little series, isn’t it?  “What’s in YOUR ______?”  I try not to be paranoid or overzealous, but with my new FPIES Eyes, I’m finding more and more things to be disgusted about regarding our food/consumable goods supply.  So, I guess I’ve accidentally started a ‘thing’, because I absolutely want to share what I learn with you!

Today, I’m talking honey.  Bee Poop.  (Or bee vomit, to be more precise.)

And my little post should probably be called “What’s NOT in YOUR Honey?” to be most accurate.

This honey post came about because I recently read an article in Mother Earth News (reprinted from Food Safety News) about “Honey Laundering“, calling a recent US government ‘sting’ (ha – good pun!) “Honeygate“.

Basically, the article contends, grocery store honey is so finely processed and filtered that it has removed all evidence of where it came from and can no longer be traced to its origins.  This means countries which are banned or strictly limited to export honey to the US can possibly “launder” their honey through other countries and get it on our supermarket shelves, anyway.  And no one can tell, because the pollen has been removed!

This is problematic, as China is one of the worlds’ largest honey exporters, and they often use pesticides and antibiotics that are banned in the US, often have lead contamination of their food through various means, and beyond health concerns, can seriously undercut American honey farmers cost-wise, causing American honey-bee farmers to go out of business.

Furthermore, the removal of all the pollen and identifying markers means that it is possible for producers to actually “cut” their honey with cheaper sweeteners, like corn syrup, and no one can tell – even with laboratory testing.

No Bueno!  

This sounds terrible, right?  So I wanted to read more about it.  I looked up “Honey from China” on Google and found an NPR article called “Relax, Folks, It Really Is Honey After All.”  After reading this  article, one might suppose that Food Safety News is just an ambulance chasing, litigation-happy sounding board and that really, as far as honey is concerned, we have nothing to worry about at all!  (Go read it and see what I mean.)

Until I read the comments.

Overwhelmingly, the comments were disappointed with NPR’s lack of research and dismissive tone, and many of the comments pointed out little known facts about honey that I had never heard about.

Things like, there is NO Standard Identification of Honey in the US, and the FDA has refused – twice – to adopt the Codex Alimentarius Standard regarding honey.

I can read your mind; you’re saying “No what??”

I know, because that’s what I said, too.  So I looked it up.

According to The Journal of Agrobiotechnology Management and Economics, the Codex Alimentarius is a group formed under the World Health Organization (WHO) and the Food and Agriculture Organization (FAO)

(1) to protect the health of consumers, and (2) to promote fair practices in the food trade. These goals are accomplished by development of food standards, food guidelines, codes of hygienic practices, and other actions.

Their Standard for Honey is pretty clear-cut:

Honey is the natural sweet substance produced by honey bees from the nectar of plants or from secretions of living parts of plants or excretions of plant sucking insects on the living parts of plants, which the bees collect, transform by combining with specific substances of their own, deposit, dehydrate, store and leave in the honey comb to ripen and mature.

Honey consists essentially of different sugars, predominantly fructose and glucose as well as other substances such as organic acids, enzymes and solid particles derived from honey collection. The colour of honey varies from nearly colourless to dark brown. The consistency can be fluid, viscous or partly to entirely crystallised. The flavour and aroma vary, but are derived from the plant origin.

Furthermore, they go on to say that, in order for “honey” to actually BE “honey”, it must meet these standards:

Honey sold as such shall not have added to it any food ingredient, including food additives, nor shall any other additions be made other than honey. Honey shall not have any objectionable matter, flavour, aroma, or taint absorbed from foreign matter during its processing and storage. The honey shall not have begun to ferment or effervesce. No pollen or constituent particular to honey may be removed except where this is unavoidable in the removal of foreign inorganic or organic matter.

Honey shall not be heated or processed to such an extent that its essential composition is changed and/ or its quality is impaired.

Chemical or biochemical treatments shall not be used to influence honey crystallisation.

Then it starts getting really technical about the water and sugar content of honey, so I’ll move along.  If you’re interested in that, by all means read the Codex!

It seems to me there are two problems here: a financial problem, and a quality of product problem.  

Financially, this pollen removal is a problem because Chinese honey is SO much cheaper than US, locally produced honey that it causes our local honey producers to sometimes go out of business.  That’s not healthy for our country’s financial health.

As far as quality of product goes, it’s more complicated.

People don’t know what REAL honey is supposed to be like any more.  American consumers want honey that is free-flowing, clear, a uniform color, and has no crystallization.  They expect that honey isn’t honey unless it has been watered down, de-foamed, or had some other chemical process done to it.

This ignorance is frightening, and dangerous, but we can’t really blame the general population, can we?  What we’ve been sold in the stores for the last thirty years has taught Americans what honey looks/tastes/feels like, and why should they think the truth is so very different?  (This is why having FDA approval of the Codex is SO important!)

The removal of pollen and the pasteurization of honey is essentially the removal of much of the vital nutritional benefit of honey.  It may make it cleaner looking and more free-flowing, but it also removes the natural yeast and enzymes in honey that make it such a power-house healer for our bodies.

One of the many benefits of honey is its ability to provide immunotherapy for environmental allergies.  When the pollen is removed from honey, it no longer provides that benefit as the pollen is what provides that benefit in the first place!

For FPIES and Food Allergic Families, a HUGE concern with all this filtration and pasteurization is that by putting honey through these processes, it makes the end product so clean and pristine that the manufacturers are then able to easily “cut” the honey with other sweeteners – like corn syrup – to reap a bigger financial reward.

That can cause allergic reactions – possibly even fatal – if you are allergic to something they have added (unnecessarily) to the honey in order to earn an extra 10 cents per bottle.  There is no way to protect yourself from this with supermarket honey, either; with no definition of honey, manufacturers could bottle golden colored corn syrup and label it honey if they wanted.  Adding a “May contain” warning on a bottle of honey is not going to happen in this situation.

So as for product quality:

  • Americans are largely ignorant of there even being a problem with honey quality
  • there is no legal standard by which honey can be defined
  • pasteurization, filtration and processing honey removes natural yeast, enzymes and pollen – all of which are greatly beneficial to the health of a human body
  • honey that is so processed is often “cut” with other sweeteners, making it not really honey at all

Whether you wish to debate whether the Food Safety News article is correct in its concerns about Chinese honey, or if you agree that NPR has it right and that we have nothing to worry about, I think the REAL question I had while reading these articles is: why is it possible for there to BE such debate about honey?

If there were a legal standard, an FDA definition of “Honey” that ALL manufacturers and producers had to adhere to, then this would not be such a hotly debated, gray area of the food world.

So why hasn’t the FDA approved the twice-petitioned Codex?  I don’t know, though in my humble opinion, it surely comes back to some form of financial benefit to the US Government to NOT define “honey”.  (The Washington Post quoted an FDA official who said “…it would tax an already overtaxed system” – meaning the FDA is overworked and can’t keep up with the laws it already is supposed to uphold, and can’t possibly add anything else to its workload right now.  How’s THAT for a sobering thought?)

For our sake, for the US Honeybee Keepers, for US Honeybees, we need the FDA to define honey.  (Contact the FDA here.)

We need to shop LOCALLY, as much as possible, but especially for honey. (See links at the bottom of this post.)

We need to insist on CLEAR FOOD LABELING LAWS for ALL our food.

__________

Two small caveats:
We don’t actually eat honey in my house any more.  Mr. Charm is Fructose Malabsorbative and honey is high in fructose, so he can no longer have it.  The Geek just isn’t a big honey eater.  And while I love honey, I’m on a strict elimination diet.  However, I hope to one day be able to eat honey again, and when that day comes, I’m buying local, raw, unpasteurized honey.
As always, do NOT feed raw honey to a child under the age of 1.  Raw honey contains enzymes, bacteria, yeast and other goodies that are helpful for our bodies…but a young child does not have the ability to fight back if there are any strains of botulism in the honey they consume.  So for safety’s sake, wait until the child is older before giving them raw honey.  

__________

TO FIND RAW HONEY:

The Honey Locator by the National Honey Board

Local Harvest

__________

This post shared with Allergy Free Wednesdays, Whole Food Wednesdays, and Real Food Wednesdays.   

Cilantro-Lime Crock Pot Chicken

One thing I figured out early on in my elimination diet is that I’m basically eating a modified (and greatly limited) Paleo Diet. I’m not convinced that strictly Paleo is the way to go, but I can’t argue that grains (specifically wheat) and sugar are poison for my body!

Consequently, I’ve found myself making lots of recipes out of Paleo cookbooks and Paleo websites, even recipes for the Geek and Mr. Charm.

Well, I’ve found a true winner in this recipe!  Not only is it delicious, juicy, and flavorful, but it also uses one of my favorite kitchen tools: the crockpot!

In fact, the creator of this yummy main course runs an entire blog dedicated to Paleo crockpot recipes – gotta love it!

The original post has GORGEOUS pictures – mine are quick iPhone shots I took as I suddenly remembered “Oh!  I need a picture of that for the blog!”  And you can tell they’re an afterthought, too, so please don’t judge this recipe by my photographs – go check out the original at PaleoPot to see how delectable it really looks!

I had to tweak the recipe a bit, so I’ll just show you what I did:

Cilantro in the food processor.

Cilantro in the food processor.

Take a bunch of cilantro, olive oil, and lime juice and zap it in your food processor.

The finished marinade

The finished marinade

The original recipe calls for garlic in the marinade, but in deference to Mr. Charm’s Fructose Malabsorption, I left it out.

It also calls for a whole chicken.  I didn’t have one; I only had chicken quarters.  That’s okay; it just meant I got to avoid sticking a whole lime up a chicken’s heinie.

I put together my spice rub mix: black pepper, sea salt, and some cayenne pepper.

Spices sure can be pretty, can't they?

Spices sure can be pretty, can’t they?

The original used chili powder and cumin, but hot pepper type things can be tough for folks with Fructose Malabsorption, so I was limiting it, and I was out of cumin.  Oh well.  The limited spices did a great job anyway!

After I washed and dried the chicken, I rubbed the spice mix all over the quarters.

Coated Chicken Quarters

Coated Chicken Quarters

Then I put them in a Ziploc bag and added the marinade.

Marinaded and ready to go!

Marinaded and ready to go!

After the marinade is added, it’s important to suck out all the air from the bag and squish it around to cover every surface of the chicken.  Then, just toss it in the fridge overnight!

The next morning, I tossed the entire contents of the bag into the slow cooker.

In the crockpot, ready to cook!

In the crockpot, ready to cook!

I turned it on to ‘low’ and let it go!  Mine cooked for about 7 hours, which is right in between the originally recommended 6-8 hours.

Finished and ready to eat!

Finished and ready to eat!

According to the Geek, this chicken was just about perfect: good flavor, juicy, tender, melt-in-your-mouth good.  He asked that it be added in to our regular recipe rotation…and that’s high praise indeed!

Even Mr. Charm seemed to enjoy his chicken.  (He’s been in a picky phase lately, but he scarfed about half of a whole quarter before he decided he was done!)

One really nice thing about this recipe is that it makes an easy make-ahead dinner.  If, when you get home from the grocery store, you take your chicken and prepare the recipe up to the point where it is marinaded in the plastic bag, you can freeze the whole bag and cook it later!  Just take the bag out of the freezer the night before, let it thaw in the fridge, and throw the whole thing in the crock pot in the morning.  Dinner will be ready on time with no prep work to speak of.  Gotta love that!

So go take a peek at the original recipe and if you have a whole chicken, by all means, do it the PaleoPot way!  But if you have fructose issues, rest assured that this modified Cilantro-Lime Chicken is well worth your time!

Enjoy!

Cilantro-Lime Crock Pot Chicken
 
Prep time
Cook time
Total time
 
Enjoy this easy, hands-off, delicious dinner on a busy night!
Author:
Recipe type: dinner, crockpot
Serves: 4 servings
Ingredients
  • 4 chicken quarters
  • ½ to ¾ cup of fresh cilantro
  • ½ cup of lime juice
  • 1 T olive oil
  • Spice rub mix: Black pepper, sea salt, cayenne pepper (I did an even T. of each)
Instructions
  1. In your food processor, mix together the cilantro, lime and olive oil.
  2. Wash and dry your chicken, and rub the spices all over the skin.
  3. Put your chicken in a ziploc bag; add the cilantro marinade. Make sure to remove all air and squish it around to cover all parts of the chicken.
  4. Either refrigerate the bag overnight, or freeze for later use. (If you freeze for later use, thaw it in the fridge the night before using.)
  5. Dump the entire contents of the bag into a crock pot the next morning and set it to cook on "Low" for 6-8 hours.
  6. Enjoy a delicious, healthy dinner!


Do you have any awesome marinades you use for meats?  Please share!

__________

This post was a favorite of Real Food, Allergy Free on her Allergy Free Wednesdays, and was shared with Whole Food Wednesdays, and Real Food Wednesdays.   

FPIES Hope

Mr. Charm decided to give ALL his toys to Mr. Happy. It took Mr. Happy almost a full minute of working hard to pull himself out from under the pile!

Mr. Charm decided to give ALL his toys to Mr. Happy. It took Mr. Happy almost a full minute of working hard to pull himself out from under the pile!

Sunday night was a bad one, y’all.  

Despite our new Food Protocols, at 6:00 p.m. on Sunday night Mr. Happy found a piece of breakfast sausage on the dining room floor and put it in his mouth.

I immediately started swiping, while he gagged and coughed around my finger.  This made me think that, although I managed to get a pretty big piece of sausage out of his mouth, he had surely swallowed some.

Barely 15 minutes later, I realized the living room was eerily quiet.  Anyone with kids knows that a quiet child is a child that is almost certainly getting into trouble!  So, I went looking.

Mr. Charm was sitting on the couch, happily watching “Hoo Toob” (You Tube) videos on the Geek’s iPhone.

Mr. Happy was not in the room.

I couldn’t imagine where he was – the living room is completely gated off!  Suddenly I had a suspicion and went looking…yup.  There he was.  He had crawled into the dark-as-night office, the office that has a door that is supposed to remain closed at all times but somehow was left open, and was happily munching on a piece of paper when I snatched him up.

Again, I swiped hard, and got a HUGE lump of paper out of his mouth.  I thought I’d gotten it all, but since I didn’t know how big the paper was to start with, I really didn’t know.

While I’d like for everyone to believe that I handle all the challenges of my life with grace and poise, the truth is, I don’t try and hide all  my “less-than-finer” moments on here.  Any parent can probably relate, but parents of children with special needs – particularly food allergies – really need to know they aren’t alone when they have a moment like this.

And this moment?  Was absolutely devastating.

Mr. Happy still had blood in his diapers from LAST Monday’s dentist-office-sticker encounter.  And here he has ANOTHER exposure??  At home, even!  On our watch!!  Even with (usually) strict protocols in place!!

I became so depressed, dejected, and deflated that I quite honestly had a hard time physically holding my head erect to eat my dinner.

I didn’t even have the emotional strength to cry.

How’s that for wrung out?

If you asked the Geek, he’d probably tell you I barely spoke the rest of the night, and that I probably seemed mad to him.  I was.  And, I wasn’t.

I was mad, but mad takes effort and energy.  I didn’t have the effort or energy to give to mad.

So I sat there, dejected, feeling wrecked and wretched, hopeless and alone.

How on God’s green earth am I going to keep this child safe from paper and food?  So far, I haven’t seemed capable of doing so. I felt like we were failures as parents.

Mr. Happy fought going to bed that night; he woke up 4 times (that I can remember) throughout the night, and I was prepared for bright red blood in a poopy diaper yesterday morning.

Imagine my shock and joy when he DID have a poopy diaper first thing in the morning (not ‘normal’ for him, by the way) but it was a lovely mustard color (instead of green), didn’t have any mucous in it, and only a mild smell!  NO BLOOD.

I didn’t test it, because I was sure it was just a fluke and that throughout the day I’d see plenty of bloody diapers.

I didn’t.  

That was the only poopy diaper he had ALL DAY LONG.

So, apparently, Mommy finger swipes were effective, and he didn’t swallow anything at all.

Thank you, Jesus!

God as my witness, I will do ev-ery-thing in my power to make sure he WILL NOT have any other random exposures this week!  Our new dietician said to give him a week after his diapers return to normal after a reaction before trialing a new food.  I think we’re there, or nearly there.

And I want to trial him on his probiotics ASAP.

He even slept like a dream for his naps today - not "reaction" pass outs, just good rest!  Don't you wish you could sleep this well?  I do!

He even slept like a dream for his naps today – not “reaction” pass outs, just good rest! Don’t you wish you could sleep this well? I do!

So our NEW new Food Protocols are to make the kitchen and dining room “No Crawl Zones” -whether food is being served or not!  He can crawl in the living room.  He can crawl in our bedrooms.  But no babies in the kitchen, and no food anywhere else.

We’re determined to get Mr. Happy a food trial, and we’re going to do it before the end of March.

So there, FPIES.  

Mama had a moment, but she’s back, ready to kick your Enterocolitis butt.  

This FPIES emotional roller coaster ride is FUN, isn’t it?  <snort, chortle, choke>

Homemade Breakfast Sausage

Homemade, Healthier Sausage Patties

Homemade, Healthier Sausage Patties

Long before I even became pregnant with Mr. Happy, I started making my own breakfast sausage.  By that point, Mr. Charm’s food issues had started our “reading labels” adventure, and I was sort of disgusted by what I found in most breakfast sausages.  It was enough to make you go vegetarian!  (almost)

So I went online to teach myself how to make my own sausage, and really, it’s surprisingly easy!

Here’s what you do:

We ate so much sausage, I labeled a jar just for the spices!

We ate so much sausage, I labeled a jar just for the spices!

Make up your spices.  You can put together any spice mix you like…hot, mild, savory, sweet, Italian, whatever floats your boat!  I found a recipe we rather liked online, but have since tweaked it a little bit (and probably will again!).  Since I was not blogging at the time, I didn’t bookmark her link, I simply copied the recipe and stuck it in my recipe binder.  However, I’d LOVE to give this lady credit for it, because the thing I liked best was her methodology: make a big ol’ batch of spice mix, store it in a jar, and it’s ready to go whenever you need it!  So if this rings a bell for you, please let me know who to give credit to!

Get a pound of ground pork.  A trick to this is to watch the sales; I’ve found whole pork butt or whole pork shoulder on sale for as little as $1.99 per pound.  The butcher at the grocery store is usually happy to grind up however much you want and package it for you, too, so keep an eye on the sales and when you can find it – stock up!  (I purposefully bought 30 pounds of ground pork once.  Funny thing is – not one person in the grocery store thought that was strange!)

When we were buying pre-made sausage patties, the best sale price I ever found for a 1 lb. package of sausage meat was $2.69.  Regular full price was $3.99.  So making your own is incredibly cheap, too!

And easy.

Ground pork and spices in a bowl, ready for mushing!  I'm doing 2 pounds here.

Ground pork and spices in a bowl, ready for mushing! I’m doing 2 pounds here.

Take that pound of meat, add your spices, and mush it all together with your hands.  

I plopped the meat down in a haphazard tube shape to start with on my saran wrap.

I plopped the meat down in a haphazard tube shape to start with on my saran wrap.

Get out a long piece of saran wrap and lay it on the counter.  Dump your meat on top.

Using the saran wrap to begin forming the roll...

Using the saran wrap to begin forming the roll…

Form it into a long tube; I just use the saran wrap to form it, holding each edge and rolling the meat back and forth until it gets to be about the size of a store-bought tube of sausage patty meat.  Then I fold one long side of the saran wrap over and pull on the other long side while using my fingers to press the sausage into a tight tube shape.  You could use the flat edge of a cookie sheet for this step, but I find my fingers work just fine!

Twist the ends, and voila!  A nice, evenly round tube of sausage!

Twist the ends, and voila! A nice, evenly round tube of sausage!

Once you’re done that, wrap the saran wrap completely around the sausage lengthwise. At that point, grab the end of the sausage tube and start twisting the saran wrap tightly; in just a few turns, you’ll see the sausage start squishing into a nicely rounded, “professional” looking sausage roll!  Repeat with the other end.

A beautiful tube of breakfast meat!

A beautiful tube of breakfast meat!

Now you have a gorgeous, nicely tubular sausage roll, all ready to go.  

Now, go stick it in the freezer.  

If you want to just be done with it, you can be; or, if you’re interested in making life a lot easier for yourself in the mornings, you can go a step further!

Don’t let the sausage freeze all the way – take it out after about an hour.  Unroll the saran wrap and slice that sausage into individual patty sizes!  Lay those out on a cookie sheet and toss back into the freezer.  

Laid on parchment paper on a cookie sheet for freezing.

Laid on parchment paper on a cookie sheet for freezing.

After they’ve frozen completely, toss them into a Ziploc bag, label and date them, and throw ’em back into the freezer.  From now on, you can grab however many patties you need for however many people you’re feeding first thing in the morning, quick thaw them, and have breakfast in no time – without trying to hack through a frozen or semi-frozen log of sausage meat when you’re still foggy brained from sleep!  

Nice.

I was about to say that I like to “KISS” – Keep it Simple, Sweetie! but the truth is, I often make things a little more complicated than they need to be.  Usually, though, what I’m doing is making it harder right now  so that it will be simple and easy when I really, really need things to be simple and easy!

Like first thing in the morning.  Have I mentioned I’m not exactly a morning person?

This is a very easy way to save a ton of money on your breakfast budget, and get a far healthier, less “crappy” product into your kiddo’s bellies to boot.  

Three sausage patties and some hashbrowns for breakfast...I really need to work on my photography skills!  It looked a lot more appetizing than this in real life!

Three sausage patties and some hashbrowns for breakfast…I really need to work on my photography skills! It looked a lot more appetizing than this in real life!

My next step is to learn how to make link sausages!!

__________

HOMEMADE BREAKFAST SAUSAGE PATTIES

– Spice Mix (see below for ours)
– 1 pound of ground pork (thawed)

  1. Mix your spices and your ground pork in a bowl until well blended.
  2. Lay out a sheet of saran wrap.  Plop the sausage meat on the saran wrap in a rough roll shape.
  3. Using the saran wrap and your fingers (or the flat edge of a cookie sheet) form the roll.
  4. Twist the ends of the saran wrap until the meat has turned into a nice, thick, neat roll of sausage heaven.
  5. Freeze for later use.
  6. OR you can freeze for an hour, remove from the saran wrap and slice into individual patties.
  7. Lay those on a cookie sheet and freeze completely.  Once frozen, toss into a Ziploc bag for future use.
  8. Enjoy healthy(-er), cheaper breakfast sausage that tastes fantastic!

CRADLE ROCKING MAMA’S SAUSAGE SPICE MIX

– 8 or 9 tsp. dried sage
– 7 or 8 tsp. salt
– 4 tsp. black pepper
– 4 T. brown sugar*
– 1/2 to 1 tsp. ground cloves
– dash of some pepper: paprika, chili powder, cayenne

*Note on the brown sugar: brown sugar is no good for us any more because of Mr. Charm’s Fructose Malabsorption.  My most recent substitution was to use about 5 heaping T. of dextrose in my spice mix.  The Geek said it was “ok” but not really as good as before.  My next attempt will be some dextrose and some maple syrup!  So, get creative if you need to – but the brown sugar version really was very good.
  1. Measure out your spices.
  2. Dump them in a bowl.
  3. Whisk them together.
  4. Store in a labeled container.
  5. Use 4 tsp. of the mix per pound of meat.

__________

Do you make your own sausage?  What seasoning blends do you use?

__________

This post shared with Allergy Free WednesdaysWhole Food Wednesdays, and Real Food Wednesdays.