…or so says my husband!
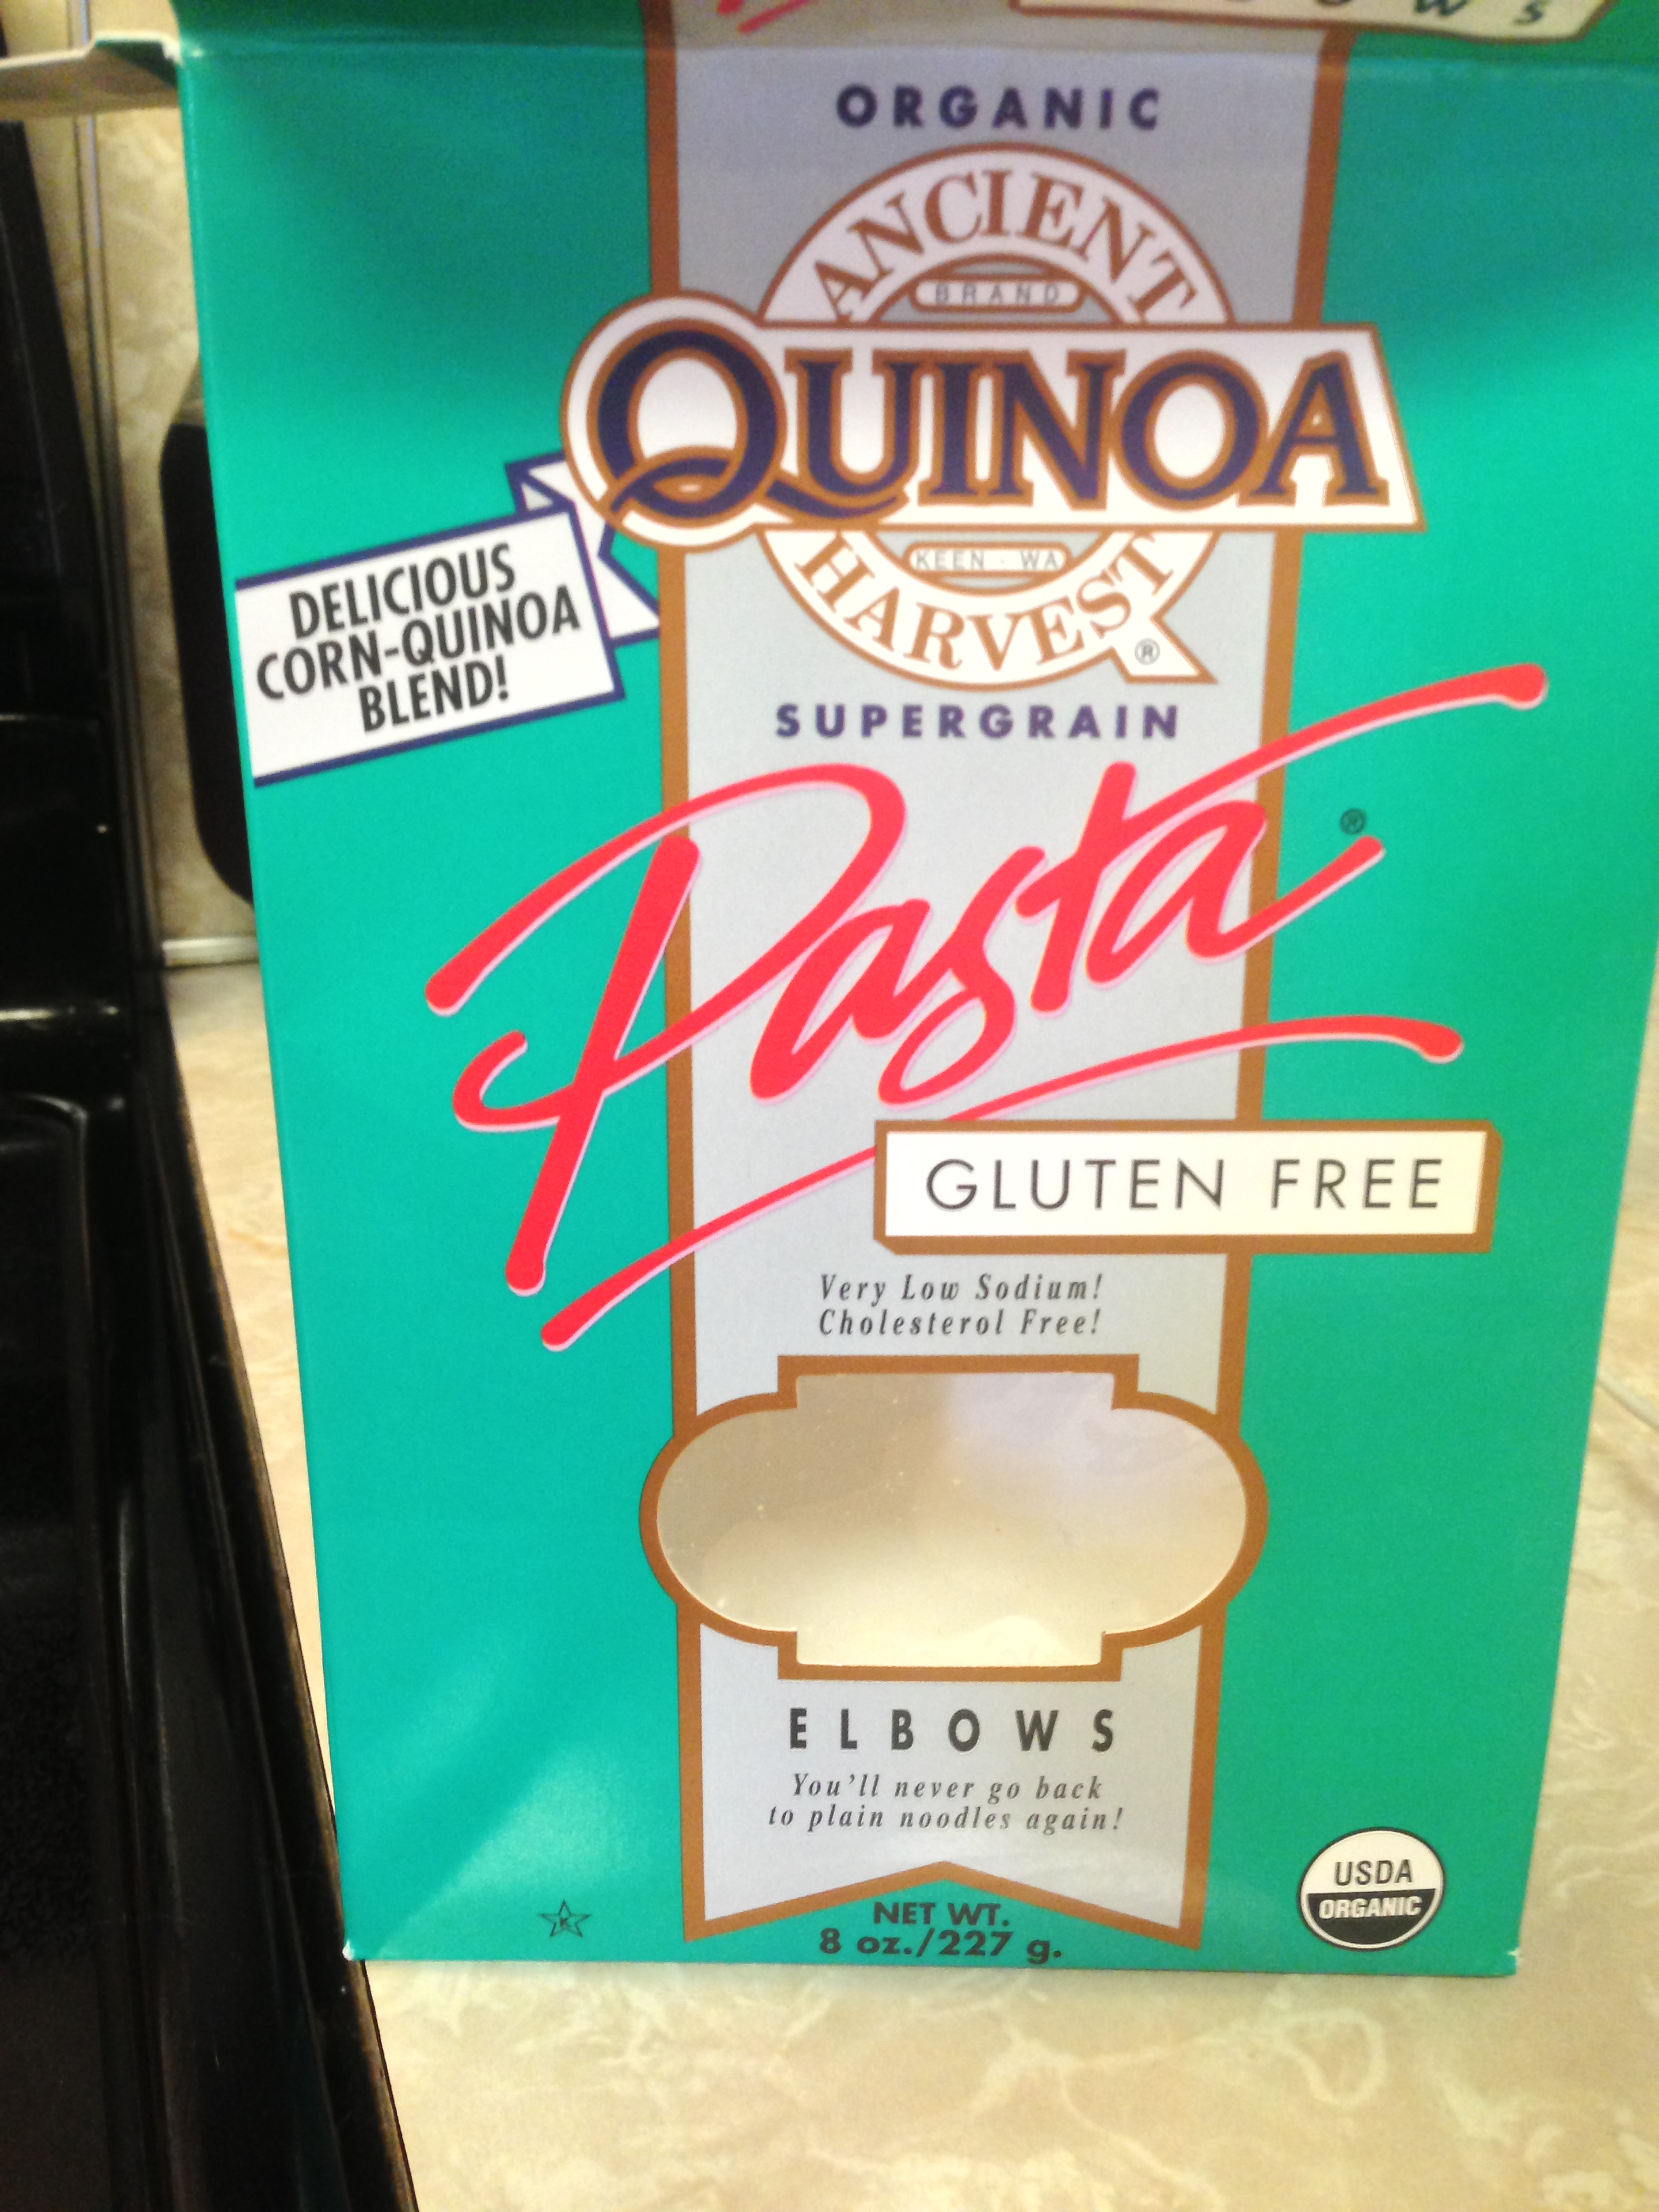
When I posted the recipe for my quinoa pasta noodles I commented that they went great with my homemade spaghetti sauce. One of the comments on that post requested the recipe for the sauce, so here it is! (This is for you, Katherine!)
It’s a little tricky to write this recipe down, as there’s a certain degree of “winging it” involved in making it. Not to mention, I’ve been tinkering with it quite a bit to make it fructose friendly for Jed! With his diet, raw, chopped up tomatos are safe to eat, but cooked tomato sauces are NOT. That makes a tomato based sauce sort of difficult!
So I’m going to basically write out the recipe as I’ve always made it, and then I’ll post pictures and instructions for how I make a tomato-based Spaghetti Sauce that is Fructose-Friendly. Another two-fer recipe! Yay!
So here’s the Originial, Knock-Your-Socks-Off Spaghetti Sauce Recipe:
I was going to list out the “absolutely required ingredients” and the “optional” ingredients, but, basically, the only thing that is absolutely required to make a spaghetti sauce is tomatos! Everything else is optional! If you want meat, add meat! If you don’t, don’t!
It could get really tedious to write the recipe out that way, so instead I’m just going to write the way *I* do it. If there is something I add that you don’t like, leave it out. If you want to add something, add it. You can truly make this recipe your own!
Heat some oil in a sauce pan, and toss in about a whole, chopped up onion and as much garlic as you like. Throw in 1 to 1 1/2 pounds of ground beef to cook. When the meat is browned, you may need to drain off any excess grease (unless you’re using grass-fed beef, in which case you may have needed to ADD extra oil!).
I often will throw some seasoning in to cook into the beef before I add the sauce. I typically stick with the traditional sea salt, black pepper, a tiny bit of crushed red pepper, basil and oregano. One of the reasons this sauce truly excels is that I DO NOT SCRIMP on the seasonings. I’ve never measured the spices I put in, but I don’t think I’d be exaggerating to say I probably use at least 5 T. of dried basil and oregano in my spaghetti sauce (probably one or two more than that at times)!
Of course, if you have fresh herbs, please use those, but dried works fine. Either way, though, add however much you think you’ll need…then add half as much again!
Then you pour in your sauce. I’ve used fresh, homemade tomato sauce and grocery-store canned tomato sauce and they both work just fine. The trick here is to get the sauce to look like a sauce; slightly more red stuff than meat. So, you will need to add tomato sauce until it “looks right” to you, based on how much meat you started with.
Then I usually add 2-4 cups of diced tomatos (1-2 small cans), chopped up bell pepper, chopped up mushrooms, and sometimes chopped up olives. You can add as much or as little of these as you like; sometimes, I’ve only had one sad little bell pepper in my fridge, and it seems hardly worth bothering with! But, I add it anyway. Sometimes I wind up with 2 cups of a veggie to throw in. Either way, somehow it always tastes divine!
At this point I take a look at my sauce; if it looks a little runny, I’ll add a small can of tomato paste to help thicken it. Sometimes I have to add more sauce. Just stir it around, and if it looks like a great sauce to you, then it probably will be!
I usually add more spices and seasonings at this point, as well. I’ll taste it and decide if I need to go heavier on anything in particular, or if the whole thing needs to be kicked up a notch. I also will add sugar at this point – brown sugar, if I have it handy. Not too much; a couple T. is more than enough!
Whenever I have it around, I’ll toss in a little red cooking wine, too. But I almost never have it around, so the recipe won’t suffer if you don’t, either.
Then cover and simmer for a few hours. This sauce does nothing but get better with time! In fact, I often make double – or even triple – batches of it, just so there is plenty for leftovers and to freeze. I’d love to try canning this someday, but since I’ve never canned before in my life I know I’ll have a steep learning curve there! In the meantime, I portion the sauce into gallon sized freezer bags, lay it flat, and freeze.
Then I always have a quick, easy, and delicious meal ready to go at a moments notice!
And…that’s about it! You can swap out a lot of stuff in this recipe: meat, veggies of choice, etc., and still have a delicious sauce – as long as you stick with sea salt, black pepper, crushed red pepper, basil and oregano and lots of it!
Now, on to my Fructose-Friendly Spaghetti Sauce!
This was so quick and easy it’s unbelievable – and the best part was: almost no chopping!
I got out my StarFrit Manual food processor, sat it next to the stove, and got to work. (I really love that thing – you should totally get one!)
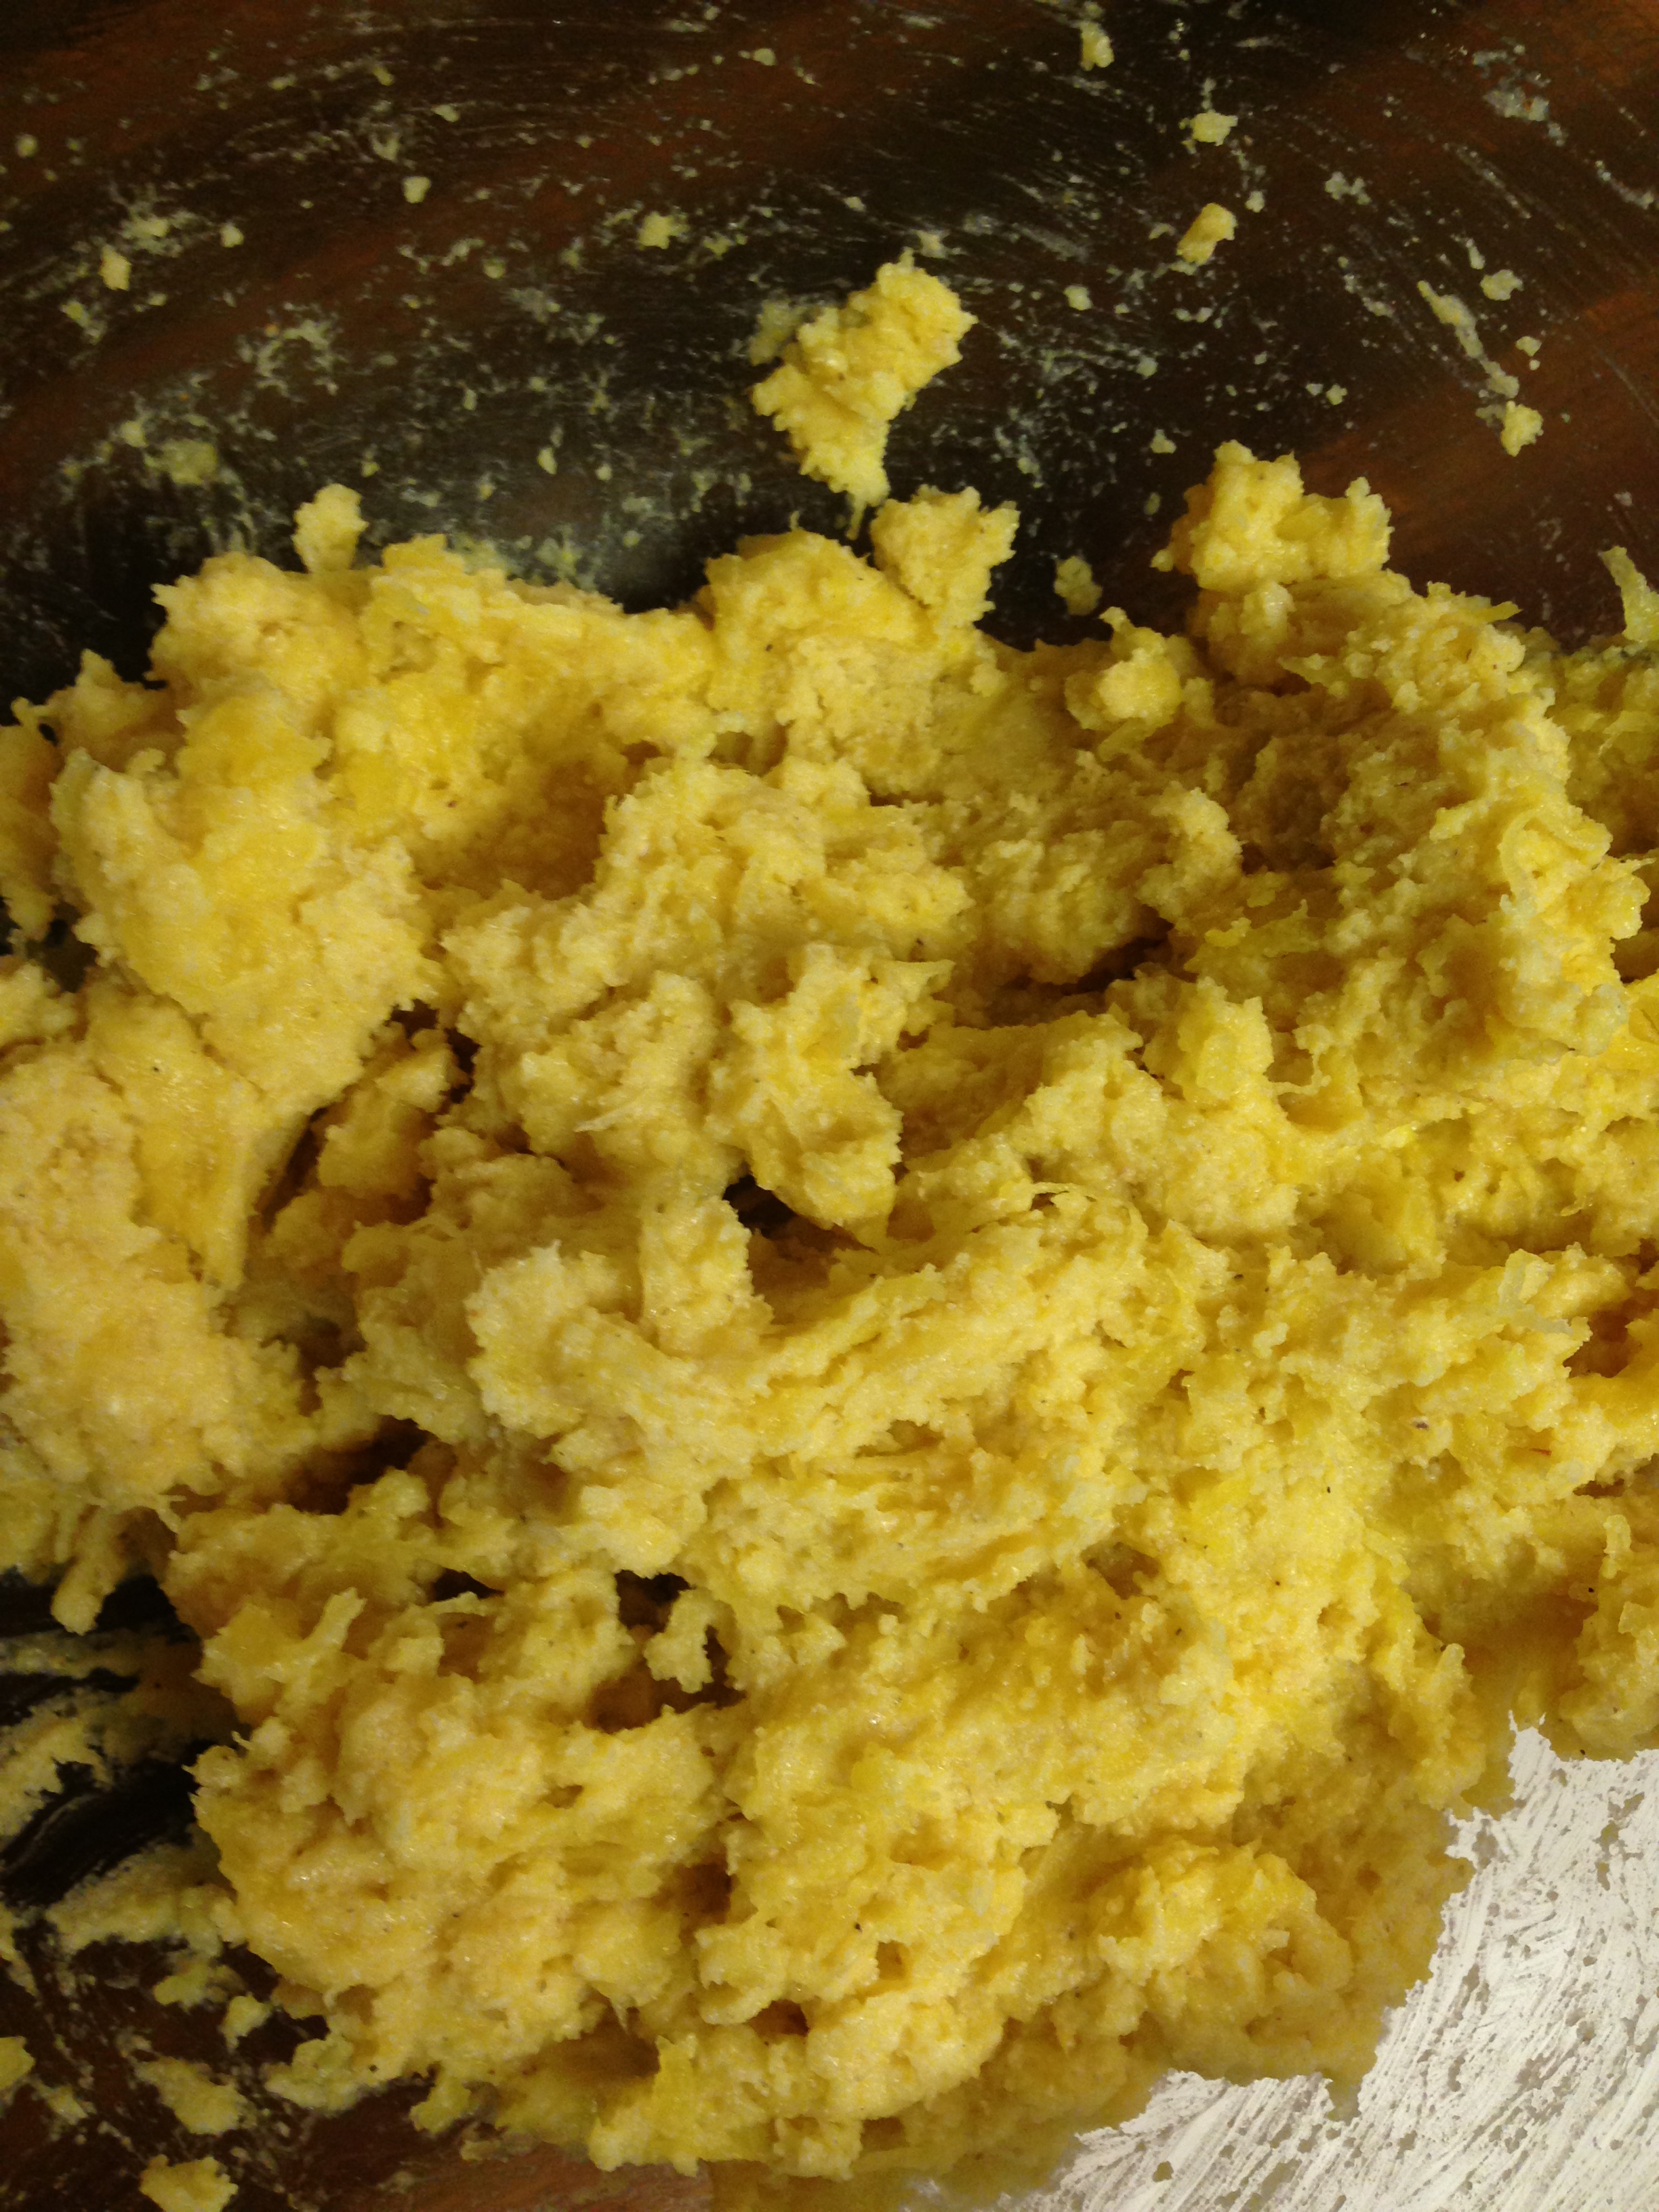
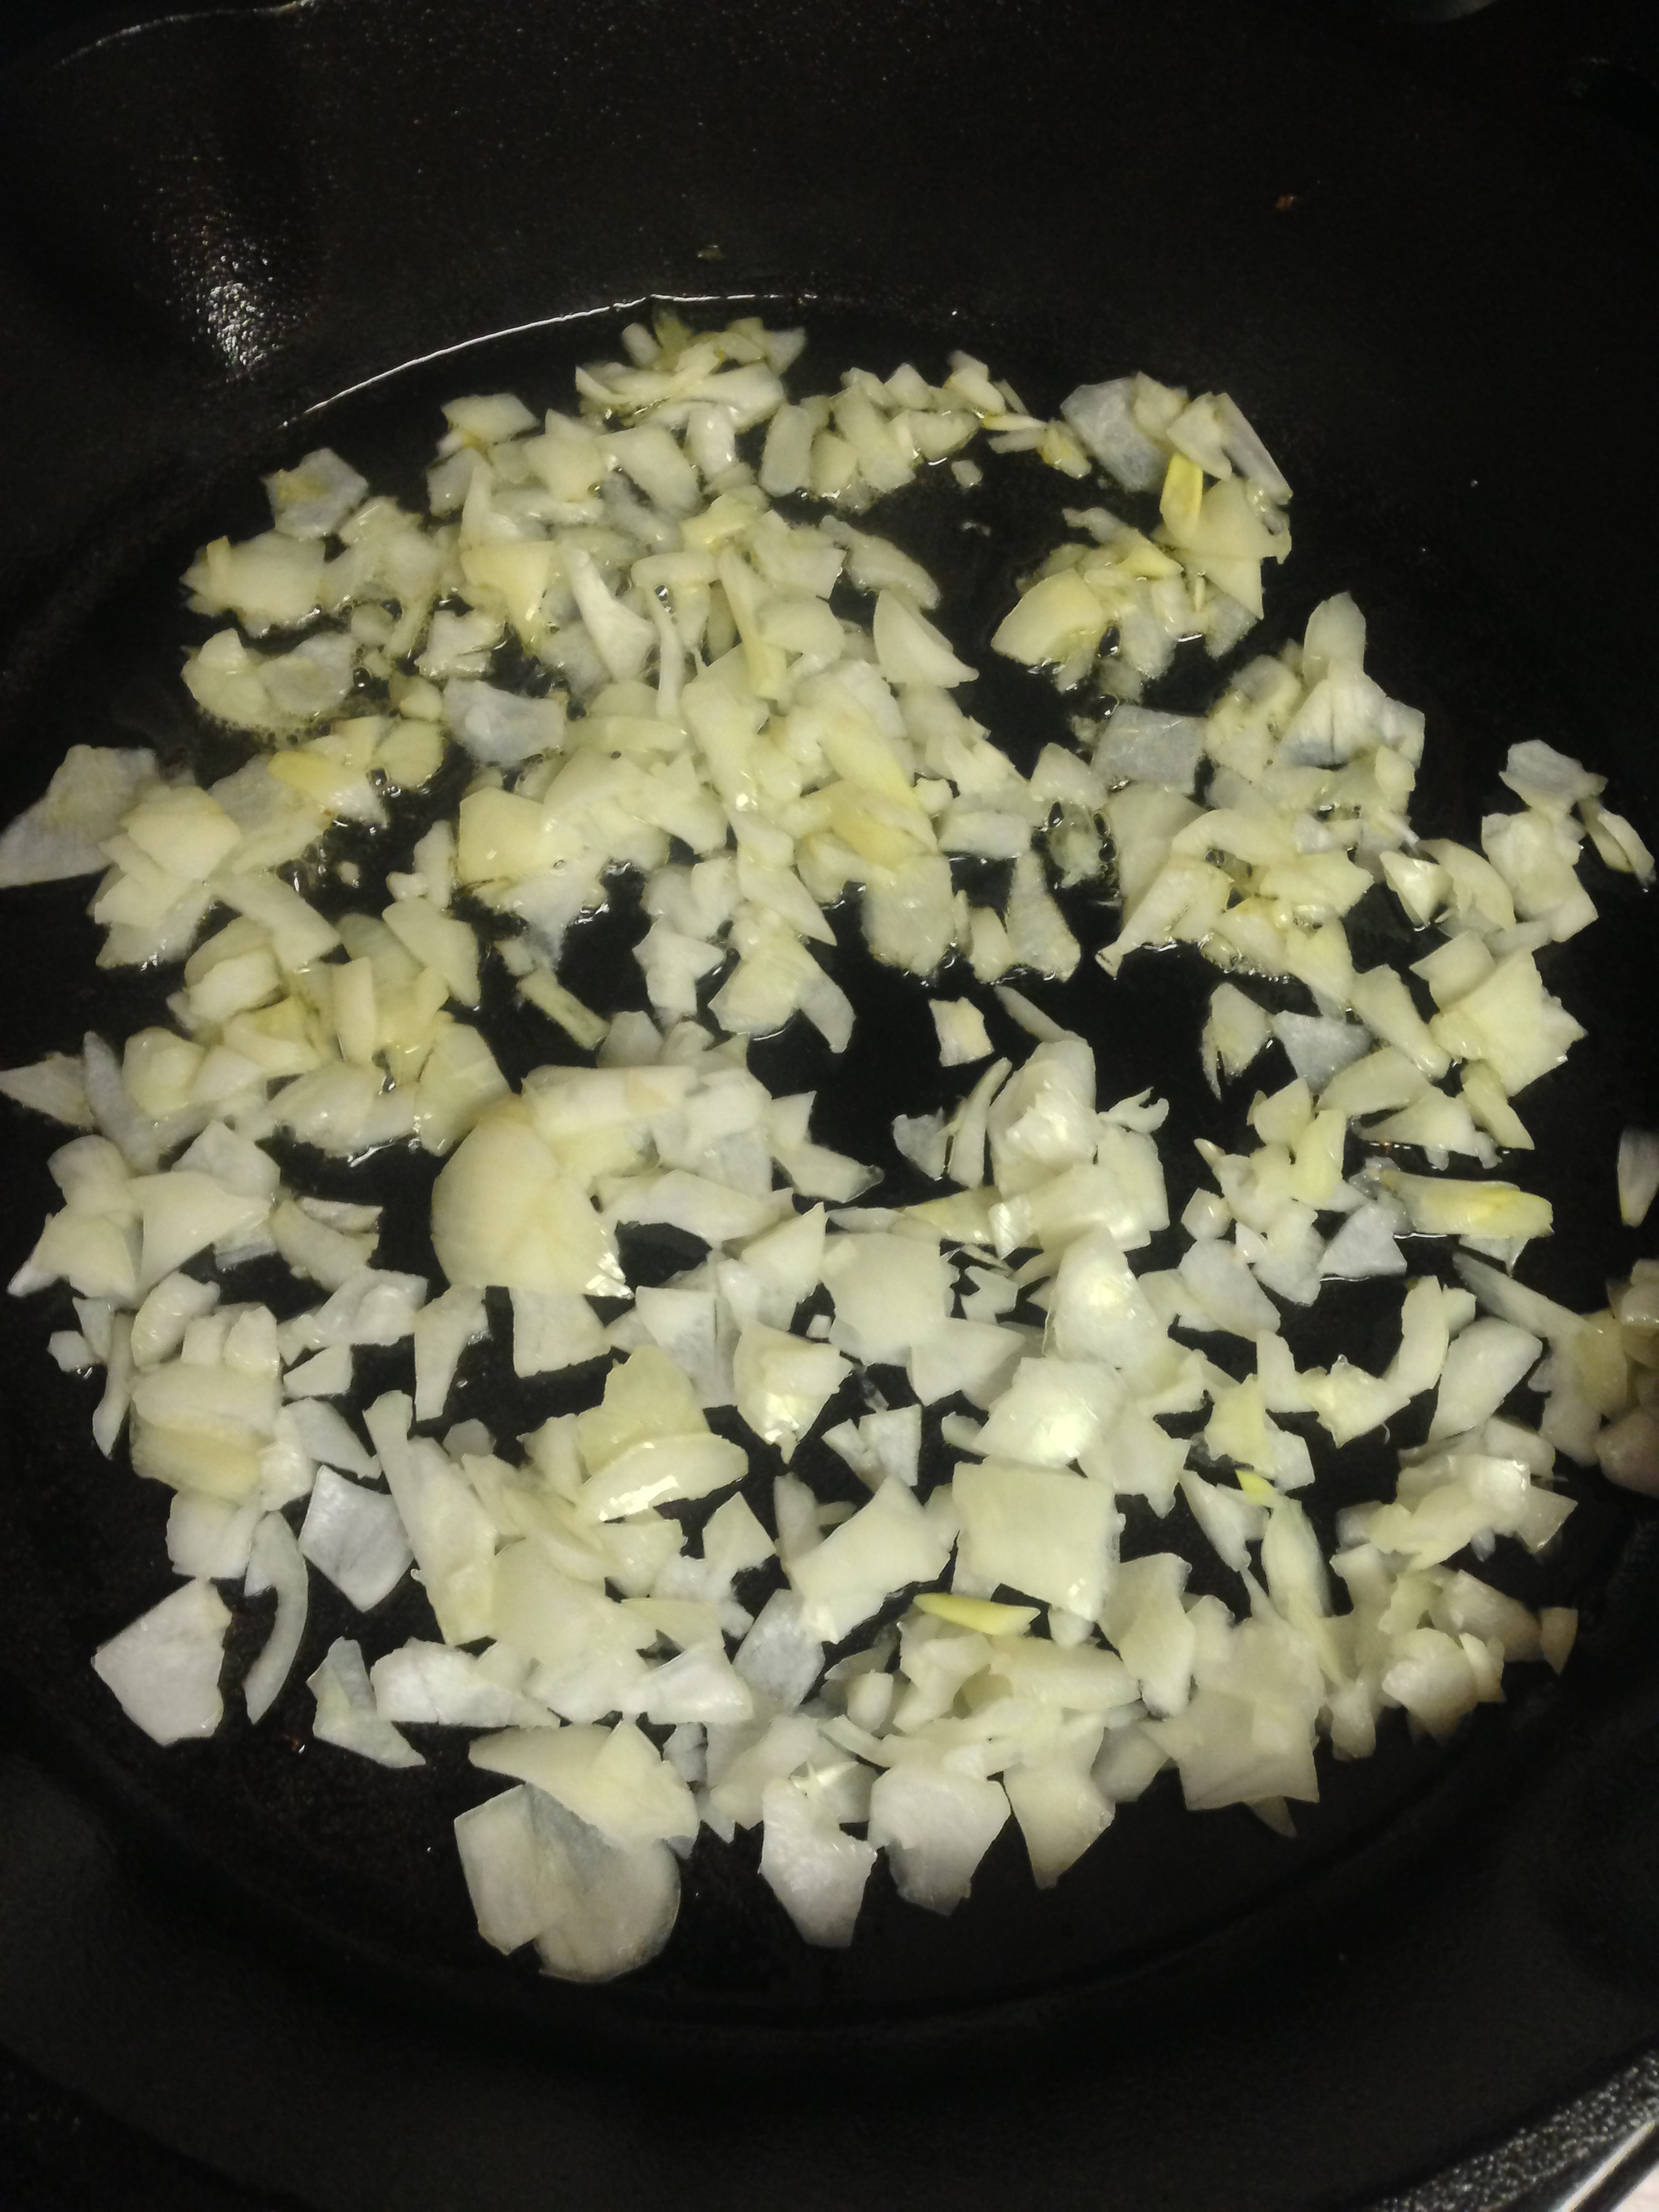
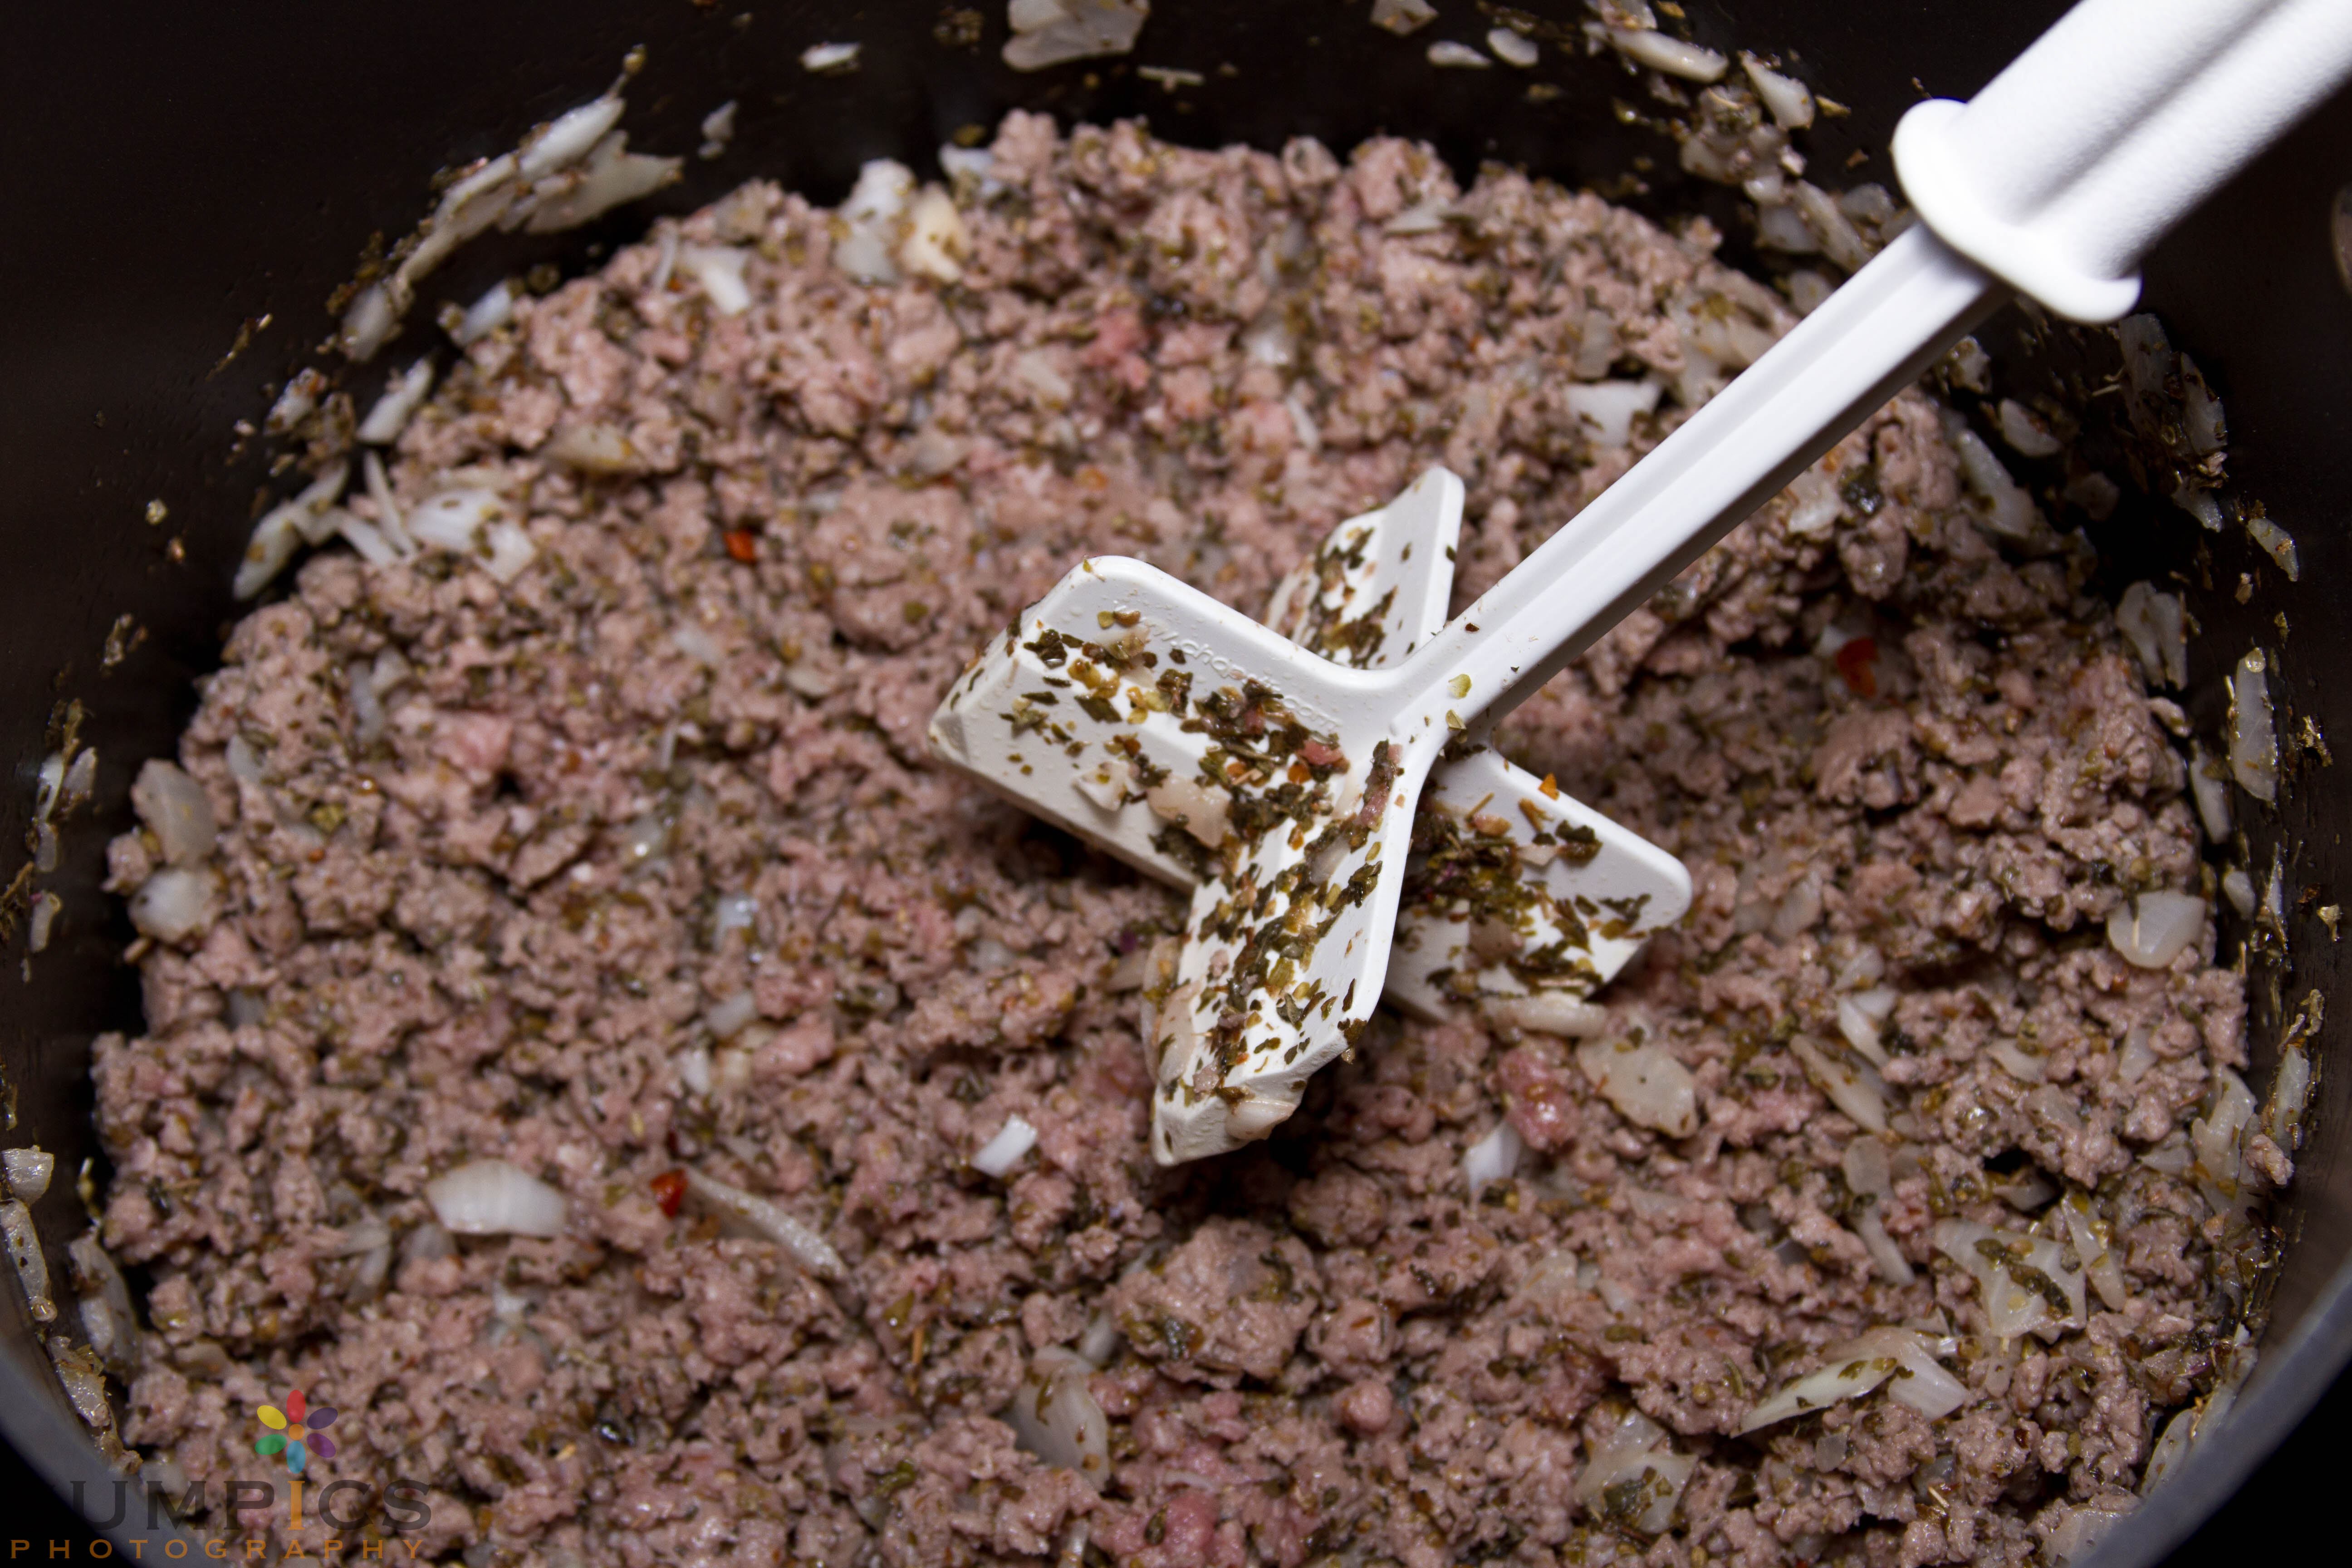
First I dumped in half an onion, chopped it up, and tossed it in my sauce pan. Then I added the ground beef (1.5 pounds) and some olive oil and let it start cooking.

Browning the meat…
Then I went to my fridge and dug out any and all suitable veggies for a spaghetti sauce. Sad to say, there wasn’t much. In the end I had some mini sweet bell peppers and a can of olives to add.
I cut the ends off the mini peppers, cut them in half, scraped out the seeds, and tossed them in the StarFrit.

Mini Bell Peppers
Then I opened the can of black olives, drained them, and tossed them on top.

And some black olives…
Spun the handle and they were done!
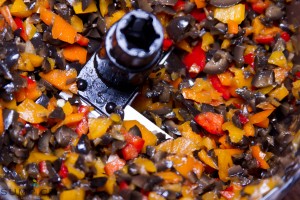
Chopped veggies!
By that point, my ground beef was looking pretty close to done, so I added my seasonings. Probably 5 or 6 T. of basil and oregano, a healthy shake of sea salt, and a healthy shake of black pepper. Then I put about 1 tsp. of crushed red pepper as well. Stirred it up and let it cook a little bit more.
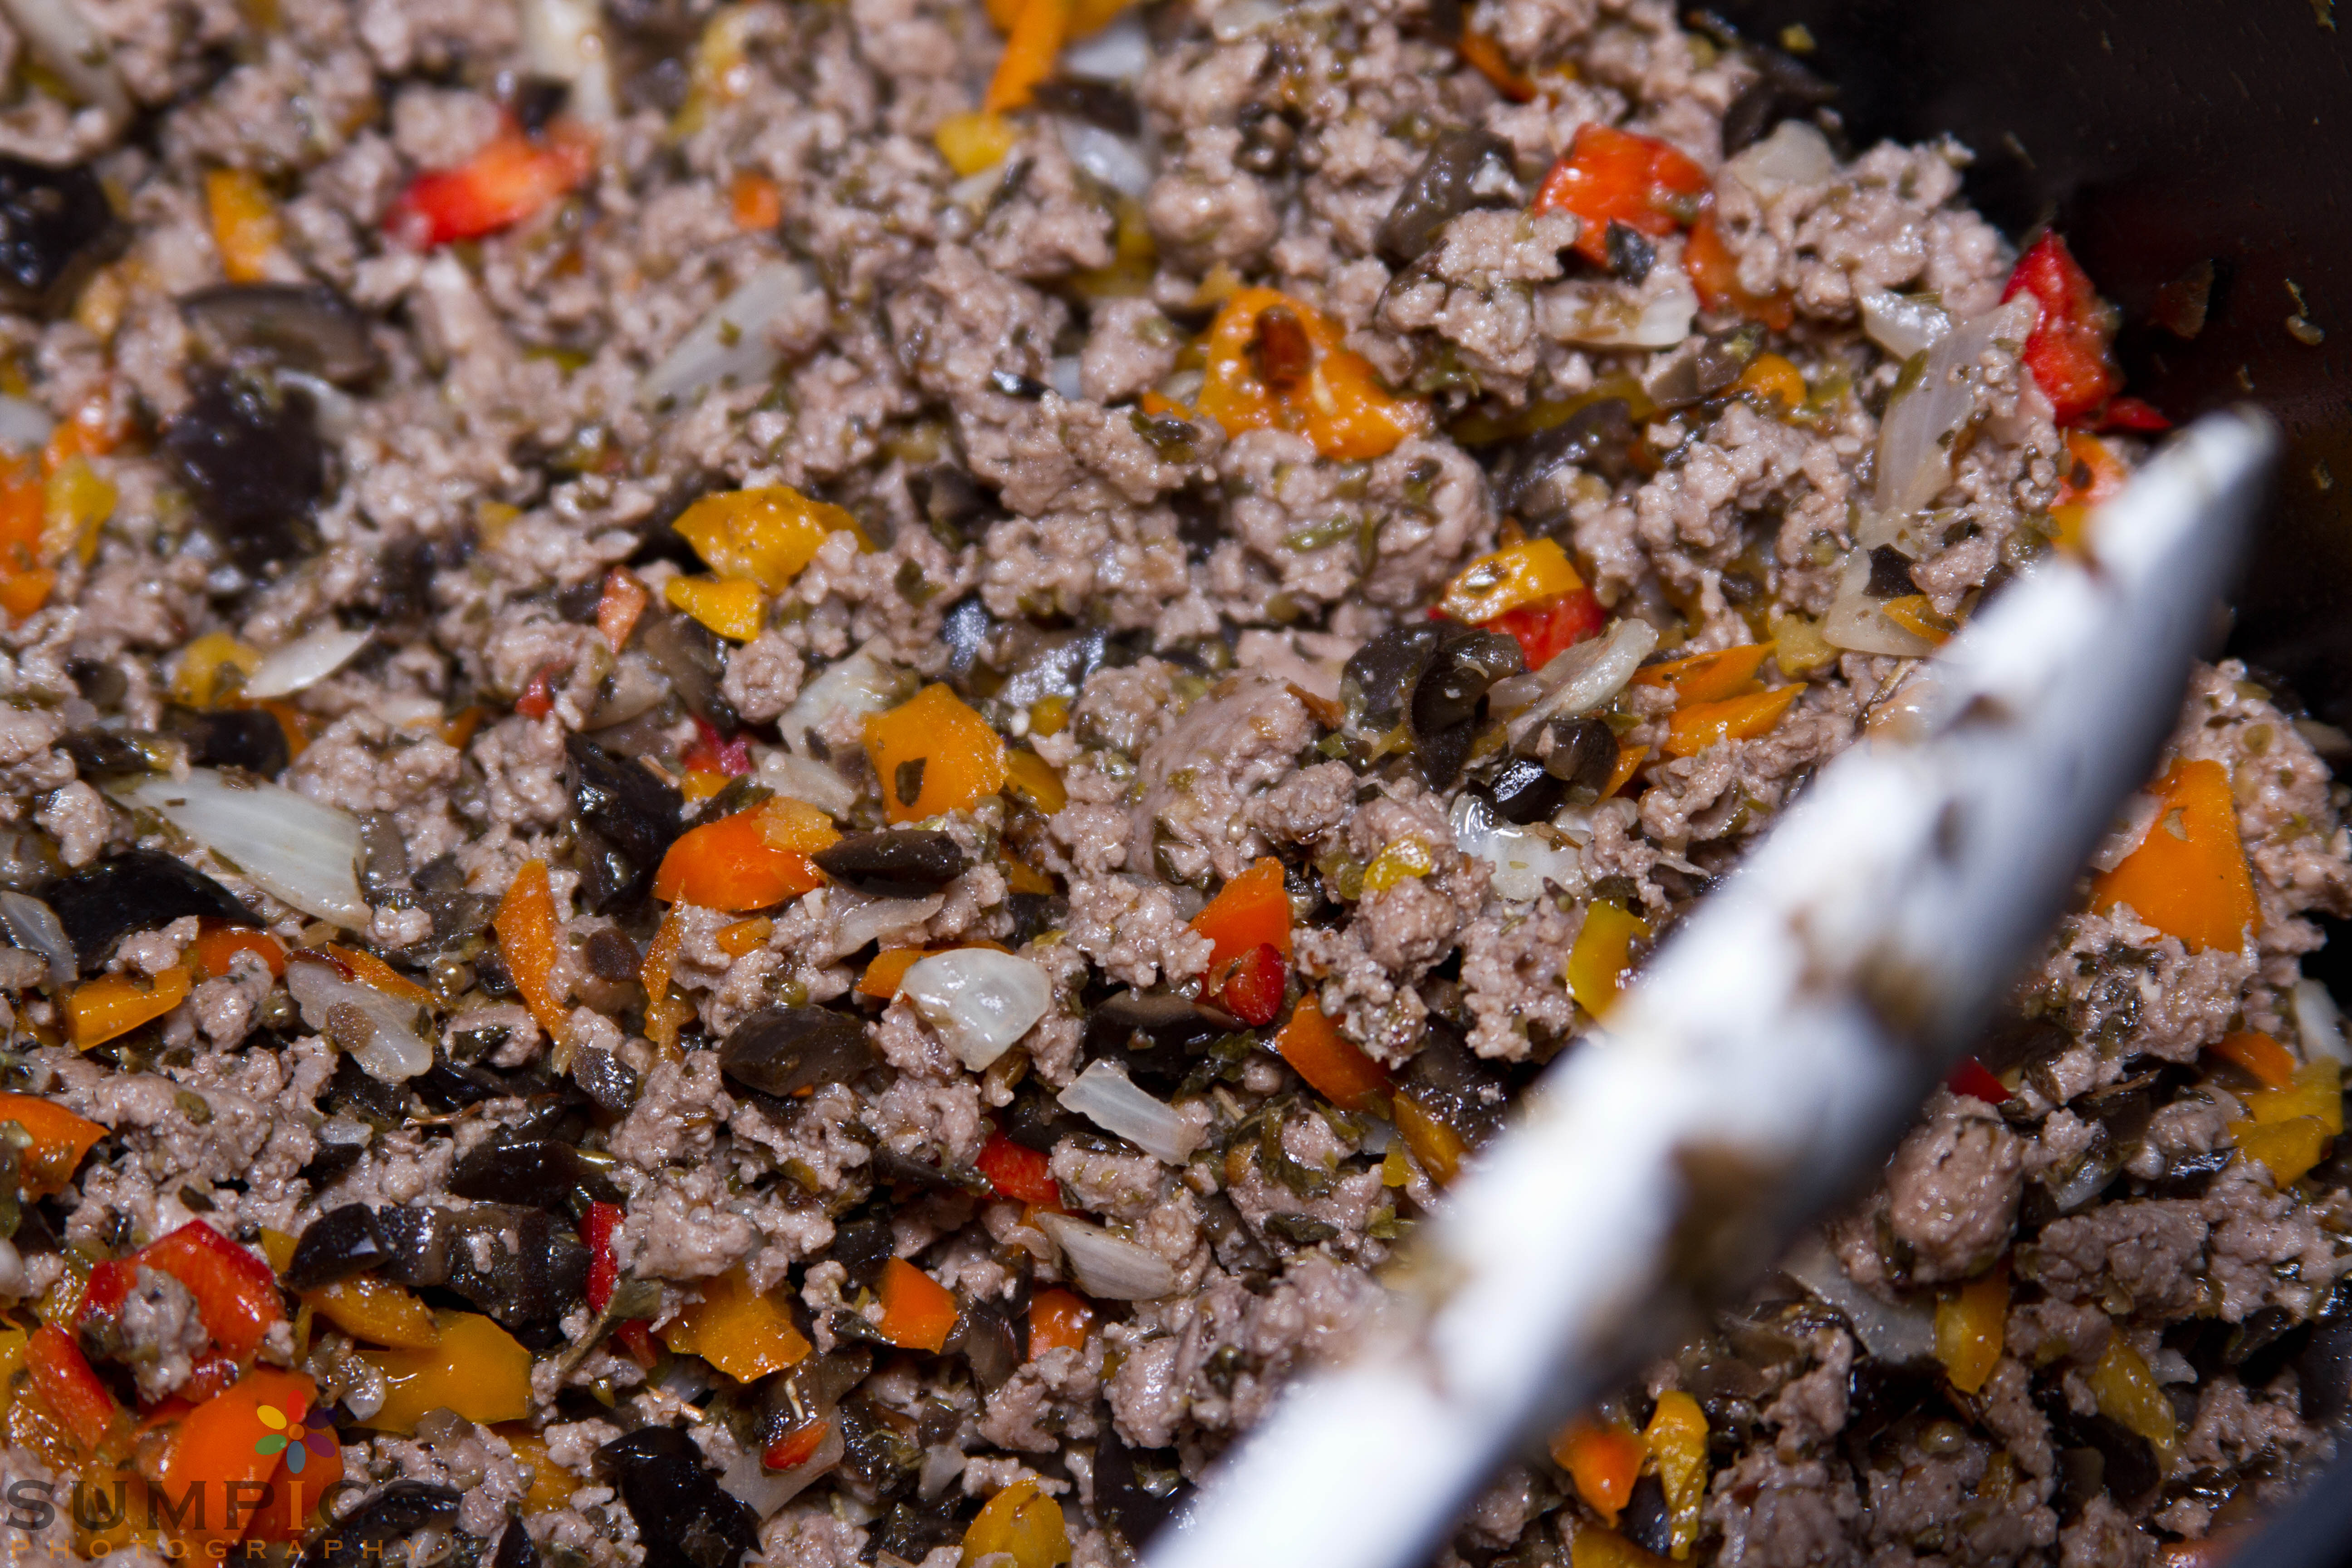
After a few more minutes, I dumped the entire contents of the StarFrit in to the ground beef. Since tomatos apparently get more “fructose-y” as they are cooked, the trick with a spaghetti sauce is to NOT cook it. That means any veggies you want in your sauce will not be able to marinade in the tomato sauce to get soft, so they’ll need to be softened and cooked another way. This is my way; added to the ground beef as it finishes cooking, they get softer, take on a bit of the seasoning flavor, impart more flavor to the beef, and make it possible to feed my Fructose Malabsorbative son a spaghetti sauce that tastes great!
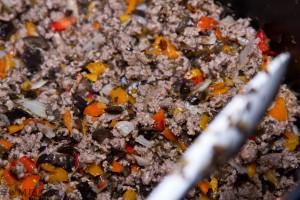
Veggies in with the meat!
(Another tip: you don’t even need to wash out your StarFrit between uses here. It all goes into the same pot, after all!)
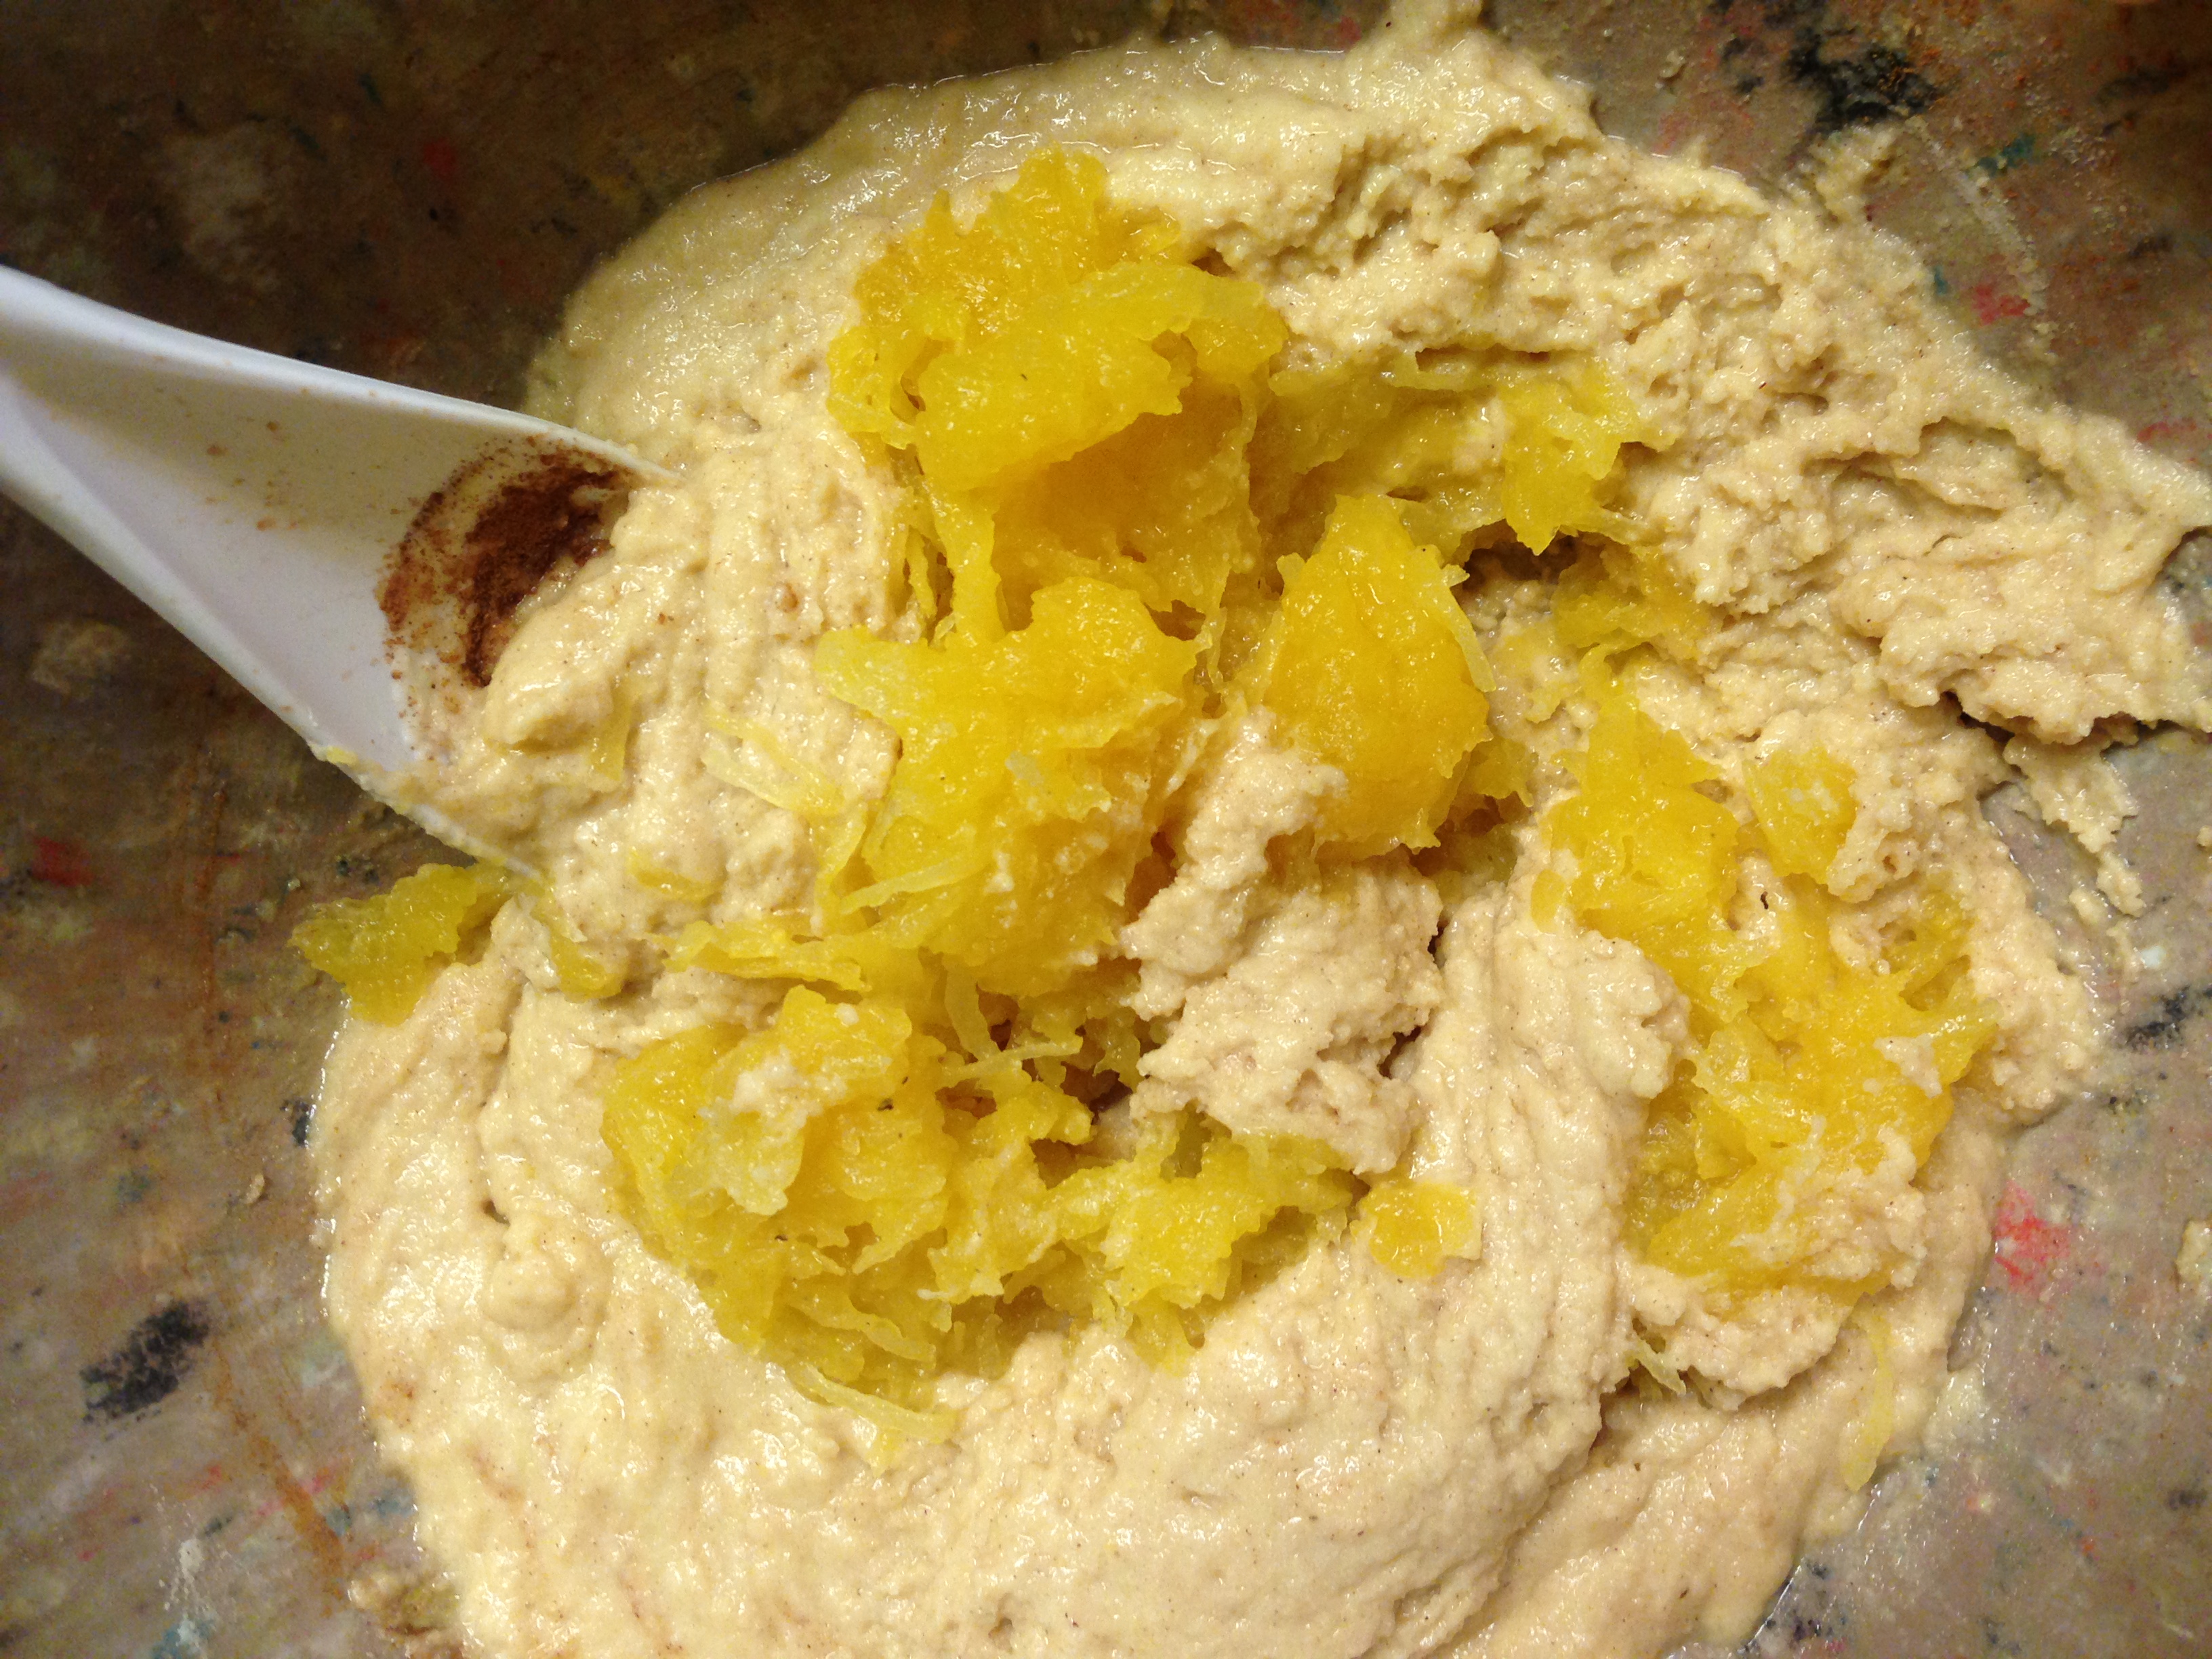
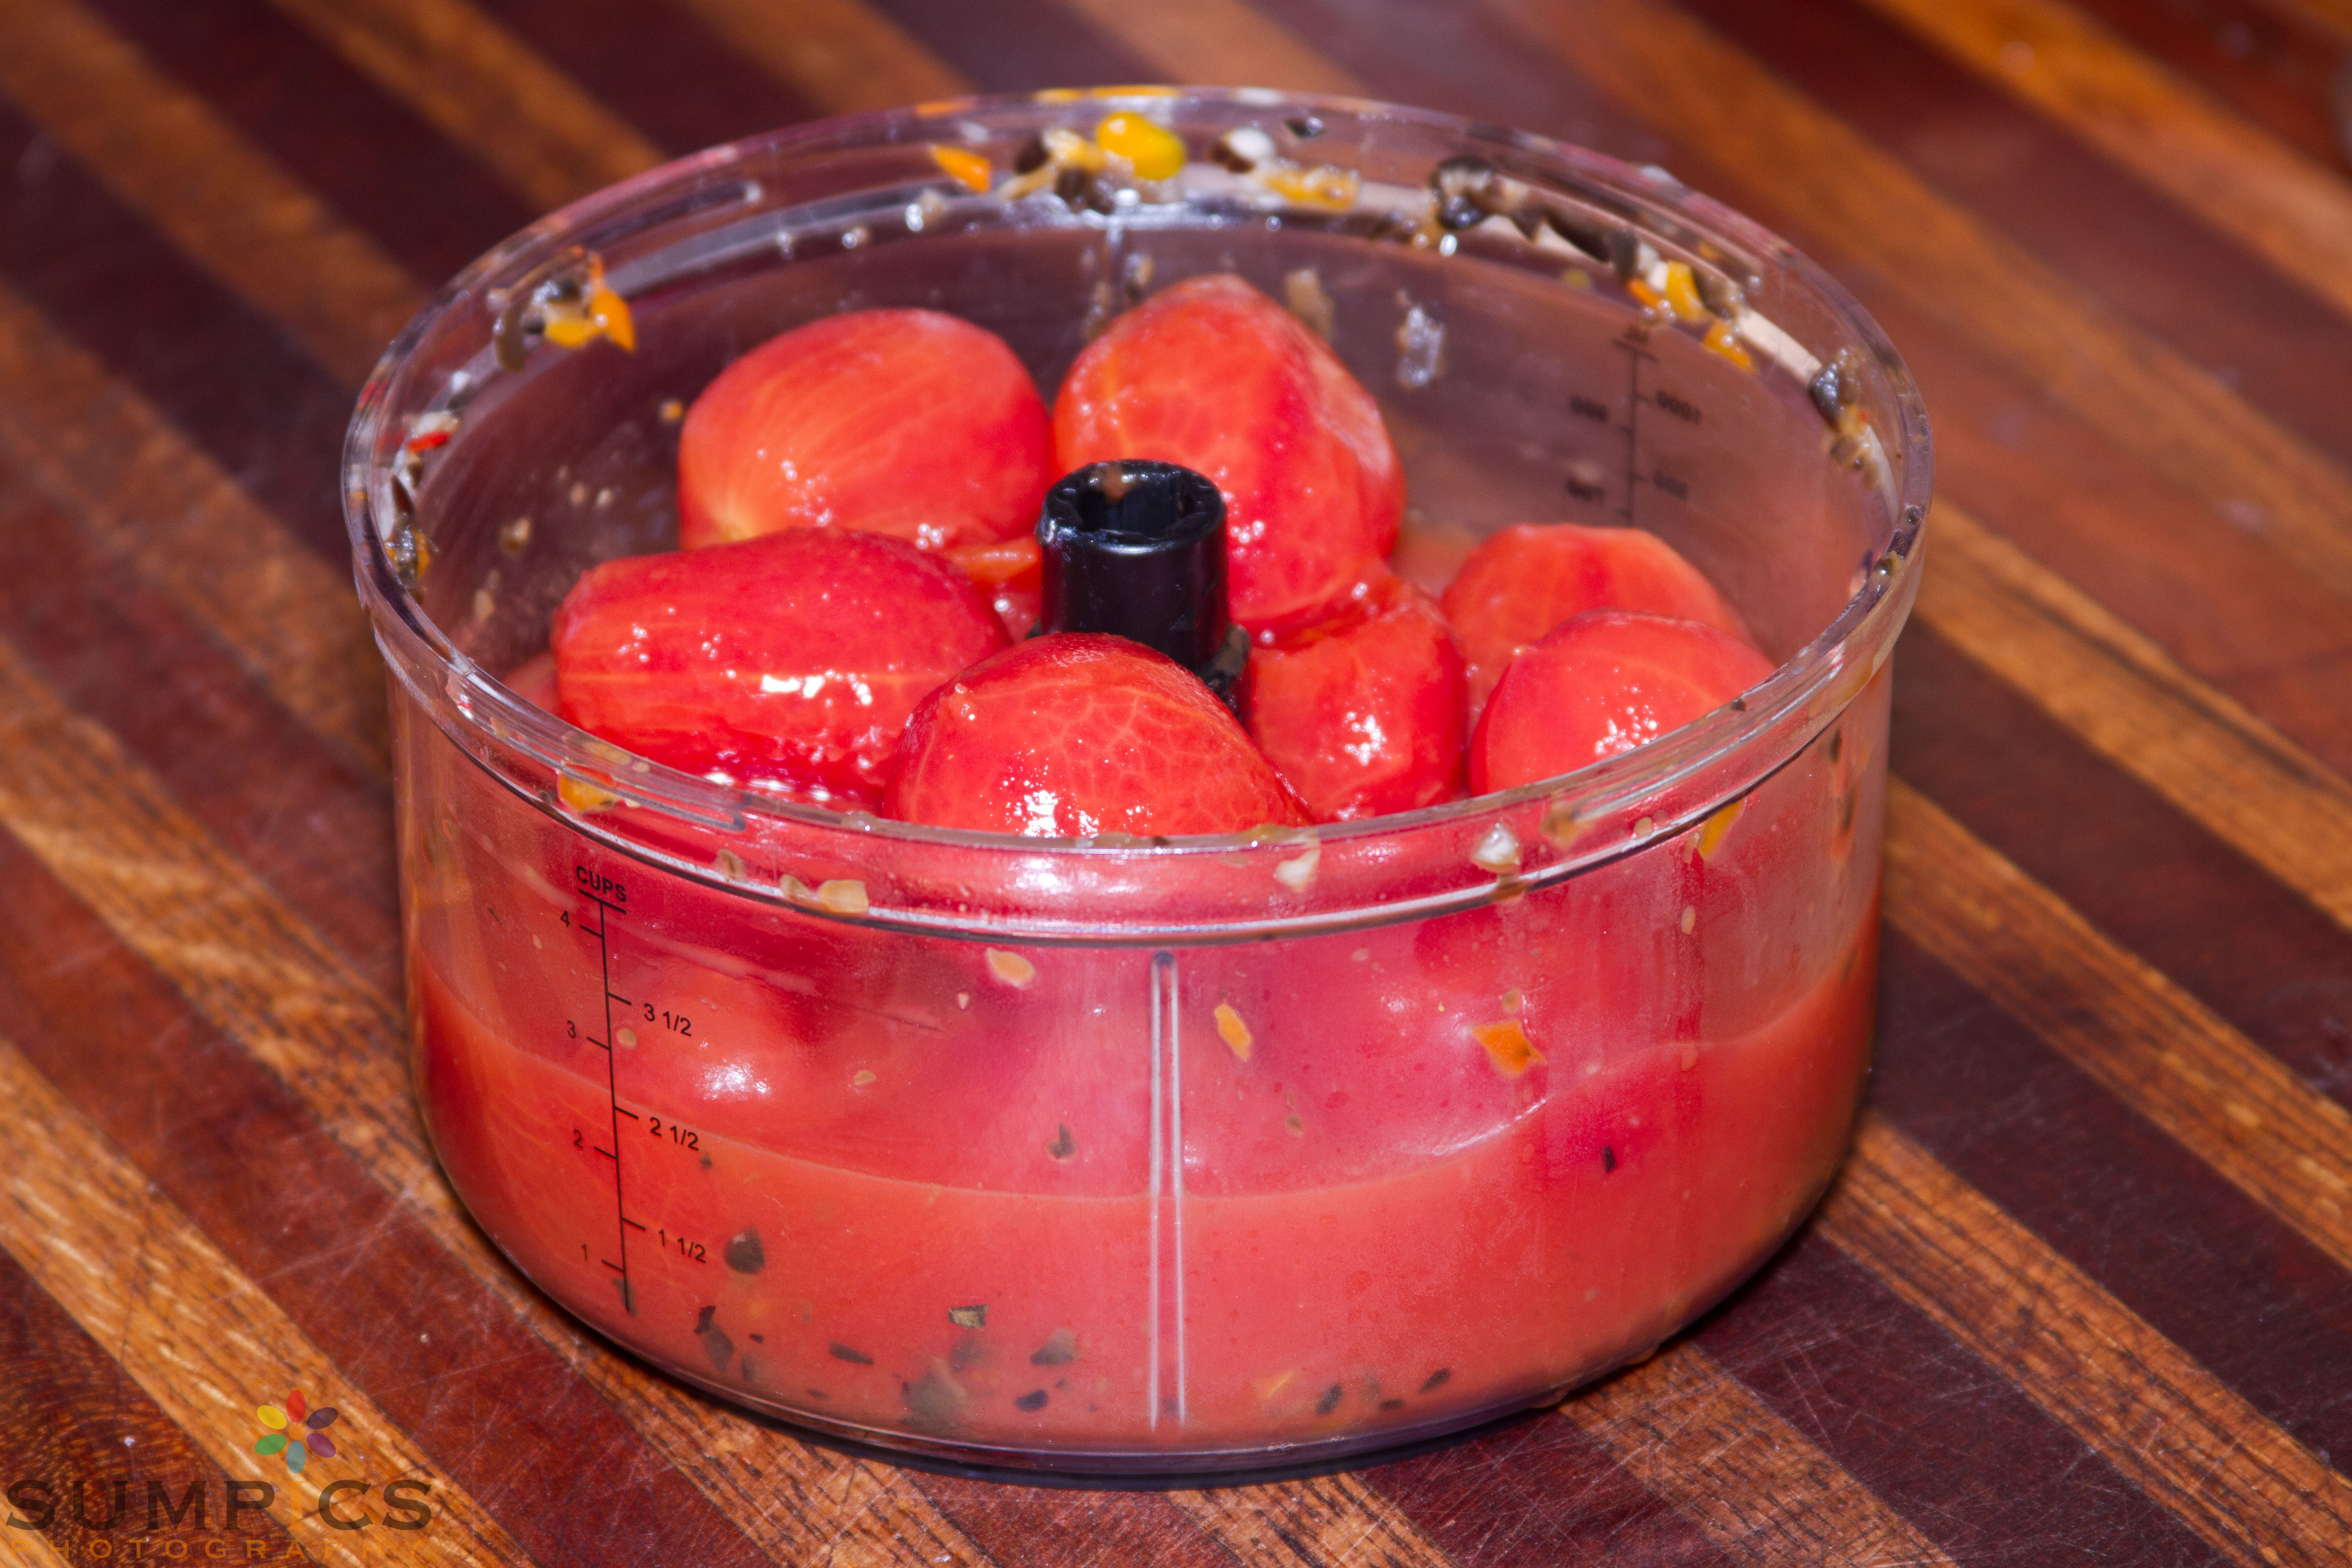
I didn’t have any fresh tomatos, so I used the big cans of whole tomatos. I opened one can, threw it in the StarFrit, and blended until it was mostly “saucy”. Just a few little dices of tomatos in the mix for texture.

Ready to puree…
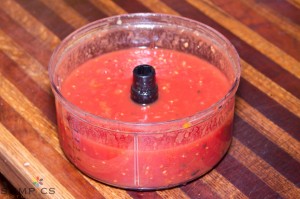
And we have sauce!
I dumped it in the sauce pot, and realized it needed more. So I got out another big can, repeated the process, and that was just the right amount!
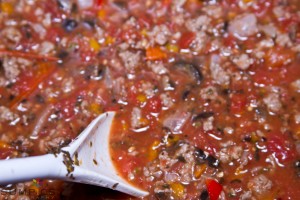
Mixed in with the meat
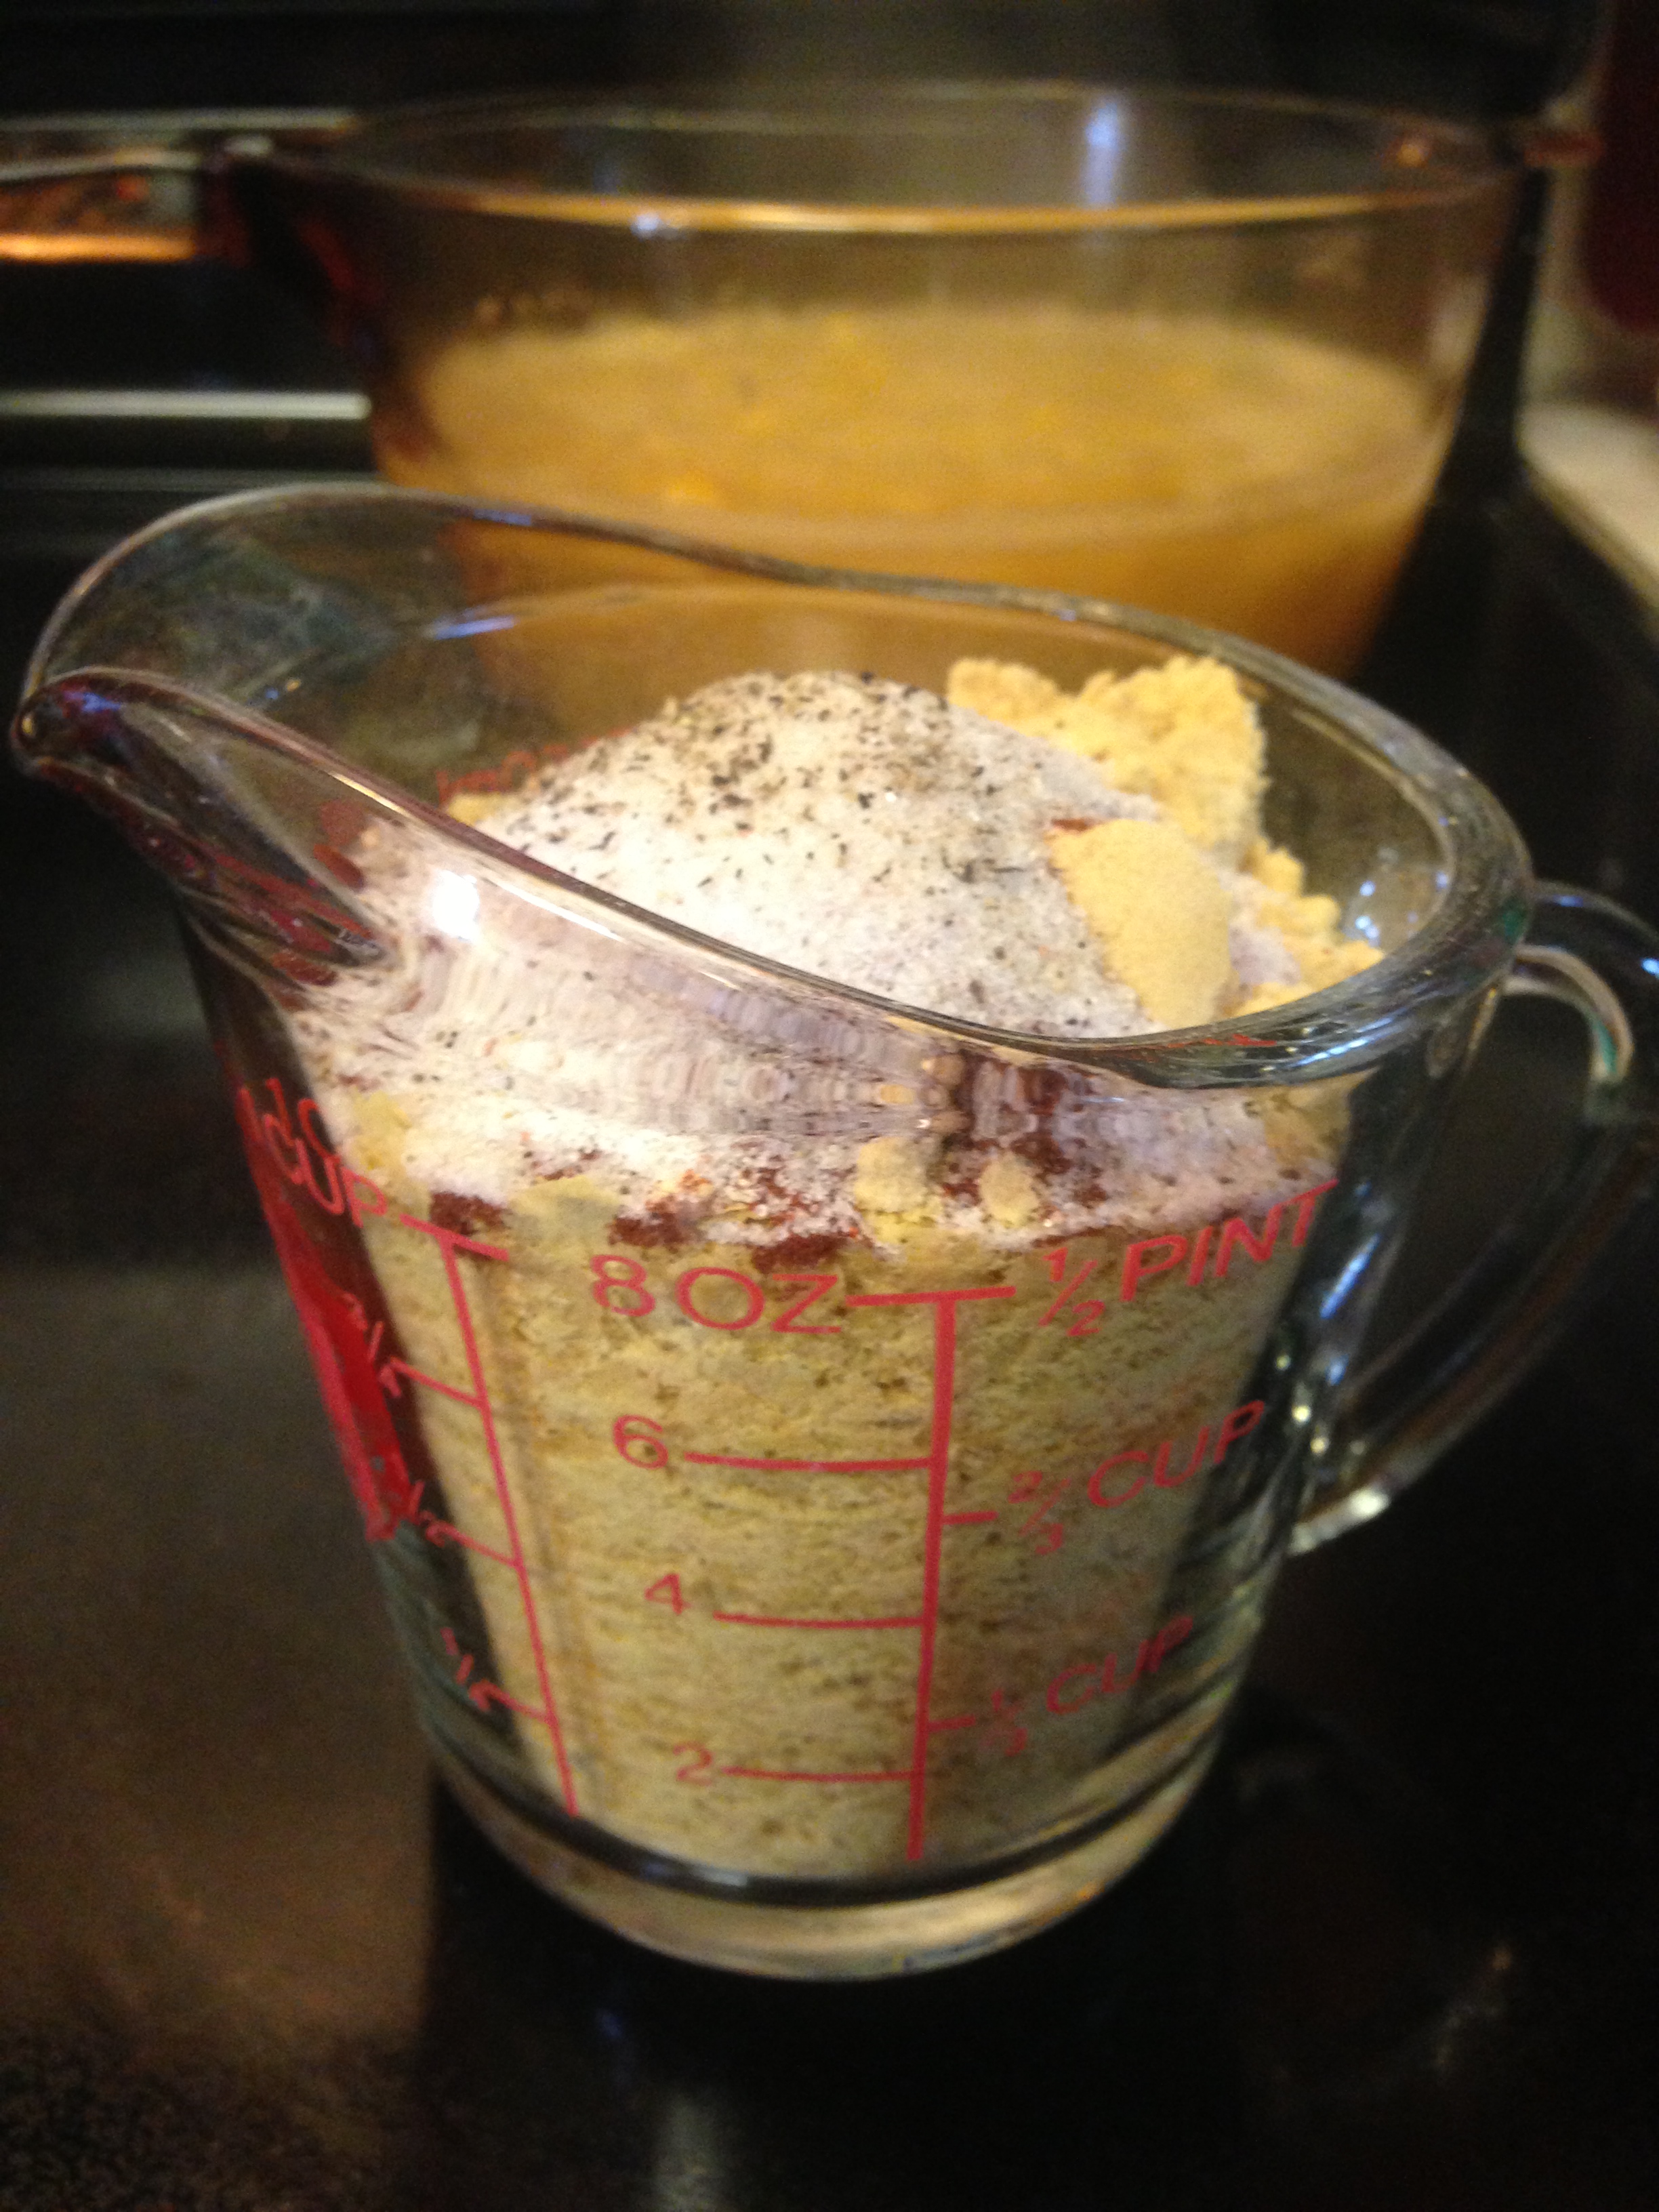
When you’re not using a tomato sauce (which is just pureed tomatos cooked down a bit), the tomatos are very liquidy. To help counteract that and thicken it up a bit, I added 1 T. of potato starch. Maybe it needed more, but Darrel was happy with it, so I let it go at that.
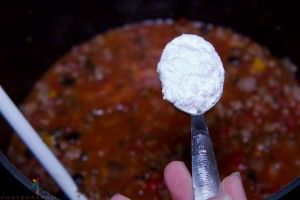
Potato Starch for thickening
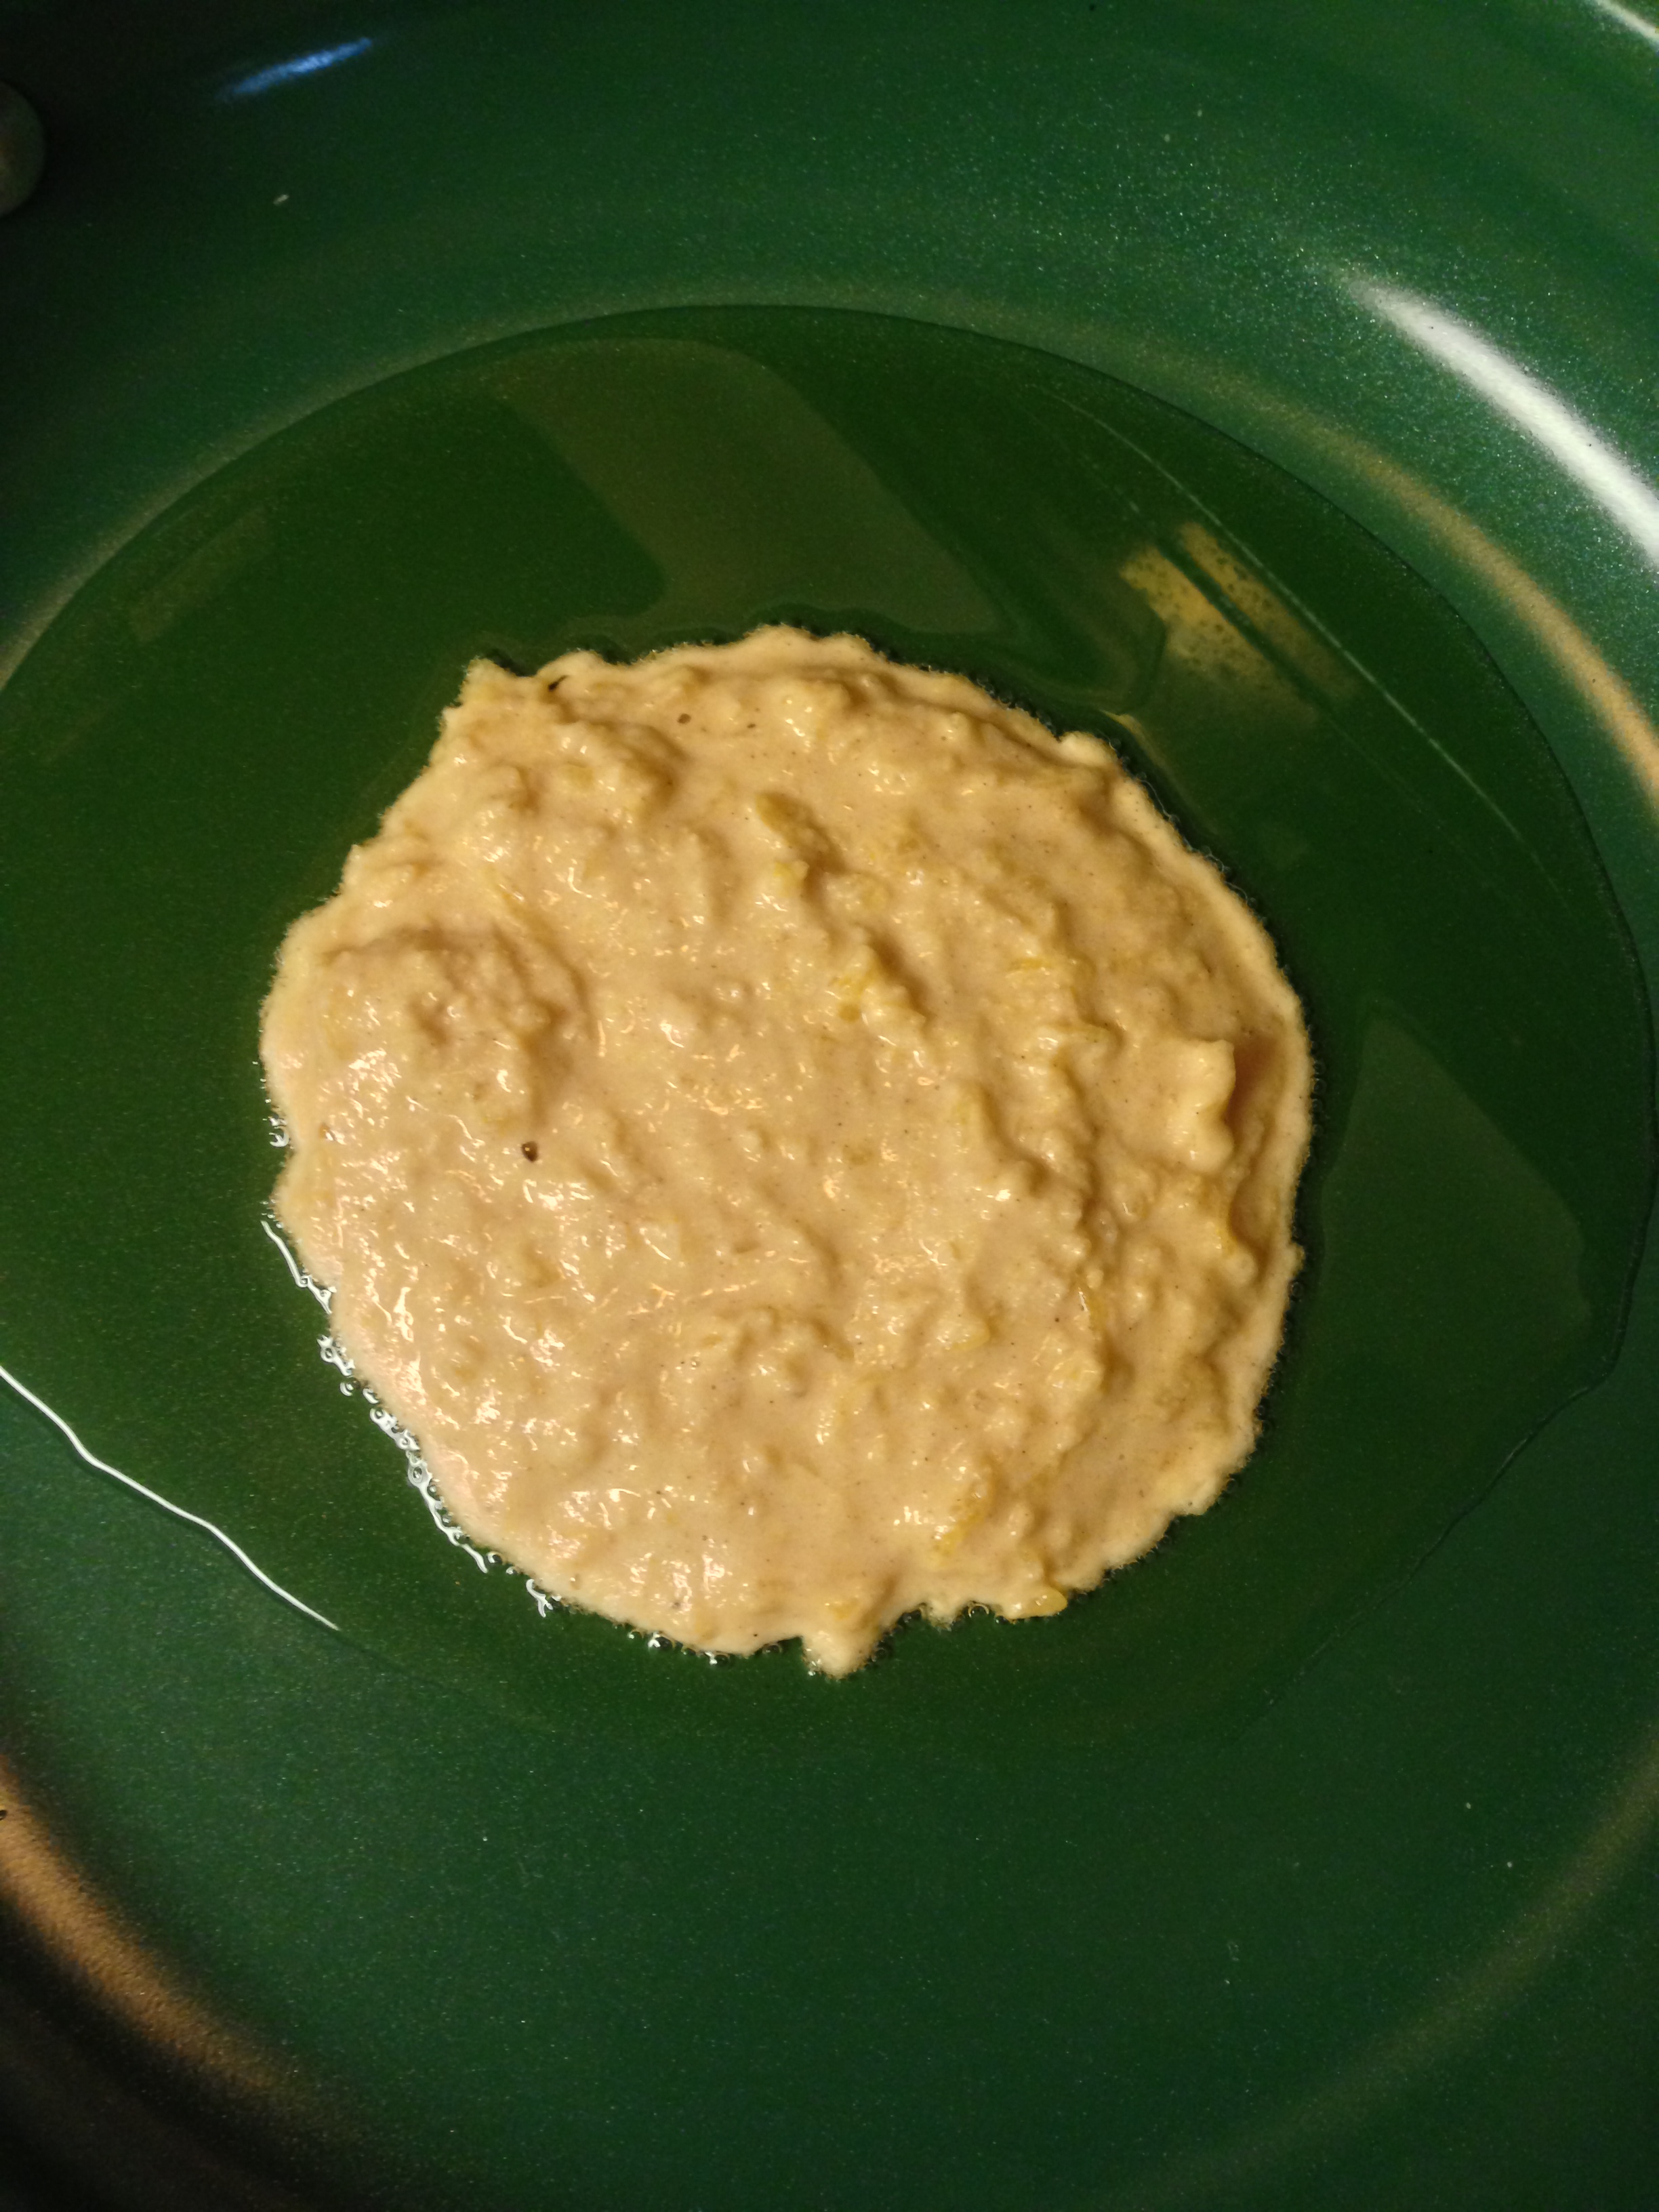
Meanwhile, Darrel had started some brown rice spaghetti noodles cooking, so I simply stirred the spaghetti sauce until it was WARM but not cooking – and immediately took it off the heat!
I didn’t want a cold sauce, but it needs to still be mostly raw tomatos (or, as raw a tomato as you can get with canned tomatos!). In any event, less cooking is better when you’re limiting fructose and trying to eat tomatos.
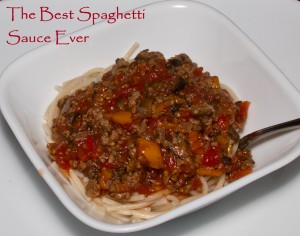
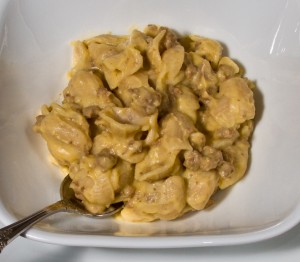
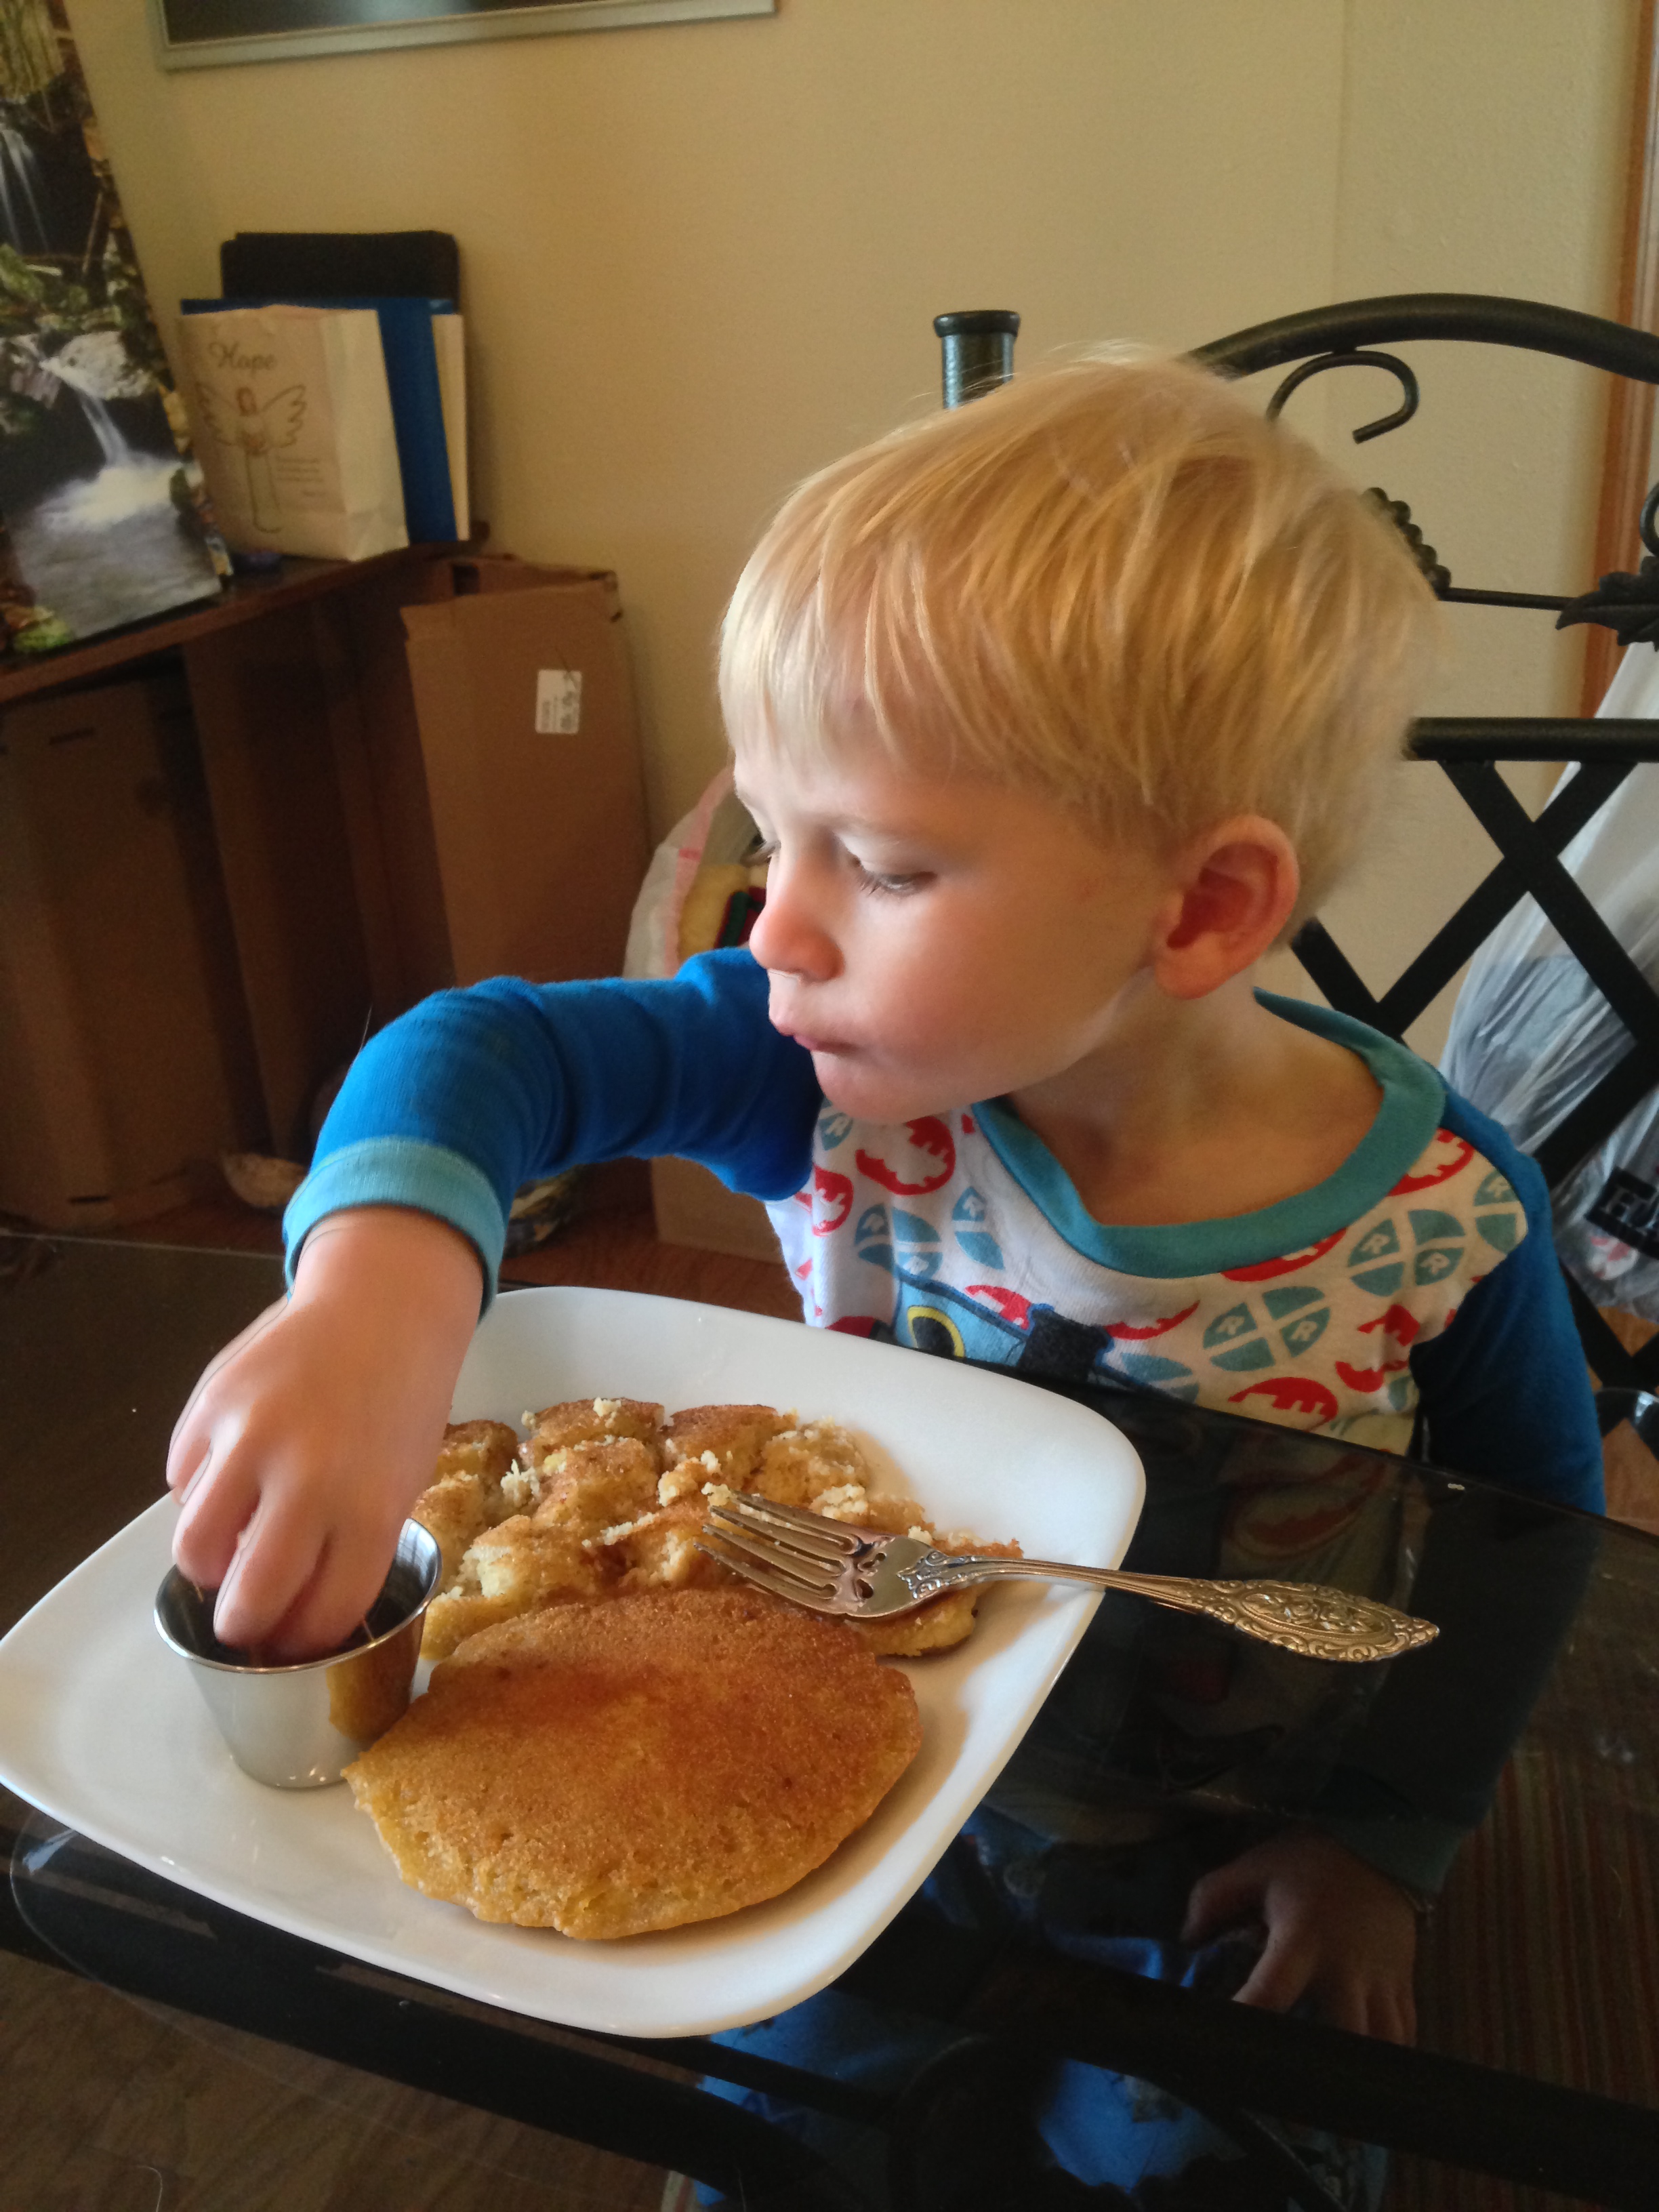
The noodles were drained, dished up, and the sauce was added to the top…and it was delicious!
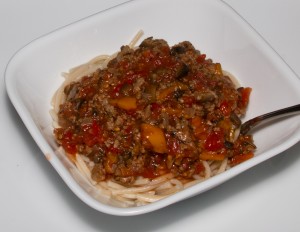
Dinner is served!
Darrel ate two full plates plus the tiny bit Jed didn’t finish, and Jed ate almost all of a HUGE bowl of it by himself.
Since the goal was to serve as good a spaghetti sauce as my original, knock-your-socks-off sauce (a title given it by my once-lived-in-Italy husband) I think the fructose friendly version hit the spot!
If you don’t have to limit fructose, the original way is pretty easy and can be done far ahead of time (frozen, or put on the stove in the morning and simmered all day while at work). But if you have to limit fructose, here is a great way to still enjoy a tomato based spaghetti sauce and not aggravate your tummy!
Enjoy!
__________
BEST SPAGHETTI SAUCE EVER (ORIGINAL)
– 1-2 lbs. ground beef
– 2 28 ounce cans of tomato sauce
– 1 28 ounce can of diced tomatos
– 1 small can tomato paste
– 1 onion
– 8 cloves garlic
– 5-6 T. dried oregano
– 5-6 T. dried basil
– sea salt
– pepper
– 1-2 tsp. crushed red pepper
– 1 T. brown sugar
– splash of red cooking wine
– veggies: olives, mushrooms, bell peppers, shredded carrot, shredded zucchini, etc.
- Brown your ground beef with the onion in a large sauce pan.
- Add the garlic towards the end of browning to soften.
- Drain off grease, if necessary, and add all the tomatos.
- Add the remaining ingredients; add more tomato sauce if necessary. You can put in as many veggies as you would like as long as you keep the sauce from getting too thick.
- Cook for at least 30 minutes at a simmer, though you could let this simmer all day long and it would get nothing but better!
- Dish up over your favorite safe pasta noodle and enjoy!
(You can also freeze this sauce and reheat it later.)
__________
BEST SPAGHETTI SAUCE EVER (FRUCTOSE FRIENDLY VERSION)
– 1-2 lbs. ground beef
– 2 28 ounce cans whole tomatos
– 1/2 an onion (or omit, if unsafe)
– 5-6 T. dried oregano
– 5-6 T. dried basil
– sea salt
– black pepper
– 1 tsp. crushed red pepper (omit if unsafe)
– 1 T. potato starch
– veggies: anything you like that is safe – olives, bell pepper, mushrooms, etc.
- Add onion and ground beef to a large sauce pan. Start browning your meat.
- In a food processor, chop up all your veggies for the sauce.
- When the meat is mostly browned, add all your seasonings; stir well.
- After the meat is browned, add all your veggies. Stir well and let cook until softened.
- Puree the tomatos in a food processor.
- After the veggies are softened, add your tomatos. Stir well; add more tomatos if necessary.
- Add potato starch if you need to thicken the sauce a bit.
- Leave on the stove until WARMED through, but do not cook the sauce.
- Serve with your favorite safe pasta noodle and enjoy!
- To eat leftovers, I try to warm it as little as possible; on the stove in a saucepan is safest, as you can test it as it warms. This keeps it from cooking the tomatos too much.
- You can always halve the recipe if you aren’t feeding a crowd (or hungry men) and don’t want too many leftovers to worry about!
__________
What veggies do you put in your spaghetti sauce?
__________
This post shared with:


Frugal Ways, Sustainable Ways
and
Real Food Wednesday
Like this:
Like Loading...


