Brown Thumb Gardener Versus the Spider Mites

Brown Thumb Gardener versus the Spider Mites CradleRockingMama.com

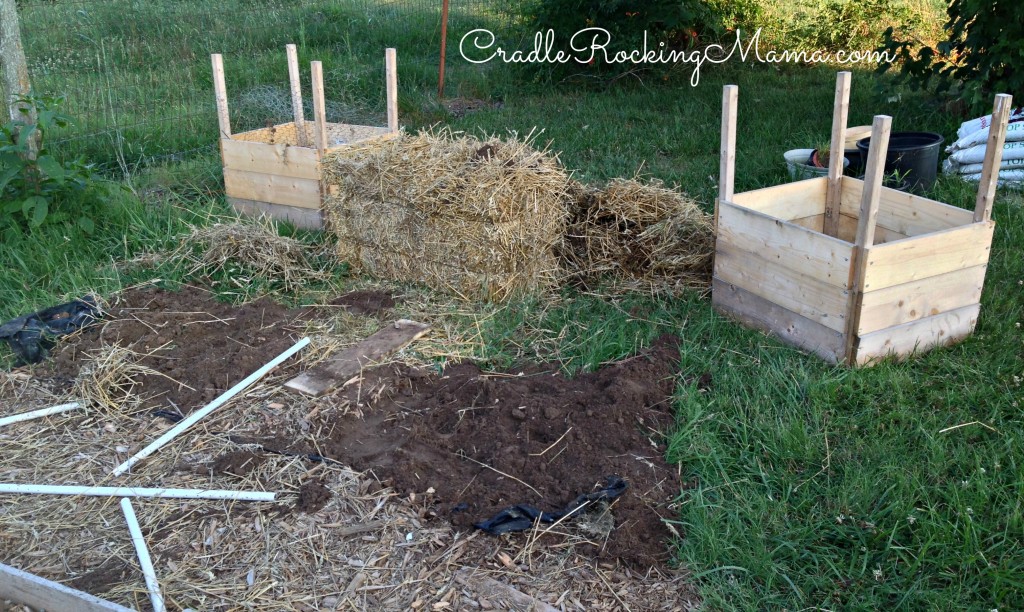
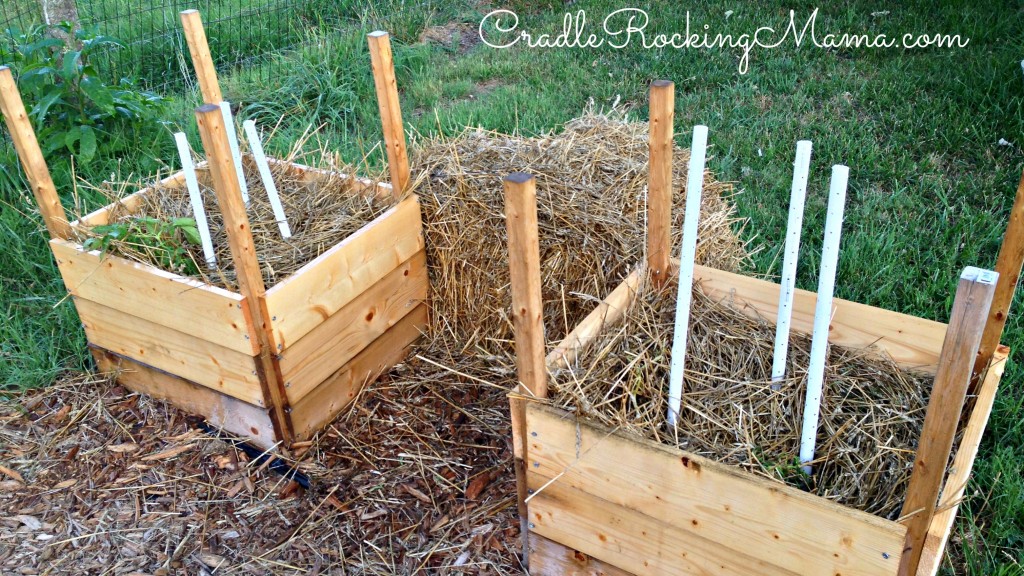
This week I decided the potatos were a lost cause. It seemed like a good idea to dig them up to see what I actually netted from the tower experiment, since the vines looked like they were dying. I didn’t want to lose any potatos.

The spider mites had obliterated the plants; below the surface, the previously beautiful and strong potato greenery had withered and begun to rot. It was very disheartening to see.

Dismantled Potato Towers CradleRockingMama.com

However, Darrel and I managed to dig up some potatos:

Potato Harvest CradleRockingMama.com

Total yield? 5 pounds 6 ounces.

Not quite the 100 pounds promised in the article, but I truly still believe that 100 pounds is possible.

If you do it right. Which, apparently, we didn’t.

So we learned a lot from this experiment:

  • I put chicken netting on the bottom of the towers. That was a good move. It made it possible for Darrel to simply grab the chicken netting and pick it up, loosening all the dirt and shaking the potatos loose. That made it a lot easier to dig out the potatos.
  • The screws I used were too long, and either I didn’t drill large enough holes for them, or the wood swelled and made them REALLY TIGHT. Some of those screws stripped out when we tried to remove them, and will either need to be cut or removed with vice grips or something. Ugh.
  • One screw per side of each board is probably enough.
  • Straw probably works great on potatos when they’re being grown in a traditional method, but it doesn’t work very well for the tower method. All the potatos we got were from the dirt. We got nothing from the straw levels.
  • Next time you see signs of spider mites? GET NASTY WITH THOSE LITTLE…THINGS.

On that last note, I happened to see signs of spider mites elsewhere in my garden this week: on my Purple Podded Pole Beans.

Oh, heck, no, you nasty little fiends!!

This made me panicky; in my garden, the beans and cucumbers are my best producers, therefore the most likely things to be used in a trial for Zac. I don’t want those plants destroyed by some damn little mites!

Do you know how weird Google is? Last week, when I was reading about spider mites because they were on my potatos, I googled for information. This week I did the same thing. Apparently I used different google search phrases, though, because last week, all I could find said that predator bugs were the only thing to remove or eliminate spider mites.

This week, though, I found MANY web pages that encouraged using natural ingredients to get rid of them, and that all said there were several techniques that worked!

So on the advice of one of those websites, I grabbed two onions and a head of garlic and roughly chopped them up. Then I tossed those in a quart of boiling water and let it cook a bit.

Cooking the Onion and Garlic Pest Deterrent CradleRockingMama.com

Once those had softened and cooked a little, I added a T. of cayenne pepper (I only had the powder, not the real peppers). Then I let it all cool, and strained the liquid into a spray bottle. Finished Garlic Onion Cayenne Pest Deterrent CradleRockingMama.com

Then I went out and sprayed my beans. 

I’ll admit it; every squirt of my natural concoction that hit the leaves was accompanied by my unspoken rally: DIE, MITES, DIE!!

I even used the ladder to reach the leaves where I’d specifically noted the undersides of the leaves had slight spider webbing and sprayed them directly.

Onion and garlic are powerful, but not nearly as lethal as poisons. I’m assuming it will take a few days before I see results, and I’ve only been doing it for two days so far.

I’m keeping my eye on it, though, and with any luck this will work like a charm and my beans will be rescued from the evil spider mites.

Does anyone have any organic, natural methods of eliminating spider mites that they would like to recommend? I’m all ears!

Darrel is still not feeling 100% and I don’t know how to work the tiller by myself, so…no new garden beds, and not a whole lot of new planting in my “second summer crop” or fall garden. Drat.

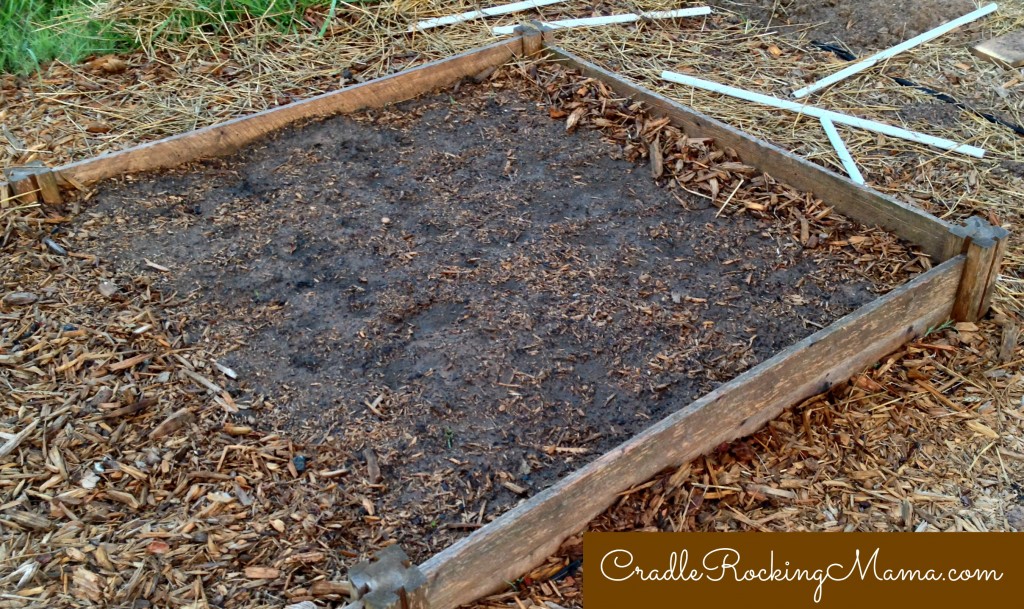
But I did manage to get beets planted! They’re in the raised bed, and I just went ahead and planted an entire square of the bed with beets. I’ll plant more later. Yay for beets!

Beets CradleRockingMama.com

Here’s a question for you: my cucumbers and beans are producing, but they’re not producing the way I expected. Everyone and their mother talks about how you can’t hardly walk for the armloads of cucumbers you’ll get out of your garden, and how the beans will just bury you.

I’m not getting that. I’m getting a cucumber every day and a half, which isn’t quite enough to keep Zac in cucumbers, let alone me! So far I’ve managed to get enough beans to can 2 quart jars. Not enough to really stockpile enough for me and Zac for a year.

So what gives? Is there something I’m not doing? Something I’ve done wrong? Is it just the weather? Did that cold snap last week screw up my plants before they got going?

Or am I just being impatient, and August will see me rolling in veggies?

Thanks, if anyone has any input.

So, how is your garden doing? Are you getting impressive yields? Or eaten up by bugs?

Vegan Sunbutter Ice Cream

Vegan Sunbutter Ice Cream CradleRockingMama.com

The other day, out of nowhere, Jed announced he wanted Sunbutter Ice Cream.

To my knowledge, he’s never even heard  of Sunbutter Ice Cream before, so where he got this latest desire from I have no idea!

(Maybe he’ll take after his Mama and be creative in the kitchen.)

After two days of continuing to ask for Sunbutter Ice Cream, I found a breaking point in all my other work and took the time to make him some.

Usually, when faced with a new idea in the kitchen, I Google it first to see if someone else has already come up with a recipe. Even if I can’t use it “as is”, it often gives me inspiration, pointers, or even a starting point to tweak.

This time I didn’t bother. I totally just threw this together on a hope and a prayer!

Good news, though: Jed liked it!

I mean, really liked it! He kept asking for it over the next few days until it was all gone, and then started nagging me to make more.

Fortunately, it’s really easy to make!

I didn’t make this Vegan, since we have goat milk as a safe food for us now. But this could easily be made Vegan by using an alternative milk or even water in place of the goat milk.

If I were going to try it that way, I’d probably reduce the liquid and add at least another half a banana, if not a whole one, to increase creaminess.

Anyway, here’s how to make it:

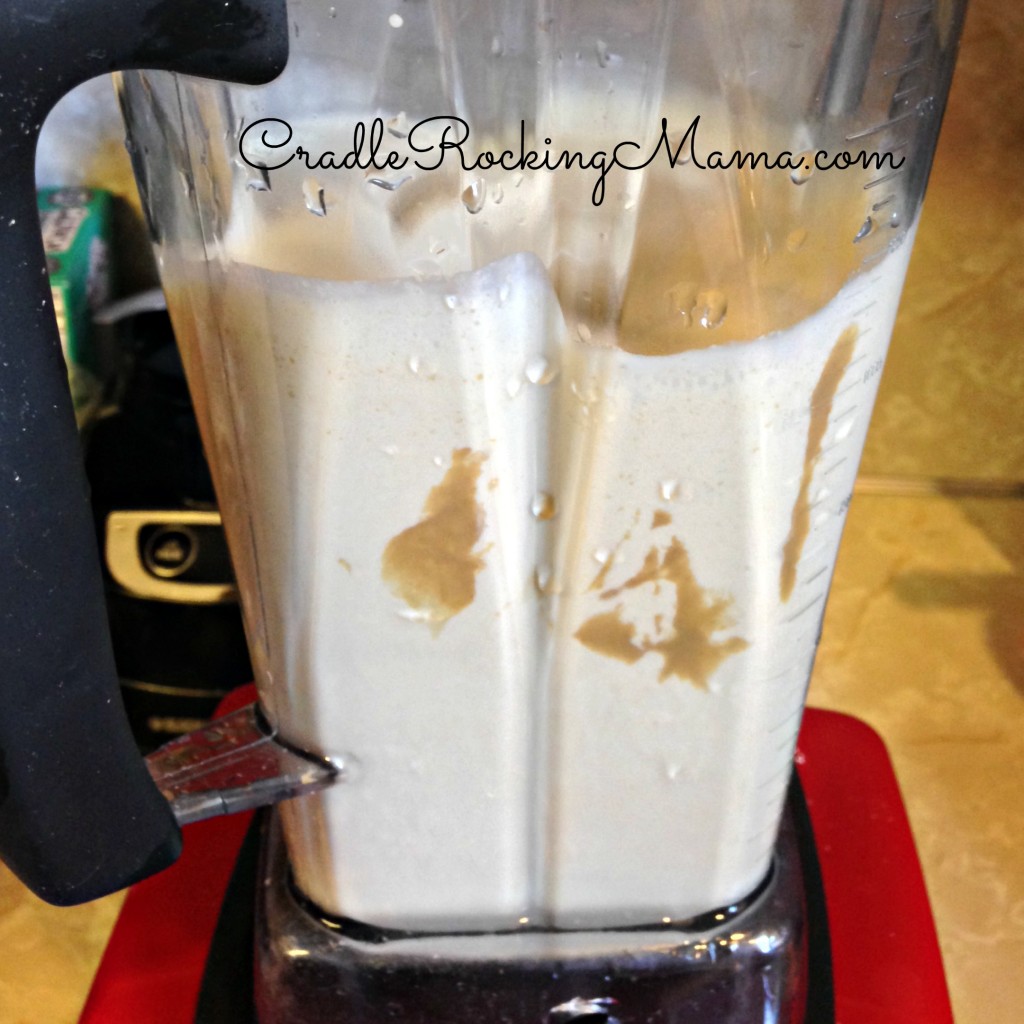
Dump all your ingredients into the blender and turn it on. Process until you have a nice, creamy liquid.

Sunbutter Ice Cream In the blender CradleRockingMama.com

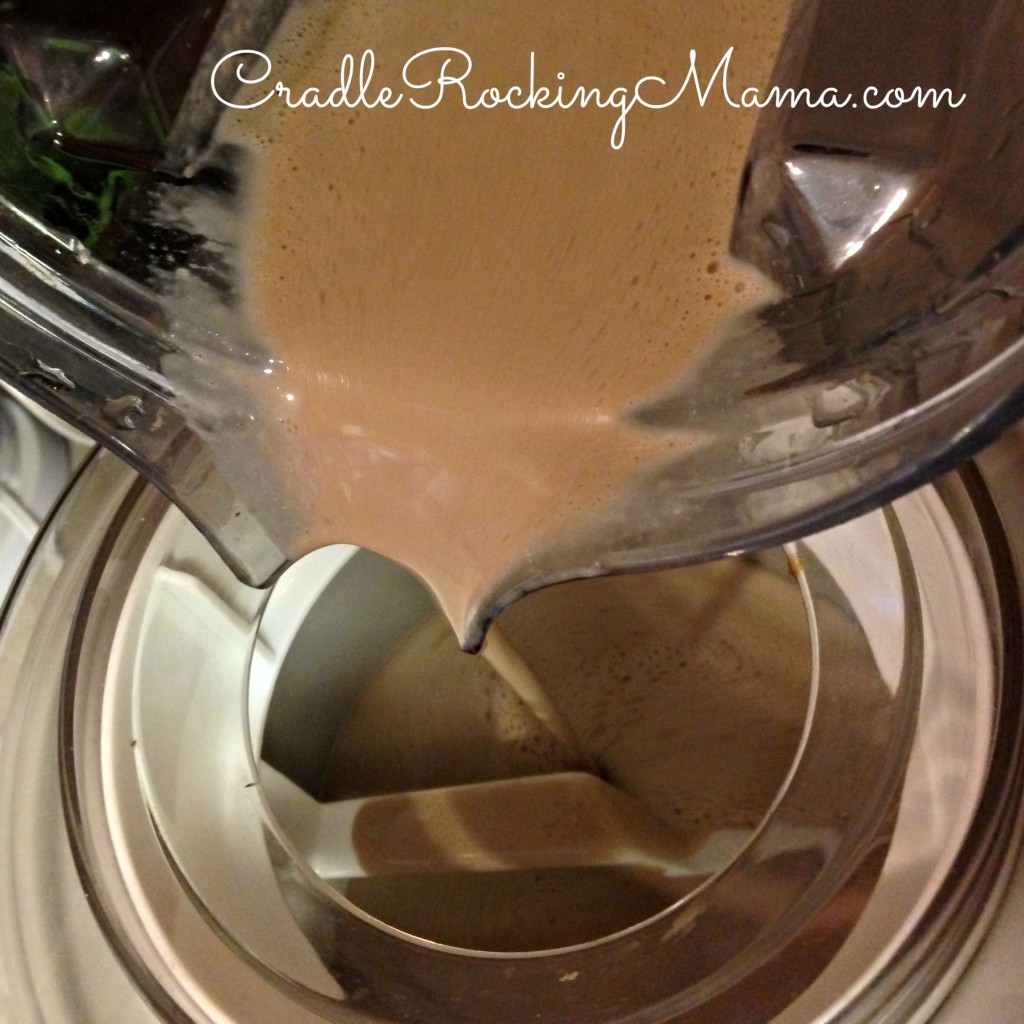
Pour the liquid into your ice cream maker, and turn it on.

Wait.

Pouring Sunbutter Ice Cream in the Ice Cream Maker CradleRockingMama.com

Half an hour later, you’ll have soft serve Sunbutter Ice Cream!

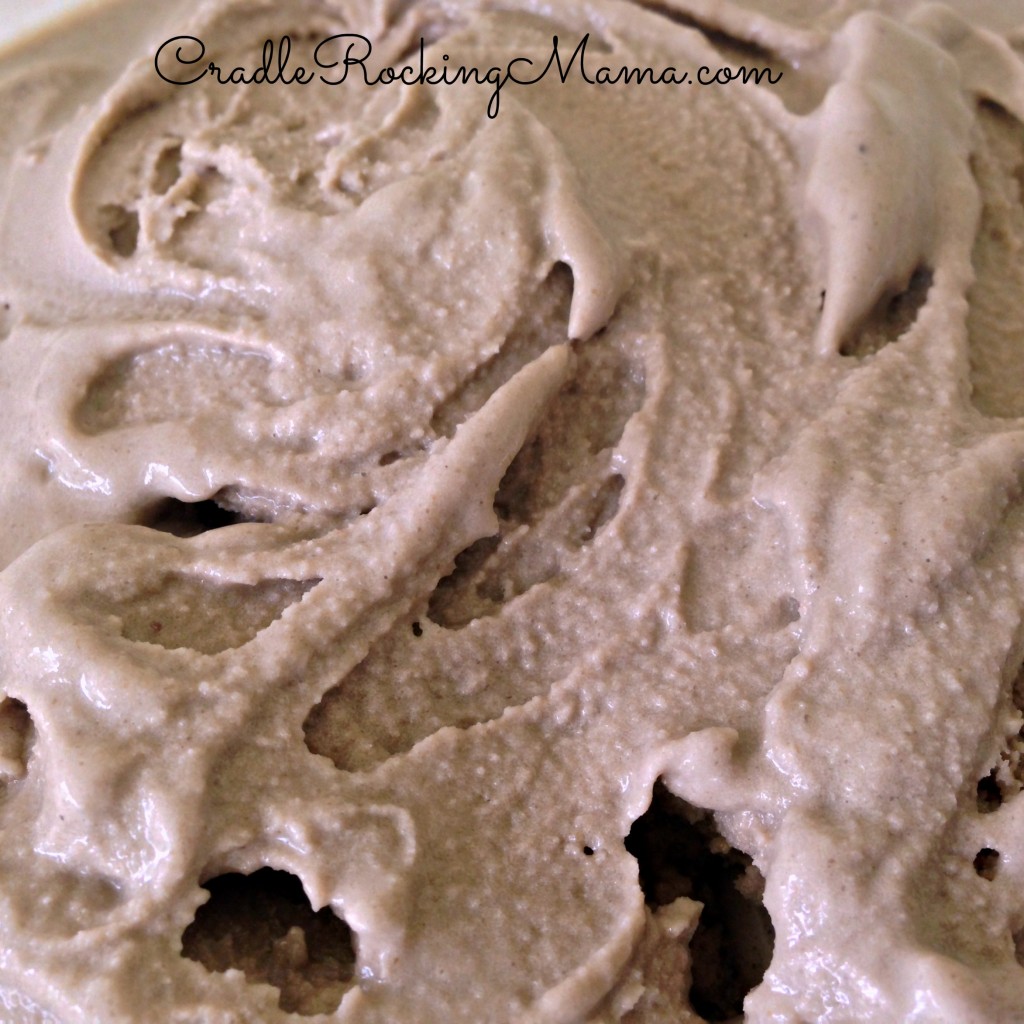
Soft Serve Sunbutter Ice Cream CradleRockingMama.com

That’s pretty nifty, but, as usual, I put it to the “scoop test”. The remainder of that ice cream went into a glass bowl with a lid and got stuck in the freezer.

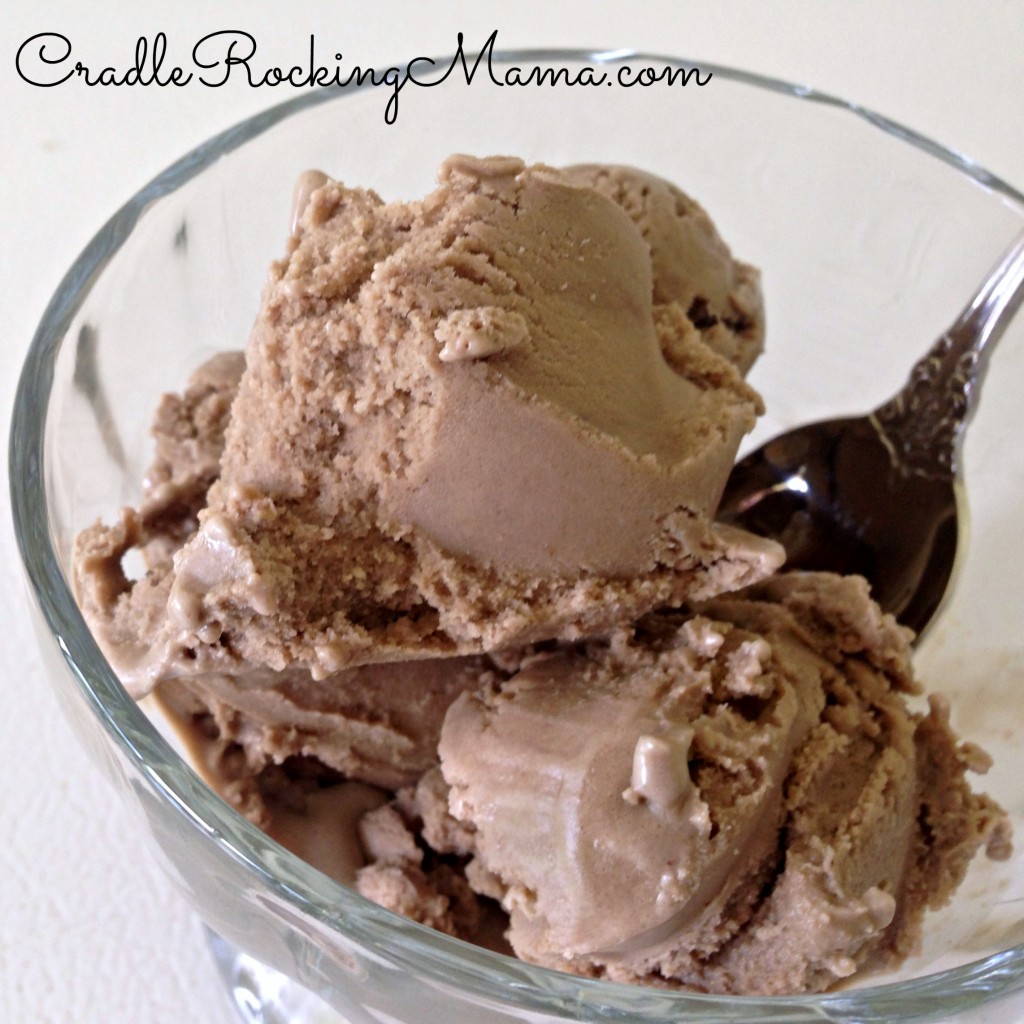
The next day, when Jed begged for more Sunbutter Ice Cream, I pulled it out and scooped up a bowl.

Vegan Sunbutter Ice Cream After being in the Freezer CradleRockingMama.com

Yes, it scoops, which makes me very, very happy. (Though, since I suck at scooping pretty scoops, I often wonder why I care so much. Perhaps it’s just the thought that if my skills one day miraculously improve, the ice cream itself would allow itself to be scooped. I can hope, right?)

By the way, I don’t think I’ve ever shared the real trick to being able to scoop a non-dairy ice cream: thaw it a bit first.

If you just try to scoop it when it’s hard as a rock from the freezer, you’ll get nowhere but frustrated really fast.

If, on the other hand, you toss it in the microwave (for real) for 30 seconds or less, or leave it on the counter for about 5 minutes, it will soften enough that scoops are possible! Don’t worry, it doesn’t melt. Just gets soft enough to work with some.

So here’s another addition to your healthy summer frozen treat list! Hope you like your Sunbutter Ice Cream!

(Vegan) Sunbutter Ice Cream
 
Prep time
Cook time
Total time
 
This yummy treat is sure to be a hit! Make it vegan, if you like, but enjoy it either way!
Author:
Recipe type: dessert
Serves: 3.5 cups
Ingredients
  • ⅓ c. sunbutter
  • ¼ c. maple syrup
  • 1.5 c. goat milk
  • 1 banana
  • (Vegan Option): replace goat milk with ¾ c. of milk alternative and use 1/.5-2 bananas
Instructions
  1. Toss all your ingredients into a blender. Process until smooth.
  2. Following the instructions on your ice cream maker, pour the liquid in and turn the machine on.
  3. Enjoy your delicious, relatively healthy treat!

Practical Preserving: How to Can & Freeze Apricot Puree

Practical Preserving - How to Can And Freeze Apricot Puree CradleRockingMama.com

There are lots of things you can do with apricots, but pretty much everything I’ve made for Zac so far has involved puréed apricot.

Fortunately, that makes it really easy for me to preserve enough apricot to use all year! Puréed apricot is easy to store.

Before I knew whether apricot would be safe or not, I simply froze the apricot purée. Now that I know it’s safe, I have been canning the purée to save room in my freezers.

To start, you have to make your purée. It’s insanely simple: cut the apricots in half and remove the seeds. Put the apricot halves in a large pot.

Apricots in the Pot CradleRockingMama.com

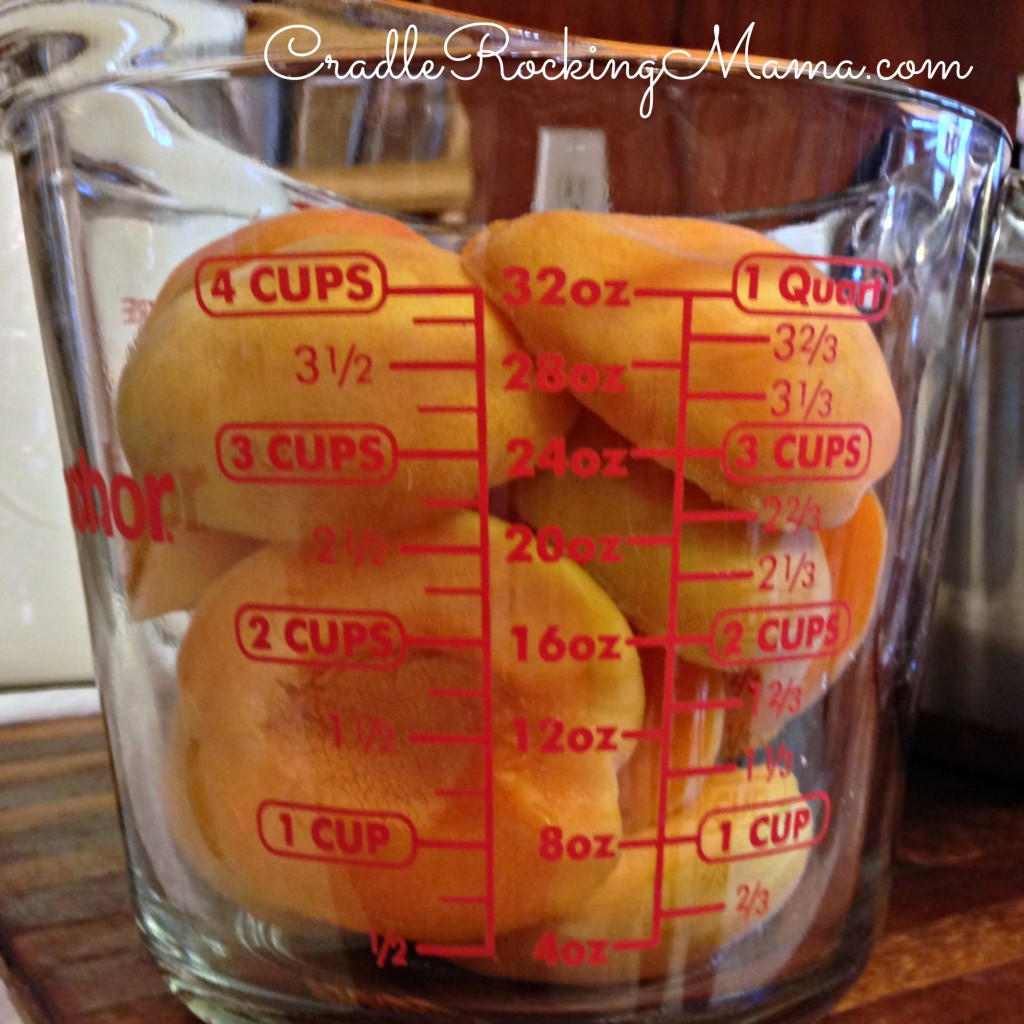
For every quart of apricot halves, add 1 cup of water. (Remember 1 quart is 4 cups.)

One quart of apricots CradleRockingMama.com

Turn the stove on and bring the apricots to a boil. Then drop the heat and let the apricots simmer until softened. That will take 8-10 minutes.

Cooking the apicots CradleRockingMama.com

Once they’re nice and mushy, grab an immersion blender and let ‘er rip!

If you don’t have an immersion blender, very carefully pour the mushy apricots into a blender. Be careful not to burn yourself!

Apricot Puree CradleRockingMama.com

Once everything is puréed as smoothly as you’d like, you’re all set to either freeze or can your purée.

Oh, and if you get busy (cooking other things, emptying the dishwasher, doctoring boo-boo’s, attending to screaming children) and forget to lower the heat right away on your apricots so that when you turn on the immersion blender you get gnarly little black burnt bits in your purée? Don’t worry about it. Pick out what you can and use that purée for baked goods.

No one will ever know.

(Until you announce that you did that on your blog. Ahem.)

If you want to freeze the purée, all you do is take your puréed apricot off the stove and let it cool to room temperature.

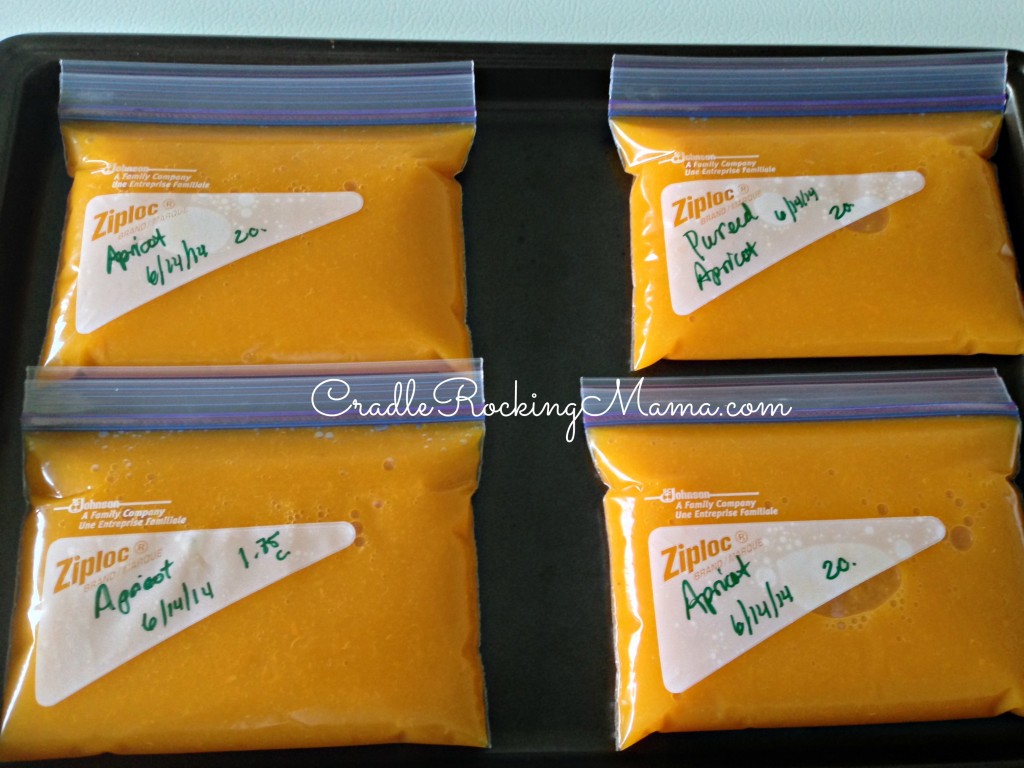
Then simply portion out as much as you like into freezer bags, press out all the air as you seal them, and lay the bags on a cookie sheet to freeze.

Bags of apricot puree to freeze CradleRockingMama.com

Ta-da! Preserved apricots. Easy, right?

I put 2 cups in each pint bag. It worked perfectly.

If, however, you want to can your apricot purée, then before you even start cutting your apricots in half you need to do some prep work.

(For some fantastic reading on basic water bath canning, click here.)

Get your water bath canner and fill it with water. You’ll need to have at least an inch over the tops of the jars when you insert them.

Don’t make my mistake and put too much water in at first. Remember what I forgot: those jars? They’ll displace quite a bit of water! Trying to pour or ladle off boiling water=no fun for Mama.
Canning Pot Set up on Grill CradleRockingMama.com

The first time I did this, I set the canner up on our gas grill. I had read that you couldn’t can on an electric stove, so it seemed like a good solution.

A few days later I was visiting my parents, and watched them pressure can with great success on their electric stove! So next time, I’ll save myself the trouble of carrying all those jars in and out of the house.

Your call, though.

By the way, if you don’t have a water bath canner, you can use any large pot you have as long as it will allow the jars to be covered by at least 1 inch of water, and you use something in the bottom of the pot to keep the jars off the base. People often bind the canning rings together in a grid for this purpose.

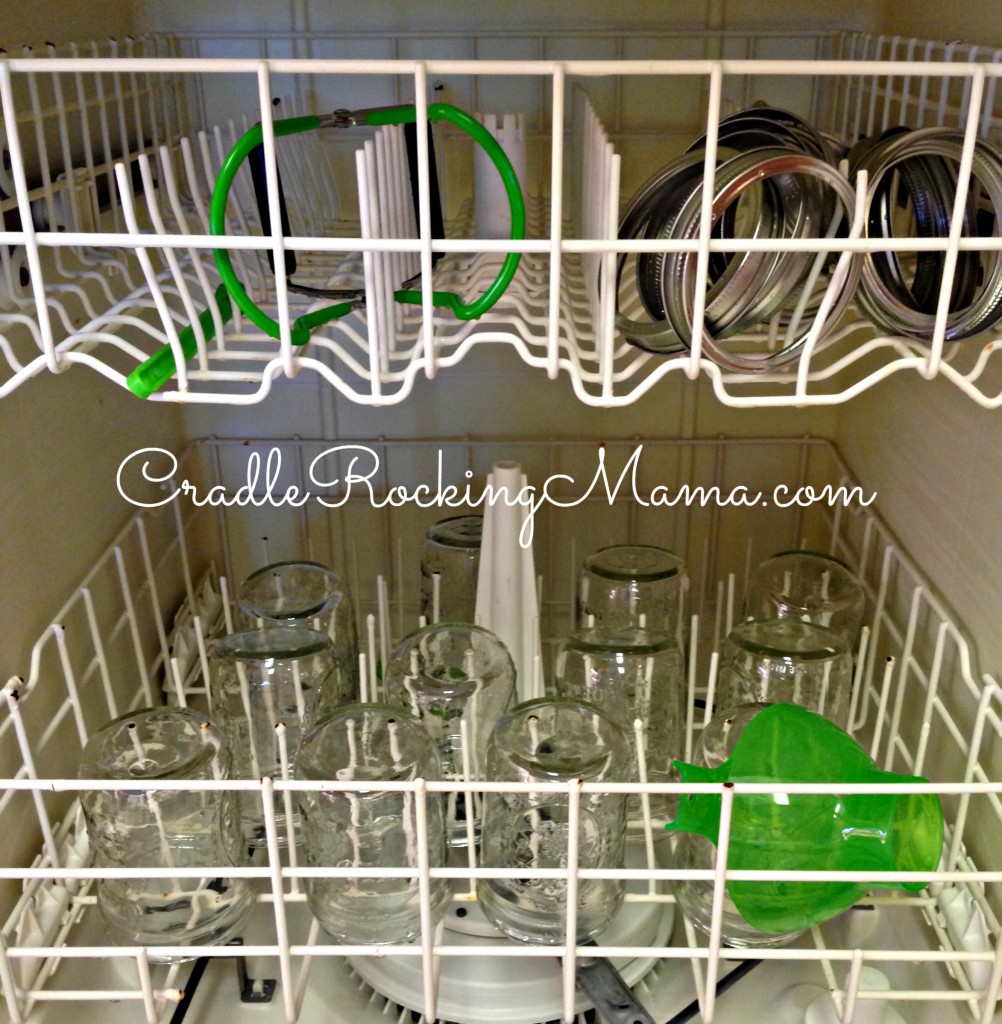
While the water bath canner is getting warmed up, prep your jars. I went the easy way and just put everything I needed to use in an empty dishwasher and ran it.

Sterilizing the equipment CradleRockingMama.com

Some people prefer to boil their jars, while others sterilize their equipment in the oven. The dishwasher method seemed the easiest, therefore, the most practical way to go.

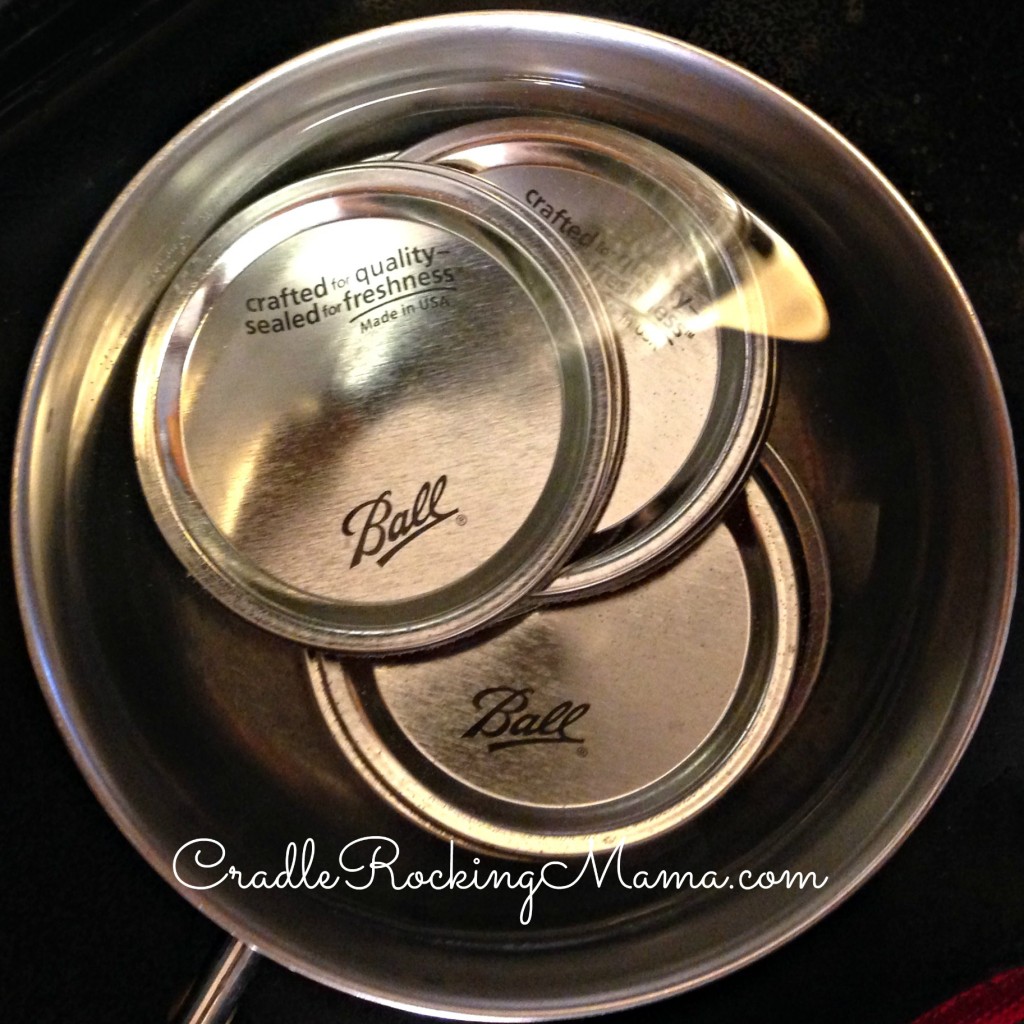
When everything was sterilized, I grabbed the lids (the flat part that seals) and stuck them in a pot of hot (not boiling) water on the stove. Keeping them warm helps them make a good seal when it’s time to actually use them.

Keeping the sailors warm CradleRockingMama.com

Everything else I kept in the dishwasher to keep warm until ready to use.

(And of course, while all this was happening I was making the purée.)

So now you’ve got sterilized equipment, lids warming on the stove, a canner with boiling water, and nicely puréed apricots still hot from cooking. 

You’re ready to go!

Get a ladle and start filling those jars. I don’t have step by step photos of this because I was working as quickly as I could and didn’t think to ask Darrel to snap some shots.

It’s pretty easy to do, though. Just fill the jars until there is an inch of headspace left at the top. Those canning funnels work GREAT at this job – really helped keep the mess down while filling everything.

Once the jar is filled, grab a clean towel and wipe off the rim of the jar to make sure it’s clean.

Then snatch one of those warmed lids from the pot on the stove, place it on top of the jar, and tighten the ring down.

Only tighten it as tight as you can with gentle finger pressure; don’t crank it down.

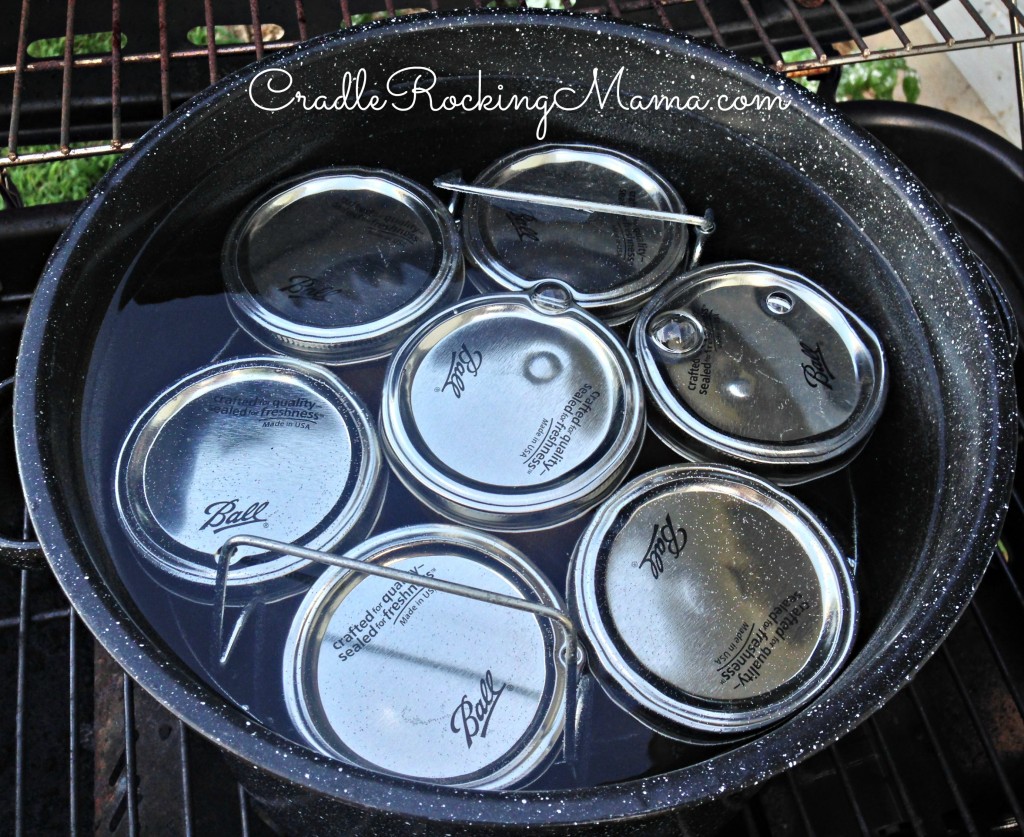
Then place the jars in the water bath canner, put the lid on, and start timing it.

Jars in the canner CradleRockingMama.com

For basic sea level canning, you’ll want to leave the jars in the canner for ten minutes. If your altitude is over 1,000 feet, you’ll need to add some time to that. Click here for a link to altitude canning adjustments.

When the timer goes off, take the canner off the heat source, and take the lid off the canner. Let the jars rest for about 5 minutes, then carefully take the jars out of the canner. I use those special jar tongs just for canning purposes, and can’t imagine how I would have done this part without them!

Set the jars on a thick towel on a flat surface. My mom told me to cover my jars with a towel to help make sure they didn’t cool too quickly and break. So I did, of course.

All the Apricot Puree Canned and cooling CradleRockingMama.com

After 12-24 hours, the jars should be cooled and sealed. Check the lids to make sure they don’t pop up and down when pressed; if they do, the jar didn’t seal properly and it is NOT safe to store.

You can either re-process it, or stick it in the fridge and use quickly.

I got lucky and all my jars sealed properly. Aren’t they pretty?
Finished Jars CradleRockingMama.com

Then just store those jars in a nice, fairly cool (under 70 degrees F), dark place, and they’ll last you for years to come.

And that’s it! All you need to know to freeze or can apricot purée.

This was my first ever attempt at canning anything, and I’ll admit I was intimidated by the process. Turns out, it really is a whole lot easier than it sounds when you first read about canning. So if you’ve never canned before, don’t be intimidated. It’s fun and really easy!

Happy Preserving!

Were you intimidated the first time you tried canning?

The Chicken Trial

The Chicken Trial CradleRockingMama.com

Saturday we did the scariest thing we’ve done since the first food trial last summer.

We fed Zac chicken.

I knew it was coming up; we’d decided that if the reintroduction of cucumbers went well, we would call them a pass on Friday and start chicken on Saturday. I knew this.

Still I was scared.

Chicken (poultry) is one of the biggest FPIES trigger foods, and I know I was eating a LOT of chicken in the first two months of Zac’s life. The time when he was having acute reactions we didn’t know about, and going into shock via my breastmilk.

So, yeah, chicken scared me.

But it has been two years since his last chicken exposure, and the cautious FPIES advice says 18-24 months should pass before re-trialing a suspect food.

Since my parents provided us with such beautiful, soy and corn free chickens a couple weeks ago, it was time to be brave.

Saturday night I baked some chicken for him and made a quinoa “pizza crust” for him to eat as a bread.

At first, he didn’t even look at the chicken. 

He drank some of his milk…

Drinking Milk CradleRockingMama.com

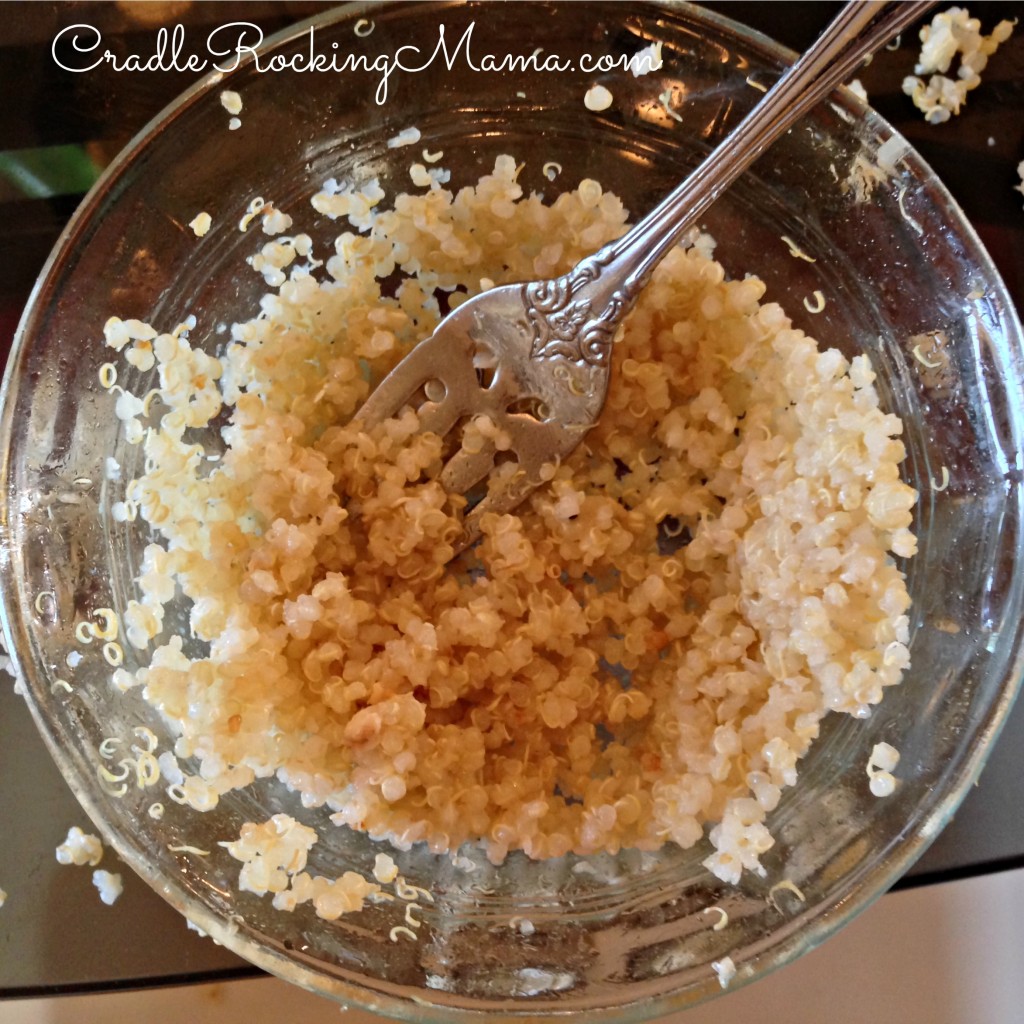
He ate his quinoa bread…

Eating Quinoa Pizza Crust CradleRockingMama.com

And finally, he picked up a piece of chicken.

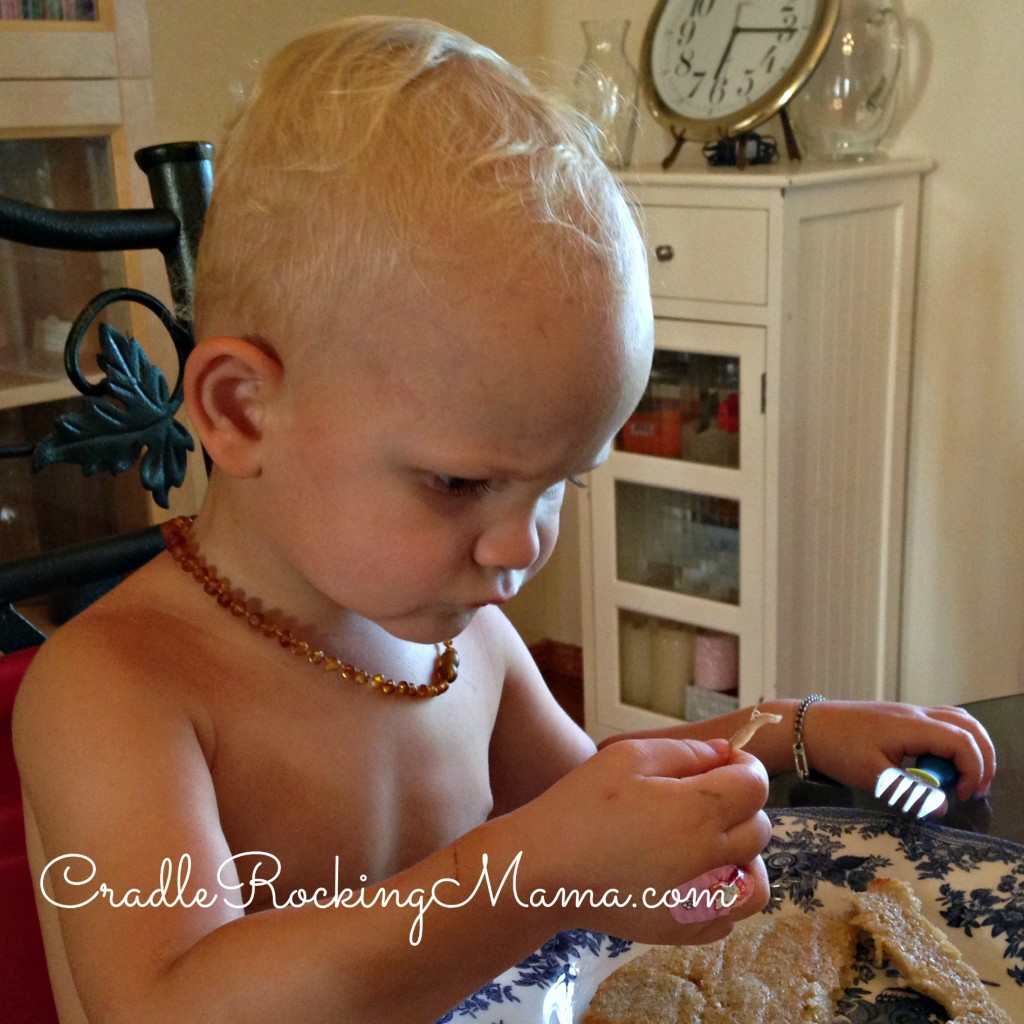
It required investigation and contemplation.

Investigating the chicken CradleRockingMama.com

Eventually he put it in his mouth.

Eating the Chicken CradleRockingMama.com

Being a new texture, he didn’t really know what to do with it. Finally I had to cut it into tiny little bites for him to eat, and then he only ate about half of what I’d given him. Since he only got about 1.5 T. to start, this was not a large serving of chicken to consume.

It was enough for a first exposure, though, so I didn’t push him to eat more.

For most FPIES kiddos, acute reactions begin 2-4 hours after exposure. For Zac, he has historically presented with an acute reaction sometime between 4-24 hours after exposure.

This makes for a LONG pins-and-needles wait for signs of a reaction.

Four hours later, though, and he was just fine!

He fought going to sleep, but it was more of a “I have a lot of energy! I’ll pat Mommy’s face, play with the sheet, and make random babbling noises until I wind down” instead of screaming in pain. So I took that to be a good sign.

Then he slept for almost 5 hours straight without waking. Once he woke and nursed again, he went back to sleep…and slept almost 6 hours straight without waking! That is amazing for him!

Sunday he was energetic, playful, and perfectly fine. By mid-afternoon, I started to relax. He had a few poops that were different than his typical poops, but nothing weird or wrong; just slightly different for him. That’s normal with every new food; his body has to adjust to it.

That night, I served him chicken again. 

This time, I took the cooked chicken, some quinoa and goat milk butter and stir-fried it in a skillet.

He ate a whole bowl and screamed for more!

The second bowl, he picked out all the chicken and left the quinoa behind!

Picked out chicken CradleRockingMama.com

Again, he struggled with bedtime, but once he did, he slept like a log.

This morning he’s been happy and hungry, playing with his brother and behaving like a perfectly normal little boy!

Chicken is – so far – looking really good!

Actually, this week was just full of “New and Scary” things for my kiddos. Aside from the big chicken trial, last Monday I stopped on a whim and bought Jed some watercolors.

I’ve talked before about how my kids – especially Jed – are severely arts & crafts deprived thanks to FPIES, and how it bothers me that I can’t let them create that way.

It’s always on my mind when we’re in stores, and on Monday I was possessed by a sudden desire to see Jed do something creative and threw the paints in my cart.

He LOVED them!

I mean, really, really loved them!

Every day he would ask to paint, and every day I would get out the paints for him. At first I only did it at naptime, so Jed and I could paint together and I wouldn’t have to worry about Zac.

Wednesday, I left the paints out after Zac woke up from his nap. I hoped that he would have fun with the paints and I could keep him “safe” by hovering.

It didn’t work; he decided paper was boring, and what he really wanted to paint was his hands! Even though I scrubbed his hands (and chest, and arms, and legs) with soap and water immediately, he had a poop that gave him a little too much redness for my liking a few hours later.

From then on, water colors only came out at naptime and immediately were cleaned up as soon as Zac woke.

Even though it is more work for me, and a little nerve-wracking, I love that Jed can finally do something typical and creative for his age.

So on Thursday, I made a special trip to the store for Play-Doh.

Jed has been asking for Play-Doh almost constantly since Easter, when he got the chance to play with some at church. I’ve resisted, mostly because I’ve been trying to find ways to make it from scratch at home with no corn, soy, or wheat.

Finally I decided that even if I made it corn, soy, and wheat free, it would STILL have ingredients that Zac may react to; may as well buy the store bought stuff and assign Play-Doh the same restrictions as watercolors.

Y’all, Jed was in HEAVEN! I didn’t think I could make him any happier than water colors, but Play-Doh is Jed’s idea of the MOST AWESOME STUFF EVER!!!

Play Doh CradleRockingMama.com

He screams for Play-Doh. He nags for it. He begs for it. He asks where we’ve hidden it so he can get it himself.

He’s a downright annoying little bugger about Play-Doh. 

And yes, having water colors and Play-Doh in my house is making me nervous, but I’m trying to cope with it. Jed needs this.

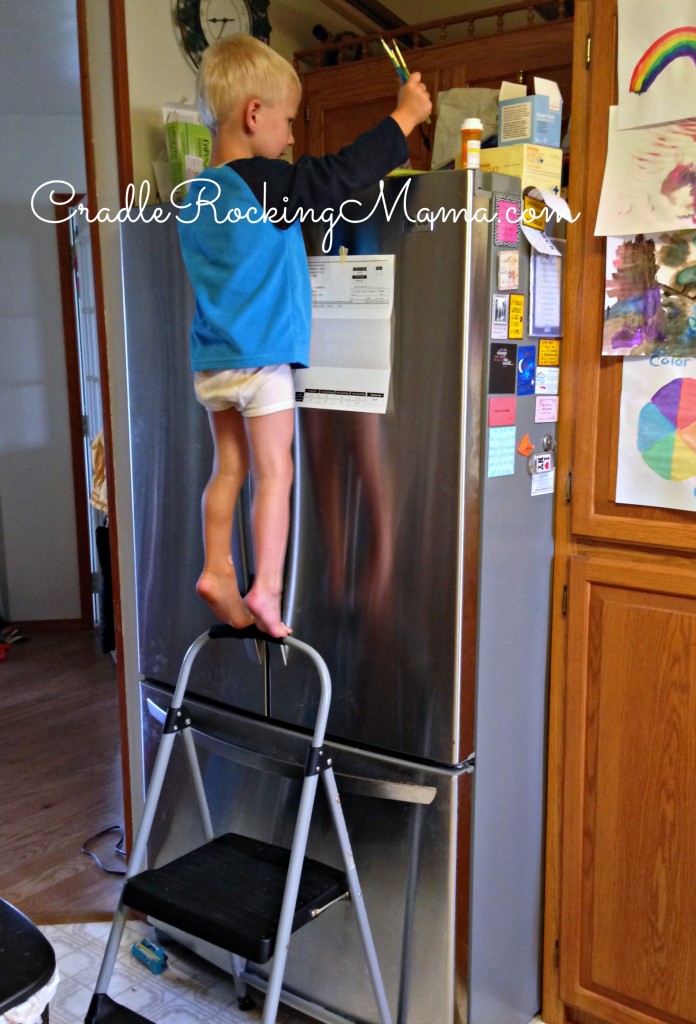
Though, I’m going to have to find better hiding places for it. The lure of paint and Play-Doh is too strong; yesterday Jed taught himself a nifty trick for getting to my hiding place:

Jed the mountain climber CradleRockingMama.com

Heart don’t fail me now!

Last night I stayed up late and completely cleaned off the top of the refrigerator. If there isn’t anything interesting there, with any luck he’ll stop doing this!

What was your scariest food trial? How did it go?

Practical Preserving: How to Dehydrate Cauliflower

Practical Preserving How to Dehydrate Cauliflower CradleRockingMama.com

Freezing cauliflower is great, but if you either have limited freezer space or, like us, are trying to preserve an entire years worth of cauliflower in one fell swoop, you might just run out of room in the freezer for more cauliflower!

That’s when it’s time to turn to my favorite toy: the dehydrator.

Now, I know I made a big deal about blanching the cauliflower in the freezing cauliflower post. It IS probably best to blanch the cauliflower before dehydrating it, too. I had heard, however, that it wasn’t necessary, and that the dried cauliflower came out just fine without blanching.

As tired as we are of seeing cauliflower (140 pounds of it!), I decided to go the easy way and NOT blanch.

To be honest, it does discolor a bit without the blanching. However, the taste doesn’t change as far as I can tell, and if you’re going to be using the cauliflower IN something where the natural color would be undetectable, I see no harm in skipping that laborious step.

But, you know, it’s up to you. 

Before you begin, refresh yourself on the caveats I stated in the freezing cauliflower post: clean the kitchen, and get the freshest cauliflower possible. Clean it, use the salt water bath if you can, and remove all the leaves and as much of the stalk as you like. 

For my purposes, I decided to dehydrate riced cauliflower.

You could cut the florets into 1-inch thick slices and dry it that way, of course. For me, though, I’m probably going to use the dehydrated cauliflower more for an add-in to baked goods or for recipe experiments like cauliflower pizza crust. So ricing it made sense.

If you decide to rice your cauliflower, take a look at how much cauliflower you will be working with.

If it’s just a head or two, get out the box grater and grate the heads on the larger sized blades.

Any more than that, and get out your food processor!

Put the grating blade in the food processor and run that cauliflower through in record time.

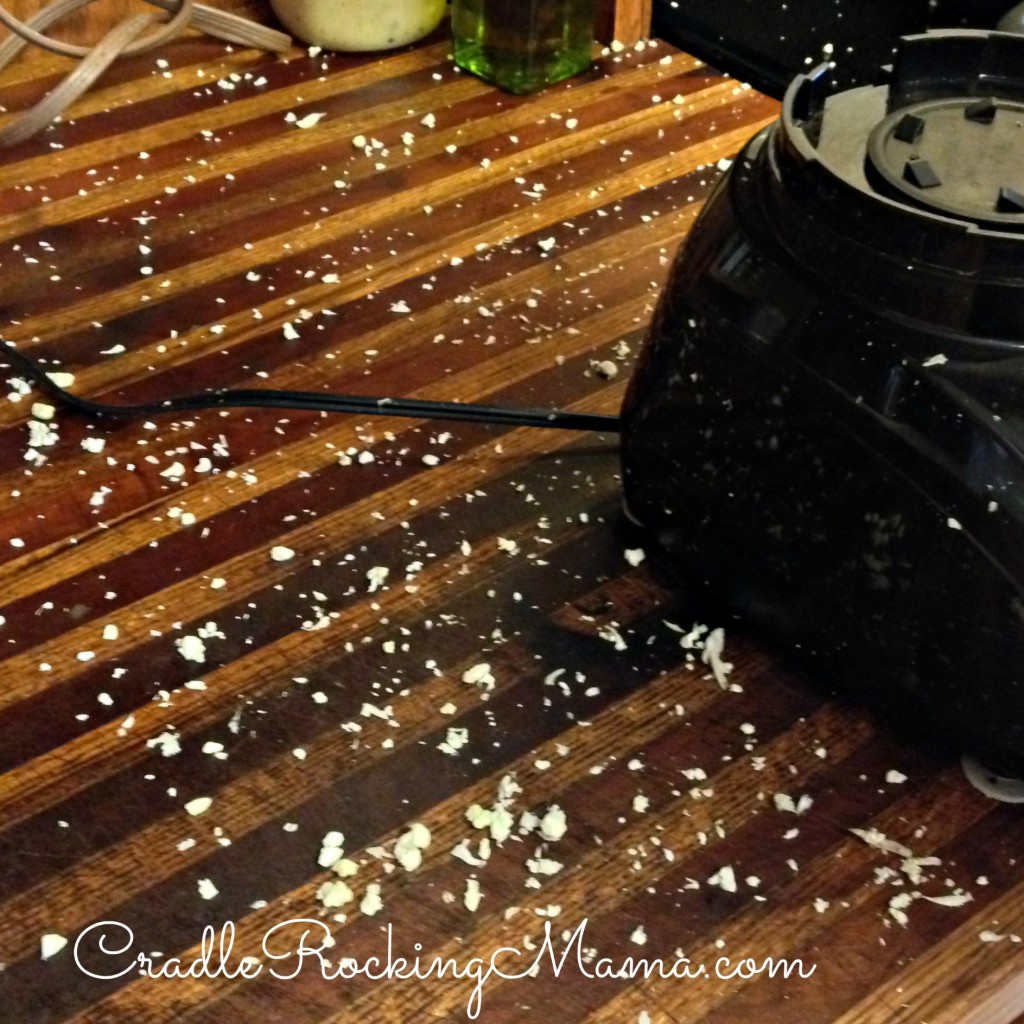
Keep in mind, though, that you’ll likely have a little bit of a mess to clean up when you’re done:

The mess on the counter after ricing cauliflower in the food processor CradleRockingMama.com

Food processors tend to throw bits of food out the small opening in the cover with surprisingly good aim!

When dehydrating, it really is good practice to leave space around your food for better and quicker drying.

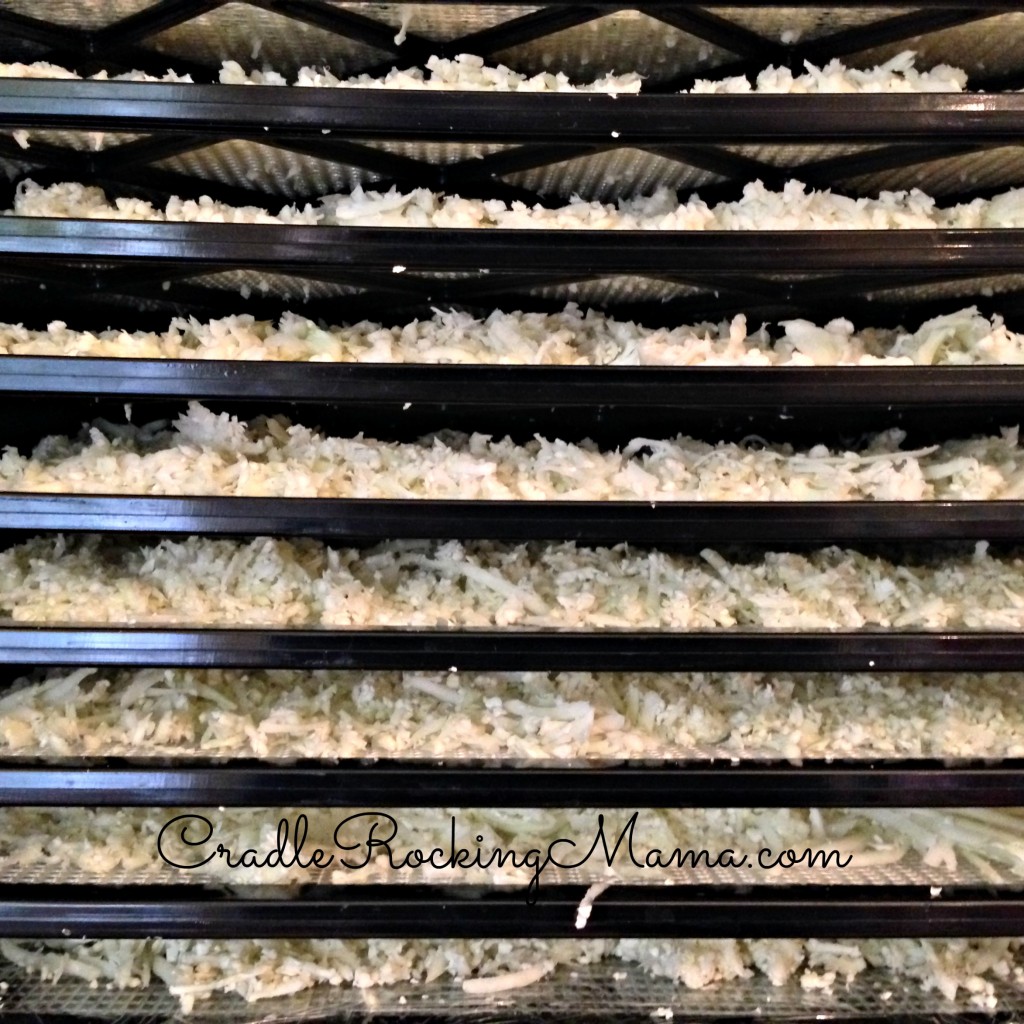
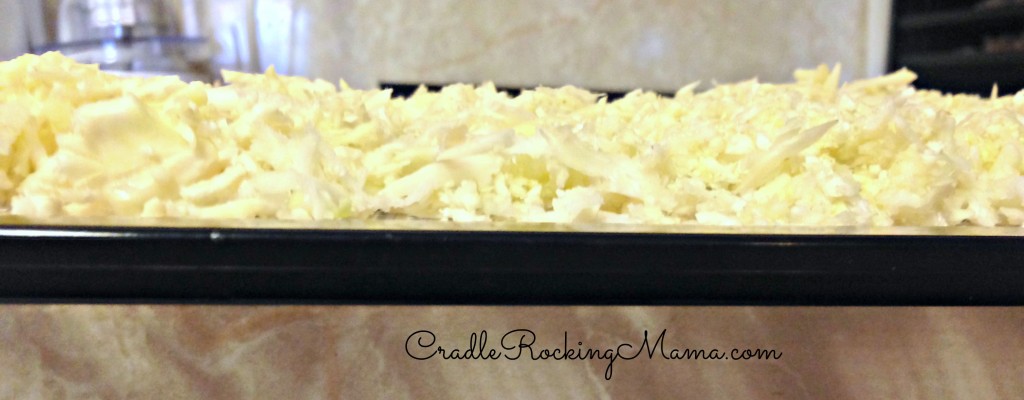
When you’re dehydrating over 30 pounds of cauliflower, though, you say “to heck with it – it’ll dry eventually!” and layer that riced cauliflower 1/2 an inch thick on every tray!

Riced Cauliflower Laid out on Dehydrating Tray CradleRockingMama.com

You know what?

It dried just fine!

I set the dehydrator on 125 and turned it on. As is typical for me, I got busy and didn’t get back to it for a whole day.

Dehydrator filled with Cauliflower CradleRockingMama.com

24 hours in the dehydrator didn’t do it any harm, though.

Before I began, I measured out one cup of riced cauliflower and dried that on a separate tray.

Fresh, riced cauliflower measured to 1 full cup weighed 3 ounces.

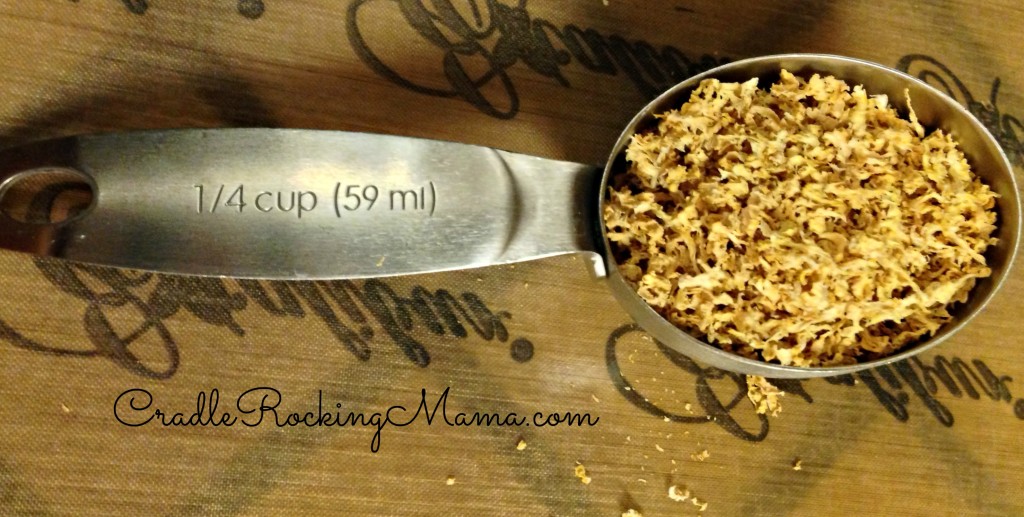
That same cup dehydrated didn’t quite fill a 1/4 measuring cup, and weighed a whopping 1/4 ounce!

One cup of Cauliflower dehydrated CradleRockingMama.com

Once you have dehydrated the cauliflower, the next step is to store it properly.

Again, I can’t recommend a FoodSaver enough for this step!

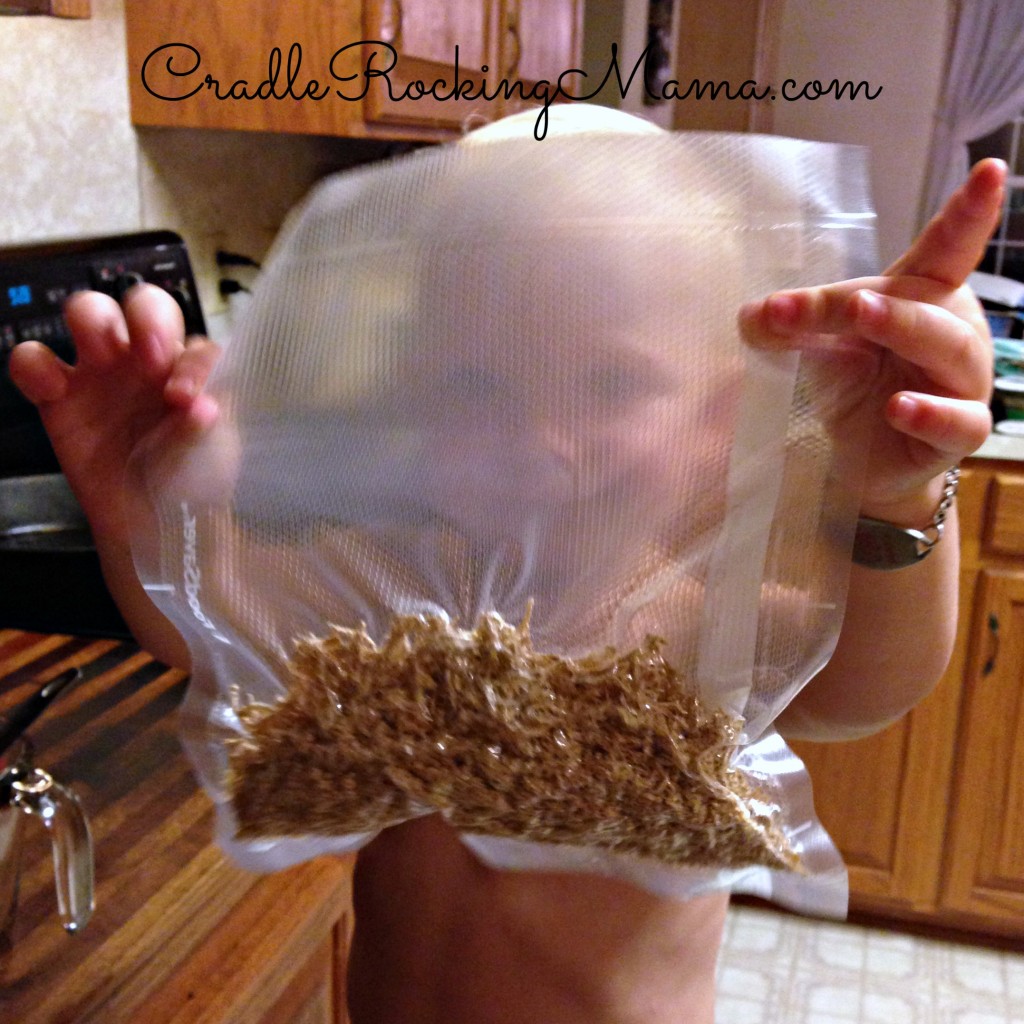
I measured out 4 rehydrated cups worth of dried cauliflower (1 ounce worth of dried) and placed it in a FoodSaver bag. Zac helped. Isn’t he cute?

Zac helped CradleRockingMama.com

The first time I sealed one of these bags, I was worried the cauliflower would be too light and airy and the vacuum suction would suck it right out of the bag.

It didn’t, though, so no additional steps were necessary.

Each bag got labeled and placed in a 1 gallon ziploc bag for storage in my spare room. It’s the coldest room in the house, and we never use it so the lights are always off.

Nearly ideal long-term food storage conditions!

When you’re ready to use that dehydrated cauliflower, it will have to be rehydrated first. 

To do so, you have some options. If you’re making a soup and want to add some riced cauliflower (or florets, if that’s how you dried it), then just dump them in at the beginning with an extra cup or two of broth. Easy!

If you’re using the cauliflower in a casserole of some kind, I would experiment with just adding the dried cauliflower and extra liquid to it (depending on the type of casserole, of course) to see if it will rehydrate and cook all at the same time – saving a lot of effort in the process!

But if you simply must have cooked, separate cauliflower, you’ll just need to add hot water.

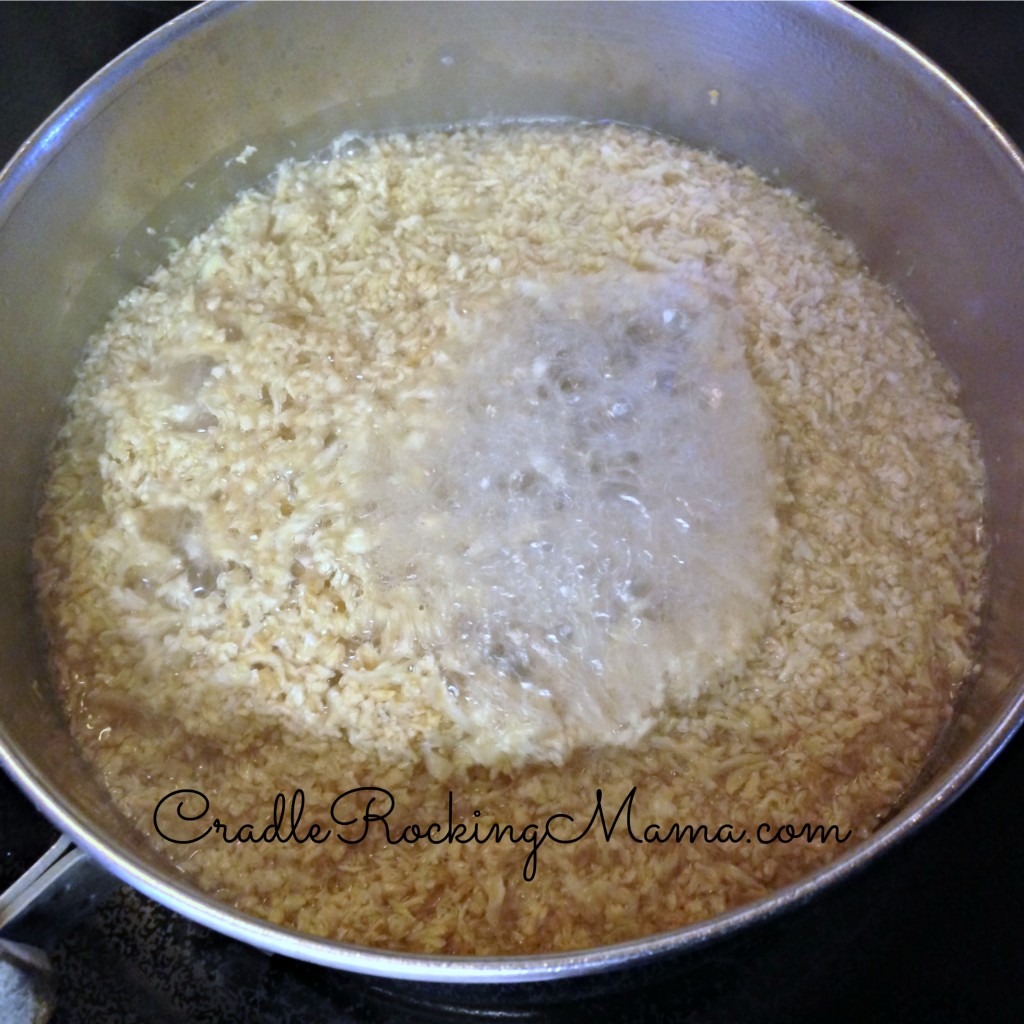
I took 1/4 ounce of dried cauliflower and put it in a pan with 2 cups of water.

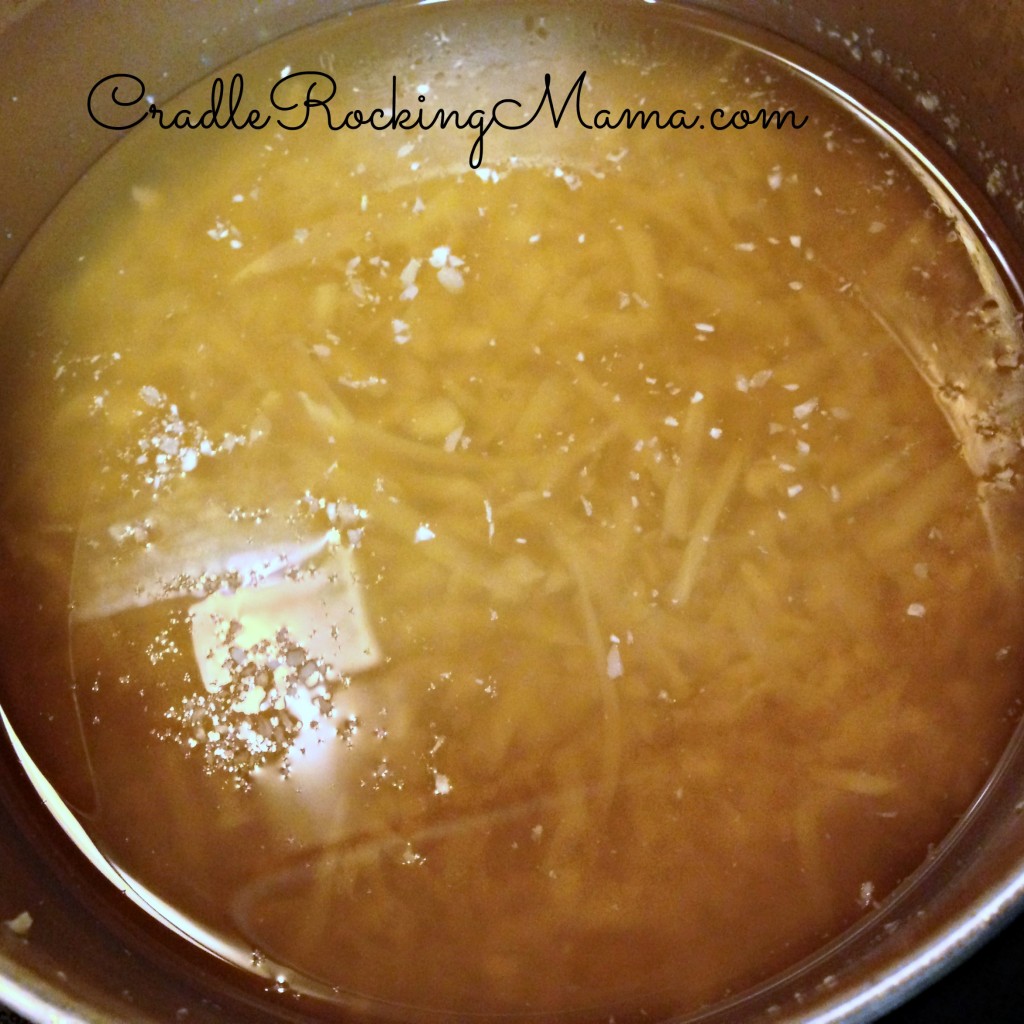
Rehydrating Cauliflower on the stove CradleRockingMama.com

Brought it to a boil, then dropped to a simmer. After about half an hour, I had cauliflower!

Rehydrated Cauliflower after 30 minutes on the stove CradleRockingMama.com

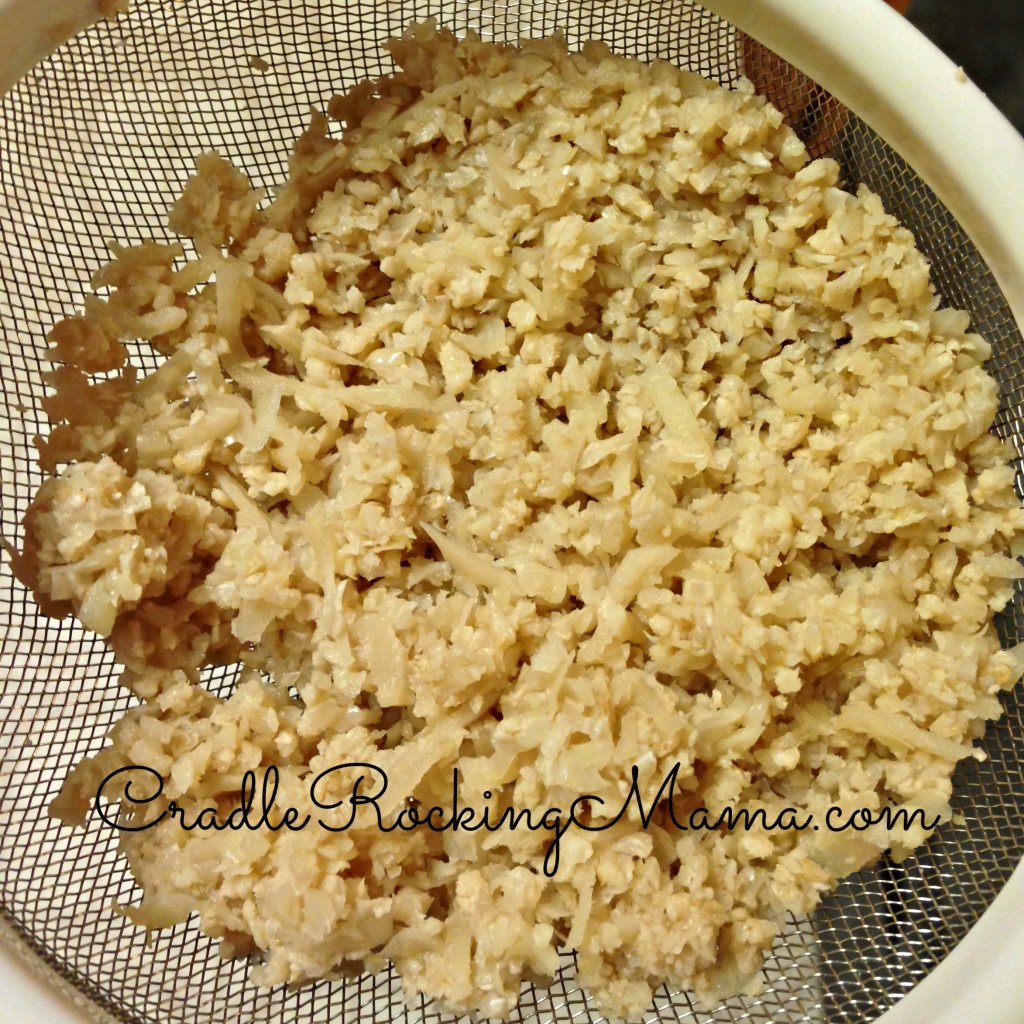
I know, that looks REALLY brown! But here it is after straining:

Rehydrated Cauliflower CradleRockingMama.com

Certainly not the bright white of store-bought, fresh cauliflower, but absolutely NOT noticeable in the cauliflower-egg tortillas I made for Zac that night! (Recipe coming soon!)

So that’s it! How to dehydrate cauliflower for long term storage. It’s really pretty easy.

If you’re easily amused, like me, every time you rehydrate some of your dried food, you’ll be a little giddy at the awesomeness of dehydration. It’s like magic to me!

(Hey, you have to take your little pleasures where you can, right?)

Happy Preserving!

Have you ever dehydrated cauliflower? How do you like to use it? Any great tips on rehydration?

Brown Thumb Gardener – The Harvest Begins

Brown Thumb Gardener - The Harvest Begins CradleRockingMama.com

Well. A lot has happened in two weeks.

First, the good news: I’m finally beginning to harvest the fruits of my garden!

It’s really exciting to head out to the garden and come back in with handfuls of goodies. Even better is watching Zac eat some of those goodies! Our cucumber trial is in full swing, and it’s MY cucumbers he’s trialing!

Zac eating cucumbers CradleRockingMama.com

That alone makes it all worth it.

So here’s what I’ve managed to get from my garden in the last week:

Garden Harvest Collage CradleRockingMama.com

That’s a BUNCH of basil, 12 cucumbers, and over a pound of purple podded pole beans!

Y’all, I’m all tingly. 

I’ve been wondering when the carrots would be ready to harvest, thinking that those first ones I planted ought to be ready now, right? Well, Jed answered that question for me by taking upon his own self to yank a couple right out of the ground.

Jed Helped Harvest Carrots on July 7th CradleRockingMama.com

He was so proud of himself, doncha know, for helping me in the garden!

Ack!

I gently informed him that clearly, the carrots were not quite ready to harvest, but that as soon as they were, he’d be the person I would call for help.

Every single day since then, he’s asked me if the carrots are ready to harvest!

Actually, aside from some “too early carrot pulling”, Jed is a big helper in the garden. He loves to get the clippers and snip cucumbers and basil for me. I’d be happy to let him snatch up the pole beans for me, too, if they weren’t growing so high that *I* need a ladder to reach them!

Climbing Veggies CradleRockingMama.com

So that’s the good news. The not so good news is that my luffa, while growing, has been completely overshadowed by the cucumbers. Poor thing isn’t going to get enough light to grow, anymore, even if it could fight its way to some space on the trellis! So I guess no luffa’s for me this year.

The bad news is that something is going wrong with my potatos. They look like they’re dying. I only have one plant that still has green leaves above the straw.

Potatos CradleRockingMama.com

I spotted some aphid babies (I’m guessing – I didn’t see any legs) on the underside of the potato leaves a couple weeks ago and gave the plants a hearty dosing of DE. It seemed to stop the aphids, but the potatos continued to worsen.

Are these Aphids? CradleRockingMama.com

They were getting more and more holes eaten out of the leaves, until they looked speckled, and I started seeing spiderwebs on the straw.

With further reading, I’ve learned I have a spider mite infestation. Apparently I was not watering the potatos quite enough, and the DE – while effective for the aphids – was enough to kill off the handful of ladybugs I’d seen on the potatos.

Without that natural predator, and with dry conditions perfect for them, the spider mites have almost destroyed my potatos. 

(bad words bad words very very bad words)

In my reading on spider mites, it appears the only sure-fire way to get rid of them is – you guessed it – natural predators! So I’m trying to find someplace to buy native ladybugs for my area, in hopes that it isn’t too late and my potatos can be salvaged.

I’m trying to accept the idea that I may have a total loss on the potatos this year, though.

Grrr…

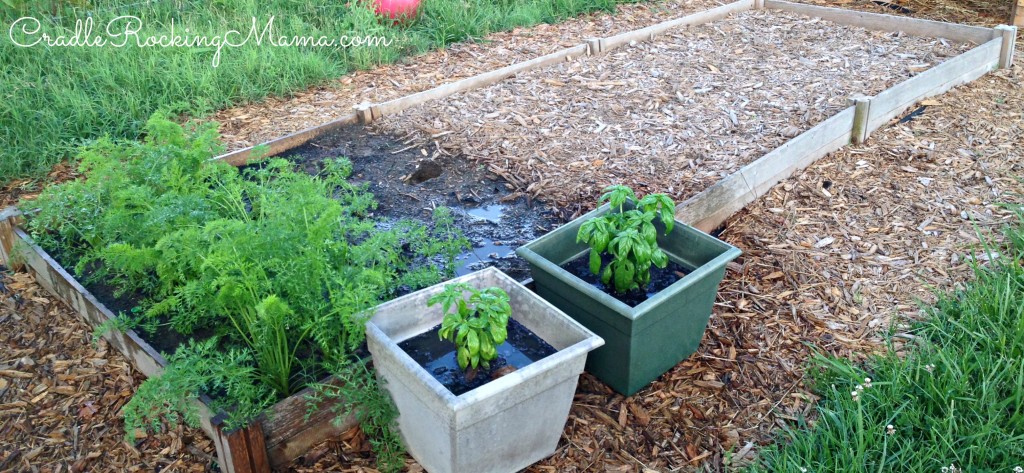
A few days ago, I got a wild hair and just decided to go for it: I ripped out every single remaining collard green and swiss chard from my garden.

Raised bed and carrots CradleRockingMama.com

It’s not too late to plant things this year, you see, and I can use that gardening square footage for other things.

As a matter of fact, I’m feeling all inspired again! I just read something about planting your fall garden, and for a moment I felt discouraged – had I (once again) started too late?

But no, apparently not! Now is apparently the perfect time to plant – for both a second summer crop AND a fall crop!

So now I’m finalizing what I want to grow.

The pole beans and cucumbers are doing beautifully, and, frankly, I just have a feeling like we can’t have too many of either of those. So I’m considering planting a few more of those somewhere.

Zucchini, as a friend kindly reminded me, actually has a high success rate with FPIES kids. And y’all, I LOVE zucchini! So I’m most certainly going to plant some zucchini in my garden this week. As prolific as it apparently is, I’m sure I’ll wind up with enough to last a year!

I’m going to give some greens another shot, too. Only this time, I plan to try something I saw on Pinterest: planting in rain gutters.

If I do it, and it works, I’ll show it here, but the general idea is that you hang rain gutters along the side of your house and use those for things like spinach and other greens. It’s mostly an idea thought up by people in apartments and townhomes, with limited space, but it will be perfect for keeping bunny rabbits out of my greens this time!

So collard greens, spinach, kale, and swiss chard are on my short list of things to plant.

Getting sick last week really threw off our plans, but I still intend to get those tomatos in the ground! I might not get enough to trial for Zac, but I can at least get enough to make some salsa for Jed!

I’m also thinking of planting beets and more carrots. Carrots will apparently continue growing for quite a long time, so if I start planting a lot more carrots, I just MAY get enough to use for a trial on Zac.

Same goes for beets, and I just LOVE beets! So I need to get a bunch in the ground pronto for some fall/winter food trials.

Oh, and broccoli. Maybe. I might just be getting ahead of myself.

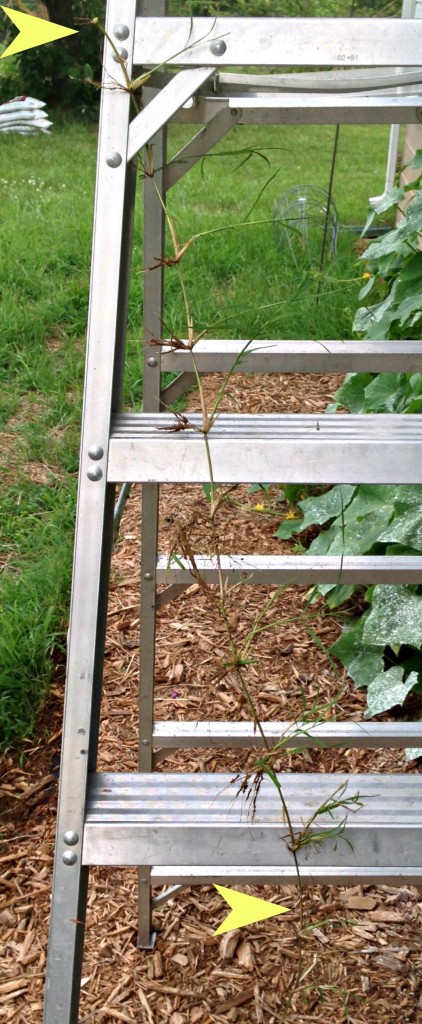
Here’s a minor vent: do you know that there is little I hate more than runner grass? I saw some grass growing in my garden bed, so I started to dig for the root to pull it out. I started pulling…and I pulled, and pulled, and pulled…and THIS is what I got when it finally broke:

Running Grass CradleRockingMama.com

How am I supposed to stop grass from growing in my garden when it starts 8 zillion feet away?? Ugh!

I really hate that stuff.

Oh, and does anyone know what this spider is?

What Spider is this CradleRockingMama.com

It’s taken up residence on the trellis between my cucumbers. It hasn’t appeared to do anything but build an impressive web so far, but after the spider mites I’m a bit nervous. I don’t want to kill it off if it’s a beneficial insect, though.

So, what do you think? What are you planting for fall?

How to (Actually) Make Homemade Goat Milk Butter

How to (Actually) Make Homemade Goat Milk Butter CradleRockingMama.com

The right way!

Yesterday I shared the amazing and amusing story of how I did everything wrong and still managed to make goat milk butter.

All told, that butter making encounter took at least four hours of attention and time.

Ridiculous.

The good news is that Monday of this week I had another pint of cream ready to turn into butter, and this time, I did it right!

So in the interest of not looking like a total idiot, and in sharing the technique that actually worked, here it is: How to Make Homemade Goat Milk Butter (without making every mistake in the book).

Again, you have to start with cream. That is one step I did  do right the first time, so for instructions on how to obtain that cream, go read the other post.

Now, to make goat milk butter in the mixer, get your mixing bowl and whisk attachment and throw them in the fridge for about ten minutes or so before starting.

When you put those in the fridge, get the cream out and let it sit on the counter to warm to about 50-55 degrees.

I’ll be honest; I didn’t take an exact temperature reading. Once the jar started sweating a bit and I picked it up, I did a “feels about right to me” guess and kept going.

Don’t judge; it worked, after all!

Get the mixing bowl and whisk out of the fridge and set them up on your mixer. Pour the cream in and turn it on.

I have a KitchenAid, and I started at speed 4, since I didn’t want to slosh cream everywhere. I cranked it up to speed 8 after about 3 minutes.

Now I have a nifty video for you! I’m not a fabulous video-making-guru, and the software I have for making videos is giving me fits and won’t let me add text any more!

Therefore, I’m breaking it down for you in the post:

  1. The first ten seconds are the actual first ten seconds of the mixer being turned on.
  2. The second ten seconds are about two minutes in to the process. You can see the cream getting a little frothy.
  3. The third section is fifteen seconds long, and it is about five minutes in to the butter making. You can tell it’s thickened up and has definitely become whipped cream at this point. By this point I’ve cranked it up to speed 8 on the machine.
  4. The last minute of the video is the final minute of the mixing time. You’ll see where the camera wobbles a bit as I get out the plastic shield for the mixer, because it was starting to spray buttermilk rapidly. That’s right about the time when you’ll see it suddenly, magically, develop butter globules!

I guess I could have run the mixer for longer, but really, I didn’t want to screw up again and this looked like it was supposed to look so I stopped.

It took exactly 7 and a half minutes in the mixer to turn the cream into butter.

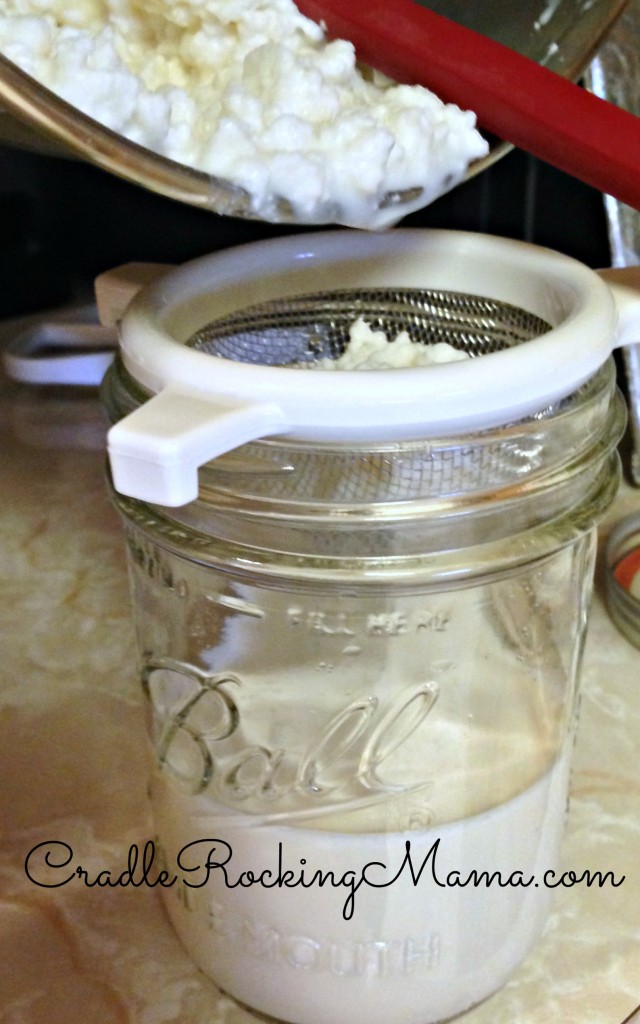
I grabbed a small jar and strainer and poured off the buttermilk. This time, I DID get a full 1 cup (8 ounces) of buttermilk!

Straining the Buttermilk CradleRockingMama.com

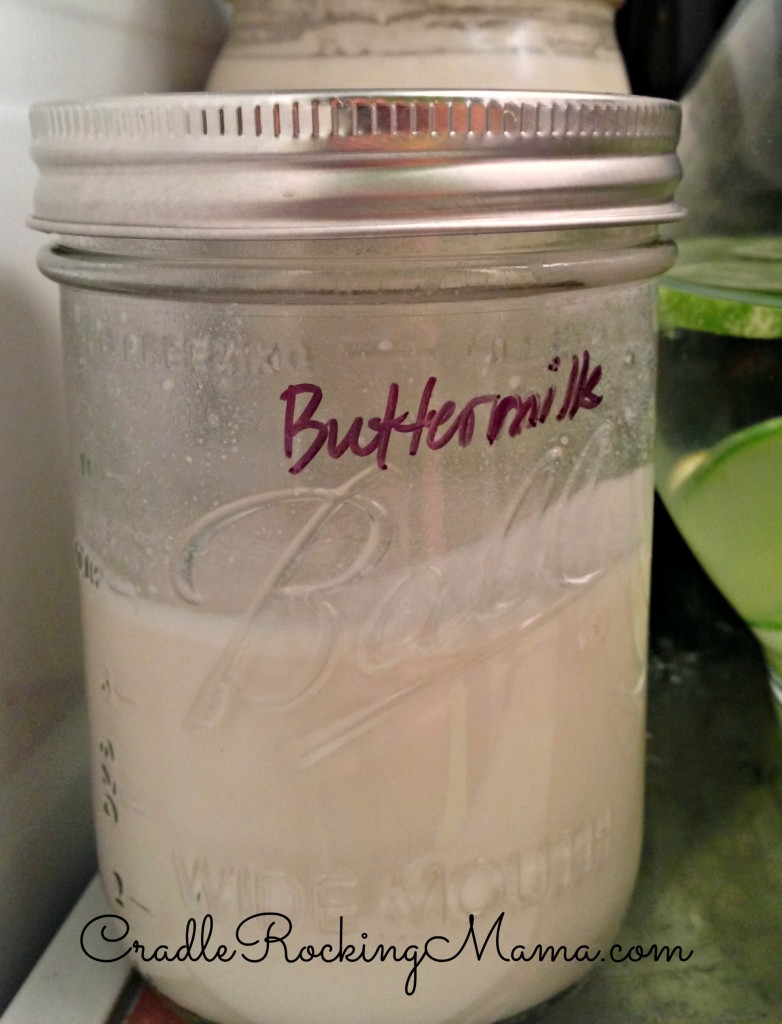
Buttermilk In the Fridge CradleRockingMama.com

Notice how I nicely labeled it so Darrel didn’t accidentally pour straight buttermilk for the kids? In case you didn’t know this trick, Sharpie markers wipe right off of glass, so it’s a cheap and easy way to label your stored goods.

Anyway, back to butter making! This is what was left in the mixing bowl:

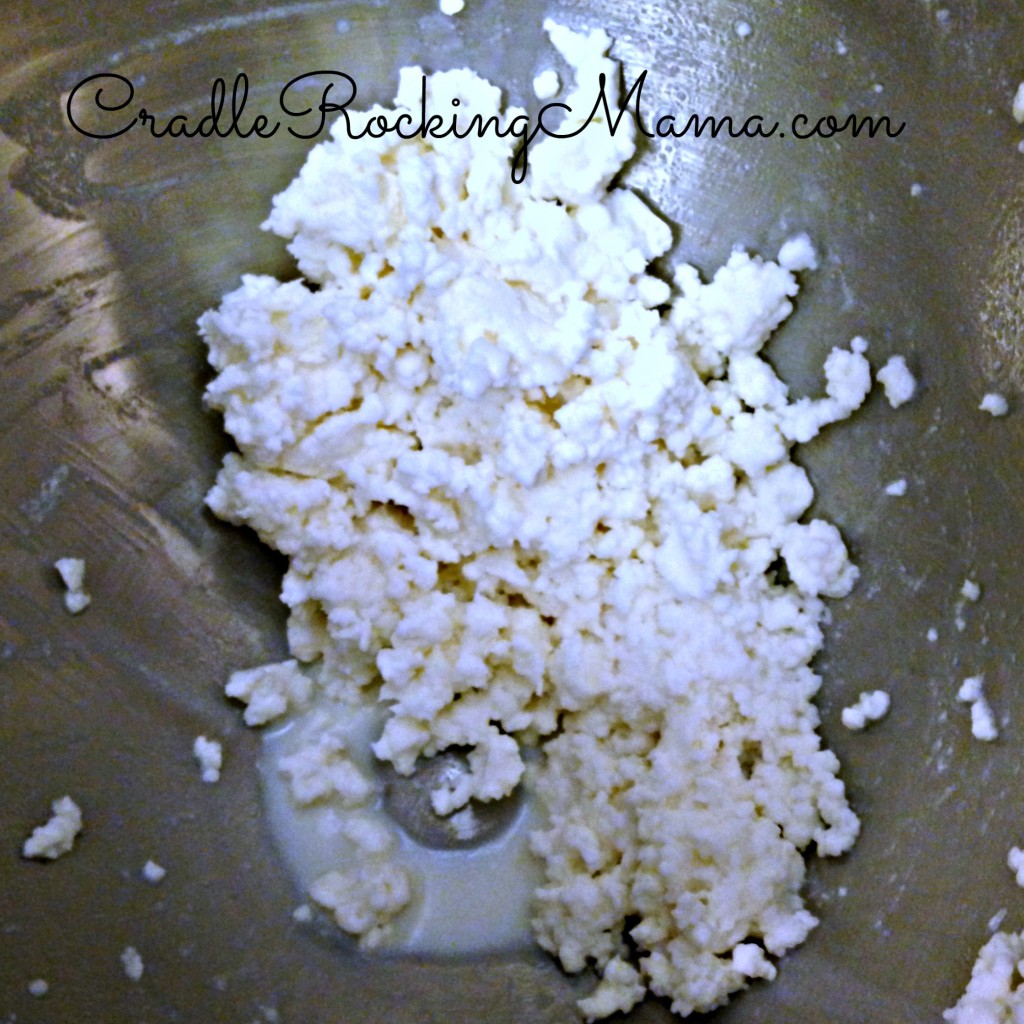
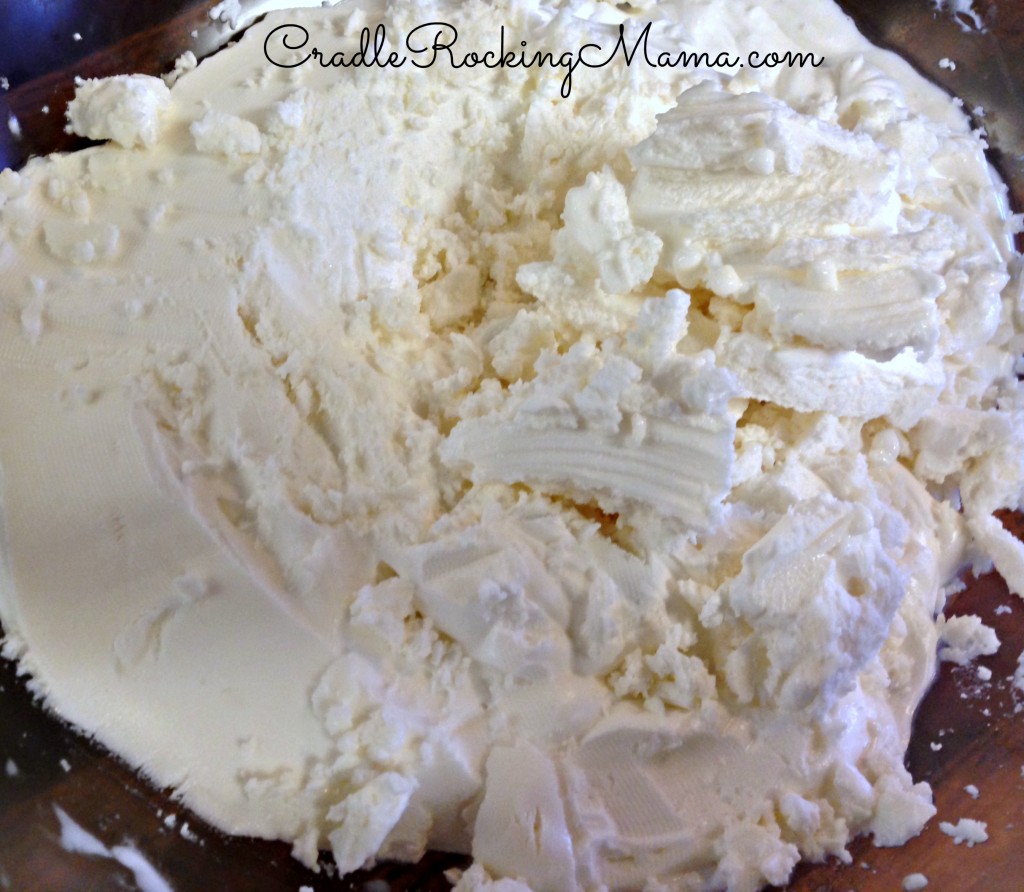
After the buttermilk is strained CradleRockingMama.com

I stuck the whole bowl in the fridge while I washed my hands and removed my rings (handy tip – I didn’t do that the first time and it was a mess). All told I left it in there for just about 5 or 10 minutes.

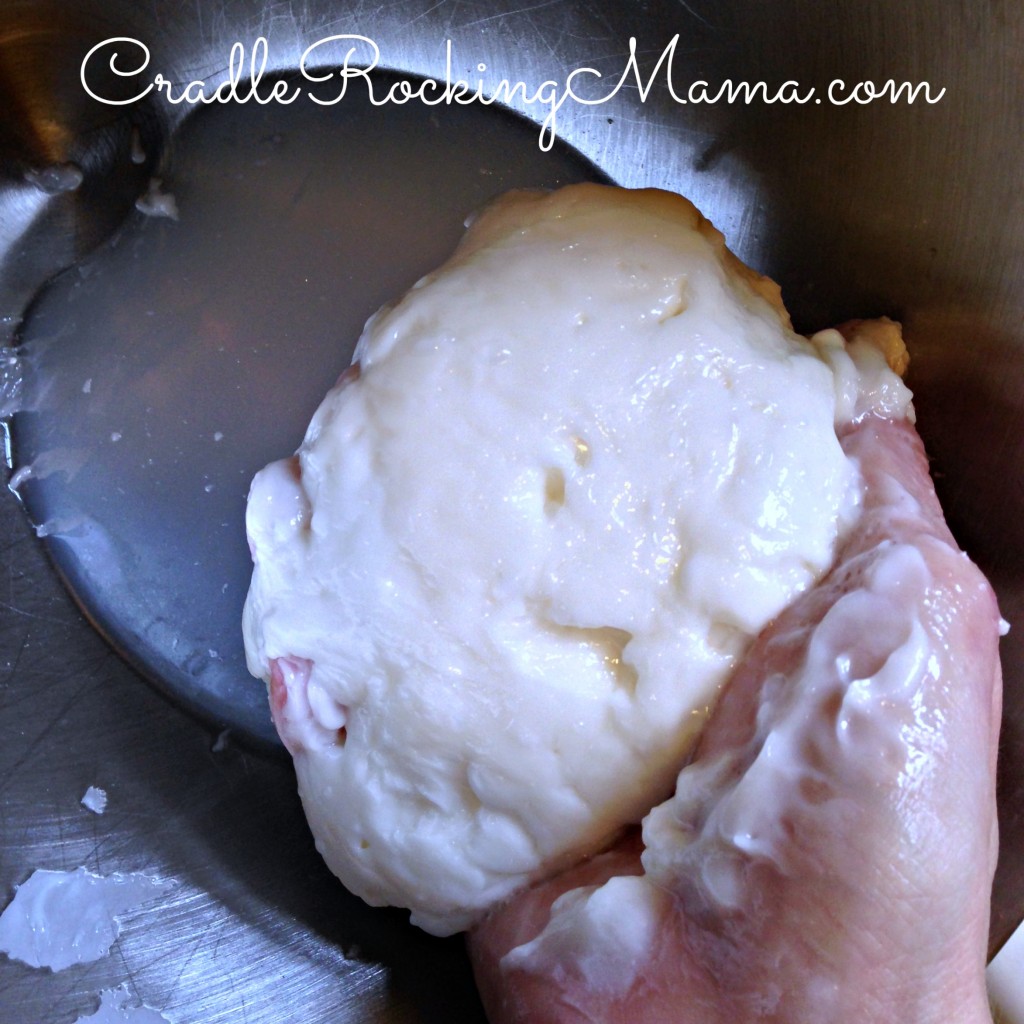
Then I took it out, poured some water on the butter and started squishing it together.

When the water got milky looking, I poured it off and added more clean water.

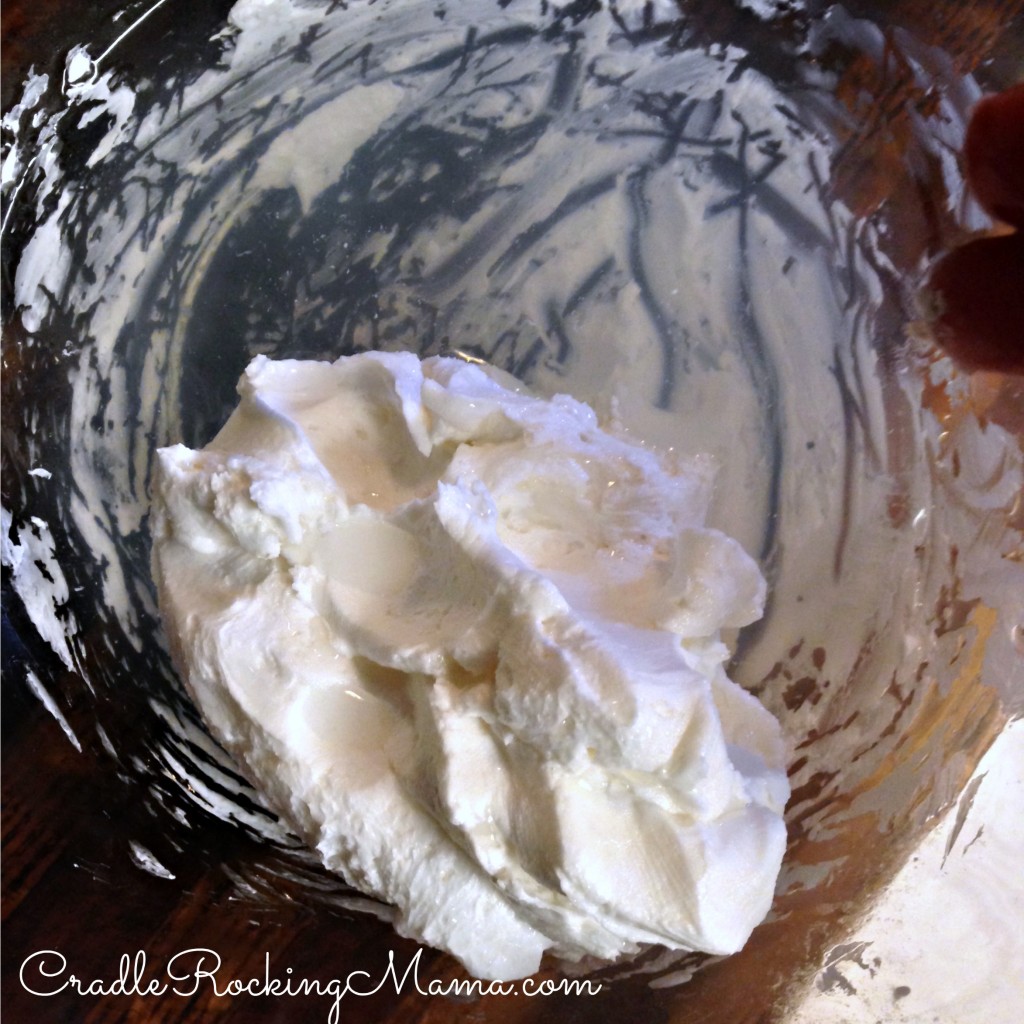
After three of those washings, this is what it looked like:

Washing the Butter CradleRockingMama.com

One more washing and I called it clean!

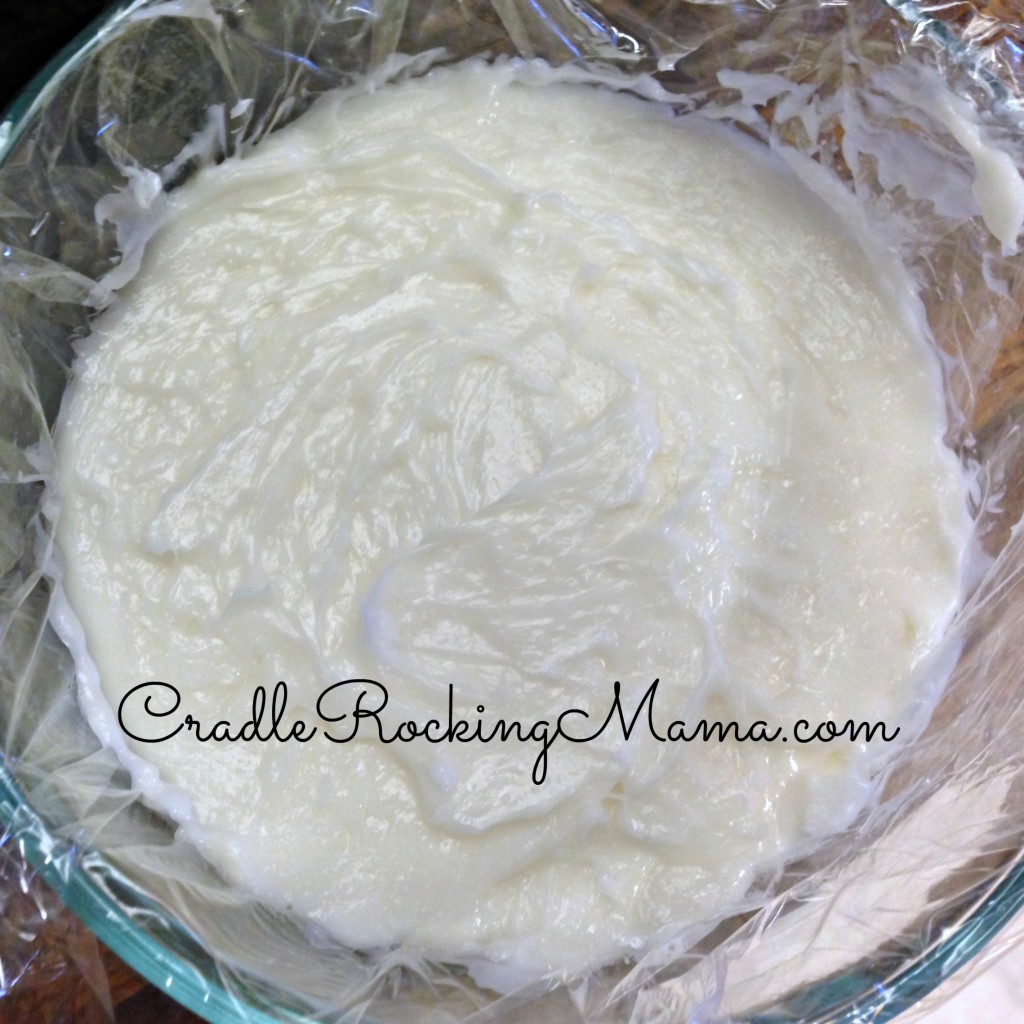
This time, I remembered to line my bowl with saran wrap first. That made it MUCH easier to remove.

That nice, clean butter went into the mold, then into the fridge for about half an hour. Fifteen minutes would have been enough, but I got busy and couldn’t get back that quickly.

Butter in the Mold CradleRockingMama.com

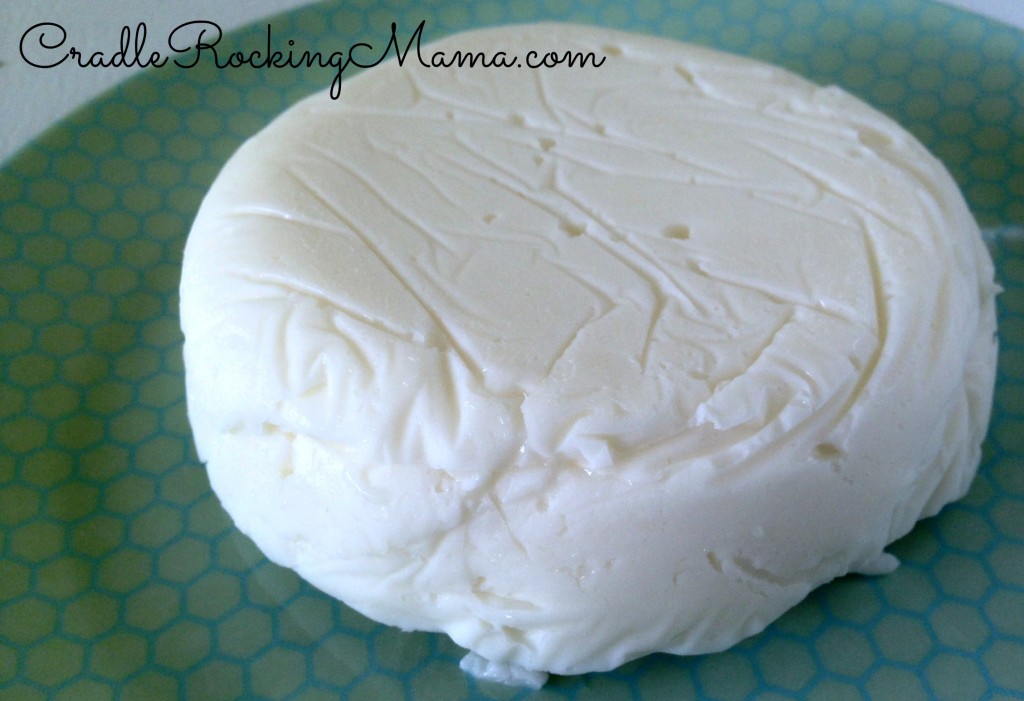
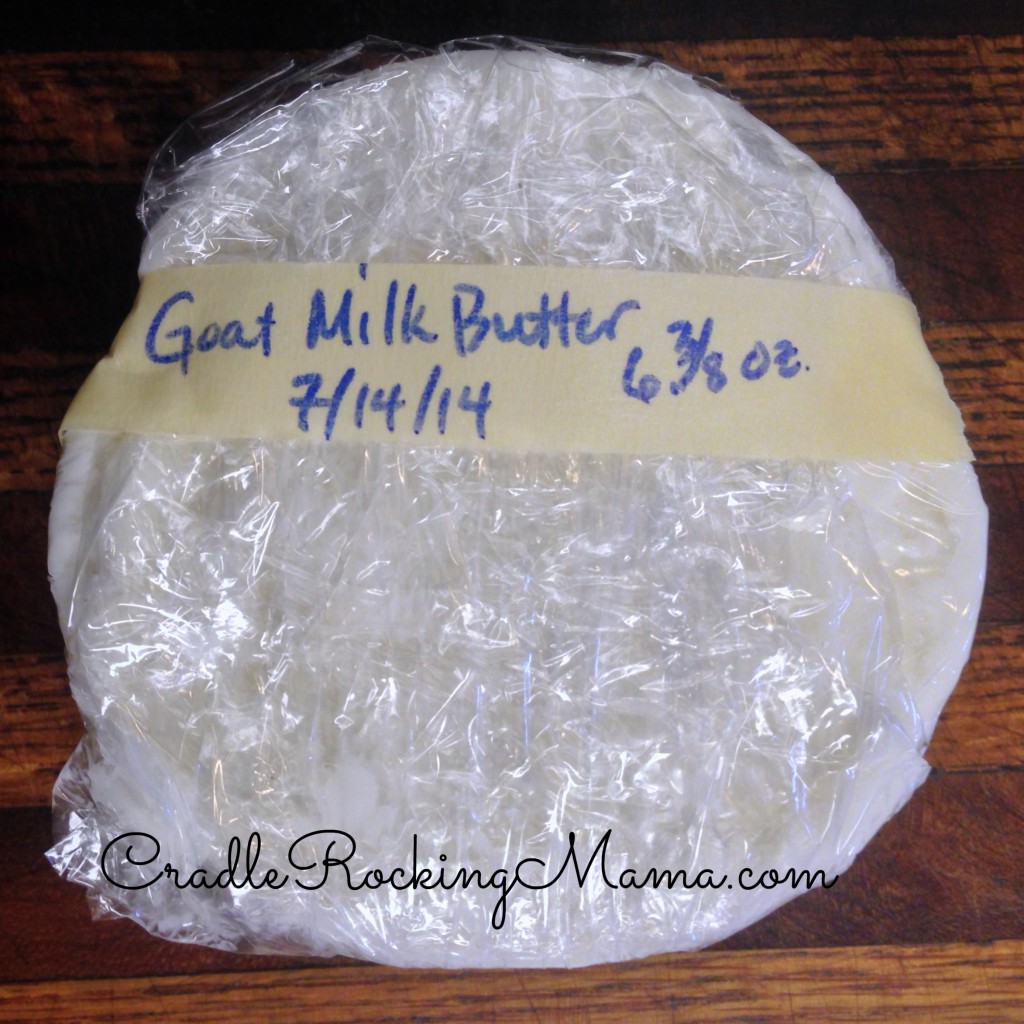
I un-molded it, removed the saran wrap, and voila! A beautiful 6 and 3/8ths ounces of butter!

Finished Molded Goat Milk Butter CradleRockingMama.com

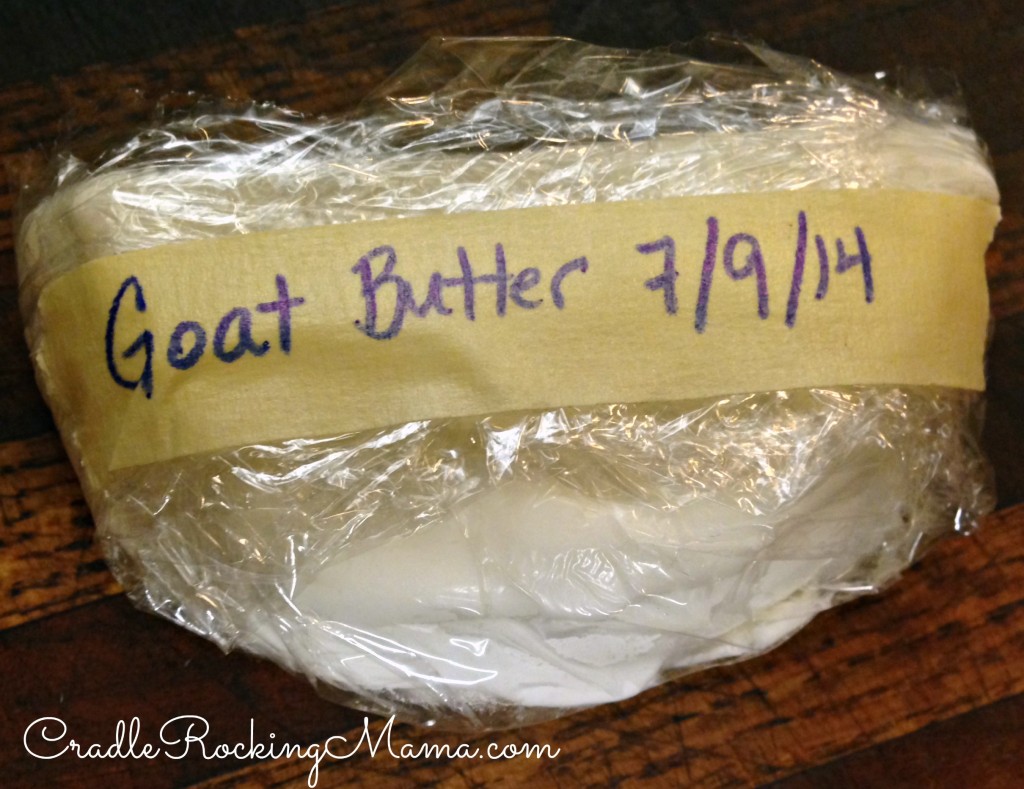
Then I re-wrapped it in the saran wrap and labeled it for freezing. We still haven’t used the 2.5 ounces I made last time and kept in the fridge!

Goat Milk Butter Wrapped for the Freezer CradleRockingMama.com

Total butter making time from start to finish (not counting the fridge time): 15 minutes. 

Seriously. 

This is so easy. 

How on earth did I screw it up so badly last week?! (Oh, that’s right…I was sick. Note to self: never, ever try anything new when you’re sick!)

Oh, if you’re so inclined, you can add some salt or seasonings to your butter after you wash it. Just toss whatever in, mix it around, and scoop it into the mold.

We haven’t trialed a salt for Zac yet, and I prefer unsalted butter, anyway; but you could get all fancy and make an herbed butter to impress your guests!

You could even get those cute little molds to make individual servings of butter for a dinner party or holiday meal.

You know, for those of you who have a maid, nanny, cook and chauffeur and therefore have time for that sort of thing.

If my family is lucky, I’ll dig out my old butter bell and they can serve themselves community style from that!

For those that are so inclined, here’s some math on the butter: a pint is 16 ounces of liquid. I got 1 cup (8 ounces) of buttermilk.

That means most of 8 ounces of cream was converted into (and I’m changing from volume measurements to weight measurements here) 6 and 3/8ths ounces of butter. Some of that liquid was stubborn buttermilk that washed away in the cleaning process.

Next time I’ll actually scoop the butter into measuring cups to see the volume, rather than just the weight, of the finished product.

But 6 and 3/8ths ounces is approximately .4 pounds of butter, or equal to 1 and 3/5ths sticks of store bought butter.

You know, so you can figure out how much this will make in whatever method you prefer to measure!

Really, making goat milk butter is so easy, I’m astounded. Try it for yourself!

How to do Everything Wrong & Still Make Homemade Goat Milk Butter

How to do Everything Wrong and Still Make Homemade Goat Milk Butter CradleRockingMama.com

I sure would like for everyone to think I’m some kind of kitchen wizard; that all I have to do is think about a new recipe or idea and the end result is magic.

That’d be nice.

But it’s absolutely not true!

I almost didn’t write this post, because, well, it’s a little embarrassing. But then I decided to go ahead and share this story because I’m all about helping others – and if anyone can learn from my near disaster, then it’s worth embarrassing myself!

(Besides, I’ve already told you about my gluten-free bread disaster!)

I’ve told y’all how we recently had to change goat milk suppliers, and that I found 2 wonderful ladies to buy goat milk from. One of them has Nigerian Dwarf goats, a breed known for high butterfat.

So I’ve been diligently scooping the cream off the milk every night to save for butter making.

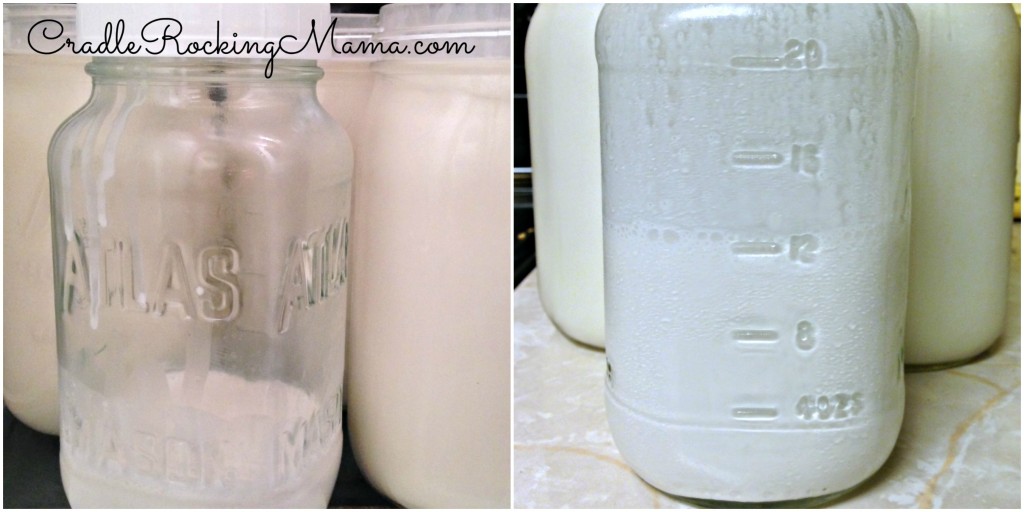
Collecting Cream off Goat Milk for Butter Collage CradleRockingMama.com

Some folks have a device called a separator for this purpose; I don’t have one and haven’t been able to find one in my quick glances online. With the Nigerian Dwarf milk, though, I can get enough cream easily with the slow, old-fashioned method.

All you do is put the milk in the fridge with no lid. Try not to store anything especially stinky, like onions or garlic, near your milk, or it may take on that flavor.

The cream rises to the top and can easily be scooped off and poured in a jar for storage.

Once I had a full pint of cream, I was ready to make butter.

A full pint of Collected Cream for Butter CradleRockingMama.com

Now, I read  about how to do this. I asked  people for tips. I didn’t go into this blind and completely ignorant.

Everything I read said to let the cream warm to between 50-55 degrees Fahrenheit before making butter.

Everything I read said to use a food processor instead of a mixer because it was just too messy.

Everything I read said this was easy.

So I felt confident.

I was also sick, and VERY tired of cleaning dishes.

The day I obtained a full pint of cream, I ran my dishwasher THREE TIMES.

THREE TIMES, Y’ALL.

And that was before dinner! All this food preservation stuff creates extra kitchen cleaning, and, being sick and a little tired, I had a moment of disgust and rebellion.

I flat refused to dirty one more dish that night.

Yes, I became a petulant teenager again.

But I wasn’t being completely ridiculous: you CAN make butter just by shaking the cream in a jar.

I’ve done it! Years ago, when I was about ten or eleven, my mom got some raw cow milk on a trip to visit my grandma and decided to show me how to make butter.

We shook that jar all through dinner, and then mom worked some “magic” and voila! Butter!

I didn’t remember it being that hard, and my cream was already in a jar with a lid, and by golly, I was NOT going to make any more mess in my kitchen that day.

So there.

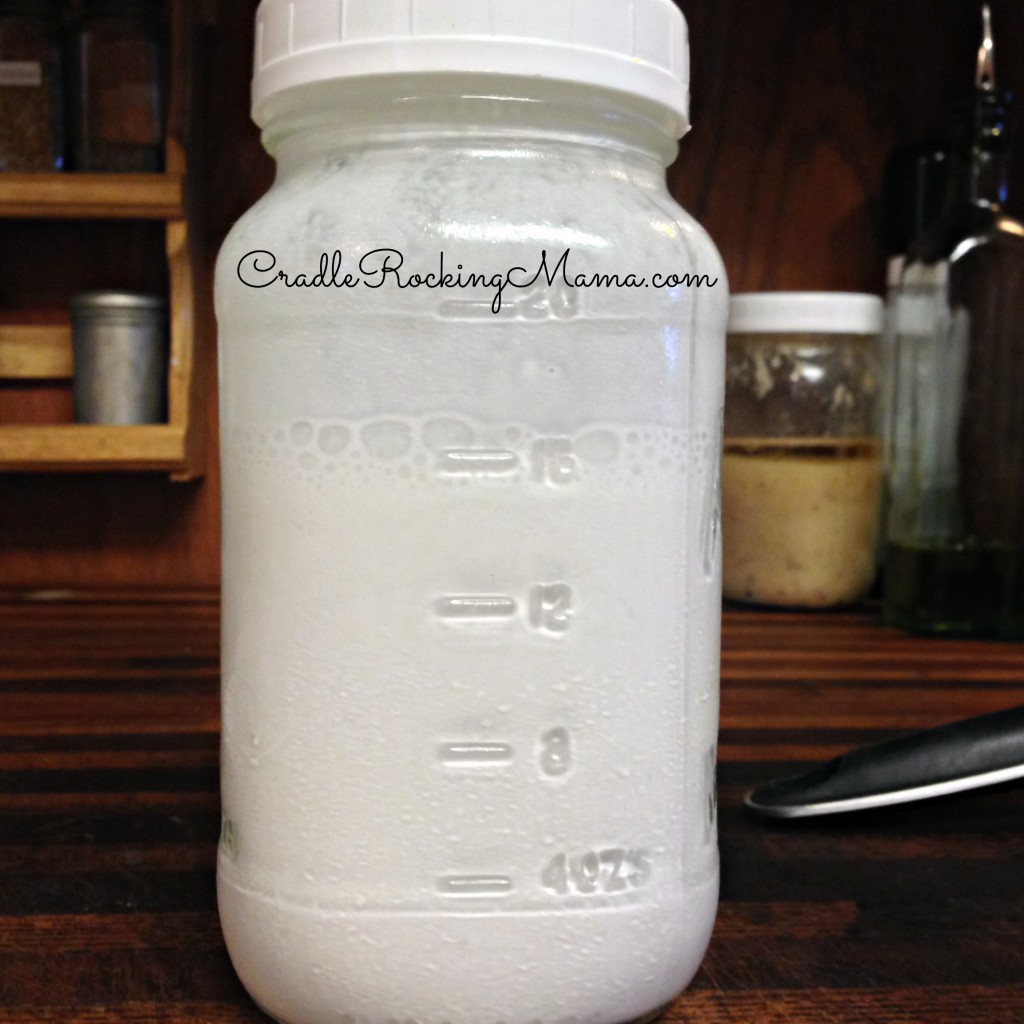
Throughout dinner, I shook that jar with my free hand. Darrel kindly took over for me for a while after he finished eating, and about 30 minutes after the shaking started, I had this:

Thirty minutes of Shaking the Jar to make Butter CradleRockingMama.com

Here’s a view with the lid off, looking down into the jar:

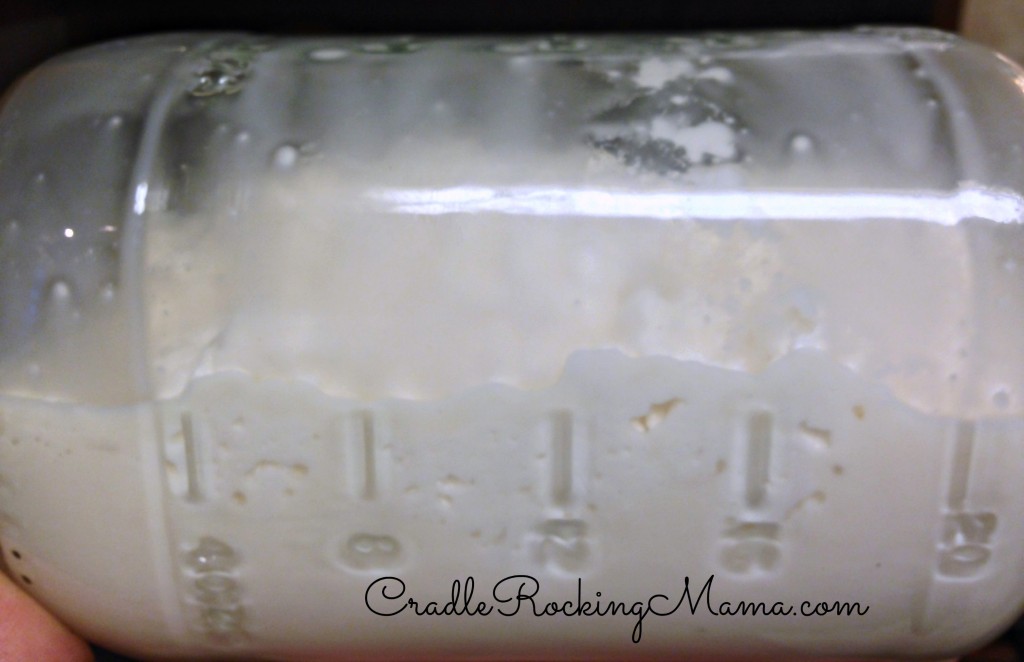
Inside the Jar after 30 minutes of shaking to make butter CradleRockingMama.com

Now, in my reading I had learned that butter goes through stages. First it’s liquid cream, then it’s basic soft whipped cream, then it’s whipped cream with stiff peaks, then it suddenly starts to coagulate and form butter globules.

When it forms butter globules, you pour off the buttermilk (supposedly I would get about a cup of buttermilk from a pint of cream), and start “cleaning” your butter with water.

Looking at what I had in the jar after 30 minutes of shaking, I estimated this was a nice, firm whipped cream stage, just before stiff peaks would form.

Yay! It was working!

15 minutes later, though, the kids were out of the bath and it was time to put the munchkins to bed.

Uh-oh.

I figured it wouldn’t ruin the butter to stick it in the fridge while I nursed Zac to sleep, so I did.

Then Zac fought going to sleep for so long, *I* fell asleep.

Darrel woke me up an hour and a half later.

Uh-oh!

I raced to my jar of butter and…I had nicely refrigerated, firm whipped cream. Drat.

So I set the jar on the counter to warm up a little, and when it was a tad warmer, started shaking again.

I shook. And I shook. And I shook.

And shaking whipped cream in a jar is a lot harder than shaking liquid cream in a jar.

As I continued to shake, I searched my memory for the time mom and I made butter in a jar at Grandmas house. I really  didn’t remember it being this difficult.

Then I remembered: when the jar had gotten harder to shake, thick with whipped cream, my ten year old self wimped out and my Mom  finished shaking the jar.

Oh. Yeah. Right.

Guess what, y’all? I’m the mom now!

And mama was sick, tired, and watching the clock turn later and later by the minute.

Screw this! Into the food processor it went!

Into the food processor to make goat milk butter CradleRockingMama.com

Everyone says THIS is the way to make butter. Surely, in just a few minutes, this whole ordeal will be over…right?

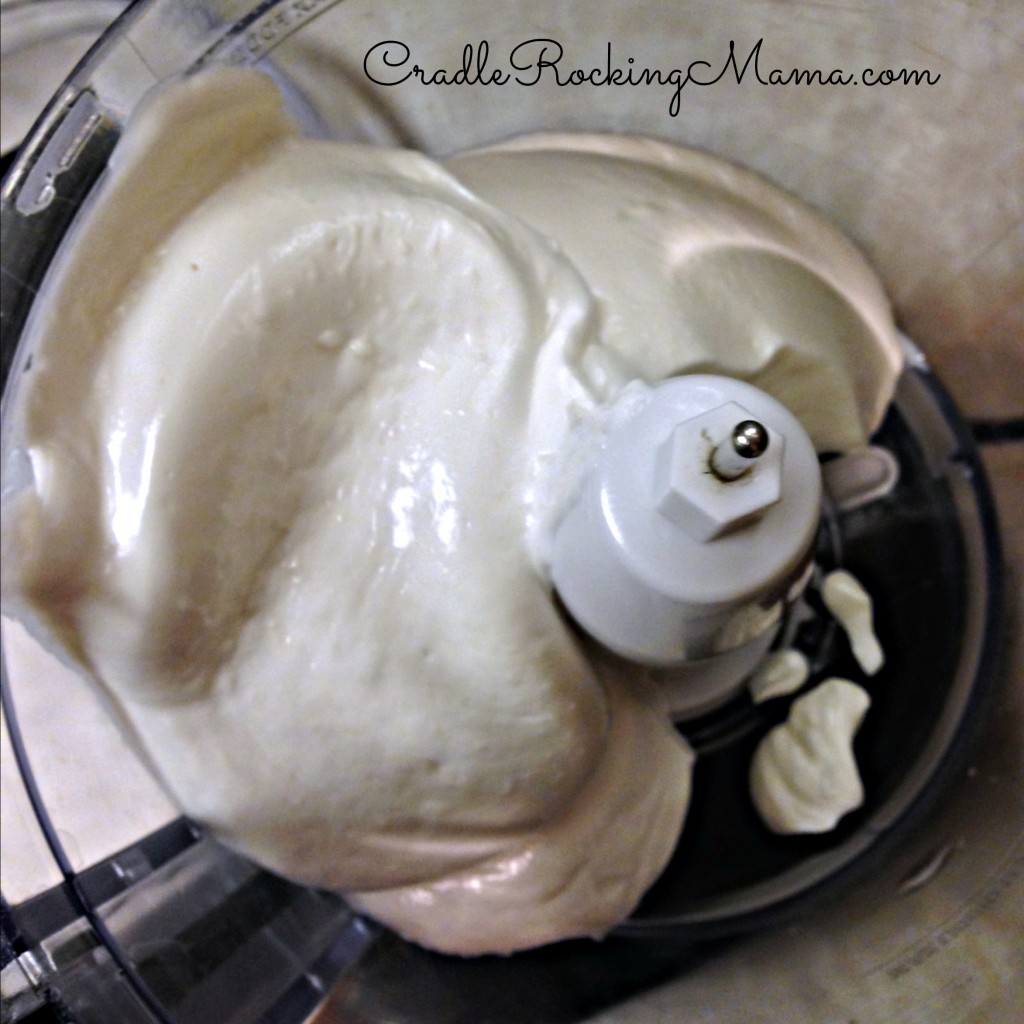
A few minutes later, I had warm, liquid…something. Cream? Whipped cream? Melted butter?

Food Processor Backfired to Make Goat Milk Butter CradleRockingMama.com

I don’t know exactly. I just knew that this was NOT right.

I stuck my finger in to test it and – man! That’s not 50-55 degrees! That’s HOT!

Uh-oh.

I took the whole food processor bowl and stuck it in the fridge while I quickly looked for answers online.

I never found a clear answer; it’s hard for Google to diagnose kitchen accidents, sometimes. All I saw that might help was someone suggesting that what I may have in front of me was a heavy cream that could be used in place of milk in baking and sauces for extra flavor.

Hmm.

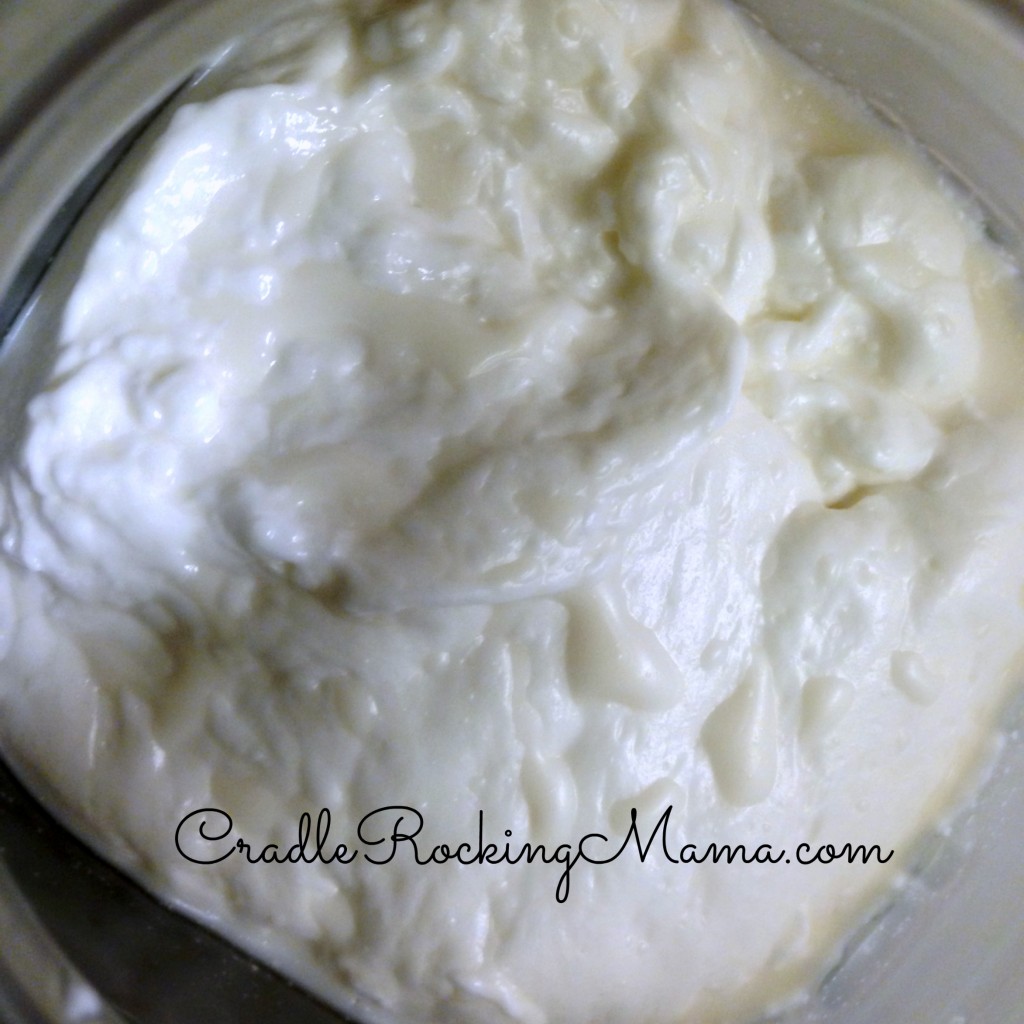
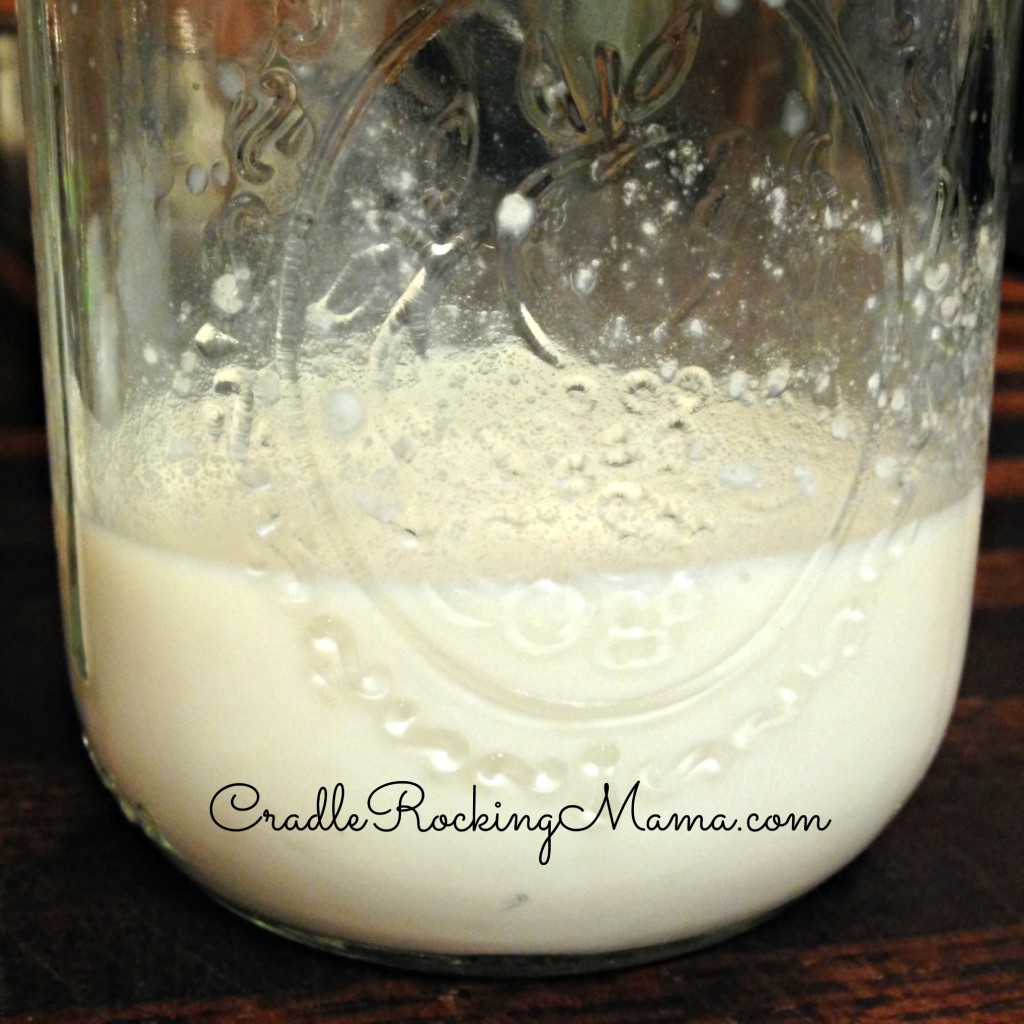
After it had cooled down some in the fridge, I noticed that it had separated a bit. The top was solid and firm, and underneath was what looked like buttermilk. I poured it off, but didn’t get a full cup. I only got about a third of a cup. Hmm.

Buttermilk CradleRockingMama.com

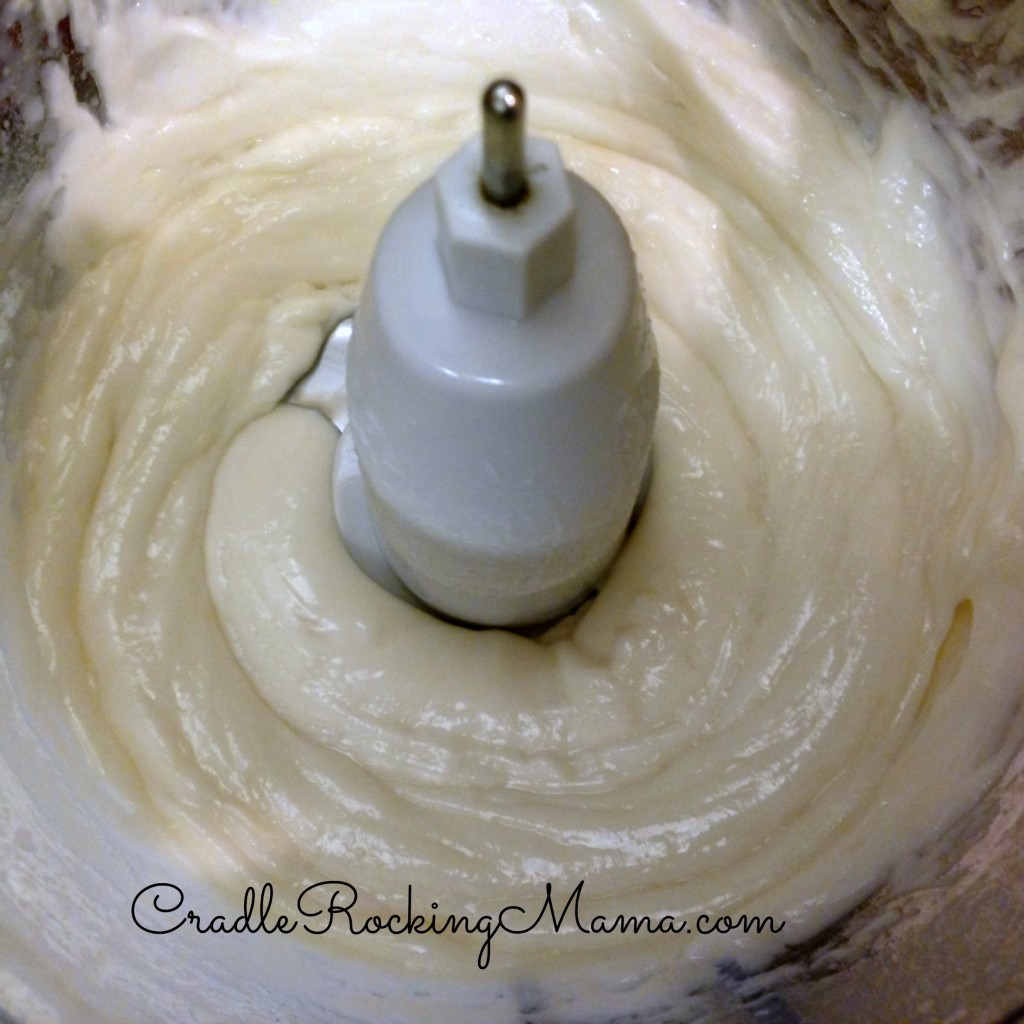
I gave the remaining cream another quick whiz in the food processor.

STILL no globules forming! Still just a thick cream – and getting warmer by the second.

So I scooped it all into a glass bowl and got out a whisk.

Why not get out the mixer? Because I was sick, tired, and not thinking straight.

The mixer is heavy, and hauling it in from the utility closet seemed like a lot of work.

I didn’t stop to consider the work involved in, you know, whisking the stuff.

(shaking my head at myself)

I whisked. I whipped. I worked that stuff from soft peaks…

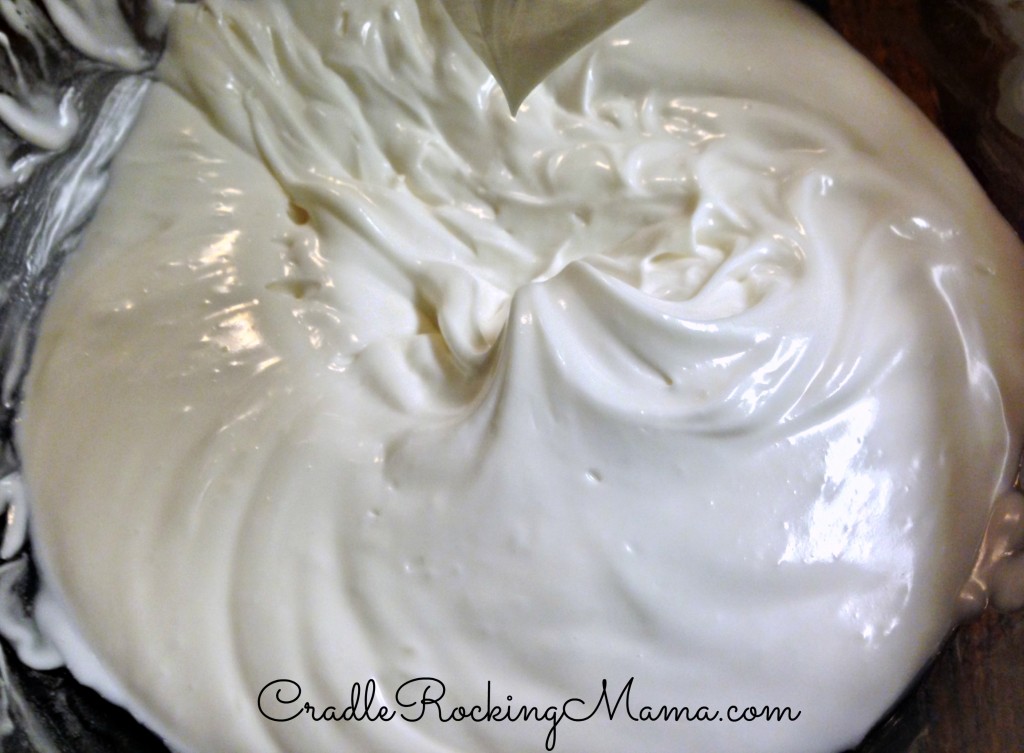
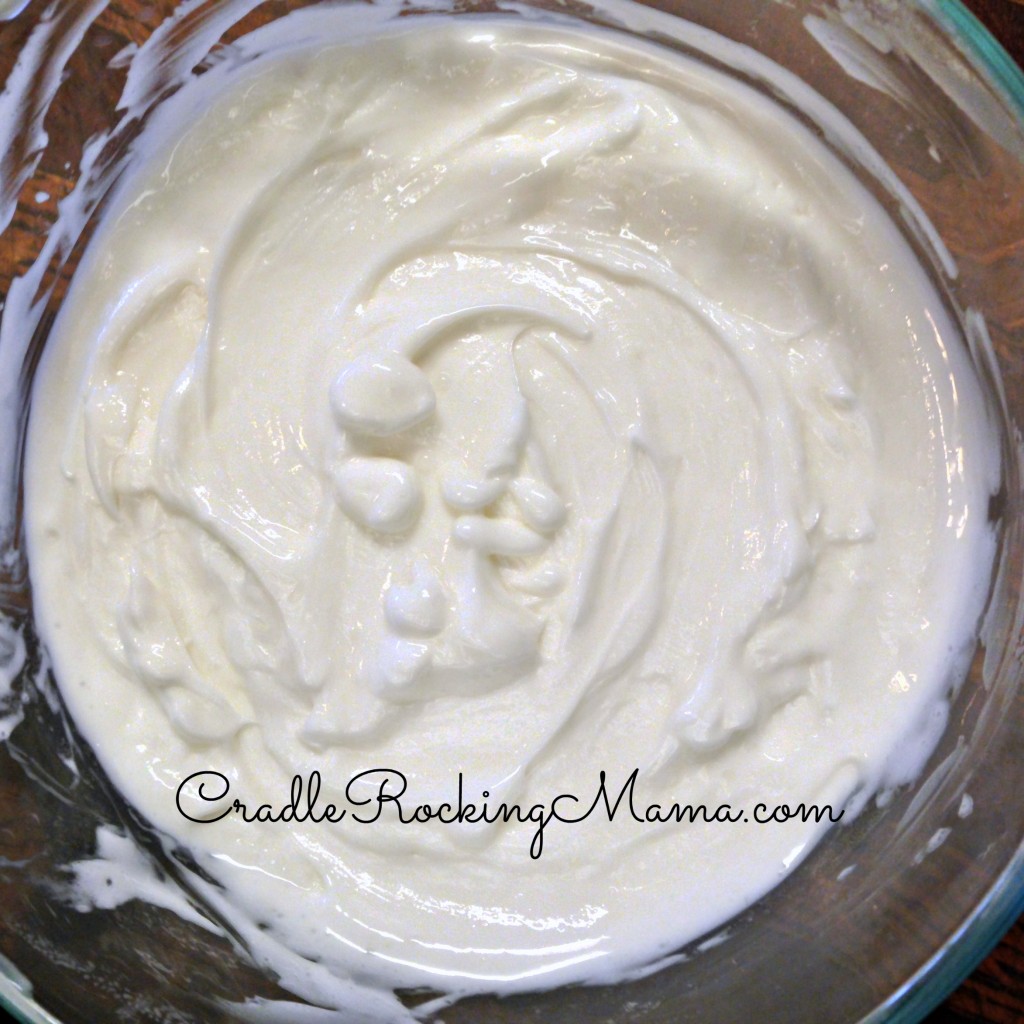
Your Basic Whipped Cream from Goat Milk CradleRockingMama.com

To stiff peaks…

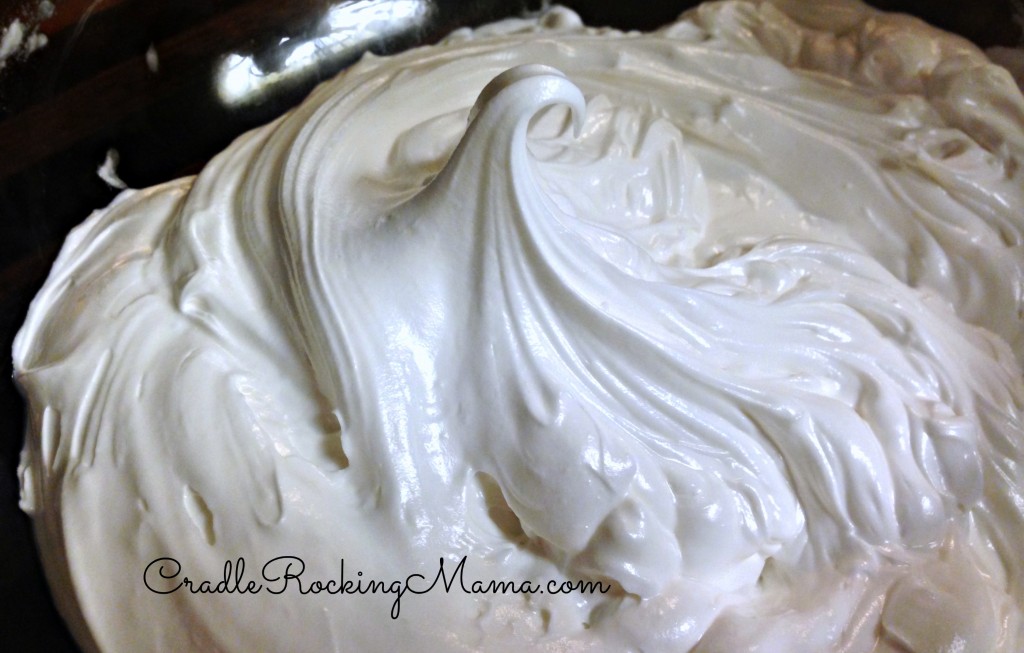
Stiff Peaks in the Whipped Cream CradleRockingMama.com

And never saw anything  resembling a butter globule.

When my arms were about to fall out and I was about to fall over, Zac woke up for another nursing session.

Again, I said “screw it” and shoved the whole thing – whisk and all – into the fridge. I figured I’d deal with it the next day…after all, I told myself, it’s probably ruined anyway.

The next morning, I opened up the fridge and saw this:

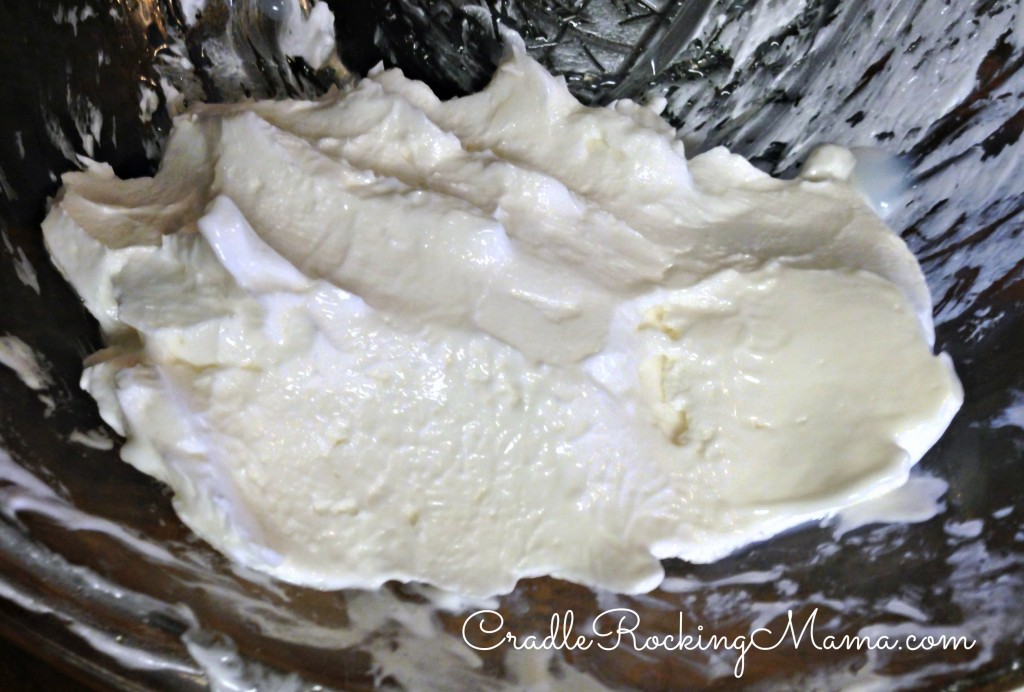
Is it Butter or Refrigerated Whipped Cream CradleRockingMama.com

Kinda looks like butter, no?

But surely it couldn’t actually be  butter, right?

I made Zac a quinoa breakfast bake for breakfast, and scooped some of my…buttery stuff…on top.

Melting Goat Milk Butter on a Cake CradleRockingMama.com

It melted!

Maybe I had accidentally made butter?

Ugh. I didn’t know. I stuck it back in the fridge to await judging by my Mom.

Mom came over, tasted it, felt it, and said “it looks like butter to me!”

Well, fine, then. I don’t know how it happened, and I can never duplicate what I just did, but by golly, I guess I have butter.

I let the bowl sit on the counter just long enough to soften so I could put it in a makeshift mold.

As I pressed the white stuff into the bowl, I noticed what looked like more buttermilk oozing out of it!

So I turned it all back  into the bigger bowl and started working it over with a spoon.

Finally becoming Butter during the rinsing CradleRockingMama.com

Mom came by and asked what I was doing, and when I told her about the buttermilk oozing and trying to clean it, she remarked that as a child, they’d always done this part by hand. She said it was easier.

So I washed my hands again, poured some more water on the mess and started squishing it around.

It took almost 10 times of cleaning the butter with water before the water ran clear, but by the end, I could tell: THIS was butter!

Goat Milk Butter at Last CradleRockingMama.com

Finally!

I pressed it into the mold and set it in the fridge to set. (I don’t have a real butter mold, and probably should have lined the glass bowl I was using with plastic wrap, but, oh well.)

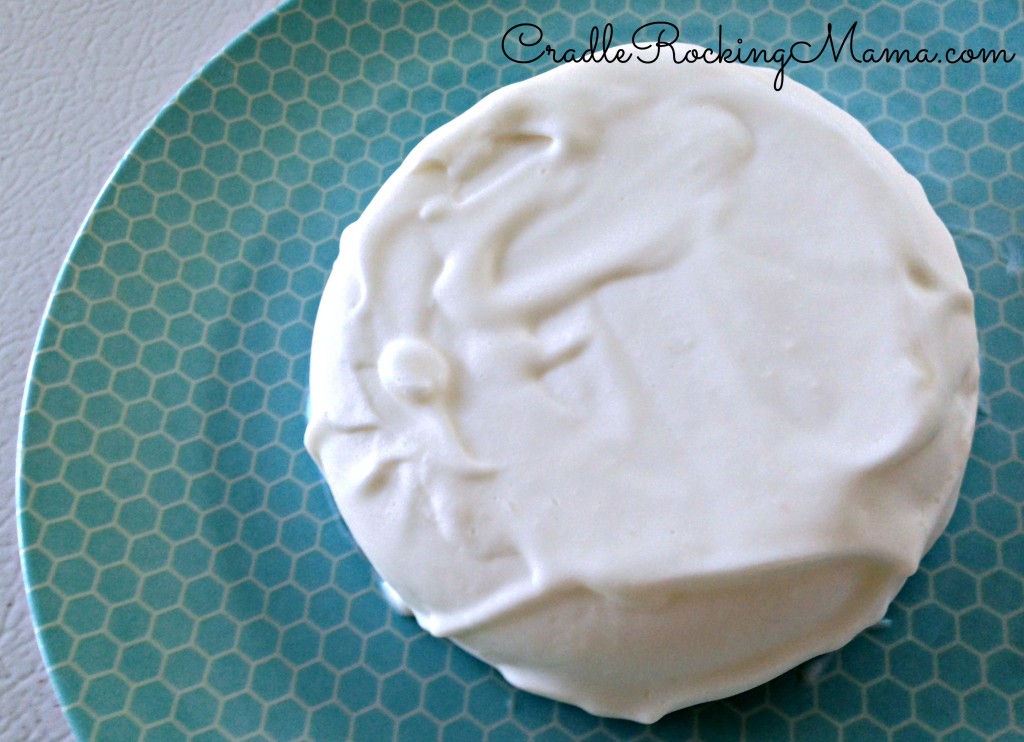
Goat Milk Butter in the Mold CradleRockingMama.com

To loosen it from the mold, I had to run warm water over the outside of the dish. So when I turned it over into a plate it wasn’t nice and smooth.

Finished Goat Milk Butter II CradleRockingMama.com

Didn’t matter to me!

However it happened, despite doing everything wrong, I’d still managed to make butter.

Oh, happy day!

Isn’t it beautiful?

Beautiful Goat Milk Butter CradleRockingMama.com

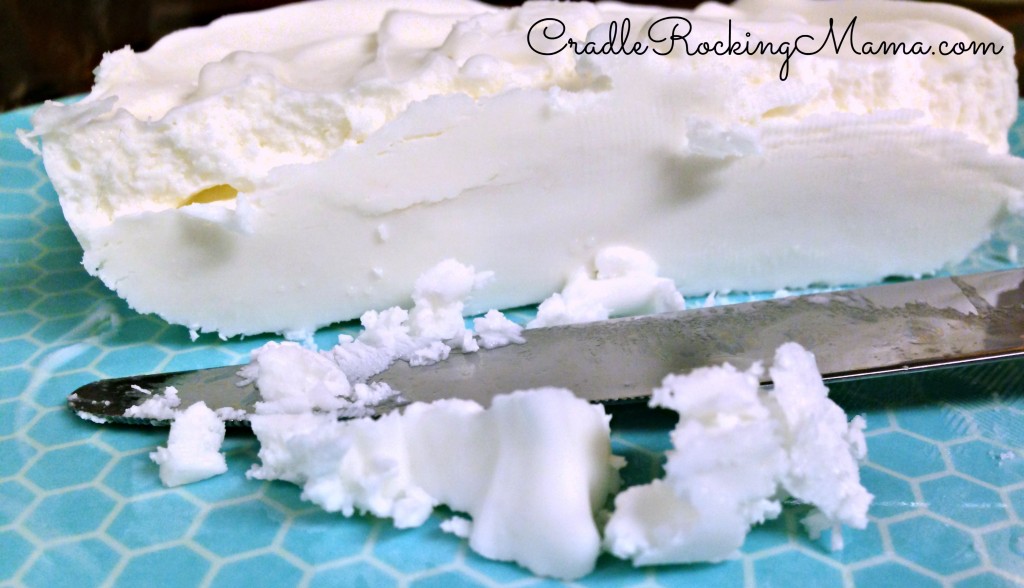
I’ve learned my lesson: I chopped half this 5 oz block of butter off and wrapped it up to freeze. Now, when we’re out of goat milk later in the year, we’ll still have goat milk butter in the freezer to use.

Freezing Goat Milk Butter CradleRockingMama.com

So there you have it: how to do everything wrong and still – somehow – manage to make homemade goat milk butter.

The good news is that I’m not a total idiot: yesterday I had another pint of cream ready to make into butter…and I did it RIGHT this time! So tomorrow I can share with you “How to PROPERLY make homemade goat milk butter“.

In the meantime, any butter making gurus out there that can tell me what went wrong – and what went right? Because seriously, I have no clue how I screwed this up – or how I salvaged it!

The ultimate lesson from this adventure is this: don’t let any kitchen failures scare you off. Do your best to learn from them, and keep on trying. Eventually, you will figure out how to do what you’re trying to do.

And sometimes, even when you do it all wrong, it still comes out right. 

By the way, for anyone keeping track, my petulant desire to not dirty any more dishes resulted in a whisk, a bowl, and an entire food processor being dirty.

Yeah. That  didn’t work.

What’s your funniest “it all went wrong” kitchen story? Please share!

On the Mend

On the Mend CradleRockingMama.com

Good news! The kids are entirely over their colds. Not even runny noses left.

So-so news: Darrel and I still aren’t 100% better.

Though I didn’t want to, I had to call out sick for work this weekend. Thursday and Friday I was a walking zombie, but by Saturday, if I sat perfectly still I felt almost normal.

However, if I stood up, I got dizzy, and if I moved, I started coughing like I was about to hack up a lung.

Most people don’t want the Flight Attendant serving them drinks to hack up a lung in the aisle. And sitting perfectly still isn’t an option in my line of work.

So I didn’t go to work. Instead, I’ve been puttering around the house, trying to do as little as possible…which is still about 90 times more activity than I would have done if I were sick as a childless gal!

It’s really, really, really rotten to be sick with kids. They refuse to cut you any slack.

Little tyrants.

Not to mention that with our food issues, I have to cook whether I feel like it or not. Plus there’s all the food storage stuff that has to be done, and tending to the garden.

None of those things cares one whit that all I want to do is snuggle on the couch and watch chick flicks all day.

So while I’ve been sick, I have managed to do quite a lot in between coughing fits and dizzy spells. Even though I didn’t feel like it.

I made butter for the first time. Get ready to laugh at me for that story tomorrow!

I harvested the first yields from my garden, which was VERY exciting for me!

Friday, I even managed to make an amazing dinner (thanks to my moms help!):

Allergy Friendly Pizza CradleRockingMama.com

I didn’t take step by step photos, but if anyone is interested in how to make this delicious, gluten-free, allergy-free pizza, let me know and I might be convinced to make it again and share the recipe.

We declared apricots a safe food for Zac last week and began the cucumber trial.

He’s not such a huge fan of raw cucumber slices. He’s eaten a few like that, but mostly I’ve been shredding the cucumber and hiding it in his other foods.

(One tip if you’re doing a food trial that way…any time you shred a veggie and add it to a recipe, keep in mind it will release moisture. So reduce any liquids called for in your recipe.)

So far, so good! We’re already on the three day break, and with any luck, by the end of this week Zac will have his 8th safe food!!!

Being sick, Darrel and I have completely dropped the ball on the food journals for the kids.

I mean, there’s not a thing written in them from Monday of last week on. It’s terrible.

We’ve been watching the kids closely, as usual, and since neither of us saw anything resembling a reaction sign in either of them for anything, I think we got lucky and are safe.

But boy, am I glad cucumber is going well. If it wasn’t…the lack of a food journal would be stressing me out right now.

Time to start writing things down again.

One nice thing about cucumber is that one night last week Zac got to have an almost normal looking dinner!

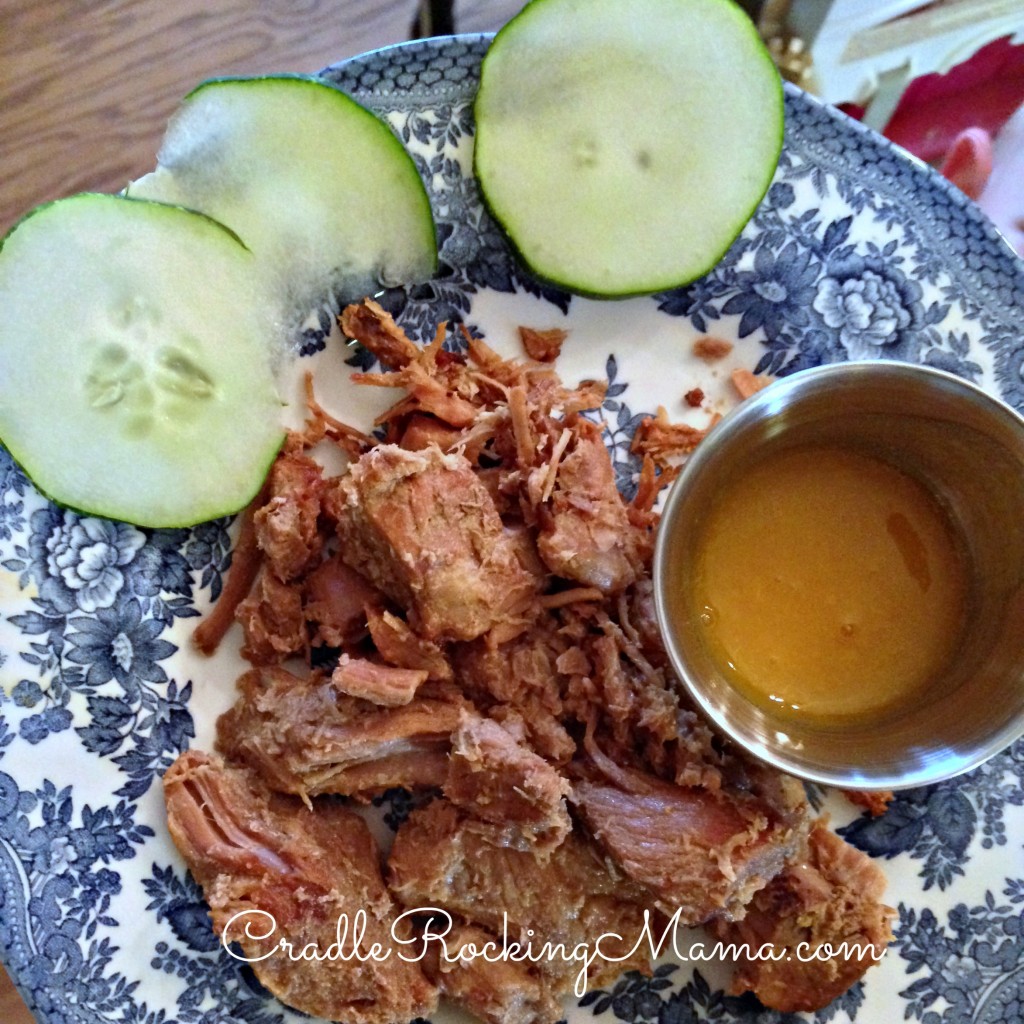
I made him pork roast, a ramekin of apricot purée to go with his roast, and some cucumber slices on the side.

Zac's First Real Meal CradleRockingMama.com

It was so cool – and so sad – that he’s over 2 years old and this was the first meal he’s ever eaten that looks like a normal meal.

Sigh.

Well, we’ve finally reached the point where it’s getting hard to feed him all of his safe foods every single day!

So far, we’ve been feeding him every single food at every single meal (except pork, which we ration), but with apricots becoming safe, it got harder to do. With cucumber in the mix, well, I looked up one day last week and realized he hadn’t eaten any bananas or cauliflower that day at all!

That is EXCELLENT news! He’s finally getting a diet large enough that he can have some variety!

Whew!

Last weekend was “owner’s weekend” at my health food co-op. That means that in addition to any cheaper prices offered to owners on a daily basis, everything purchased THIS weekend got an additional 10% off.

In anticipation, I pre-ordered three cases of potatos and a case of apricots (I didn’t know they’d be safe or not when I ordered them, but, just in case…I figured Jed could eat them if Zac couldn’t).

Even though it was the LAST thing Darrel and I felt like doing, we expended the last of our daily energy on a trek to the co-op to pick up our goodies.

Turns out, I got that case of apricots not only with the 10% owner’s appreciation discount, and not only with the 10% case discount, but also with a $.70/per pound sale price reduction!

Instantly I asked if they had more apricots in the back, but they didn’t. What they did do, however, was give me a rain check on the apricots I wanted. So when they get more apricots in, I can buy 3 more cases at the sale price (plus the 10% case discount)! Sweet!

I also managed to grab another case of Jed’s favorite crackers and some Ancient Harvest spaghetti noodles, both at the double 10% off.

It was an expensive trip, but it will save us SO much money over the next few months.

That means, of course, that, like it or not, I had to do more apricot preserving this weekend, too. It would make me sick to my stomach for those apricots to go bad before we could use them.

Maybe it would have been easier on me to go to work when sick…

How was your weekend? 

Summer Colds

This weekend the boys came down with summer colds. It didn’t slow them down at all; they kept running, screaming and playing even with their runny noses and occasional coughs and sneezes.

I didn’t waste any time being concerned about those summer colds.

Then Darrel came down with one.

And a day later, I got one, too.

It’s been a long time since I had a cold, and I’d forgotten how totally crappy they make you feel.

I’m quite wiped out.

That explains the lack of a post yesterday, and why I’m going to take a brief hiatus from blogging this week. Until I feel better, I’m going to try and take it easier on myself.

And the boys are already feeling better. Two sick parents + two kiddos who suddenly feel better = two parents who feel like crying.

So have a good week, and I’ll see you soon.

Hopefully.