


The right way!
Yesterday I shared the amazing and amusing story of how I did everything wrong and still managed to make goat milk butter.
All told, that butter making encounter took at least four hours of attention and time.
Ridiculous.
The good news is that Monday of this week I had another pint of cream ready to turn into butter, and this time, I did it right!
So in the interest of not looking like a total idiot, and in sharing the technique that actually worked, here it is: How to Make Homemade Goat Milk Butter (without making every mistake in the book).
Again, you have to start with cream. That is one step I did do right the first time, so for instructions on how to obtain that cream, go read the other post.
Now, to make goat milk butter in the mixer, get your mixing bowl and whisk attachment and throw them in the fridge for about ten minutes or so before starting.
When you put those in the fridge, get the cream out and let it sit on the counter to warm to about 50-55 degrees.
I’ll be honest; I didn’t take an exact temperature reading. Once the jar started sweating a bit and I picked it up, I did a “feels about right to me” guess and kept going.
Don’t judge; it worked, after all!
Get the mixing bowl and whisk out of the fridge and set them up on your mixer. Pour the cream in and turn it on.
I have a KitchenAid, and I started at speed 4, since I didn’t want to slosh cream everywhere. I cranked it up to speed 8 after about 3 minutes.
Now I have a nifty video for you! I’m not a fabulous video-making-guru, and the software I have for making videos is giving me fits and won’t let me add text any more!
Therefore, I’m breaking it down for you in the post:
- The first ten seconds are the actual first ten seconds of the mixer being turned on.
- The second ten seconds are about two minutes in to the process. You can see the cream getting a little frothy.
- The third section is fifteen seconds long, and it is about five minutes in to the butter making. You can tell it’s thickened up and has definitely become whipped cream at this point. By this point I’ve cranked it up to speed 8 on the machine.
- The last minute of the video is the final minute of the mixing time. You’ll see where the camera wobbles a bit as I get out the plastic shield for the mixer, because it was starting to spray buttermilk rapidly. That’s right about the time when you’ll see it suddenly, magically, develop butter globules!
I guess I could have run the mixer for longer, but really, I didn’t want to screw up again and this looked like it was supposed to look so I stopped.
It took exactly 7 and a half minutes in the mixer to turn the cream into butter.
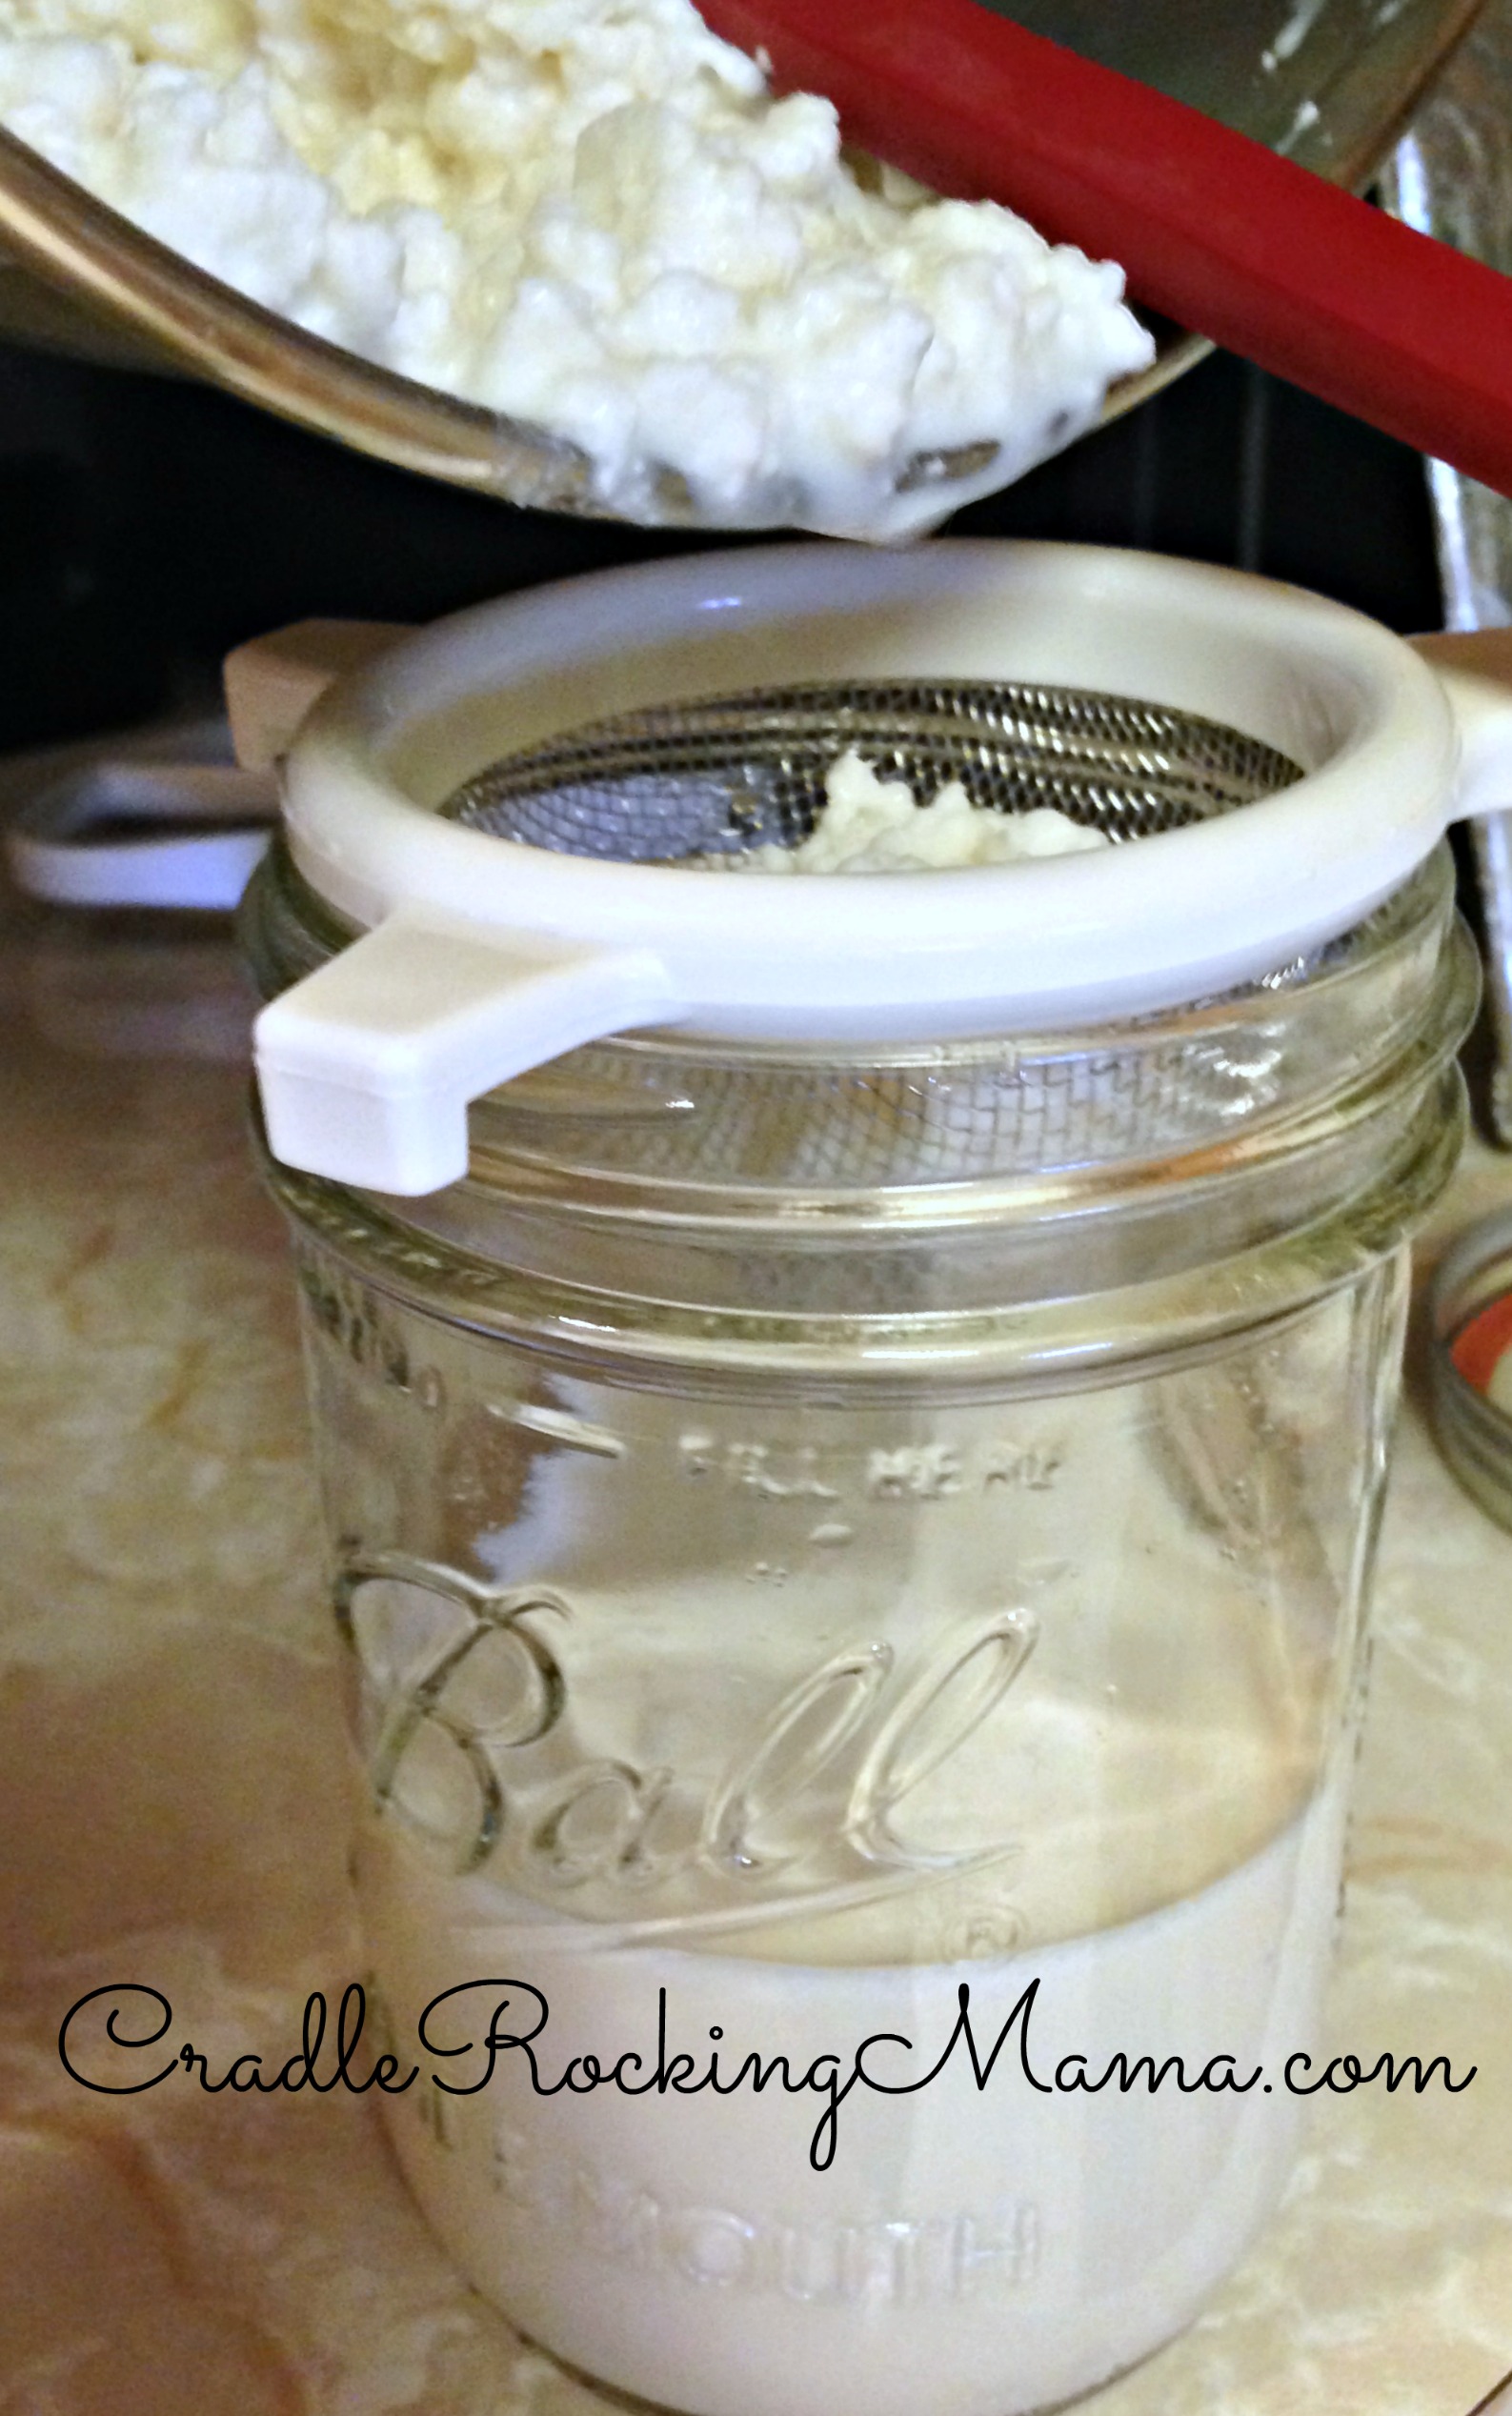
I grabbed a small jar and strainer and poured off the buttermilk. This time, I DID get a full 1 cup (8 ounces) of buttermilk!
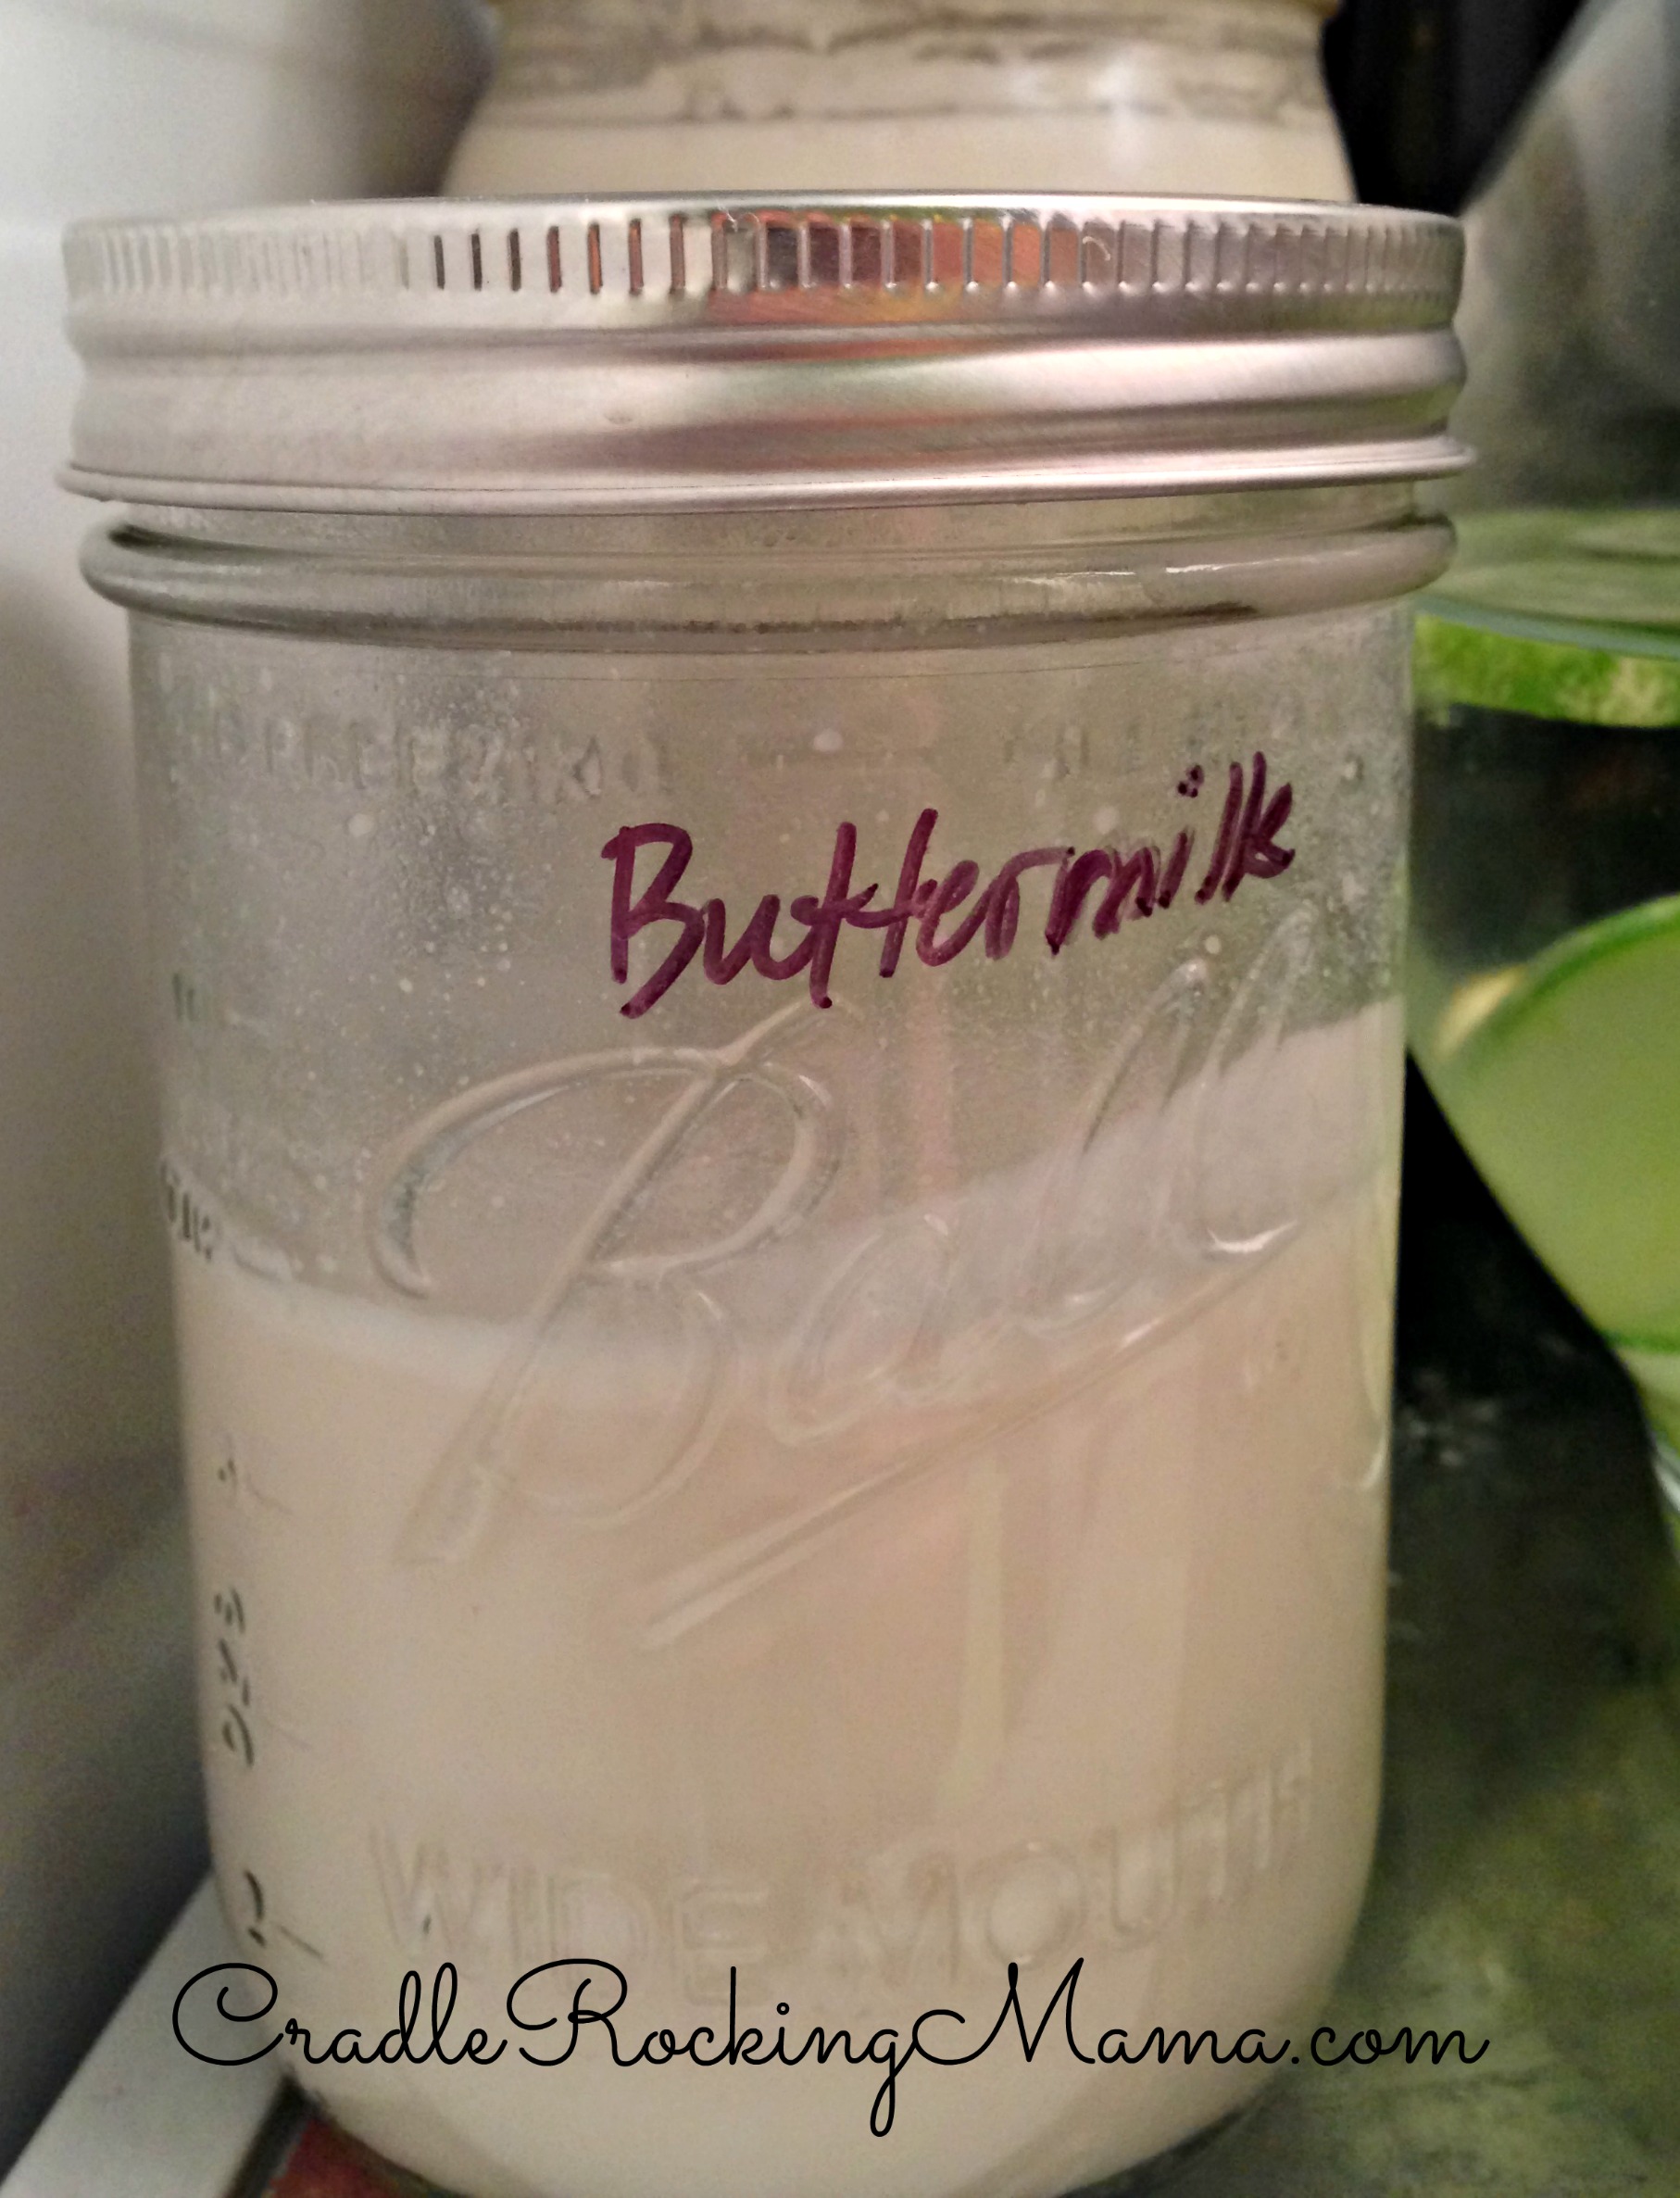
Notice how I nicely labeled it so Darrel didn’t accidentally pour straight buttermilk for the kids? In case you didn’t know this trick, Sharpie markers wipe right off of glass, so it’s a cheap and easy way to label your stored goods.
Anyway, back to butter making! This is what was left in the mixing bowl:

I stuck the whole bowl in the fridge while I washed my hands and removed my rings (handy tip – I didn’t do that the first time and it was a mess). All told I left it in there for just about 5 or 10 minutes.
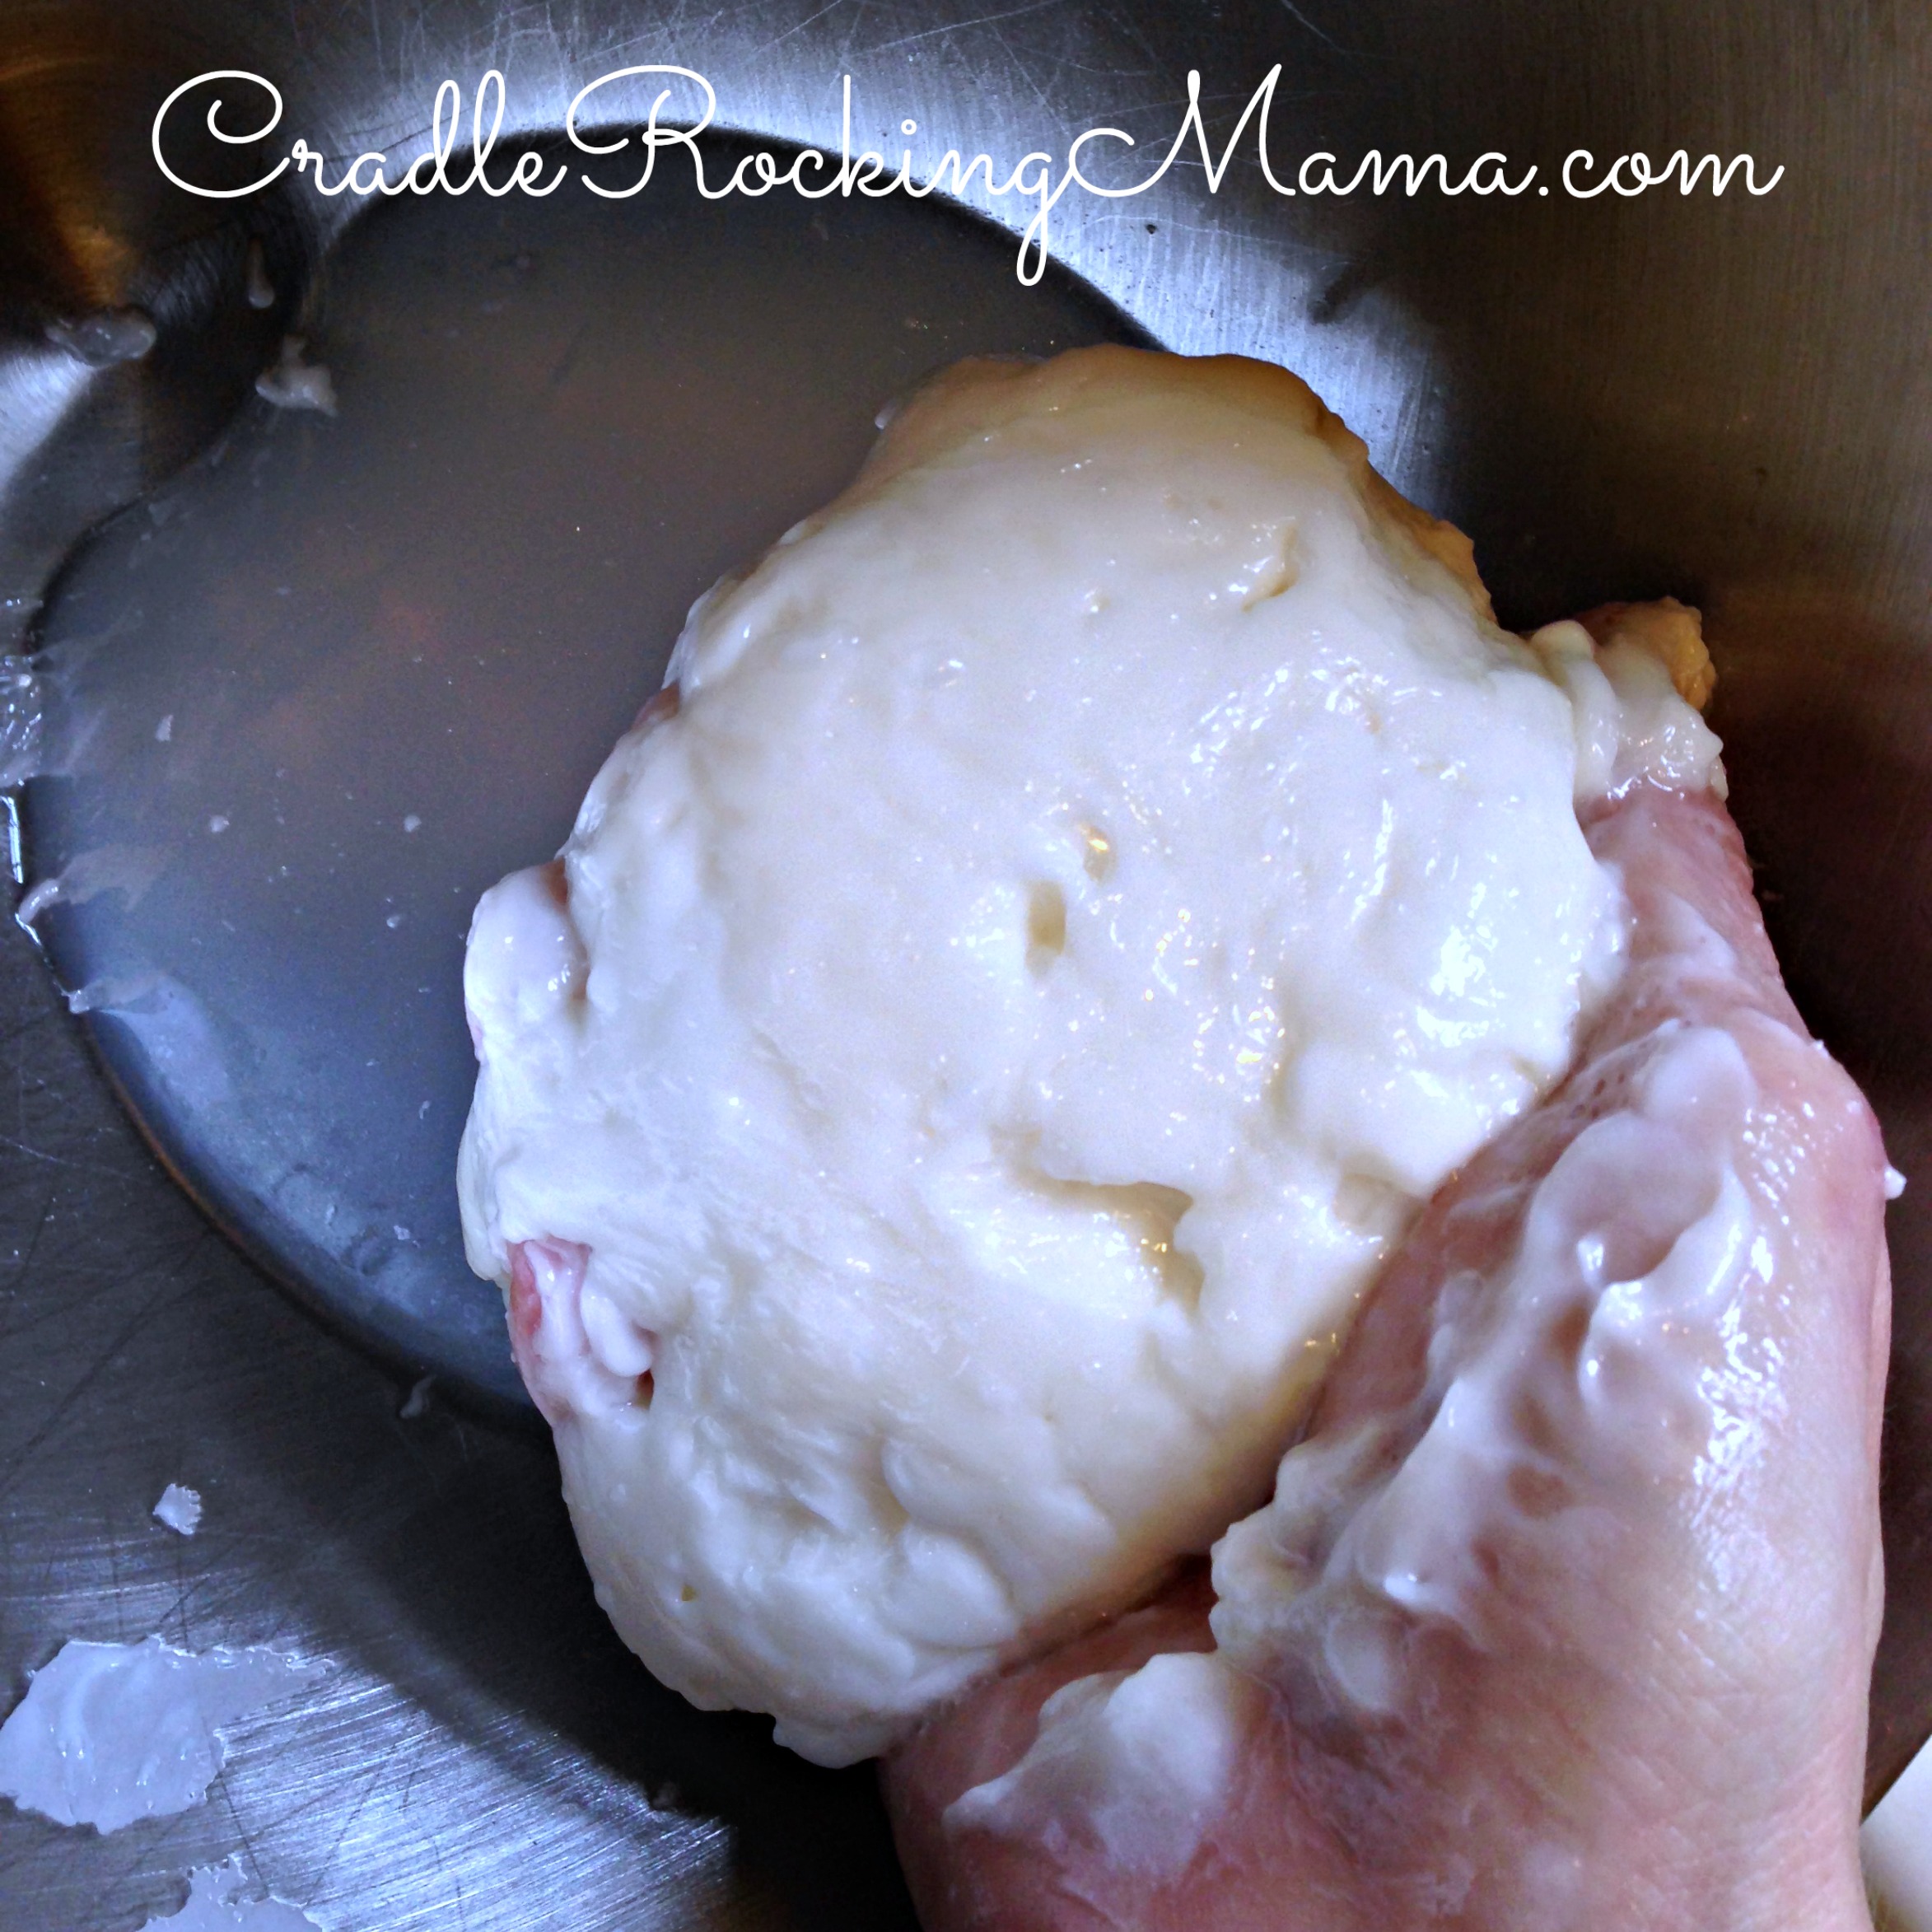
Then I took it out, poured some water on the butter and started squishing it together.
When the water got milky looking, I poured it off and added more clean water.
After three of those washings, this is what it looked like:
One more washing and I called it clean!
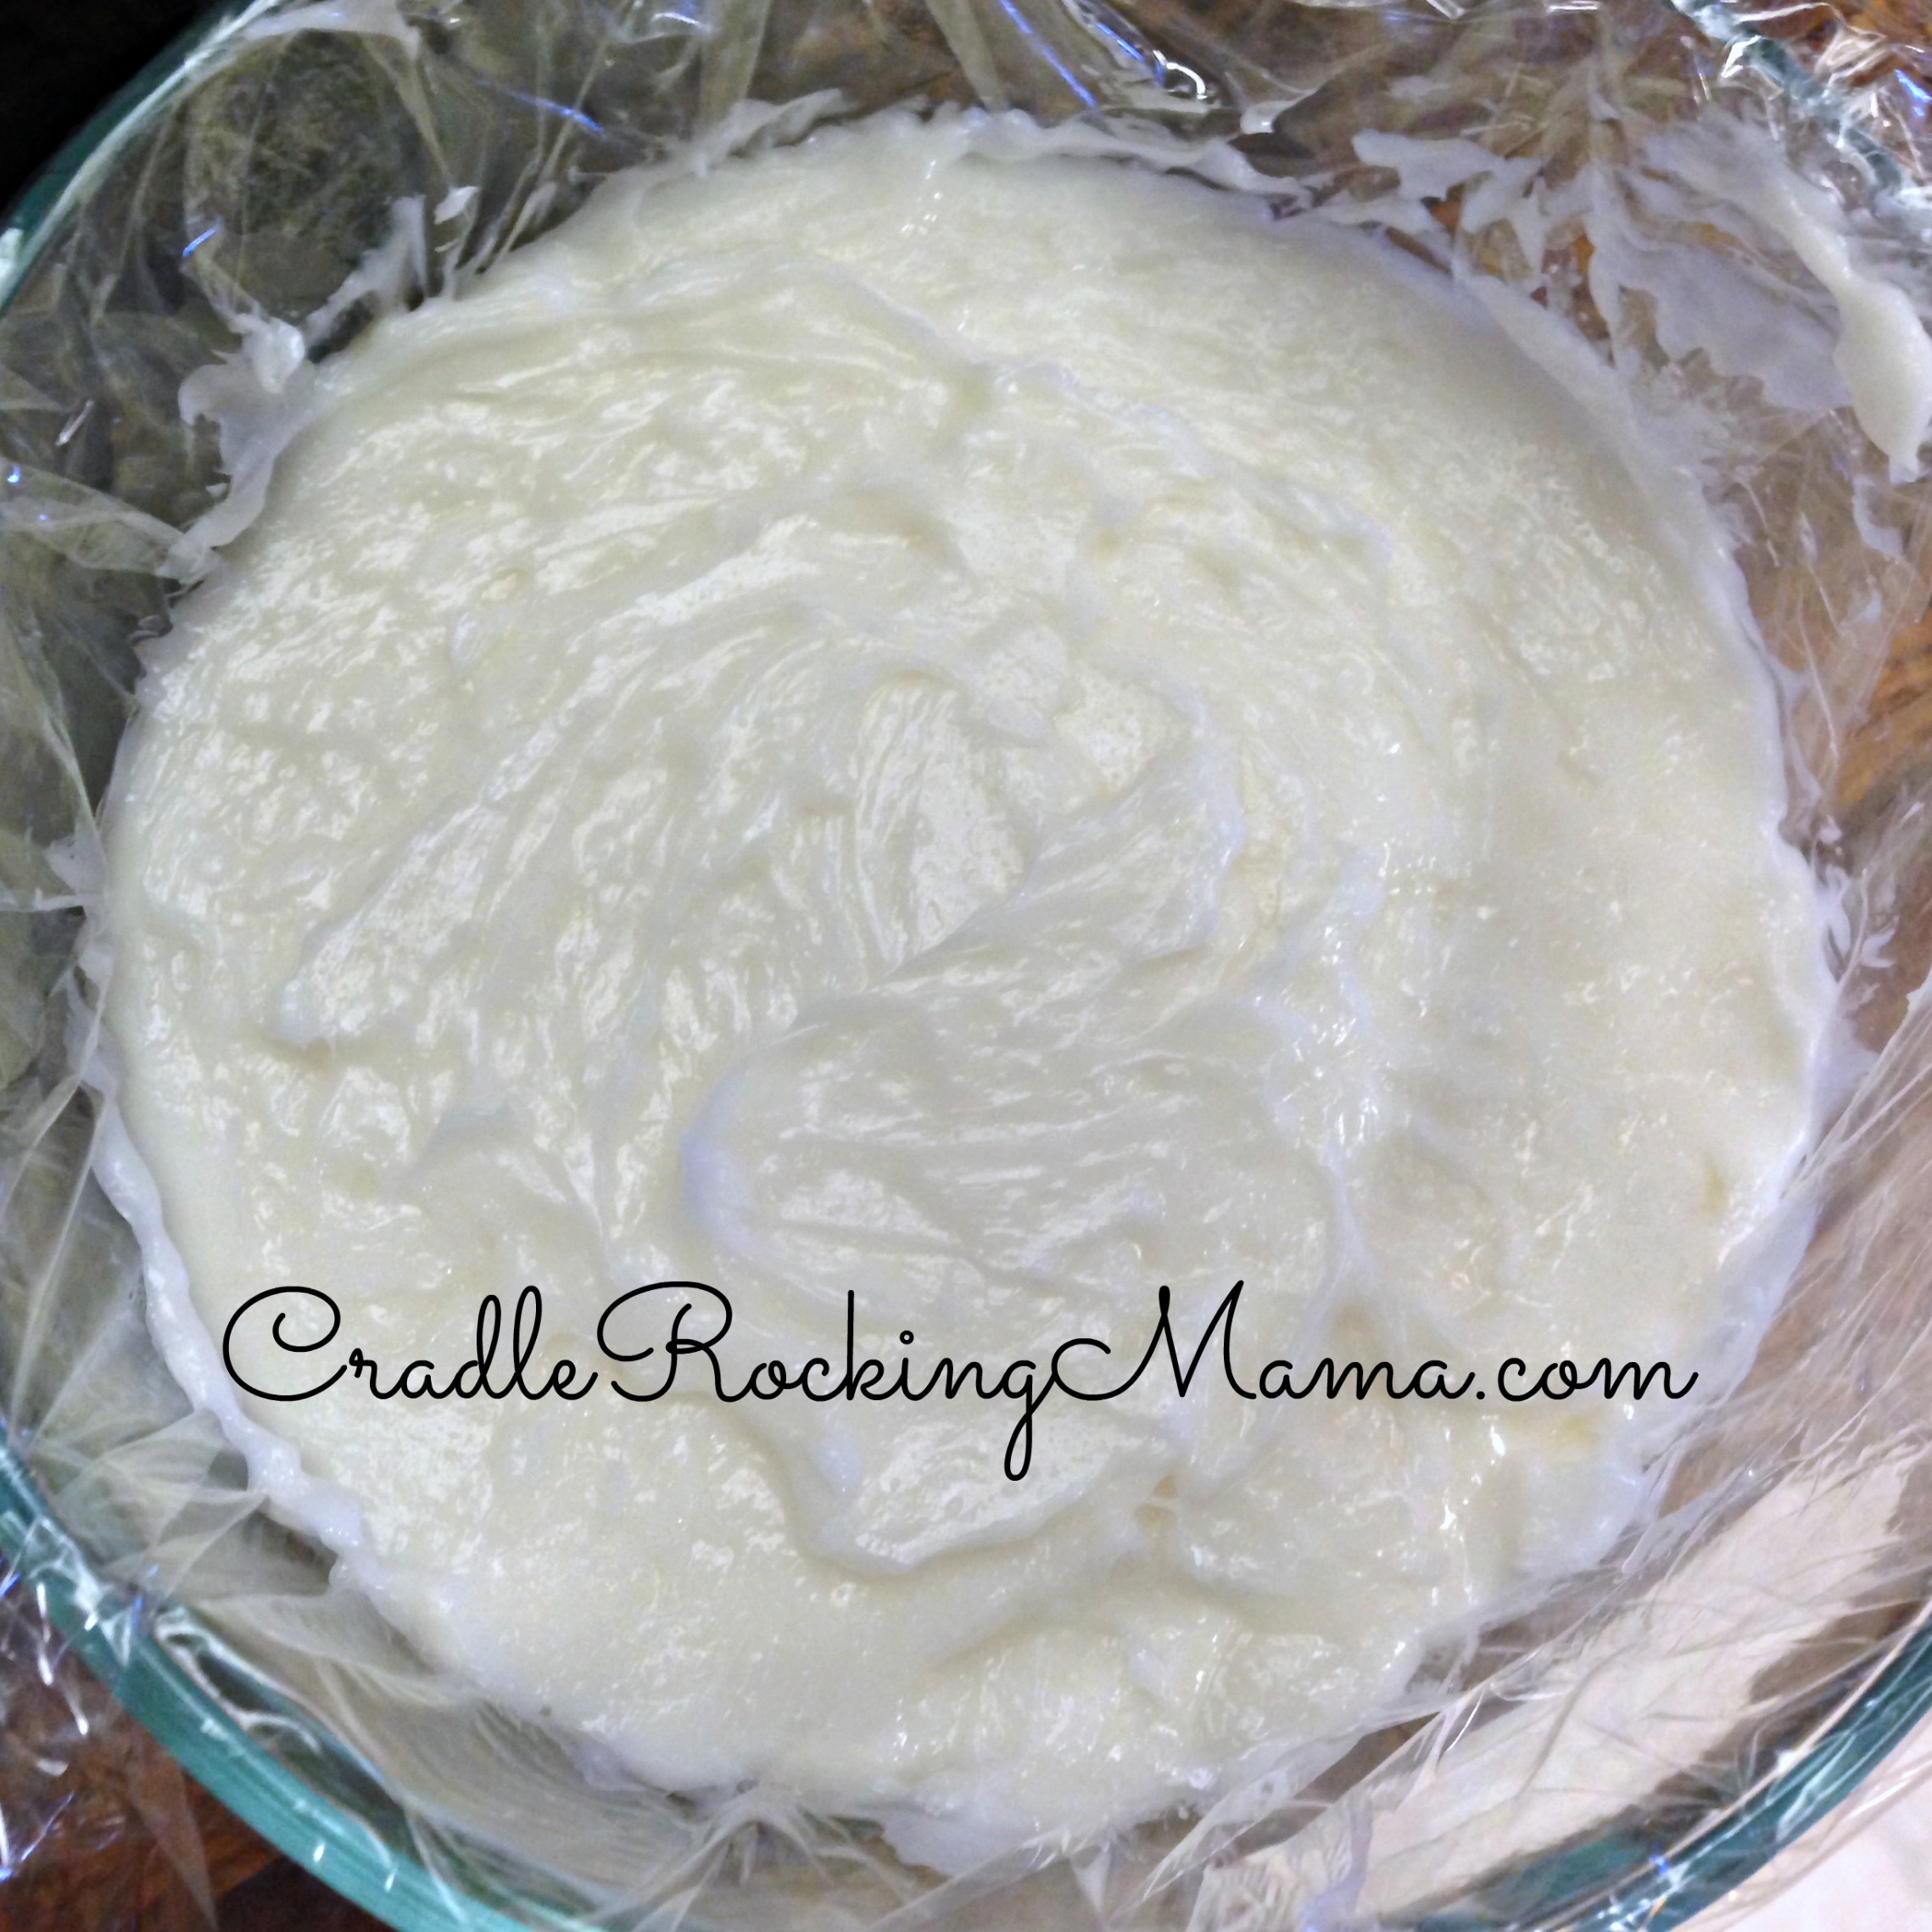
This time, I remembered to line my bowl with saran wrap first. That made it MUCH easier to remove.
That nice, clean butter went into the mold, then into the fridge for about half an hour. Fifteen minutes would have been enough, but I got busy and couldn’t get back that quickly.
I un-molded it, removed the saran wrap, and voila! A beautiful 6 and 3/8ths ounces of butter!

Then I re-wrapped it in the saran wrap and labeled it for freezing. We still haven’t used the 2.5 ounces I made last time and kept in the fridge!

Total butter making time from start to finish (not counting the fridge time): 15 minutes.
Seriously.
This is so easy.
How on earth did I screw it up so badly last week?! (Oh, that’s right…I was sick. Note to self: never, ever try anything new when you’re sick!)
Oh, if you’re so inclined, you can add some salt or seasonings to your butter after you wash it. Just toss whatever in, mix it around, and scoop it into the mold.
We haven’t trialed a salt for Zac yet, and I prefer unsalted butter, anyway; but you could get all fancy and make an herbed butter to impress your guests!
You could even get those cute little molds to make individual servings of butter for a dinner party or holiday meal.
You know, for those of you who have a maid, nanny, cook and chauffeur and therefore have time for that sort of thing.
If my family is lucky, I’ll dig out my old butter bell and they can serve themselves community style from that!
For those that are so inclined, here’s some math on the butter: a pint is 16 ounces of liquid. I got 1 cup (8 ounces) of buttermilk.
That means most of 8 ounces of cream was converted into (and I’m changing from volume measurements to weight measurements here) 6 and 3/8ths ounces of butter. Some of that liquid was stubborn buttermilk that washed away in the cleaning process.
Next time I’ll actually scoop the butter into measuring cups to see the volume, rather than just the weight, of the finished product.
But 6 and 3/8ths ounces is approximately .4 pounds of butter, or equal to 1 and 3/5ths sticks of store bought butter.
You know, so you can figure out how much this will make in whatever method you prefer to measure!
Really, making goat milk butter is so easy, I’m astounded. Try it for yourself!
4 Responses to How to (Actually) Make Homemade Goat Milk Butter