Brown Thumb Gardener – What A Difference A Week Makes

Brown Thumb Gardener - What a Difference a Week Makes CradleRockingMama.com

Last week I gave a progress report for May. Not a whole lot had happened since I planted everything, which was why I hadn’t updated throughout the month. I’d basically decided that a Monthly Update was how this series was going to go.

What a difference a week makes!

Apparently, it takes a garden a bit to get started, but once you see the first sprouts it’s ‘off to the races’ time!

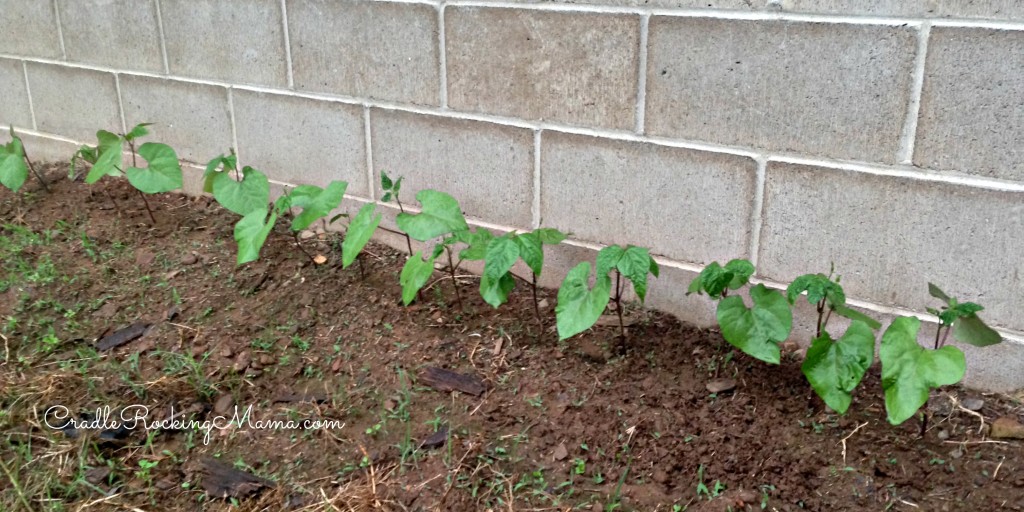
In the three days I was gone to work last week, my pole beans went from this:

Purple Podded Pole Beans CradleRockingMama.com

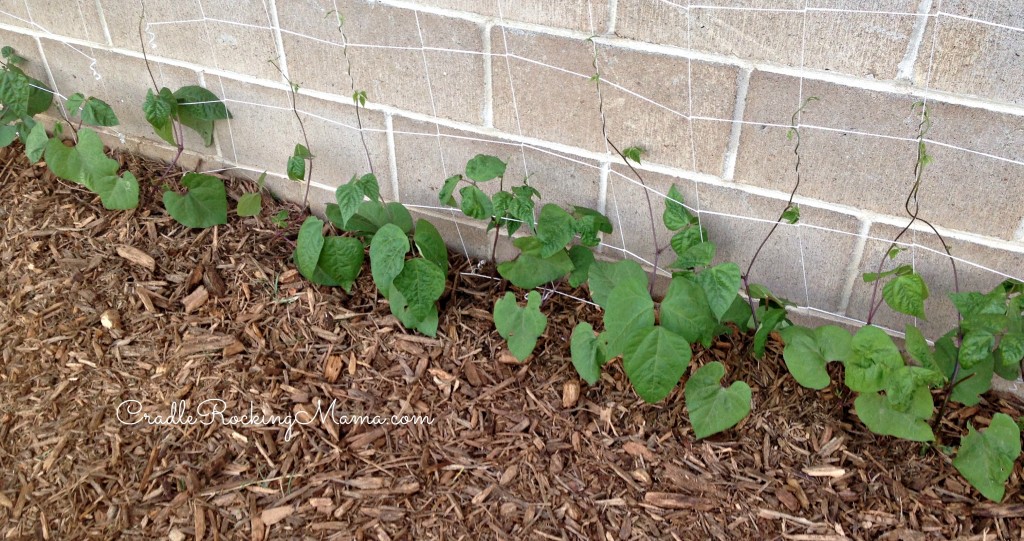
To this:

Pole Beans after a week CradleRockingMama.com

Yowza!

And my sad little lonely loofah from last week? Now has two friends! All three of them have started growing. Yay!

So last Saturday, when we finished with the Farmer’s Market and headed to Home Depot, we got some supplies.

Home Depot and Kids CradleRockingMama.com

The BEST part of Home Depot, of course, is all the cool things the kids get to ride on!

Since we now plan to trial Basil on Zac at some point, I went ahead and bought some more basil to plant.

Since the weeds were just OUTRAGEOUS and I could not keep up with the weeding demands, we bought some weedblocker and mulch. Hopefully, that will help.

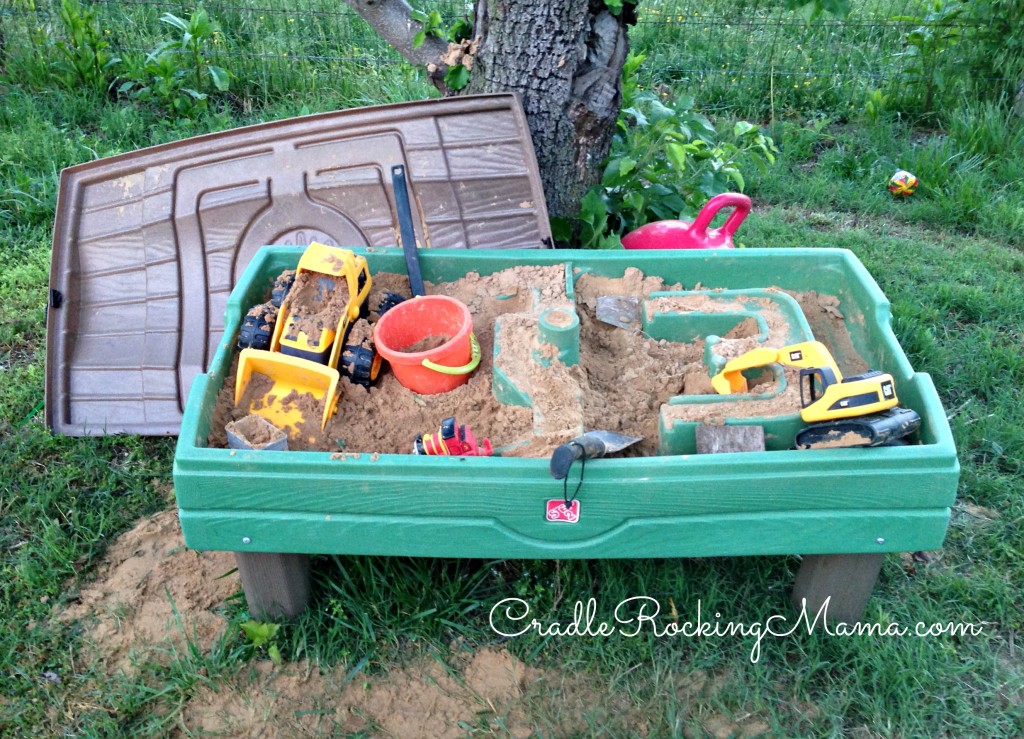
For the boys to play with in their sand table, and to fix the stepping stones leading from the house to the yard, we bought some sand. The stones had sunk in places over the last three years and needed to be leveled out again.

That afternoon, we got to work.

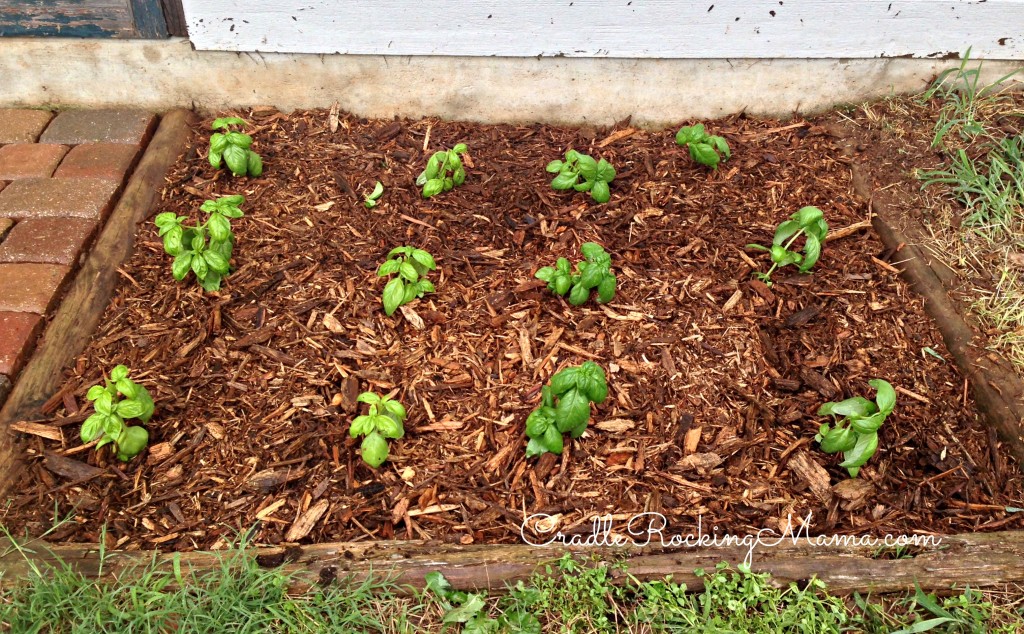
I cleared out the rest of the flower bed and planted some more basil. Then I mulched the whole thing. It looks so pretty now, doesn’t it?

New Basil CradleRockingMama.com

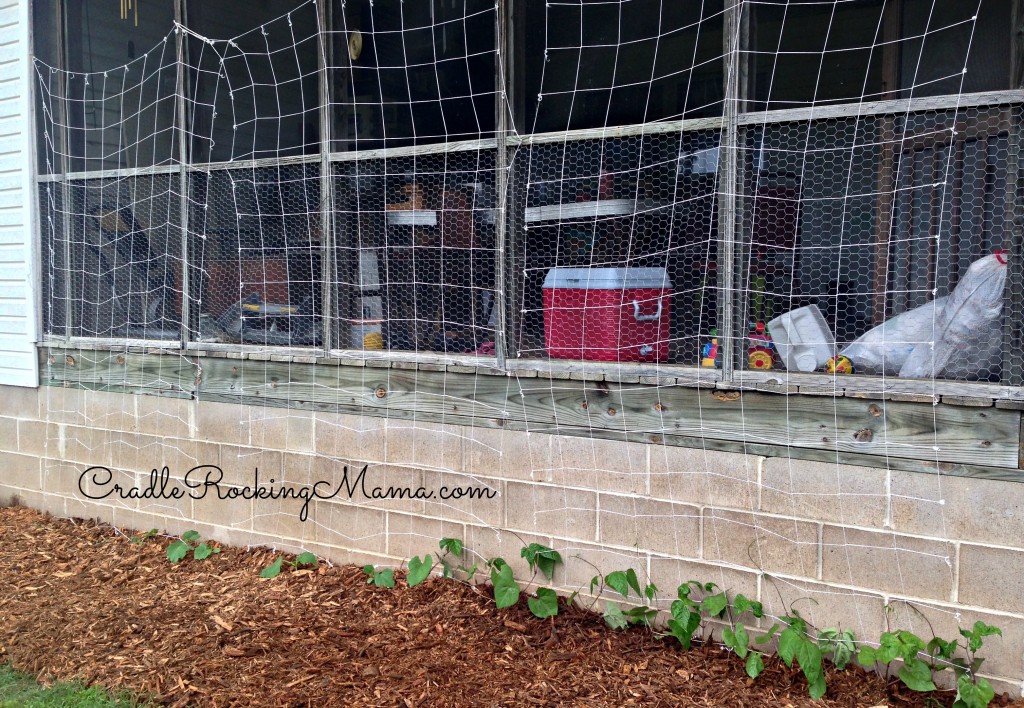
We put up these nifty string trellises we found behind the pole beans, cucumbers and loofah. Then I laid down weedblocker in front of the plants, and mulched that area and around the plants themselves.

Nifty Trellises CradleRockingMama.com

Maybe next year I can turn that into another raised garden bed! I’ve got a step up on next Springs work!

Darrel pulled up all the stepping stones, dug up all the weeds, smoothed it out, laid down some weedblocker, and added more sand. Then he put the stepping stones back down. It’s so much nicer to walk on a flat surface there!

The boys were little angels the whole time Darrel and I were working so hard, because they had two bags of sand in their sand table and were busy seeing who could get dirtier. Ah…kids.

A Day Well Played CradleRockingMama.com

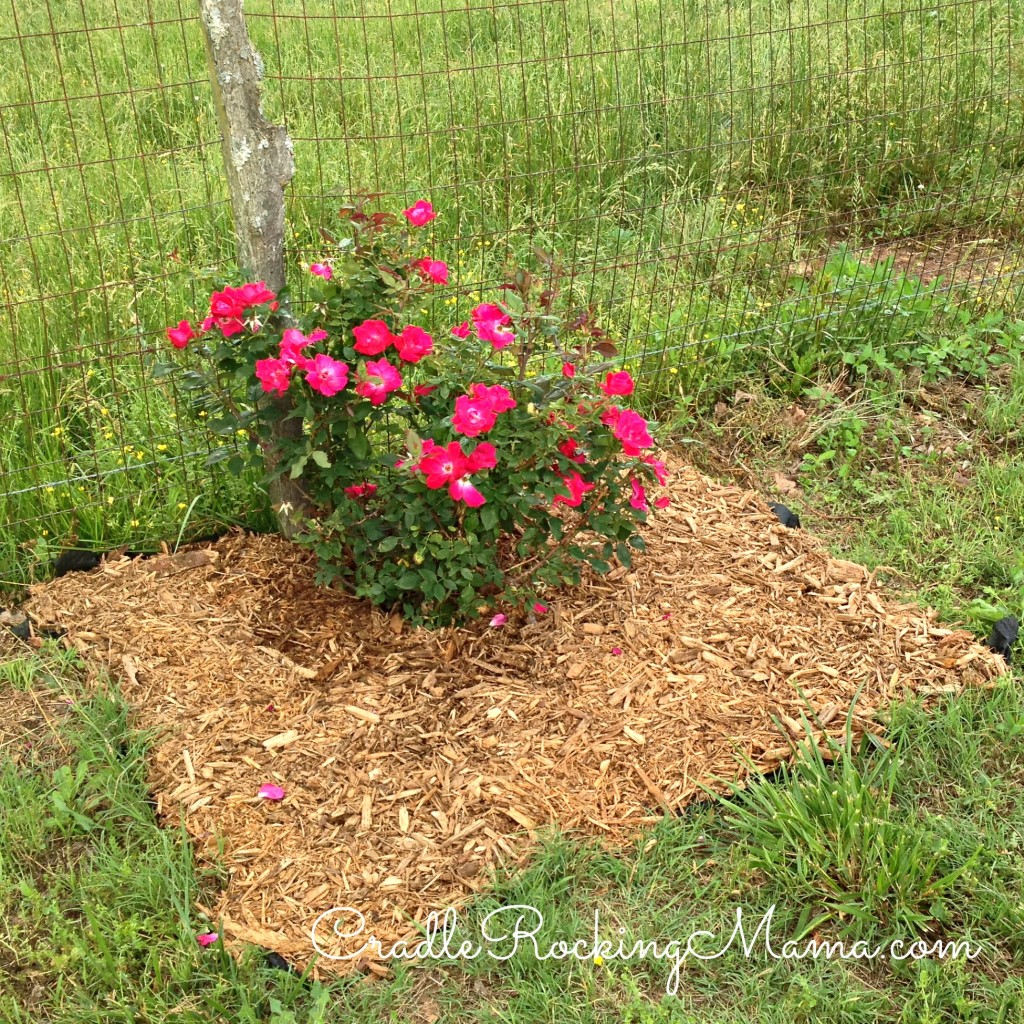
The one flower I grow on purpose is a Knockout Rose bush my Mom convinced me to buy three years ago. I was such a complete idiot about gardening back then that I didn’t know tillers even existed! I dug out the entire area around that rose bush by hand with a shovel.

Just about tore my back out doing it, but that rose bush has been doing very well these last three years – especially considering we’ve been in drought conditions for all of them!

It’s a little silly, but since I planted that rose bush when Jed was just a year old, I have connected the two in my mind. As he grows, so does my rose bush.

I can’t wait to see what they’ll both look like in ten years!

Anyway, I prune that rose bush and tend to it, but the weeds around it are a constant battle. So I laid down more weedblocker around the rose bush and mulched the whole area. That should help!

Plus, it just looks prettier now, doesn’t it?

My Knockout Rose CradleRockingMama.com

That was all the work we could handle that day, and as we were cleaning up, Jed came up to us yelling “Look at the rainbow!”

We turned around and saw one of the most beautiful rainbows I’ve ever seen!

Zac's Birthday Rainbow CradleRockingMama.com

Y’all may think I’m weird or silly for this, but since that was Zac’s birthday, I felt like that rainbow was God smiling down on Zac and promising hopeful things for him.

I know the scientific reason rainbows exist, but still. It made me feel a lot more confident about the cauliflower trial that night!

The next day we hit the garden again.

I spent over an hour weeding my raised garden bed. One thing I never knew about gardening was how much it hurts your back! But in the end, it was worth it. Darrel covered it in mulch, so hopefully that sort of weeding is in my past!

The next step was to go to work on the potato towers. They needed another board put on, and to be covered in straw.

I went ahead and screwed the next level in place, but before I added the straw I had a nifty project to do.

One of the comments I’d read on a blog post about growing potatos in towers suggested that potatos are a “thirsty” veggie, and said they insert PVC pipes with holes drilled in them to aid in proper watering of their tower potatos. They further suggested that many peoples lack of success with this method of growing potatos was due to inadequate watering.

Sign me up! The whole thing is an experiment, after all. Why not try it?

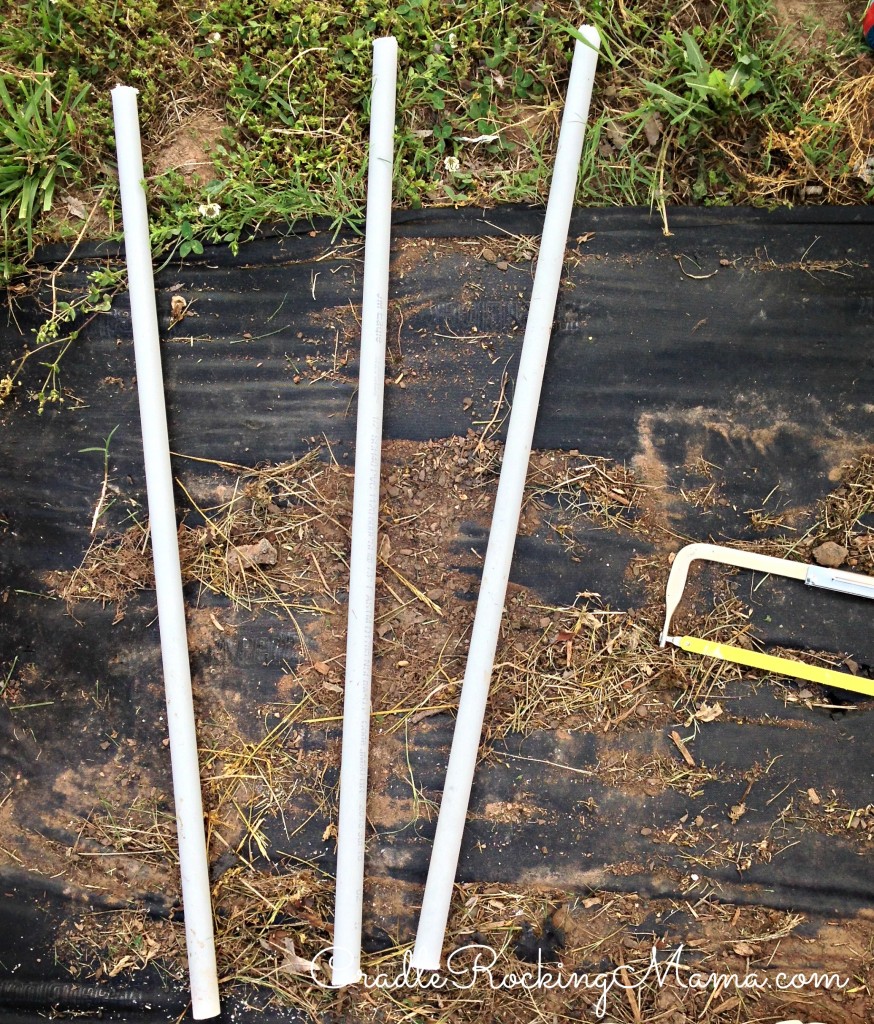
So I had Jed hold the end of a PVC pipe steady while I cut off lengths with a hack saw.

PVC cut CradleRockingMama.com

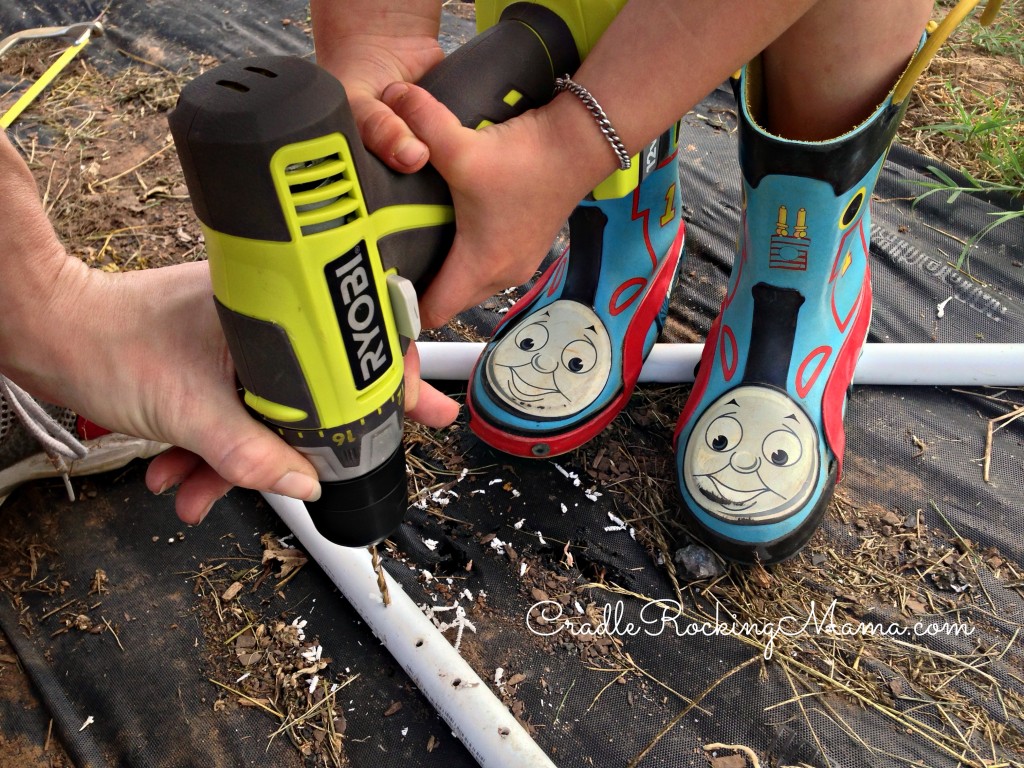
Then I drilled holes about 3/4 inch apart all the way up each pipe. Jed wanted to help. He was actually really good with a drill! Well, as long as I stabilized it and applied pressure for him.

Drilling holes CradleRockingMama.com

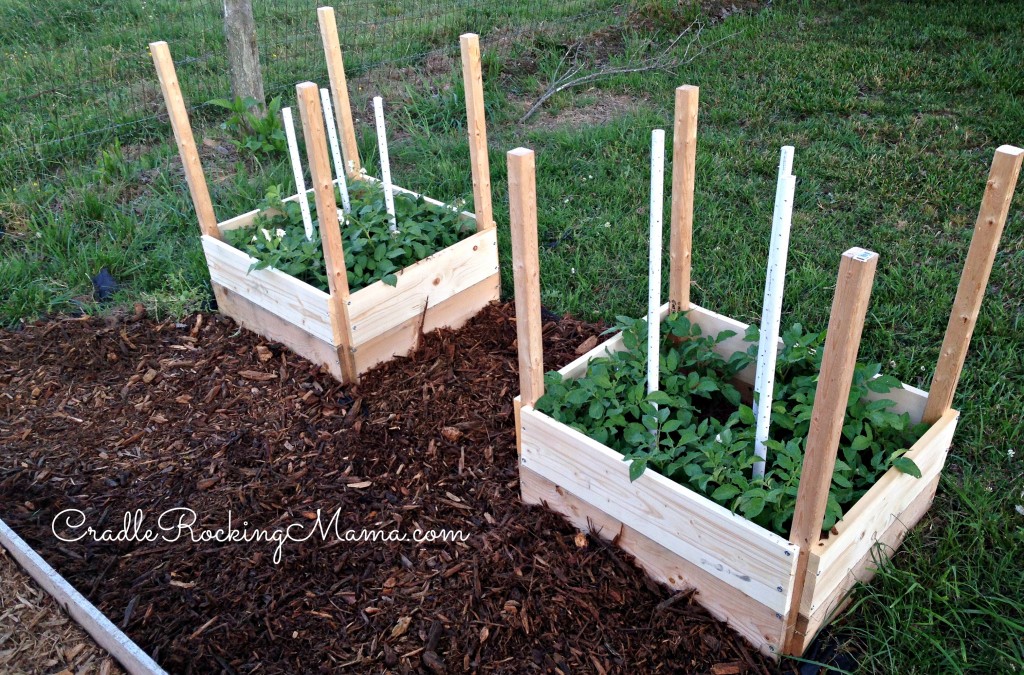
When they were all cut and drilled, I just pressed them in between the existing potato plants into the dirt.

Water Tubes Installed CradleRockingMama.com

And yes, I know that one tower has poles the proper height and the other tower has poles that are too short. That’s one side benefit of having your kids playing nearby when you’re doing such projects. They ran off with my “correct length” pipe that I was using to mark the second pole with, and left behind the leftover piece from cutting the first full length PVC pipe.

Consequently, I marked the entire second pipe wrong! Oh, well.

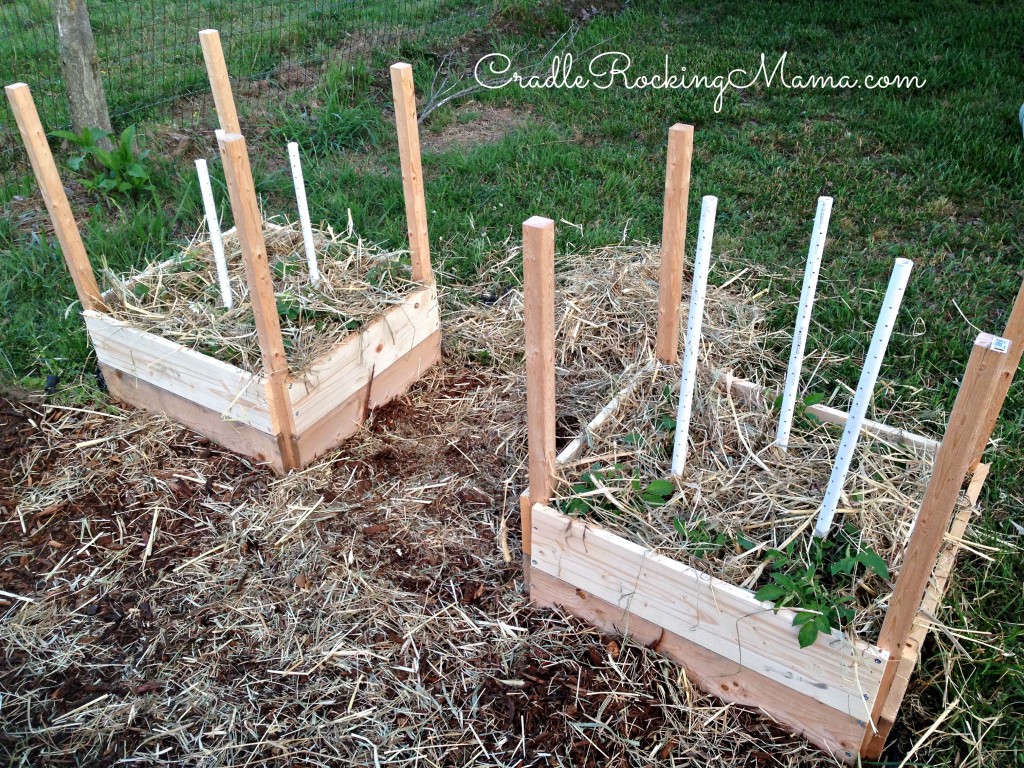
When that was finished, Darrel fetched some hay for us (we didn’t have any straw, but hay will work just fine) and Zac helped me cover the potatos.

Second Tier Potato Tower Complete CradleRockingMama.com

While this was going on, Darrel was busy with a project of his own.

My biggest complaint about our yard has been how nasty the grass is. Coming from Suburbia, I’m used to even, smooth, manicured grass. This country wild lawn stuff has taken some getting used to!

But even Darrel agreed that it would be nicer for us all outside if the yard was a bit more level and not full of the nasty Bermuda grass that runs everywhere (including my garden, which irritates me to no end).

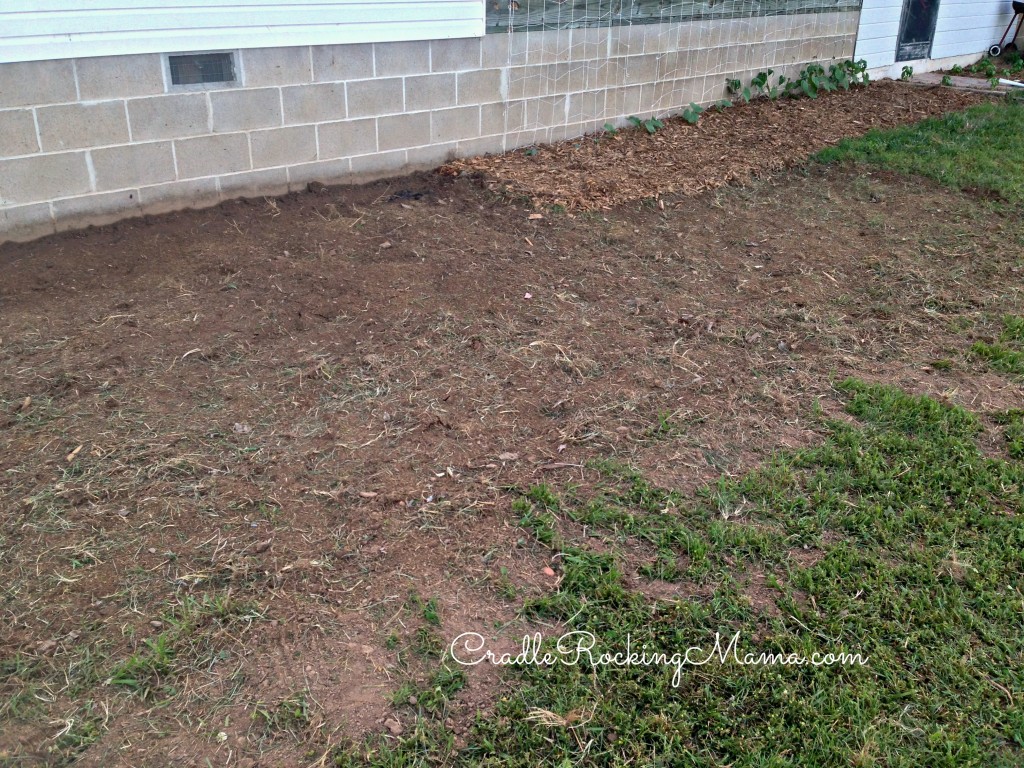
So he tilled up a plot of lawn and seeded it with some grass seed. He’d already done that in the front yard on a spot of “dead grass” with a different grass seed. So now we’ll see which one we like best and he’ll slowly transform our yard into something more pleasant to be on!

Growing Grass CradleRockingMama.com

I know I mentioned that I wasn’t sure if my carrots were growing last week. Turns out, I have a TON of carrots growing! Now I can spot them. It was so encouraging, I went ahead and planted three more rows of carrots.

By the end of the weekend, we had transformed my backyard!

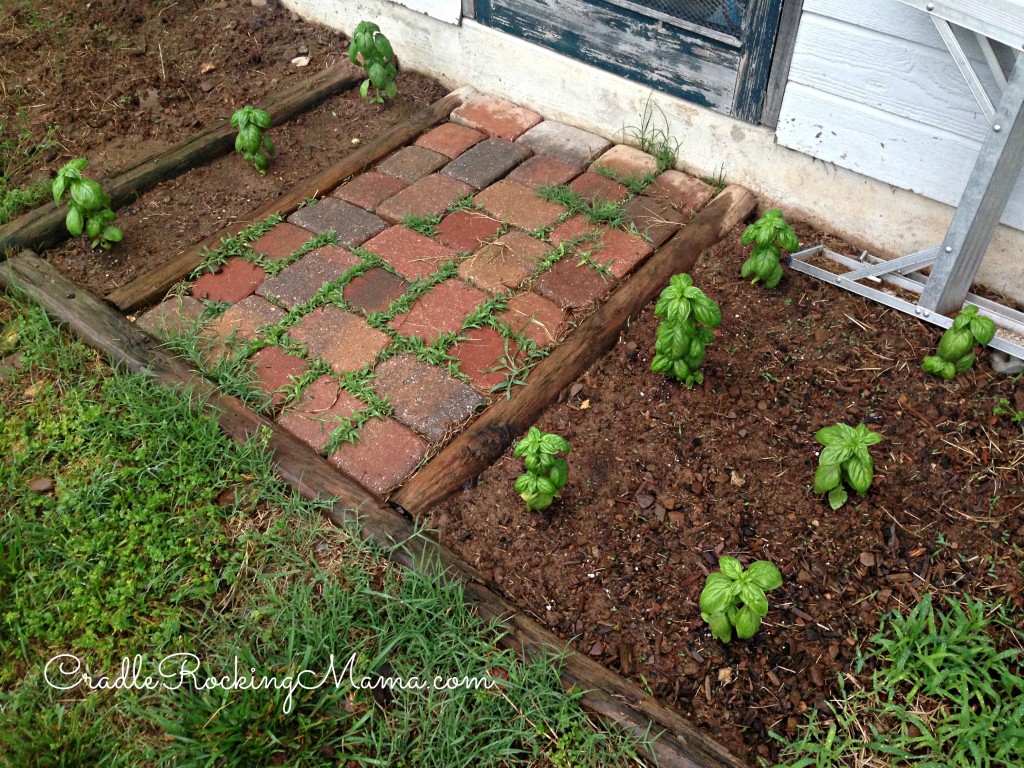
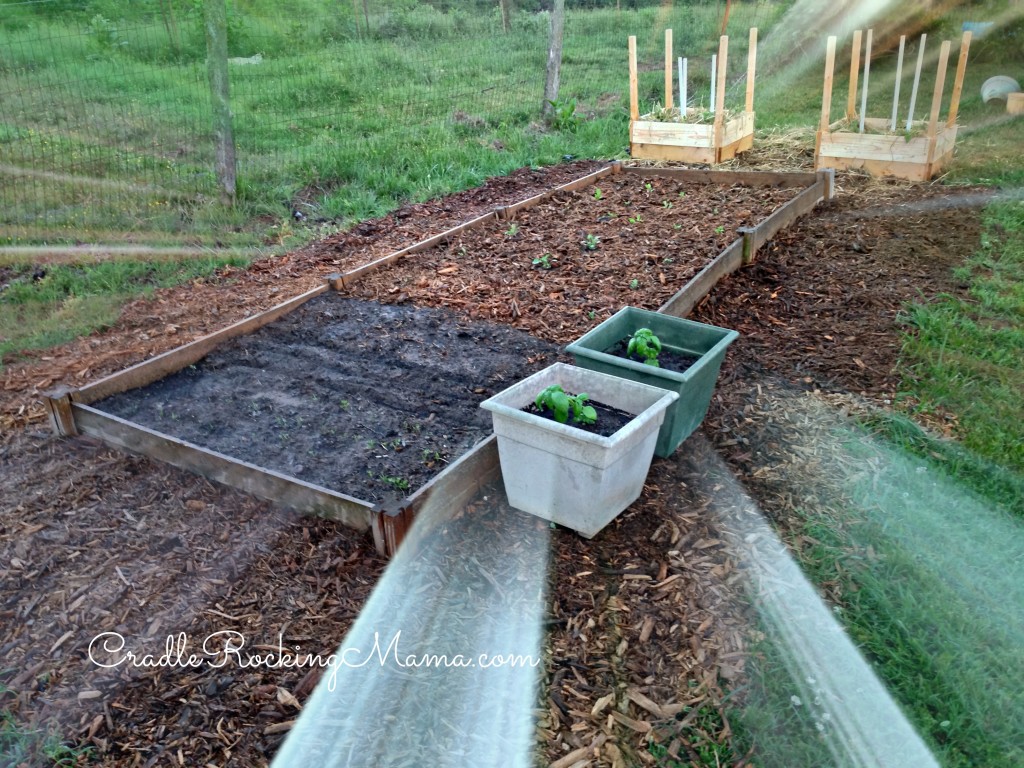
Here’s the basil bed last week:

Growing basil

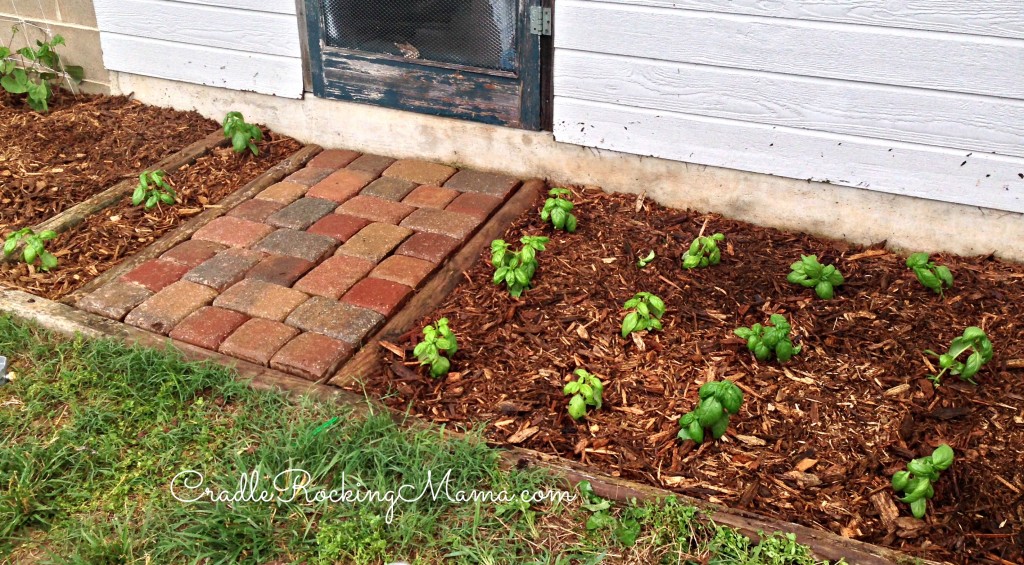
And this week:

Finished Basil Bed CradleRockingMama.com

My climbing crop bed last week:

Purple Podded Pole Beans CradleRockingMama.com

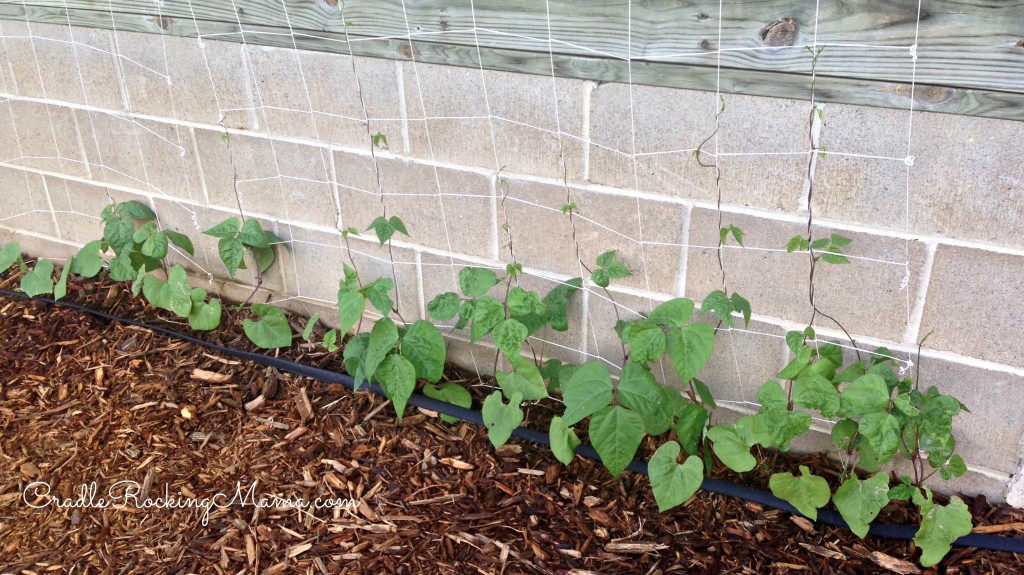
And this week:

Finished Pole Bed II CradleRockingMama.com

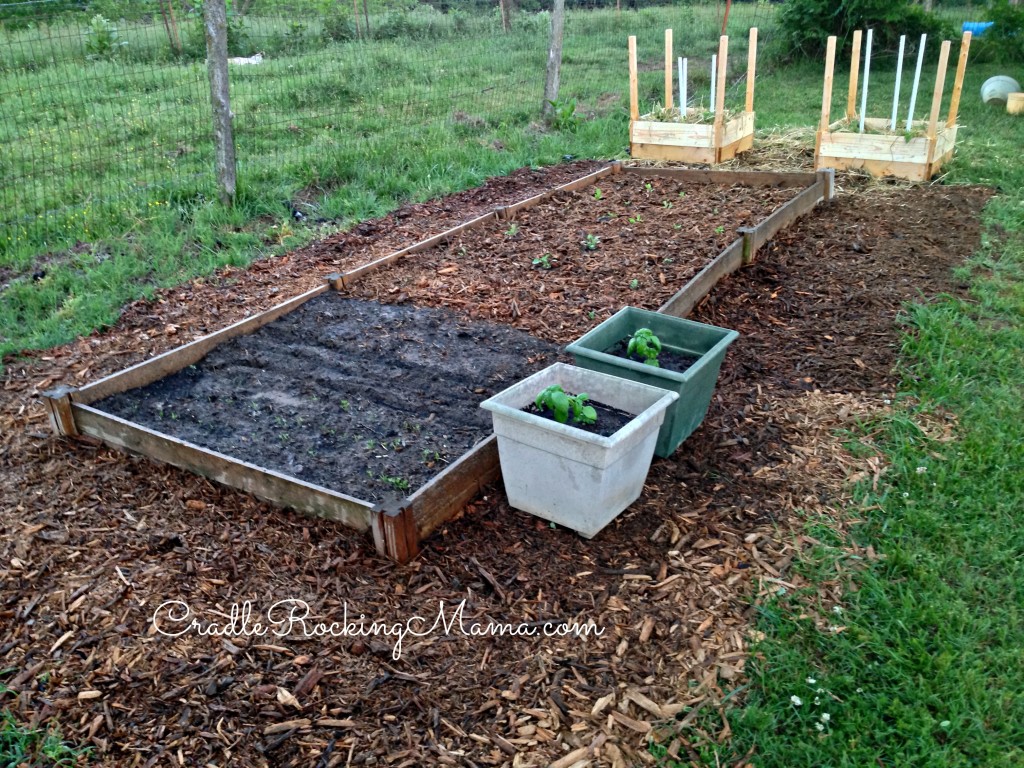
And I didn’t even dare take photos of the entire raised bed last week; it was just too ghastly to share. But here it is, in all its finished glory:

Finished Raised Garden Bed CradleRockingMama.com

How I FEEL about this bed now is more like this, though:

How I Feel About My Finished Raised Garden Bed CradleRockingMama.com

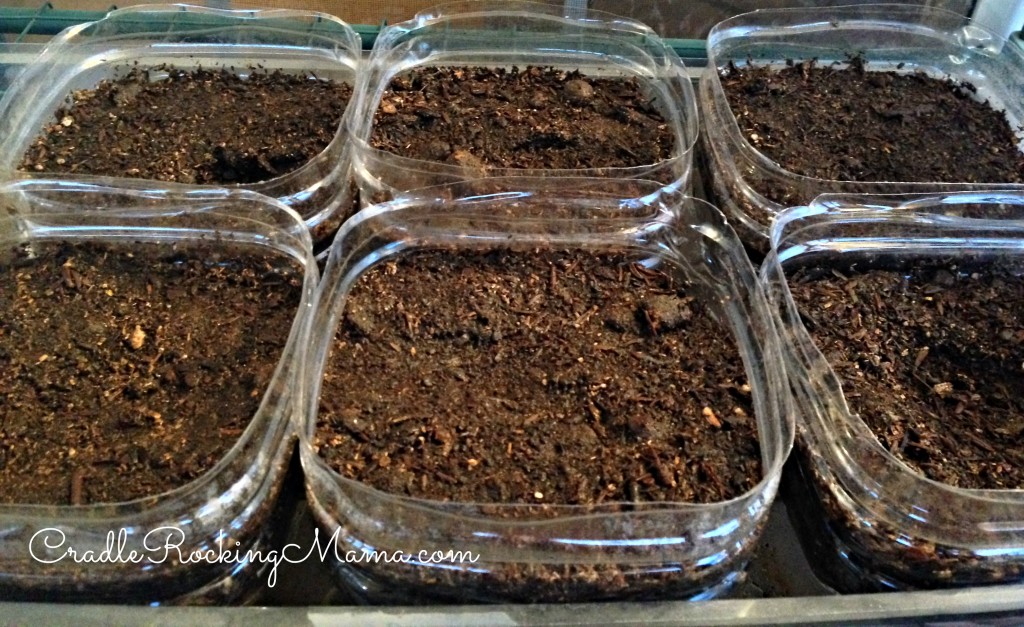
One small miracle is that my seedlings have sprouted! I, uh, sort of forgot to water them for a while. Like, a week. Or two. (I’m not sure.) Oops.

But those little tomato seeds decided to come to life despite my inattention!

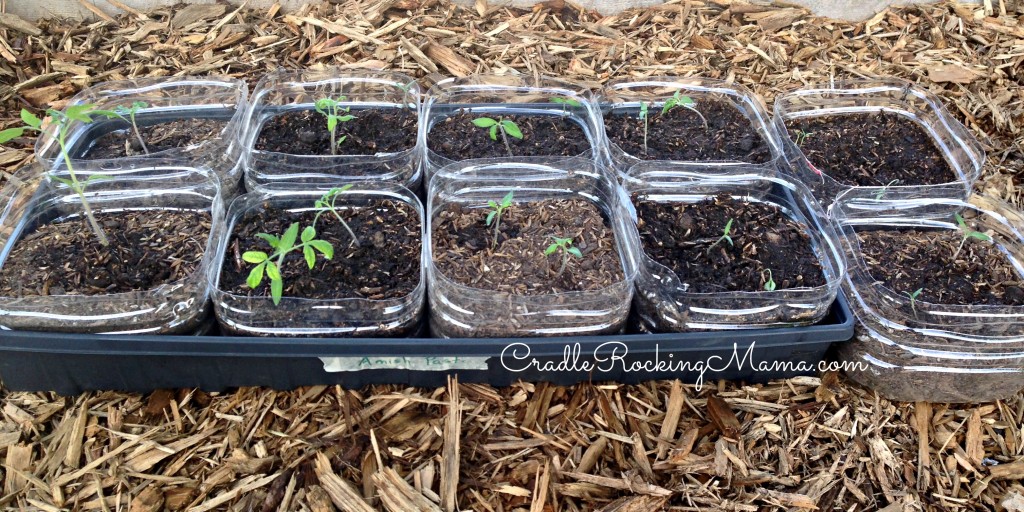
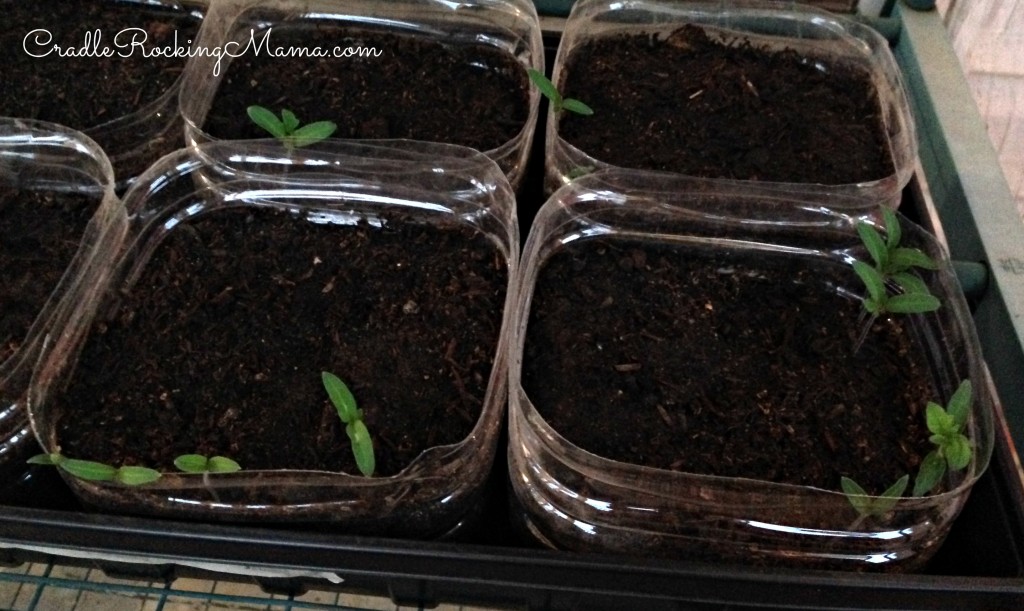
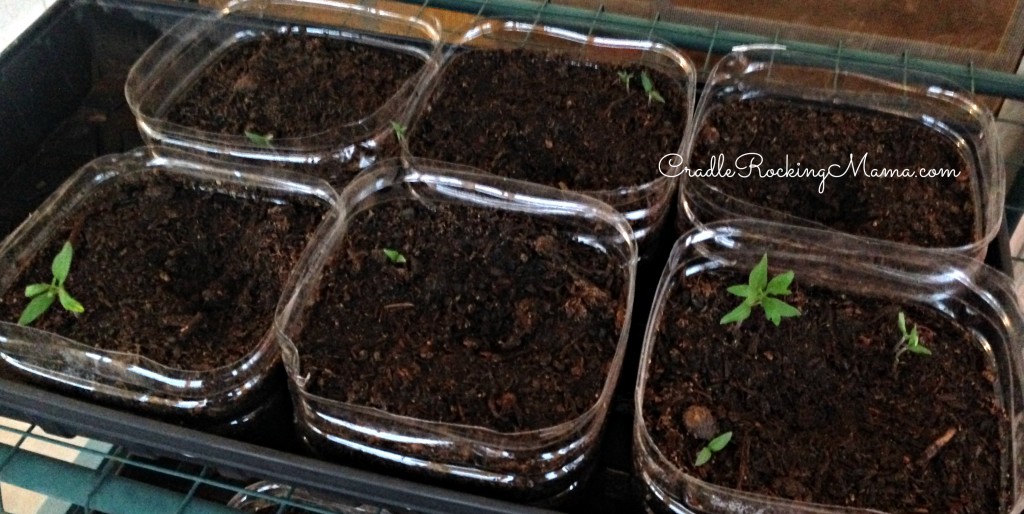
The least I could do was give them a little more room to grow, right? So I transplanted my tomato seedlings so there were only 1-2 per pot. I’ve got 17 Amish Paste tomato seedlings started:

Amish Paste Tomato Seedlings CradleRockingMama.com

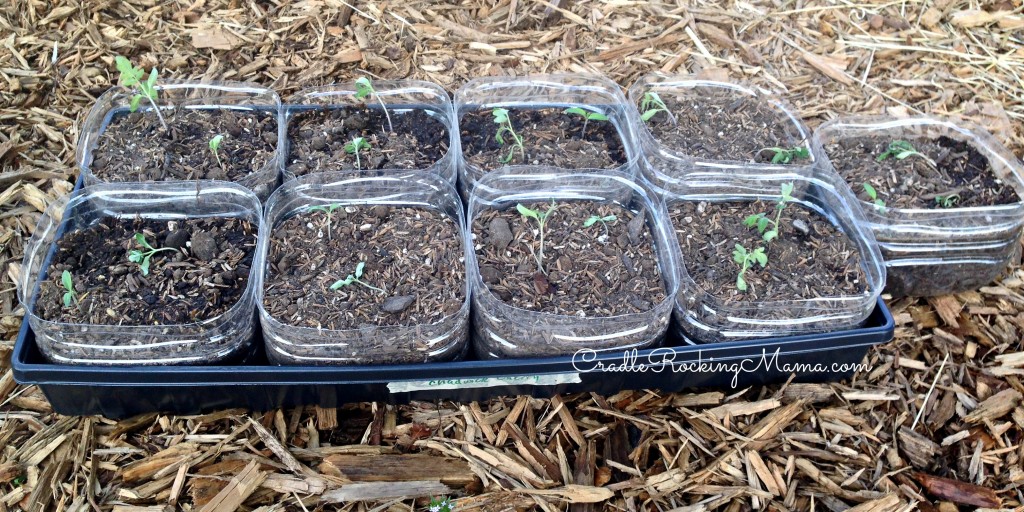
and 17 Chadwick Cherry tomato seedlings started:

Chadwick Cherry Seedlings CradleRockingMama.com

Honestly, I have no idea where I will put 34 tomato plants! I really didn’t think these seeds would “take” at all!

It’s an amazing week in my garden. What’s going on with yours?
Banana Quinoa Pudding

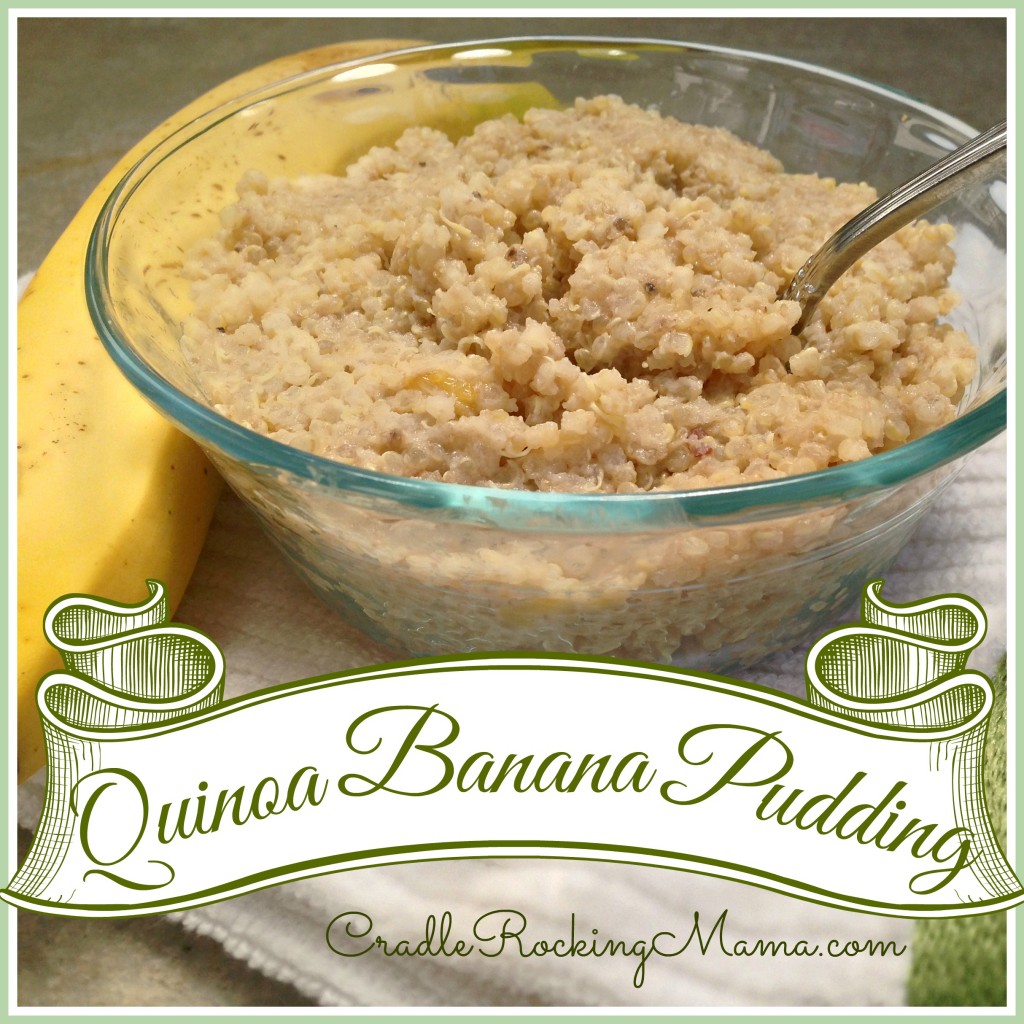
Quinoa Banana Pudding Recipe CradleRockingMama.com

For my next “simple quinoa” recipe, here’s a recent development in my kitchen: Quinoa Banana Pudding.

Well, sort of. Kinda. You’ll see. 

With bananas in our diet now, I thought there had to be a way to make a banana pudding for Zac. He’s past the pureed foods stage, of course, but come on – who doesn’t like pudding, right?

But most pudding additions are o-u-t in our household, at least for Zac. No starches or thickeners are safe for him yet.

Then I thought “Rice pudding…huh. There’s an idea.”

But, of course, rice is o-u-t in our household, too.

Quinoa, though…quinoa is the safest, most awesome-est food in the world! (At least to us!)

Surely there was SOME way to make this work!

So I experimented.

Since this is a new recipe, I haven’t fully tweaked it to my satisfaction yet. However, the calls for “simple quinoa recipes” were too strong to resist, so I’m sharing what I’ve got so far – and I’ll tell you what I’m going to try next time.

It really is pretty good the way it is, so I’m not sharing something that stinks! But I think a few minor adjustments and this would be better.

Start by rinsing the quinoa. I know Ancient Harvest says their seeds are pre-rinsed, but trust me, it makes a huge difference!

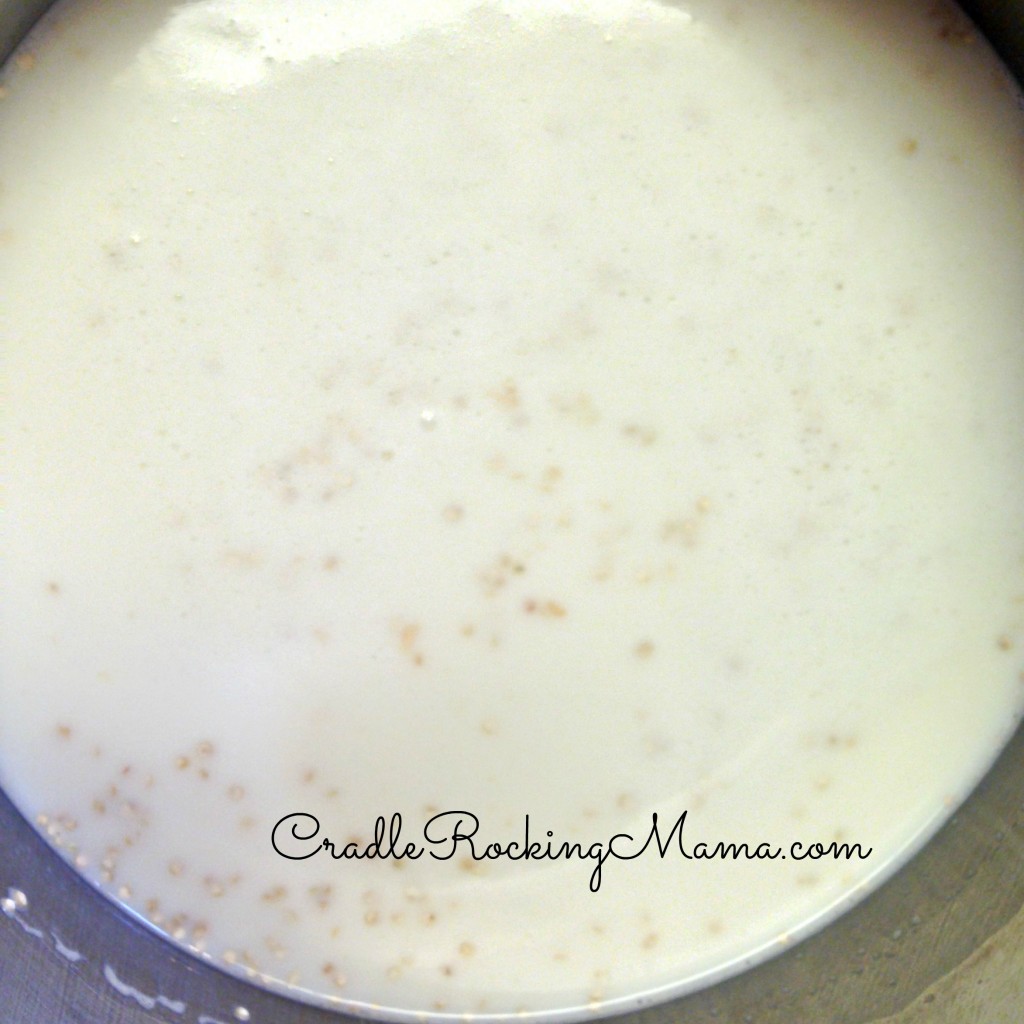
Then put the quinoa and your safe milk in a pan to cook.

Aside from using milk instead of water, cook it exactly as the instructions say to. Bring it to boil, then drop the heat, cover, and let simmer for an additional 15 minutes.

Milk and quinoa CradleRockingMama.com

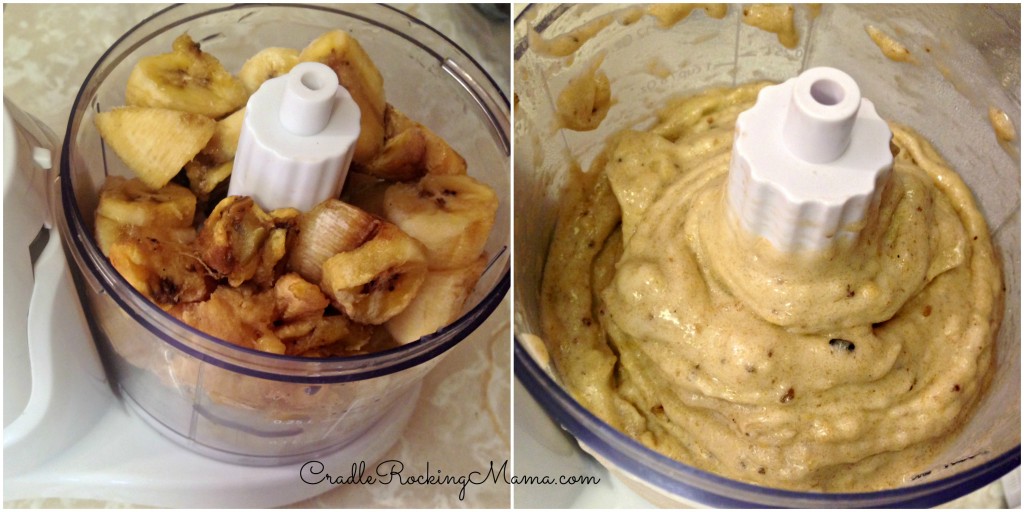
While that’s happening, grab some bananas. I only had frozen bananas at the time, but this would surely work with plain, unfrozen bananas.

Throw them in a food processor and process until smooth. It took almost 2 cups of bananas to make 1 cup of banana puree.

Bananas into puree CradleRockingMama.com

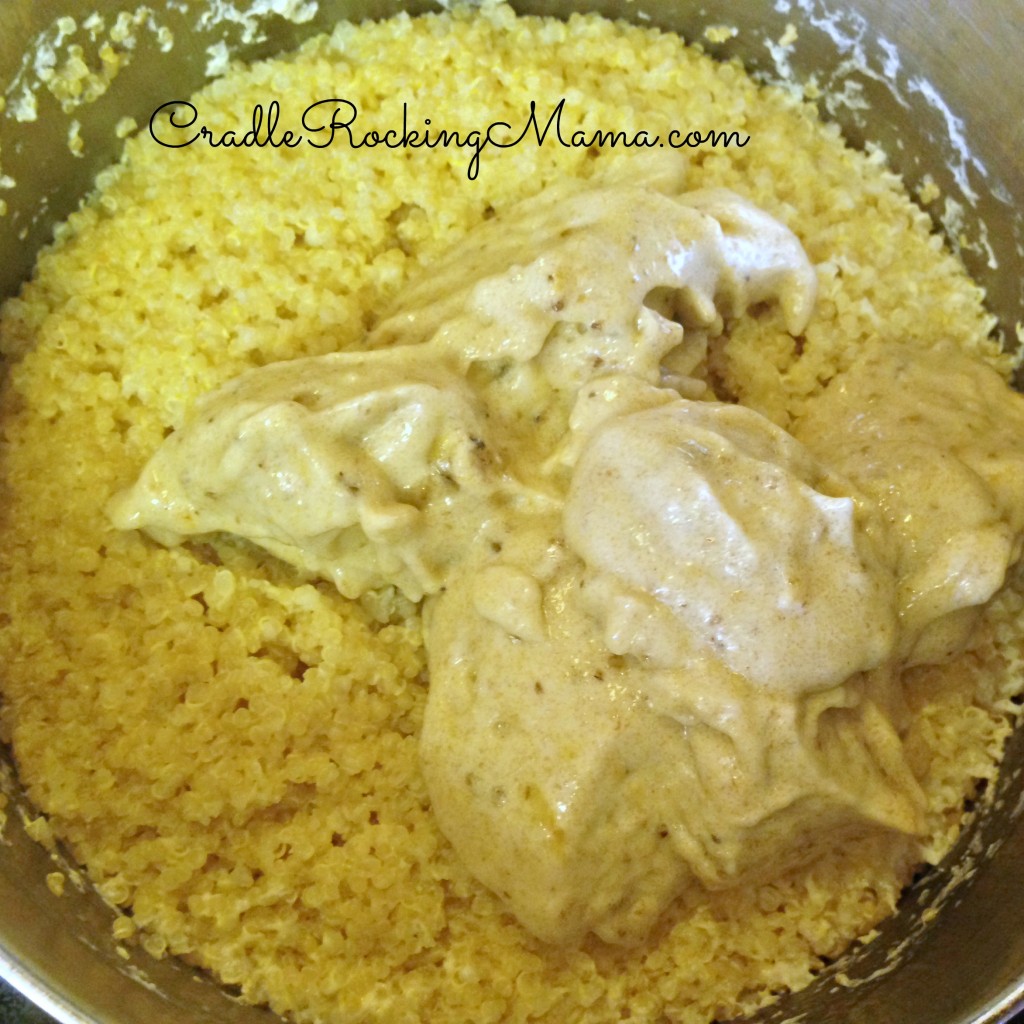
When the quinoa has cooked, dump the banana puree in the pan with the quinoa and mix it together.

Dumped together CradleRockingMama.com

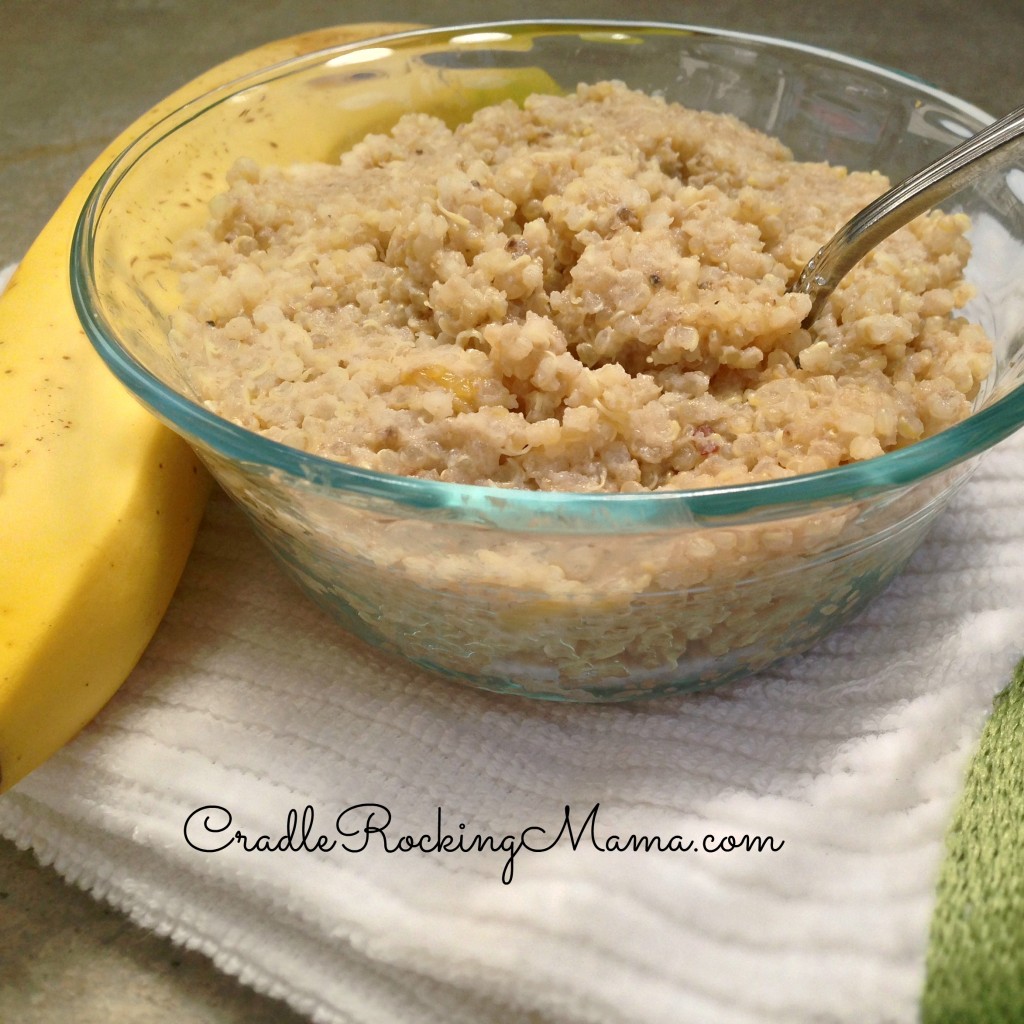
And just like that, you’ve got Quinoa Banana Pudding!

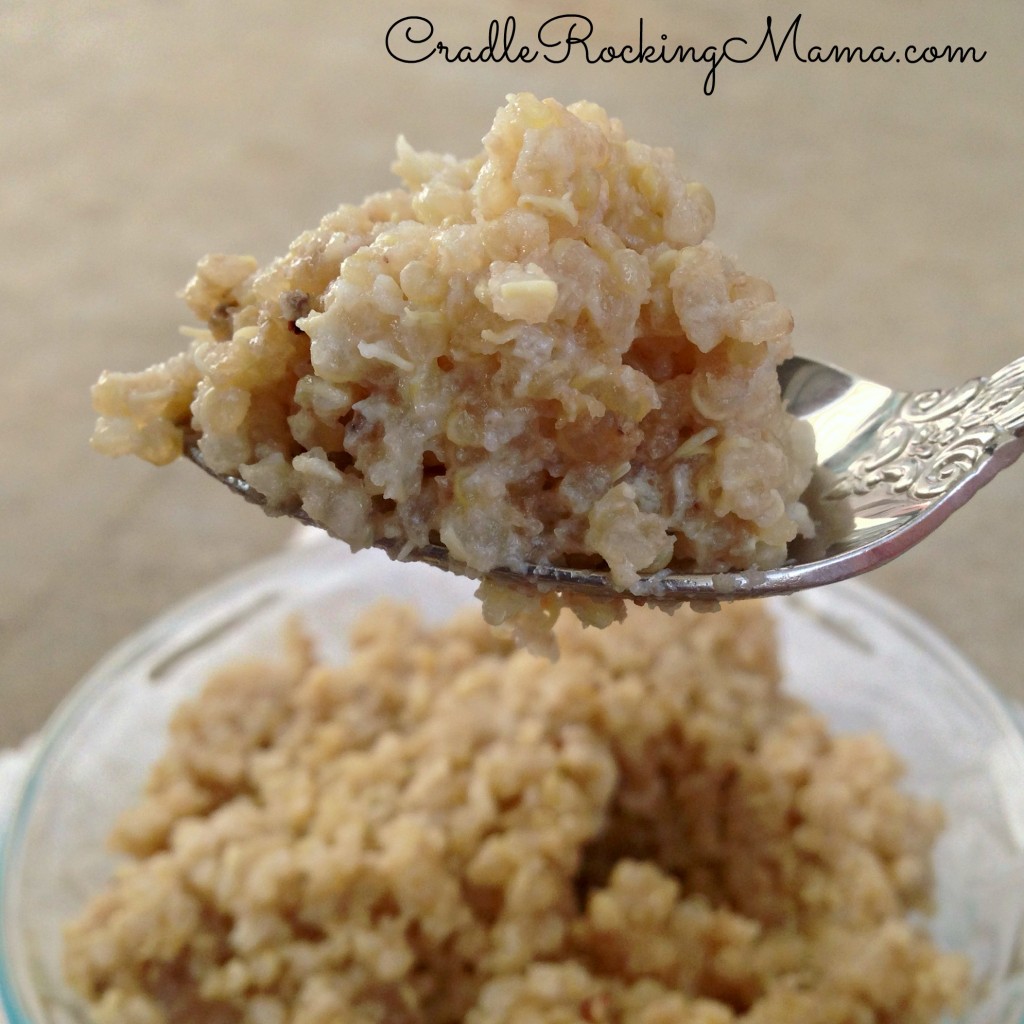
Quinoa Banana Pudding CradleRockingMama.com

On the Spoon CradleRockingMama.com

You can serve it warm, or chill it in the fridge for a cold dish. Either way, it’s pretty good!

Now, for the changes I’d make next time:

It wasn’t as creamy as I’d like, so I will first try to add more milk to the quinoa when cooking. I followed general cooking instructions and did twice as much liquid as quinoa seeds; next time, I’ll add at least two and a half times as much milk as seeds.

If that doesn’t make enough of a difference, I’m going to try adding more banana puree. I’ll start with 1/2 cup more and go from there.

I may also try putting half of the final mix in the blender and processing it until smooth, then hand mixing the other half back in for a really creamy treat.

And of course, if you’ve got any safe sweeteners or spices, be sure to add them! This wasn’t bad, as I said, but Darrel said it was sort of bland. (I made this before I could eat bananas so I didn’t taste it. It might be sweet enough as is, if you’re sugar free!) That’s not something that can be fixed with technique, but some cinnamon and/or maple syrup would fix that right up!

As soon as we get more bananas in the mailbox, I’ll make this again and perfect the recipe.

I’ll update and share when that happens, but this should get you started as an excellent way to trial some simple foods with quinoa.

Enjoy! And please let me know if you make any tweaks that work!

Banana Quinoa Pudding
 
Prep time
Cook time
Total time
 
A simple quinoa banana pudding recipe, perfect for food trials or as a healthy dessert option!
Author:
Recipe type: pudding, side dish, dessert, snack
Serves: 4-5 cups
Ingredients
  • 1 c. uncooked quinoa seeds
  • 2½ c. milk
  • 1 c. banana puree
  • Cinnamon (optional)
  • Maple syrup to taste (or other safe sweetener - optional)
Instructions
  1. Rinse the quinoa seeds in a fine mesh sieve.
  2. Put the seeds and milk in a sauce pan and bring to a boil.
  3. Immediately reduce heat, cover the pan, and let simmer for 15 minutes.
  4. Put about 2 c. of bananas in a food processor and process until smooth.
  5. When the quinoa is done, add the banana puree, spices and sweetener, and mix together.
  6. Serve warm or chill in the fridge for two hours.
  7. Enjoy your healthy treat!

Let’s Talk Sugar and Real Food

Let's Talk Sugar and Real Food CradleRockingMama.com

For the last 22 months I have been sugar-free.

That wasn’t intentional, it was an accidental by-product of the TED I went on for Zac’s FPIES.

But still. The only sugars I’ve had this whole time were the ones my body created from the potatos I eat.

When bananas became a safe food for Zac, they became a safe food for me, too! I was ecstatic!

That night I made us Banana Goat Milk Ice Cream. After the first bite, I exclaimed to Darrel “Oh my! It’s so SWEET!”

He tasted it, and shrugged his shoulders. “Not really.”

Really?  “Not really?” I took another bite.

Y’all, it was so sweet it almost hurt my teeth. Seriously.

That’s when Darrel pointed out that I’ve been sugar free for so long, the natural sweetness of bananas was probably a lot stronger tasting to me than to him. (He who still eats fast food at lunch every day!)

That’s when I got a little sad.

Almost everyone in the United States today eats the SAD (Standard American Diet).

Those people may *think* they’re eating burgers, steaks, low-fat salad dressings, and deep-fried veggies, but they may as well simply sit down with a bag of sugar, a bag of bleached white flour, and a spoon and call it “dinner”.

Oh, and have a glass of canola oil as a chaser.

It’s a terrible way to eat.

The journey my family has been on these last two years has led us to the point where I can literally buy almost NOTHING from a grocery store. Not even from the “outer edges”, which is what most recommend as the first step on a “Real Food” lifestyle.

I don’t think it is out of line to say that 99.9% of the “stuff” sold in grocery stores IS NOT FOOD.

It is a “food-like substance”. Chemicals and crap designed to look and taste like food, but that actually is not food at all. (Or, at least, not the food you thought you were getting, based on the packaging. Click on the “nutritional information” link, if you dare.)

Peoples bodies are so inundated with sugar and chemicals that I’m sure most of them don’t think bananas are very sweet at all.

They’re used to far sweeter poisons entering their bodies.

I know this because I used to be one of them.

I used to eat the SAD. In fact, I could have been the poster child for the SAD! And I never thought fruit was all that sweet.

Whenever I read about recipes using applesauce as a sweetener, I would think to myself “Gee, it must really suck to be diabetic and have to watch your sugar intake so much. Applesauce isn’t sweet at all!”

Yes, I want to smack my old self now. 

The truth is, real foods ARE sweet enough. They’re so sweet they can make your teeth ache…as long as you aren’t overloading on sugar by eating crap all day.

And most people cannot have the pleasure of a simple, incredibly healthy Banana Goat Milk Ice Cream because their taste buds are wrecked by Blue Bell. 

That realization made me sad for everyone who eats that way. They really don’t know what they’re missing out on by not paying attention to what they consume.

Beyond being sad for the missed tastes and sweetness of foods, I also was sad because most of these people (just like me, back in my SAD days) don’t realize what the stuff they eat is DOING to their bodies.

The second day I could eat bananas again, I made banana pancakes for me and Zac at breakfast.

I had a horrible fructose reaction to the pancakes. Apparently, heating bananas releases more of the natural sugars in them, and for some FructMal people it is too much fructose to handle.

Lucky me, I’m one of them.

That whole day, I felt awful! My stomach cramped. My head ached. My thoughts were fuzzy and muddled. I was irritable and slightly angry all day. I felt like I’d been run over by a truck; my whole body was a little sore and stiff.

It was AWFUL.

The worst part of the whole day, though, was the fact that while I was feeling SO horrible, and knowing it was the bananas that did it to me…I CRAVED BANANA GOAT MILK ICE CREAM ALL.DAY.LONG.

I’m not exaggerating. I have some experience with addiction (long story) and what I went through that day was full-on, addict craving.

The way an alcoholic craves another drink or a smoker craves another cigarette. (Or the way someone post-surgery craves another Vicodin…a-hem.)

I have read about “allergy addiction” before but this was my first time experiencing it.

Regardless of what some articles claim, I wasn’t craving bananas because I knew I “couldn’t have them”. This was no “psychological trick” I was playing on myself. My brain knew bananas made me feel sick, and therefore was 100% certain that I should not eat bananas.

But my body  literally itched every time I got near the freezer.

So let me state for the record from personal experience: allergy addiction is real. 

And it is awful. 

People who eat the SAD have NO IDEA that the run-down feeling they live with daily is a result of eating foods that are no good for their body.

They are constantly eating the foods that make them feel crappy, and so never truly experience the full effects in an acute way. The chronic “feeling bad” sensations are easily overcome with OTC medications, or simply eating more of the food that causes the problem in the first place.

Worse, some folks may think they’re craving ice cream because their bodies are telling them they need calcium, when in fact it is their body desperately trying to stave off the ill-effects of a dairy intolerance.

The problem with that is simply that if a food is bad for you, it will cause damage to your organs and internal systems over time. Irritable bowel syndrome, migraines, and probably even more serious problems can result from putting toxic foods in your body on a consistent basis.

Unless people stop eating the SAD and start taking control of what they put in their bodies, they will never solve the root problem.

They will continue to feel like dirt and worse, they’ll start going to regular doctors to obtain prescription medications that only serve to “band-aid” the problem – while causing more problems simultaneously (ever read the ‘side effects’ of a prescription pill?).

I’ve said it before, and I’ll say it again: I truly believe all people in America should go on an elimination diet for 2-4 weeks. Then they should begin adding foods back in to their diet one at a time, and pay close attention to how they feel.

If I were a betting woman, I’d put large sums of money on the fact that 90% of the people who do this will discover they have some serious food intolerances or allergies.

They’ll also probably lose a TON of weight, and stop needing to take medications.

Food is powerful stuff, y’all. 

We’ve forgotten that. 

Let’s try to remember. 

__________

Have you ever had an experience like this? Please share!
Zac Is TWO

Zac is Two CradleRockingMama.com

Saturday, my baby turned two. 

TWO, Y’ALL!

<sniff> I guess he’s not really a baby any more. <sniff sniff>

Anyway…

Last week I had to work, and while I was gone I left instructions with my Mom to continue putting the garlic oil in his ears. I’d only been gone one day when she reported that he’d been holding his ears a lot, and even pressing the side of his head on table tops.

So, from the road, I called his doctor and made an appointment.

Mom and Dad took Zac to the pediatrician, and surprise! No ear infection!

He did have a lot of fluids pressing on his eardrums, but no sign of an infection at all. Whew!

The doctor suspects it is either from his two year molars coming in, or from the teeth shifting in his head to allow the two year molars to come in. My little stinker apparently wouldn’t let her look in his mouth enough to see if the gums were swollen or not.

So, great news! No antibiotics needed, and we can continue with food trials!

I got home Friday evening and, after dinner and bath time, passed out cold for 12 hours. Work was exhausting!

Saturday morning, Darrel and I discussed our next food trial.

Frankly, strawberries really just freak me out. Darrel is apparently pretty unenthusiastic about them, too, because he never even suggested them. I’m sure they’d be a great pass, but they just scare me. And right now, even without an ear infection, I’m hesitant to give him any food that might “up” his histamine levels at the risk of turning that ear pressure IN to an infection.

Back to my short list, right?
Except that right there on the table was the first harvest of our basil plants.

And, Brown Thumb aside, I can grow the heck out of basil! That’s an item that I KNOW I can easily procure year round for Zac.

Basil is an anti-inflammatory food, and while not the most nutrient dense food on the planet, it does have plenty going for it.

But it’s not really a “fill you up” kind of food.

I’d already planned to go to the Farmer’s Market that day, so Darrel and I agreed: if we could find cauliflower, celery, or apricots at the Farmer’s Market, we’d go with that for the next food trial. If we couldn’t, Zac would get a basil trial!

I love the Farmer’s Market. So do the kids!

Tons of people bring their dogs to the Market, and every single puppy we encountered was friendly to kids. That means my boys were in “puppy doggy” heaven!

Jed and Dogs CradleRockingMama.com

Jed LOVES puppy doggies!

We could barely move for all the stopping to pet “puppy doggies”.

Almost every vegetable stand had big signs proclaiming “Pesticide-free”, “Non-GMO”, “Completely Organic”. 

Y’all, it was an FPIES/Real Food Mama’s idea of heaven!

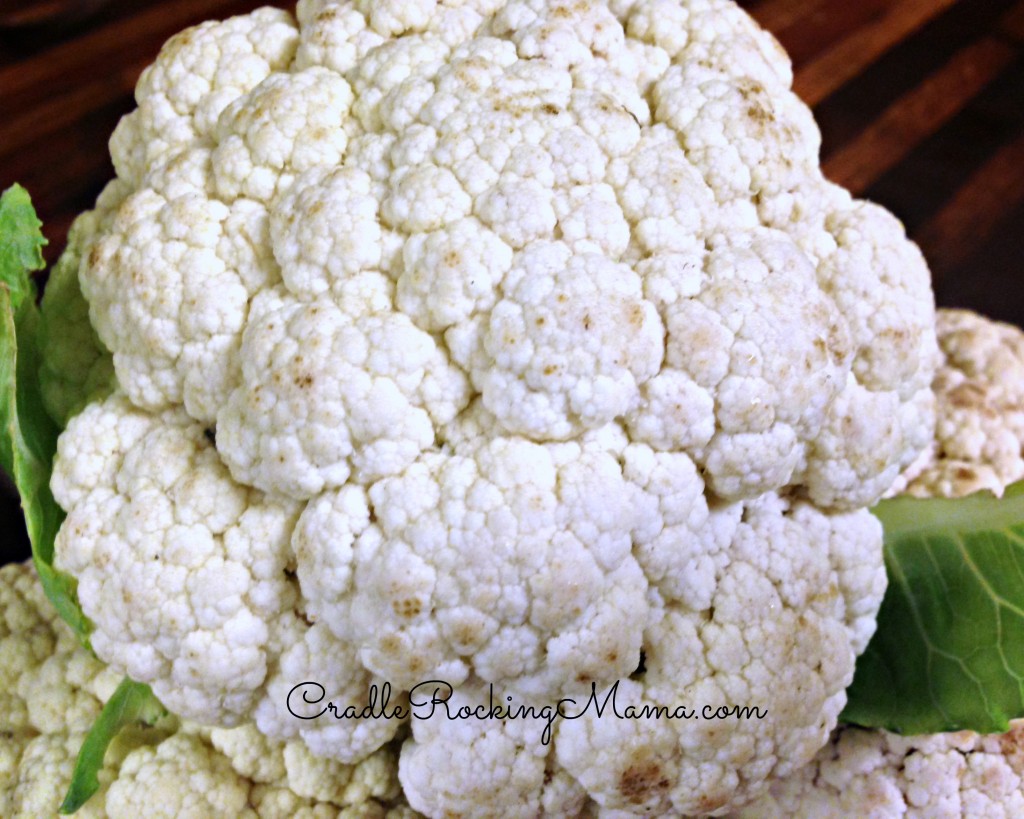
And you know what? There was CAULIFLOWER. Lots and lots and LOTS of cauliflower!

So we scooped up 5 heads of cauliflower for a whopping $10. That’s cheaper than the “organic” stuff at the grocery store!

Cauliflower CradleRockingMama.com

After the Market, we stopped at Carter’s to get Zac a new baseball hat. The child LOVES to wear hats, but he’d outgrown all the baby hats we had, and the others we had floating around the house were all too big still.

So the Birthday Boy got a new hat. He was SO happy! He kept patting his head and pointing to his hat, telling us to put it on him.

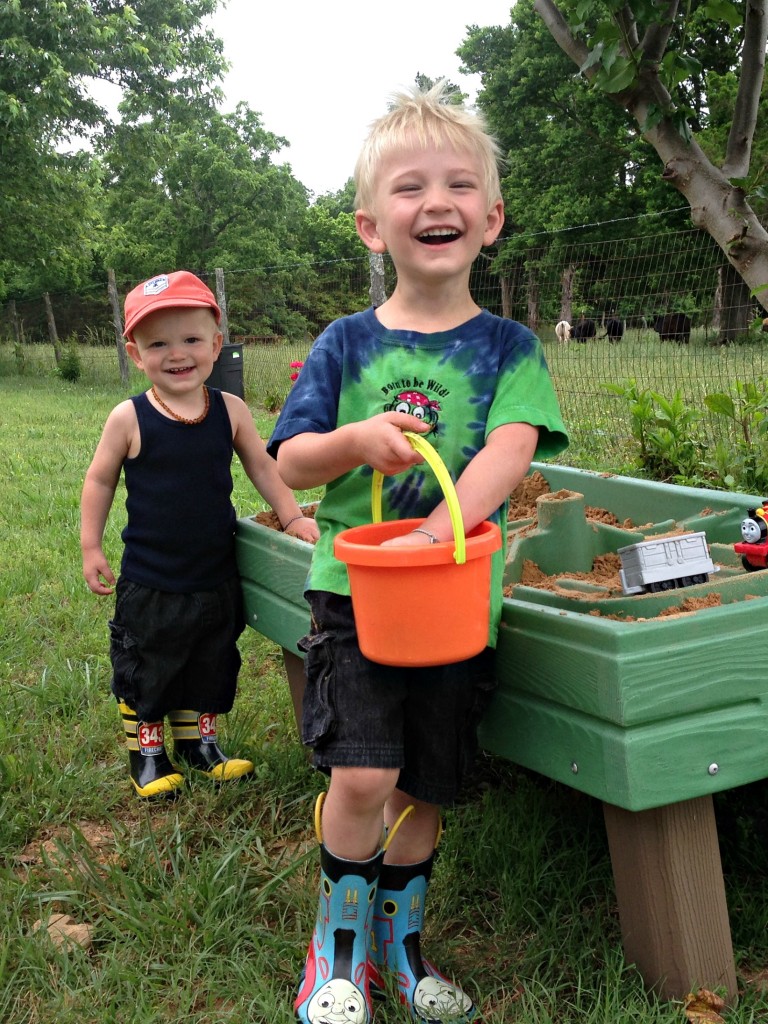
Jed and Zac playing in the sand table CradleRockingMama.com

See? My boys DO own clothing! Isn’t his new hat cute?

A stop at Home Depot for some garden necessities, a swing by the health food co-op, and we were on our way home.

That night Darrel did steaks on the grill for dinner. He also washed some cauliflower, sliced it, and put it in a foil pouch to grill.

It got a little burned, but that didn’t slow Zac down much at all!

He SCARFED the cauliflower down. 

Two Fisted Eater CradleRockingMama.com

We served him two florets and some Quinoa Egg Bread, and after he finished those two cauliflower florets he knocked the Quinoa Egg Bread off his plate onto the table and pointed at his plate, screaming “MA!”

We gave him two more florets.

He inhaled them.

Pointed to his plate and screamed.

We gave him three more florets, one that was the size of the other two.

This was when the burned bits started to bother him. He was working the cauliflower around in his mouth and pulling out bits of burned cauliflower. I was very impressed! Those are fabulous oral skills!

(I have a feeling he’ll be talking soon!)

I asked him if he’d like me to cut off the burned parts, and he said yes. Once I did, he started eating again…but quickly stopped and got a horrible look on his face. He started climbing down from the high chair but only made it halfway before he stopped and started crying.

While I was at work, he had become somewhat constipated. Unfortunately, right in the middle of eating his delicious cauliflower was when his little body decided it needed to “go”, and it gave him a great deal of pain.

He stood next to his chair, crying, tears streaming down his face, and wouldn’t let me hold him or even touch him. He was staring at me, almost begging me to “FIX THIS” with his eyes, but it hurt too bad for me to touch him.

Finally I got him to let me hold him, and he was tightening his body so much he was like a solid piece of wood in my arms.

It was agonizing.

I tried bicycling his legs, but that made him go from crying to screaming. Rubbing his tummy didn’t make things worse, but it didn’t seem to help.

Finally, I stripped us both down and ran a warm bath. After sitting in the warm water for about ten minutes, he was finally able to “go”.

He instantly stopped crying – and wanted to play in the water!

Um. EW. No way, kiddo!

Darrel got both boys in the shower then, and I proceeded to scrub the bathtub to death before joining them.

I’m willing to do whatever works, but…EW.

The next morning he woke up bright and early and ready for cauliflower. He ate 5 florets for breakfast and promptly had a perfect, no-screaming, completely normal poop.

We were very happy that things were going so well. Then naptime came.

I put him down at 11:30 a.m. He woke up crying for me at noon. I nursed him back down. He woke up crying for me at 12:45 p.m.

At 1:30 p.m., still laying next to him in bed, I finally succumbed to my own exhaustion and fell asleep.

Neither of us woke up until 4:30 p.m.!

I didn’t know what to make of that. A 5 hour, “can’t sleep without Mommy” nap is not normal for him.

However, at dinner he ate more cauliflower very happily, had another perfect poop, and everything else was normal. And he went to bed at bedtime with no struggles. So maybe he was just tired?

Shoveling it in CradleRockingMama.com

Shoveling it in! Don’t mind the mess on the freezer. Jed uses the freezer as a dry erase board and not all of his marker choices come off, sadly.

All I know is that the first two days of cauliflower have gone really well, so I’m hoping we’ve got another “egg” or “goat milk” pass on our hands!

What a fabulous Birthday present for my boy!

How was your weekend?

Frugal Fridays – Build an Expensive Wardrobe for Pennies

Frugal Fridays Build an Expensive Wardrobe for Pennies CradleRockingMama.com

I have a secret.

Once I lost so much weight my clothes were falling off of me, I had to buy new clothes. There was just one little problem: Money. We had none. (At least, not for new clothes!)

Yet I now have a more expensive, quality wardrobe than I’ve had in decades.

And I paid pennies on the dollar for it all!

Almost every stitch of clothing I wear these days comes from thrift stores, and that is one of the best frugal tips I could ever share: shop at thrift stores!

Many of you do this already, and will gleefully share stories of the absolutely gorgeous things you’ve bought for spare change, but a lot of people are put off by thrift stores.

Some people don’t like the idea of wearing “not new” things. Some folks are put off by the musty smell a lot of thrift stores have. Some just hate the idea of having to spend the time digging through a random hodge-podge of garments, not knowing what you’ll find.

Some just don’t really think it’s worth the effort, and so have never tried it.

Well, for all those concerns, I have rebuttals!

Don’t like wearing “not new” things? No problem! I’ve bought MANY items at thrift stores that still have the original purchase tags on them. So only buy things that still have the original tags on them. (As a bonus, you’ll know exactly how much money you saved by shopping thrift!)

Don’t like the smell of thrift stores? Put a dab of tallow with essential oils under your nose before you walk in.

Don’t like digging through the racks? Either narrow down what you’re interested in before you walk in (“today I want to find a pretty dress”, “today I want some new jeans”, etc.) and ONLY dig through those racks, or else set a time limit on how long you’ll look before leaving – whether you’ve found anything or not.

It’s easier to “dig” through seemingly endless racks of individual items when you know there is a limit to how much digging you’ll have to do!

Don’t think it is worth the effort of shopping at thrift stores? Let me educate you on what you can find!

All of these items I purchased in perfect, flawless condition, some with tags still attached.

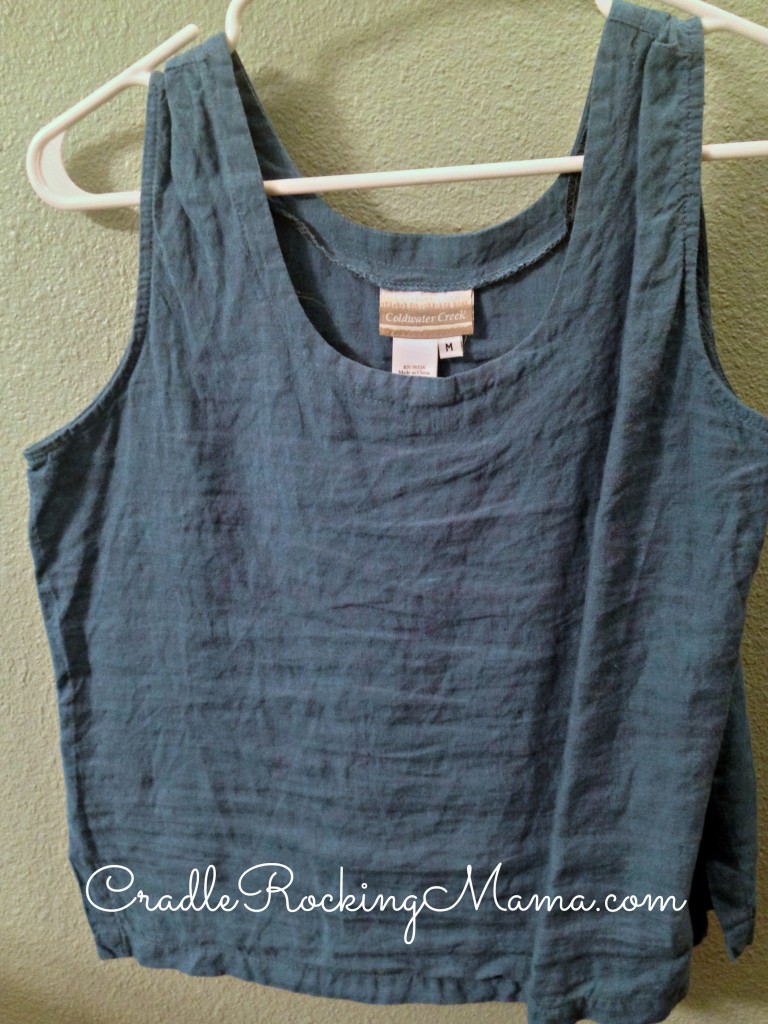
Coldwater Creek Tank Top CradleRockingMama.com

This is a Coldwater Creek linen tank top I found last summer. Yes, I know it needs ironing! But it really is awesome. Coldwater Creek doesn’t currently have anything exactly like this on their website, but most of their tank tops range from $20-30, and I brought this home for $3.50. SAVINGS $16.50-26.50.

Chicco Tank Top CradleRockingMama.com

This is a Chico tank top I bought two winters ago. I looked online, and it looks an awful lot like this tank that Chico currently sells for $49. Not only did I buy this purple tank that day, but three others in red, blue and black that are identical. I spent $10 for all four of my tank tops. SAVINGS $186.00

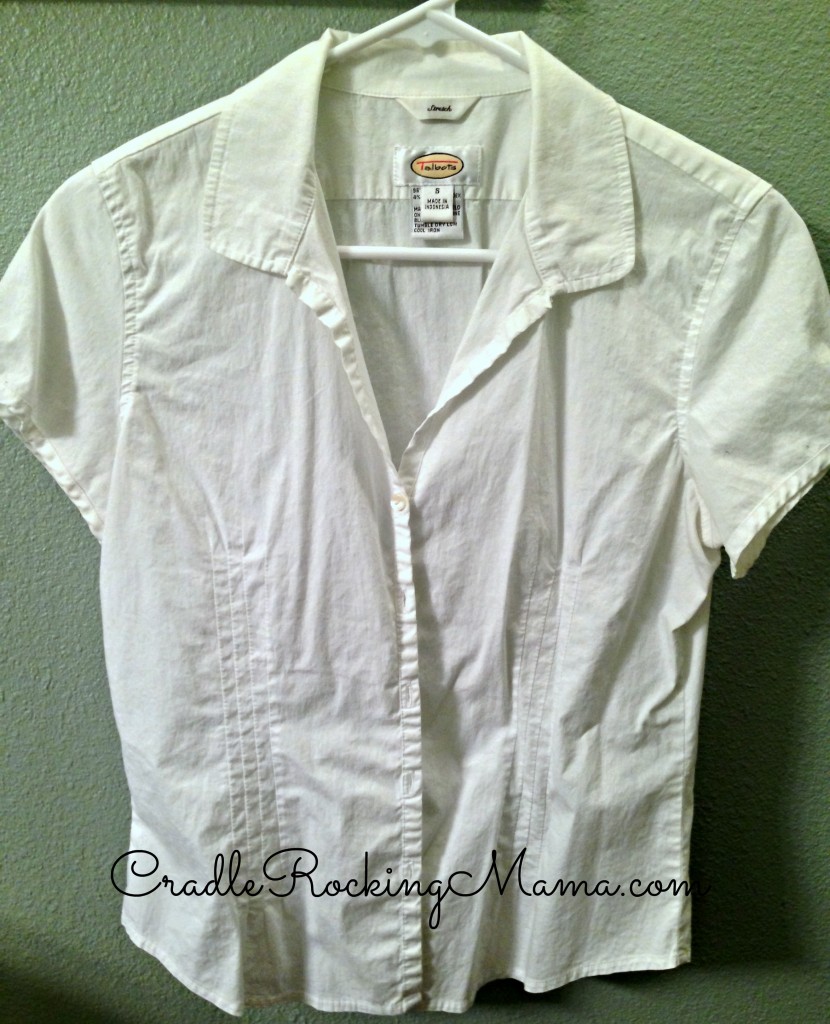
Talbot Blouse CradleRockingMama.com

This white cotton blouse from Talbot’s is perfect for summer, and I snatched it up last year for $2.50. A comparable blouse would cost somewhere in the range of $48.65 (sale price) up to $79.50. SAVINGS $46.15-77.00.

Me and Darrel CradleRockingMama.com

One of my best finds ever was the Jones NY Dress. I love this picture, but I know it doesn’t show off the dress very well. I promise it is one of the most flattering, lovely things in my closet! This exact dress is not on their website, but I found one that is comparable in material and detail for $129.00. I bought mine for $8.50. SAVINGS $120.50.

Now, some tips. 

  • Learn to recognize labels. There’s no sense in buying something with a “White Stag” or “Merona” label on it at a thrift store; those are Wal-mart and Target brands, and you can easily buy brand new versions of the item for almost the same price. Look for expensive brands, or boutique labels for things you would normally have to pay a lot of money for.
  • Inspect the item carefully. Once you’ve tried it on and decided it looks good, take it off and inspect it on both the inside and outside of the garment. Make sure there aren’t any un-fixable holes or tears in the fabric, and check for any stains before you walk off. None of those things is necessarily a deal breaker, but you need to know whether it is something you could easily fix or not before you buy.
  • Think “ReFashionista. You may not be much of a seamstress, but you may know one! Figure out your skill level, and/or figure out how much your seamstress charges for alterations. You may find a skirt made out of some gorgeous material that is just too big, or a dress that is dated that could easily be made into a skirt.
  • Head for the toy aisle first. If you’re shopping with munchkins, they are simply not going to have the patience to wait while you sort through racks and racks of clothing. In my experience, heading to the toy aisle, letting the kids pick out a toy they want to play with, and letting them carry it with them while they stay near me as I dig helps extend the length of my thrift store shopping excursions! They don’t always get to take the toy home with them, but they get to play with it while in the store.
  • Let go of your self-image. You may typically wear a size 8. At a thrift store, you may buy items that range from size 4 to size 12. Some things won’t have size labels at all; either they’ve fallen out or the item was handmade to begin with. So be brave and take it all to the dressing room. You never know what’s going to look right on you and at a thrift store you can’t go strictly by the number on the tag.
  • Talk to the employees. Find out what days they typically get new merchandise in, and find out if there are any days they run discounts or specials. May as well get 10% off your $2.50 item, right?

If you’ve never ventured into thrift store territory, be brave – and be prepared to be surprised! It’s a great way to build a very expensive, gorgeous wardrobe for pennies on the dollar.

What’s your best thrift store find?

Brown Thumb Gardener – Progress Report for May

Brown Thumb Gardener Progress Report for May CradleRockingMama.com

“Carrie, Carrie, quite contrary, how does your garden grow?”

Quite well, thank you!

Despite getting a somewhat late start, things are just popping up all over!

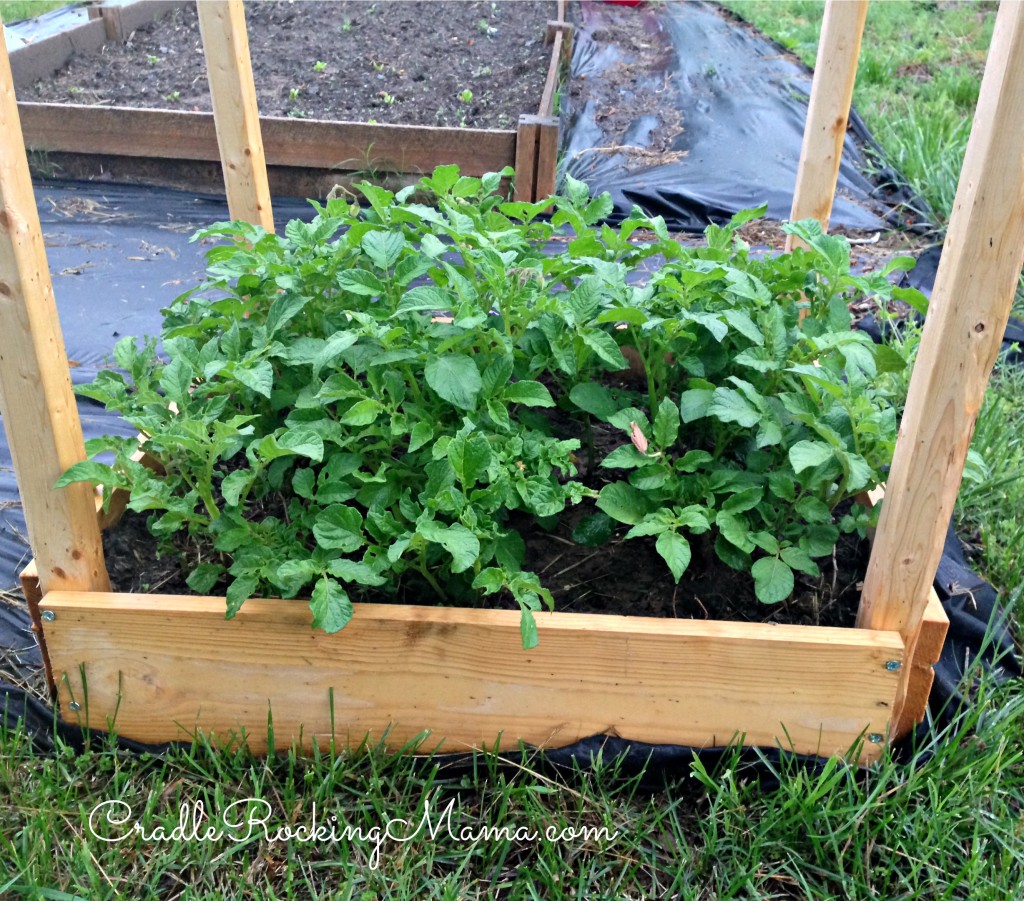
Potatos CradleRockingMama.com

Potatos Going Wild

The potatos are going nuts! They’re just about to the point where I need to add another board and top them off with some straw. I’m very excited about how well they’re growing; but it is just a tad  nerve-wracking to know that I may open up my towers in a few months to find only a handful of potatos.

The “climbing crops” are performing beautifully, as well. My next project is to add some twine for them to attach to while they grow.

Purple Podded Pole Beans CradleRockingMama.com

Lots of Purple Podded Pole Beans

I’ve got 15 Purple Podded Pole Beans growing like mad. I certainly hope pole beans are safe for Zac, because I have a feeling we’re going to have a ton of them! I’m looking forward to watching these grow, because I’ve read they’re really beautiful plants in addition to their prolific bean production.

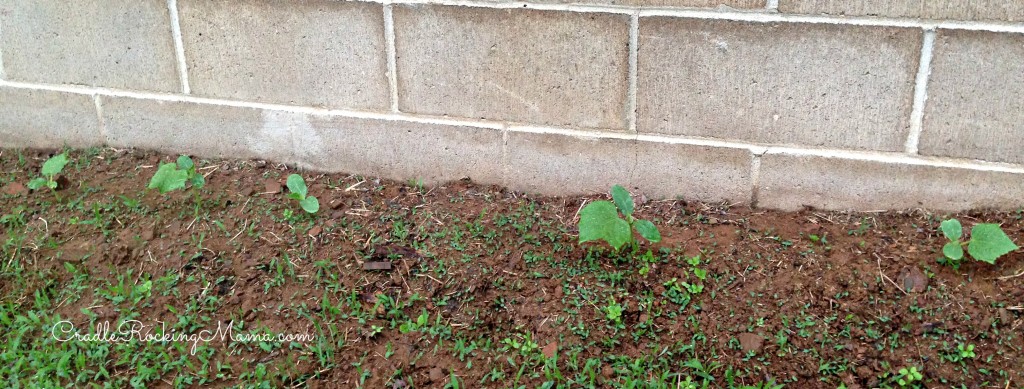
Cucumbers CradleRockingMama.com

Cute little cucumbers

Five of the nine cucumbers I started have taken and started growing.

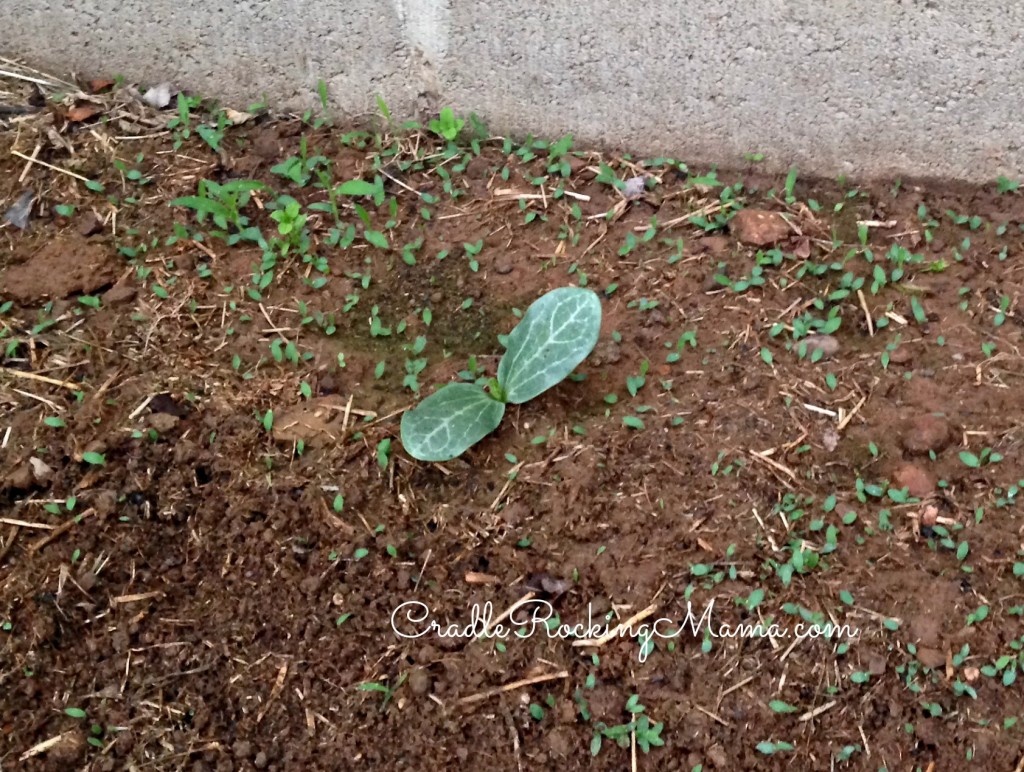
Single lonely Little Loofah

Single lonely Little Loofah

And one little, bitty Loofah is sprouting. Ah, well. That was mostly just for fun, anyway.

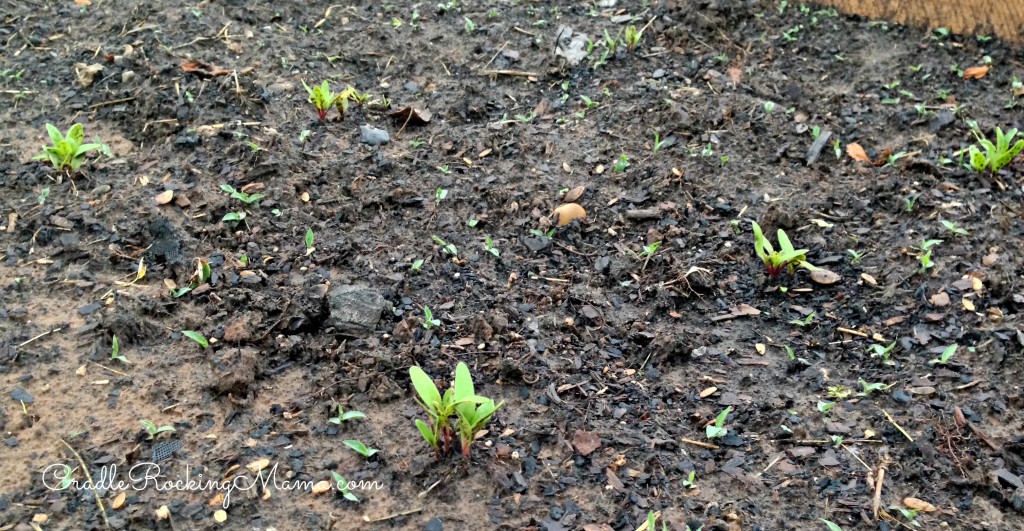
Swiss Chard CradleRockingMama.com

Swiss chard getting started

In the flat garden, the Swiss Chard is finally starting to pop up, though they’re a little slower than everything else.

Collard Greens saying hi

Collard Greens saying hi

The Collard Greens are also slowly peeking through to say “hi”!

Carrots CradleRockingMama.com

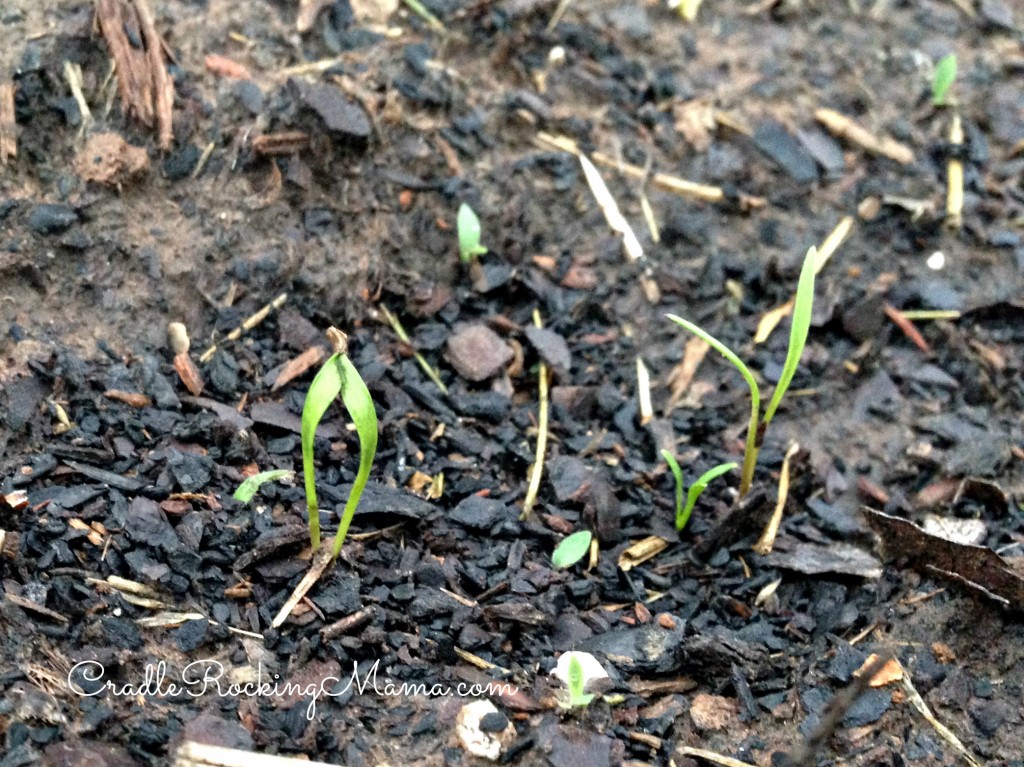
Is it carrots? Or just some weeds?

Sadly, my carrots don’t seem to be doing much of anything. I don’t know what I may have done wrong there. I do have some little green things that might  be carrots, but, frankly, they look an awful lot like certain weeds and grasses that have been popping up in my gardens, so I’m really not sure.

Growing basil

Growing basil

I cheated; I forgot to order basil seeds, so I bit the bullet and bought baby plants to put in my garden. They’ve only been in for a short while, but they’re doing beautifully!

In our family, we can’t get enough basil. I’d been in the habit of growing basil during the summer months and drying it in my dehydrator for use through the year, but I completely dropped the ball on that last year.

This year, I’ve got 9 little basil plants that will keep us in basil until next summer! Yay!

Baby tomatos growing

Baby tomatos growing

The tomato seeds didn’t seem to be taking, but suddenly, last weekend, they took off!

More tomatos growing

More tomatos growing

I’ve now got a ton of little sprouts started, and hopefully they’ll get big FAST so I can get them into the garden.

No stevia plants. Bummer.

No stevia plants. Bummer.

The stevia, on the other hand, just isn’t doing much of anything. Bummer.

What's up with the weeds?

What’s up with the weeds?

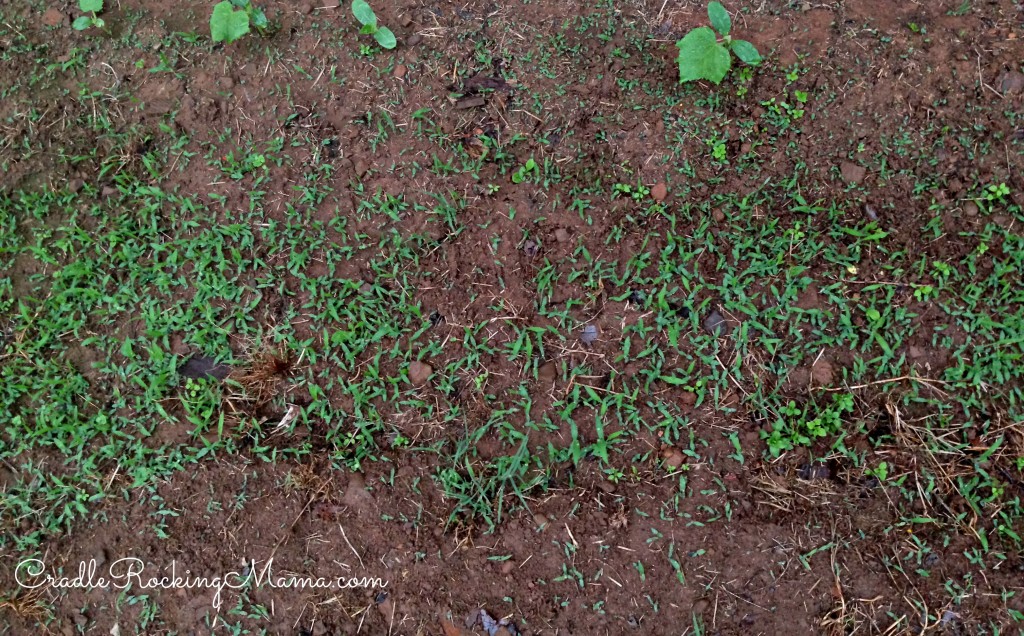
There’s only one thing I really want to know about my garden right now: what is UP with all the weeds? This photo was after one day of decent rain…the day before, there was nothing I hadn’t purposefully planted growing there.

One single day! Holy guacamole!

How come my plants can’t grow as prolifically as the weeds do?

Anyway, that’s a little update on the garden, and now I want to know: how is your garden growing now?

Banana Goat Milk Ice Cream

Banana Goat Milk Ice Cream II CradleRockingMama.com

Last year I shared about Banana Ice Cream.

It truly is an awesome little treat, especially for the dairy intolerant/allergic!

However, with the addition of goat milk in our diets, I was excited about making ‘real’ ice cream for my family.

Only one problem: goat milk doesn’t have as much “cream” as cow milk does. And the cream is what I always used (pre-allergy days) to make delicious, creamy homemade ice cream.

Sure, I could let the goat milk sit in the fridge for days at a time, scooping off the cream that rises to save for ice cream. But come on – if I’m going to go to all that trouble, I’m going to make butter, not ice cream!

So the goat milk ice cream I had made so far was good, but very crystalline. And if I re-froze it (because, let’s face it, toddlers often don’t finish the food they’re given), it turned into just frozen milk.

Okay to eat, but not exactly what I think of when I think of ice cream, you know?

Now that bananas are in our diet, I knew I could make Zac some Banana Ice Cream, and I did. He loved it!

But I’d still like him to eat more goat milk, and now that I know too many bananas can trigger a fructose reaction in him, I’m hesitant to give him too much straight Banana Ice Cream.

So I experimented.

And, as I texted my friend the first night I tried it, “Bananas+Goat Milk in the ice cream maker=HEAVEN IN MY MOUTH!”

It’s creamy!

It’s smooth!

It’s rich textured on your tongue!

It is banana flavored, but not as overwhelmingly ‘banana’ as straight Banana Ice Cream.

And it gives us a creamy treat without quite so many bananas, hence, less fructose to wonk me and my boys out!

SCORE!

It’s also really easy.

Take one part goat milk to one part banana. I did 1 c. of goat milk and 1 c. of peeled bananas. Don’t mash the bananas, just drop them in the measuring cup until they’re roughly to the same measurements as your goat milk.

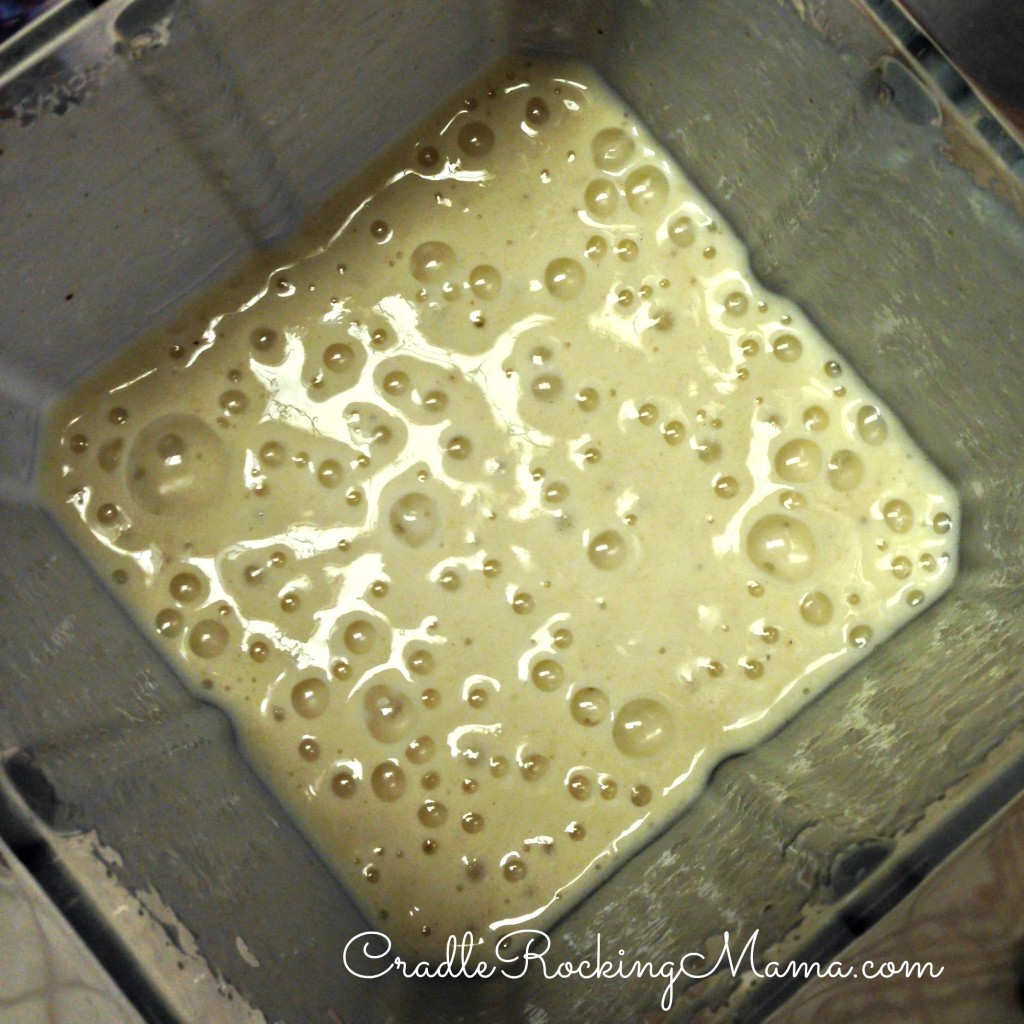
Throw them in a blender and process until smooth.

Pureed Banana Goat Milk CradleRockingMama.com

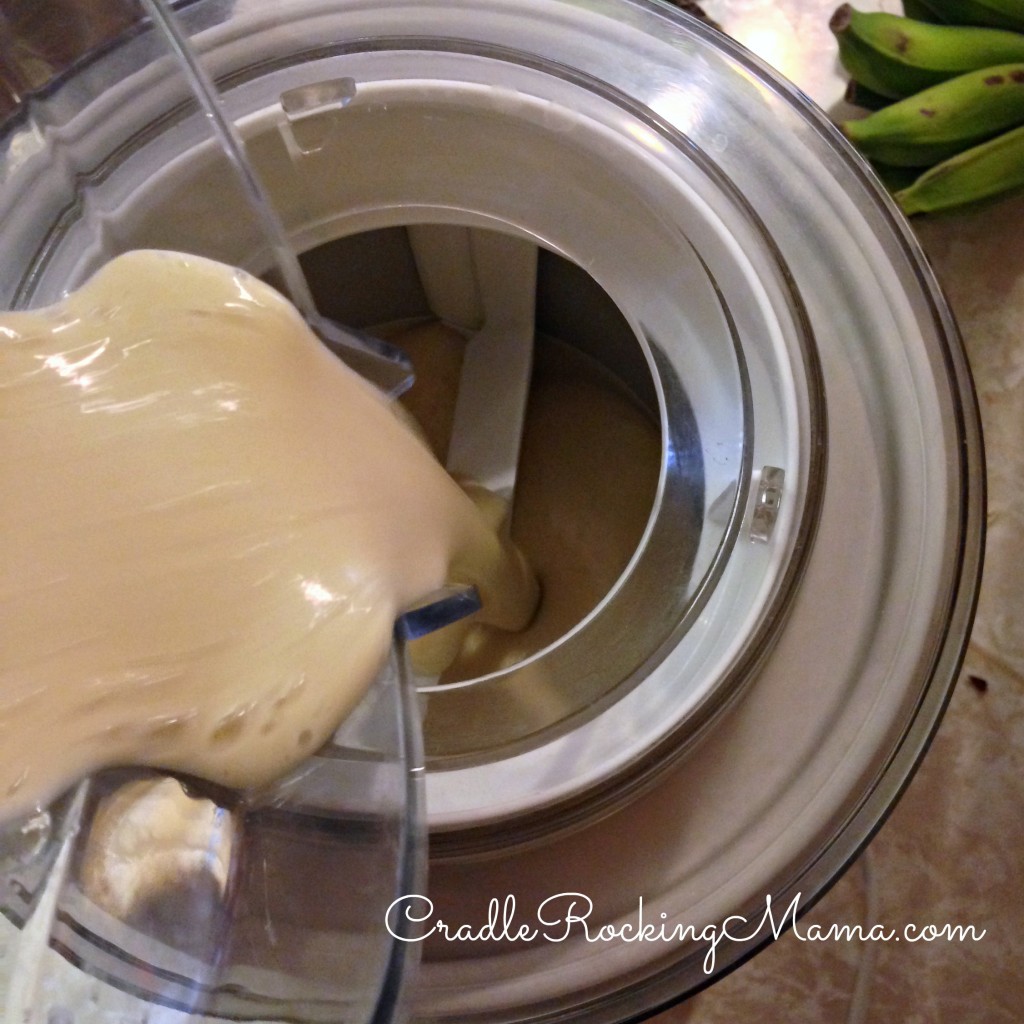
Pour it into your ice cream maker and turn on.

Pouring into the Ice Cream Maker CradleRockingMama.com

15-30 minutes later, you’ve got soft-serve ice cream!

Soft Serve Banana Goat Milk Ice Cream CradleRockingMama.com

So. Stinking. Good.

I made too much to eat the first night, so I put it in a container and froze it. It does turn out a tad more crystalline after being in the freezer than right out of the ice cream maker, but if you let it defrost just a bit, it turns creamy again.

And it kind of scoops. See?

Banana Goat Milk Ice Cream Scooped CradleRockingMama.com

Now, I’m sure you could just use straight cow milk for this, or, frankly, any milk substitute. But I didn’t try it that way. If you do, let me know how it turns out, okay?

I’m also sure you could also add cocoa powder to this to make chocolate-banana-goat milk ice cream, but that’s not on our particular safe list yet so I didn’t try it. Feel free, though! With the 1 c. “parts” measurements I used, I’d probably try 1/4 c. of cocoa powder to start and see if it needed more.

With or without cocoa, though, this is a great dessert for anyone!

Enjoy!

Banana Goat Milk Ice Cream
 
Prep time
Cook time
Total time
 
A creamy, delicious treat for hot summer days!
Author:
Recipe type: Dessert
Ingredients
  • 1 part goat milk
  • 1 part peeled, whole bananas
  • cocoa powder (optional, for chocolate ice cream)
Instructions
  1. Put the goat milk, bananas, and cocoa powder in a blender. Process until smooth.
  2. Pour into your ice cream maker. Turn on.
  3. After 15-30 minutes, enjoy your delicious, healthy dessert!

FPIES Food Trials & Confirmed Fructose Malabsorption

FPIES Food Trials And Confirmed Fructose Malabsorption CradleRockingMama.com

Turns out all my angst was for nothing. At least for now.

The strawberry trial didn’t happen.

Shortly after I shared that post, I gave Zac some fresh strawberries. He refused to even let one touch his lips!

It was a straight repeat of the maple syrup trial the night before!

As I made phone calls and went to the boards to ask how I could possibly get Zac to eat a strawberry, he got a hold of one of Jed’s crackers. He grabbed it, shoved it in his mouth, and ran to hide under the kitchen table.

By the time I got him out from under the table, he had chewed the cracker and was swallowing it as I tried to pry his mouth open.

Stinker.

These are Back-to-Nature Multi-Seed Gluten-Free Rice Thins. They have 8 ingredients!

BROWN RICE FLOUR, POTATO STARCH, SAFFLOWER OIL, SESAME SEEDS, SEA SALT, BLACK SESAME SEEDS, POPPY SEEDS, FLAX SEED.

Oh, hell.

So the strawberries went back in the fridge, and I started watching the clock.

Nothing happened.

But that’s not too unusual; Zac’s reactions – even acute ones – have always taken longer than the 2-4 hour traditional FPIES timeframe.

The very week that Jed “graduated” out of speech therapy, Zac received his EI speech therapy evaluation. He qualified, and that afternoon was his first session.

So, watching him for reaction signs, I took the two of us to the shower to get cleaned up and ready to go.

While we were in the shower, I noticed him repeatedly holding his hands over his ears.

Uh-oh. That’s pretty much the only obvious sign Zac ever gives us when he has an ear infection.

So I hauled out the otoscope and took a peek. Yup. Ear infection. (Or, at least, ear irritation.) In BOTH ears!

Sigh.

Some days it just never ends, you know?

When we got home from speech therapy, the little stinker managed to grab ANOTHER of Jed’s crackers and eat it. He’s too fast for his own good sometimes, and he’s downright sneaky, y’all!

By that night, he had shown ZERO FPIES reaction signs.

Seriously? 

Darrel and I had a moment of complete insanity when we considered trialing the crackers. Sure, he might still have a chronic reaction to them, but if he didn’t…well, that’s EIGHT ingredients added to his diet all at once!

Wham, bam, take that FPIES!

The thing that holds me back is the potato starch. If he did react to the crackers, I can’t risk losing potatos from my diet yet.

If only those crackers didn’t have potato starch…well, it’s probably for the best. For now, all food trials are officially on hold until his ears clear up.

That night I made some garlic oil and began treating his ears. If they don’t clear up soon I’ll take him to the doctor for antibiotics, which will only delay food trials for even longer.

So far he seems to be doing better. He’s not touching his ears as much, and that’s a good sign. We closed up the house and turned on the AC to reduce environmental elements, and the garlic oil seems to be helping. Fingers crossed they clear up completely soon!

In other news…

I hate it when I’m right.

Well, sometimes.

Actually, I only hate being right when it’s about something bad. I love being right otherwise!

Zac and I absolutely, without a shadow of a doubt, have fructose malabsorption.

Drat.

This certainty came from our recent discovery that bananas are a safe food for Zac.

Once we moved past the trial stage, we let Zac go hog-wild for bananas!

“Na-na” is one of the first words he’s ever used, so when he verbally asked for a banana, we rewarded his speech by giving him the requested banana.

Friday, he ate over 20 of the little Mysore Bananas!

He also had a poochy tummy starting about mid-afternoon, farted a LOT, had hiccups, undigested food in his poop, and had a little bit of an attitude with us in the evening.

It was nothing as bad as what Jed has exhibited before, but those are all signs of fructose malabsorption that I’m very familiar with.

Bummer.

I know I’ve been operating as if he does have FructMal, but I secretly hoped he would luck out on this one thing  and NOT take after his Mama, grandparents and brother. Isn’t FPIES and histamine intolerance enough?

Alas, it is clear that he, too, has issues with fructose.

In good news, it seems that for him bananas are a “quantity” issue, though. He had no disturbing signs during the trial when he was eating fewer bananas on a daily basis. It was only when we let him scarf down bananas like they were air that he showed any signs.

So bananas are still “in”…just not unlimited bananas.

On Saturday I made a batch of pancakes with bananas for me and Zac to enjoy. We did! They were delicious!

But I most certainly had a fructose reaction to the bananas, and it was a wretched experience. So in case I had any doubts, I, too have FructMal. 

Another bummer.

What a weekend for us! Best laid plans going awry, ear infections, and finding out for certain that Zac and I have FructMal. Ugh. I’d really like to find more FPIES safe foods that are also GOOD for Zac!

How was your weekend?

Memorial Day 2014

Happy Memorial Day CradleRockingMama.com

We had a rough weekend.

So we didn’t participate in any fun Memorial Day activities. No cookouts, no picnics, no games.

But that’s okay.

That’s not what Memorial Day is about, anyway.

Memorial Day is about remembering.

Remembering the sacrifices made by our military men and women.

Remembering what they did – and continue to do – for us to ensure our freedoms.

I can do that without a cookout. Can’t you?

I hope you all have a wonderfully fun Memorial Day, and take a moment to think of (and thank) our U.S. Military.

If you’re so inclined, you might read what I wrote last year on Memorial Day. Here’s a small sample:

My family did not fight in wars and serve in peacetime to allow a corporation to dictate to us what we will eat. They did not do what they did so we would live in a world where we are considered too idiotic to make an informed choice for ourselves. The servicemen of our country did not sacrifice in their many ways so we could find ourselves, once again, the subjects of a cruel and careless ruler.

To all Military, past and present:

THANK YOU

Frugal Friday – Cluster Your Errands

Frugal Fridays - Cluster Your Errands CradleRockingMama.com

You know what I love? Frugal tips that require a one-time commitment.

I’m kind of lazy that way. Who wants to be bothered with changing regular behaviors, right? It’s so much easier just to call your cable company and cancel, or change your cell phone bill.

Unfortunately, some of the best frugal tips out there involve an ongoing commitment to change. Reluctantly, at first, I’ll try them. Most of the time I am pleasantly surprised by how easy it is to change one little habit that saves a bunch of money!

Today’s tip is sort of like that. It’s not hard, by any means, but it’s not really easy, either. It  simply takes consistent thought and determination.

But it saves me a ton of money every month!

It’s also a very simple concept: simply cluster your errand running.

What does that mean, exactly?

If you’re urban or suburban, you’ve got it easy!  Simply plot out your errand running to keep as many errands as possible in one geographic location.

Clustering your errands means doing as many things at once on the north side of town before running off to the south side of town for the other things you need done that day, rather than racing back and forth between the two (burning up gas the whole time).

Maybe you need to decide if frequenting a particular business is worth it, in light of the gas costs it takes to get there. You might find a comparable business closer to your usual stomping grounds.

On occasion, when dealing with scheduled events, you may find yourself sitting at the train table at Barnes & Noble, burning up time while your kids play with the trains instead of burning up fuel driving all over town. (Can you tell I have Thomas obsessed sons?)

If you’re rural, like me, it gets a tad more complicated. Not only do you need to plan the specific locations in town for your errands, but you also should plan to go to town on a specific day to run all your errands.  No more racing off to town every time you run low on some miscellaneous need!

That takes a bit more foresight and planning!

I loved it when Jed had speech therapy in town. Twice a week, I had a fail-proof excuse for driving in to civilization!

Without that excuse, I suddenly had to plan my time and trips more efficiently. If I could manage a single, weekly trip in to town, it saved us a lot of money over the course of the month.

Since any Mama will tell you errand running with toddlers takes twice as long as normal, this was a real challenge! I didn’t always succeed, but I tried very hard.

It doesn’t seem like this could save you a lot of money, but it really does add up.

If you have 6 errands to run, half on one side of town and half on the other, by simply being aware of where you need to be you could save yourself miles worth of gas every time. I don’t think it is exaggerating to say that could be 1-2 gallons of gas per week, depending on your area and geography.

That’s $3-6 per week in fuel savings, minimum! Over a year, you’ll shave $150-300 off your fuel costs.

Not life-changing, by far, but every penny counts sometimes.

(Plus, it’s better for the environment.)

If you’re rural, like me, just omitting one trip to town a week could save even more money. Every single time I turn on my car to drive to town, it will cost me $6.60 in gas just to get to and from. There will be more gas costs involved in the driving around town part – especially if I’m not organized and drive back and forth willy-nilly.

So clustering my errand running into one big errand running day can save me $6.60-$13.20 per week in fuel costs, and clustering my errands in town can save another $3-6 in a week.

Now we’re talking big money!

I can potentially shave almost $1,000 off our annual fuel costs by being organized and purposeful in my errand running.

Such a little thing. Such a minor habit change.

But such returns on the investment!

Remember the mantra: Use it up, wear it out, make it do, or do without!

Hope that helps!