Vegan Nut Butter Banana Cookies

IMG_7657

This last week on Pinterest I have found some amazing recipes that were completely safe for my family – as written! Our specific needs are so, well, specific, this is almost an impossible task. And I’ve found TWO dessert recipes that I really don’t have to do anything to in order to make them for Jed. Amazing!

The one I’m sharing today I *did* tweak a little, but only in the addition of a few things. Jed loved these cookies, and I don’t think I’ve ever been so excited about a recipe I couldn’t eat!

The brilliant mind behind this recipe is Nutritionist in the Kitch and I must say I’m already reviewing her recipes to glean knowledge and inspiration beyond the cookies – what an awesome website! Seriously, go check it out!

So here’s how you make these insanely simple and delicious cookies the way I did it:

First, you mash up a banana.

Mashed Banana

Mashed Banana

Then, you add your butter – you can use peanut, almond, sun, or whatever nutbutter floats your boat. To stay top 8 Free, of course, you’d need to use sunbutter. That’s what I had, so that’s what I used.

Added sunbutter...

Added sunbutter…

Darrel wasn’t a fan of the sunbutter in cookie form, for whatever reason, so I think next time I’ll throw some almond butter in the mix for a blend of flavors.

I may not bother, though. Honestly, these are a treat for Jed and the kiddo CAN NOT eat them fast enough! (And this is another recipe that screams “treat” that I’m happy to feed him for breakfast!)

At this point, the original recipe would have you add spices and be done. I decided to ‘up’ the nutrition of these a bit with some additions: quinoa flakes and sliced, blanched almonds. I had them in my kitchen, they’re healthy and good for Jed, so why not, right?

Added quinoa flakes, almonds, and cinnamon!

Added quinoa flakes, almonds, and cinnamon!

Then I did exactly what the genius inventor of these cookies suggested: mix it together, drop little balls of it on a cookie sheet and bake!

All mixed together!

All mixed together!

I used a fork to make the cross marks on the top of the cookies and make them uniformly sized, and that was the most time-consuming part of this whole thing. Start to finish: 20 minutes! 

As someone who lives in the kitchen, I can wholeheartedly get behind recipes that take 20 minutes from start to finish!

Laid out on the cookie sheet and pressed with a cross design using a fork.

Laid out on the cookie sheet and pressed with a cross design using a fork.

13 minutes later, baked and ready to eat!

13 minutes later, baked and ready to eat!

Seriously, you’ve GOT to try these – with so few ingredients, I’m looking forward to eating these by the end of the year myself!

Thanks again to Christal at Nutritionist in the Kitch for this amazing recipe!!

Vegan Nut Butter Banana Cookies
 
Prep time
Cook time
Total time
 
Vegan, gluten-free, fructose-friendly cookies that taste amazing!
Author:
Recipe type: dessert, cookie
Serves: 1 dozen
Ingredients
  • 1 small banana
  • ½ c. of nut butter – or sunbutter
  • ¼ tsp. cinnamon
  • ¼ tsp. nutmeg (optional)
  • ¼ c. quinoa flakes (optional)
  • ¼ c. nuts (optional – I used almonds)
Instructions
  1. Pre-heat oven to 350 degrees.
  2. Mash the banana in a bowl.
  3. Add the rest of the ingredients; mix well with a spoon.
  4. Drop by spoonfuls on a parchment paper lined cookie sheet.
  5. Use a fork to press a cross pattern in the top of the cookies.
  6. Bake for 12-14 minutes (I went 13 and they were perfect).
  7. Enjoy a really healthy, delicious treat!

What would you add to this recipe? Or would you make it just the way the original recipe called for?

__________
This post shared with:
 realfoodallergyfree 

Frugal Ways, Sustainable Days and Real Food Wednesdays.

Tallow Hand Cream

IMG_7542 - Copy

Last August I wrote about Zac’s reaction to Aveeno hand cream. The oats just did him in. Consequently, I became terrified of beauty products! Since then I’ve searched for as natural and basic products as I can find for EVERYTHING…especially after he once had a mucousy diaper from my hair! (Why did he eat my hair? Who knows!)

Along the way, I learned about tallow.

Tallow, in case you don’t know, is rendered beef fat. Sounds gross, but actually it’s totally awesome! I couldn’t possibly do a better job explaining tallow than the Mommypotamous does, so I’m just going to link back to her post explaining the wonder that is tallow.

Basically, tallow is a fat that most resembles natural human skin sebum, meaning it’s less likely to clog pores, less likely to cause irritations, and most likely to make you look younger!

Can I get an A-men for that?!

So I’d had her idea on the back of my brain for a long time; I’d even made sure to request the fat from the cows we had butchered so I could render it and make hand cream and moisturizer for myself!

Somehow, though, spending time in the kitchen working on a beauty product never made it high on the priority list, what with needing to spend so much time in the kitchen doing other things…like feeding my kiddos.

One day a few weeks ago, though, I was getting ready to make some soup with my homemade beef broth. I’d poured off the broth into mason jars to cool in the fridge, and when I cracked the top of the thick layer of fat that had hardened on top it broke into nice, neat pieces.

It was fate.

I’d never managed to get such nice, thick pieces of tallow out of my beef broth before, so I’d never considered using it for hand cream. Besides, the tutorials I’d found online said not to use the fat from broth because it is too liquidy and therefore will go rancid much faster than pure tallow.

Still, even with that knowledge in my mind I decided to give it a shot. If it only worked for a few weeks, at least I’d have practiced how to do it before I started messing with the “good stuff”, right?

So over to the stove I went, and it’s so stinkin’ easy I can’t believe I didn’t do this sooner.

Here’s what you do:

The fat, rinsed and patted dry

The fat, rinsed and patted dry

Since I was using fat from broth, I rinsed it under warm water and patted it dry. My Mom later asked me why I didn’t “clean” the fat first. I was totally lost – what did she mean by “cleaning it”?

She then explained the way women of ages past would freshen their oils and fats by cooking it with water several times until all the food residue was removed and the oil was as fresh and pure as it could be. It isn’t something I’ve ever done or even seen done, but I plan to try it with my next batch of hand cream. So bookmark this post, if you’re interested! I’ll update it then.

**Update! I followed Mom’s advice the next time I made this and wrote a whole post on how to clean oil. You can find it here.**

In the double boiler

In the double boiler

Then I dropped it into a double boiler to melt.

A quarter cup of fat - yum!

A quarter cup of fat – yum!

In the end, I had just at 1/4 cup of melted tallow.

Adding the extras

Adding the extras

According to one recipe I found online, you should add some olive oil to your tallow hand cream to make it more spreadable. I didn’t have the quantities they suggested, but I used ratios to figure out I needed a little over 1 tsp. of olive oil for my project.

Friendly little oils...wish I'd had vanilla!

Friendly little oils…wish I’d had vanilla!

I’d also read that you might want to add some essential oils to avoid any “beefy” smells. Normally, I’m all about the vanilla in my beauty products…but I didn’t have any more vanilla essential oils. What I *did* have was Tea Tree, Peppermint, and Spearmint essential oils.

In the spirit of “why not?” I decided to use them all! Tea tree is supposed to be very good for skin, and while I’m sure the mints are good for you in some way, mainly they just smell a whole lot better than Tea Tree oil does.

I only put a few drops of each – and I mean that literally! Two to three drops is all it takes!

Ready to set!

Ready to set!

After all the extras were added, I mixed it up with a spoon and poured it into a jar I had on hand. For this jar, I really need to make more of the cream, or I need to find smaller jars! But this sufficed in a pinch, and works just fine.

Then I set it in the fridge to set, and after about an hour, this is what I had:

Gorgeous, perfect hand cream!

Gorgeous, perfect hand cream!

If I store it in the fridge it gets harder, and I have to sort of press to swipe any out. If I keep it at room temperature, it’s softer and I have to be careful not to get too much.

A little goes a long way with this stuff! I’ve used it now on my hands and face, and they both feel like a babies butt when I’m done! Extra bonus: no greasiness or “rubbing it in” waiting period – it absorbs beautifully into the skin!

And turns out? Tea tree and mints was a pretty good combo of oils to use! After using it on my face one morning, some lovely mid-30’s zits I’d gotten cleared right up, and I got an instant mood boost from the invigorating mints! (Note to self: don’t use this before bedtime!)

I’ve been using this for about three weeks now, and it’s still just fine. The consensus seems to be that the hand cream made from pure tallow (i.e. not broth tallow) will last for 6 months at room temperature. In respect to that, I usually keep mine in the fridge. I’m pretty sure I’ll use this up before it goes bad, though at 3 weeks it’s still perfectly lovely. I wouldn’t press it, though. If you try this and it gets a funky smell, go ahead and chunk it.

After all, as easy and cheap as it is to make, there’s no reason not to just make yourself a fresh jar! Besides, I can’t wait to experiment with different essential oil combinations to see what I like best!

Try it! I think you’ll like it!

Tallow Hand Cream
 
Prep time
Cook time
Total time
 
This hand cream is heavenly and healthy. Give tallow a try and see how well it works!
Author:
Recipe type: personal care
Serves: ¼ cup
Ingredients
  • ¼ cup melted tallow
  • 1⅛ tsp. olive oil
  • 2-3 drops essential oils
Instructions
  1. Melt your tallow in a double boiler. Do not boil it!
  2. Add olive oil and essential oils; blend well.
  3. Pour into glass jar and let set in the fridge.
  4. Enjoy the most perfect hand cream you'll ever have!
Notes
This recipe can be very quick to make if you already have cleaned tallow ready to melt. If you don't, it will take considerably longer to clean the tallow until it is ready to go. My suggestion? Make sure you clean some tallow and have it ready to go. You can freeze it or even can it to have on hand whenever you need some clean tallow for anything!

Have you made tallow hand cream before? What oils did you use for scent?

__________
This post shared with:
realfoodallergyfree 

Frugal Ways, Sustainable Days and Real Food Wednesdays.

Planes, Trains and Automobiles: The Search for Stevia

The much desired element!

The much desired element!

Last weekend I was scheduled to work on Saturday evening, and unfortunately the 4th of July reduced flight schedule meant there were no direct flights between home and work at all on Friday or Saturday. Further challenging my commute to work is the fact that the few multi-stop flights available on Saturday were full to capacity, which means that, as a non-revenue passenger on standby, I would not be able to get on those planes.

That meant flying up to work on Friday night, then sitting around the airport doing nothing until 6:00 p.m. on Saturday…a really sucky idea I wasn’t looking forward to.

I entertained the thought of having Darrel bring Zac and fly to work with me, hanging out as long as possible before the two of them flew home on Saturday (leaving Jed alone with Grandma and PopPop for some fun), but that got nixed because Darrel has been working on a Major Project at work that was misbehaving, and if he needed to work he absolutely had to do it right then; being on an airplane and out of pocket would not be good for his job right now.

Then I decided to check on flights out of Tulsa, and wouldn’t you know it? Saturday morning was wide open out of Tulsa to Chicago, and Chicago looked pretty good to get to my domicile by noon. That way I’d only have to twiddle my thumbs in the airport for 6 hours, not 20.

So at 2:30 a.m. Saturday Darrel and I loaded my bags and the kids up in the car and hit the road. I nursed Zac along the way, and two and a half hours later we arrived at Tulsa International Airport. I gathered my bags, kissed my men good-bye, and hustled in to go through security.

Approximately one minute after I’d left the checkpoint on the departure side of security, I had a stomach dropping realization: I’d left my bottle of stevia in the car!

There was no time to race back out and get it from Darrel; even if I had time to come back through security again, Darrel and the boys were long gone.

It might not seem like such a big deal, leaving a bottle of stevia in the car, but there is so little I indulge in that is sweet and tasty; my decaf tea with stevia sweetener is sort of my only real “treat”.

This sucked horribly and I was at a loss. I tried to think of what I could possibly use as an alternate sweetener on the road, and thought I remembered reading that sugar was protein free and therefore safe…but wasn’t sure I was remembering properly!

So I quick posted on the FPIES Facebook group asking about sugar and by the time I landed in Chicago I had a ton of responses.

Yes, sugar is protein-free and therefore should be safe for FPIES kiddos. However, sugar can be processed with corn products at times, so if you are corn-sensitive you should limit your sugar consumption to certain safe brands (Domino’s was recommended highly – in the bag only, though).

OK, well, one problem: at that point I was dependent on whatever sugar I could find on the airplane or at airport restaurants! Very hard to track down safe sugar when you have no idea where it comes from!

I entertained the thought that I could just use whatever sugar I could find and hope it didn’t cause Zac to react, but the poor child is in the middle of another major FPIES reaction right now (he ate who-knows-what on Thursday night, causing bloody diapers on Friday) and I’m desperate to get him to baseline so we can resume the lamb trial. I really didn’t want to risk an unknown sugar on him at this point.

I tried to drink my tea without stevia, but it tasted horrible! I thought about being a martyr and sacrificing for the cause, but that had as much appeal as a root canal – I have given up EVERYTHING in my diet for Zac! If there was any way I could find a safe sweetener to use I fully intended to do so!

Suddenly, as my flight from Chicago was about to leave I had a brainstorm: surely there had to be a Whole Foods or Trader Joe’s in Manhattan, right? Maybe they carried my stevia! Not for nothin’ did I live in New Jersey for over 3 years in my early 20’s and spend as many waking moments as I could in Manhattan – I know how to get around this area quite well!

The minute I landed in Newark I was on the phone with both Whole Foods and Trader Joe’s, both of whom informed me that they did not carry my brand of stevia. So I googled “where to buy KAL stevia” and kept getting results from The Vitamin Shoppe (dot) com.

I didn’t have time for a dot com! I needed a brick and mortar store – pronto!

After searching fruitlessly for several minutes I had a strange inkling that I just had to investigate: hadn’t I seen The Vitamin Shoppe in real life at some point in time – or was I remembering wrong?

Back to google and BAM! I remembered correctly! There are several brick and mortar Vitamin Shoppes in Manhattan!

So I called the one closest to Penn Station and after a quick inventory check, they reported that they had FOUR bottles of my stevia in stock…would I like them to hold one for me?

Yes, please!


My saviors!

My saviors!

So I raced to the crew room, pumped, changed clothes, stashed my bags in our bag storage room, asked a supervisor to hold on to my hanging uniform and headed for the AirTrain.

I took the AirTrain to the Newark Liberty International Airport train station on New Jersey Transit…

took NJ Transit to New York Penn Station…

I love Penn Station! Boy do I have stories about this place!

I love Penn Station! Boy do I have stories about this place!

walked two blocks south to the subway station I needed…

I love the tile work in the Subways in New York!

I love the tile work in the Subways in New York! And this isn’t even one of the prettiest ones!

hopped the N train…

Catching the train...

Catching the train…

went four stops, and came up on 8th and NYU. Right there, across the street was The Vitamin Shoppe!

In less than 5 minutes I was back at the subway station at 8th and NYU, waiting for a train to take me back uptown.

Stevia safely in my purse, I headed back uptown...

Stevia safely in my purse, I headed back uptown…

Reverse the process completely and 2 hours and 15 minutes after leaving Newark Airport I was back – with stevia in hand!

I had enough time to pump, change back into my uniform, eat dinner, and check in for work. Then I flew to Austin, Texas for the night.

What. A. Day!

The lengths I will go to stay with this diet for Zac don’t even amaze me any longer. It’s become so habitual I can’t even imagine eating something unsafe for him.

And I certainly learned how important stevia is for me! Had I realized I’d forgotten carrots, I would have been “Oh well, I’ll survive without them!” But stevia? Oh, no! I had to embark on a whirlwind Manhattan adventure (after an already exhausting travel day) to ensure I had stevia with me!

Why yes, I do think I’m a little bit nuts…why do you ask?

One nice thing about this experience is that I got to go back to Manhattan. It’s been a long while since I’ve been in Manhattan and I had almost forgotten: I LOVE NY!

I love the way the subway stations have such beautiful numbering along the walls.

I love the way Penn Station underground is like a mini-city all on its own.

I love the way you can turn a corner and see a building so architecturally gorgeous you want to stare it for ages.

I love the vibrancy and energy of Manhattan, the swirling mass of people, the friendliness of New Yorkers (yes, they are actually very friendly!), and the way life presses on you and through you everywhere you go. The street vendor food smells, the uprush of air from sidewalk grates, the horns honking and chatter of people…it all just envelopes you and makes you a part of life.

I love Manhattan so very much, and my Great Stevia Search reminded me: I must take my family to NY. I can’t wait to see Manhattan through the eyes of my men!

And when I do? I’ll remember to bring my stevia! (Though at least now I know where to buy more if I forget.)

How far have you gone to stay on a TED for your little ones? Do you think Manhattan is awesome, too?

Happy Independence Day!

Photo courtesy of nirots at http://www.freedigitalphotos.net

Photo courtesy of nirots at http://www.freedigitalphotos.net

Happy 4th of July!

Today America celebrates our adoption of the Declaration of Independence back in 1776. We didn’t actually attain our independence for several more years, we just started the war  with the adoption of this declaration.

Similarly, I’m declaring that my family will be Free of FPIES, food intolerances, and IgE allergies…someday! Might not happen for a while, but we’re not giving up our struggle until that magical day arrives!

I hope you have lots of fun things planned for yourself and your family today.

We’re going to grill hamburgers at home and watch fireworks tonight – with some sparklers thrown in for fun. (I love sparklers!) Plus, this is the anniversary of our first in person date, so, kind of a milestone for us tonight.

In honor of the long weekend, wherein I have my whole family around me, I’m taking the weekend off from blogging and will see you back here on Monday.

Happy 4th of July!!

Babies on a Plane

It is such a well known irritant: the crying baby on the plane. Everyone rolls their eyes and groans at the thought of being the unlucky passenger seated near an infant on a flight. Some people even go so far as to request seat changes to get away from the little cuties!

Personally, I have an opinion about this scenario that doesn’t seem popular in American society. I believe babies are members of society just as much as adults and should be accorded the same respect and consideration we would give our fellow grown-ups. Until everyone who gripes about crying babies stands up to the loud-mouthed, inappropriate grown jerks in life every single time, I think they should just shut up and stop heaping extra stress on those crying babies Mamas & Daddies.

Besides, babies can’t talk yet! The only way they can convey displeasure, discomfort, or unhappiness is to cry! You can’t really be mad at the little one for trying to let his parents know that he thinks this whole flying thing kind of sucks.

But maybe that’s just me.

In the meantime, if you’ve traveled with a baby on a plane I’m sure you’re familiar with the worry and concern that it will turn out to be YOUR precious bundle that becomes the source of so much irritation to the rest of your fellow passengers.

Well, I have to share with you something I saw on my trip to work last week. Early on in the boarding process, a young family came on board with their ADORABLE 11 week old baby girl. When the Mama got about 3 rows away from their assigned seats, she started handing little envelopes out to every person that was already in a seat, and leaving them on the as yet unoccupied seats.

Curious, I asked her what she was doing (after grinning and giggling at the baby, first, of course!).

That’s when she handed me one of the envelopes and I have to tell you – I was floored.

It’s probably one of the best PR jobs I’ve ever seen in my life. Talk about winning friends and influencing people! Dale Carnegie would have been SO proud!

So here it is:

Best PR Ever. Just sayin'.

Best PR Ever. Just sayin’.

Inside this tiny paper envelope is a pair of ear plugs, some chewing gum, and a packet of water soluble immune-boosting vitamins (the benefits of which are debatable, but the intent is perfect).

This Mama was so worried about how her little girl would react to her first ever airplane ride that she decided to make these packets up as a peace offering to her fellow passengers. She told me she’d seen the idea online, but what she saw online was a snack-sized Ziploc baggie filled with candies.

She told me “I thought ‘Hey, I can do better than that!'”

And she did! Turns out, her baby was as silent as a winter night on the flight and slept almost the whole way, but if little Charlotte had pitched a fit at any point?

I promise the surrounding passengers would have been helpful and supportive instead of surly and rude.

Until more people grow tolerant of babies and their limited conversational skills when unhappy, I think these are just brilliant little tokens for parents to use as a means of winning friends and allies when trapped in a tube for 6 hours.

Have you ever done anything like this? What did you put in your packet? What would you put in if you were to make these for your next flight?

By the way, I told Charlotte’s Mama that I was SO going to put this on my blog, but then forgot to give her my blog info! If you happen to know who I’m talking about, please let her know to stop by! And if you see this, Charlotte’s Mama, send me a message to claim credit! You and your family were wonderful to meet! Hope you had a great visit with family!

When Mama’s Away…

Zac has FPIES reactions, apparently.

Trying to catch tadpoles in the creek while staying with Grandma and PopPop this week!

Trying to catch tadpoles in the creek while staying with Grandma and PopPop this week!

This is the hard part of child care for an FPIES family; no matter how much the caregiver loves the child and believes that FPIES is real and serious, if they haven’t lived it every moment of the day they just don’t quite understand the nuances of FPIES living.

In my case, Darrel keeps the kiddos during the weekends and my mom and dad keep the kiddos when Darrel is at work. They live just far enough away – and in the opposite direction of Darrel’s work – that when they’re on “baby patrol” the kids just go stay at Grandma and PopPop’s house 24/7.

Since my parents just moved, their house is a mine field of stuff for the boys to get into. Not to mention, they are not practiced at “accidental ingestion avoidance”.

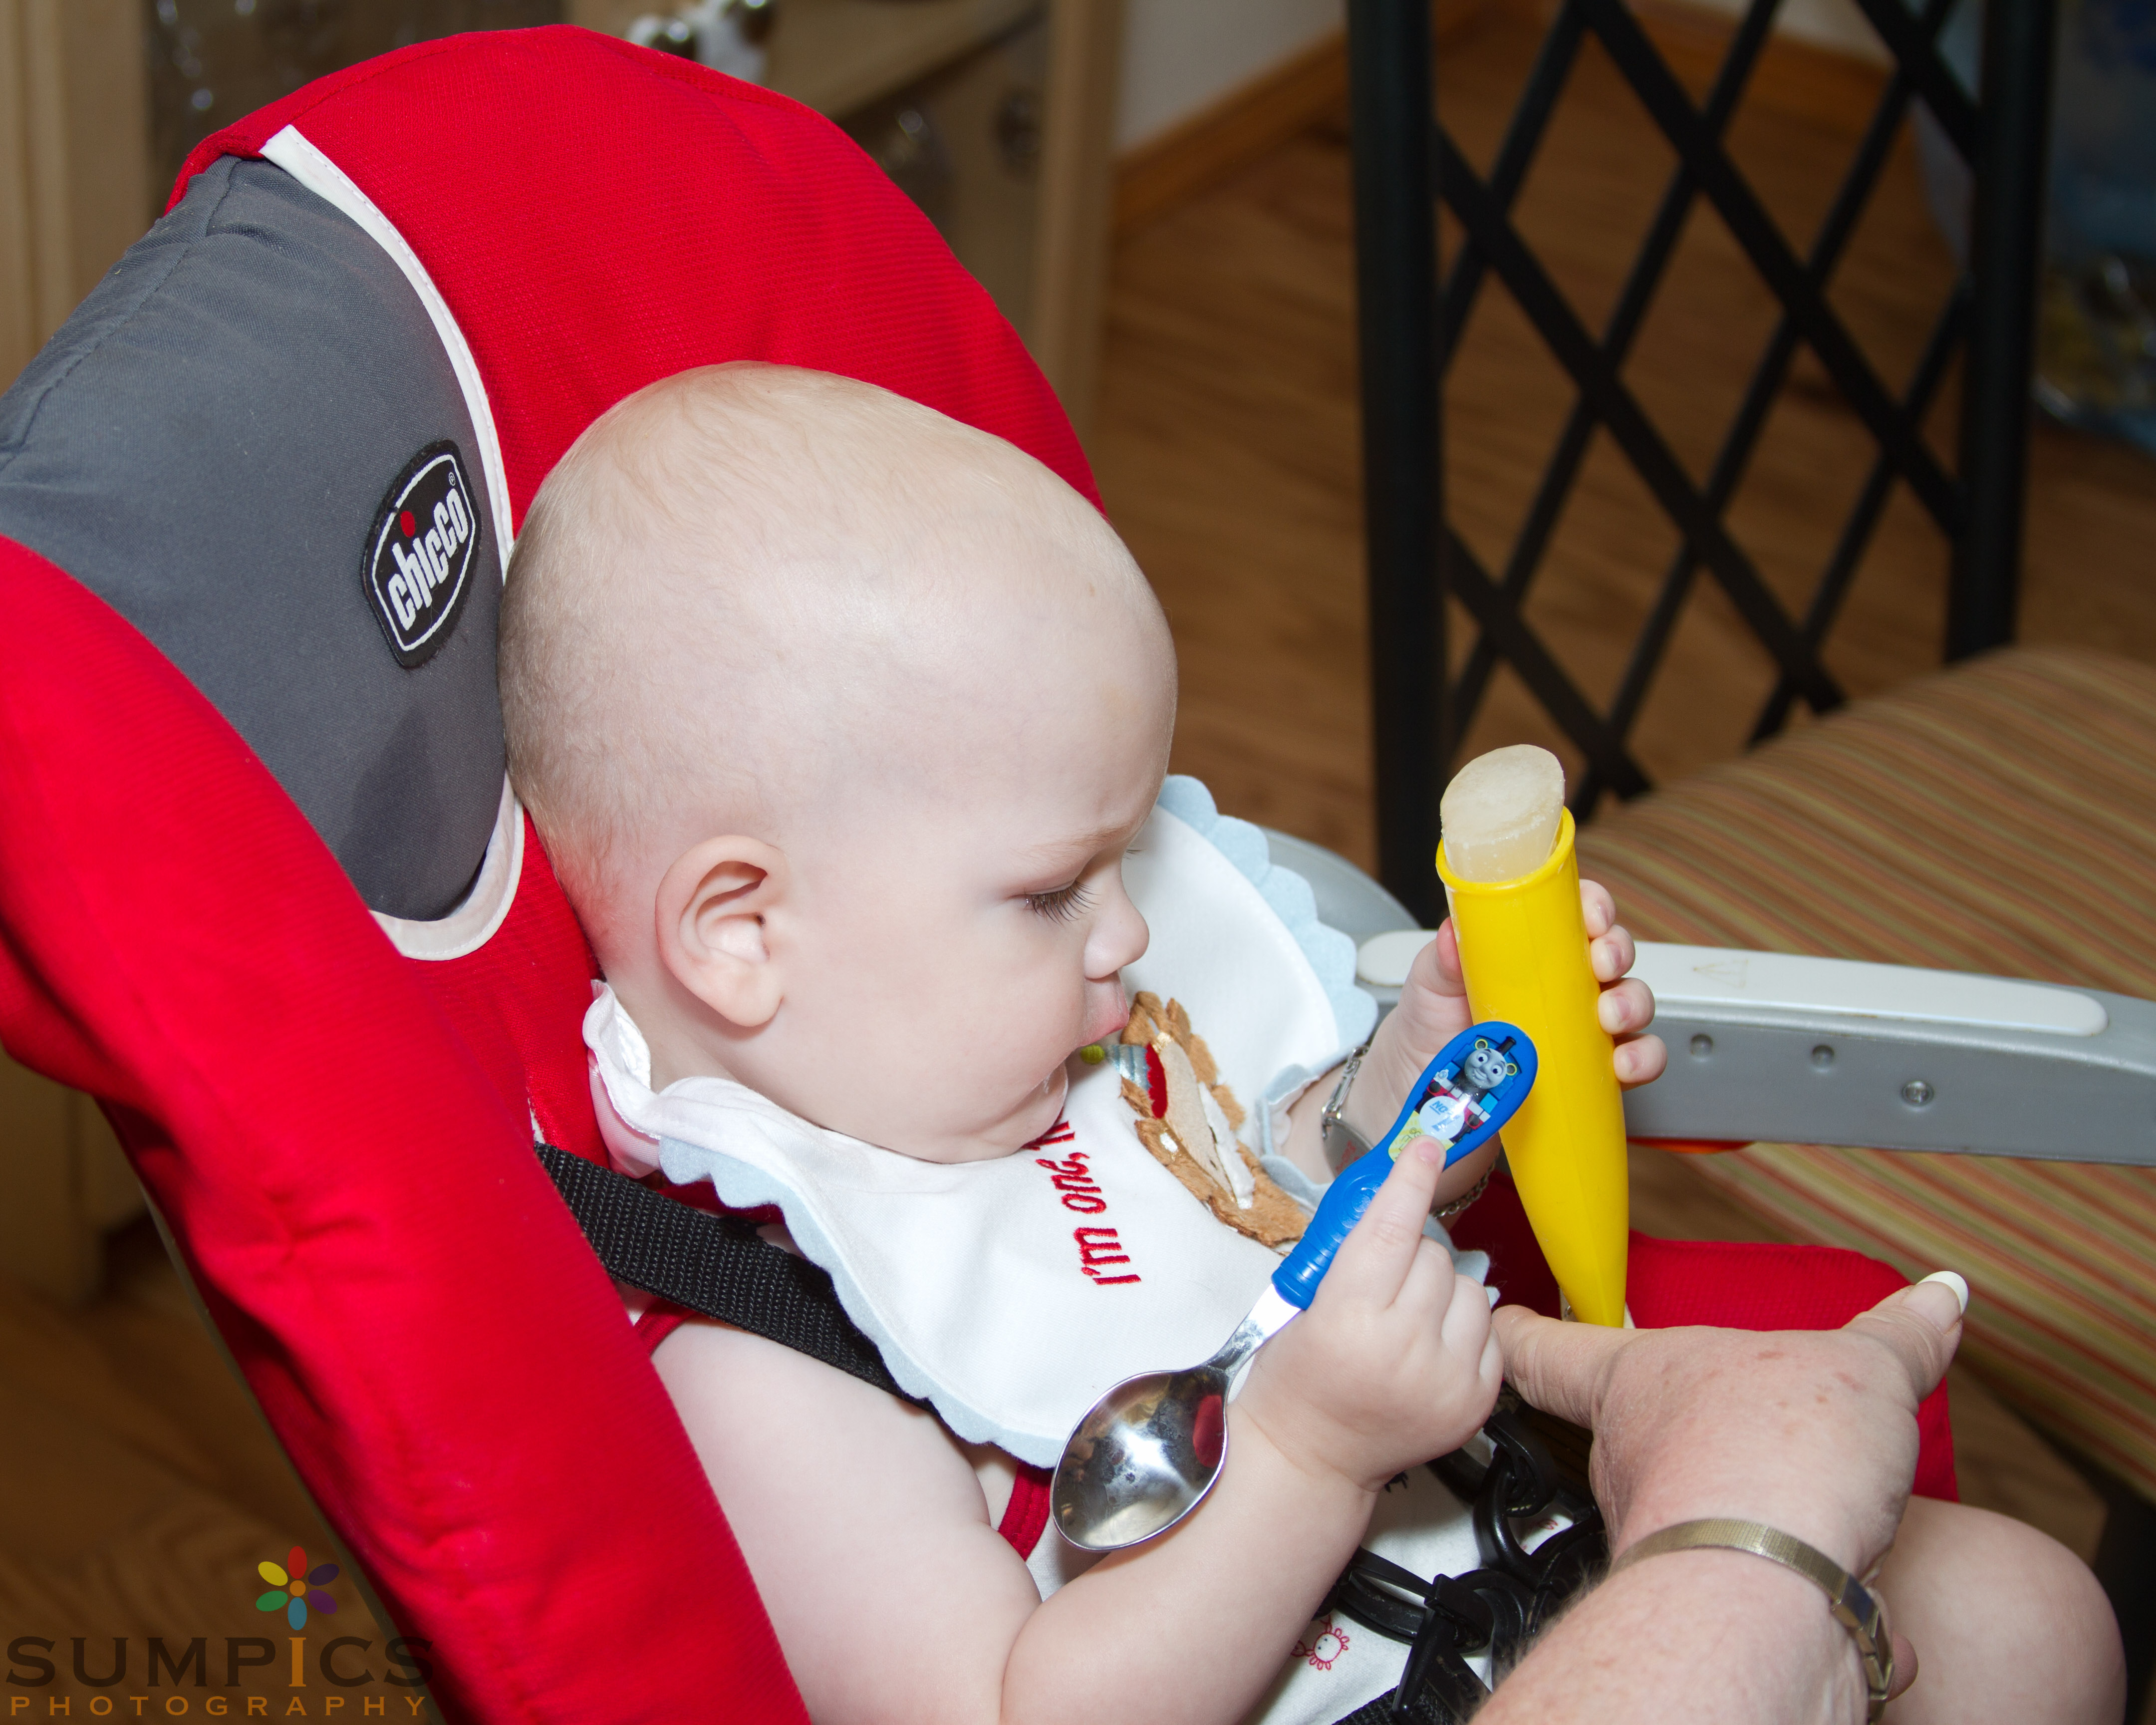
So on my first trip back to work, Zac was given unsafe milk that had been pumped before he was hospitalized and we started the TED. He reacted for a blessedly short amount of time to that and we were able to get clean poops and a lamb broth trial started a mere week later.

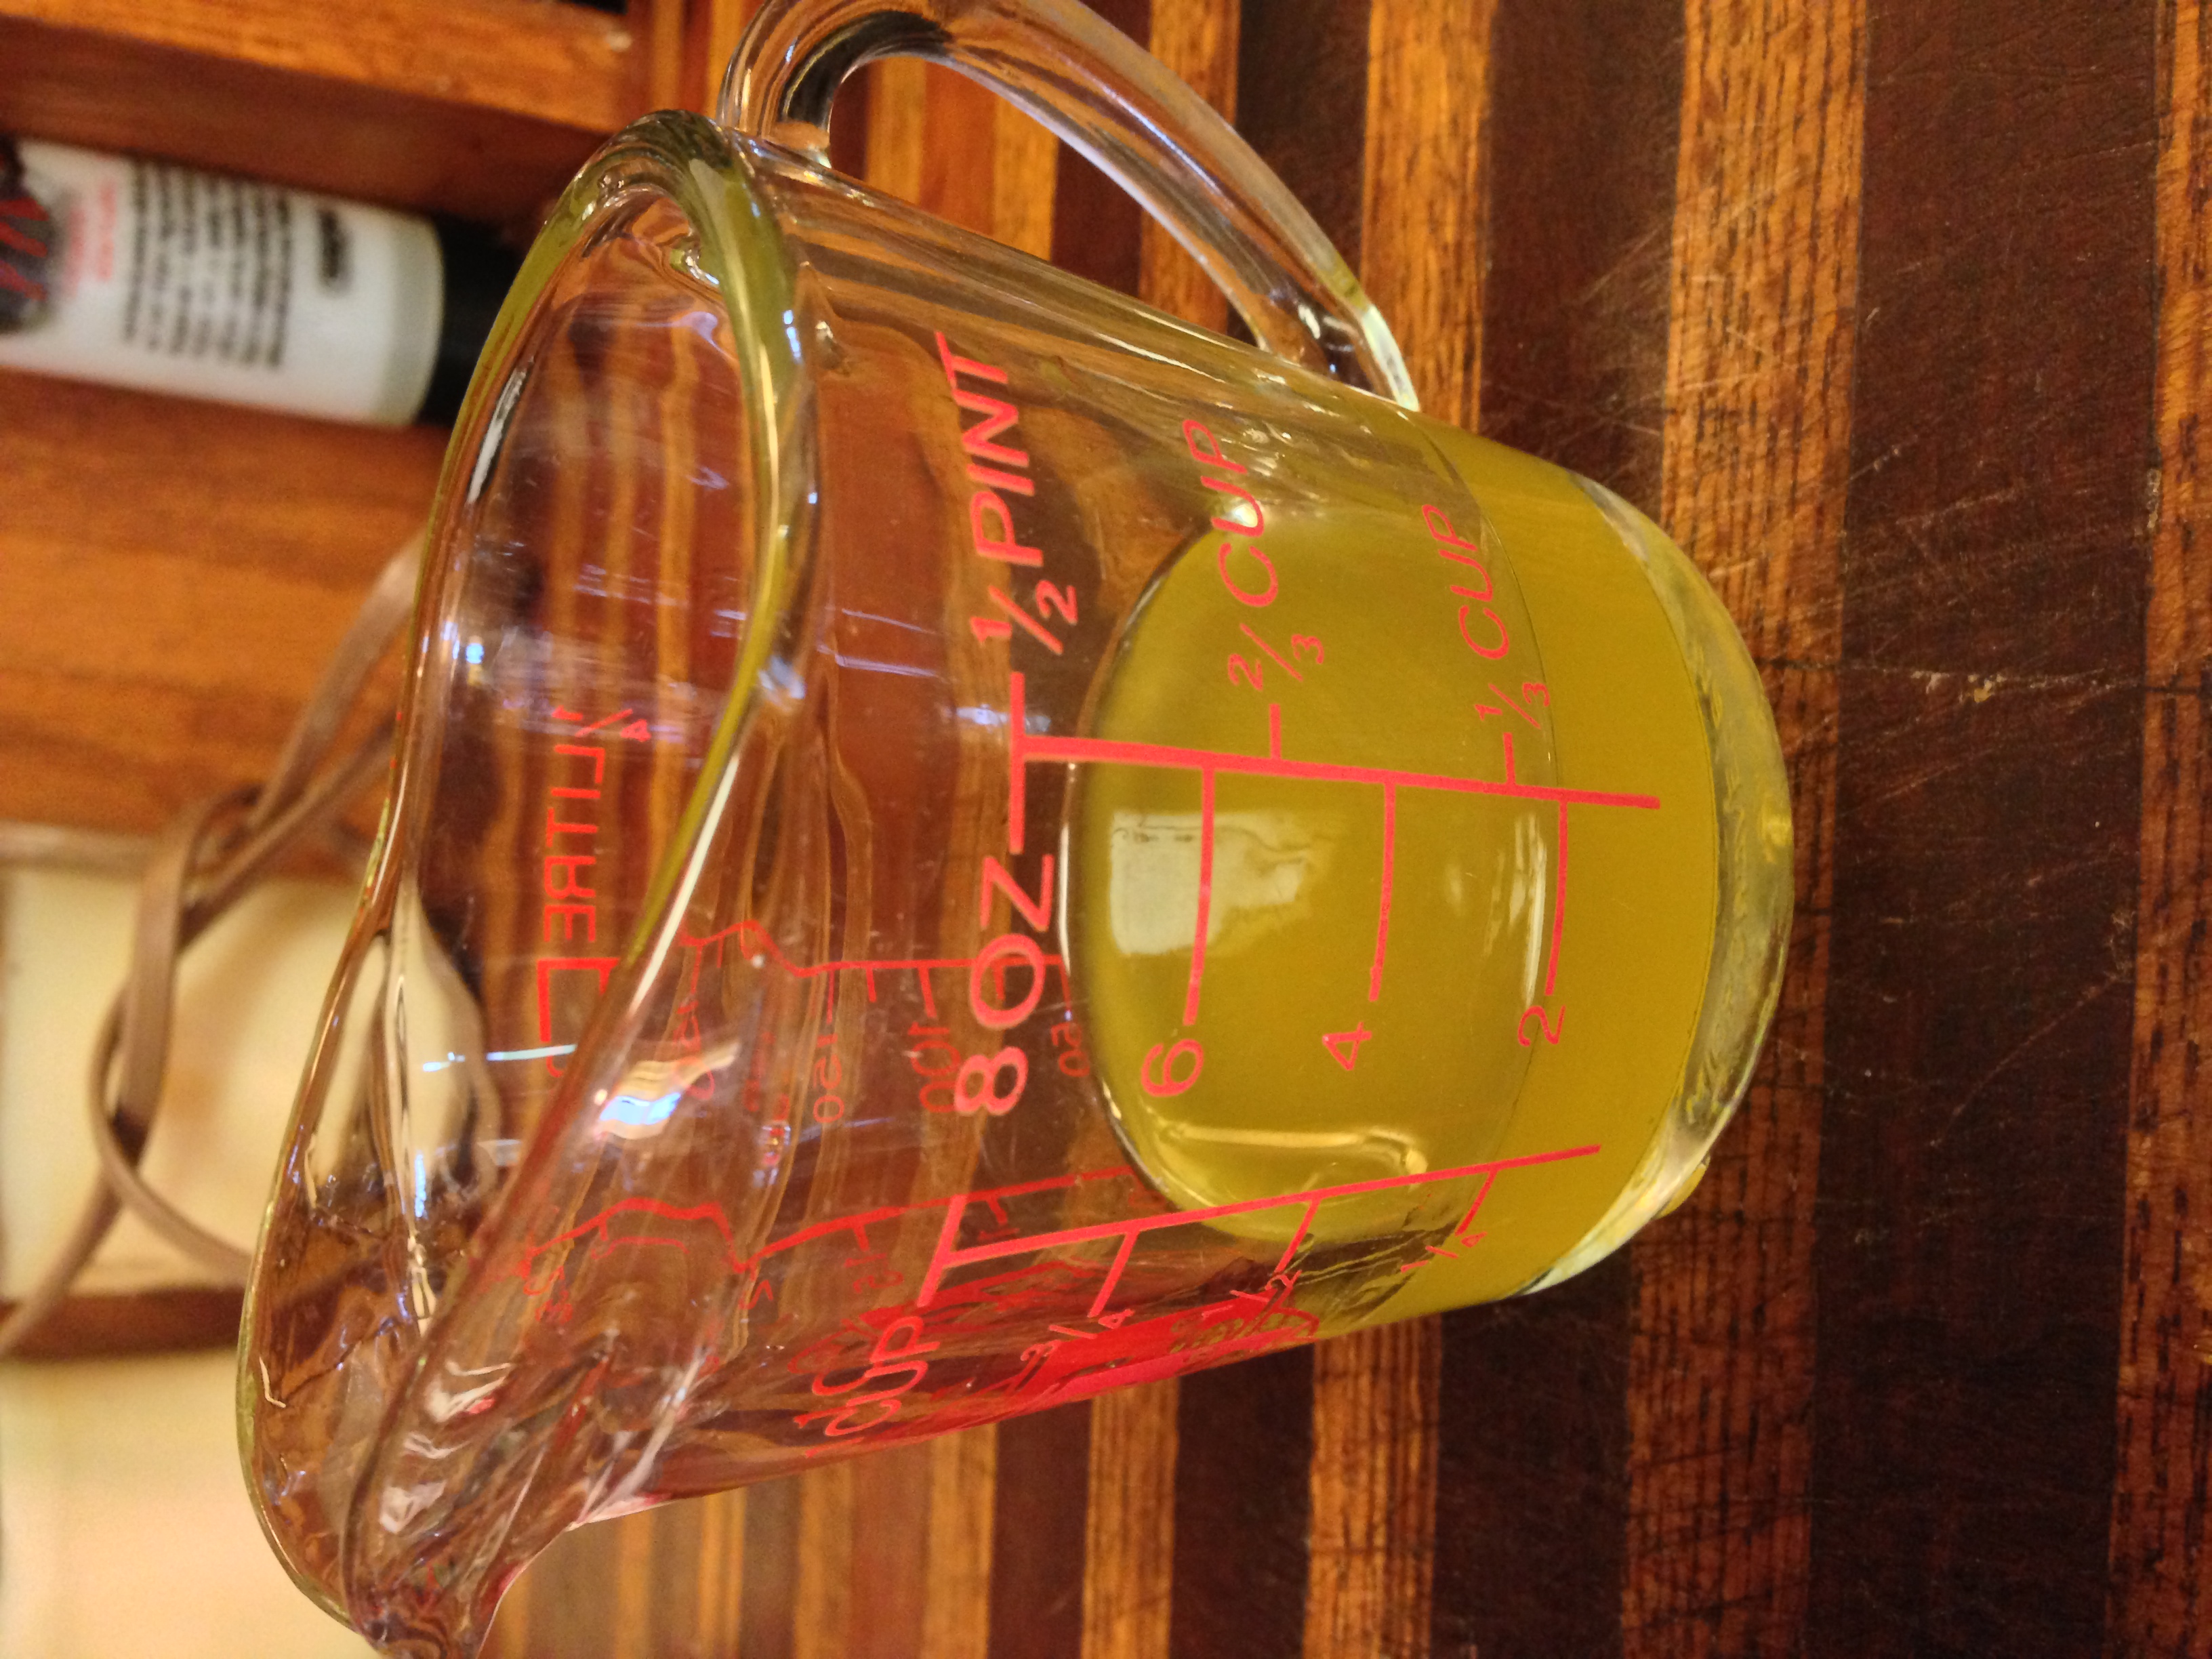
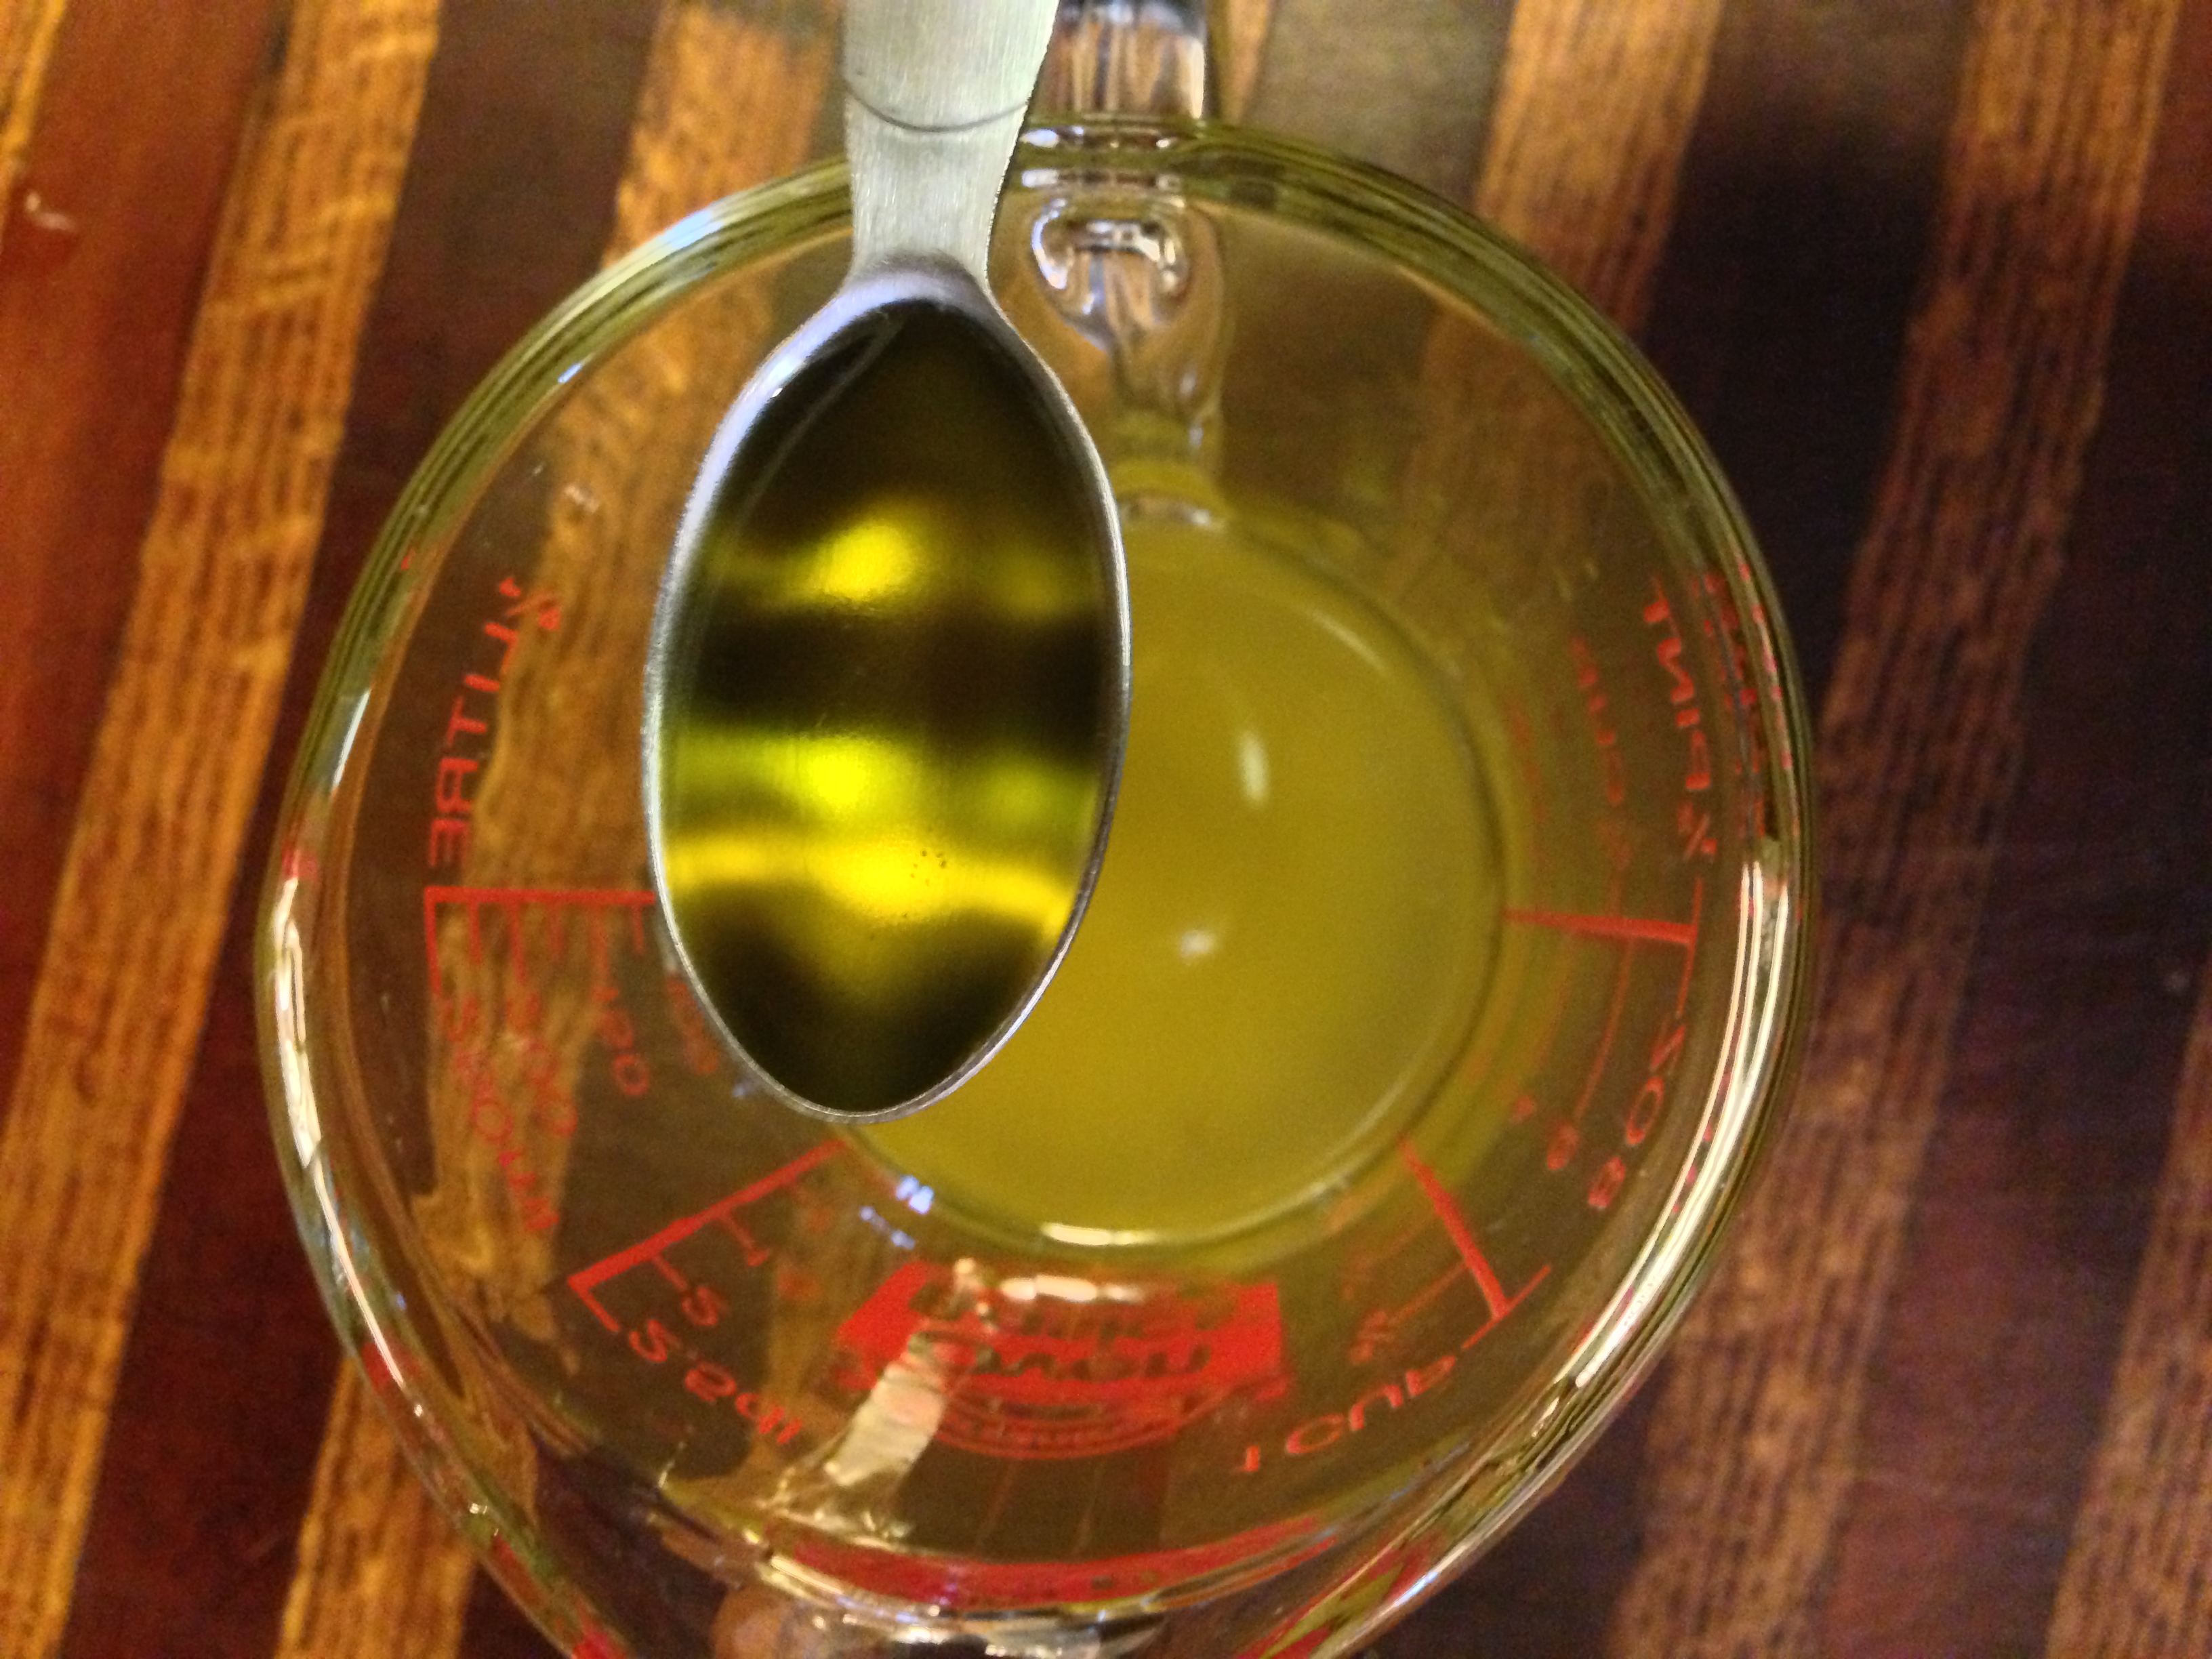
This second trip, that I just got home from on Sunday, was a little different. I was more relaxed because now the issue of which milk was safe had been settled. We had started a lamb broth trial on my days off, and he was being given as much lamb broth as he would like until Thursday.

As of Friday, my mom stopped giving him the broth, as part of the food trial. We planned for a 3 day break and then a reintroduction to see if he would handle it okay.

On Friday I was chatting with Mom to see how things were going and in the conversation she shared that Zac had started up with nasty diarrhea that morning. She had seen what looked like a corn kernel in his diaper, but didn’t do what *I* would have done and poked it with a finger until I knew for sure what it was. (Yes, I actually sometimes dig through the poop. Gross, I know.)

Really, though, can you blame her? Ew.

As an afterthought, she shared that the previous day he had also been playing with a board on their porch and, unbeknownst to her, the board was oozing sap. So his little fingers got stuck together with tree sap!

She decided the safest thing to remove it was olive oil, since I’m eating that already.

It’s perfectly logical, and actually not a bad idea – except for the fact that we’re trying to avoid giving him anything I’m actually eating right now because if he does react to it, I have to stop eating it and I can’t afford to lose anything from my diet at all yet. But Mom didn’t know that.

So I’m sitting in Newark, NJ, on the phone with Mom, and groaning at the fact that Zac is reacting to either Corn, Olive Oil, or Pine Sap – or a weird delayed reaction to Lamb Broth.

I’m not mad at my parents at all; this is just part of what FPIES Mama’s talk about when we say people don’t “get it”. Until you’ve lived it 24/7 for a period of time, you will naturally be incredulous at the thought that a single kernel of corn could cause such drastic reactions in a child.

In a similar fashion, I was informed over the phone that Zac had a diaper rash and was having a reaction…but when I got home and saw his butt I was shocked and horrified. It’s one of the top 3 worst diaper rashes he’s ever had; they told me about it, but without seeing it myself I couldn’t imagine how bad it was.

Same sort of thing, different set of circumstances.

So, not mad at my parents at all. Not mad at Darrel at all. Just frustrated that it seems like the learning curve for taking care of Zac involves accidental reactions that burn his butt.

(To be perfectly clear, here, my parents have been AMAZING about my kiddos and their issues from the get-go. They try really, really hard to keep it all straight…it’s just that it’s a lot to keep straight when you don’t make it your full time career as I have done for the past year! Even Darrel gets confused sometimes, because he has the audacity to, you know, work. <wink> So, my Mom and Dad? Are awesome and I don’t want anyone to think they’re anything BUT awesome. M’kay? Thanks!)

When I got home on Sunday and tested his first two diarrhea diapers, they were both bloody, but by Monday at bedtime he’d only had one nasty diaper the whole day and it wasn’t as bad.

Plus I decided that none of the stuff we were using on his butt was working, so I tried arrowroot starch. Baby powder is a no-no because of corn, so I thought some other kind of starch might help keep his heinie dry and maybe help, in light of the fact that nothing else was working.

And arrowroot starch worked! His butt looks SO much better now! It’s almost healed!

So if we can get another poopy diaper without blood, we can resume the lamb broth trial to see how he does. Understandably, we had to hold off on that on Monday, so I can’t wait to see if we’ll finally – FINALLY – have our first Safe Food!

__________

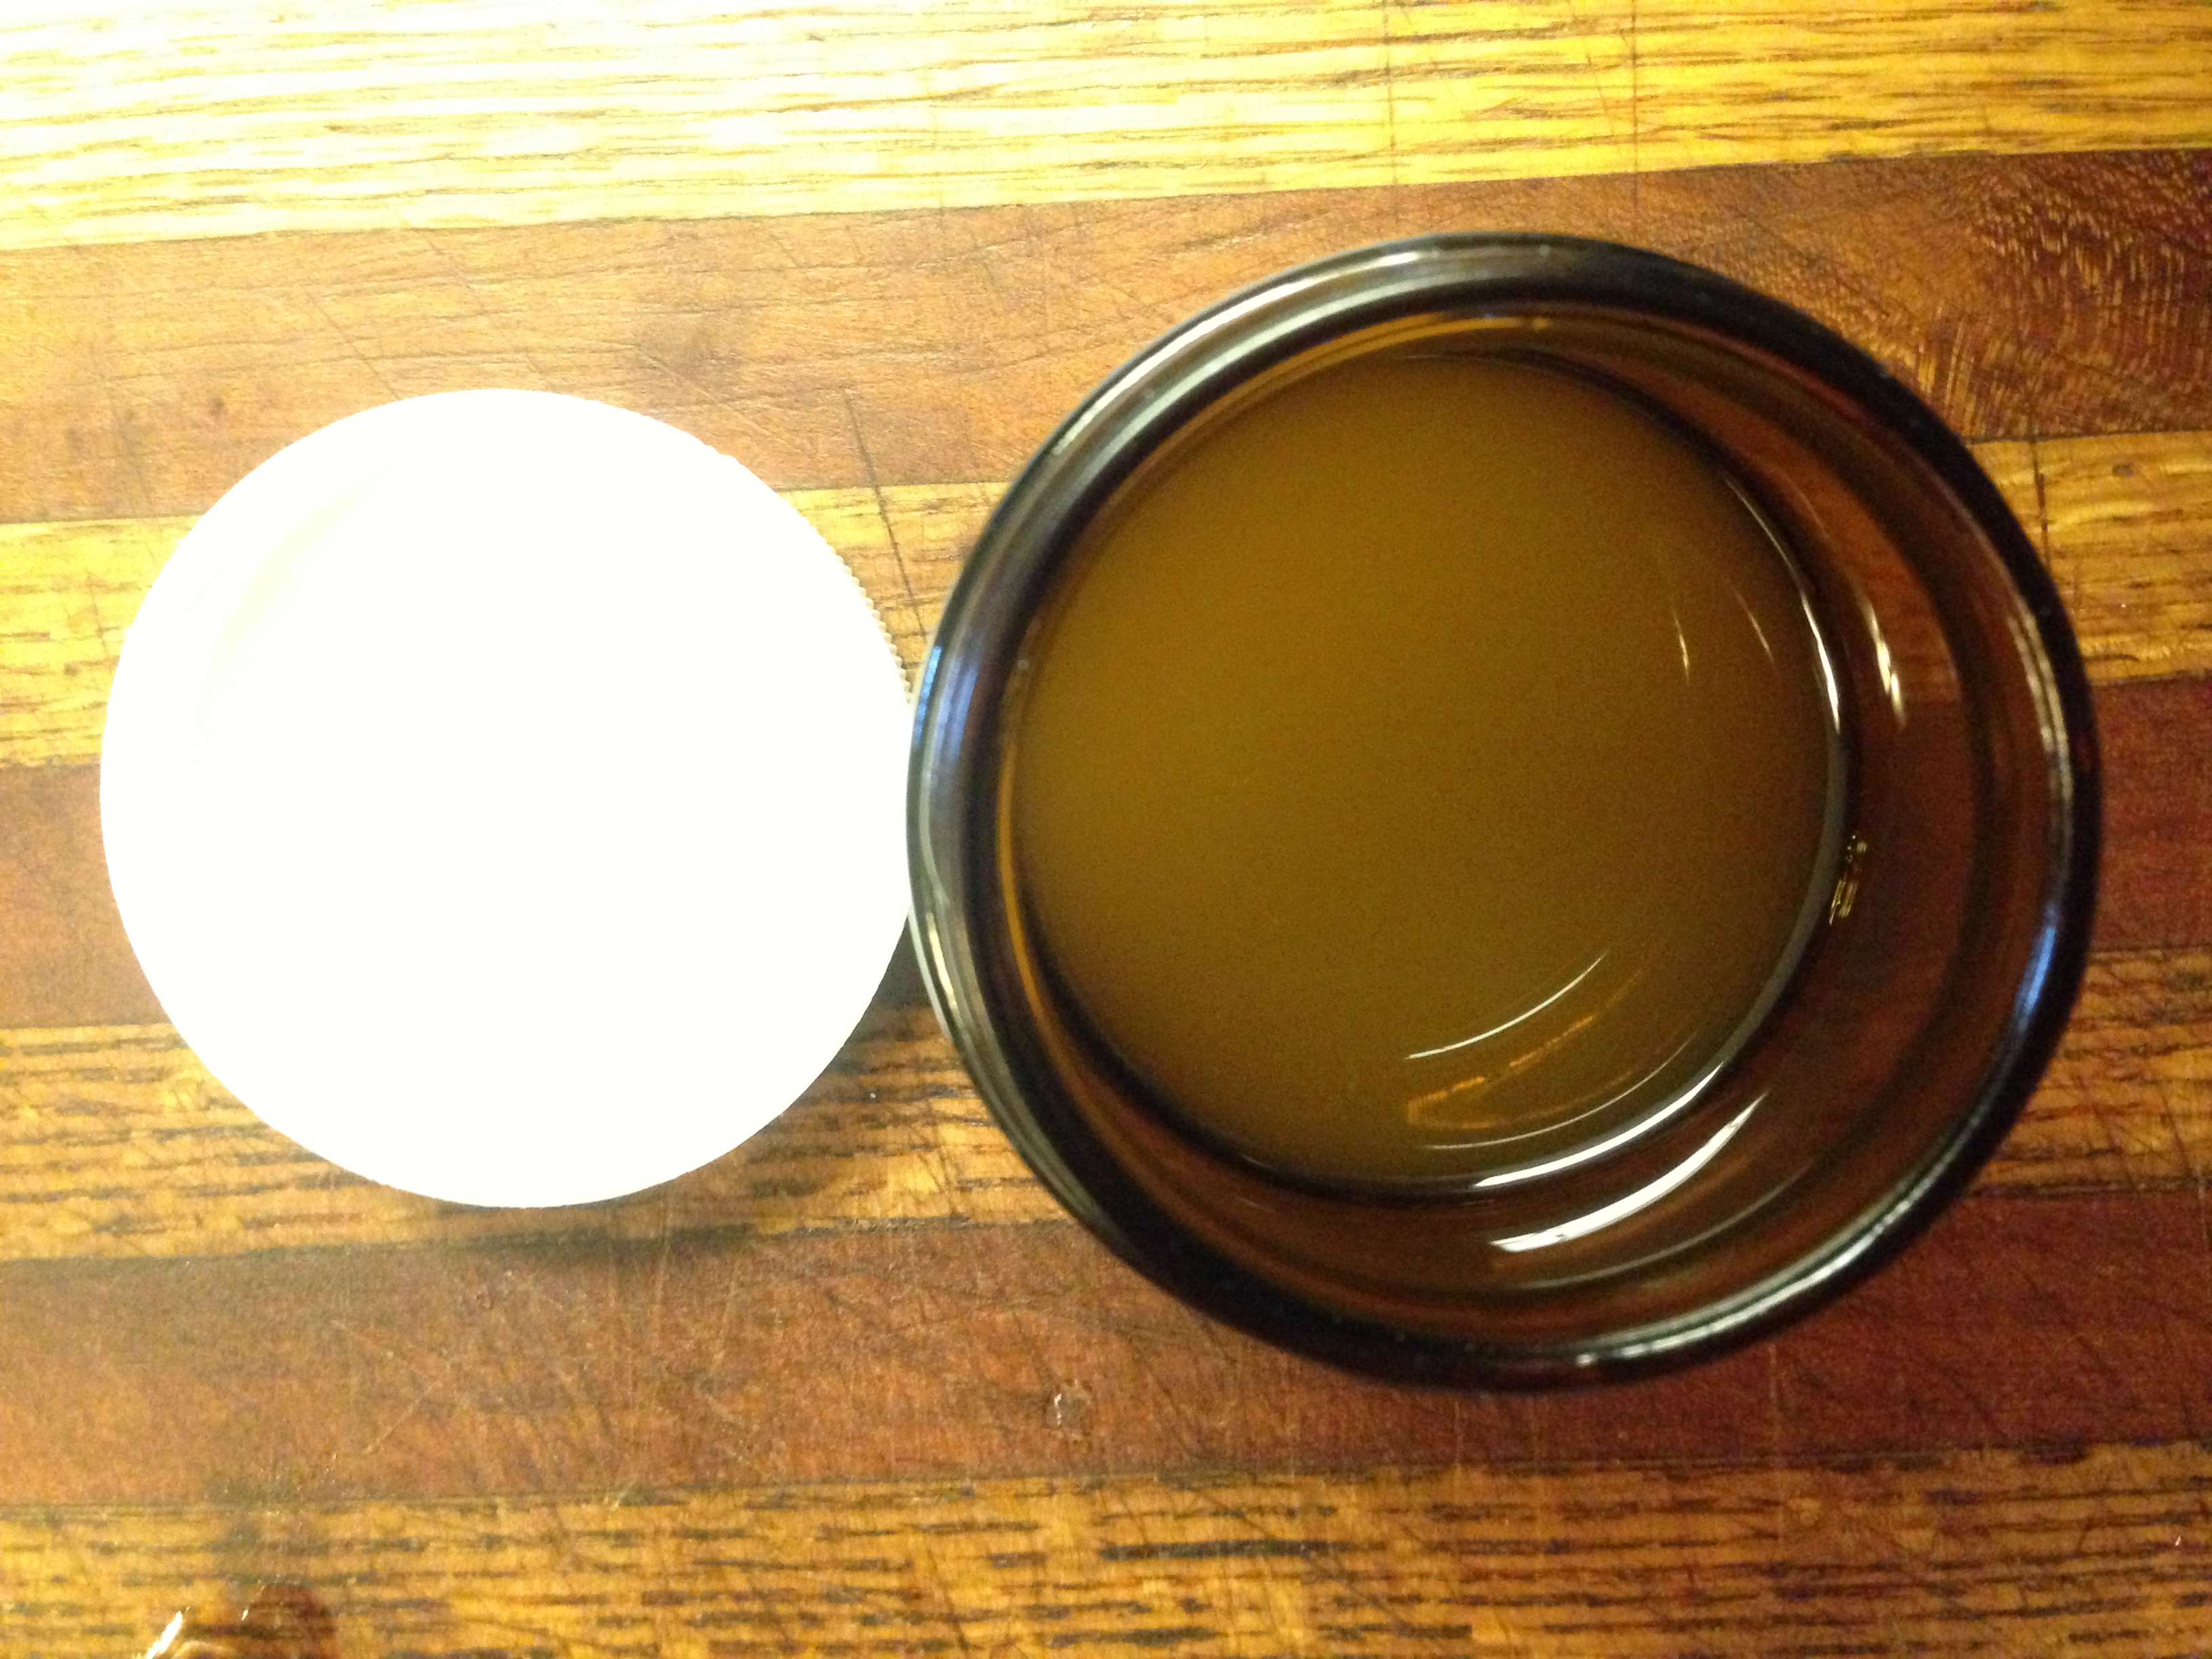
In other return to work news, when I got home I did a milk supply inventory. Counting the milk I brought home from the last work trip, I have 409.5 ounces of safe milk for Zac.

He’s been drinking about 50 ounces per day.

So I have just a tad over 8 days worth of food left for my son.

Did I mention I’m scheduled to work 6 days in July? Not counting the time I lose at home with the commute?

So, yeah, we’re going to be forced into a formula trial in August. There’s no way I’ll be able to pump enough milk for August in that amount of time. We may not even make it all the way to August with the milk I’ve got!

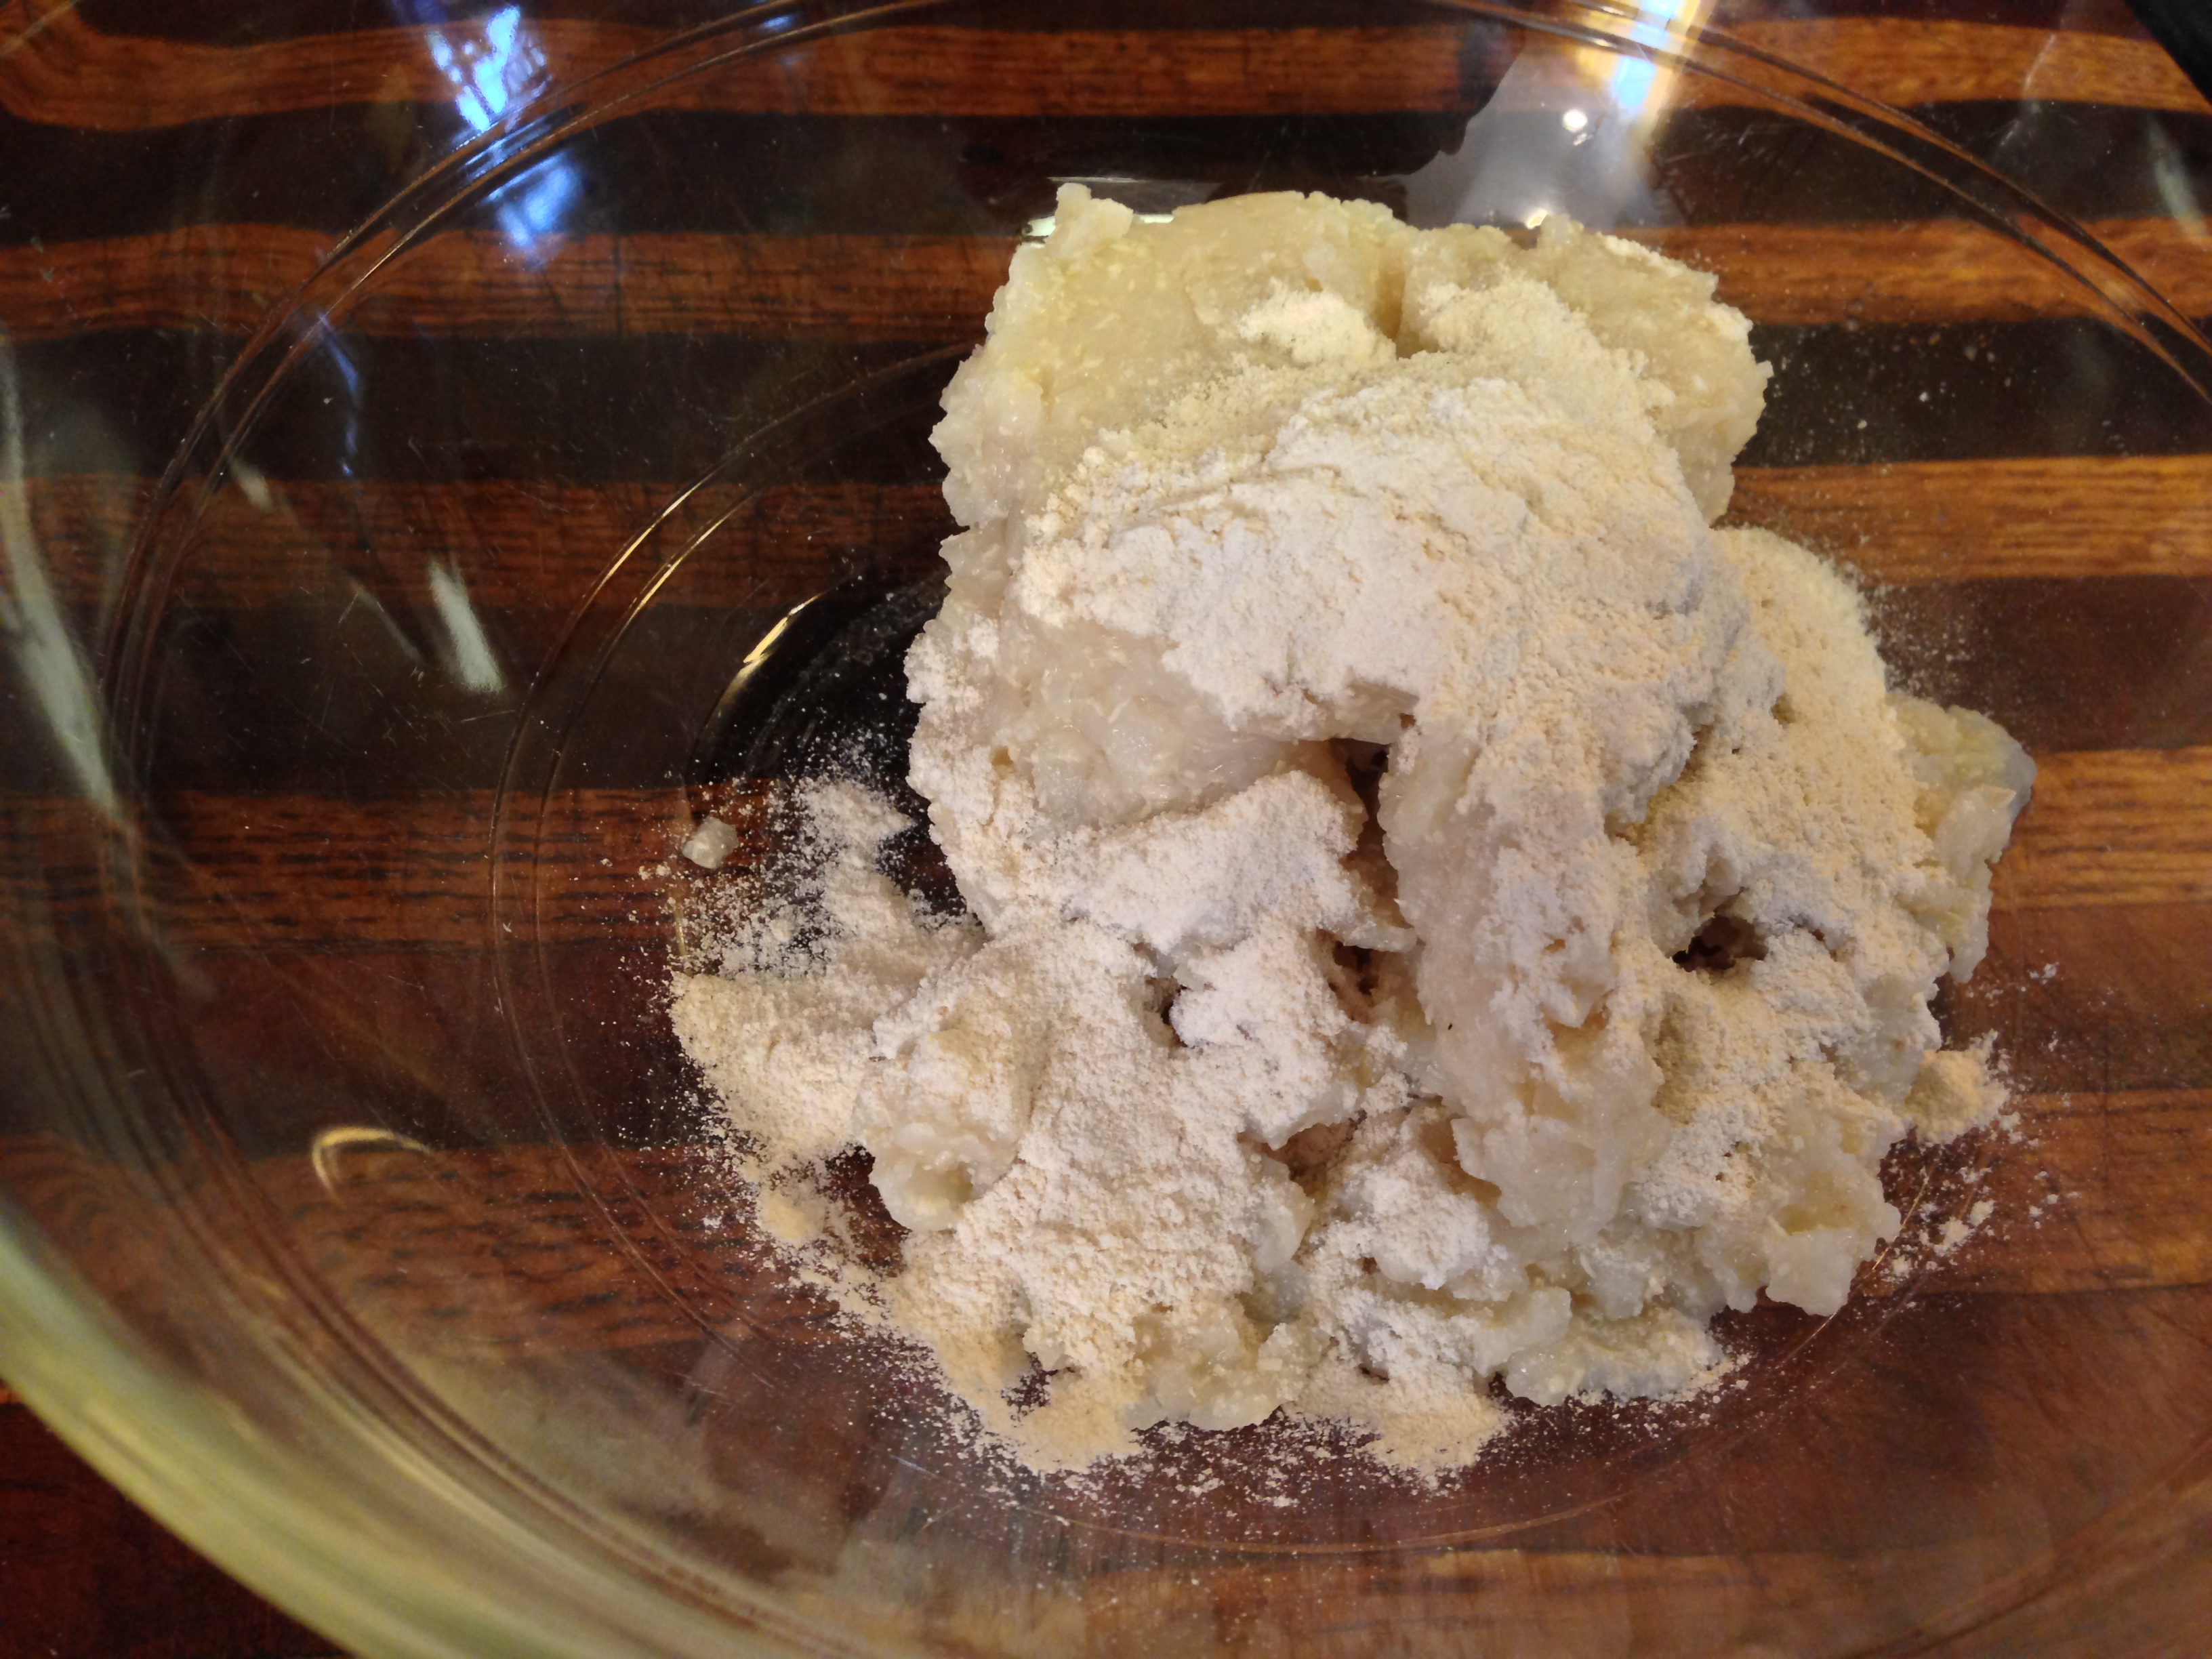
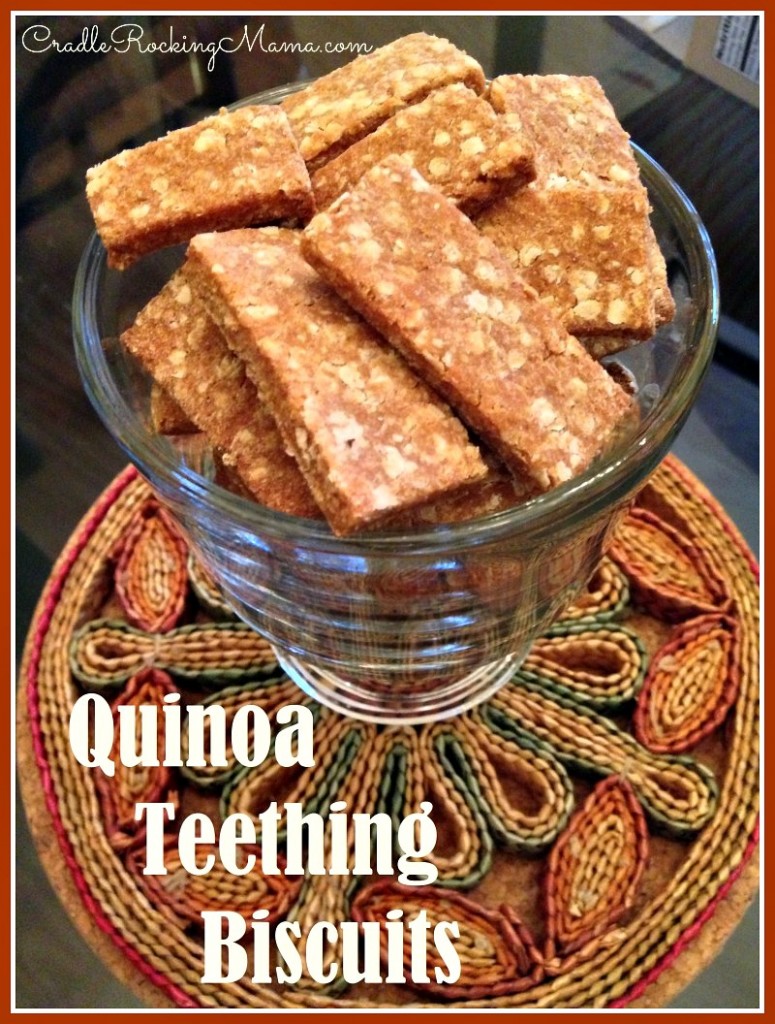
Now I’m trying to figure out if we can finish lamb and quinoa before we have to trial a formula. I don’t think we’ll have the time; I think we’ll be lucky to finish lamb before we have to trial formula.

Ugh.

__________

Last week we took Zac in for his 12 month well baby exam. He hasn’t grown in months. He is now in the 5th percentile on weight and the 25th percentile on height. As of 9 months old he was in the 25th percentile on weight and 75th percentile in height, and his actual height and weight have remained unchanged in that time.

So the doctor is concerned and wants him to get some blood work done to rule out other causes of stagnant growth. He’s NOT failure to thrive at this point, but he’s on the ragged edge of it.

I’m honestly not as stressed about that as I’d imagined I would be, if ever faced with this. The truth is, I’ve known he’s not growing for a couple months now; we weigh the kids weekly, so it’s not a surprise.

FPIES means I can’t give my son the food he needs. FPIES means that I’m stuck between a rock and a hard place. If I just feed him foods in the hopes that he’ll be fine with them and he is NOT okay with them, then he’ll have weight LOSS as a result.

We’re doing everything we can to progress to foods, but ear infections, corn kernels, board books, tree buds, and other myriad things keep interfering with our best laid plans.

He’s meeting developmental milestones; his brain is right on track. It’s just his poor little body that is shrinking before my eyes.

The good news is that he did NOT test anemic, which, for breast fed babies is a concern.

Guess all that red meat I’m eating is doing some good for him, after all!

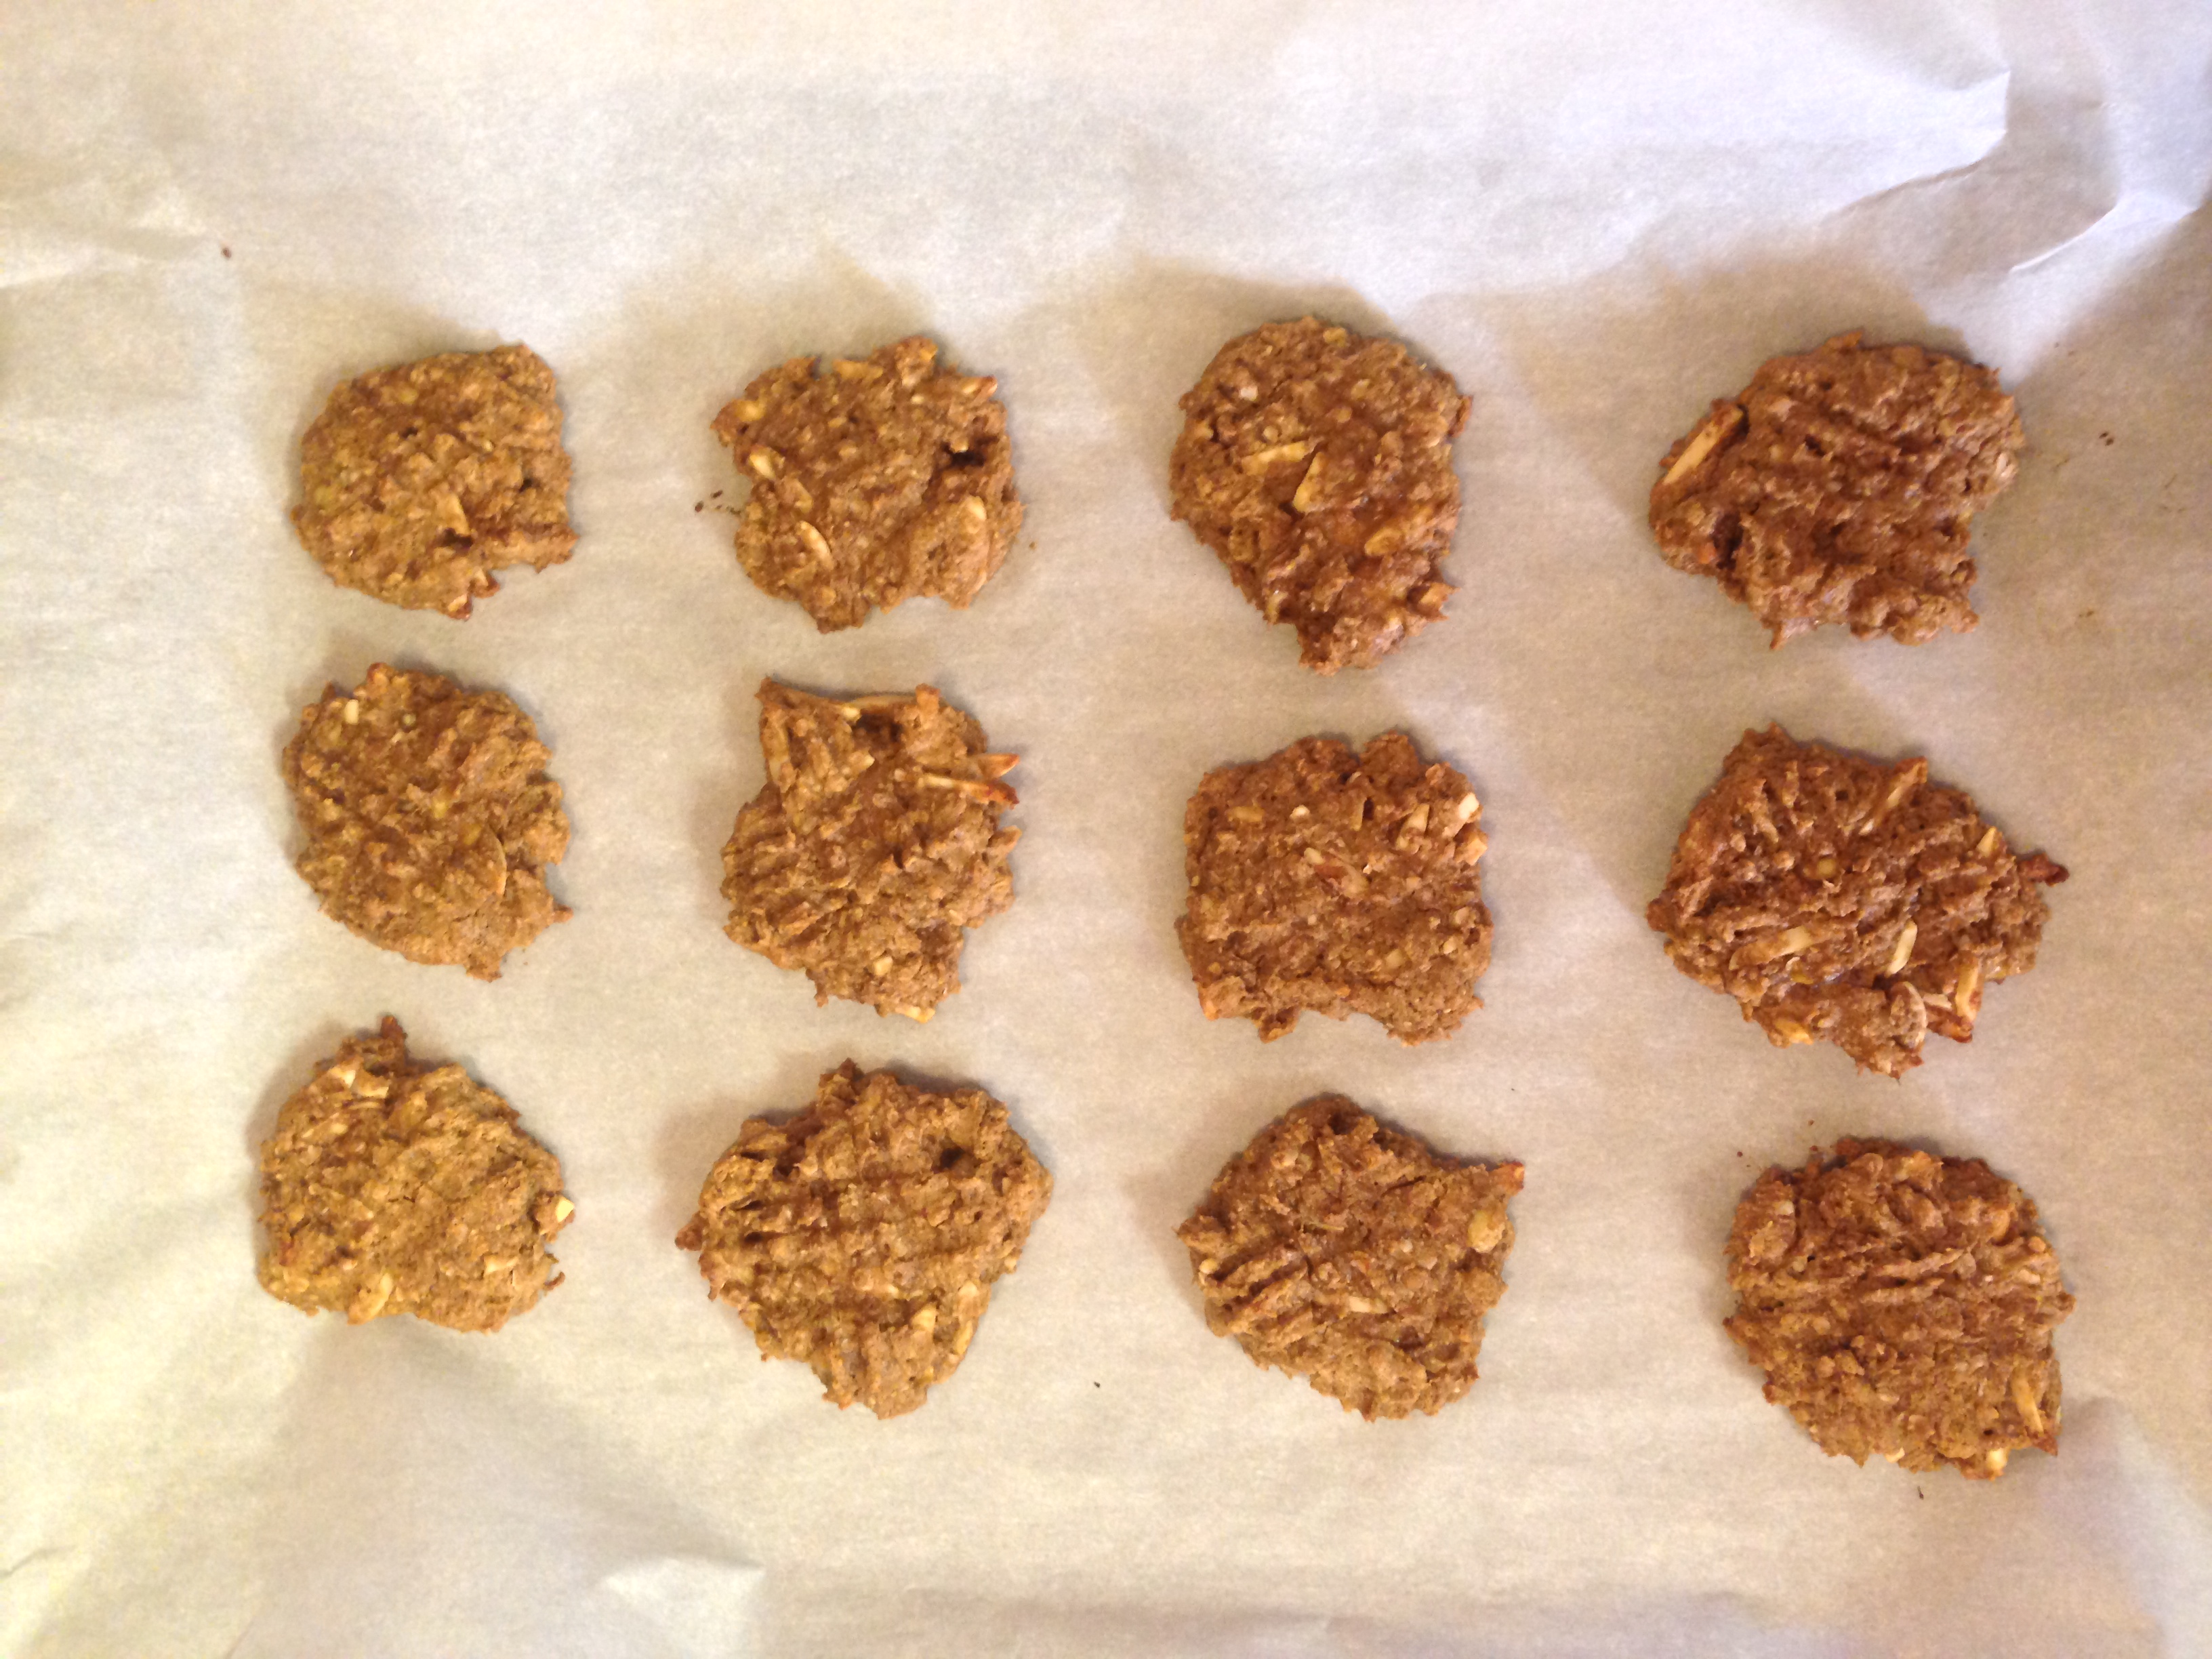
Sigh…well, with hope we can begin lamb broth again tomorrow or the next day, and with prayers he’ll do just fine with it. Sucking down a few bottles of that per day ought to help, and if the broth is good we’re going to feed him lamb MEAT next.

That should REALLY help things!

And while we’re being pushed into a formula trial for August, I’m hoping I can adjust my schedule to work only the last half of the month. That way, we may be able to finish off quinoa before we have to mess with a formula trial.

Formula trials scare me.

With lamb and quinoa in his diet, I’m sure he’ll start gaining weight…and from there it’s – hopefully – all uphill.

Prayers, please? And lots of finger crossing? Thanks!

Quinoa Teething Crackers

Quinoa Teething Crackers CradleRockingMama

When we started trialing quinoa, I got very excited. I knew that quinoa would offer a lot of variety in Zac’s diet (and, eventually, mine), and to start with I wanted to make him his very first teething cracker.

I had seen a few recipes for homemade teething biscuits before, but when it came time to make this I just “winged it”, so I don’t know how much this will resemble other teething cracker recipes out there. All I know is that it worked, and Zac LOVED it! (By the way, I have heard of teething biscuits and teething crackers – anyone know what the difference is? I’m using the terms interchangeably!)

It’s so simple, too!

We started Zac’s quinoa trial with cooked quinoa flakes. I followed the directions on the box and wound up with 1 cup of cooked quinoa. His trial only used 1 tsp. of quinoa for the first day, so that was a lot of quinoa shoved in the fridge!

Cooked quinoa flakes are very moist, of course, so I added quinoa flour to help turn it into a dough.

That wasn’t quite enough to get the consistency right, so I added some uncooked quinoa flakes and mixed it together and voila! A dough!

Making a dough

Making a dough

I rolled it out somewhere between 1/8th and 1/4th of an inch thick on a sheet of parchment paper. It was really sticky, so I actually used a sheet of parchment paper on top, too. That kept things nice and neat!

Rolled dough

Rolled dough

After it was in a nice, flat piece, I cut it into small rectangular shapes with a pizza cutter.

Then, just to be tidy, I pulled away all the odd shaped pieces and re-rolled and re-cut them until I had mostly neat little rectangles to cook.

Nifty rectangles

Nifty rectangles

At the time, I was making a pot roast, which is cooked at 300 degrees. Since I don’t have a nifty double oven, I just threw the crackers in at the same temperature, hoping it would work. Turns out, some time between 45-60 minutes at a low temperature made them PERFECT.

I let them cool on a cooling rack for a few minutes, then took the whole sheet of parchment paper off the cookie sheet and let them cool the rest of the way.

Thanks to pre-cutting them, they snapped apart into cute little rectangular crackers just the right size for Zac’s little mouth!

Yummy teething biscuit/crackers!

Yummy teething biscuit/crackers!

Jed even started snagging them off the counter, asking for “More crackers, peese, Mommy!” Darrel tried them and said they were a really good cracker; he remarked that they didn’t even have any of the aftertaste that quinoa items can sometimes have.

So this is a definite winner in my house! I hope it works well in yours, too!

(And I really hope Zac can handle quinoa when we reintroduce it later on…he LOVED these crackers!!)

Quinoa Teething Crackers
 
Prep time
Cook time
Total time
 
Make a healthy, tasty teething cracker for your baby! (Or to snack on by yourself)
Author:
Recipe type: snack
Serves: 2.5 dozen crackers
Ingredients
  • 1 c. cooked quinoa flakes
  • ⅔ c. quinoa flour
  • ½ c. uncooked quinoa flakes
Instructions
  1. Preheat oven to 300 degrees Fahrenheit.
  2. Cook a batch of quinoa flakes per package instructions. (Mine suggests ⅓ c. flakes and 1 c. water.)
  3. Portion out 1 c. of the cooked quinoa flakes in a bowl.
  4. Add the quinoa flour and uncooked quinoa flakes to the cooked quinoa flakes in the bowl and mix together completely.
  5. Lay dough on a sheet of parchment paper; lay another sheet of parchment paper on top and roll the dough out to a thickness between ⅛th and ¼th of an inch.
  6. Using a pizza cutter, cut the dough into whatever shapes and sizes you would like.
  7. Slide the sheet of parchment paper on to a cookie sheet, remove the top sheet of parchment paper.
  8. Place in the oven and cook for 45-60 minutes, depending on how brown and crispy you would like them.
  9. Hand your baby a healthy, wholesome teething cracker to gnaw!

Do you have a great, allergy-friendly teething cracker recipe? Please share your tips!

__________

This post shared with:

AllergyFreeWednesdays

Healing With Food Fridays, Thank Your Body Thursday and Real Food Wednesdays.

Bug Scuffle Farms

Hiya!

Hiya!

Last Wednesday, the first thing I did after landing back home was to head out to Bug Scuffle Farms.

I needed some lamb, you see.

Backtracking a bit; Zac was doing pretty good on his quinoa trial, but then, of course, the ruptured eardrum from hell came and forced us to use antibiotics on him. So we had to halt the quinoa trial for the time being.

After messing with his gut flora with antibiotics, we decided to put quinoa on hold for a little longer and move on to broth, a la GAPS Stage 1. (We haven’t decided if we’re going to do full GAPS or not yet, though we both agreed that the idea of Stage 1 was a good one.)

Now the question was: what broth do we pick?

Beef is out, because that’s what I’m eating and I can’t afford to lose it if he reacts to it. Chicken is one of our suspected FPIES triggers. Turkey is just another form of poultry, so, probably not good.

After going to my resident experts, the FPIES Mama’s, we decided lamb sounded like a good bet. It seems to be easier to digest, and while some kids do react to it the number of successes is higher with lamb than with other foods.

Now to find lamb!

The two online retailers recommended on the boards were currently out of lamb. So I thought “Why not?” and checked the freezer case at my local health food co-op.

What do you know – they had lamb!

So I called the number listed for the farm the lamb came from and spent a good 20 minutes on the phone with the man in charge asking him how he raised and processed his lambs.

He was very forthcoming, and at the end of the conversation the only remaining question was how the butcher processed the meat – and that was easily solved because he gave me the number of the butcher!

So I called the butcher and asked them, and the nice lady there said she would investigate and call me back. A few days later, the call came: no sprays, no dusting with starches, no nothing that could possibly be derived from corn. She had even called the manufacturer of their plastic shrink wrap to ask about it!

We’re in lamb, now, baby!

So as soon as my plane landed we headed off to pick up the lamb meat. 

I will tell you right now that I am very impressed with the farm and the people at Bug Scuffle Farms. The lambs looked healthy and happy, and the people were friendly and helpful.

Happy little lambs

Happy little lambs

Jed liked the farm, too, because they had guard dogs! And baby lambs! And he could barely contain his excitement at trying to hug all those furry animals at once!!

Can I keep him?

Can I keep him?

Marc is the owner/operator of Bug Scuffle Farms, and he was gracious enough to GIVE me 5 packages of lamb soup bones to use as a trial for Zac. All he asked was that we “remember Bug Scuffle Farms if you need more”.

Not a problem there, Marc! If Zac can handle lamb, we’re already planning on buying at least 2 whole lambs to take to butcher for our freezer stash.

I told Marc that I had lots of friends *wink wink* that were often on the lookout for safe lamb meat and that I would be happy to send business his way.

He’s happy to have your business, too! The only caveat is that he runs a small, family owned farm and hasn’t been able to compete with the larger operations due to shipping costs. He doesn’t ship enough to get the big bulk shipping discounts (on packaging or shipping), so his meat costs will be fair, but his shipping costs will be higher.

But if you need some safe, grass fed and finished, organic, raised-the-way-God-intended lamb meat, I have nothing but good things to say about Bug Scuffle Farms and Marc. 

From his business card:

“Lamb and goats are 100%  grass-fed, no hormones, antibiotics, or grain. Sunshine, grass, and minerals. Raised in a low stress environment out on beautiful Ozark Mountain Pastures.”

And it really is beautiful out on the farm. Rolling, windy roads and green pastures everywhere you look.

You can contact them on Facebook, or via email: Mbarjkennel@pgtc.com

Tell them Carrie sent you. 

Jed love lamb!

Jed love lamb!

(We really did have to force Jed to leave. He loved the lambs!)

Oh, and since we’re now on Day 7 of the lamb trial, you might be wondering – how’s it going?

So far, so good! Zac has had some sleep disturbances and was nursing like a crazy man when I was home (I’m off at work at the moment) but I really believe he’s teething and that would explain those symptoms quite well. Otherwise, his behavior is good, his poop is excellent, and it’s looking good for lamb!

I’ve left instructions for the family to pull lamb broth on Friday, Saturday and Sunday. I’ll be home on Sunday, and then Monday we’ll begin lamb broth again to see if he reacts.

My fingers are crossed that it is a success! I’ll keep you posted!

(And, by the way, do you want to know how excellent Marc and Bug Scuffle are? He called me on Tuesday to ask how Zac was doing on the lamb! Wanted to see if he was doing okay with it or not. How’s THAT for knowing your farmer, huh? Really – if you need lamb, order from them, okay? That kind of awesomeness needs rewarding.)

Happy Birthday, My Sweet Boys!

Yesterday I told you about the boys double birthday party last weekend and how the cake sort of went wonky.

But it wasn’t a horrible day, even without a big bash and an awesome cake!

Jed was really excited by the candles on the cake…

Happy Birthday, Jed!!

Happy Birthday, Jed!!

He didn’t get to blow them out, though, because the candles were sinking quickly into the ice cream! I had to blow them out just to rescue them! Oh well. Next year, right?

Intently watching Mama rescue the candles!

Intently watching Mama rescue the candles!

I made a little too much cake batter, so I made cupcakes! Turns out the rolling glaze icing worked pretty well on the cupcakes.

Decent looking cupcakes!

Decent looking cupcakes!

We were on Day 2 of a Lamb Broth trial for Zac, so I grabbed a previously-unused-popsicle mold and froze some broth for Zac. He LOVED his birthday popsicle!

Oh, yeah, Mama! This is awesome!

Oh, yeah, Mama! This is awesome!

I think he’s teething, though, so maybe it was just having something cold on his gums that caused such love.

Earlier this year, Darrel and I stumbled on a toy store that was going out of business and scored the rest of this years gifts at 75% off. Awesome! So Jed got toys, and Zac got to play with them as Jed became distracted by the next toy. (Hey, he’s only 12 months old and was just as happy to chew on a spoon!)

Jed got a Thomas dining set – plate, bowl, cup, spoon and fork – which he LOVES…even though his little brother stole the spoon right away and wouldn’t give it back.

Now we have to serve every meal of Jed’s on a Thomas plate.

(I don’t think we thought that one through all the way.  Oops.)

The best gift was a helium balloon Grandma brought for them, which both boys – and our cats – have enjoyed tugging around the living room. Hey, it’s the simple things in life, right?

So it was a good party for the boys, all in all…but I have to share this photo. Someone took a toy away from Zac and this was his reaction:

He also looks like this whenever I leave the room. Fun!

He also looks like this whenever I leave the room. Fun!

See the spoon in his hand? Appropriated from Jed’s new cutlery set. He still carries it with him wherever he goes.

Too cute when he gets upset, you know? I really shouldn’t laugh, but I can’t help myself. He has the most expressive face!

So, Happy Birthday to my sweet boys! I can’t wait for another year with you two!

The Cake Mistake

Happy Birthday, Jed!!

Happy Birthday, Jed!!

Last Saturday we had a double Birthday Party for the boys! Thanks to my sheer awesomeness, I forgot to invite anyone until Thursday night.

Yeah, I know. I rock.

Consequently, it was a family affair with just my parents, the boys, Darrel and myself.

That’s okay, though, because this is the last year the boys might not realize how lame their birthday turned out to be. Besides, my great aspirations for a FANTABULOUS allergy and fructose friendly birthday cake kind of went *splat*.

After the sadness of Zac’s first birthday passing without a smash cake, I was on a mission: I was going to make Jed a gorgeous, delicious, SAFE birthday cake!

I read blogs, recipes, and books. I made a plan.

What I didn’t do, thanks to the frenzy of returning to work, was to do trial runs of this cake before hand. (That’s Mistake #1.)

So the day before the party I made the cake. I made the ice cream cake part. I made the icing. I planned to put it all together first thing in the morning before the party, and I just knew it would be great! I was so excited to be able to share these recipes with you – I knew SOMEONE out there had to be searching for a refined sugar-free icing recipe just like me, and I just KNEW my ‘planned’ recipe would fit the bill perfectly!

Only, it all kind of…didn’t work like I’d planned.

OK. In all fairness, the chocolate cake part turned out AMAZING. Darrel doesn’t even like chocolate cake, and he wanted to eat more of it! So I will (eventually) share that recipe with you because it’s a great allergy-free chocolate cake.

But the rest of it…well. Maybe it’s best if you just see it for yourself.

Not *quite* what I was going for...

Not *quite* what I was going for…

Yeah. Pretty, huh? Darrel managed to make it look prettier in a sliced photo…

Looks pretty good here, right?

Looks pretty good here, right?

…but it was tough, as the cake was literally melting as he shot photos! Hard to get a nice photo of something oozing all over the plate!

The good news is that I learned as I went. So here’s what I did wrong, and what I’m going to do differently next time. Because, ladies and gents, I am STILL on a mission! I will master a Fructose-friendly, Dairy/Soy/Egg/Peanut/Coconut-Free cake if I have to make eleventy-thousand cakes trying!!

Mistake #1: Not doing a trial run.

Next time I have an important event that I need something special for, I will attempt to make it at least a month in advance to give myself time to work with the recipe if necessary.

The chocolate cake part turned out, as I said, delicious! BUT…it is a very dense, rich cake that turns in to a rock when frozen! As I was aiming for an ice cream cake, that means that – while we love the cake by itself – it isn’t a good cake for this project. I would have known that if I had done a trial run and had time to figure out how to “fluffy up” the cake.

Also, I was so excited by my icing/glaze creation for the Blueberry Muffins because I was just SURE that I could easily turn it into a nice, stiff, spreadable icing for the boys birthday cake. If I had tried to do that earlier, I would have discovered that is easier thought than done! My icing got thicker, sure, but it was still essentially a glaze that rolled – and that was NOT what I was shooting for!

Plus, the maple syrup sweetener created a lovely shade of blah brown in the icing. Attempting to color it using fruit was trickier than I’d thought it would be, and doing a trial run ahead of time would have given me time to find the perfect solution without a deadline hanging over my head.

Mistake #2: Rushing.

I’m not too mad at myself for this one; after all, I had just returned from my first work trip! I was exhausted and drained, both physically and mentally. But rushing this kind of cake doesn’t work.

The ice cream cake part didn’t have enough time in the freezer to really “set”, so it was trying to melt all over as I was assembling things. That makes for a very ugly cake, and one that is very difficult to work with.

Mistake #3: Not reading directions.

The cake was an amalgamation of two different recipes I’d found, with my own tweaks thrown in for good measure. I decided to use ground chia seeds in the cake as an egg substitute, which I have never done before.

I guessed I would need about 3 eggs worth of replacement, and I quickly Googled “chia seeds egg replacer” to figure out what to do. The first link I clicked on said 1 T. of ground chia seeds mixed with 3 T. water replaced 1 egg, so I ran over, measured out 3 T. of chia seeds, threw them in the coffee grinder and let ‘er rip.

And y’all, let me tell you – it took a LOT more than 9 T. of liquid to balance that mess out!

Later that night, as I was reviewing my notes on the recipe and clearing out browsing windows in my computer, I happened to read a little further down on that web page where it said, basically, that the quantity of meal you end up with is LARGER than the quantity of seeds you start with.

So I basically added somewhere between 4-5 “eggs” to the cake without realizing it, because I didn’t bother to read the directions all the way.

Oops.

What I’m Doing Next:

First thing I’m going to do is re-make the cake! I had to do so much tweaking to it as I went, that even though I kept excellent notes, I’m not certain I can replicate the results. That’s why I’m not sharing the recipe with you yet. I don’t want to give you something that isn’t tested. (Besides, I think my boys – Darrel included – would like another chocolate cake!)

Next, the icing needs some serious work. For starters, I’m going to mess around with how to make food coloring out of veggies and fruits until I find the one I like best.

Then there’s the part that is sad for us: we learned that coconut isn’t actually entirely safe for Jed. 

He had been so completely fructose-safe, and on the day of his party he was NUTS. Belligerent, difficult, and fought sleep like a crazy child! Darrel commented that if he didn’t know any better, he’d think that Jed had been fructosed. We thought hard for a few minutes and finally it dawned on me that coconut milk was in almost every part of the cake!

So even though we had thought coconut milk was safe for him, apparently it doesn’t work well for him and it goes back to the no-man’s land of my kitchen cabinets.

I’m really sad about that, y’all. 

It also means that much of my icing creation is going to have to start from scratch. I’m going to experiment with making my own powdered sugar out of dextrose, to begin, but if that doesn’t work I will just have to get REALLY creative!

Also, I’ll re-do the original icing/glaze for the Blueberry Muffins with Almond milk to see if that works. I REALLY hope it does!

As for the ice cream cake part, I went simple: banana ice cream! As I said, though, it didn’t want to stay solid. I don’t know if that’s because I didn’t have enough time to let it freeze all the way, or if it’s something inherent in the banana ice cream. So first I’ll try freezing it for a full day before messing with it, and if that doesn’t solve the problem, I have a few tricks to try to see if I can make a nice, firm ice cream for the cake.

I wish I had some fabulous recipes to share for a fantastic birthday cake, but I don’t. Yet. Keep your eyes open, though, because I have not given up yet and as soon as I master it y’all will be the first to know!

Any bakers out there? Have any tips you can share with us? Please comment!