This is the third post of my series on “Traveling on a TED” – or, Total Elimination Diet. You can find the previous posts here and here.
__________
Once you’ve figured out what you can eat and gathered all your food, then you have to decide how you’re going to cook it on the road.
I wish there were an easy way to do this, but in the end, it basically required I pack a traveling kitchen to take with me. Fortunately I had lots of good suggestions from the brilliant Flight Attendants in a group on Facebook started by the ladies at Galley Gourmet. I’m good, folks, but I’m not omniscient! These healthy-living Flight Attendants had already learned a LOT of what I now know – there was no need for me to reinvent the wheel! Go check them out for more tips beyond what I provide here.
To start with, I had to invest in some pretty cool gizmo’s to pack in my bags.
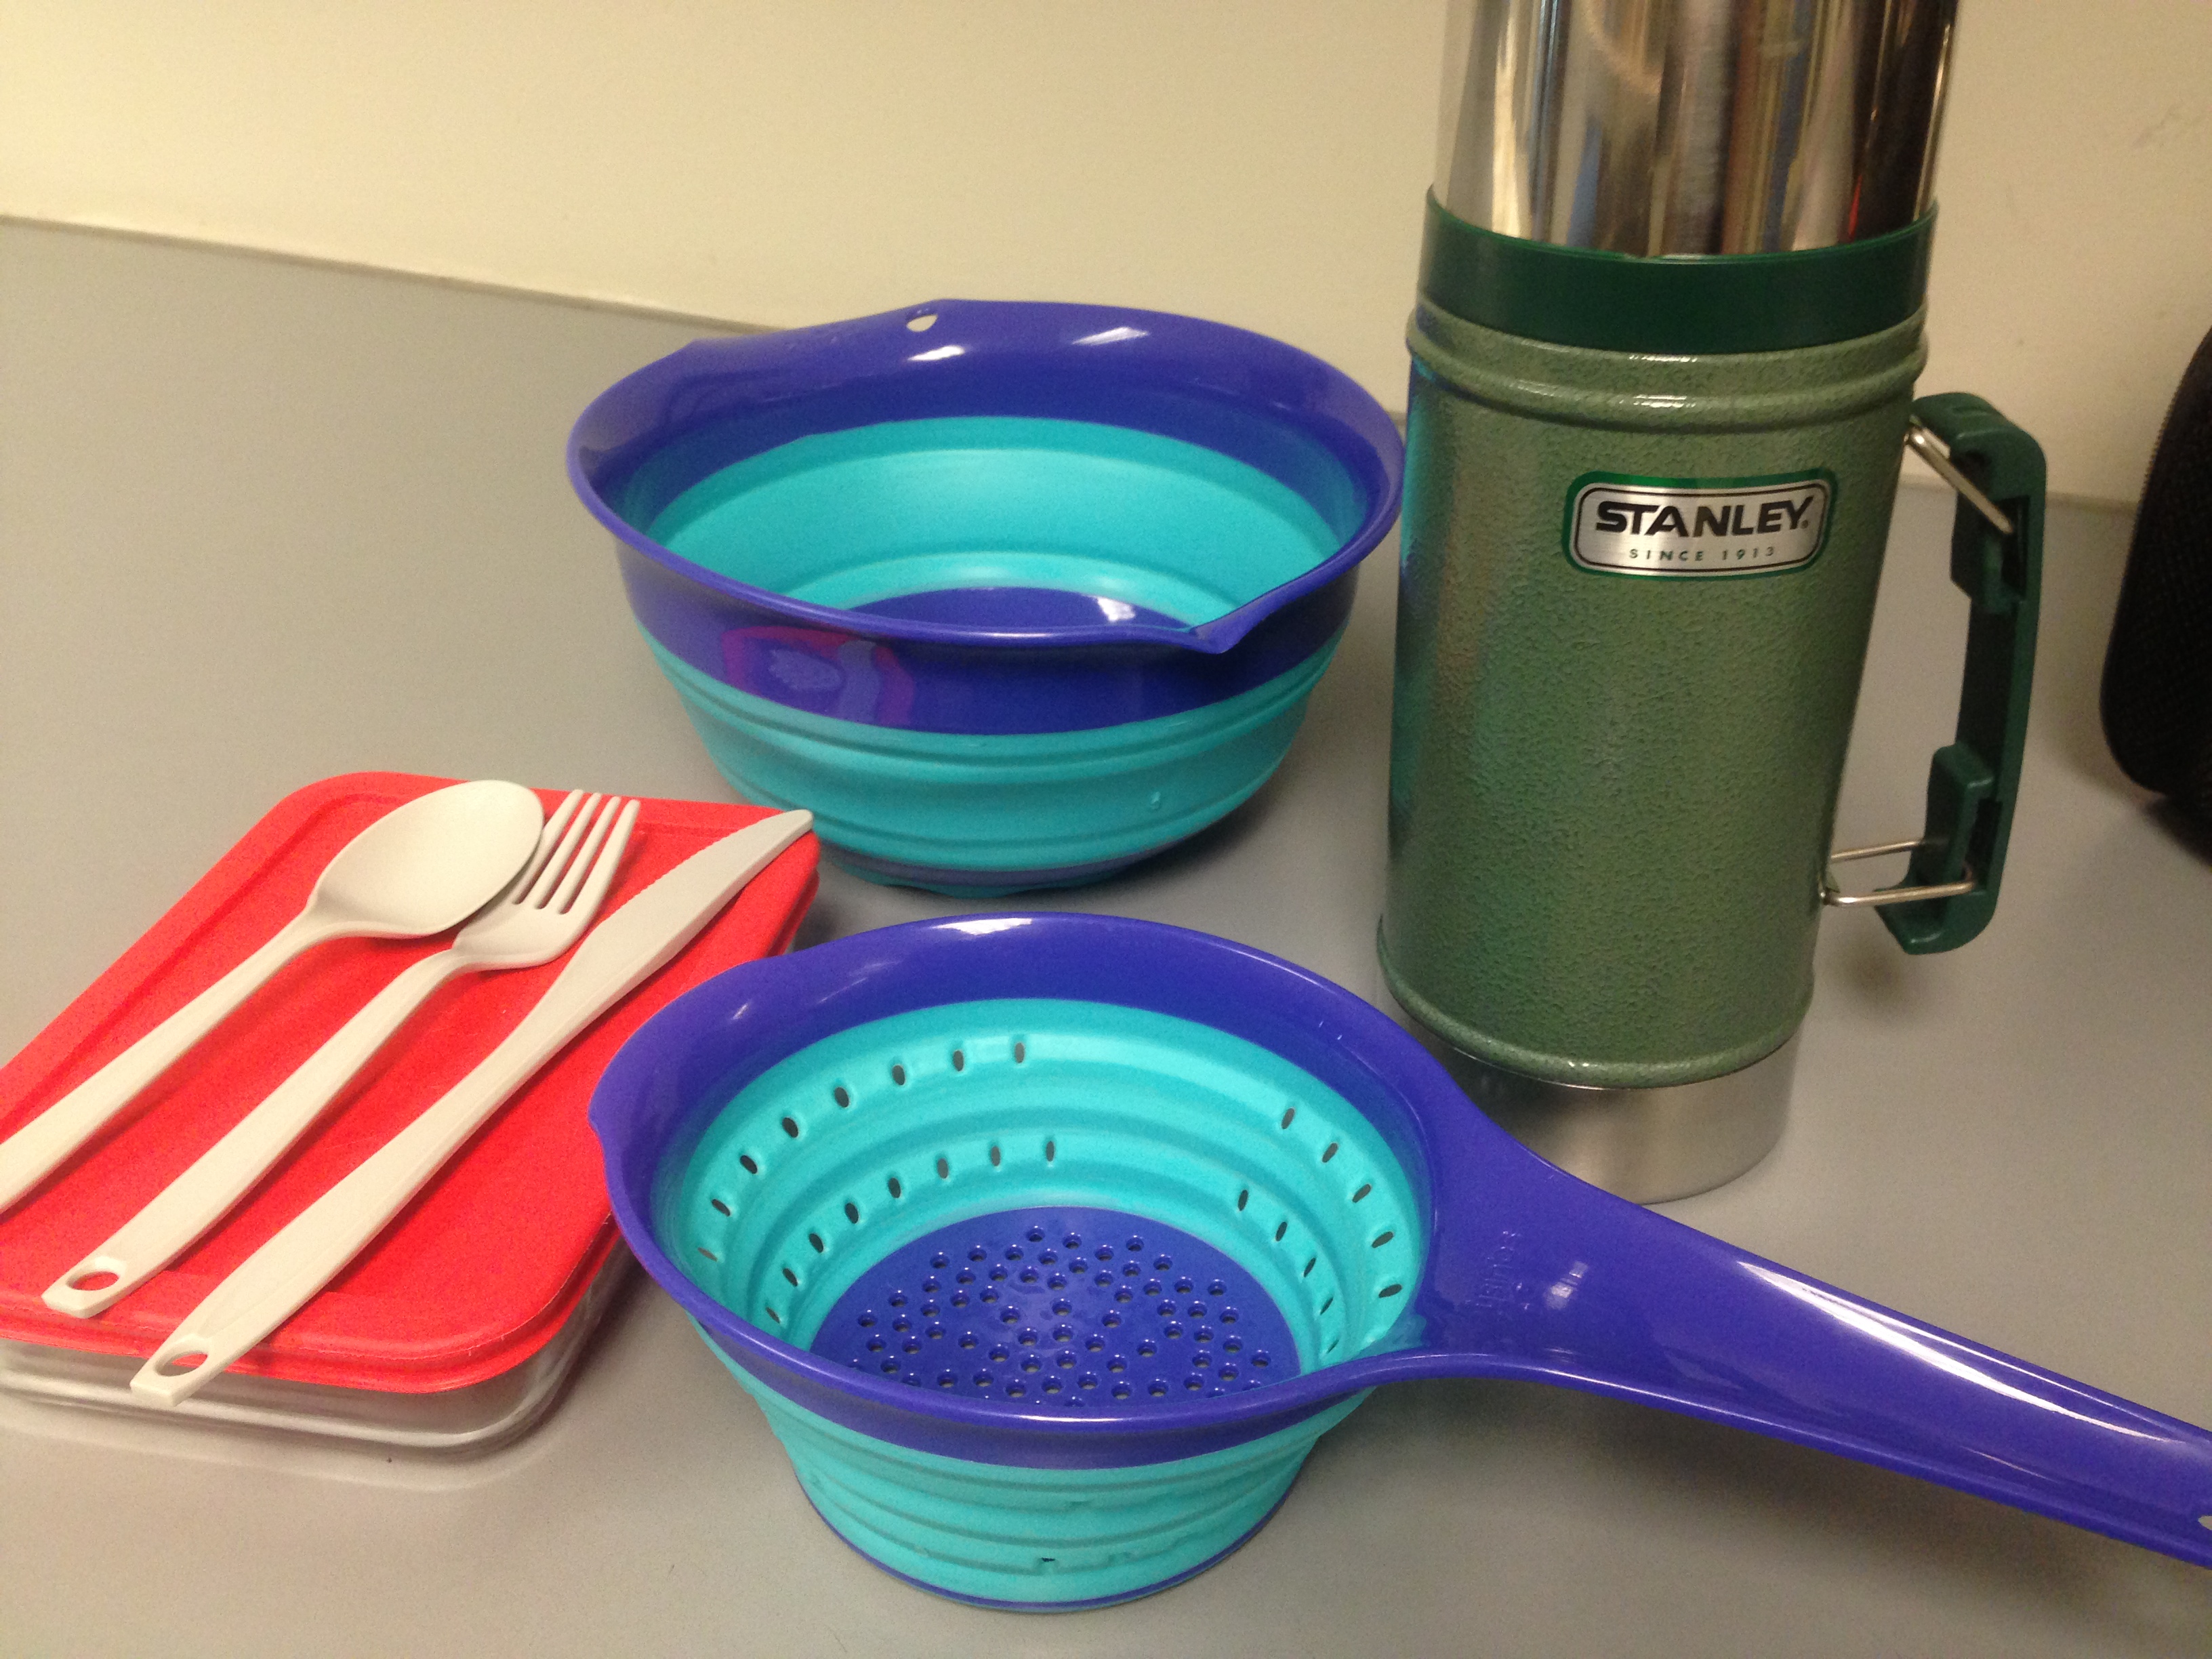
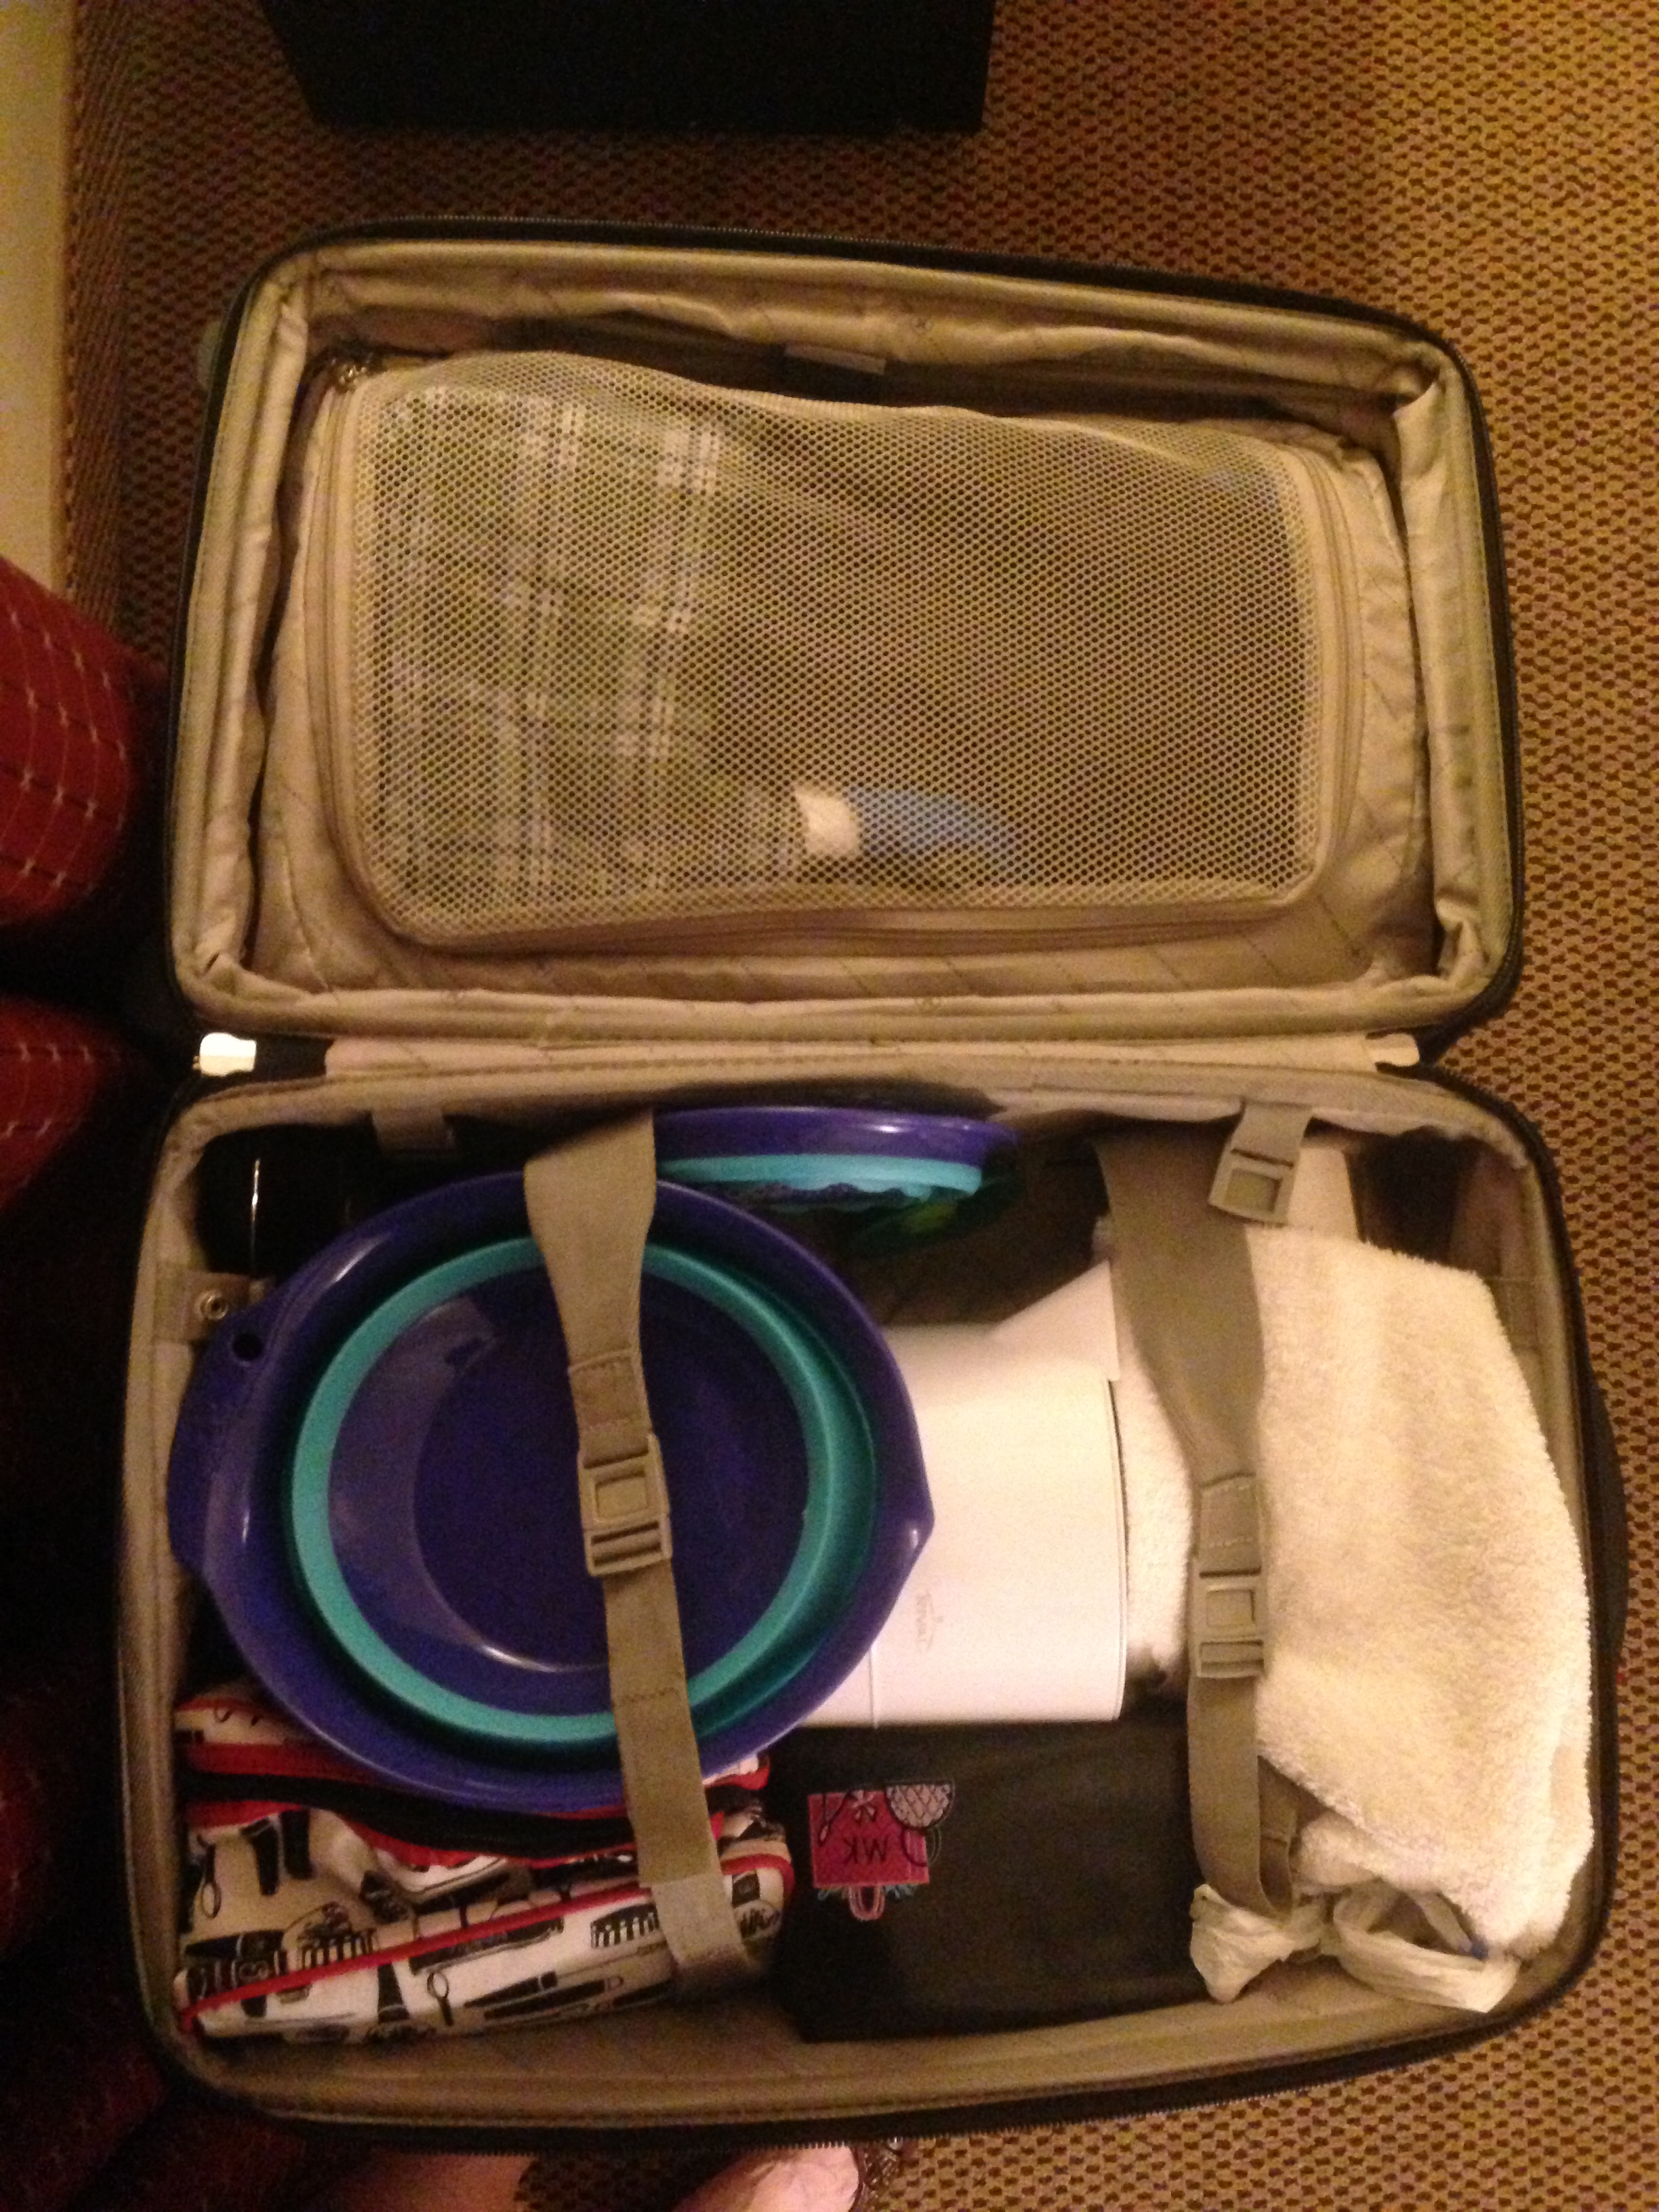
Part of my Traveling Kitchen
I mentioned in the last post about carrying a Pyrex dish with me to heat and eat out of on the road. That’s it with the red lid above. It’s oven and microwave safe, which makes it perfect for travel food. On top of that is a set of camping utensils. They’re plastic, but sturdier than your typical fast-food plastic utensils. Perfect for those times when no fast-food joints are handy, or you’re on the plane with no food service.
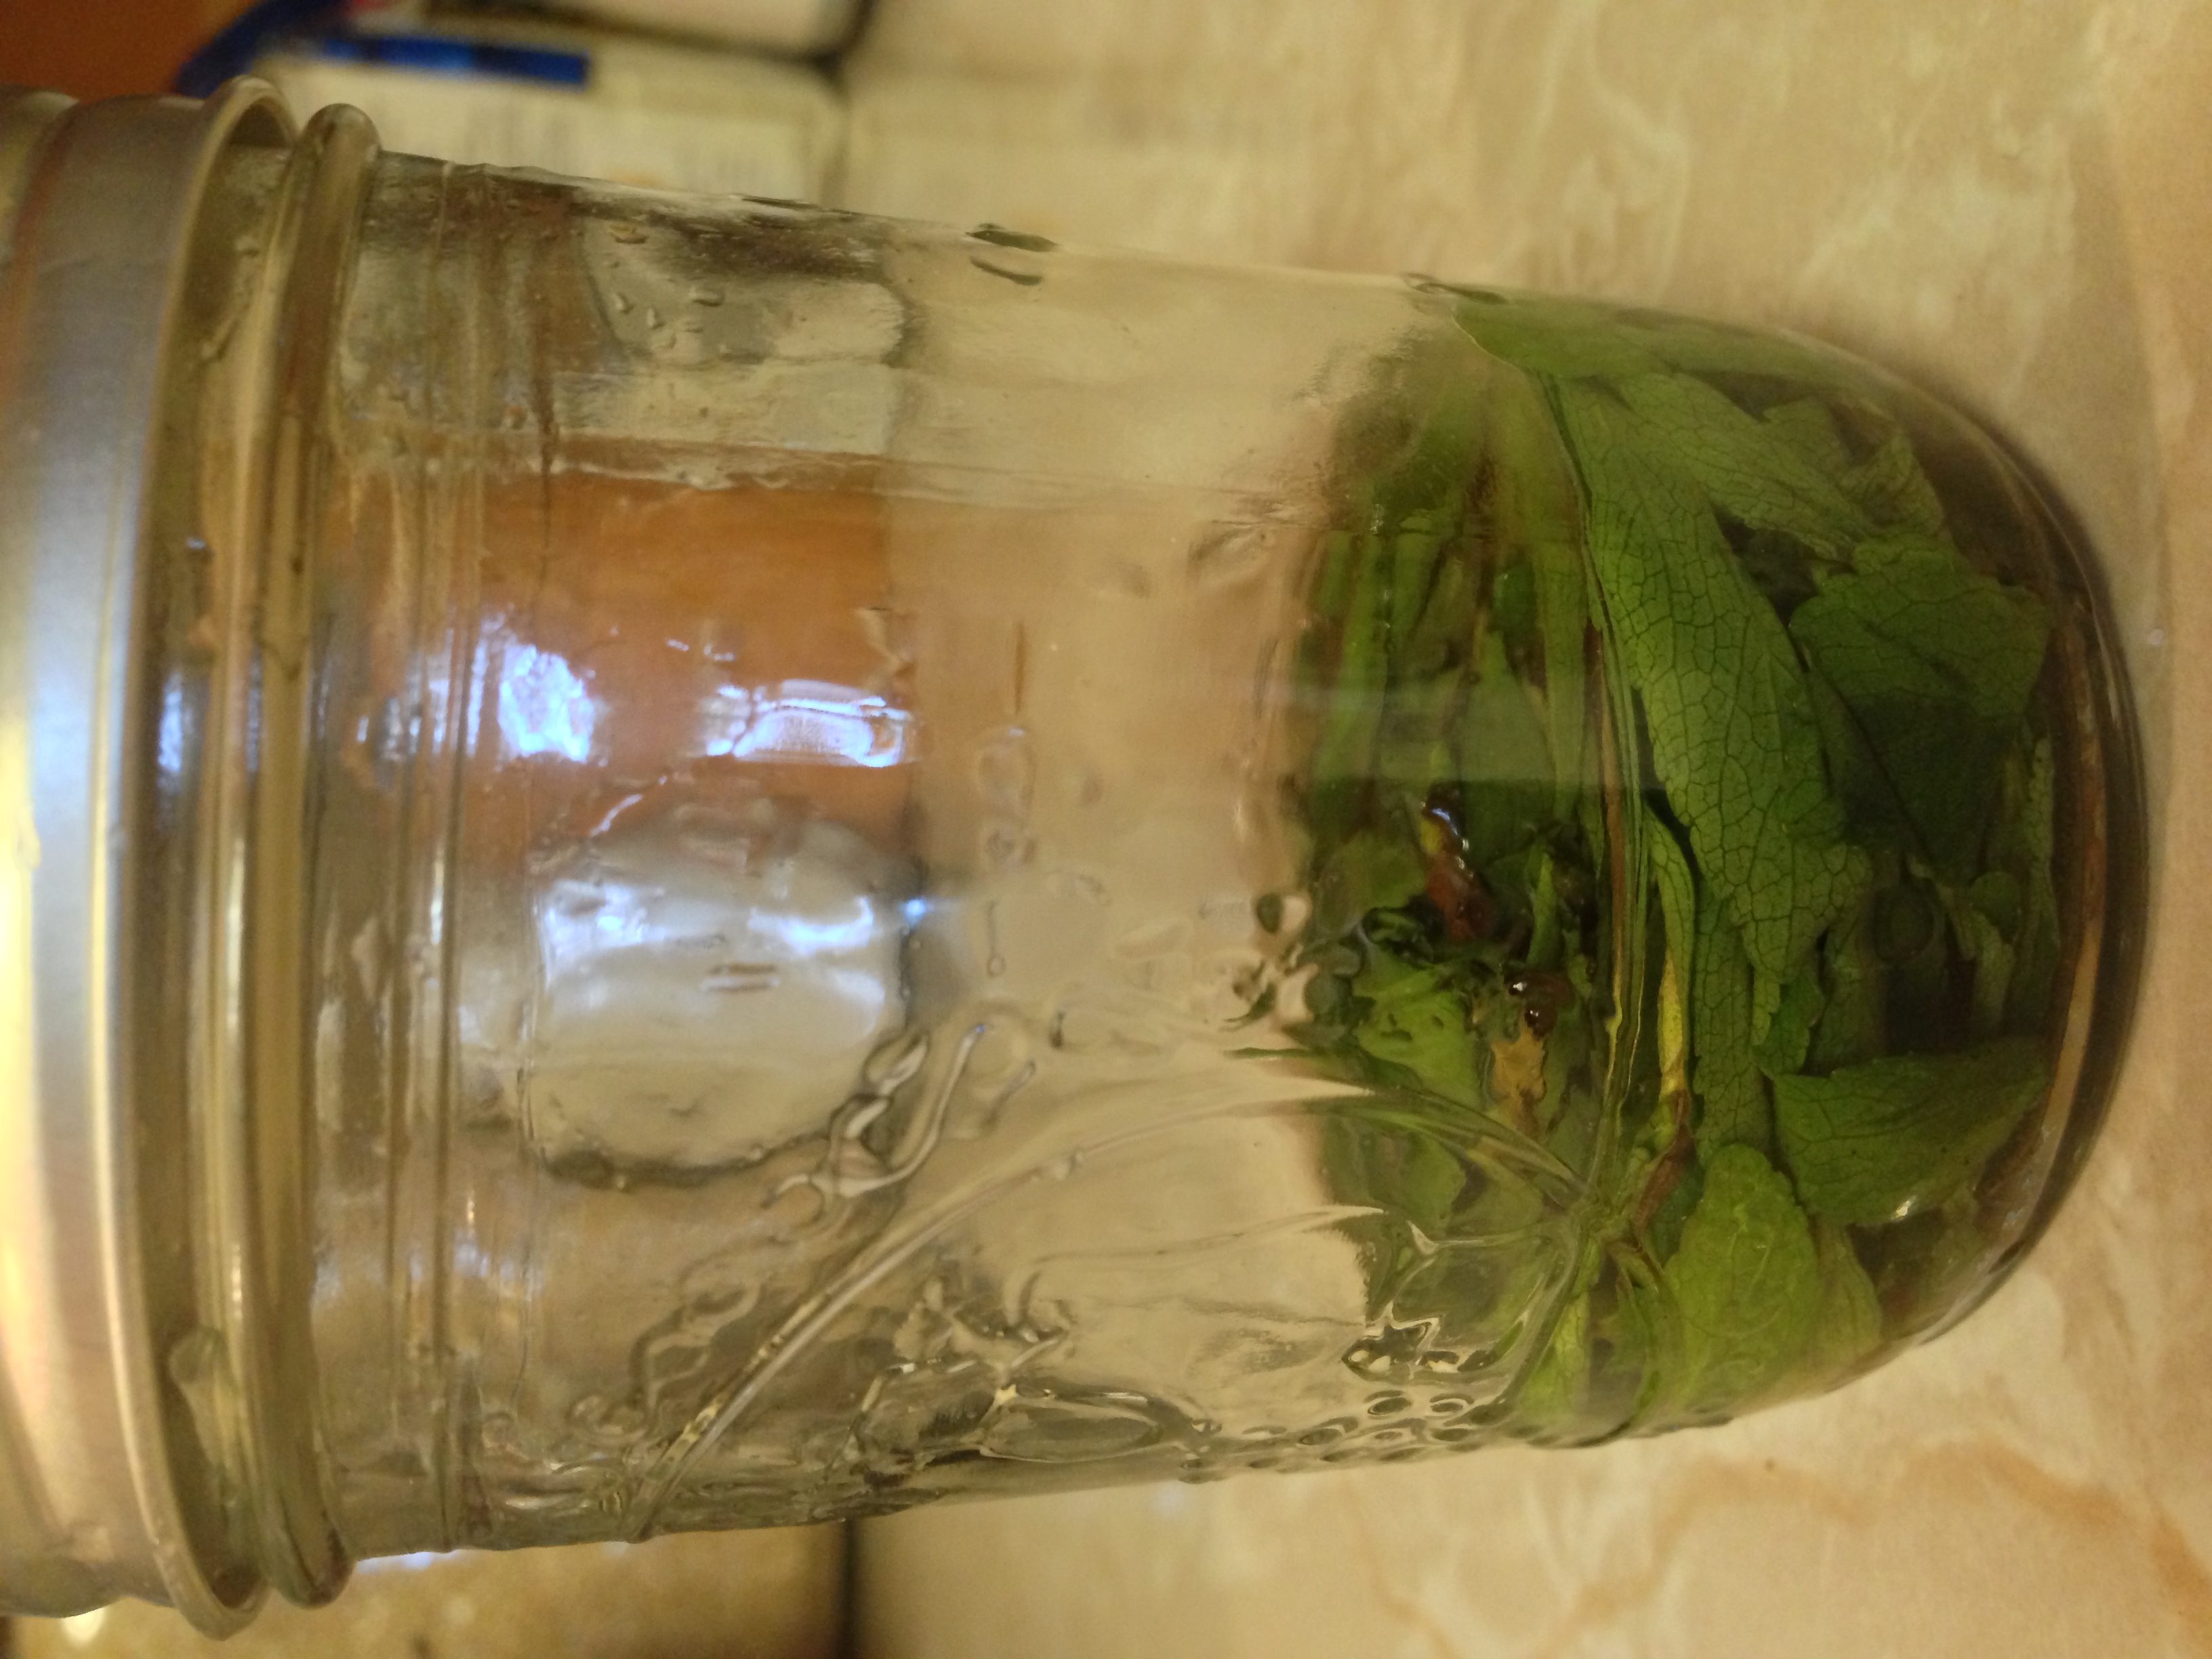
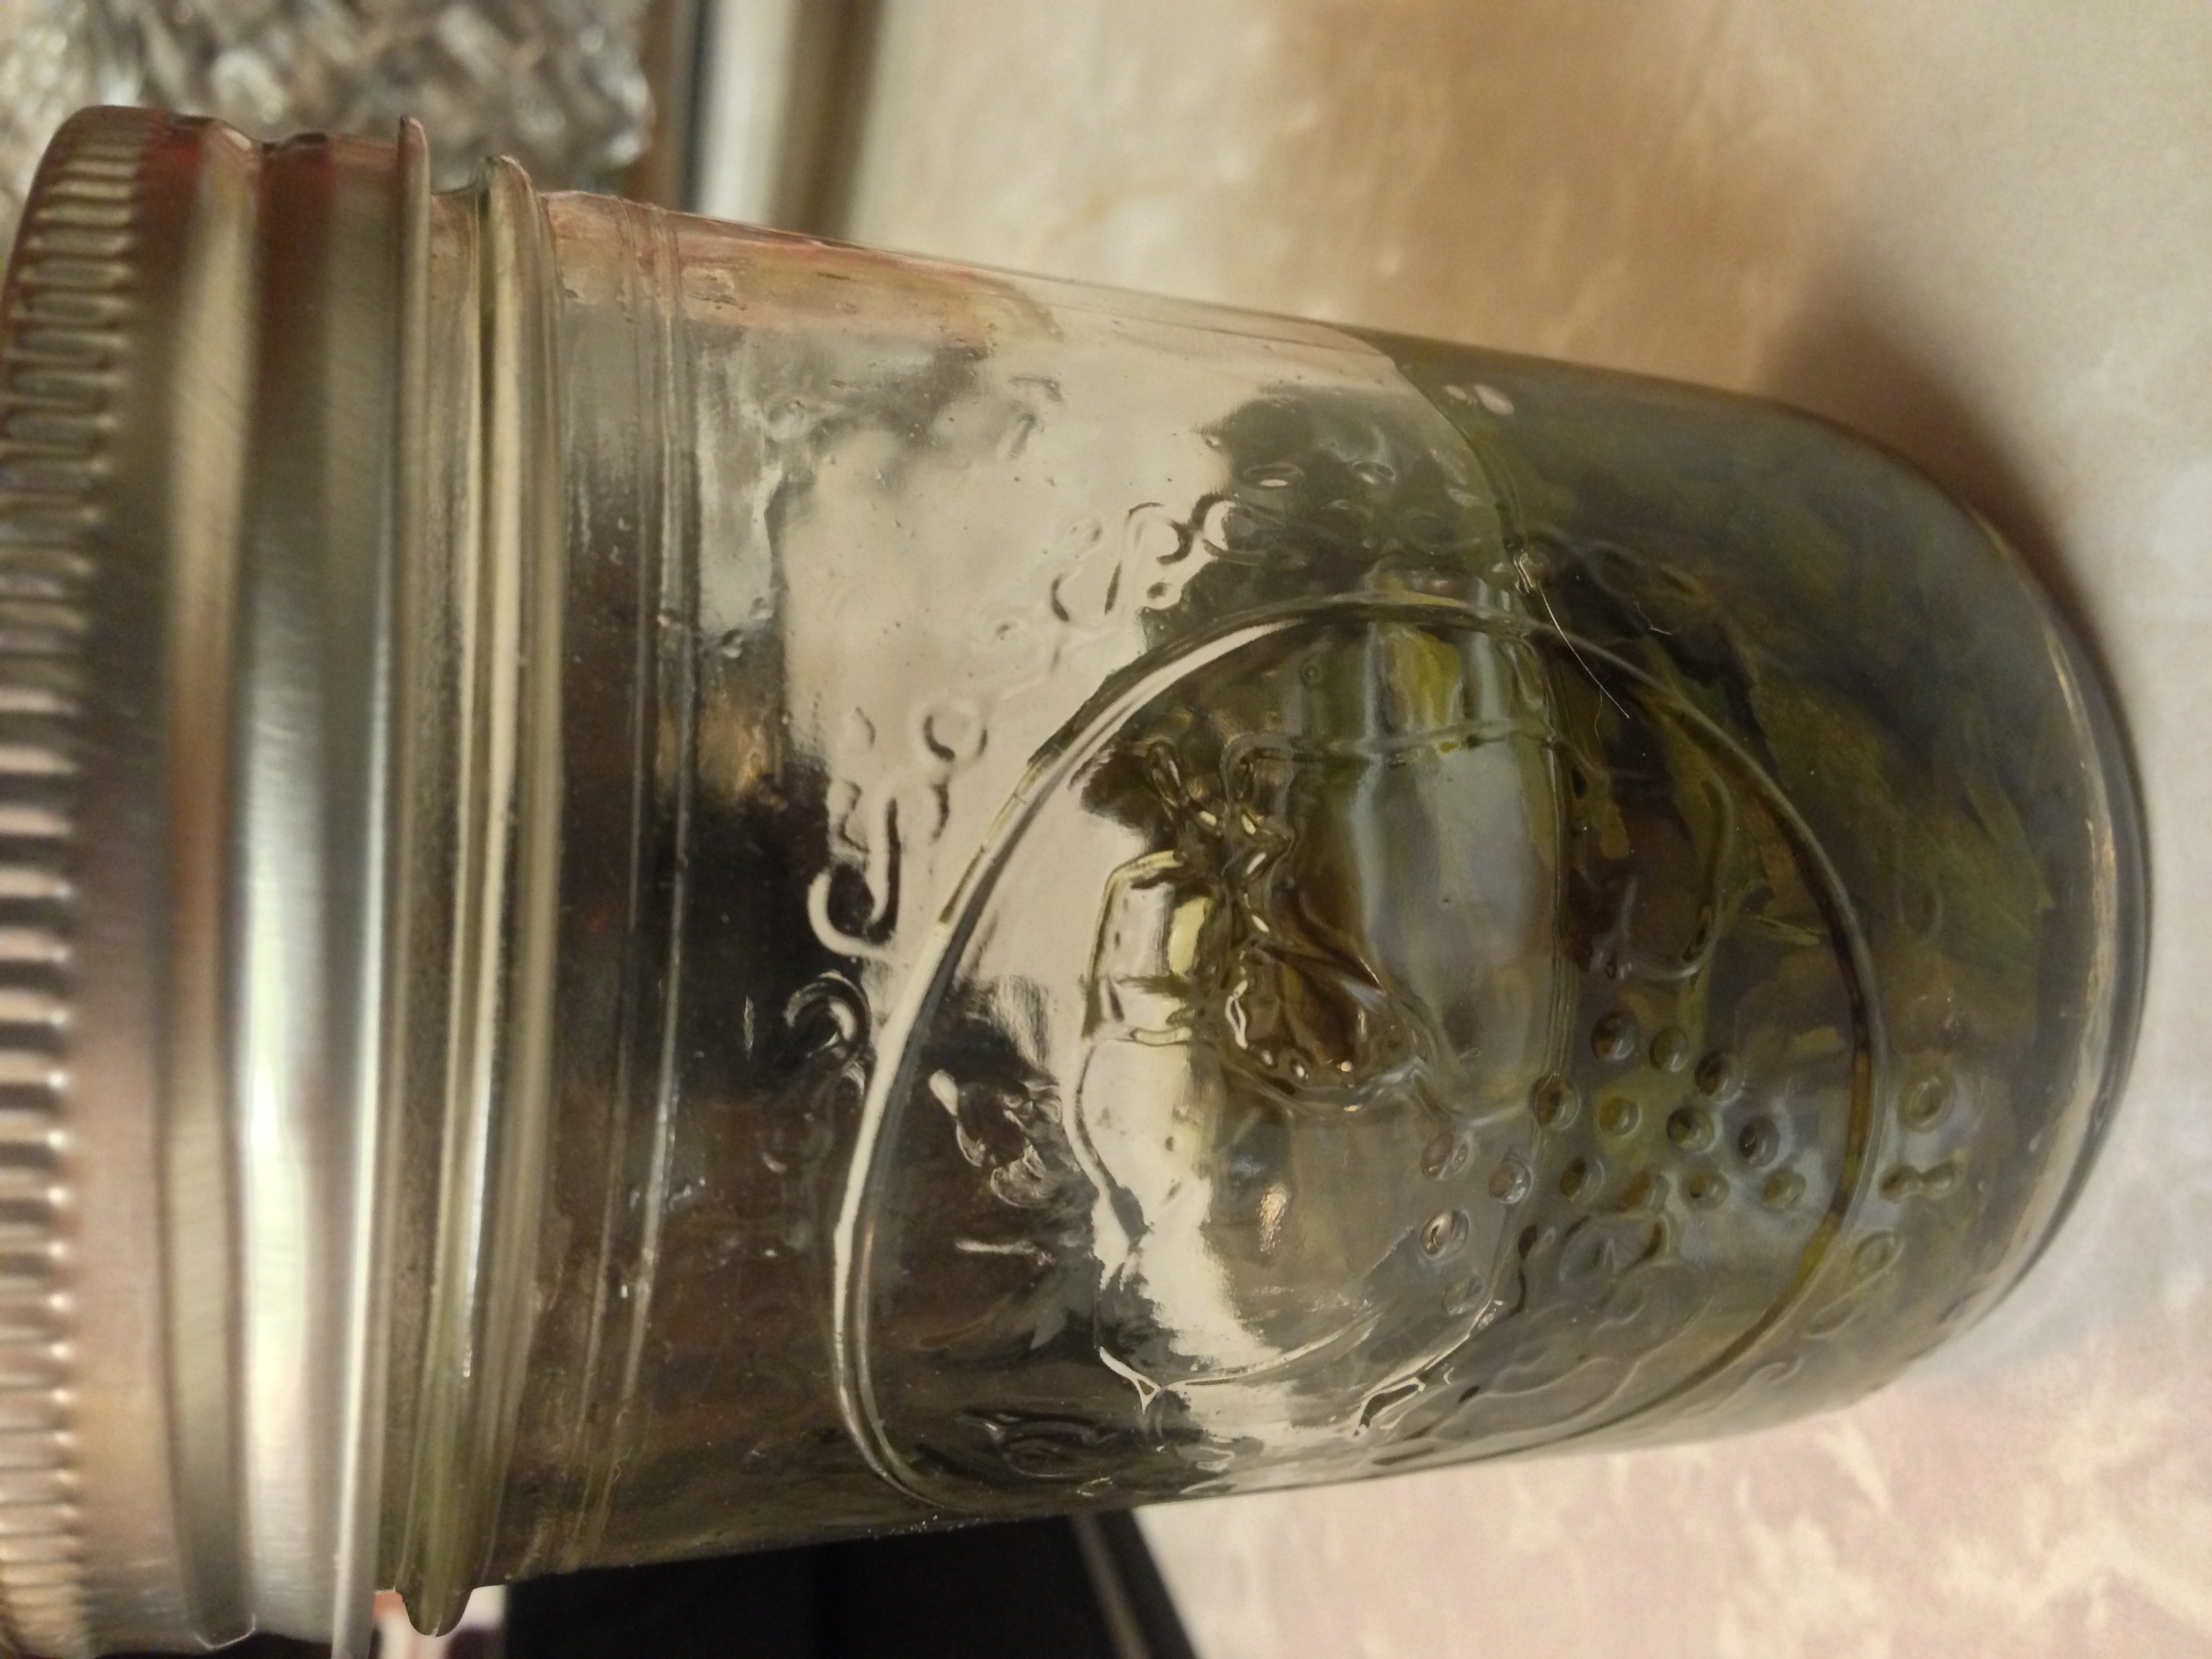
Rehydrating food is simple: you just need water and time. Hot water helps speed the process, and a tip I learned from some camping websites is to put your food and some hot water in a thermos. They said the pressure created in the thermos speeds up the process. So I bought myself a food thermos – and I can verify that it truly does speed up the process an incredible amount!
Right in the center of the picture are two bowls; one is a standard bowl, the other is a strainer. Both of them fold almost completely flat for packing! I love those bowls! See?
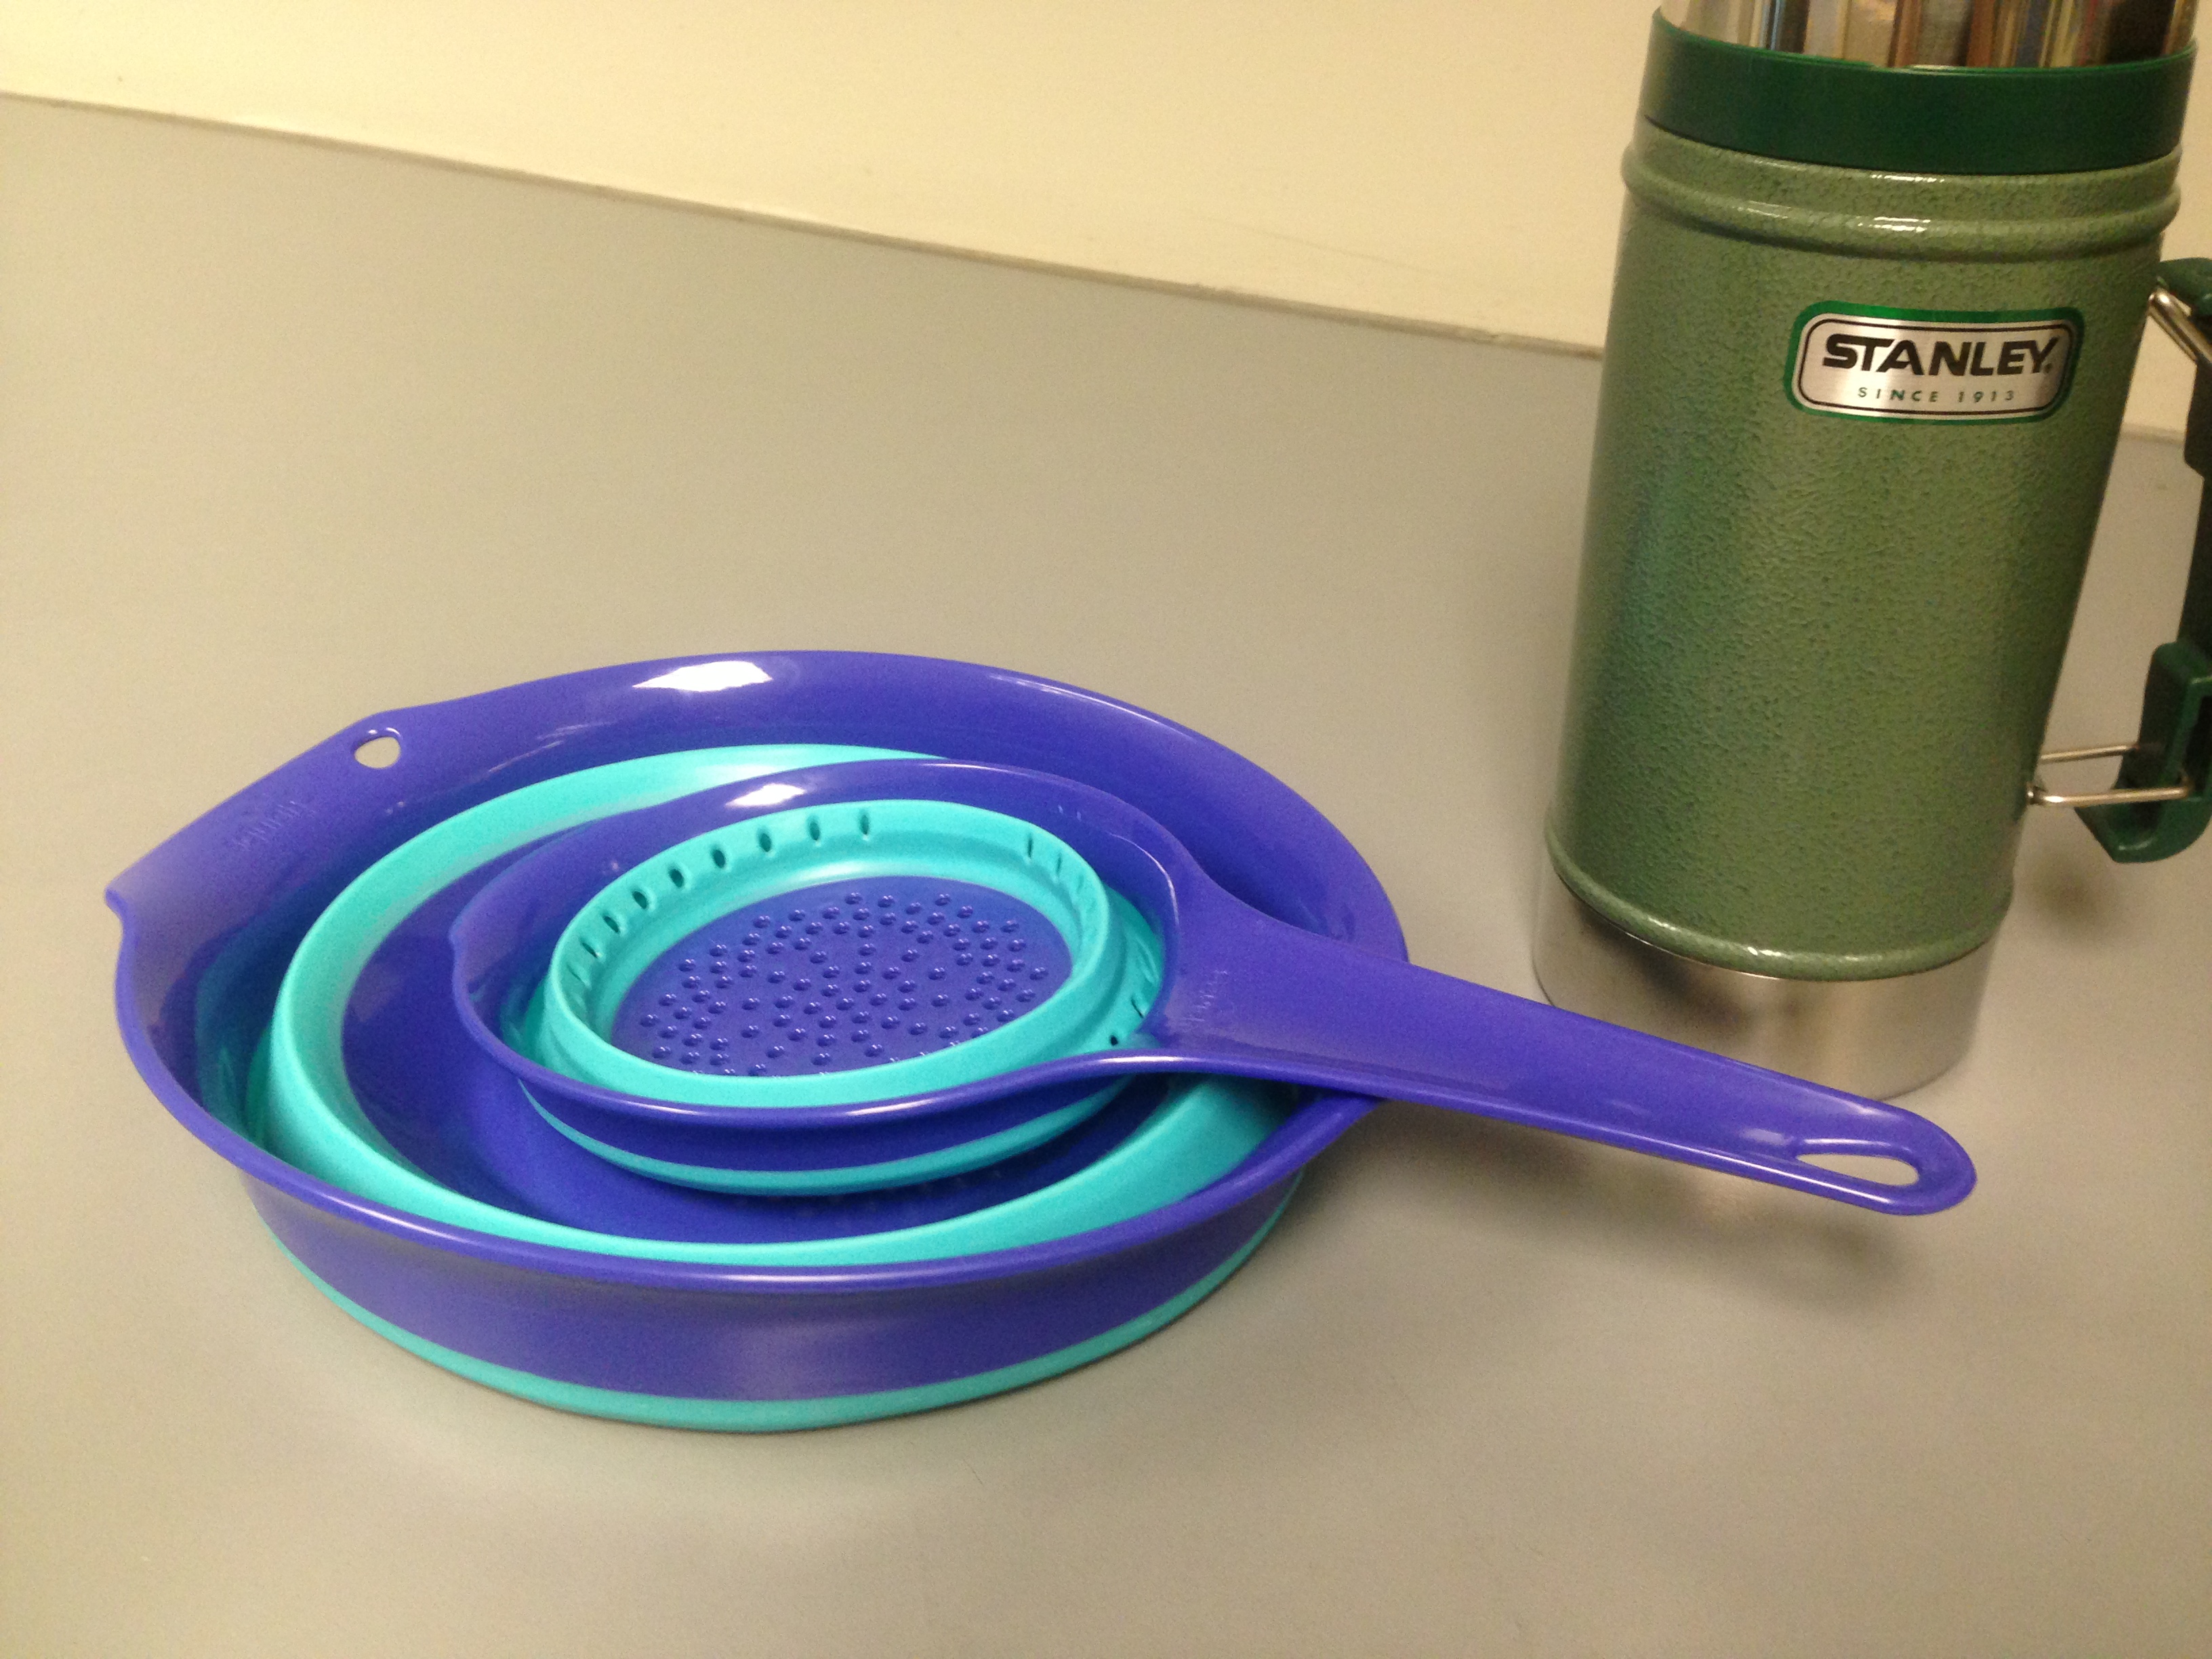
Folded flat bowls…love it!
Those come in handy for the hamburger hash, in particular. After rehydrating the meal in the thermos, I strain it through the collapsible strainer and dump it in the bowl. Then I can add my oil and seasonings and stir it together well before cooking.
The bowl, obviously, also does double duty as a soup bowl when necessary.
When rehydrating food, I mentioned hot water speeds up the process. I also like to drink tea, and that needs hot water, too. So I couldn’t help myself when I saw this little gem at my grocery store a few weeks before I returned to work:
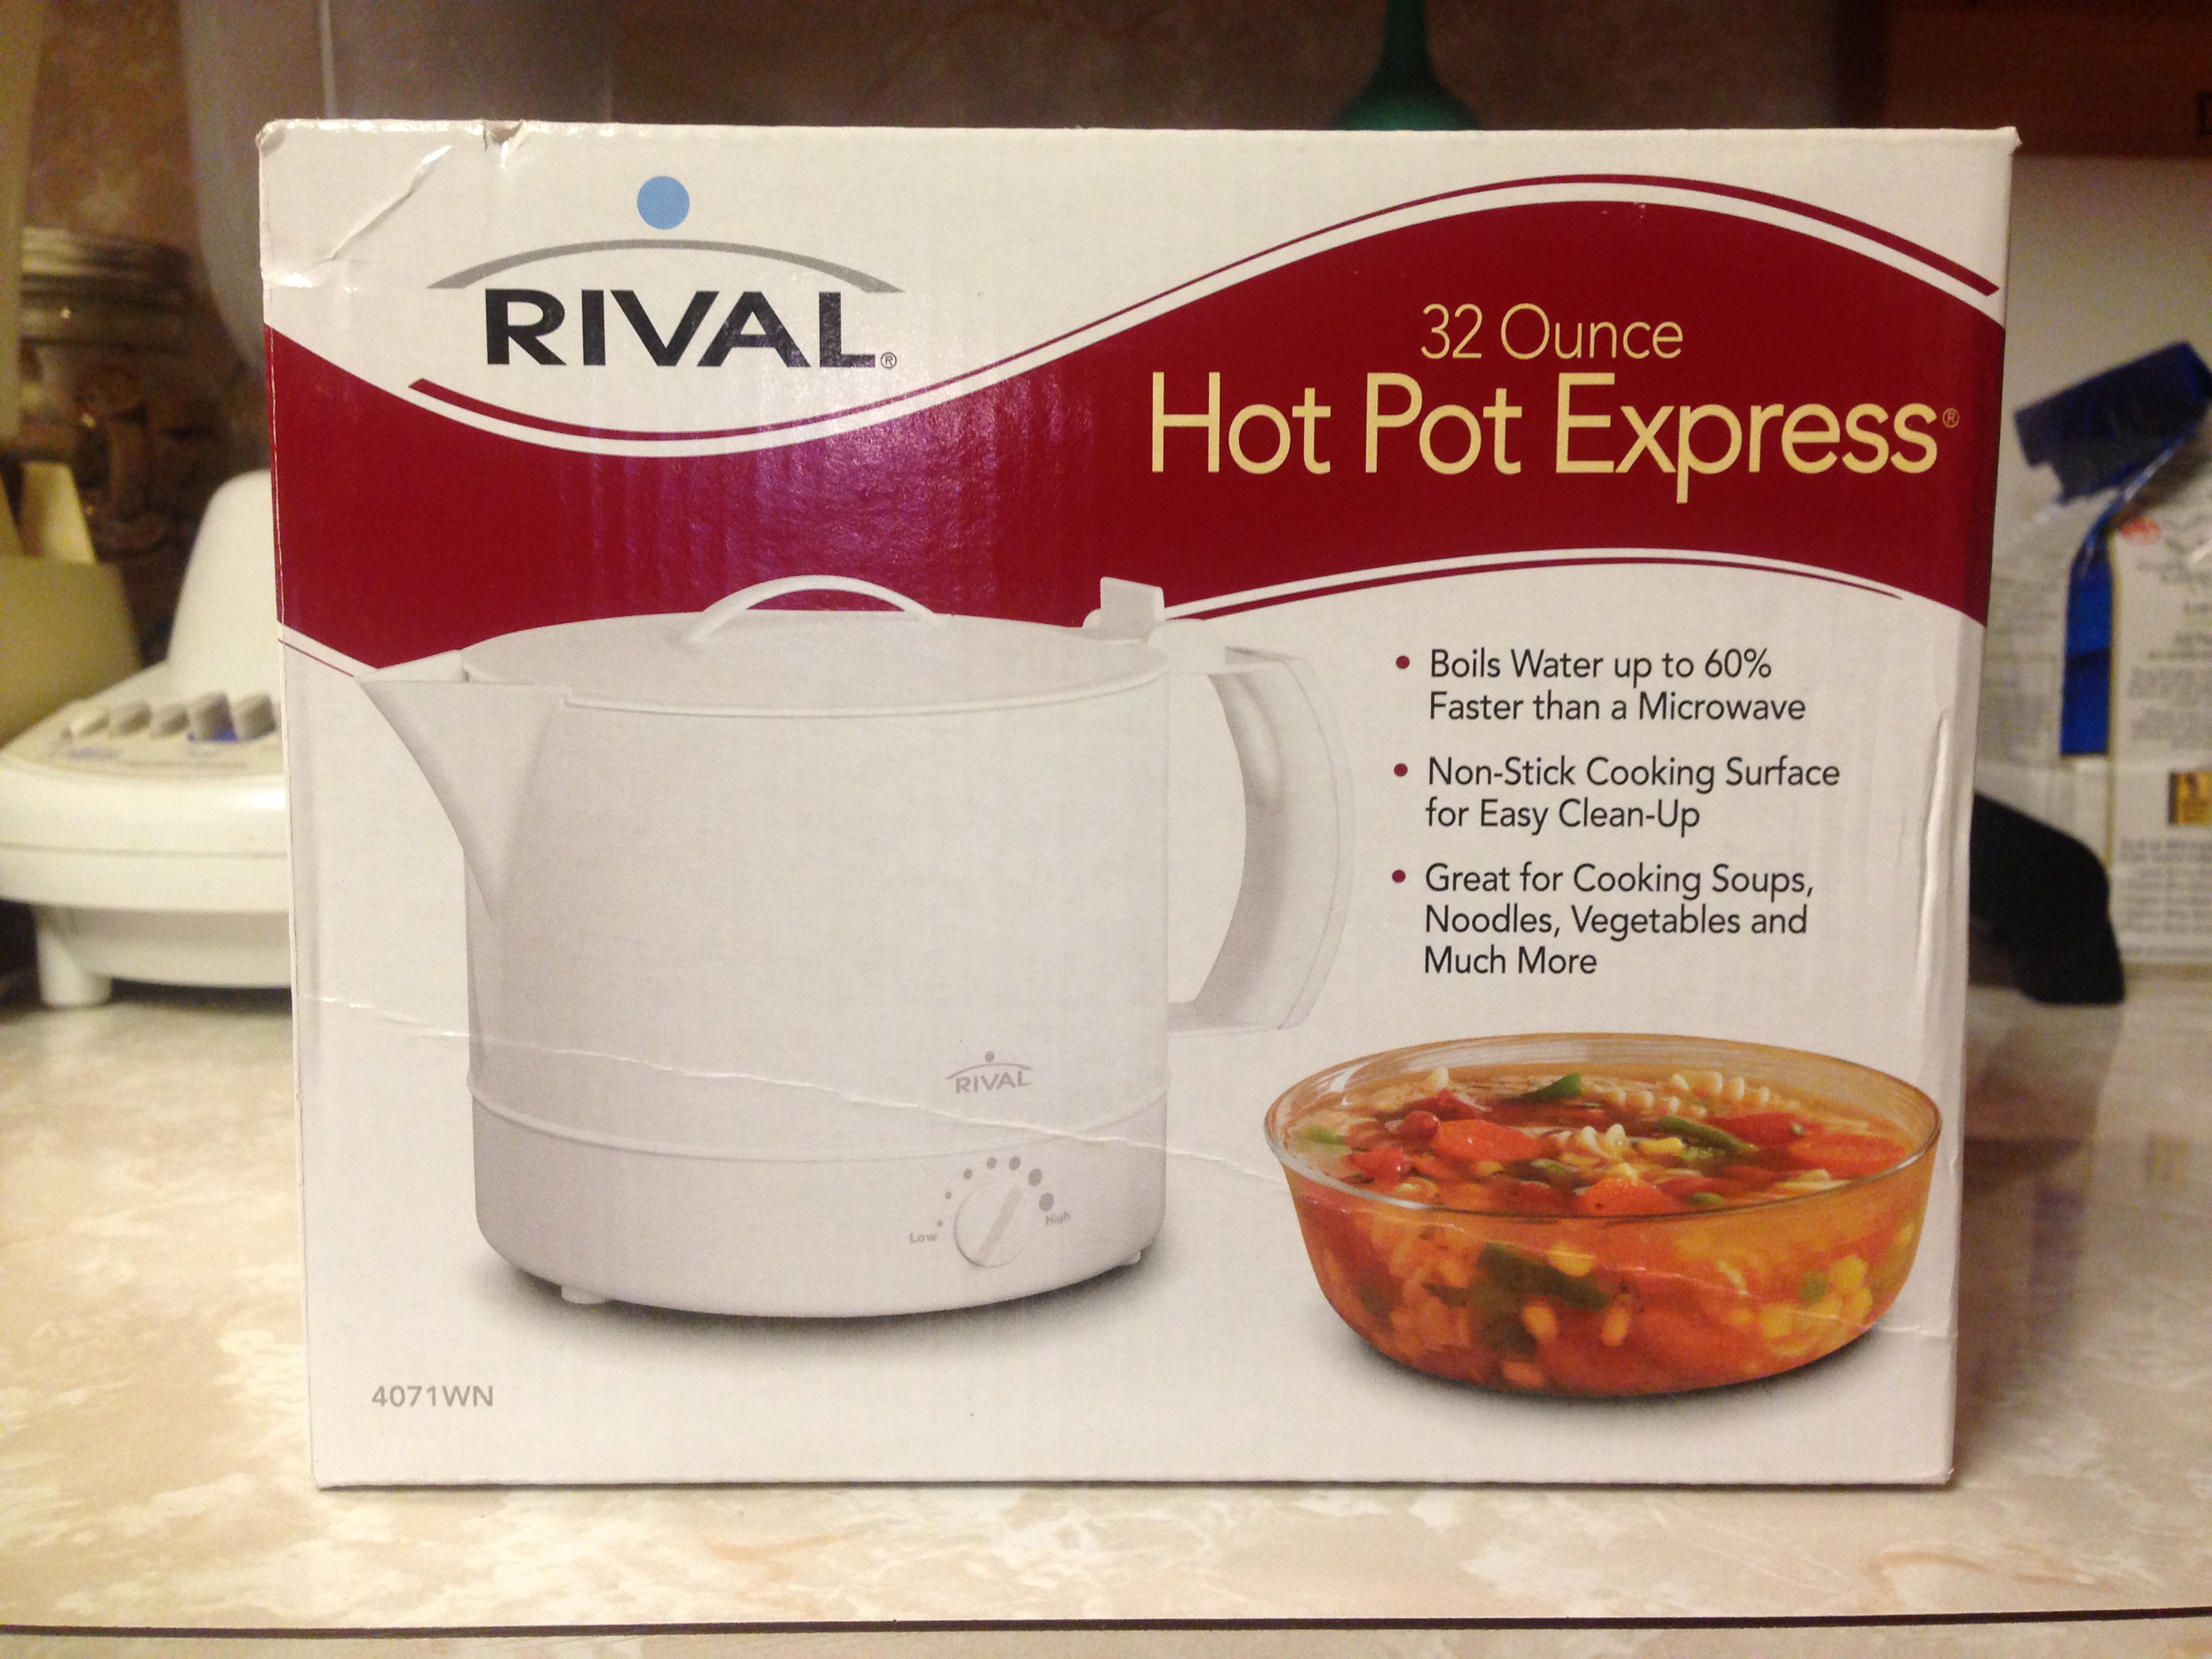
Awesome!
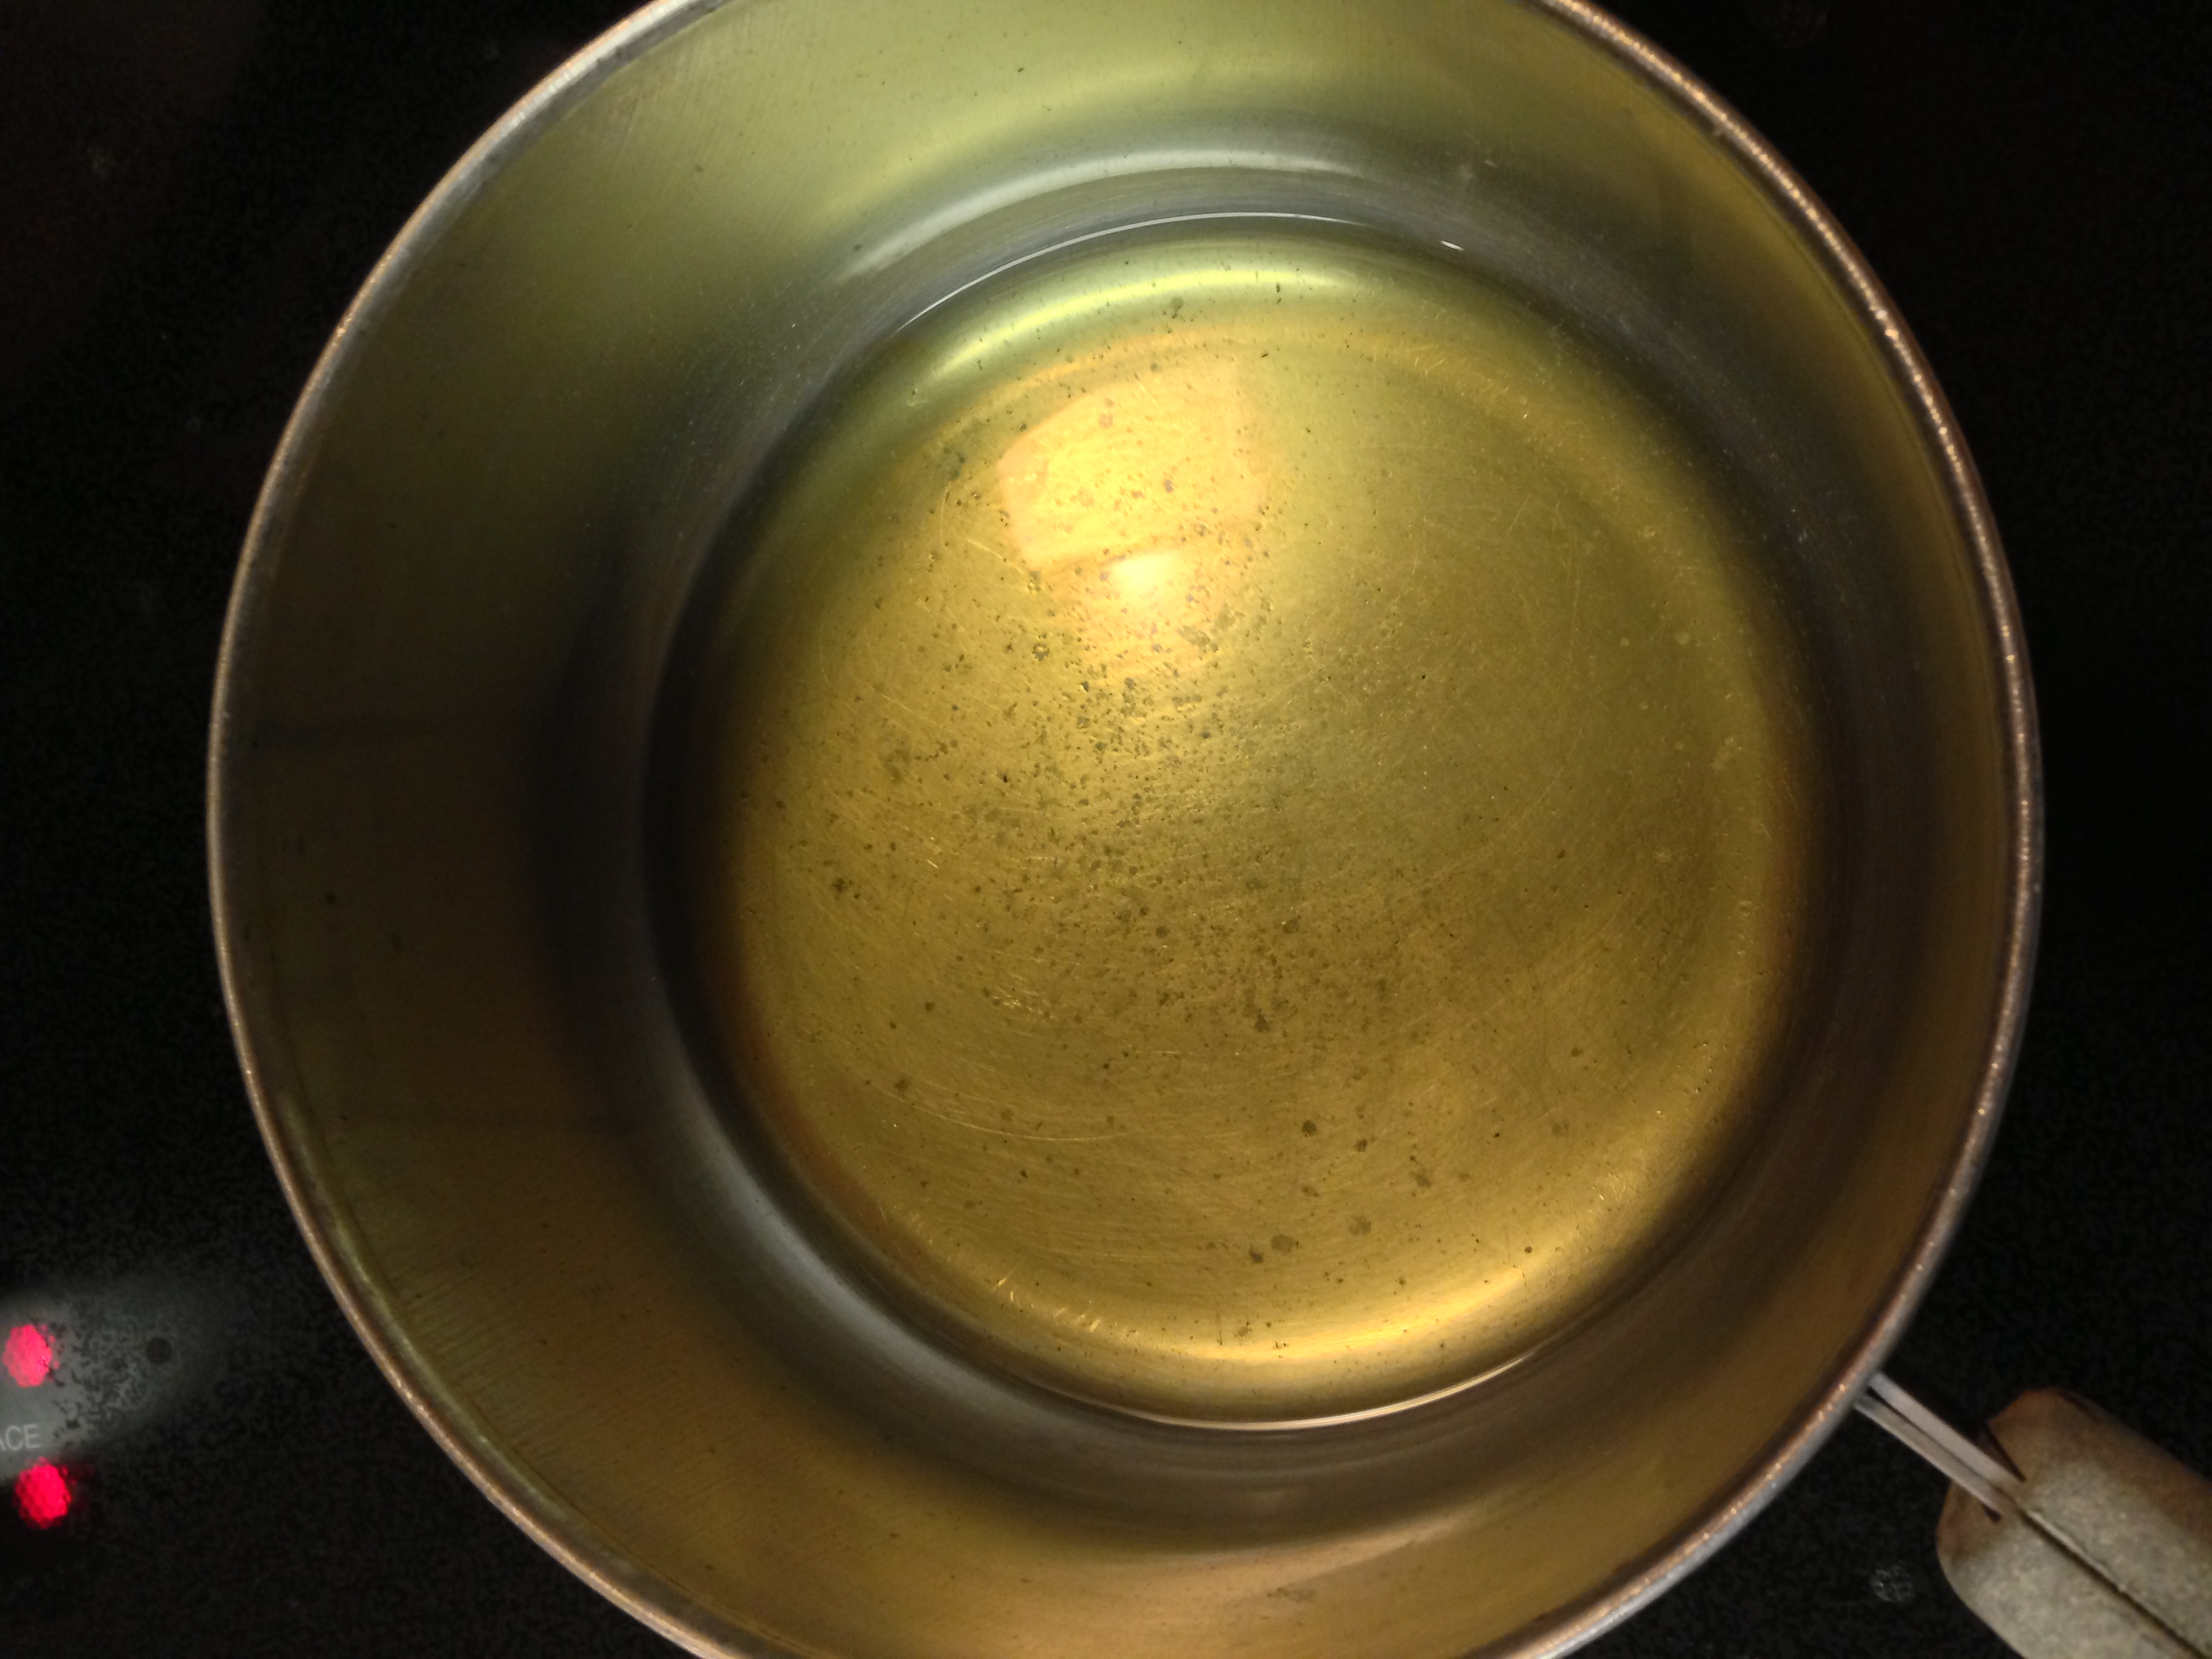
I am stunned at how quickly this thing heats water! It gives me a safe, cross-contamination-free way to heat up water on the road, and when I’m in hotel rooms and want to eat soup, I can just rehydrate and cook it right in the pot! Plus, it only weighs a POUND!!
Speaking of cooking, I have a few options. On the aircraft I can use the onboard ovens, which is very convenient. Unless you’re a Flight Attendant (or especially pleasant and nice to a Flight Attendant!), you probably won’t have that option. The alternates are to use a microwave somewhere along the way (hotels often have them available, for example), heat up just soup in your hot pot, or become truly self-sufficient and get yourself a Lil’ Skillet.
Guess what I did?
Oh, yes, I carry a 6″ Mini Electric Skillet with me now! It’s marvelous! I can cook a full meal in it and it breaks down into small pieces to store in my suitcase.
To see all this in action, I took photos of cooking my food one night when I was at the airport in our crew lounge.
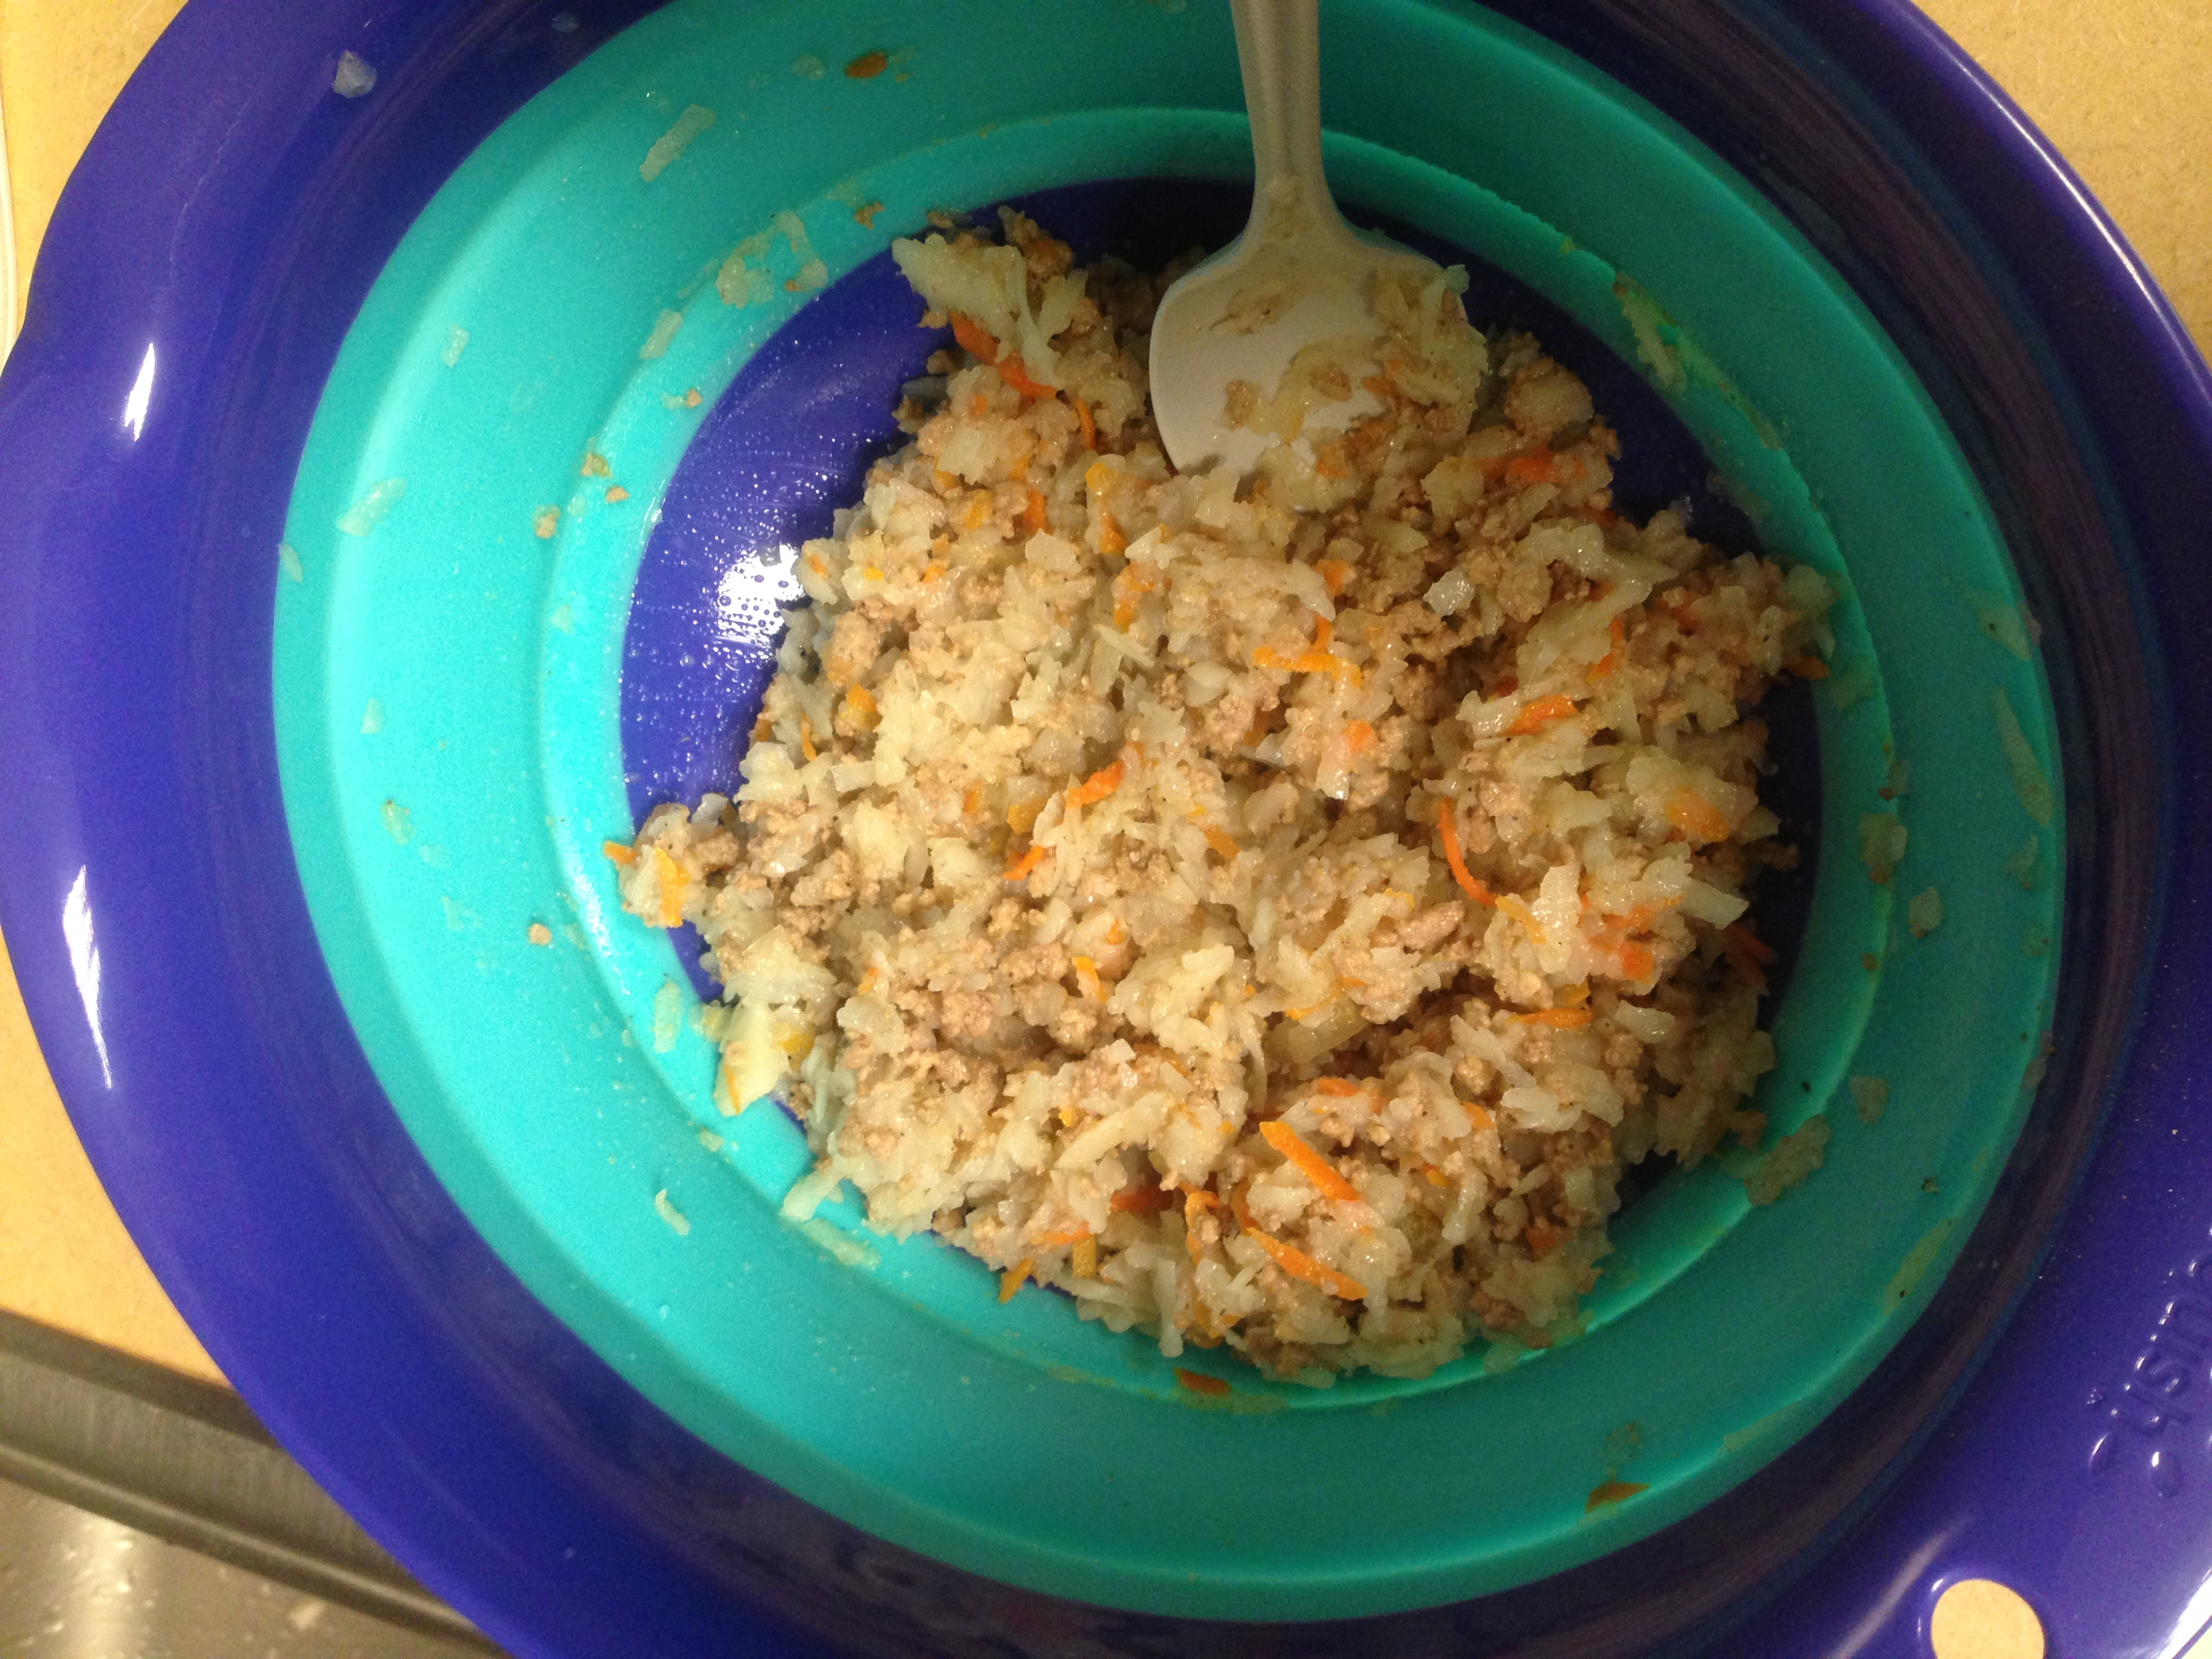
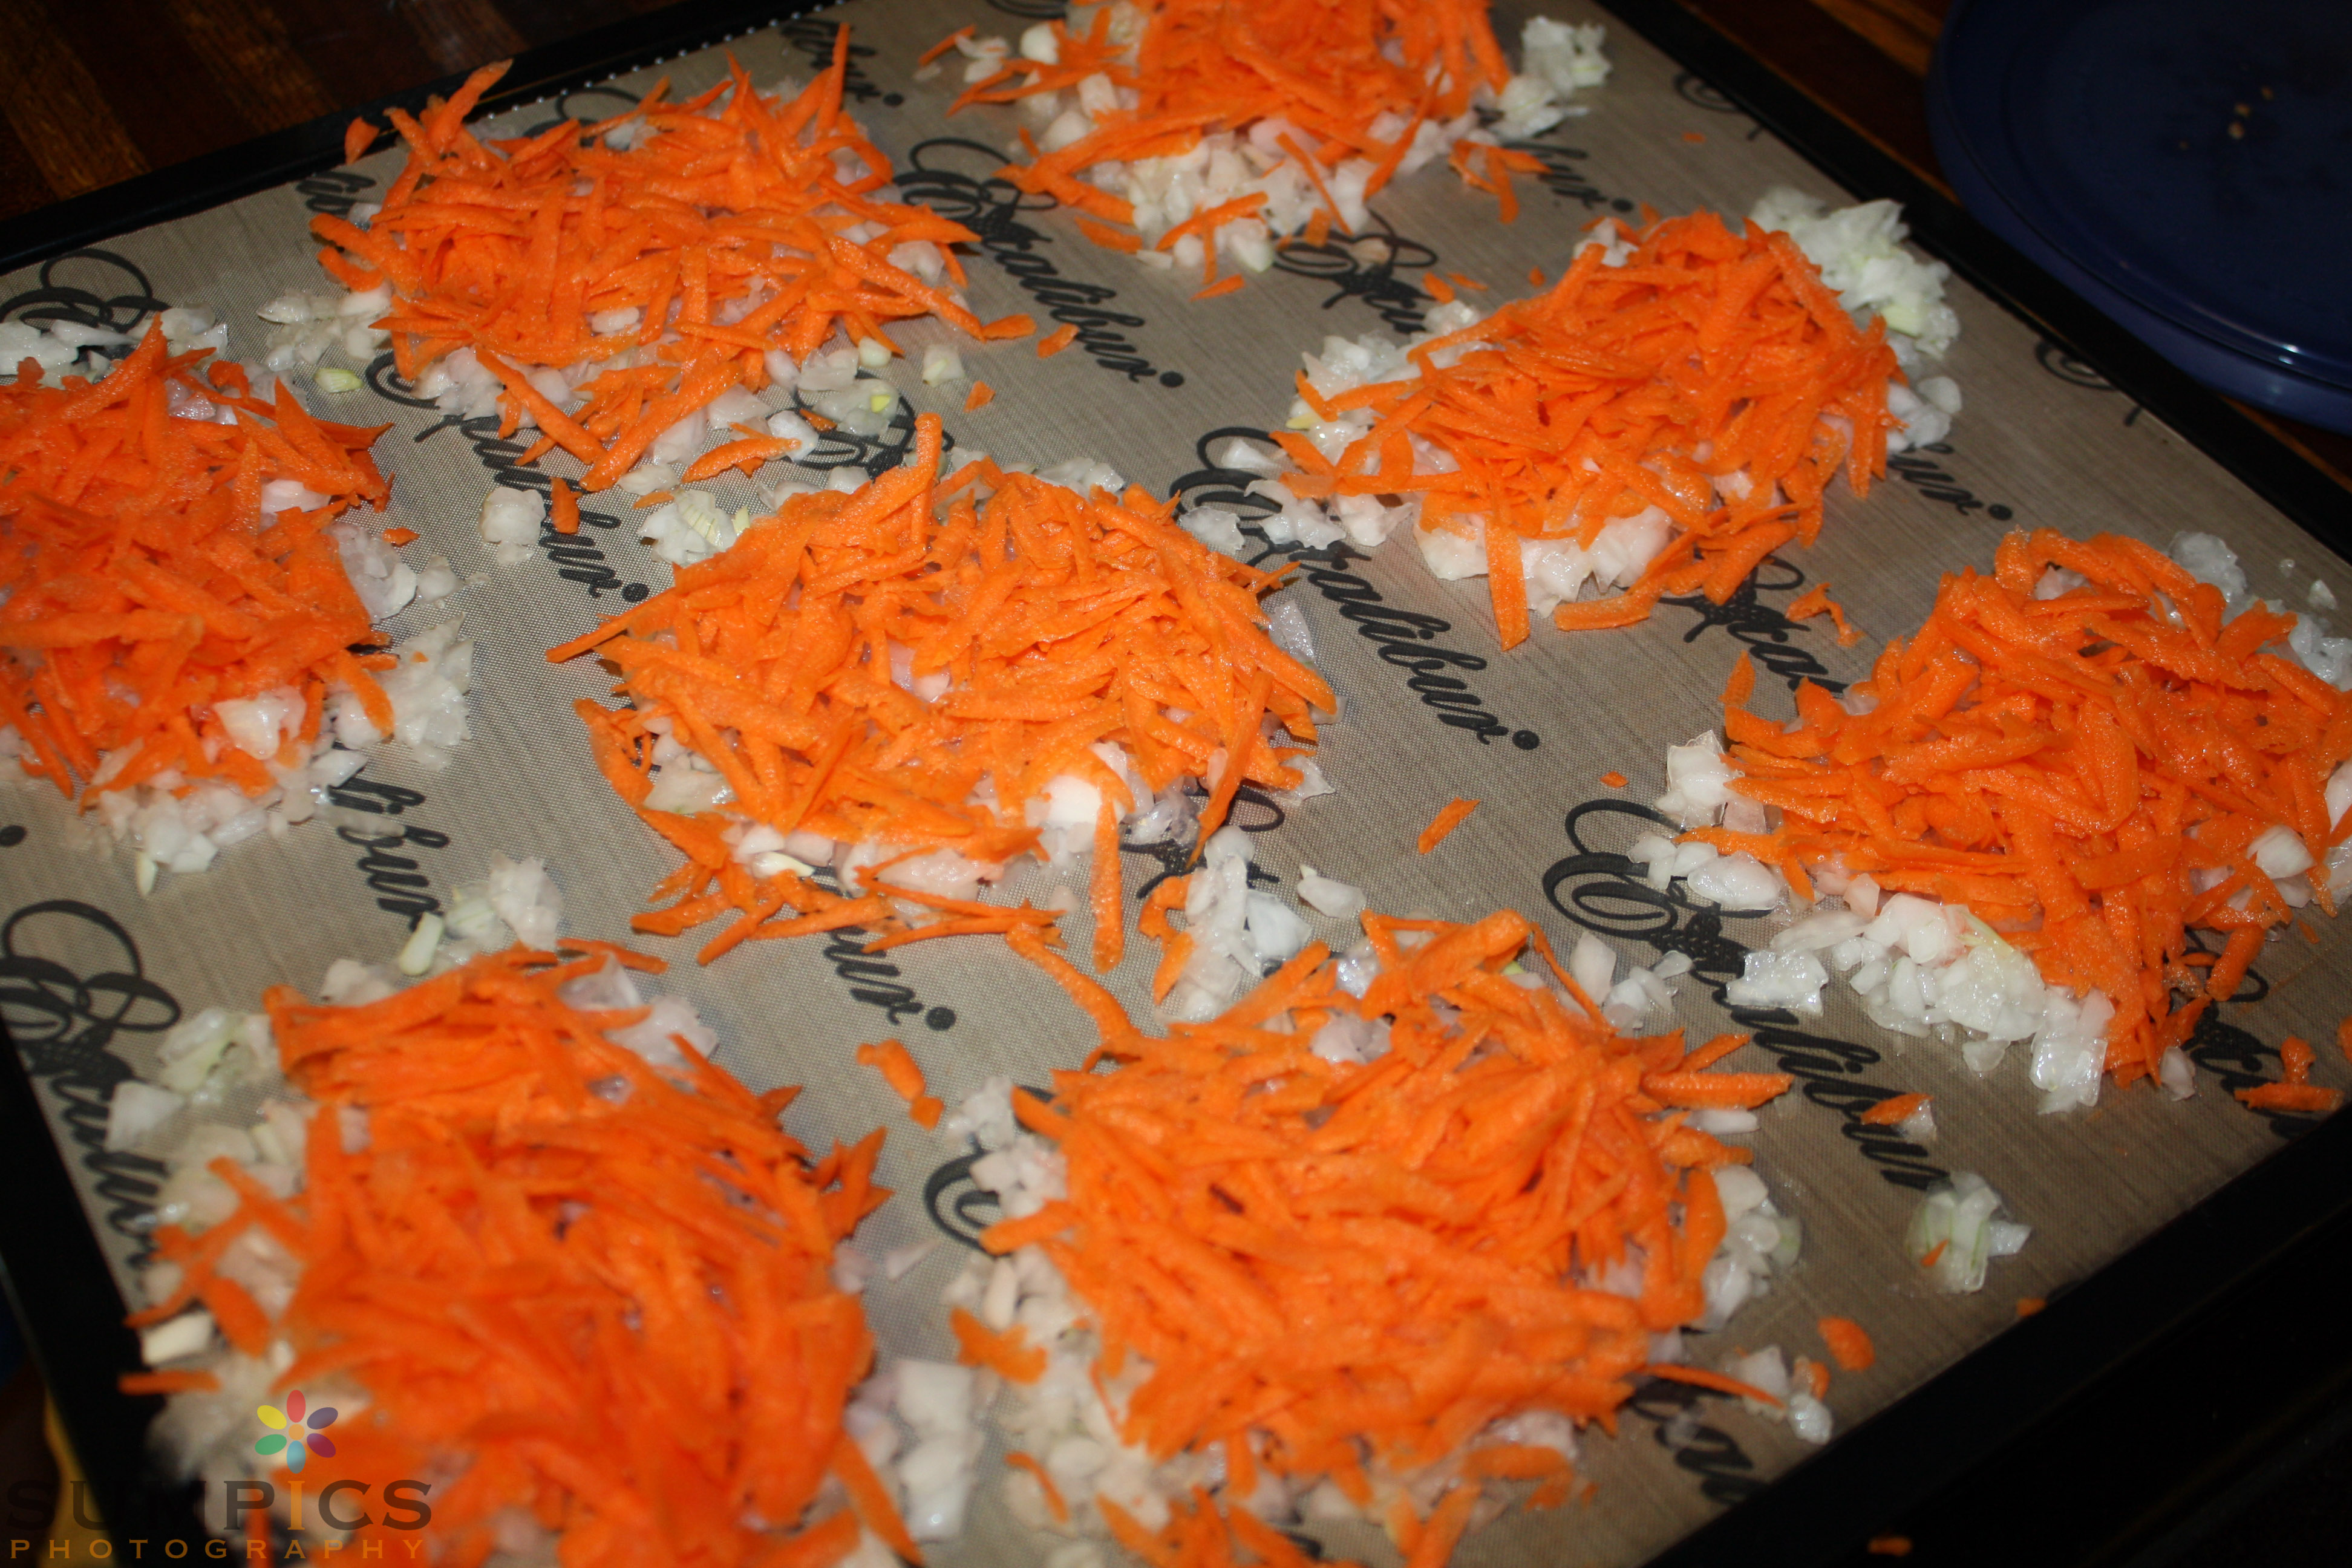
Seasoning and oiling my hamburger hash…
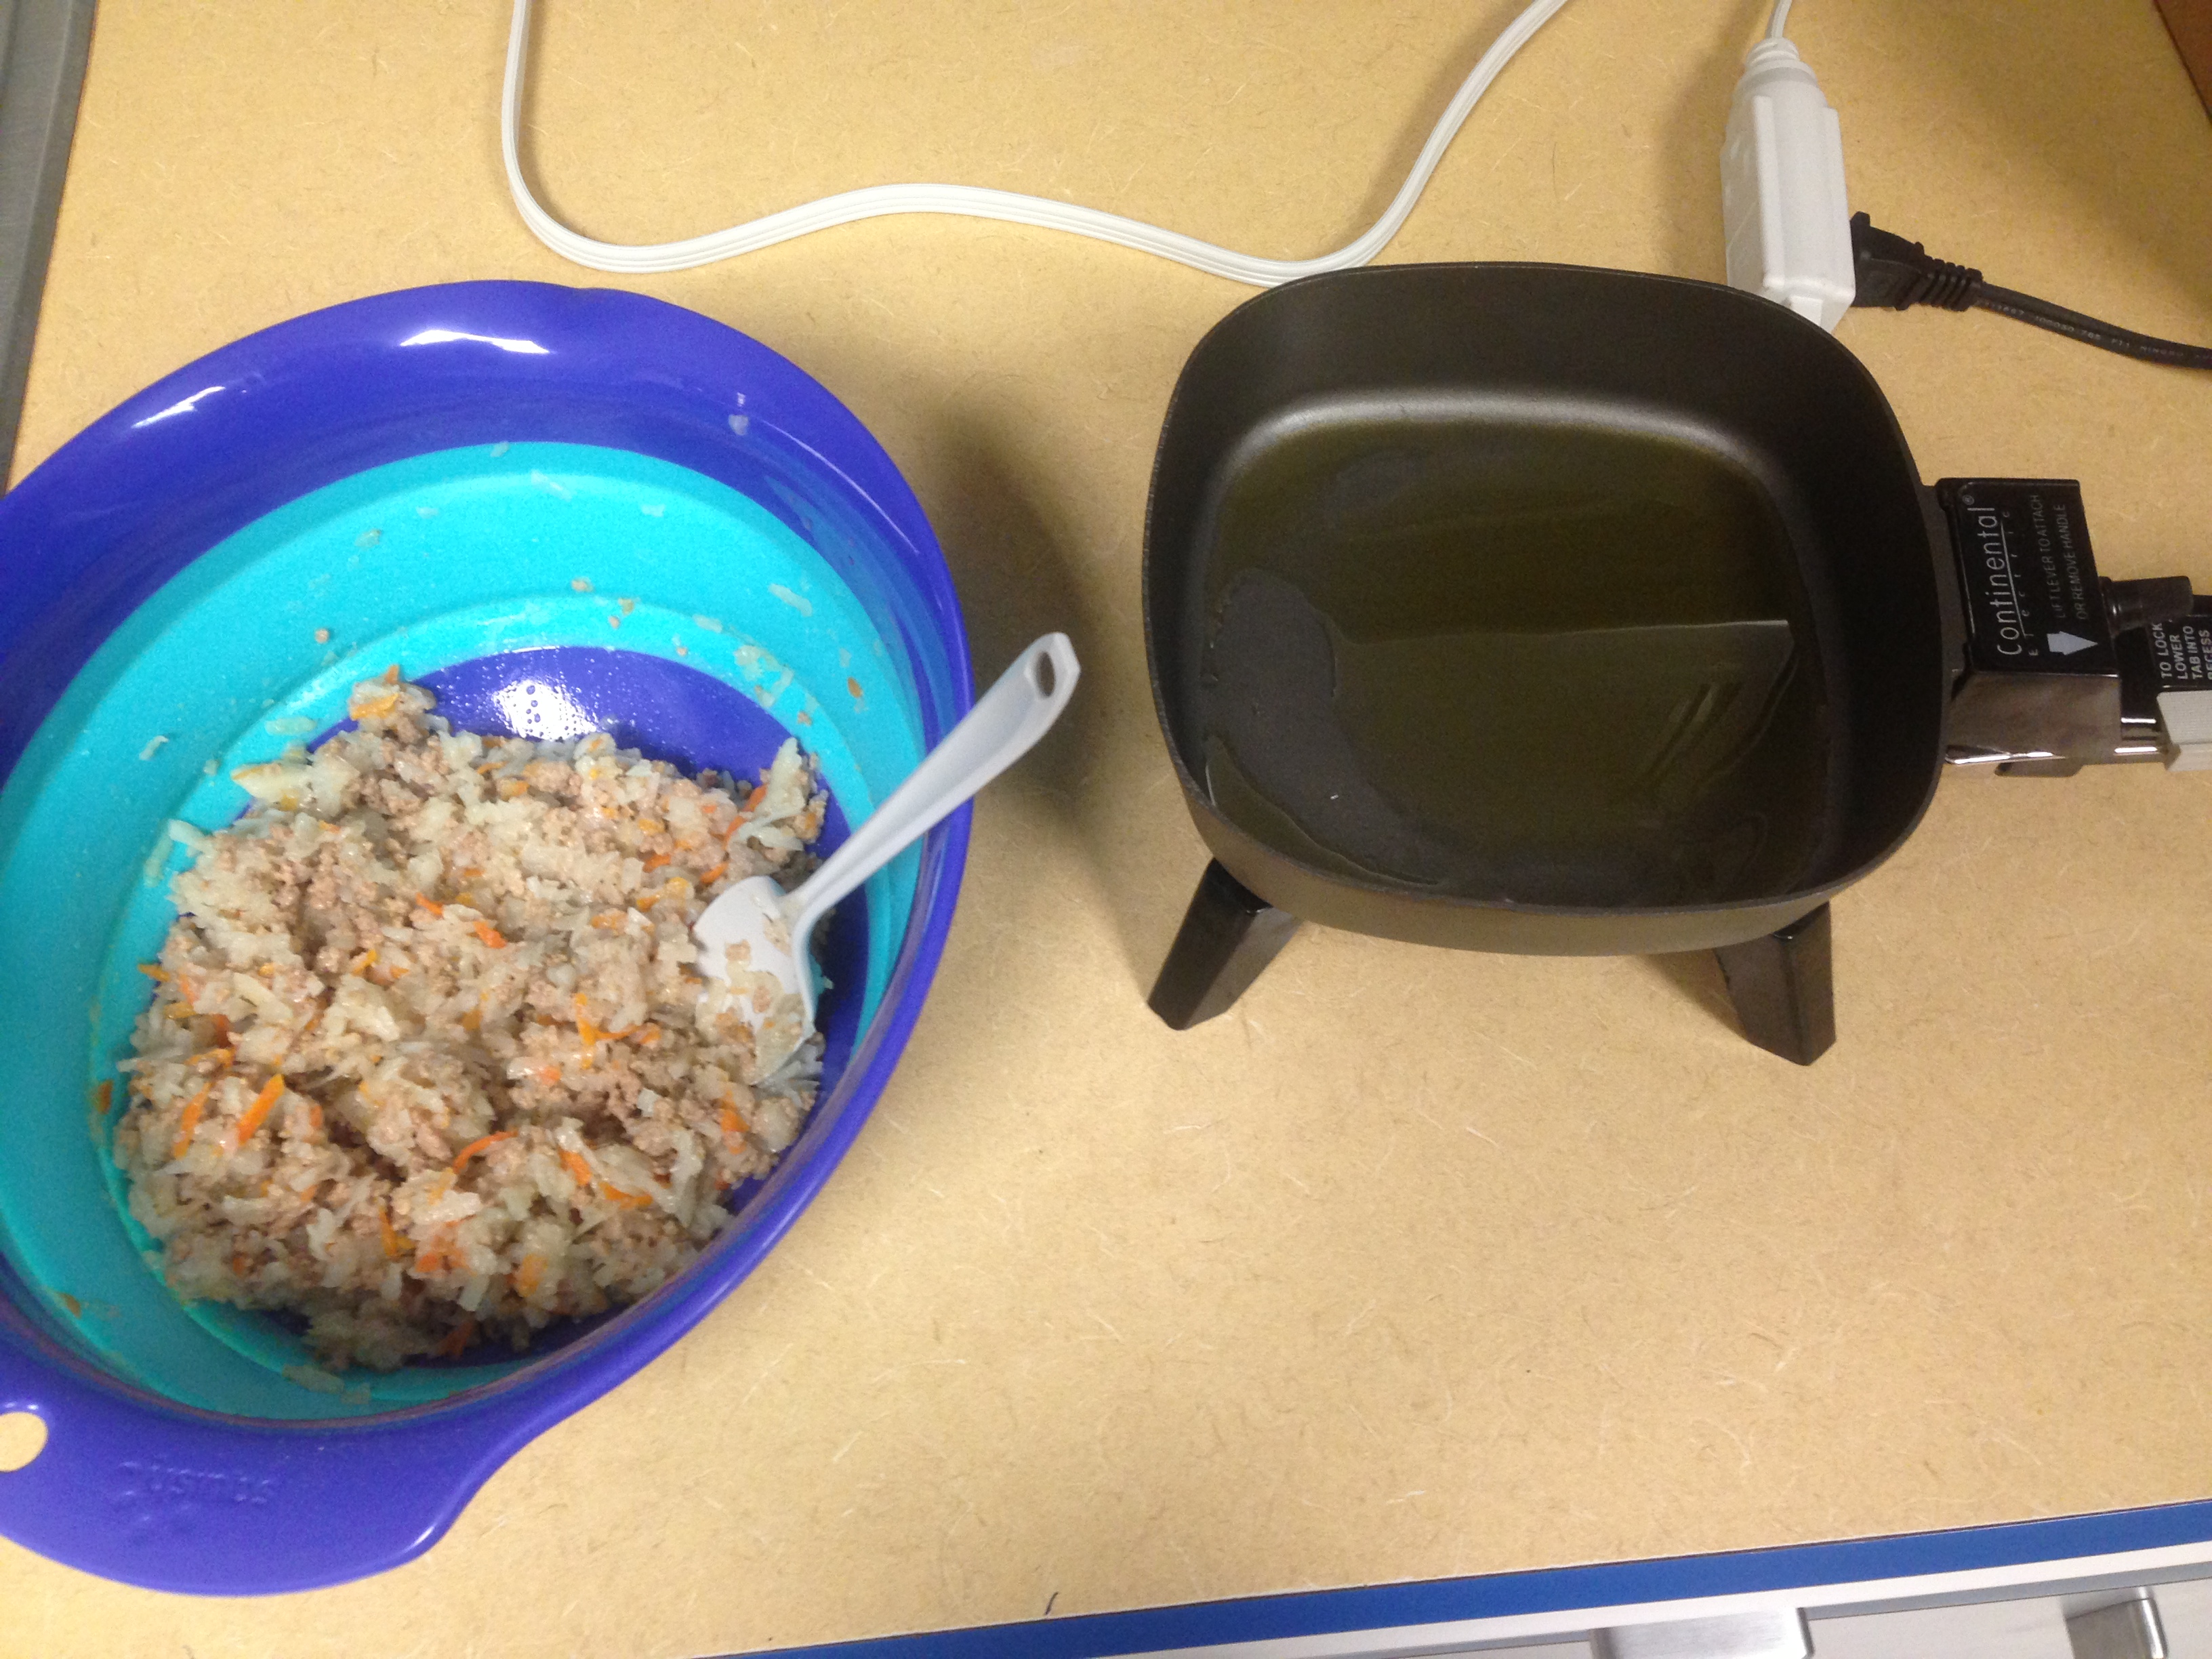
Lil’ Skillet heating up…look how tiny it is!
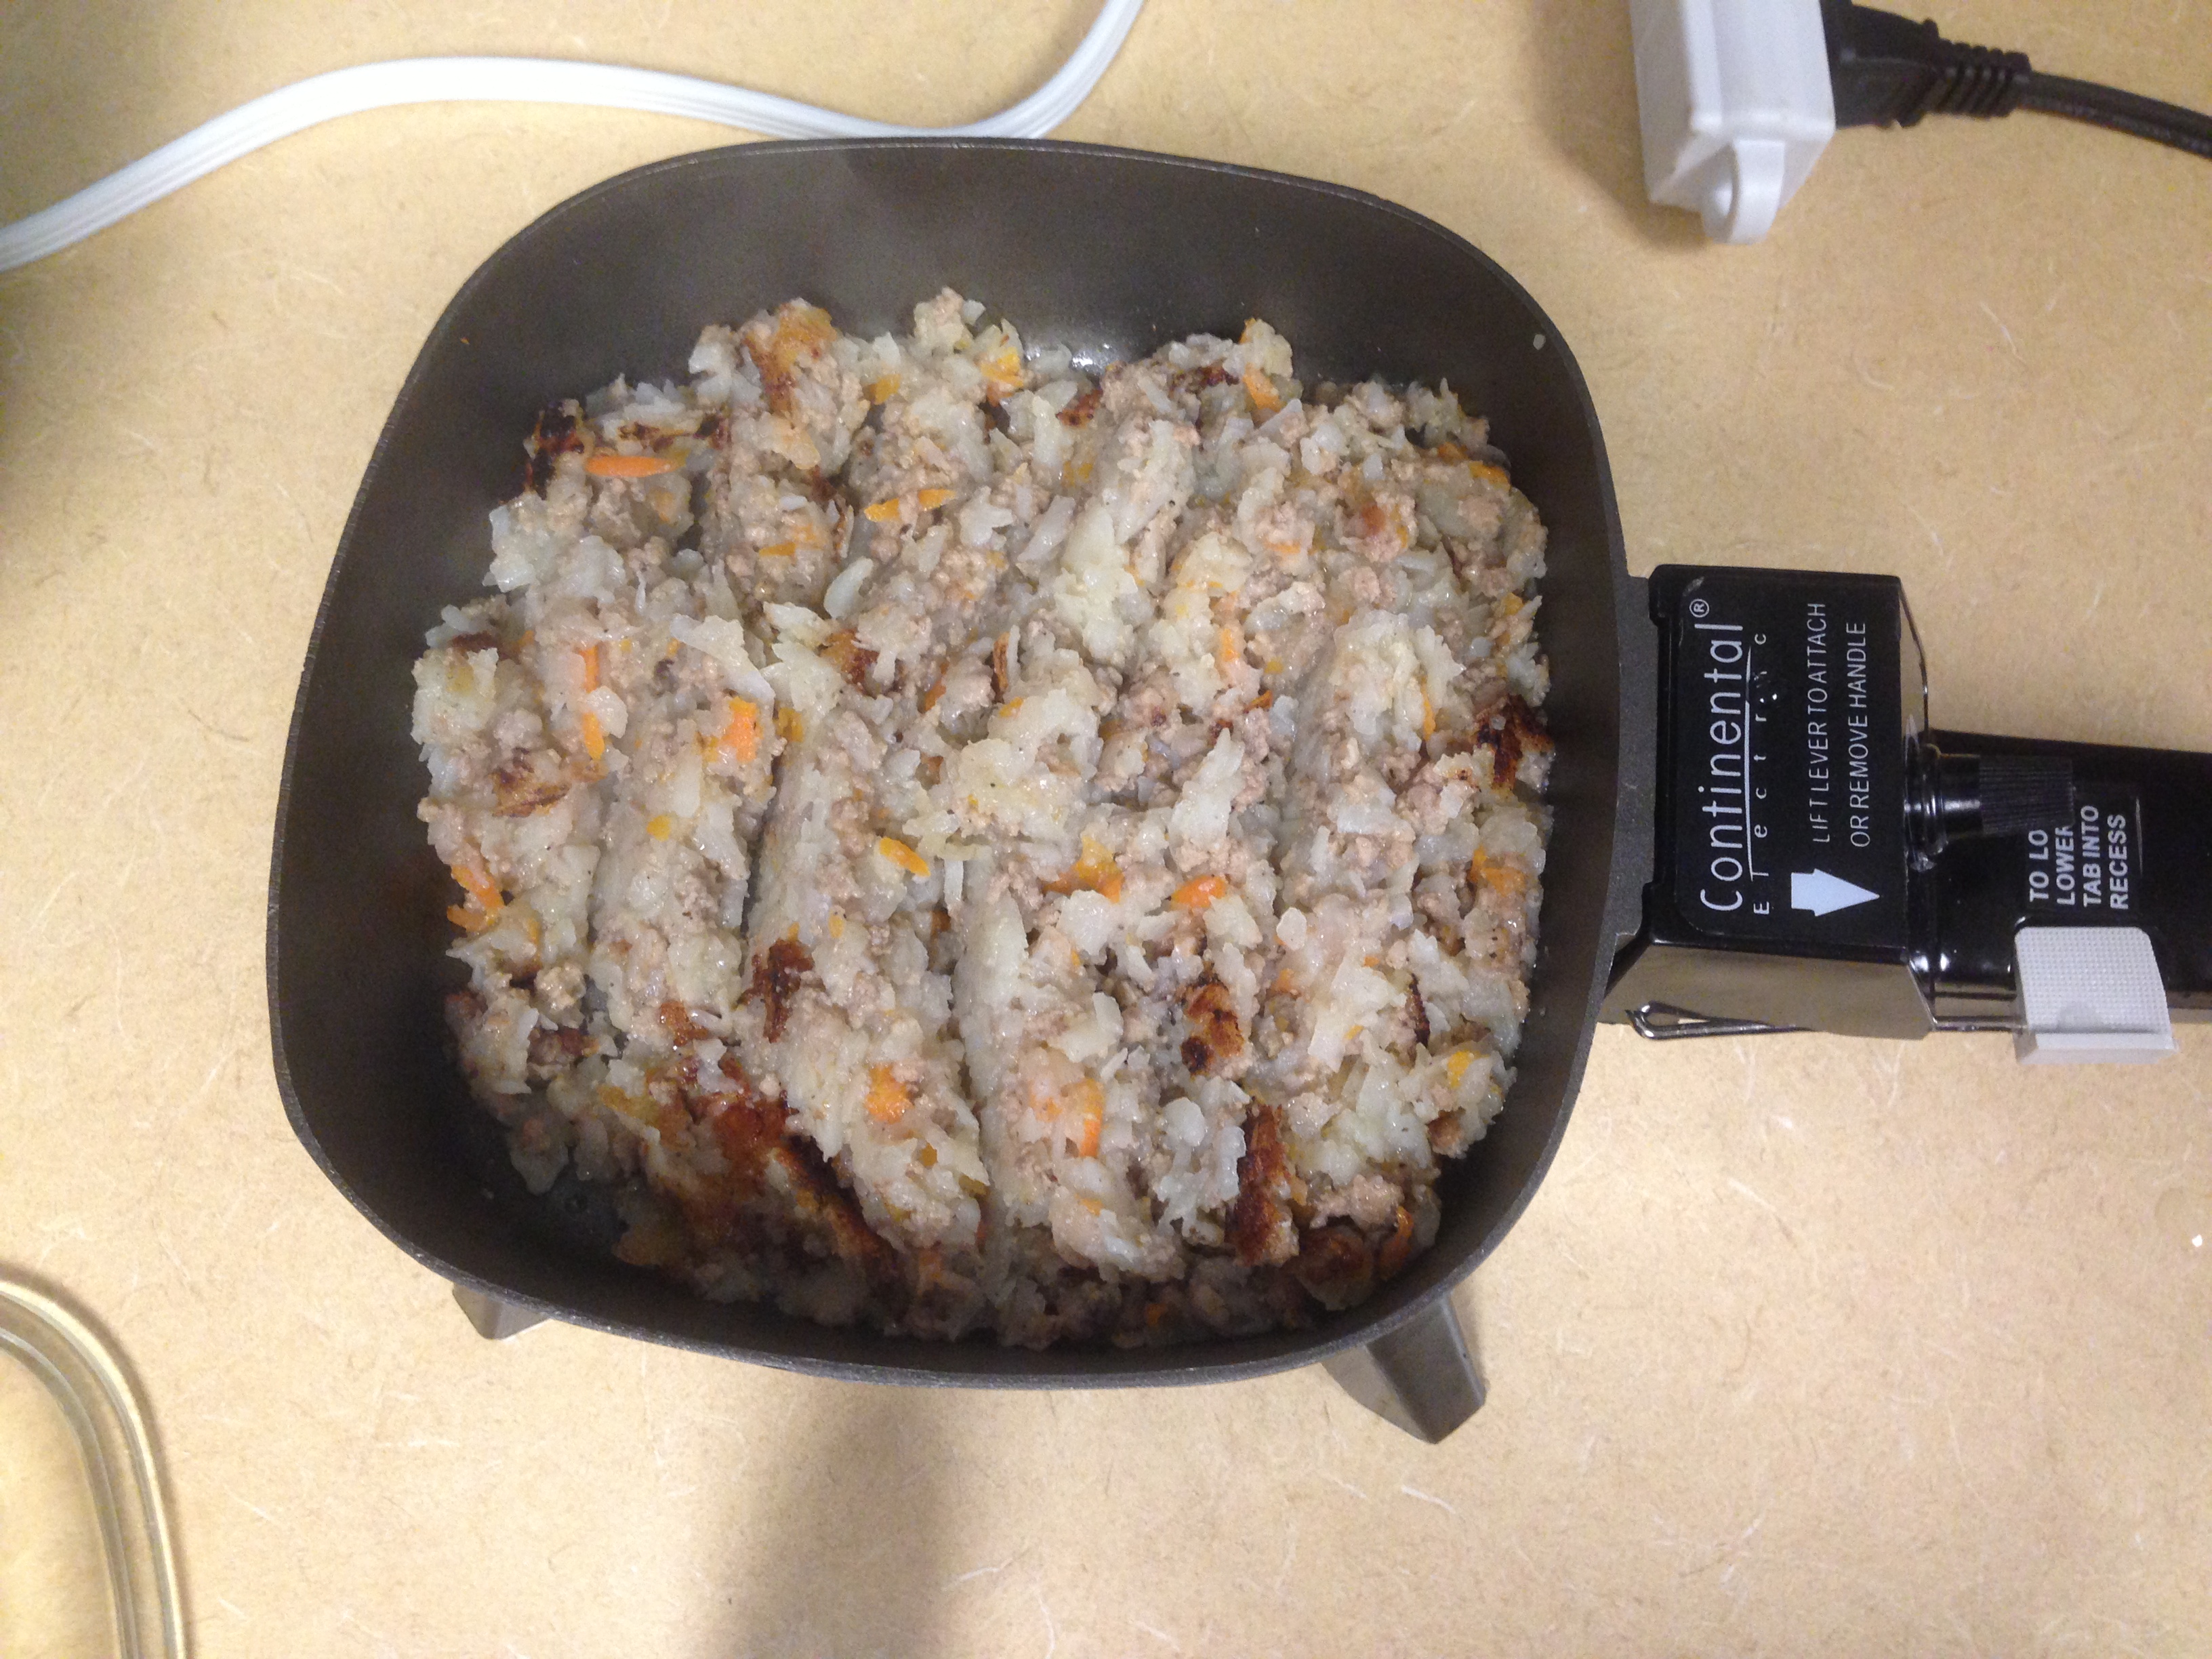
Toss in the food…
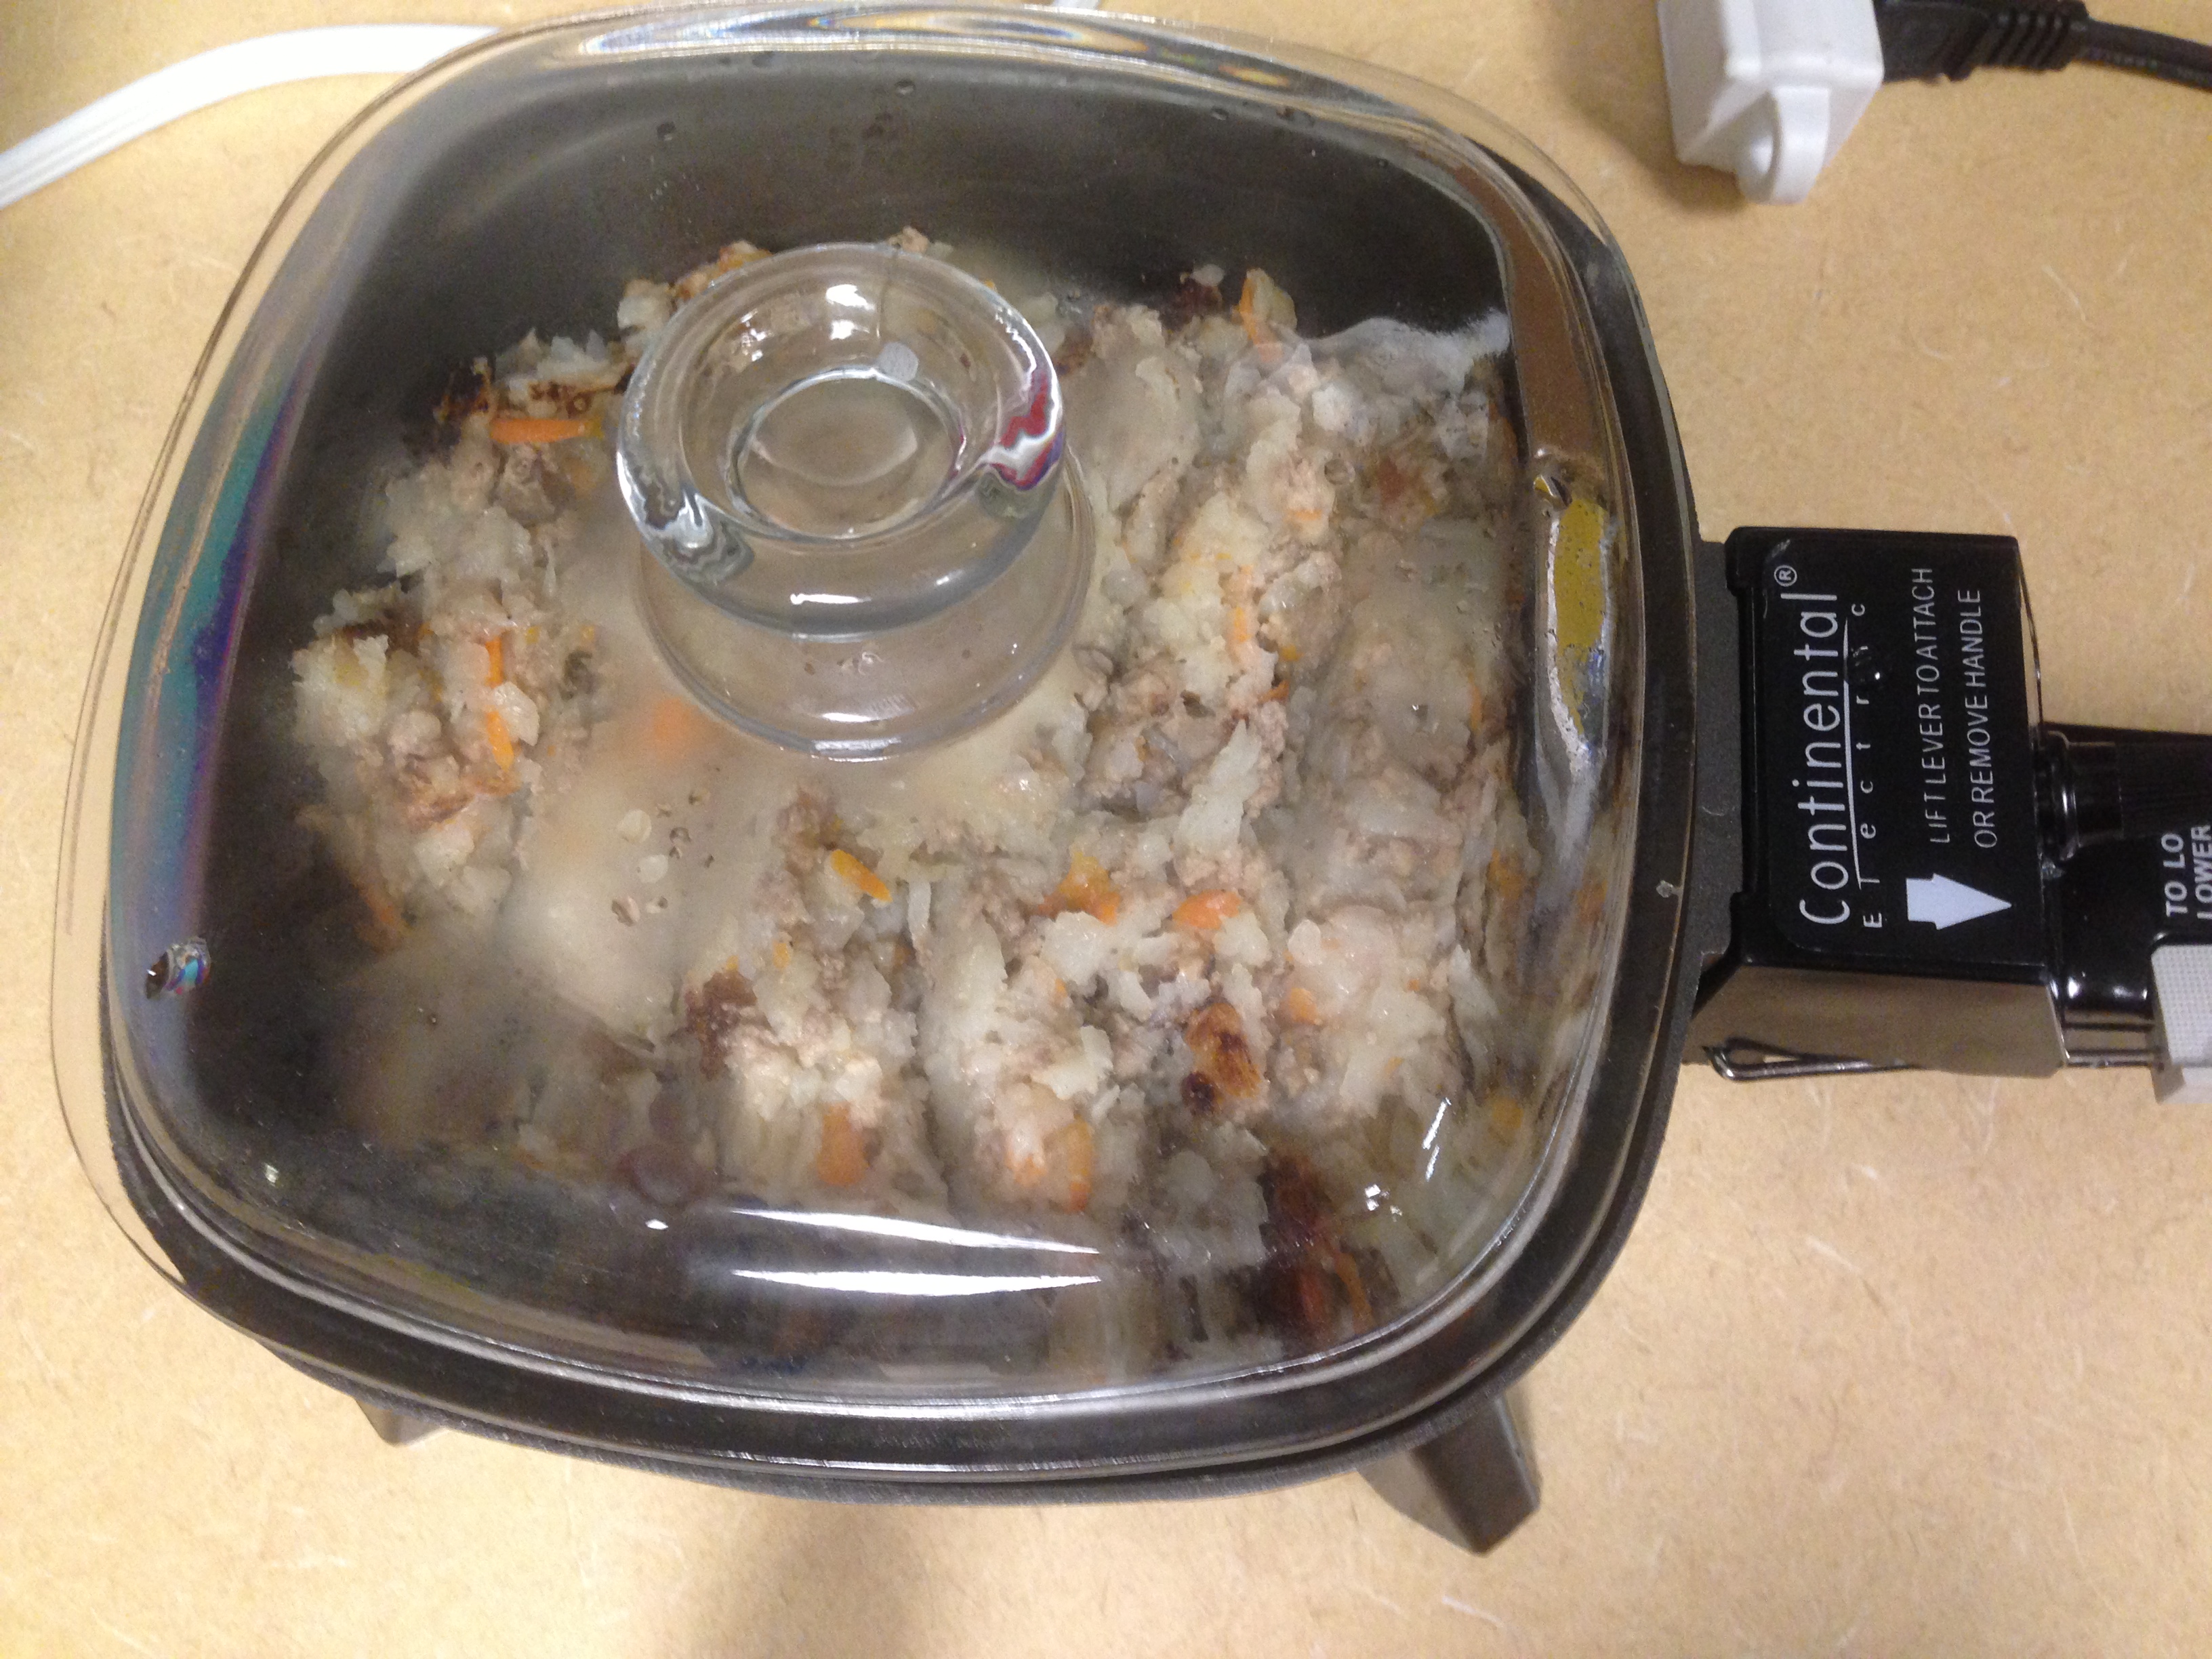
And put on the lid!!
Breakfast is ready!
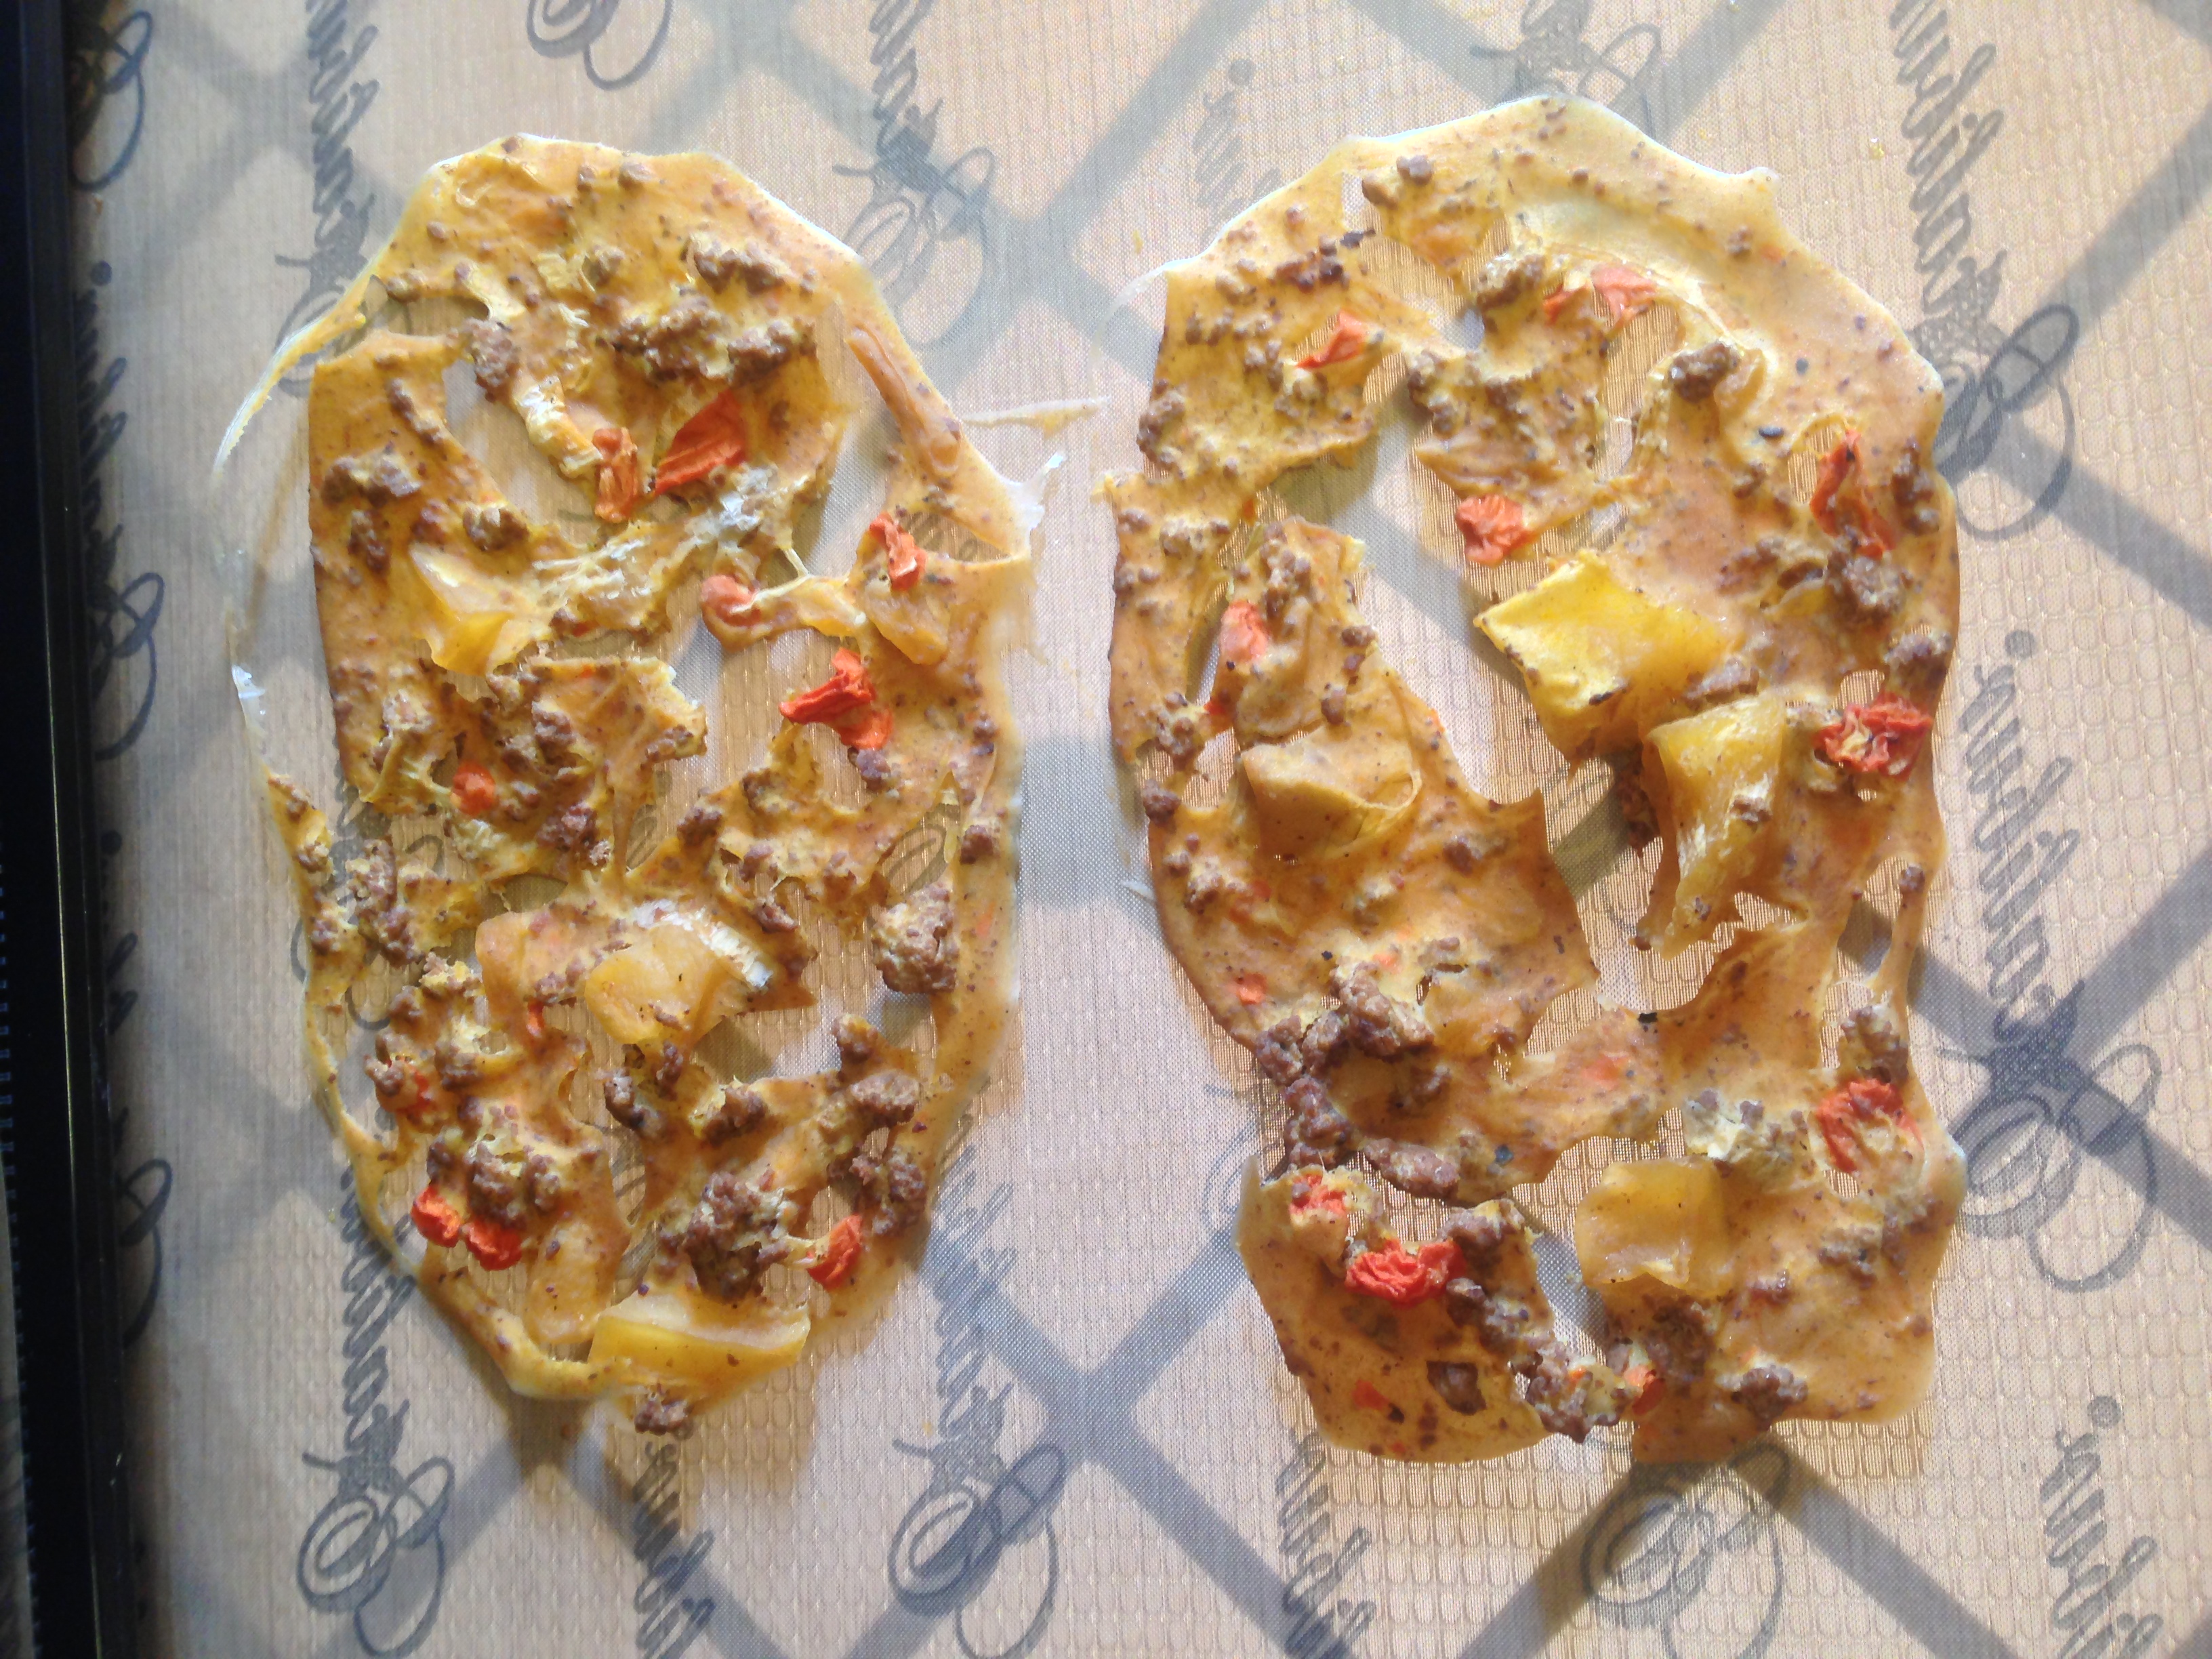
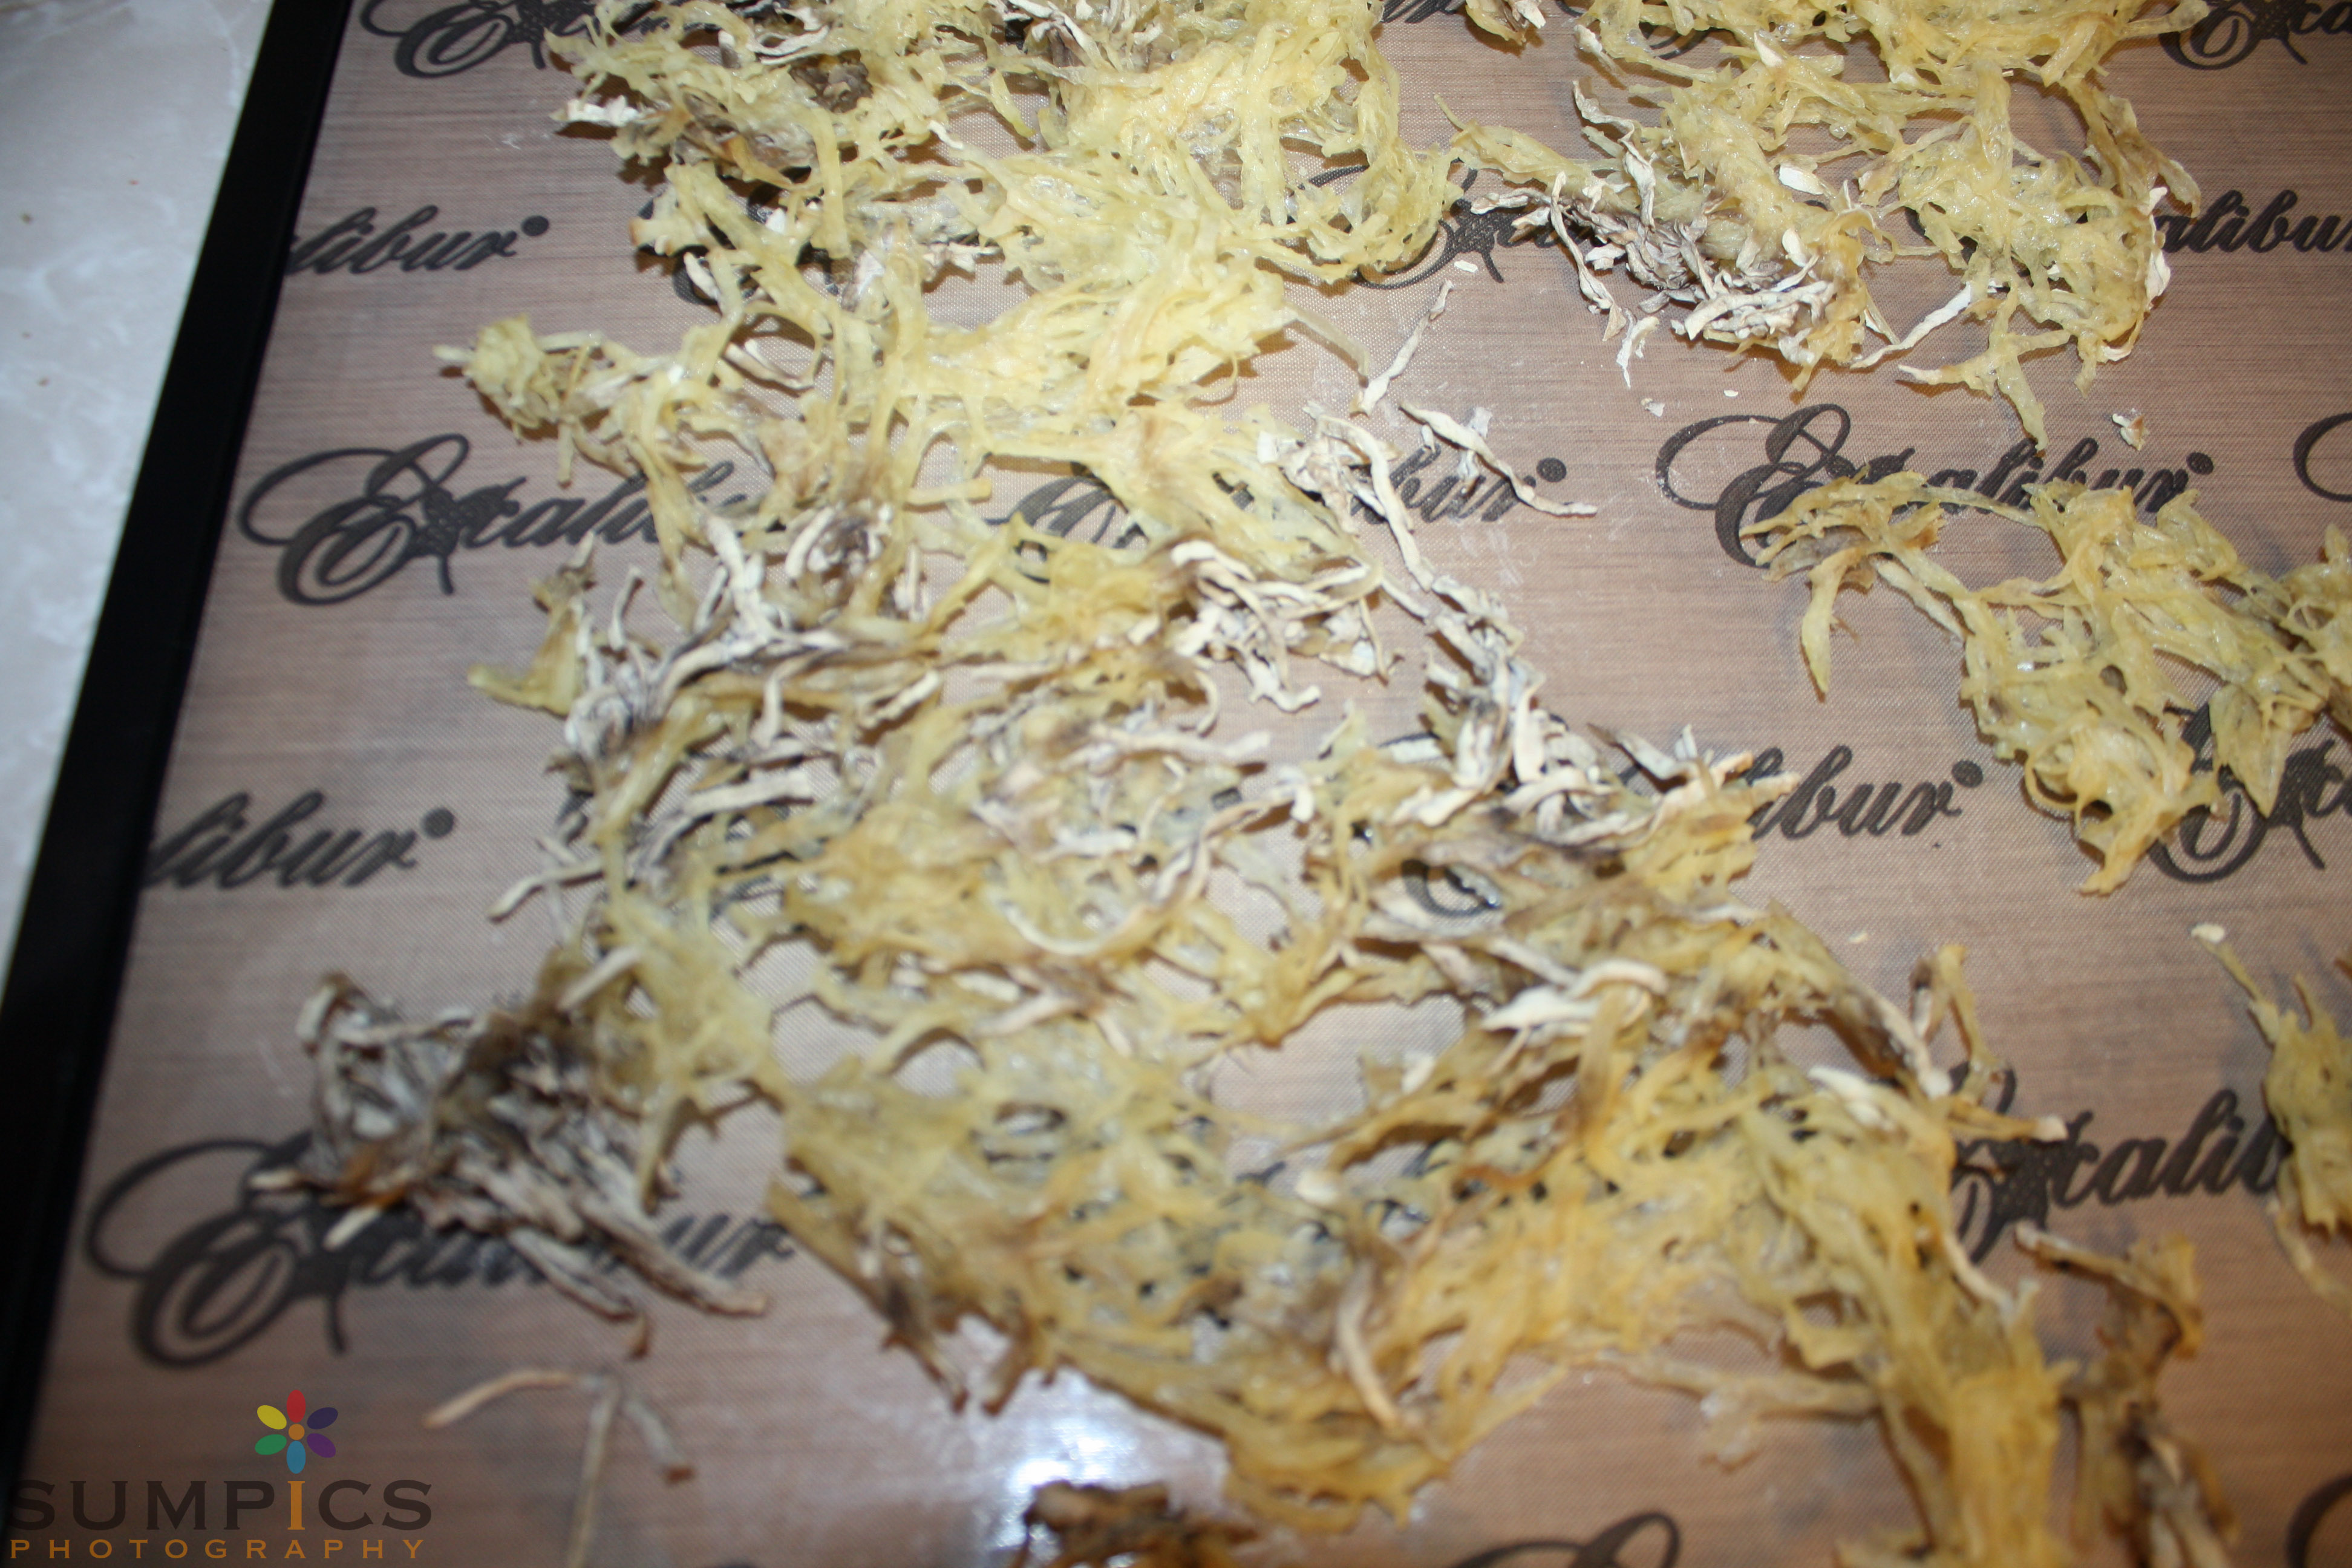
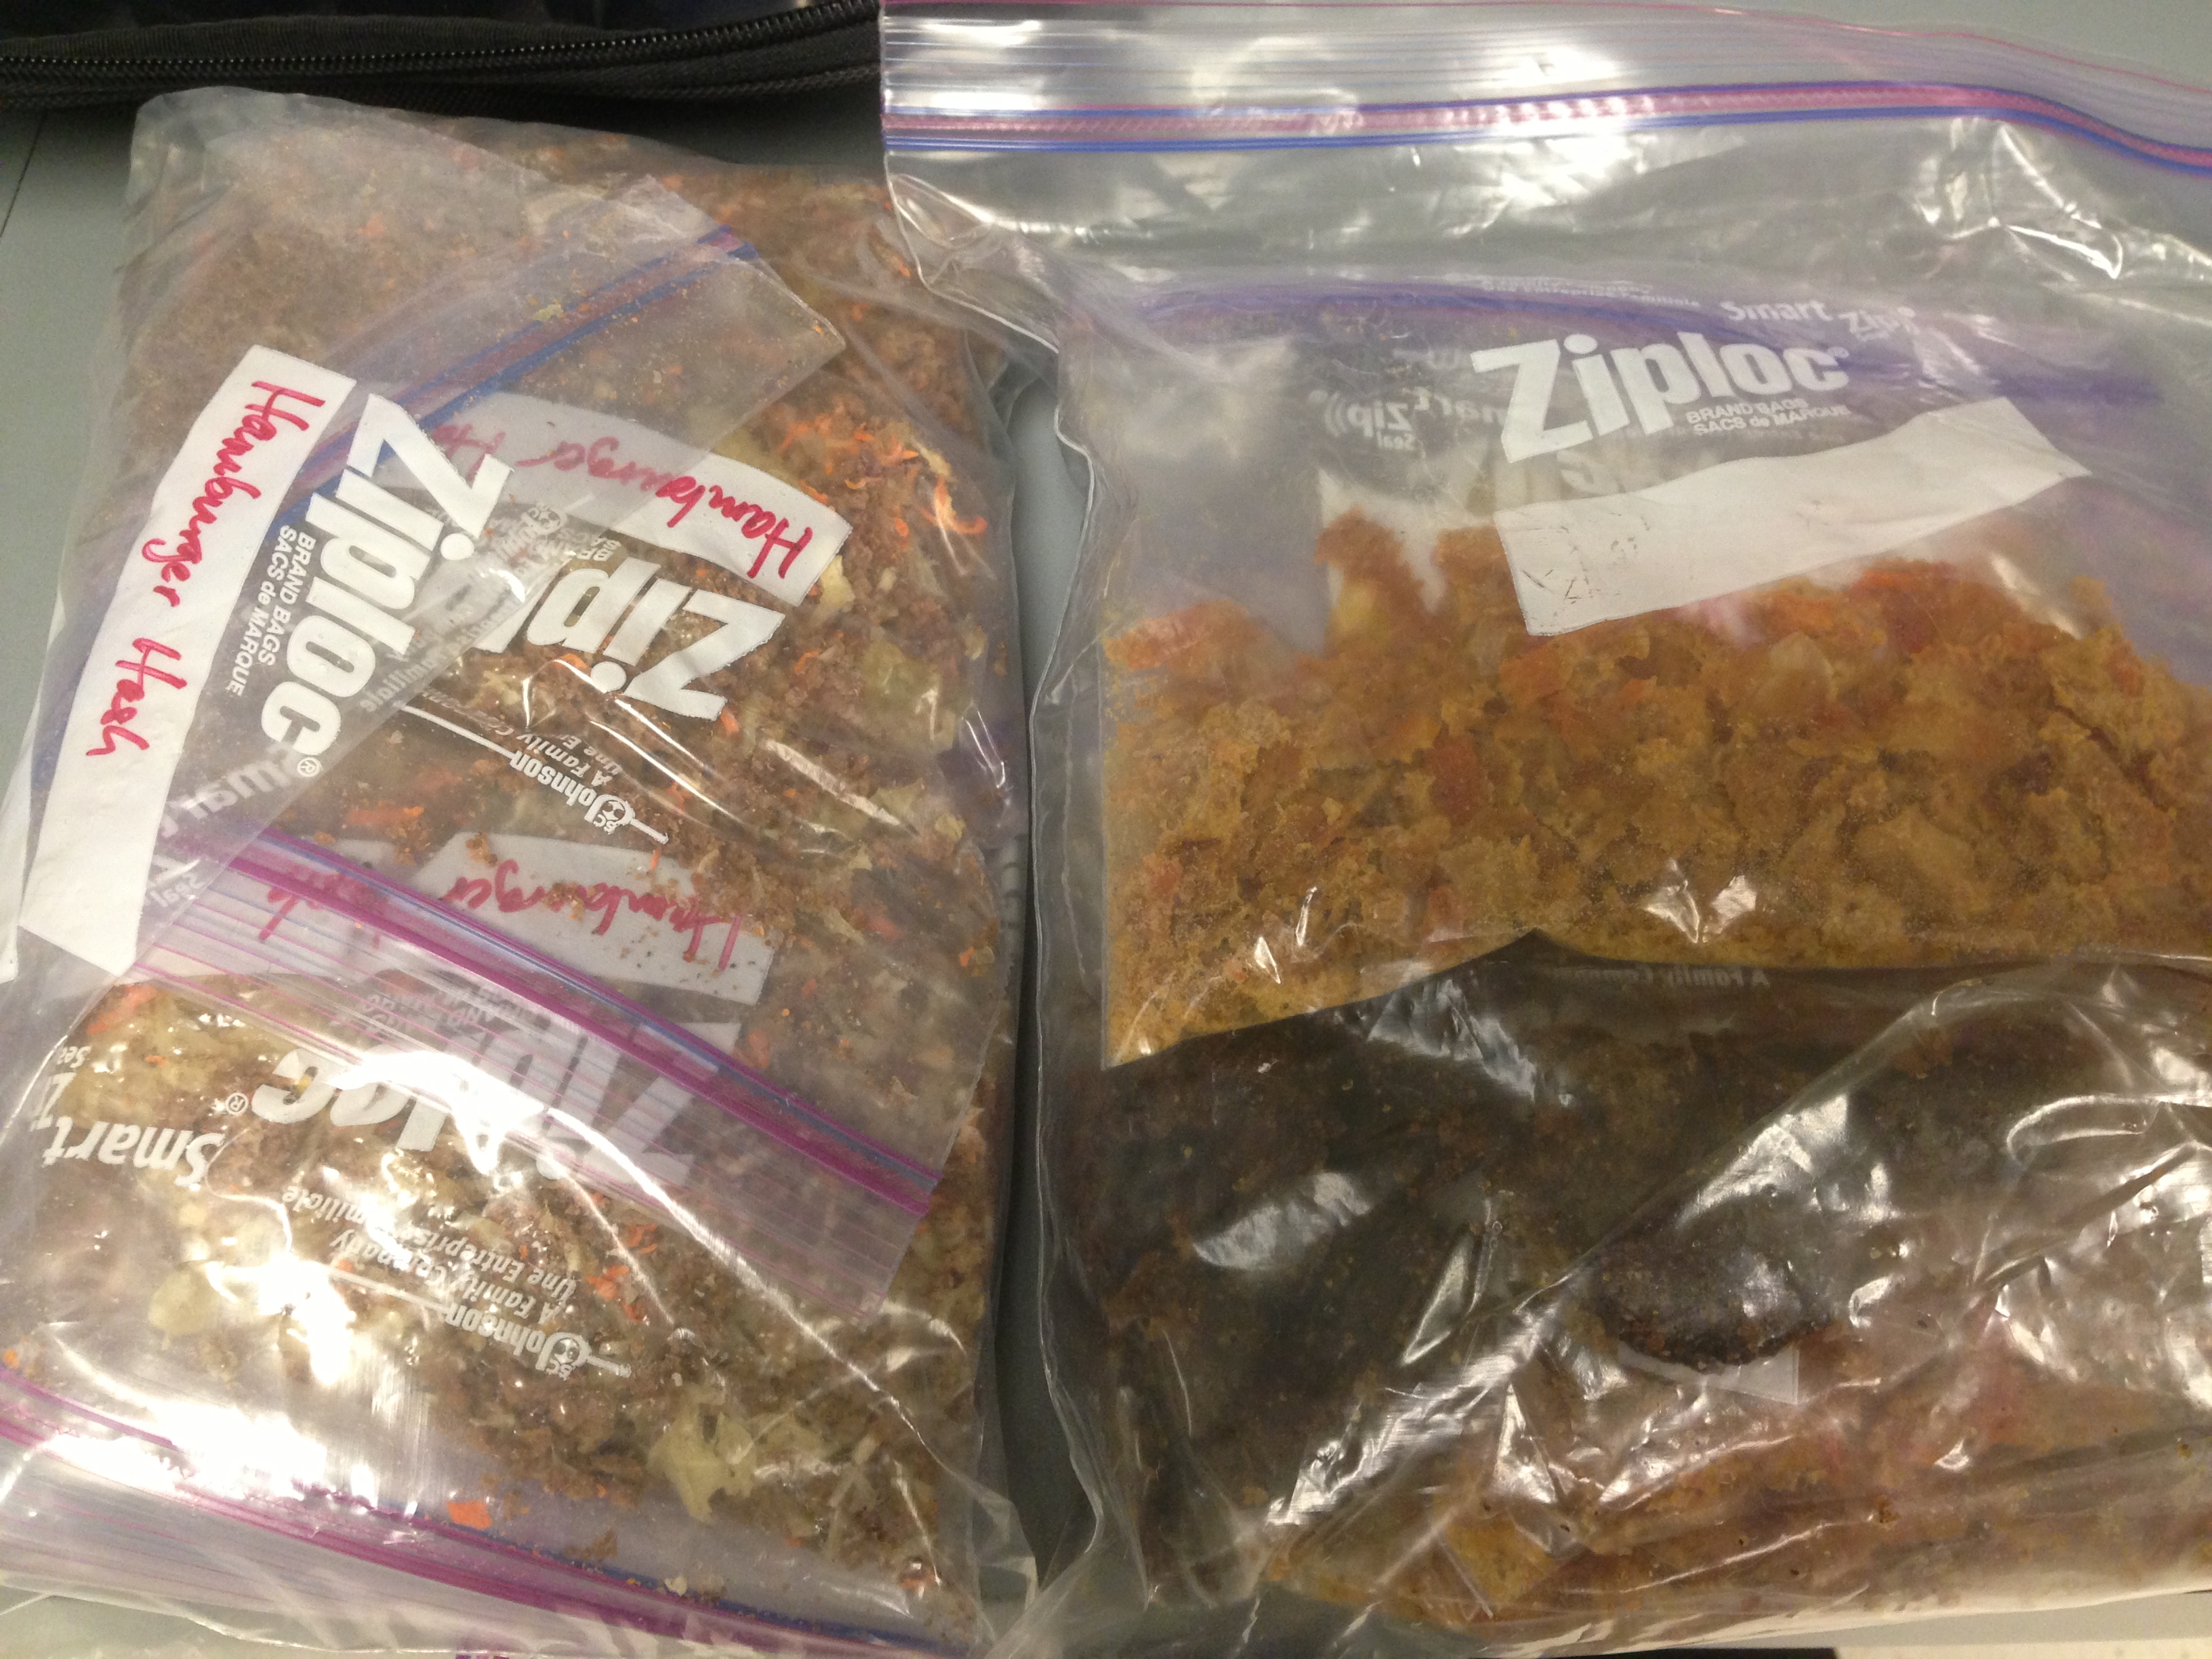
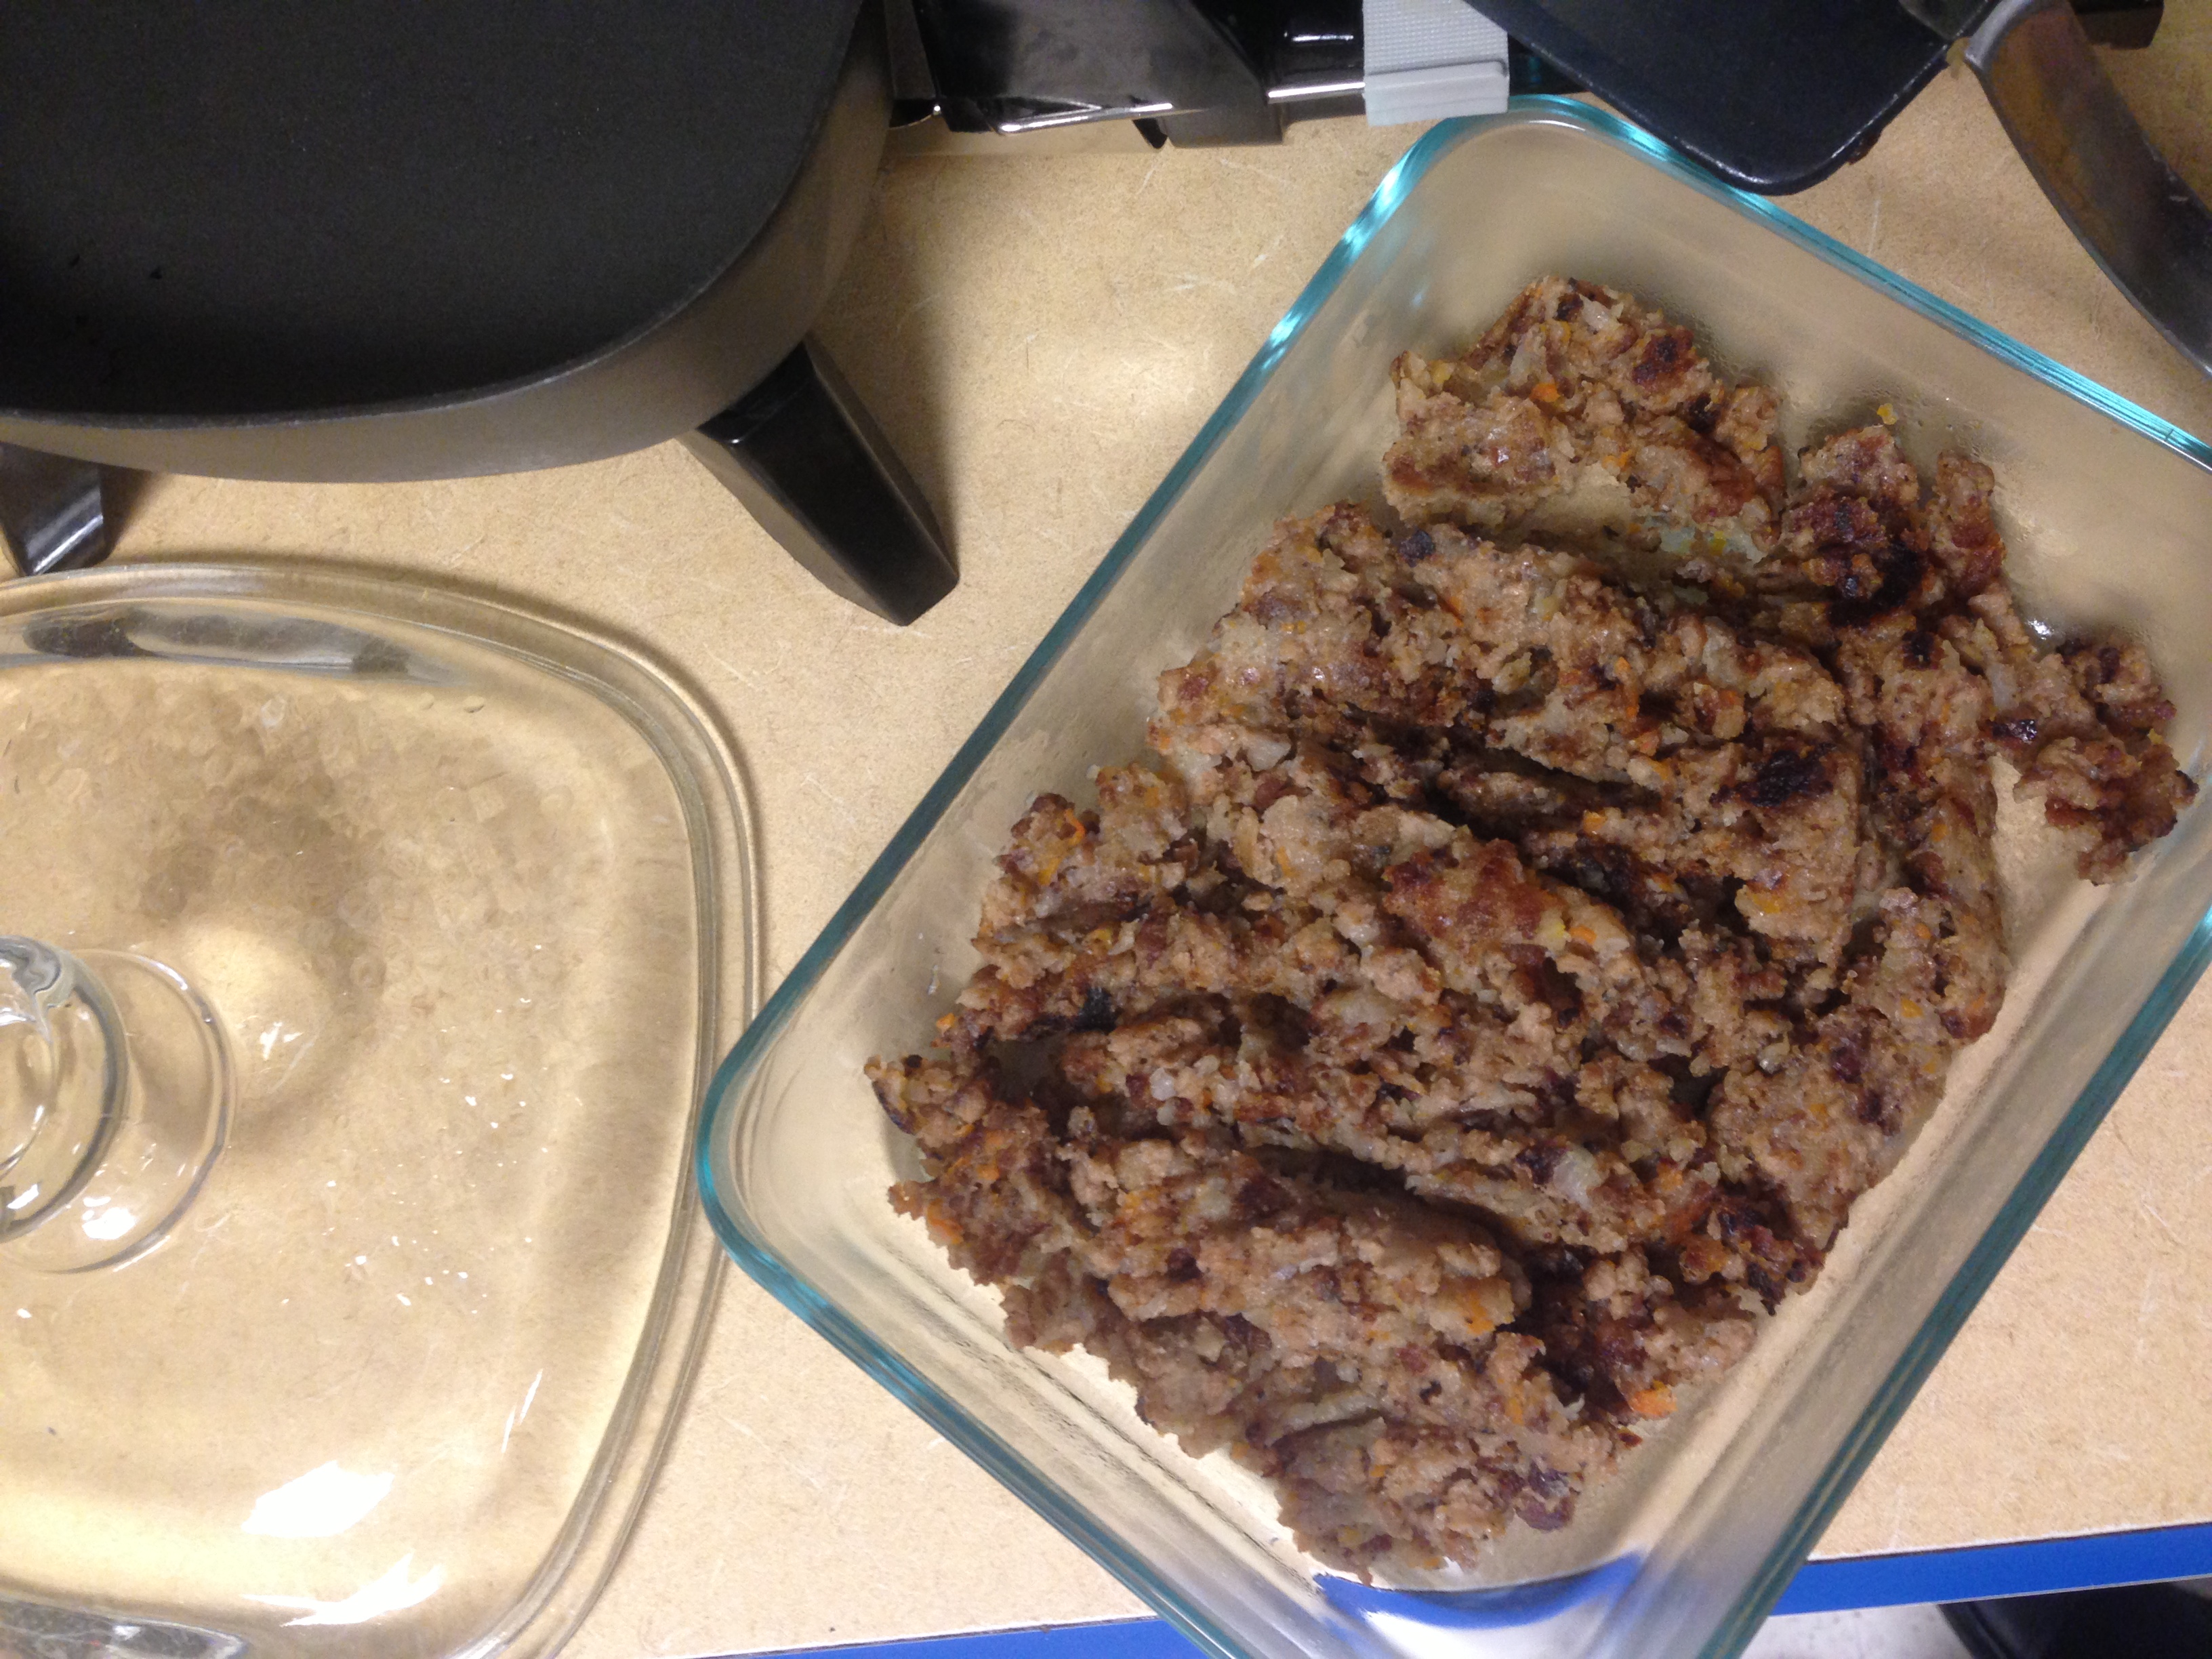
Oh, and for reference: here’s my cooked and ready to eat hamburger hash next to a dehydrated hamburger hash.
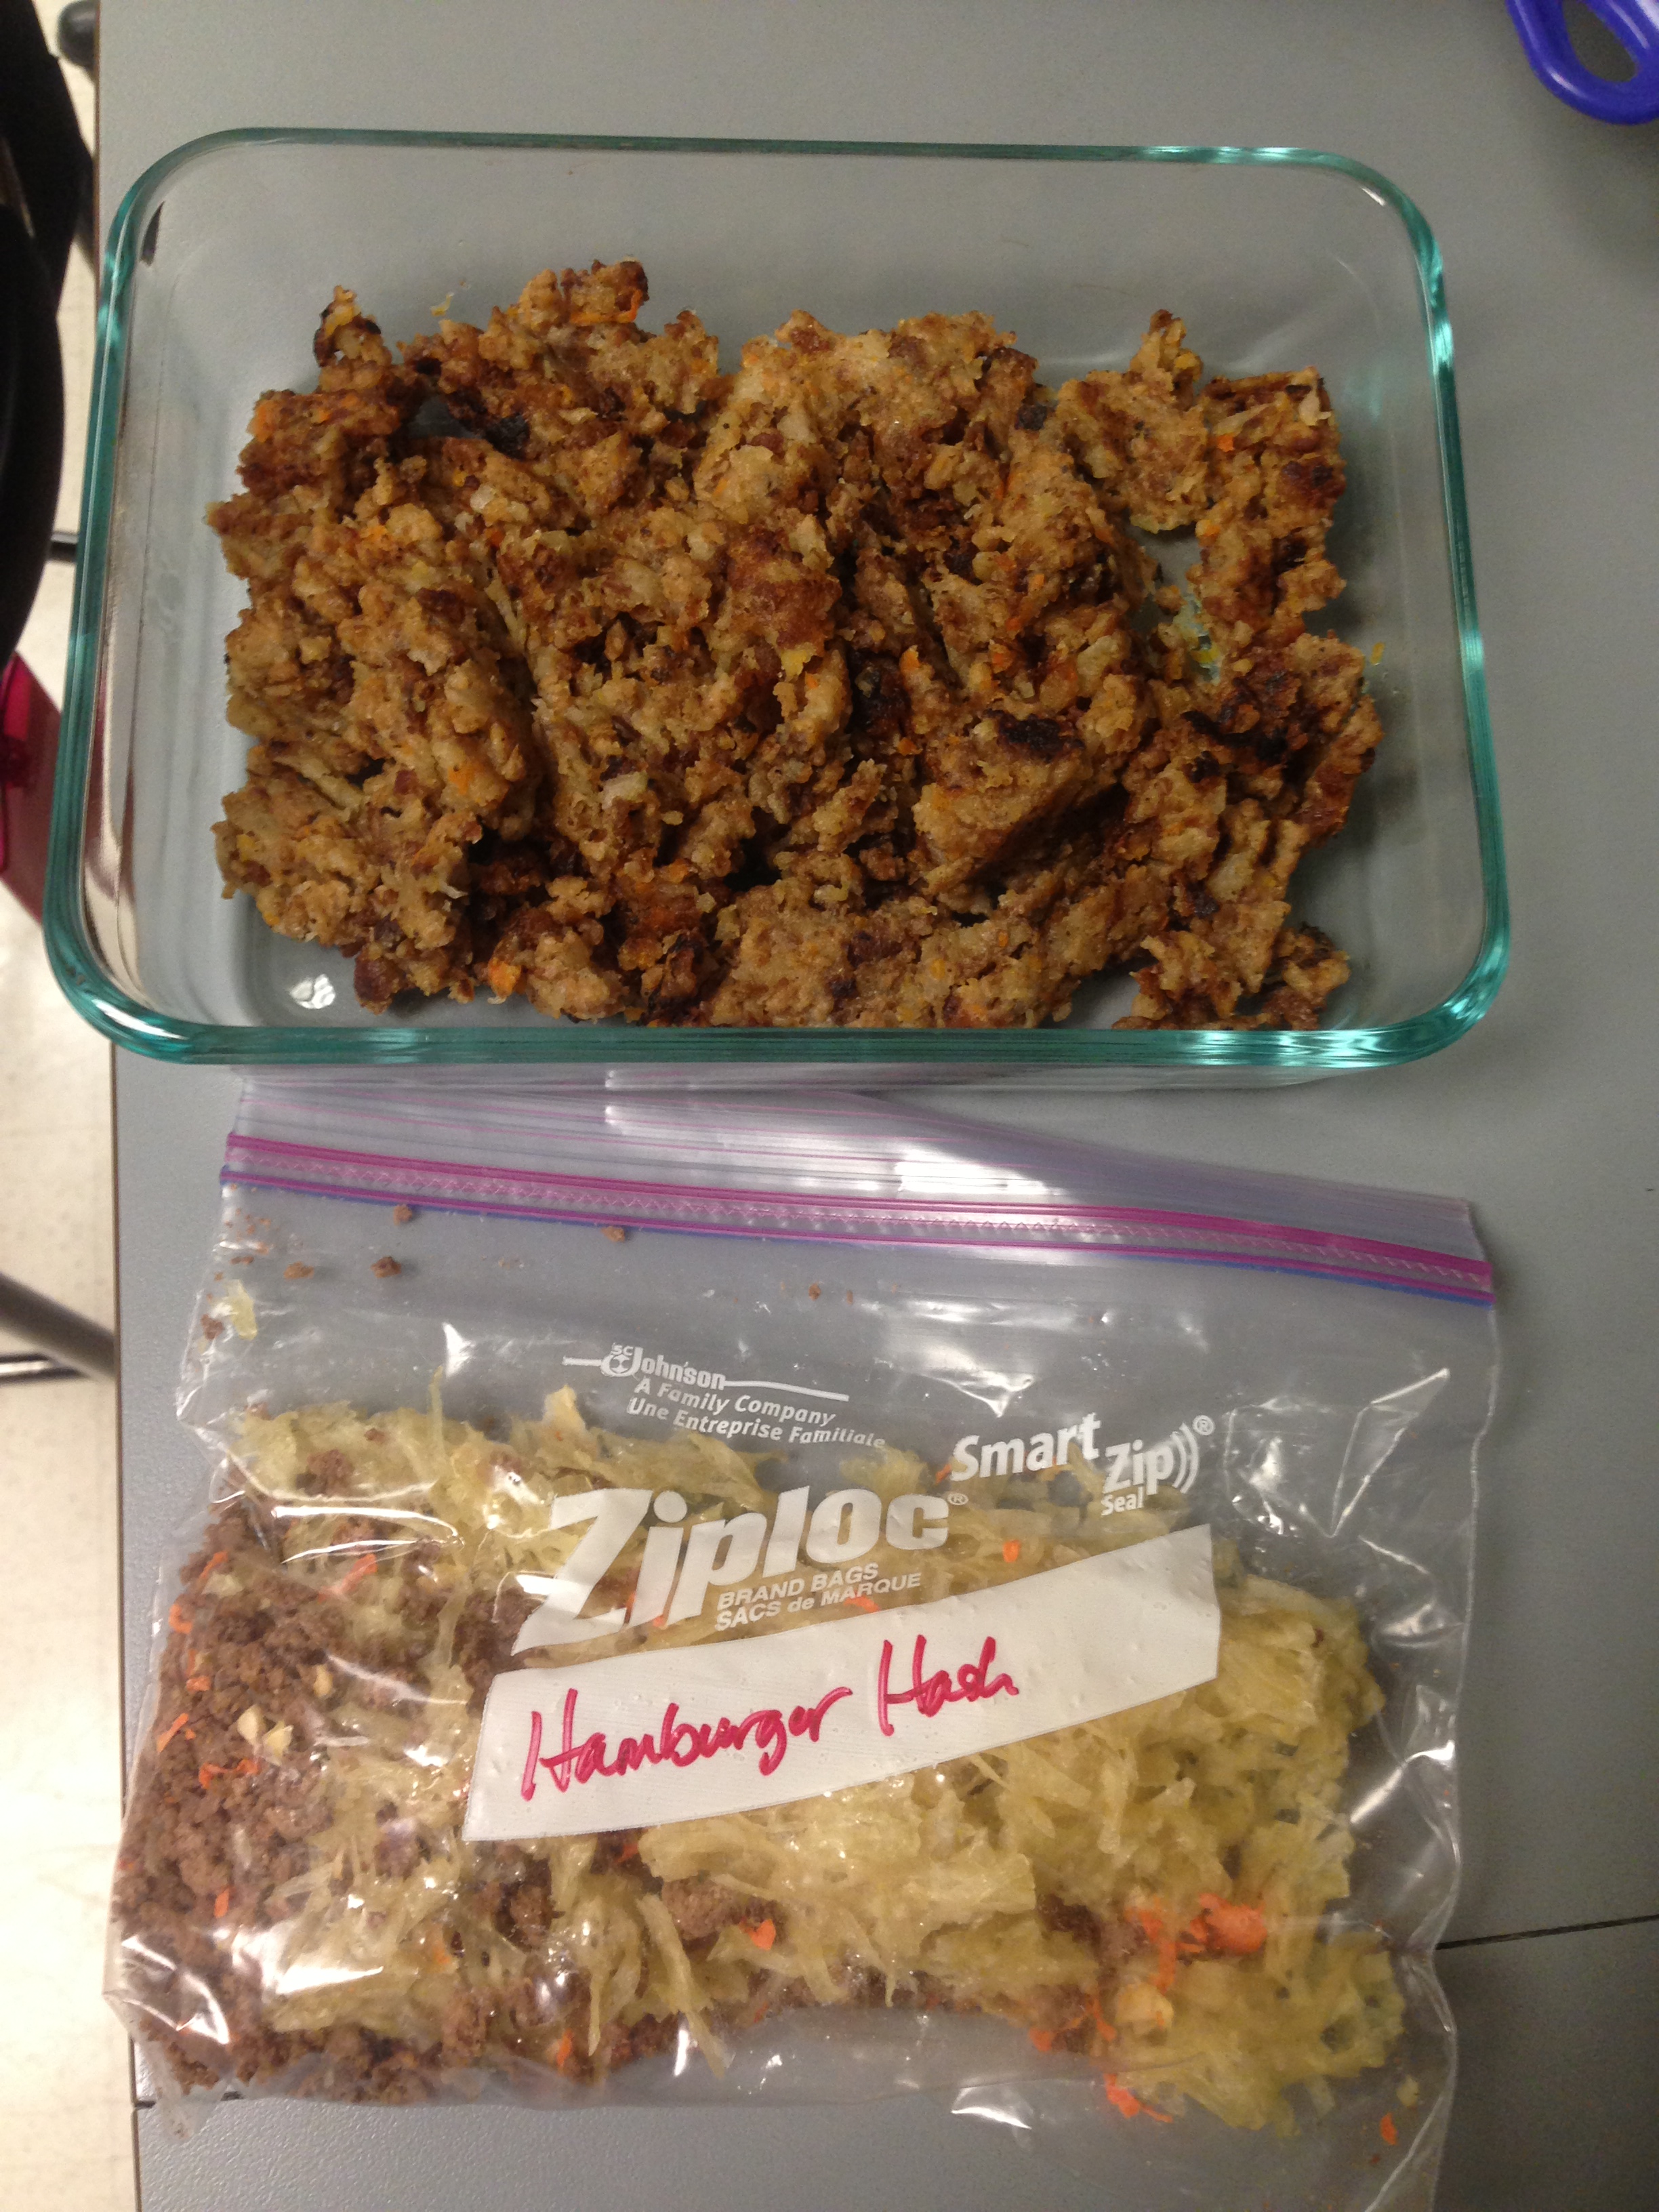
It may not look like a big difference, but the weight and size difference is quite large!
Here are some other essentials in my traveling kitchen:
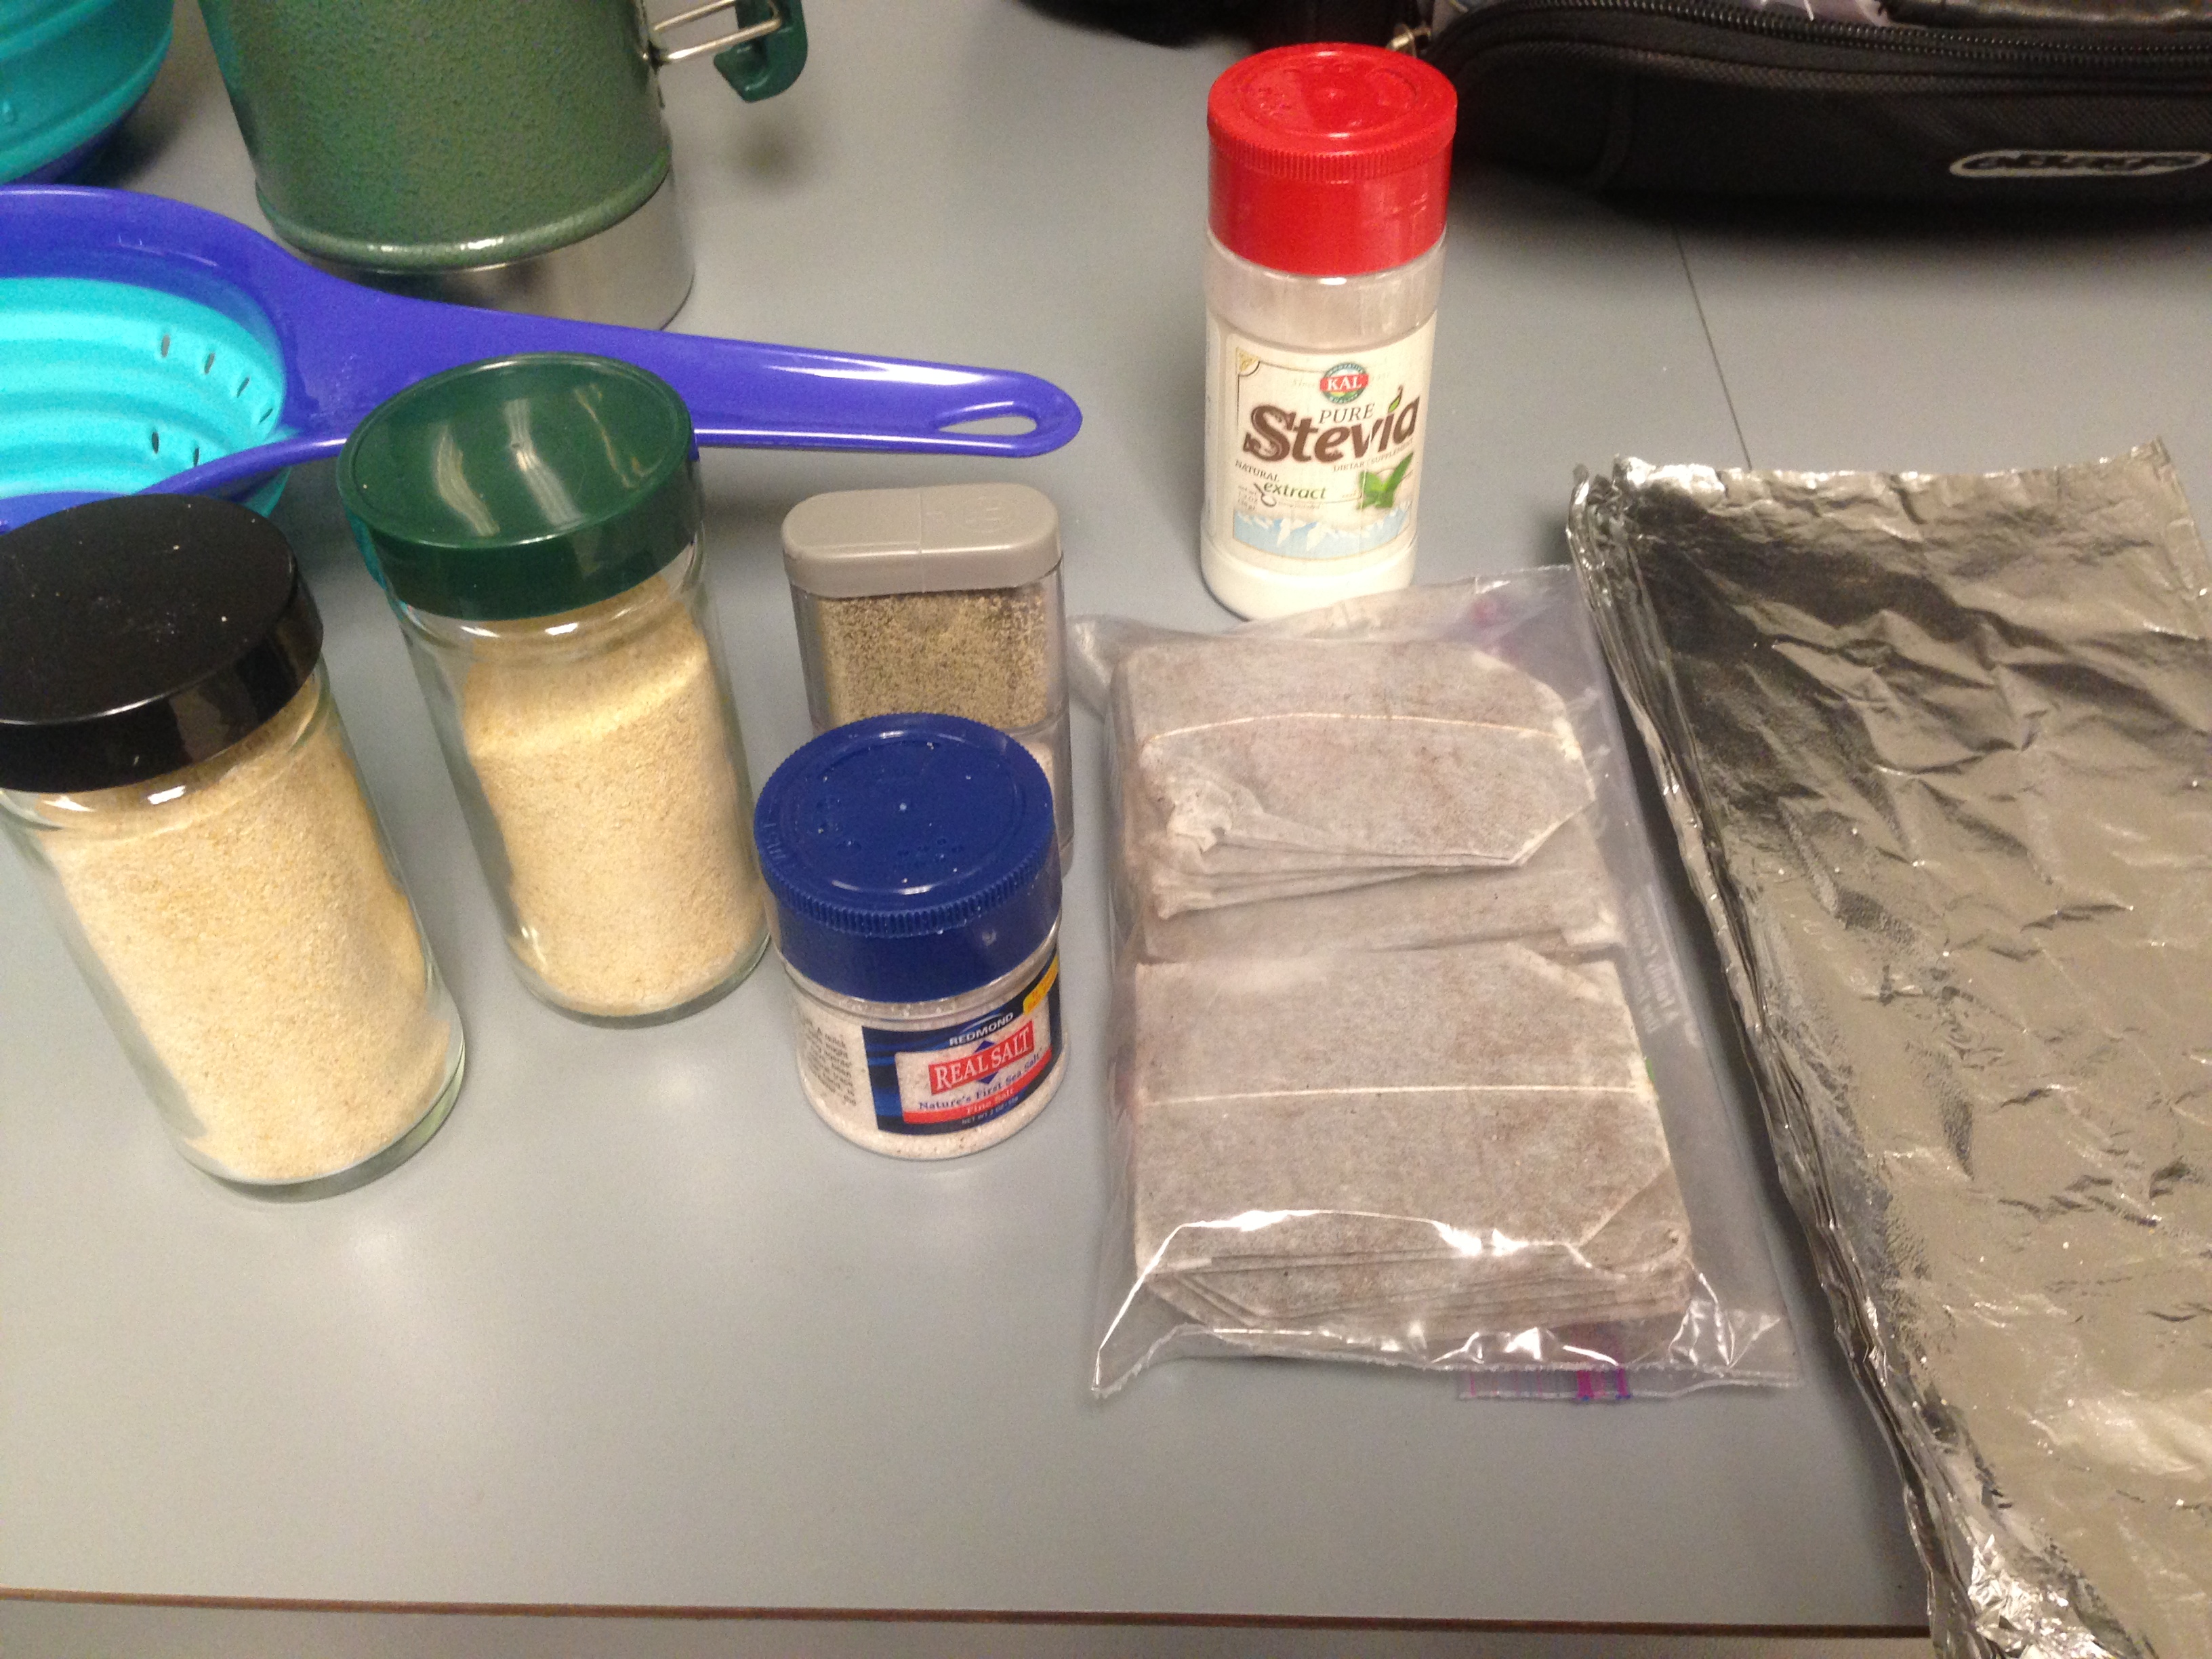
Kicking it up a notch
Left to right is onion powder, garlic powder, a camping salt/pepper shaker, sea salt, stevia, tea bags, and pre-cut pieces of aluminum foil. (Not shown is my wee spatula, perfectly sized for the Lil’ Skillet.)
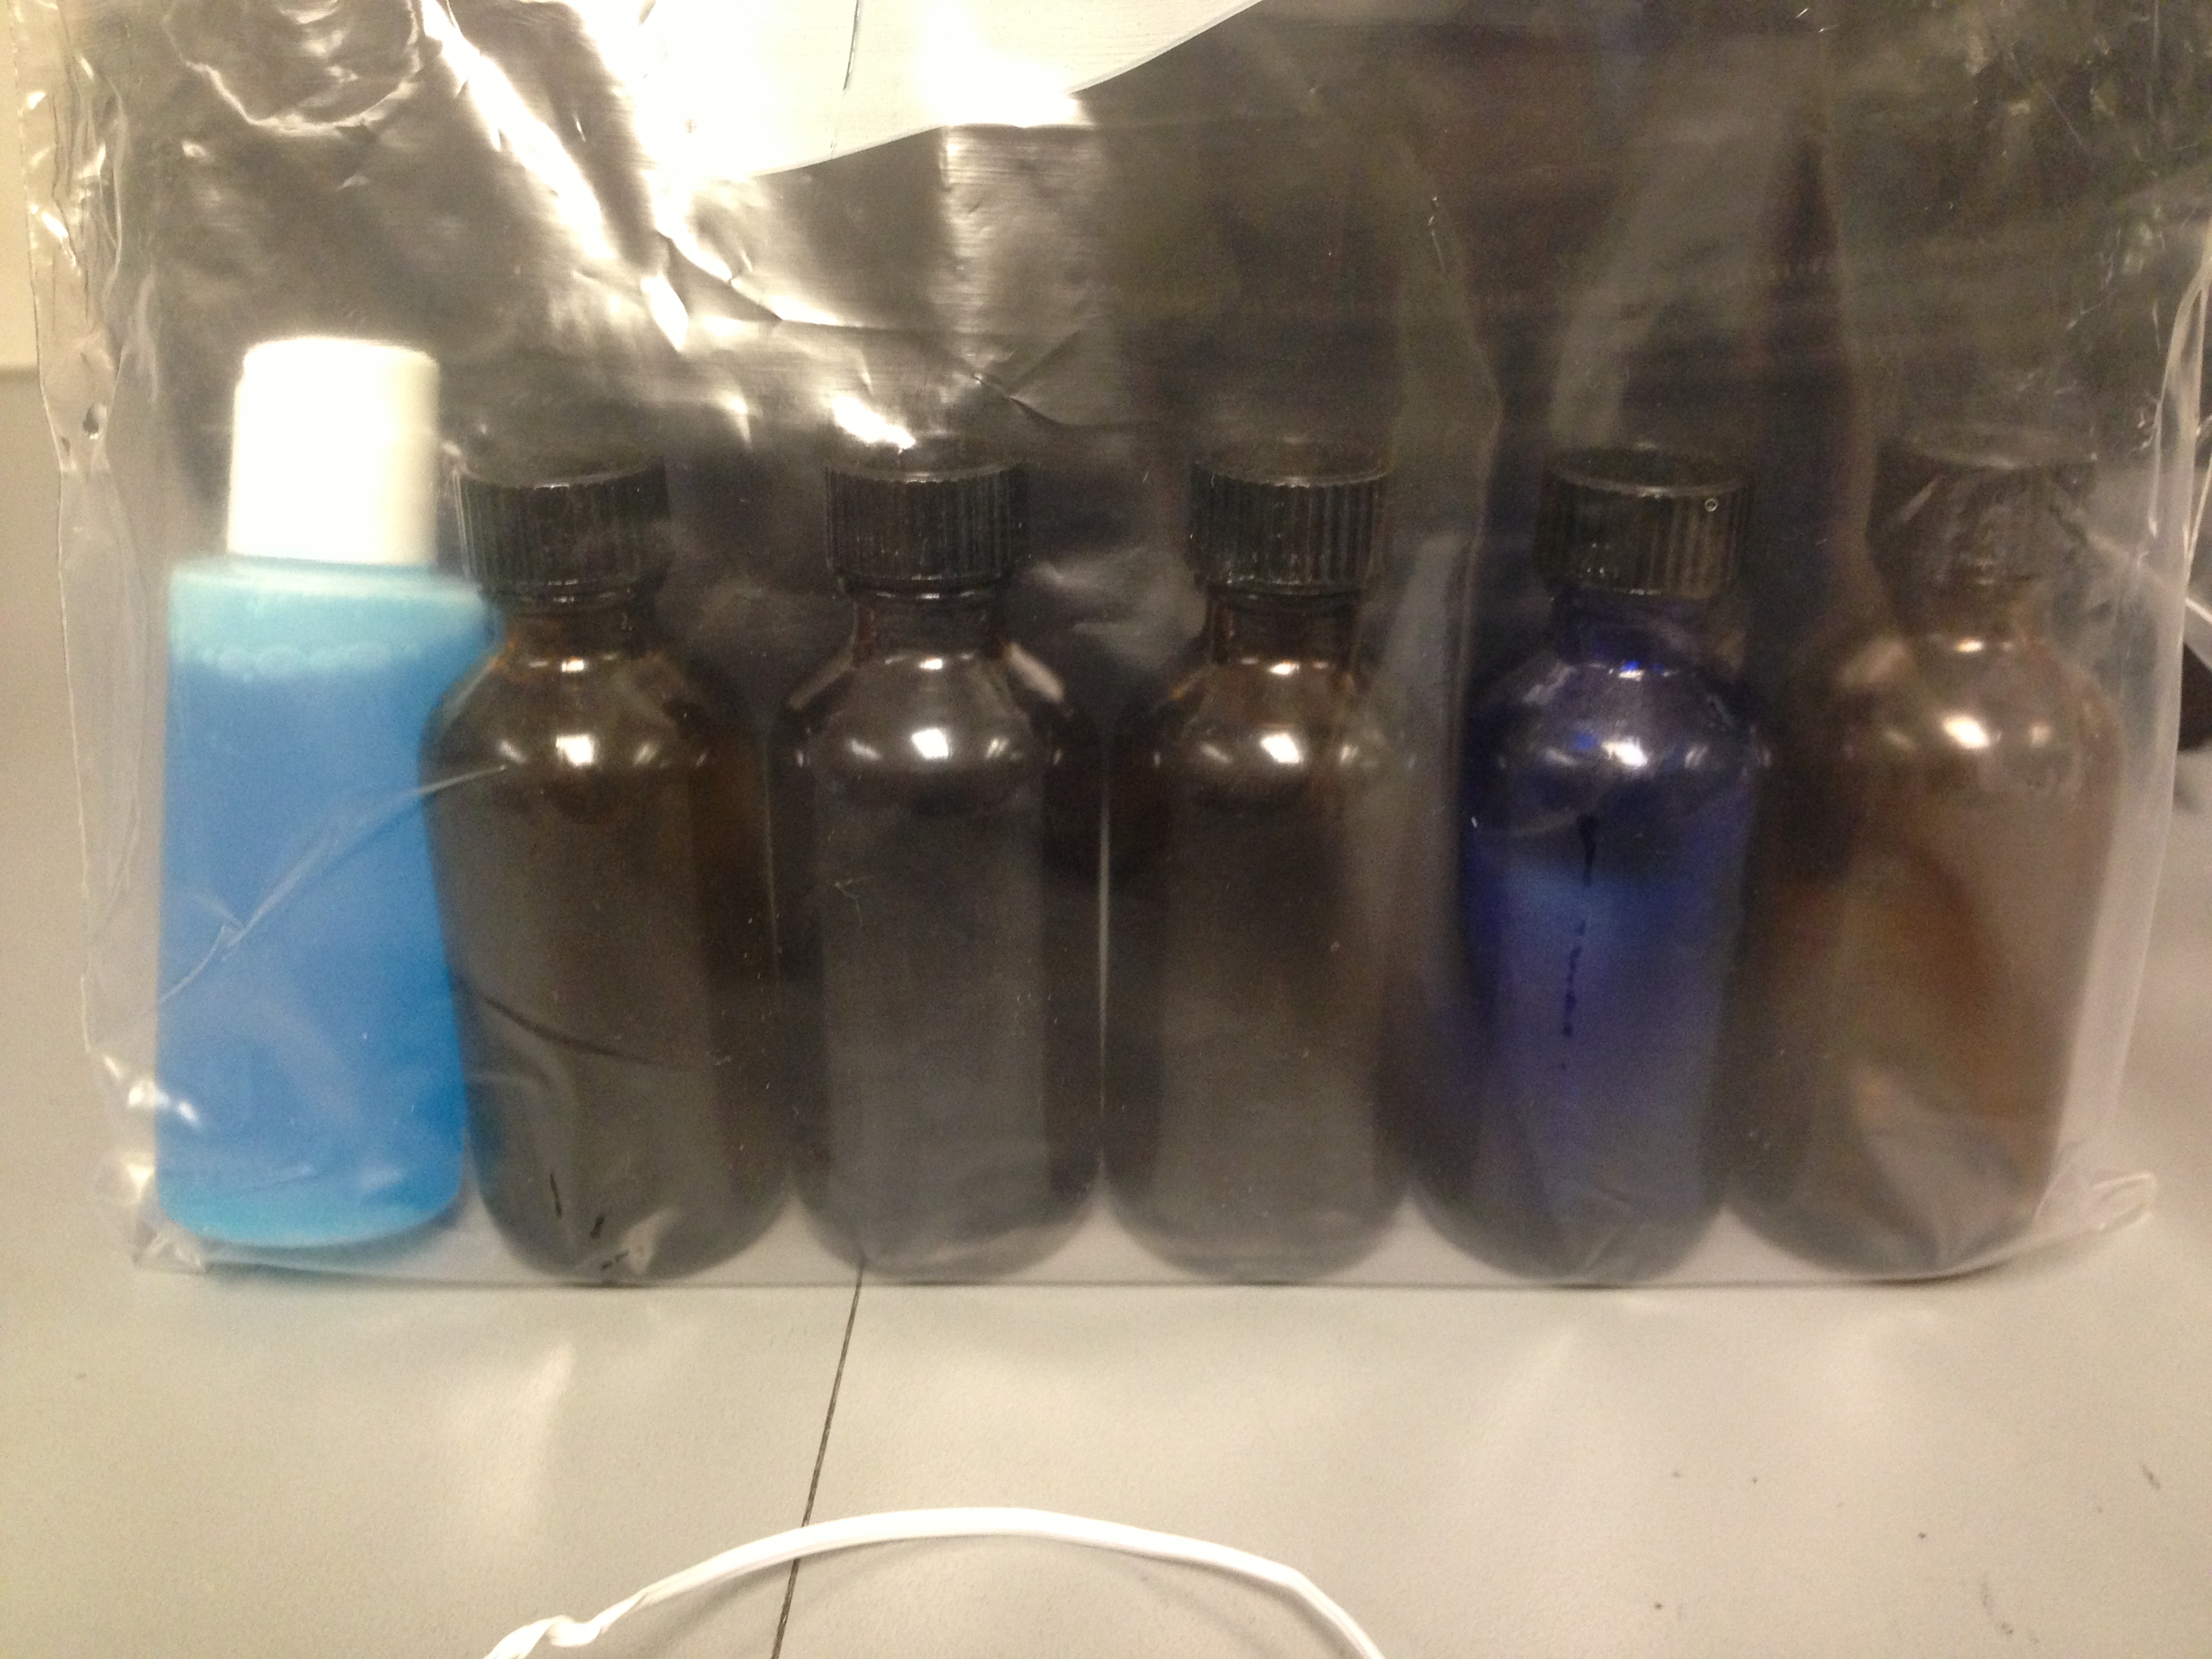
Soap and Oil
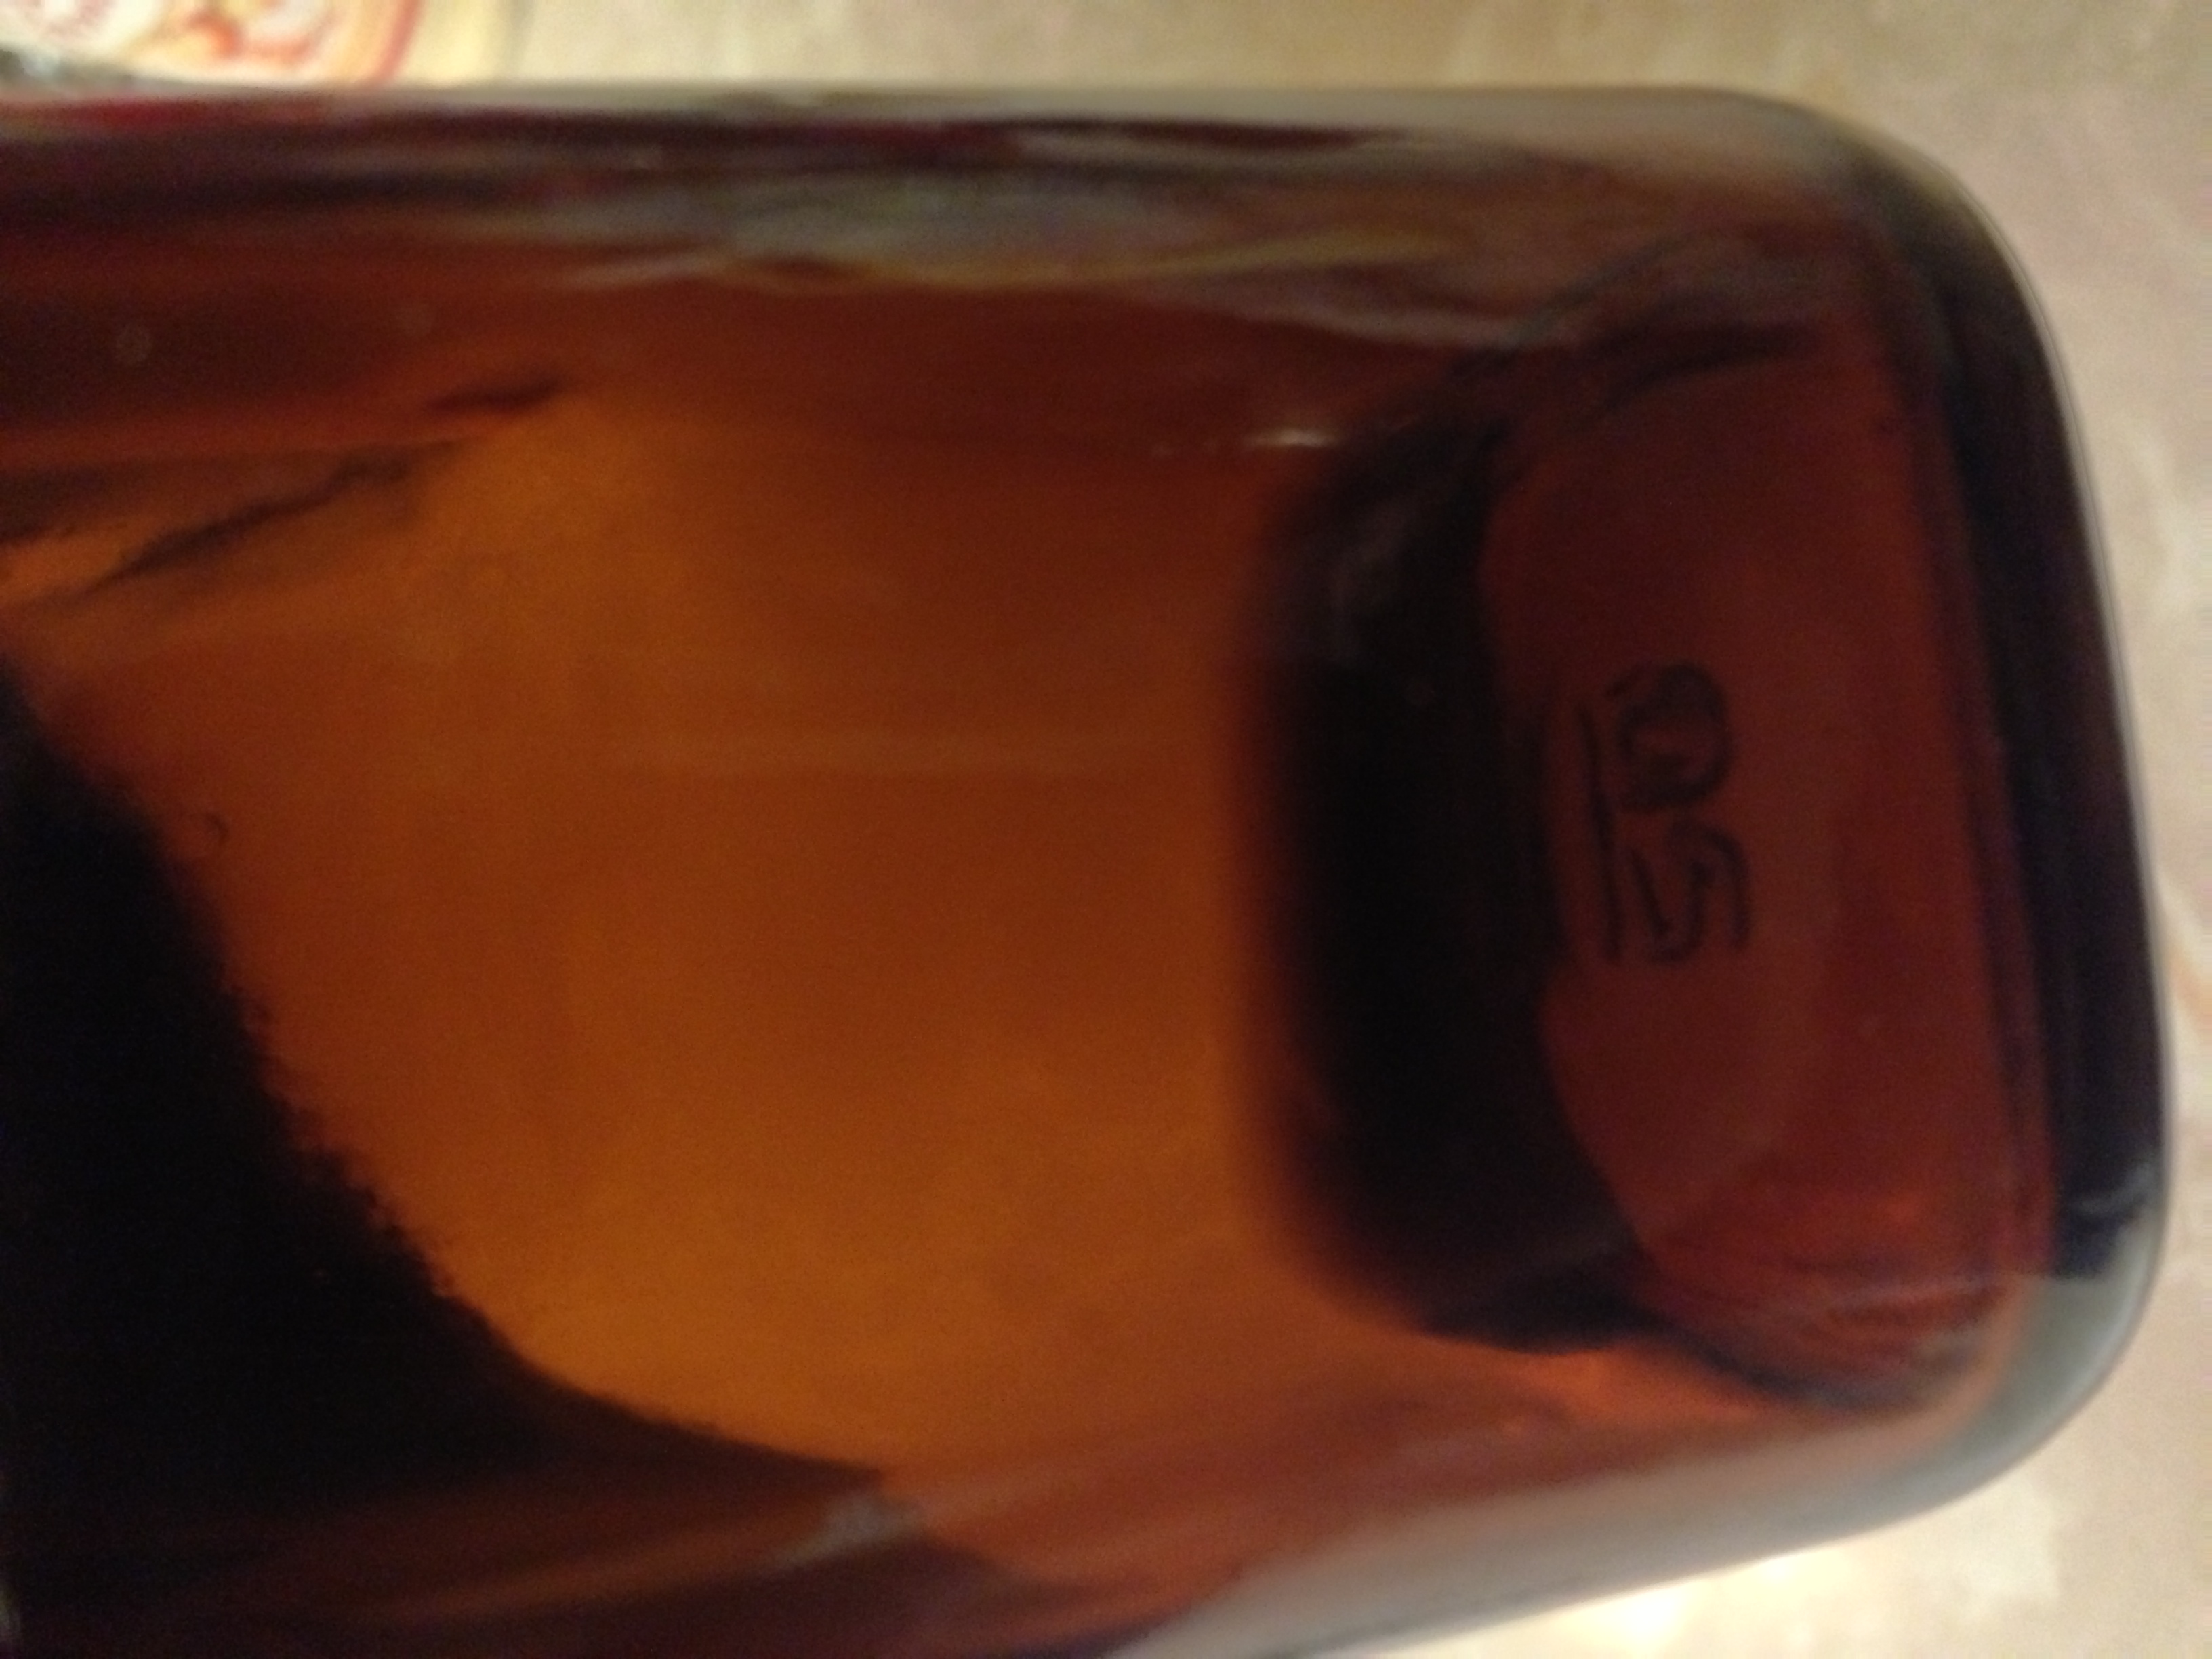
And let’s not forget the olive oil! I wanted to make sure all my important liquids could come with me no matter where I went, so I found these little 2 ounce glass bottles at my health food co-op. I’ve used them before and knew they didn’t leak, so I filled them with olive oil and stuck them in a Ziploc bag. Next to them is a plastic 2 ounce bottle of dishwashing soap. I’m not 100% sure our dishwashing liquid is corn-free, but so far Zac has not reacted to it so I’m hesitant to rock the boat and use whatever soap I can find in hotels. Carrying soap was a wise choice!
In fact, on my Seattle layover I stopped and bought myself a sponge that I now keep in a plastic baggie in my food kit to make dishwashing even easier!
These photos were taken at the end of my second day at work, but here’s what’s left of my onion bombs and sliced carrots:
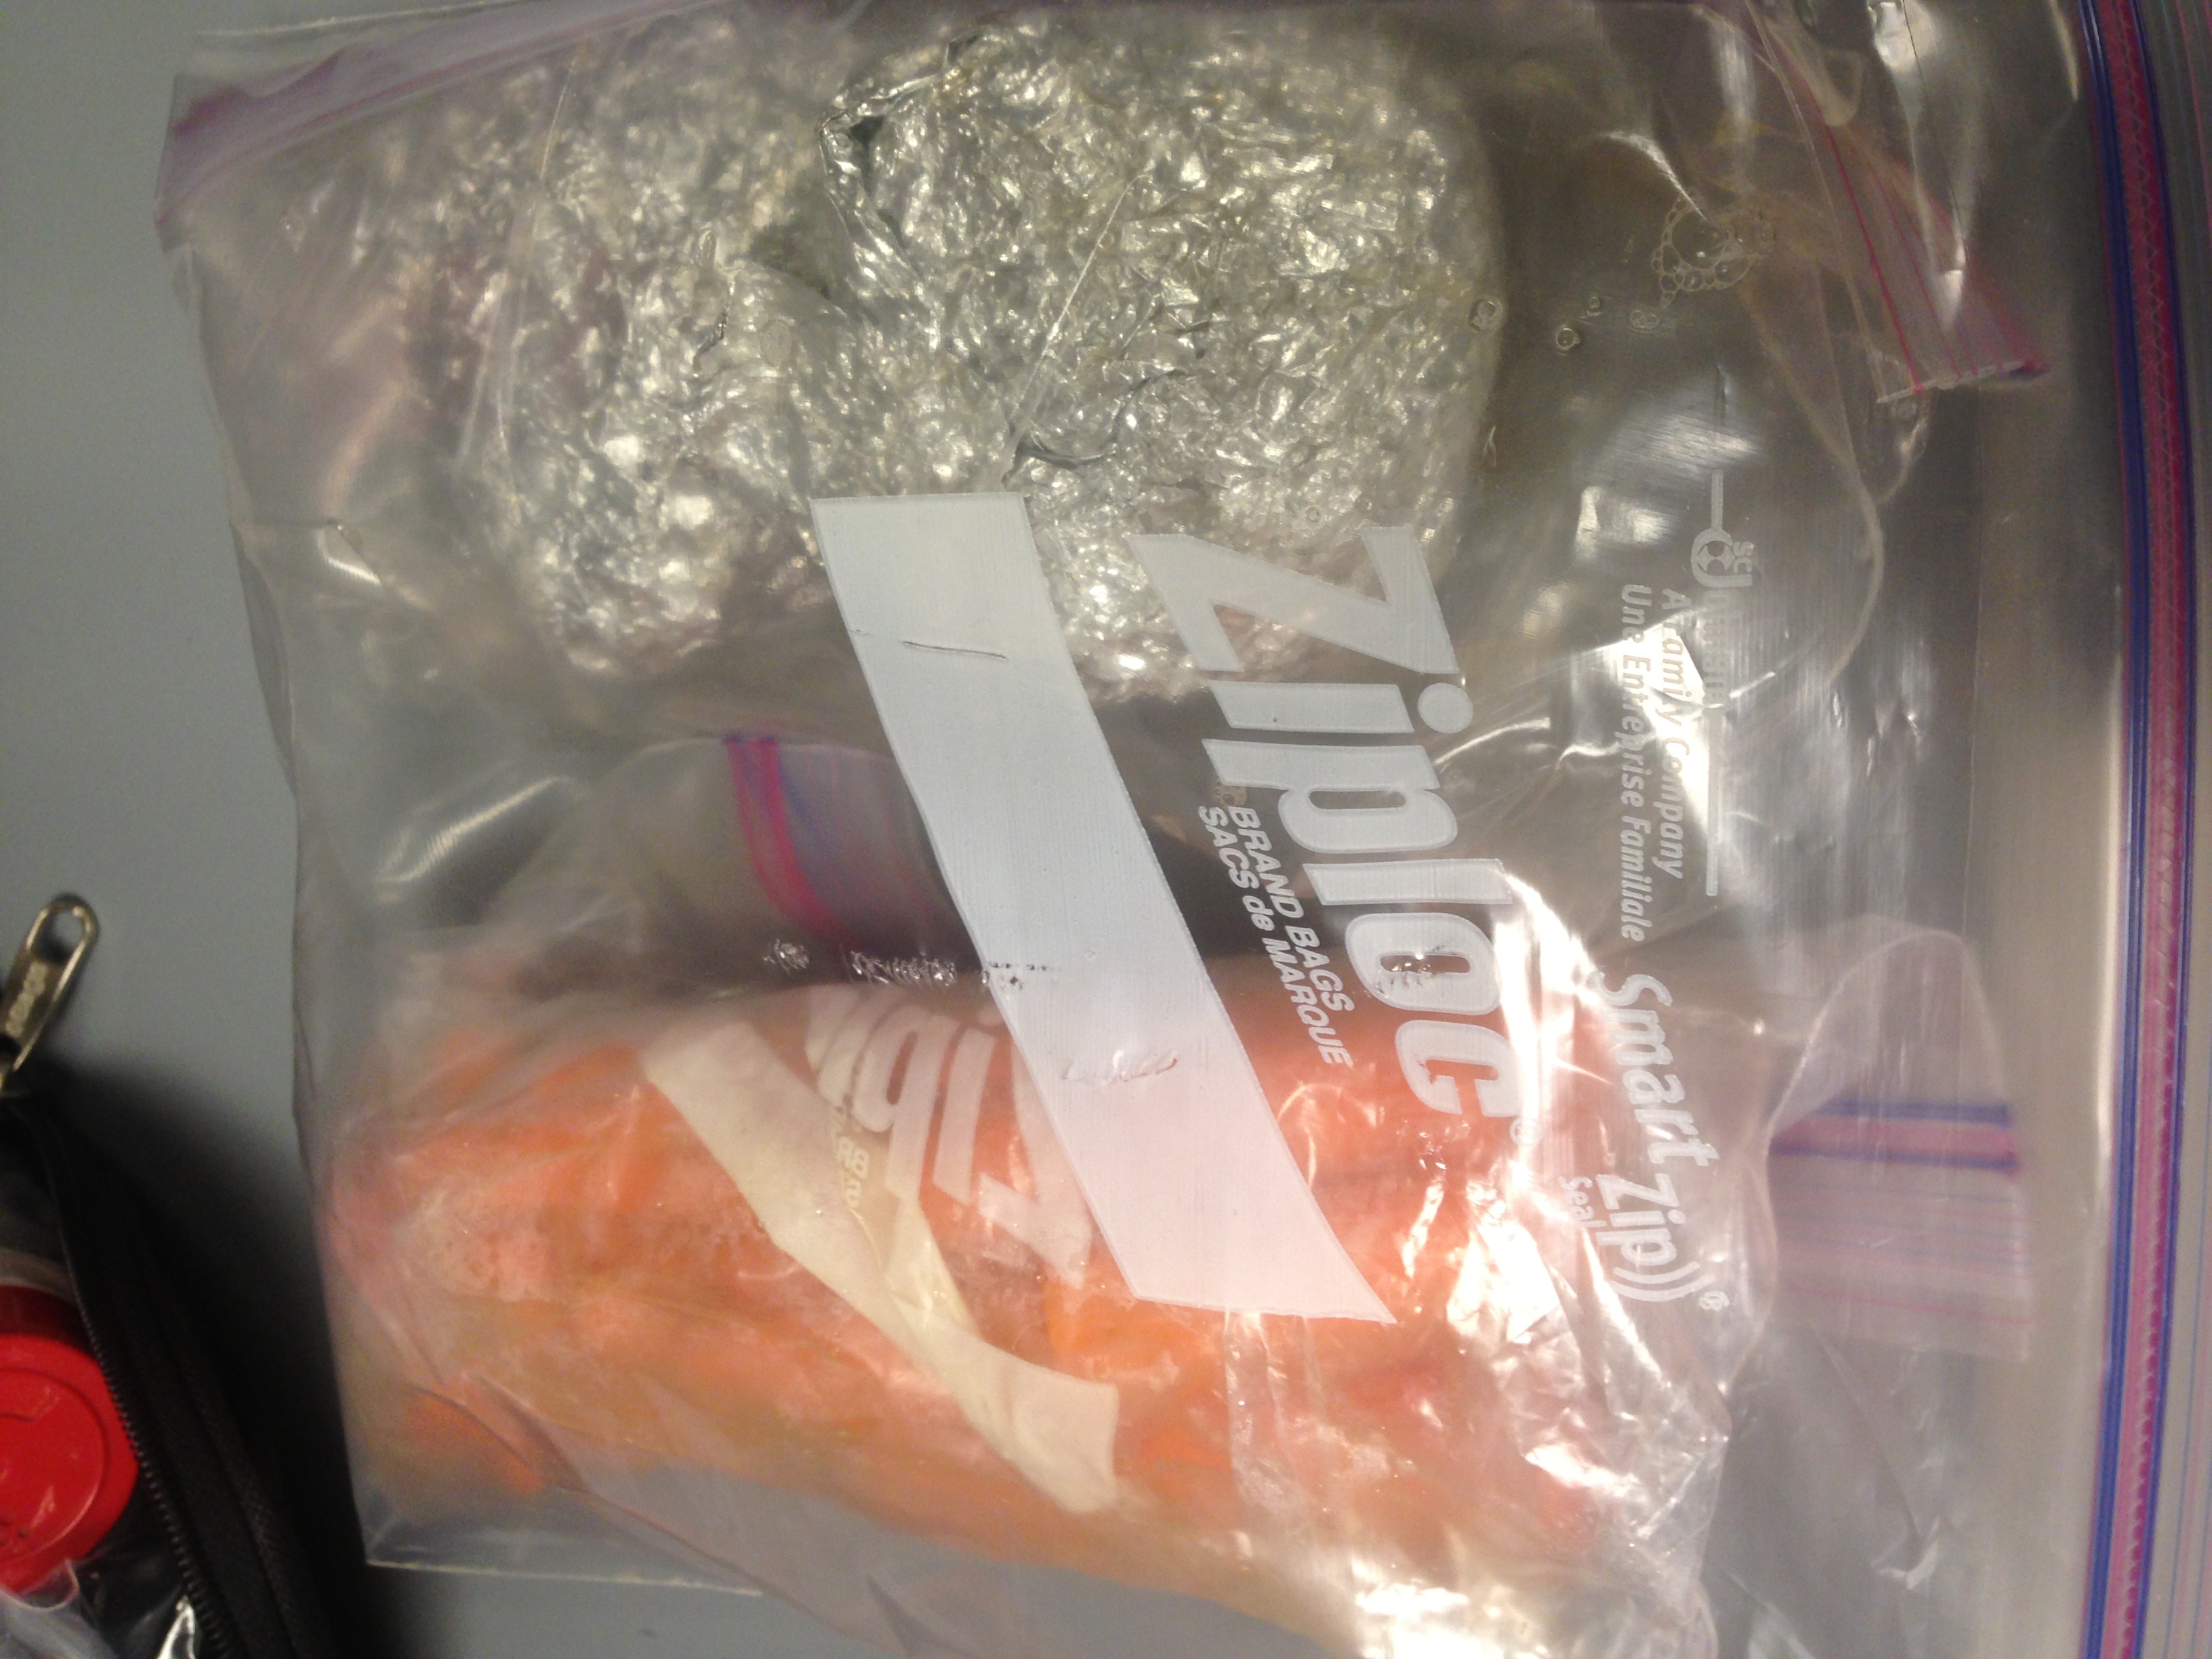
Two onion bombs and half of my sliced carrots
To carry all this stuff I have a fabulous lunch tote from eBags.com, called the Crew Cooler. I’ve had it for a few years, but after this first trip back I’m thinking of upgrading to another bag that some Flight Attendants recommended. It’s very similar, but a little larger. Still, my current lunch tote did a fine job!

How do I love thee?
The top zipper is a dry goods storage pocket. That’s where I put the seasonings, tea bags, foil, utensils, spatula, and a handful of pint sized Ziploc baggies (you just never know, right?).
The front pocket is another dry goods storage pocket. That’s where I put the olive oil, dishwashing soap, and stevia.
The center zipper is for the cooler part of the bag. In there I put my onion bombs, carrots, Pyrex dish, and, eventually, my pumped breast milk.
The ends of each bag have a bottle holder. I put a Kleen Kanteen in each of those with filtered water.
Speaking of water, I faced a serious challenge with that one. Zac is corn-sensitive, and most bottled water is corny. Either the bottle itself is made of corn ingredients, or the water is filtered through a corny filter (or both!). Unfortunately, many municipal water locations also use corny ingredients in their water purification processes, which means finding non-corn water was going to present a challenge.
Honestly, I never came up with a sure-fire, 100% guaranteed way to avoid corny water on the road. The best I came up with was to buy 3 of the 40 ounce Kleen Kanteens and a travel Brita bottle.
The city water wherever I wind up *may* be corny, but the bottled water everywhere I go WILL be corny…so it’s the lesser of two evils to simply filter tap water. I’m hoping that whatever corntamination I get will not be enough to bother Zac through my breast milk, but I would be a lot more paranoid about this if I had to give him the water to drink directly.
Other than the two Kleen Kanteens I kept in my lunch kit, the third Kanteen, the Brita bottle, and my thermos went in my inflight tote bag. This is where Flight Attendants store their work items, so it’s always readily accessible during the flight.
Oh, and for that lovely cooler section of my food tote? You have to have freezer inserts!
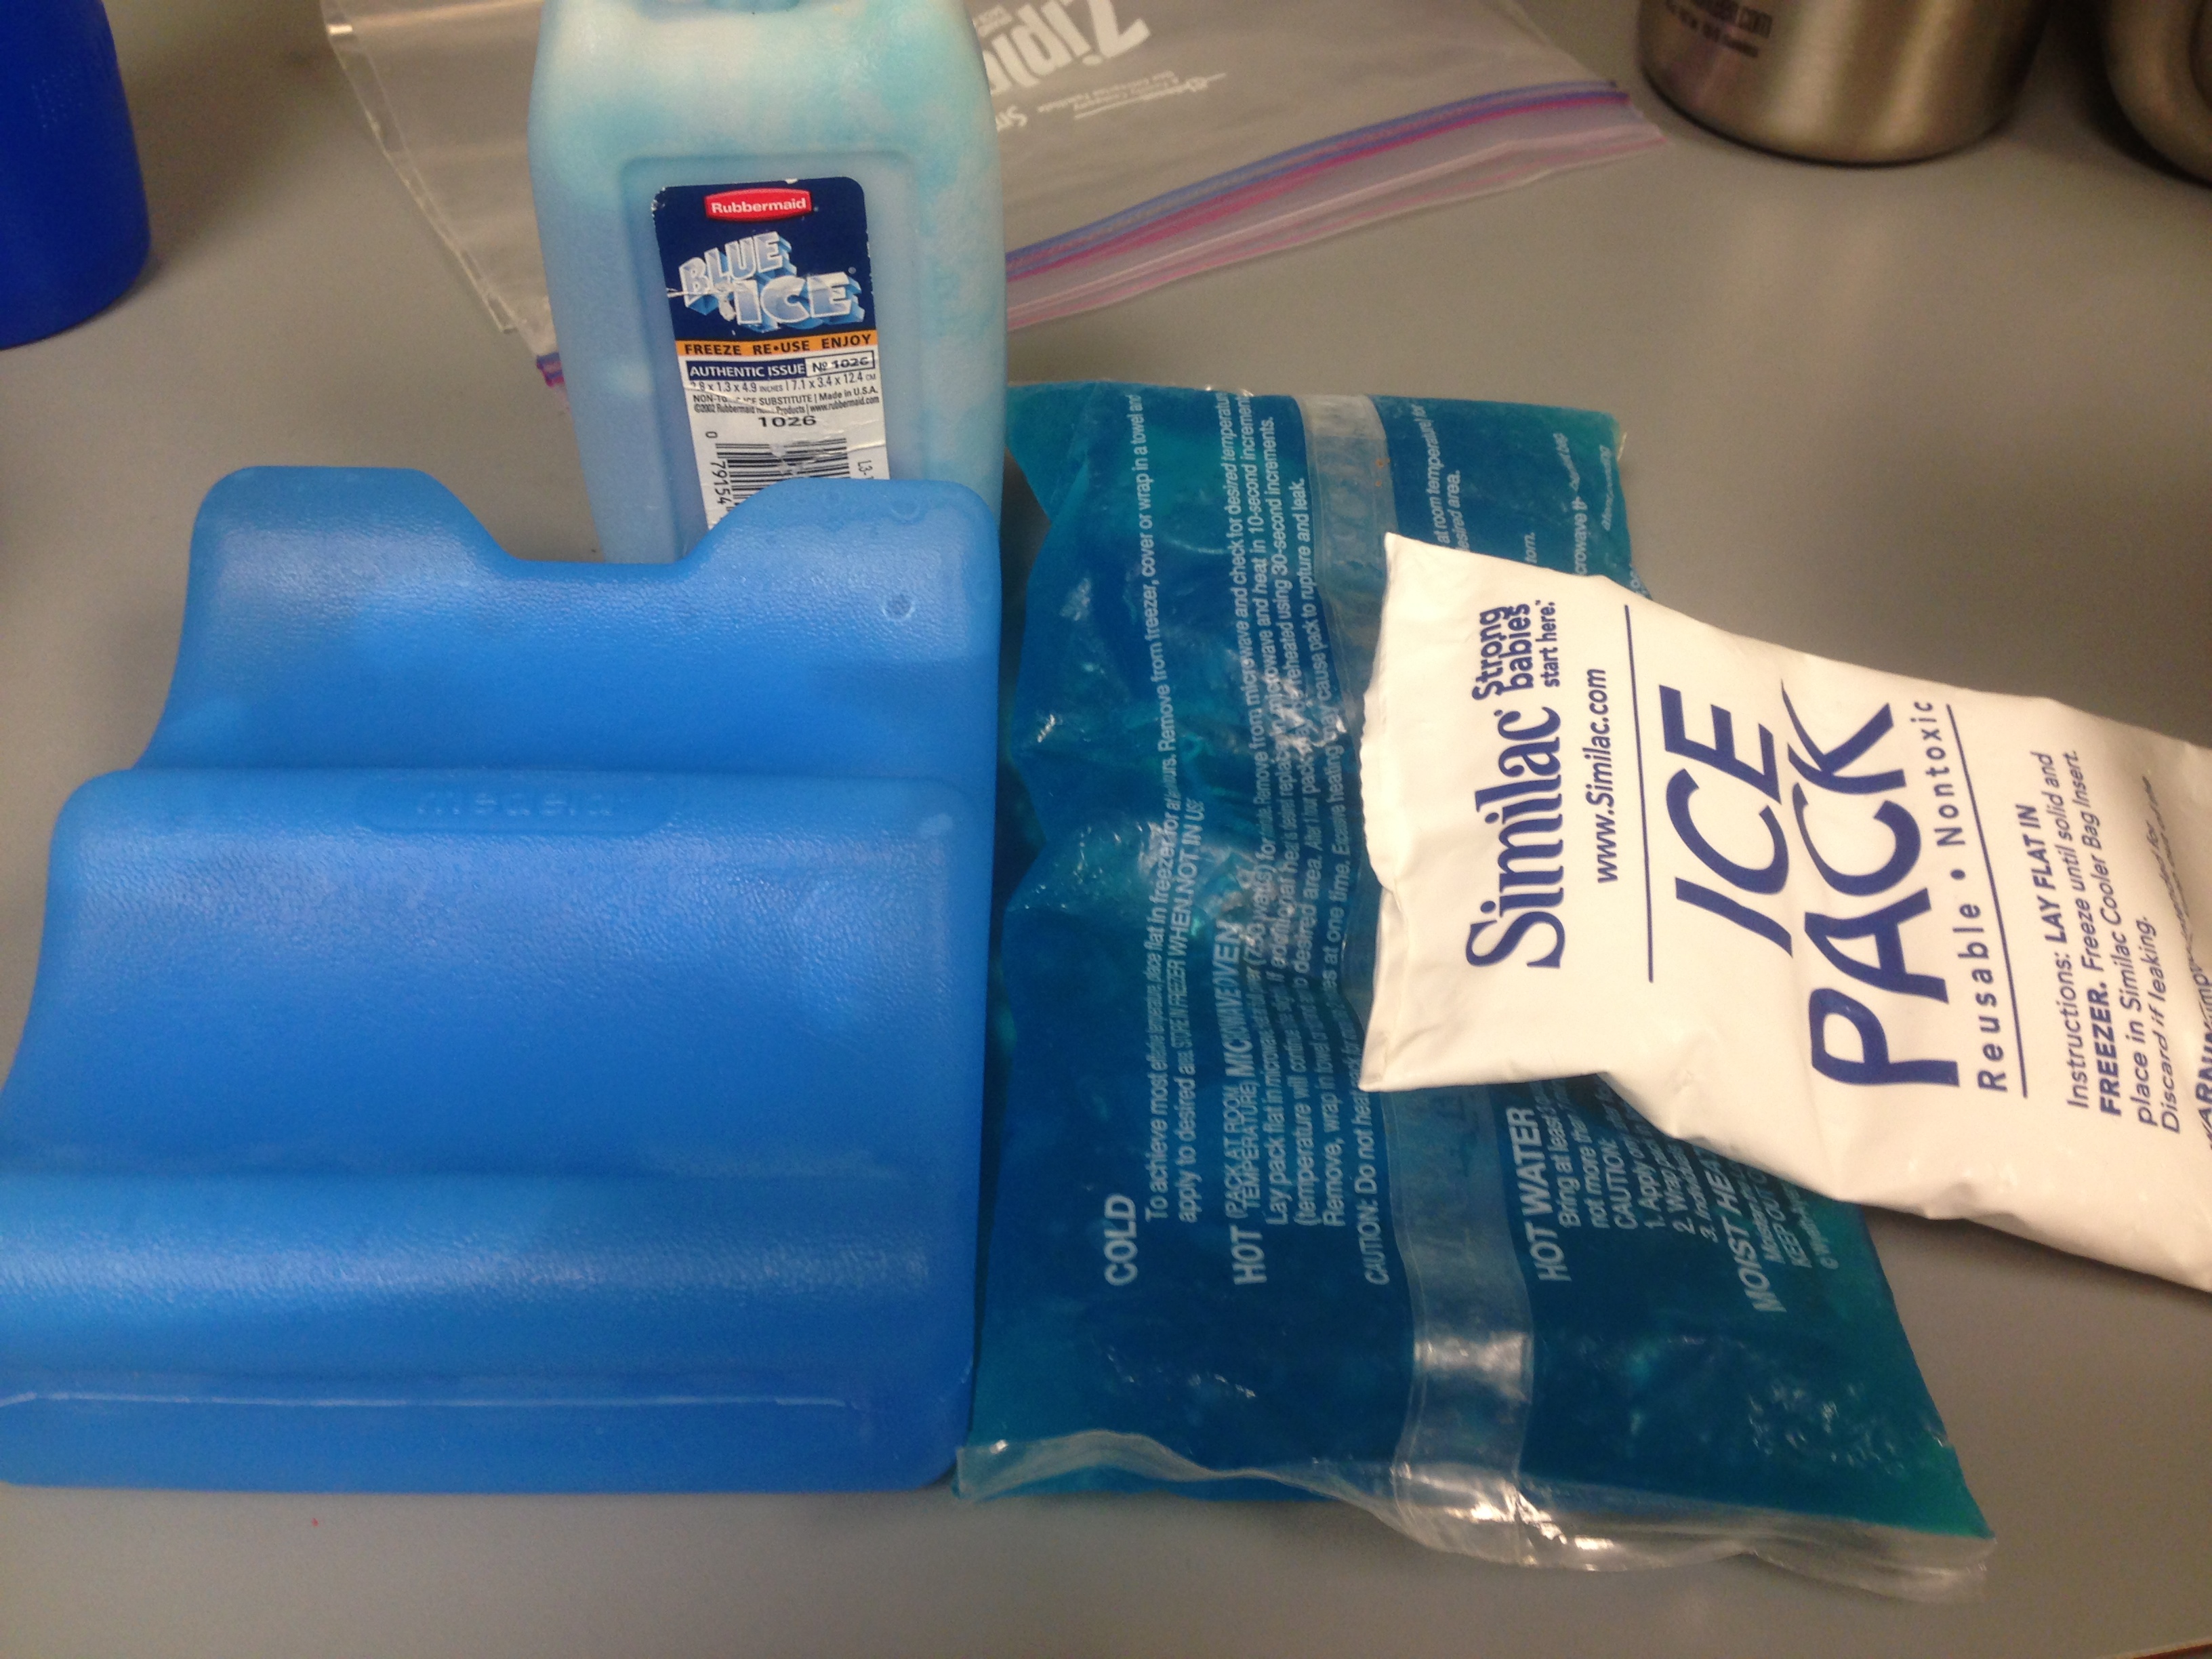
My hodge-podge of freezer inserts.
Whenever I found a freezer, I stuck these in there. To help keep my food and milk cold during the day, though, I’m going to share an awesome tip:
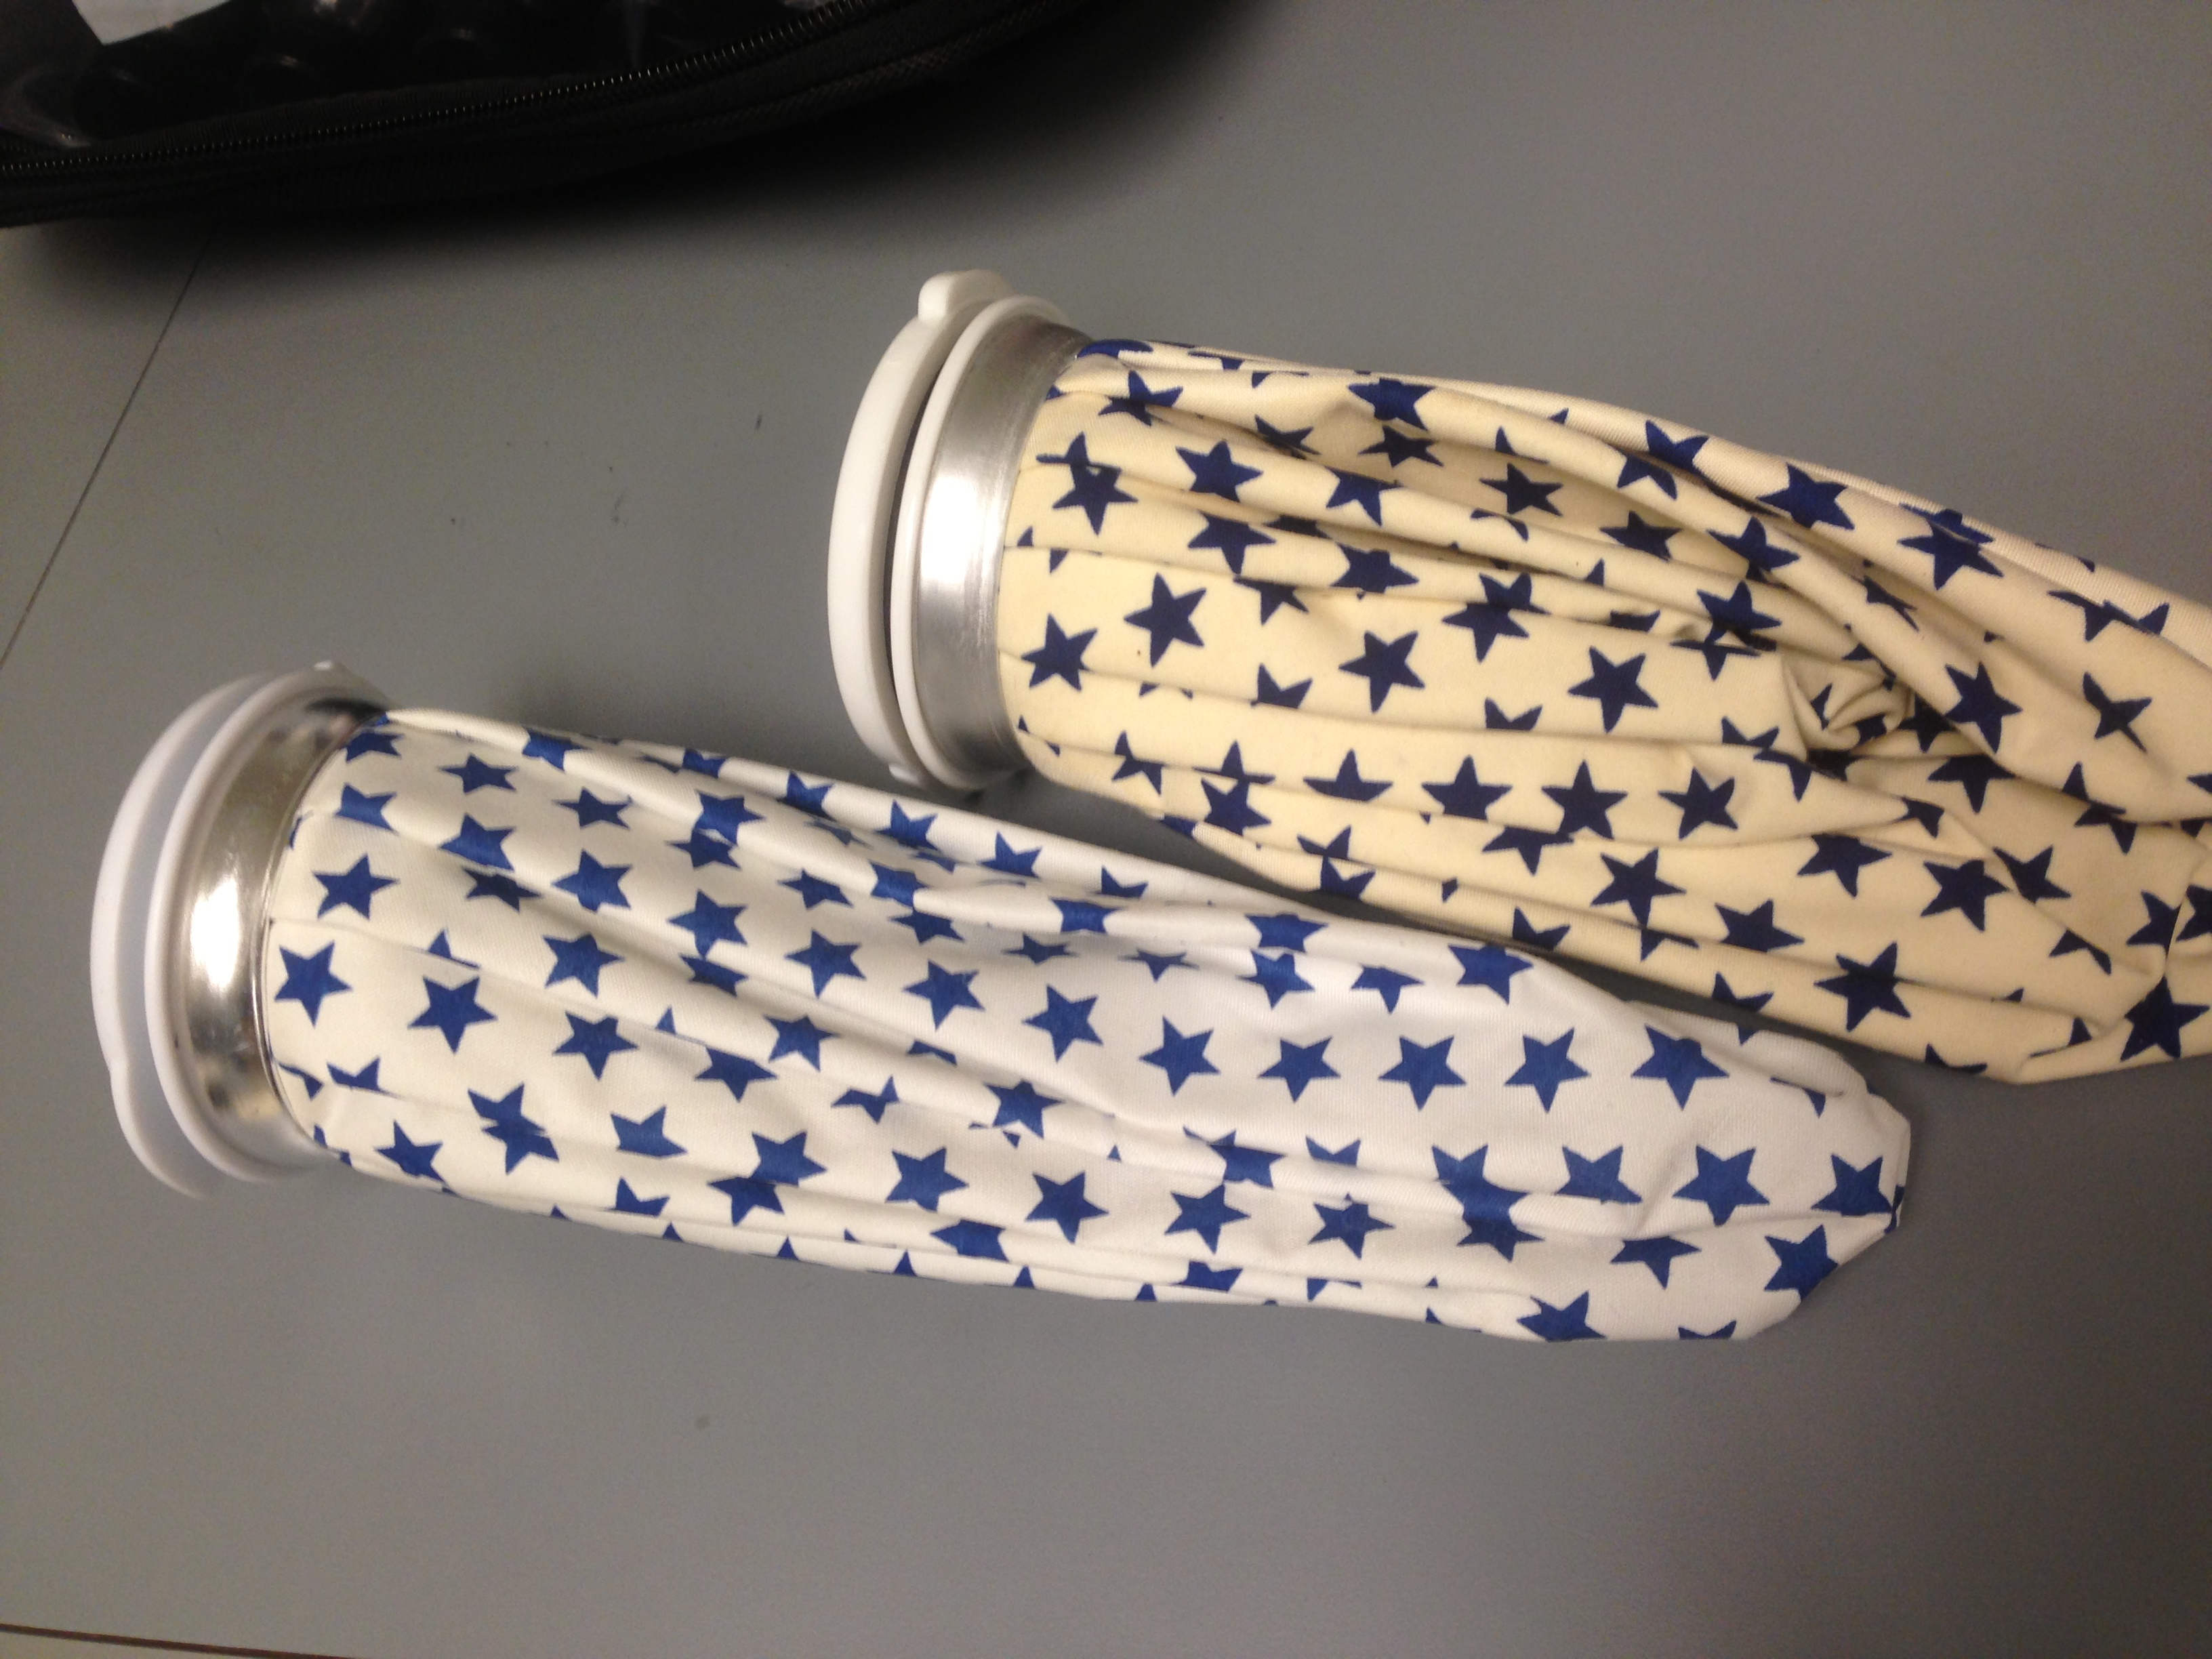
Oh, yeah, baby!
Medical ice bags.
Fill them with ice, stick them in your insulated cooler, and they will keep your food nice and chilly for a very long time! The best part is that they weigh very little until filled, and you can almost always find ice nearly anywhere you go. They’re an invaluable backup to the pre-made freezer inserts.
One other thing…don’t forget an extension cord!
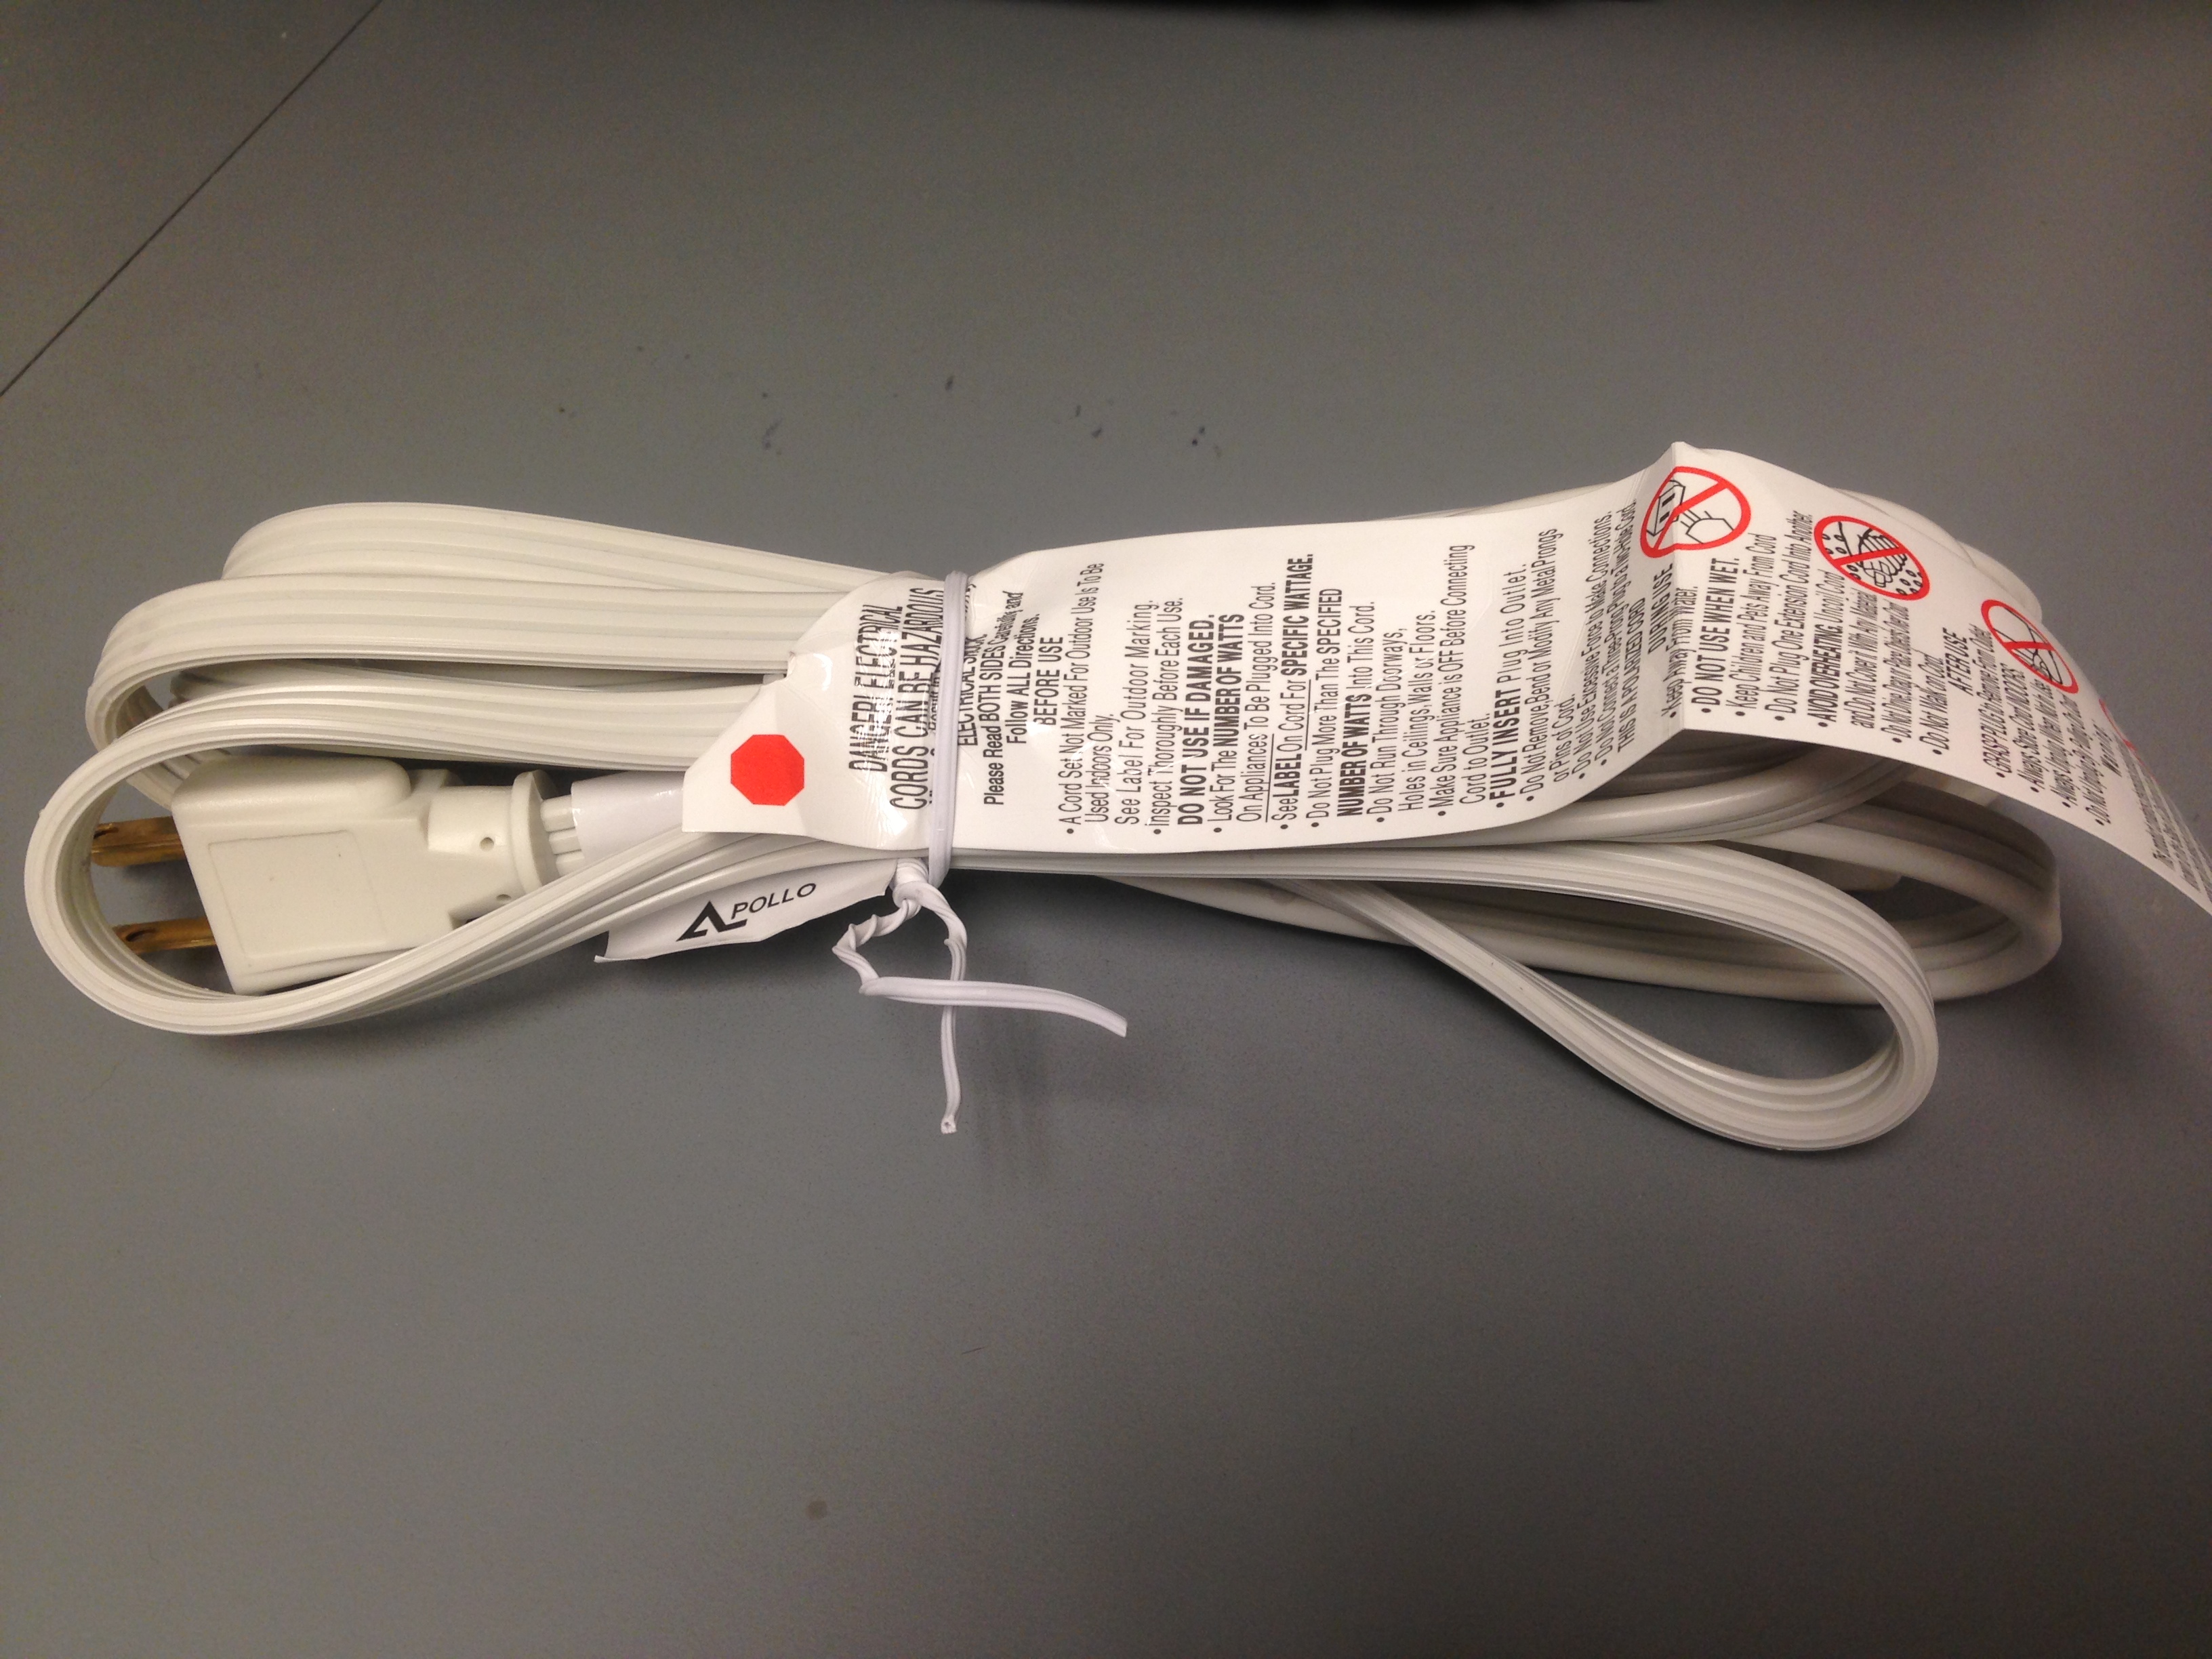
I am SO glad I brought this with me!
You did notice my frequent mentions of breast milk, right? Oh, yeah, I was pumping every three hours throughout my return to work (well, except for at night. I let myself get a little rest then!).
Which means I had to carry a breast pump. And carry all that milk back home with me!
I bought a new breast pump in honor of my return to work (mainly because my old one finally died). I picked the Medela Pump in Style Advanced, in hopes that I could squirrel away the different pump components in my existing luggage and not have to carry an extra bag.
That didn’t work.
And the metro bag that came with the pump was not well designed for travel; the top doesn’t secure closed very well. So I bought myself a black, insulated bag that perfectly fit my breast pumping needs and provided a little extra cushioning around my very expensive pump to boot!
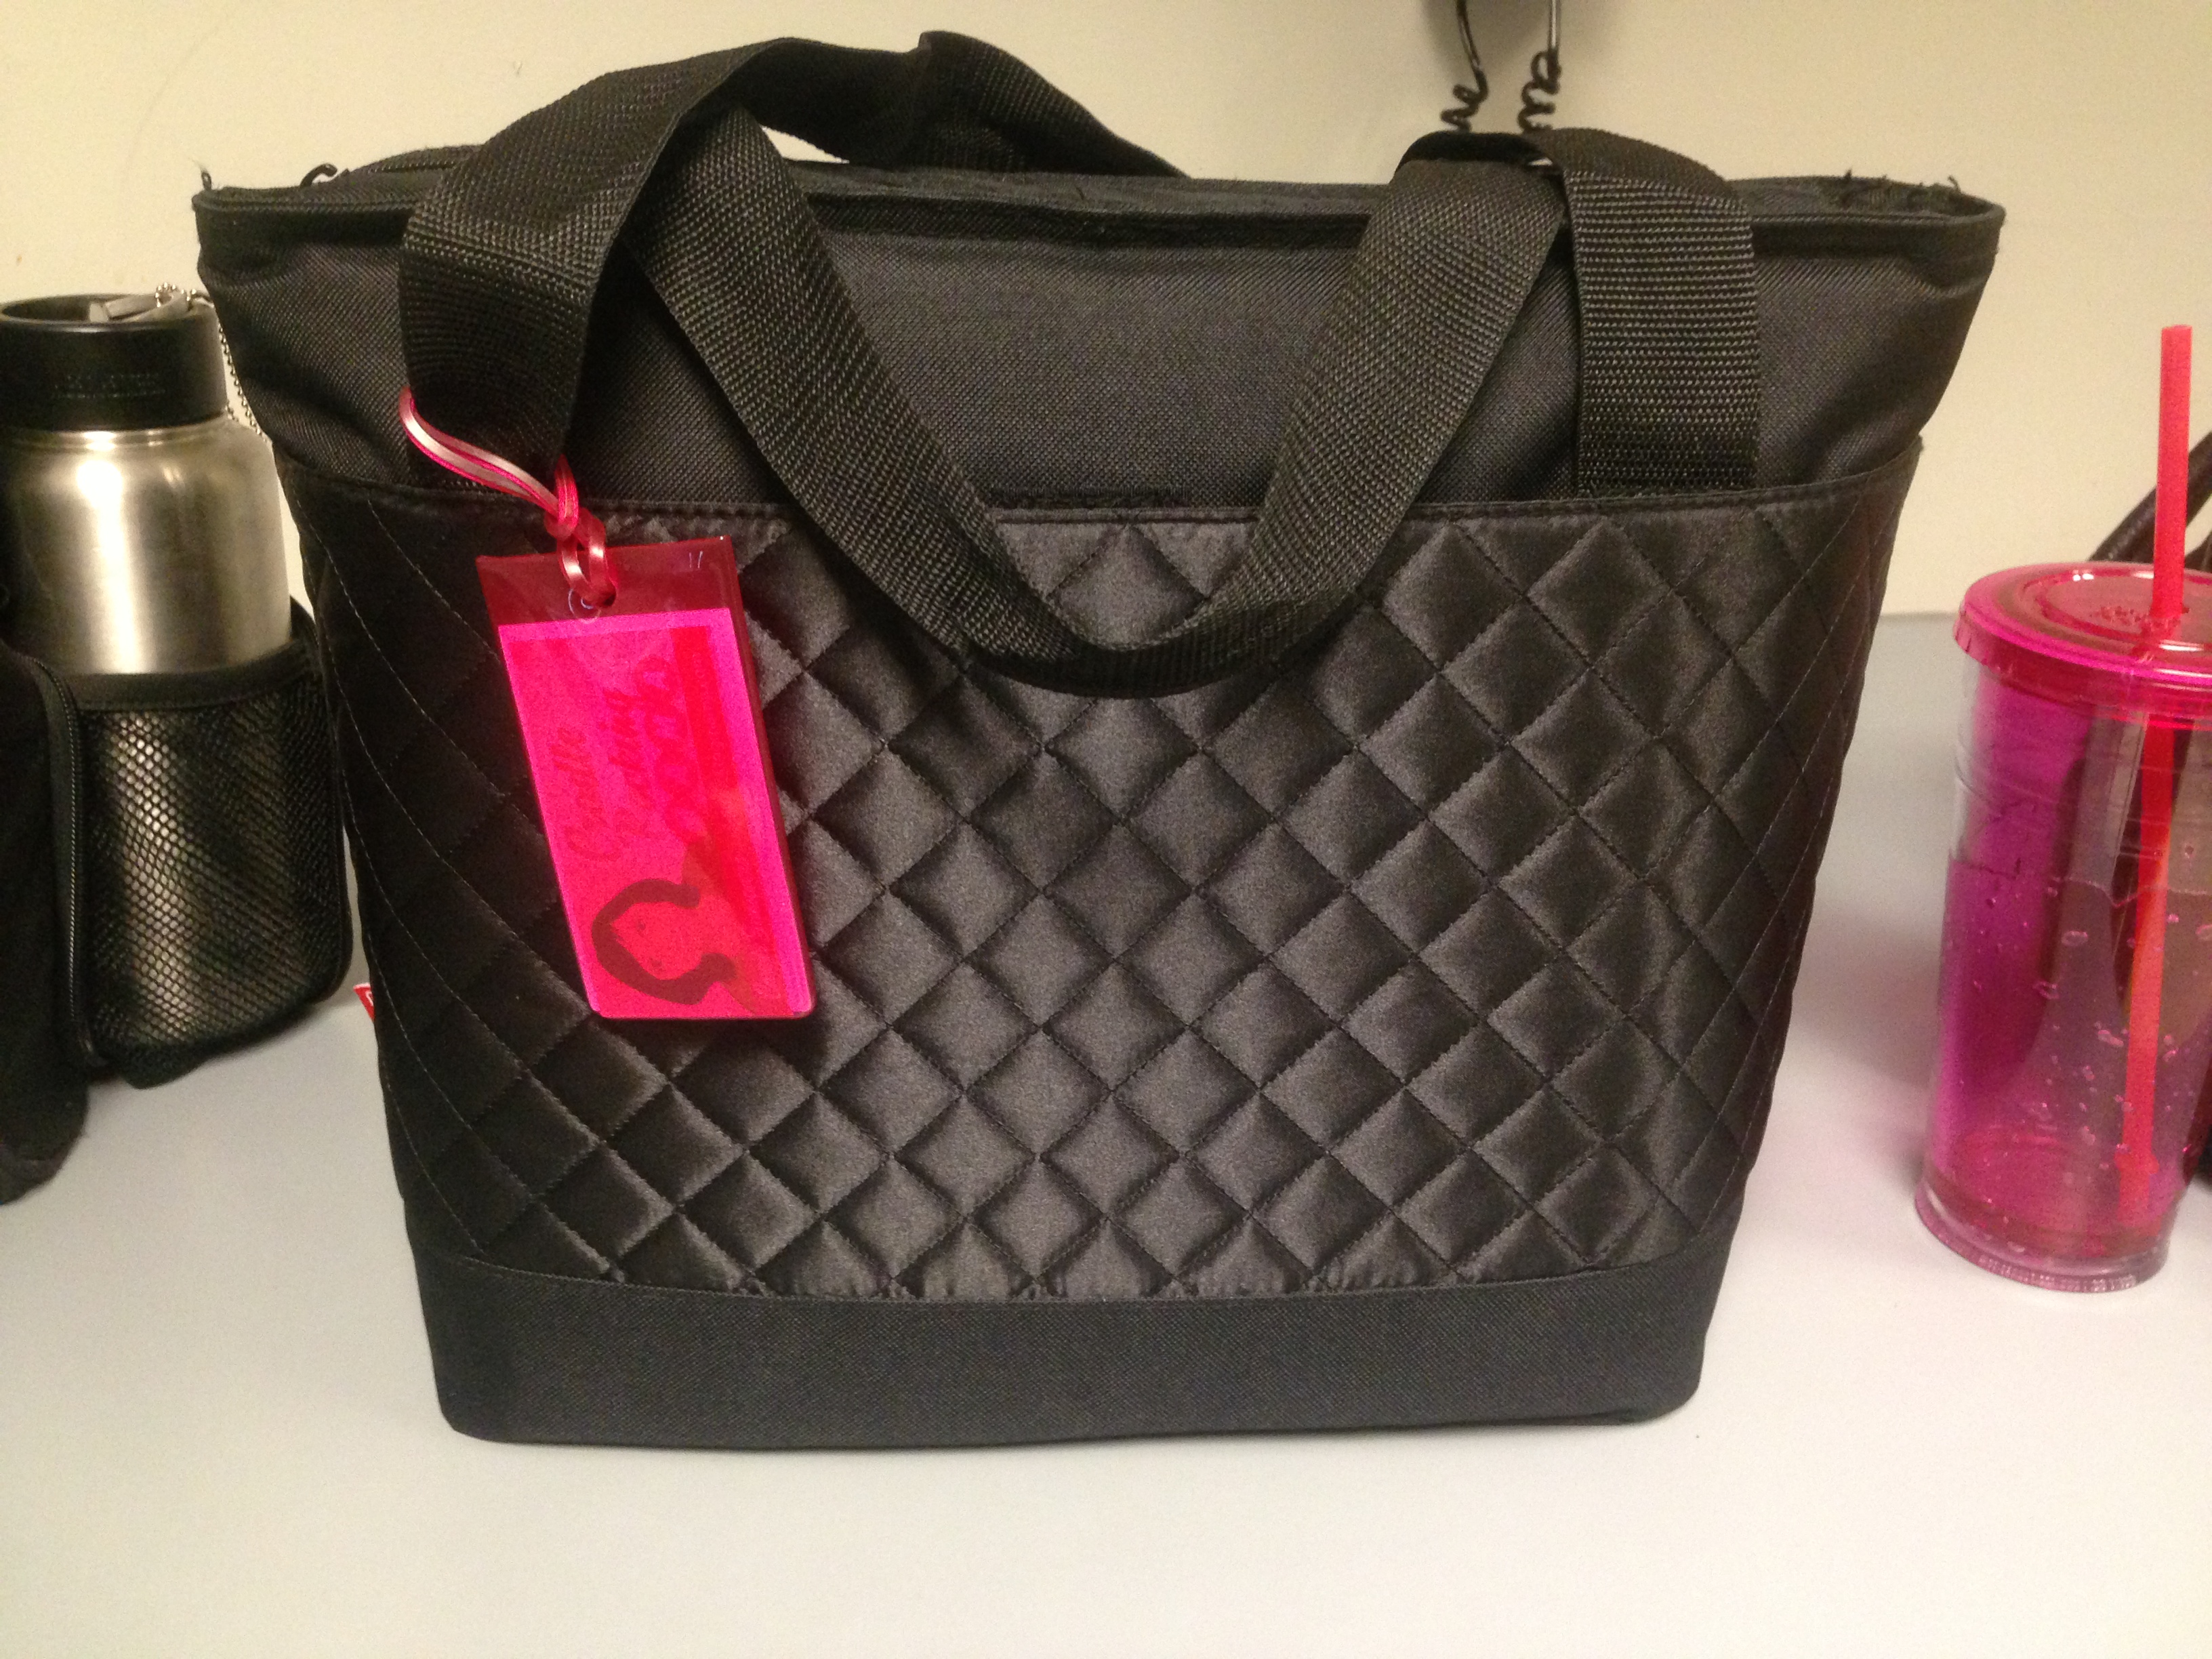
The Boobie Bag
I was amazed at how well everything fit in there; it was as if it was made for the pump!
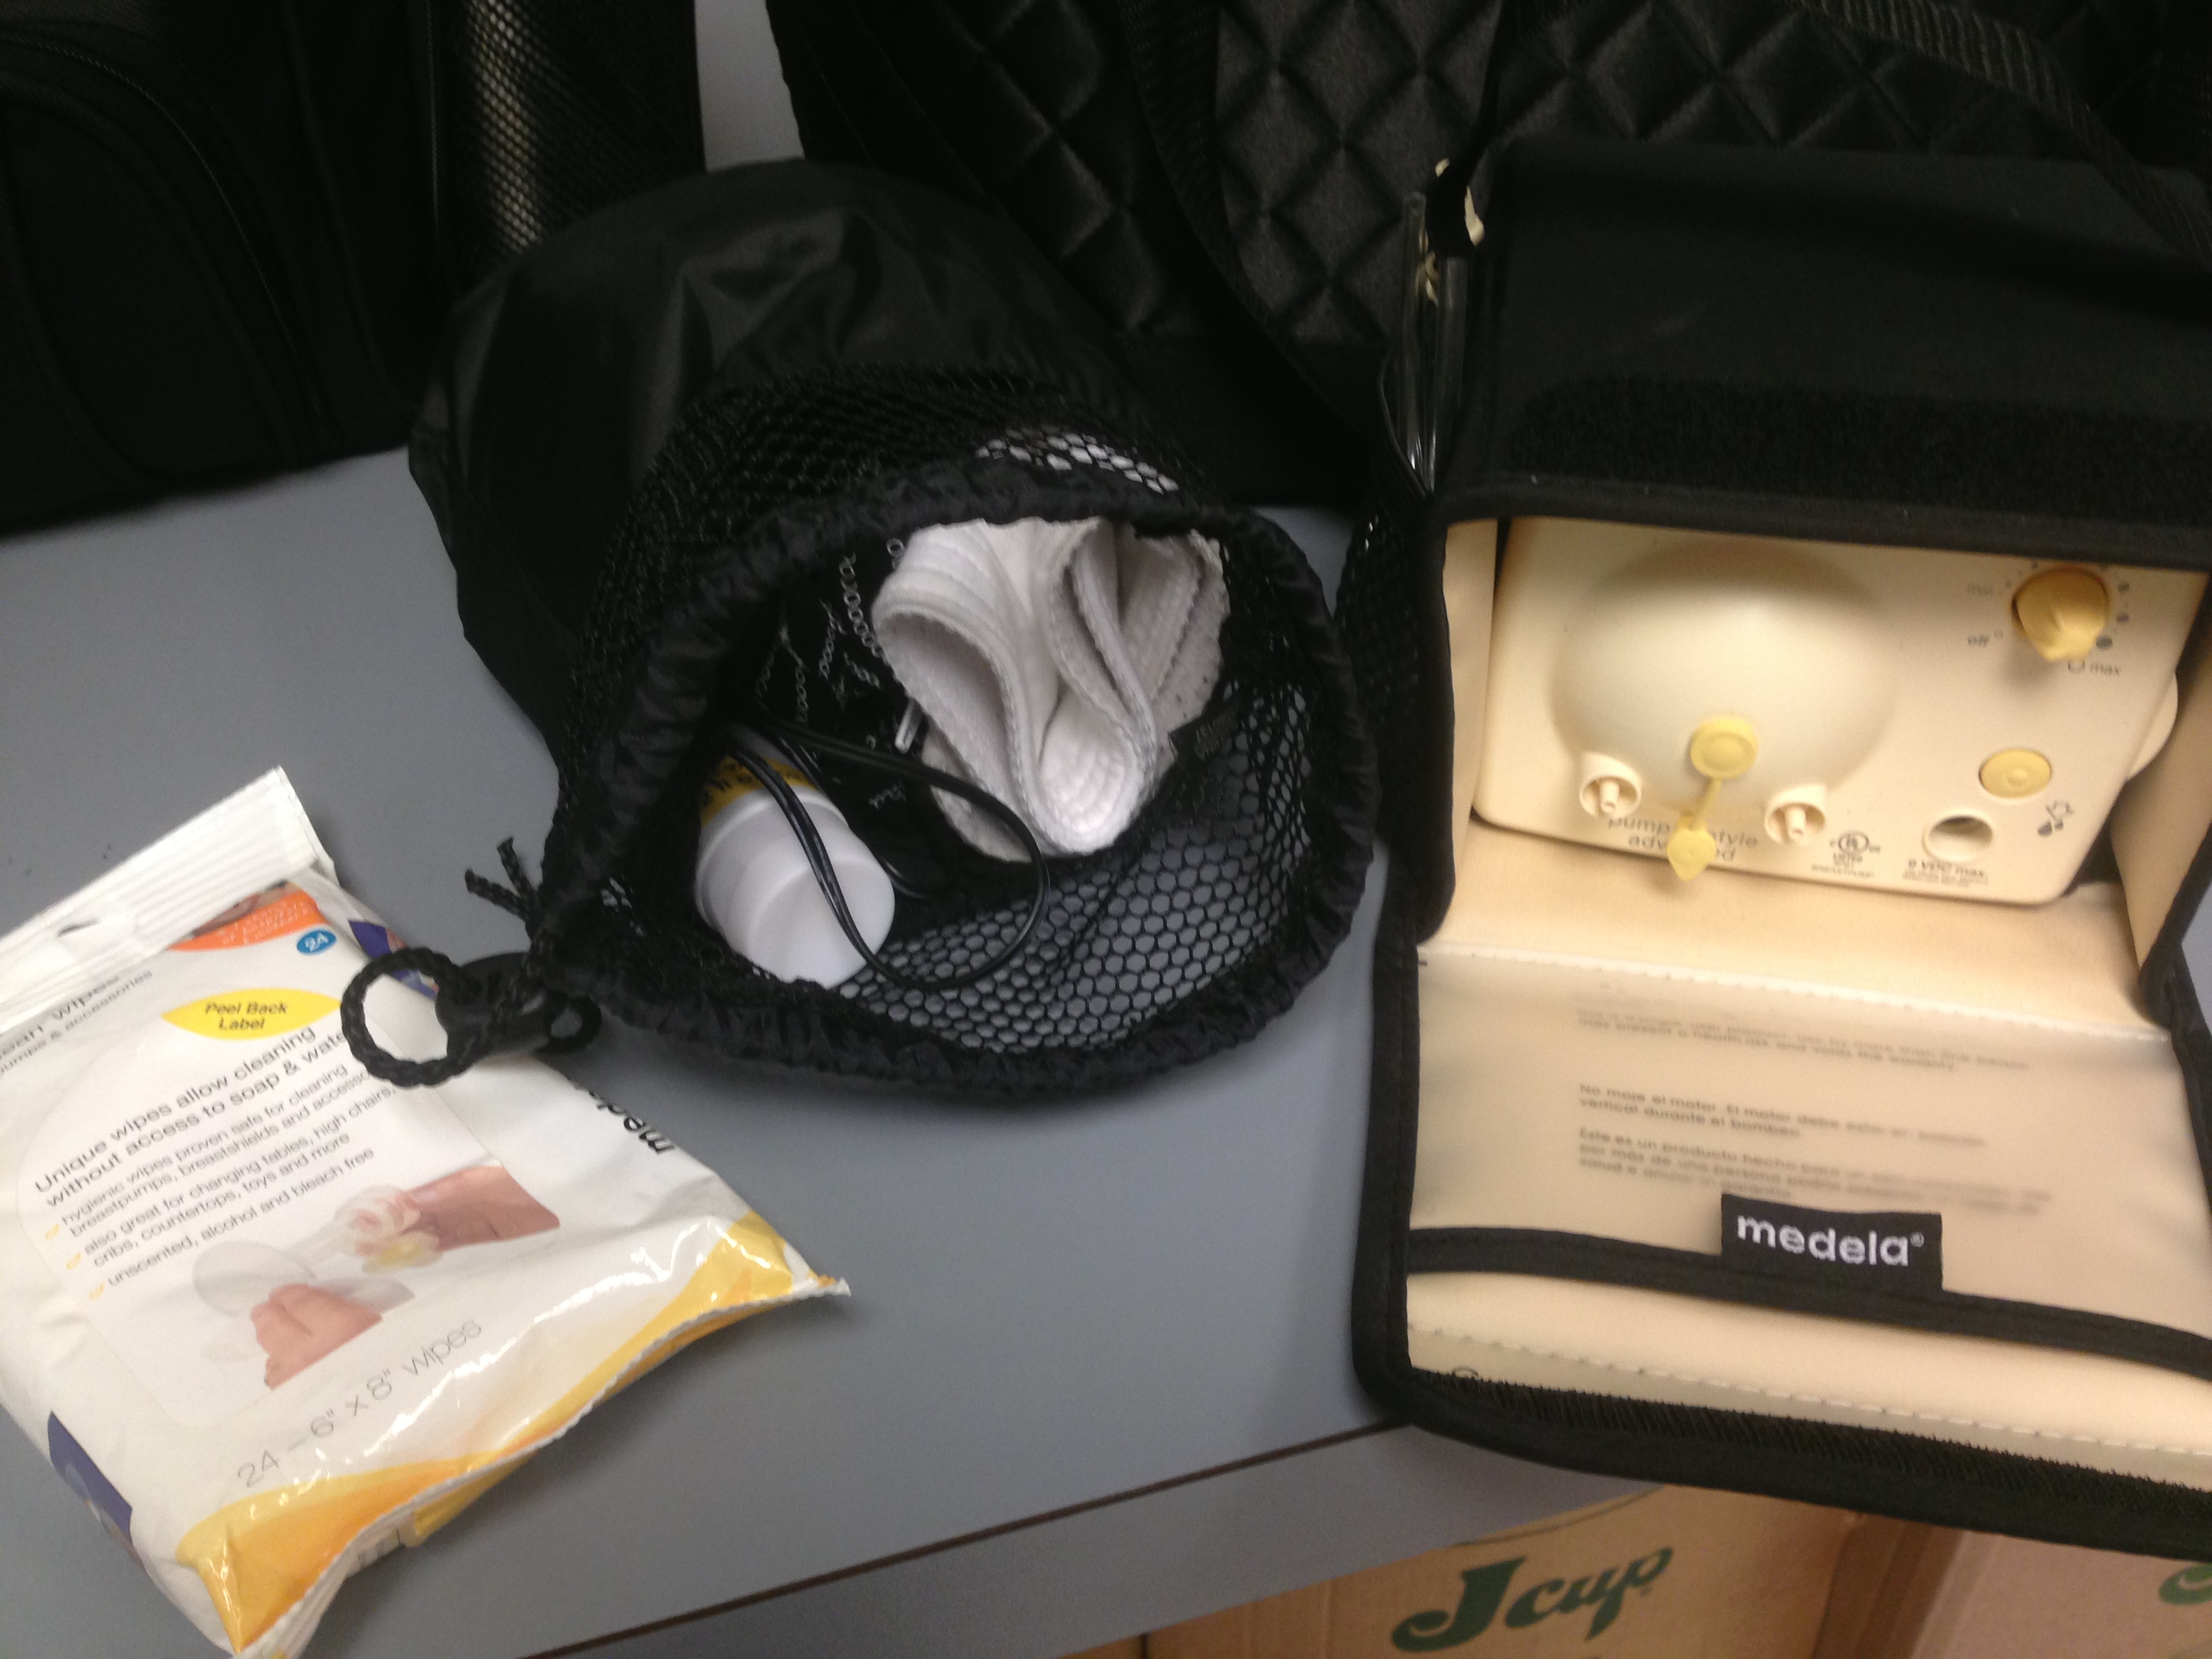
Zac’s life-savers
I carried the pump, a drawstring bag with my hands-free pump bustier (get one, seriously), my nursing cover, lanolin, and quick clean wipes for the times I can’t wash the equipment after pumping.
I also carried the wall charger, the battery pack (and one full set of extra batteries – I may need to carry two sets of extra batteries next time! This thing SUCKS juice!), and a gallon sized Ziploc bag with a full set of pump equipment inside. Loose in the bag is three extra bottles with lids.
The gallon Ziploc bag means my equipment stays protected after I’ve cleaned it, so it’s ready to go next time I need to pump.
In the side pockets of the bag I had milk storage bags, a sharpie for marking the bags, and a quick steam bag for microwave sterilization of the equipment whenever I found a microwave.
Just for amusement, here’s me washing dishes and pump equipment:
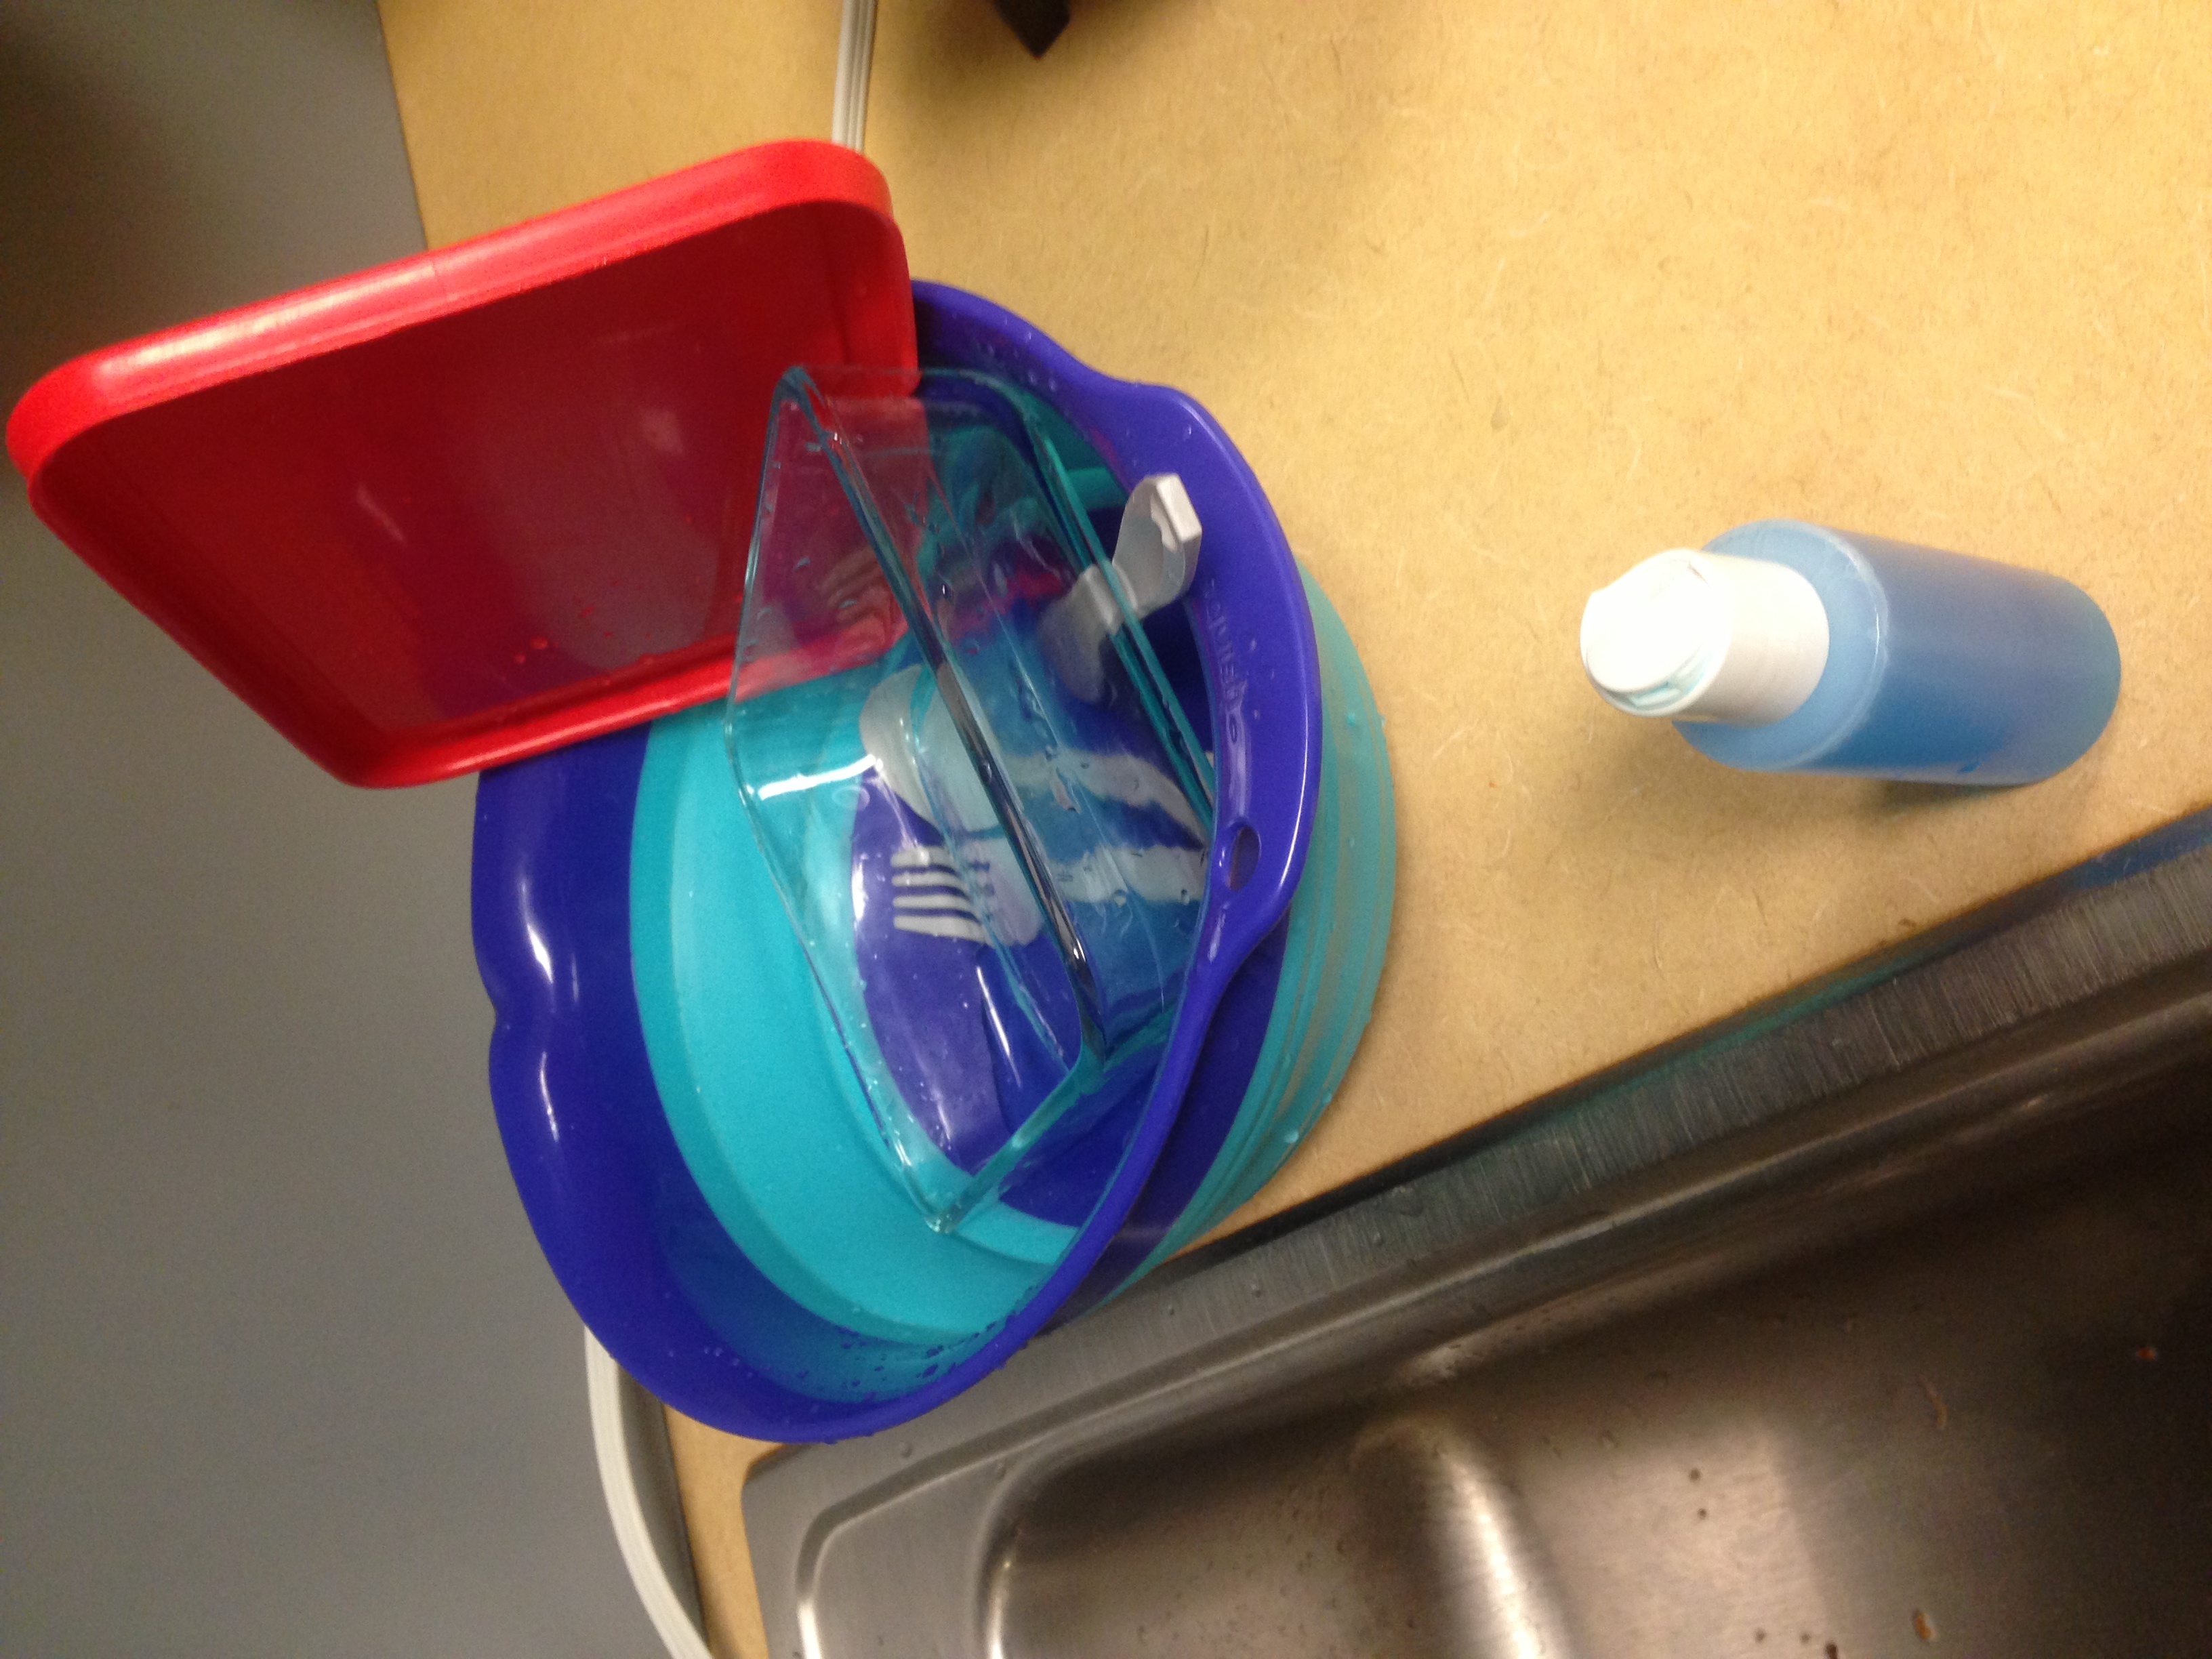
The bowl also serves as a handy place to put your clean dishes until you can dry them!
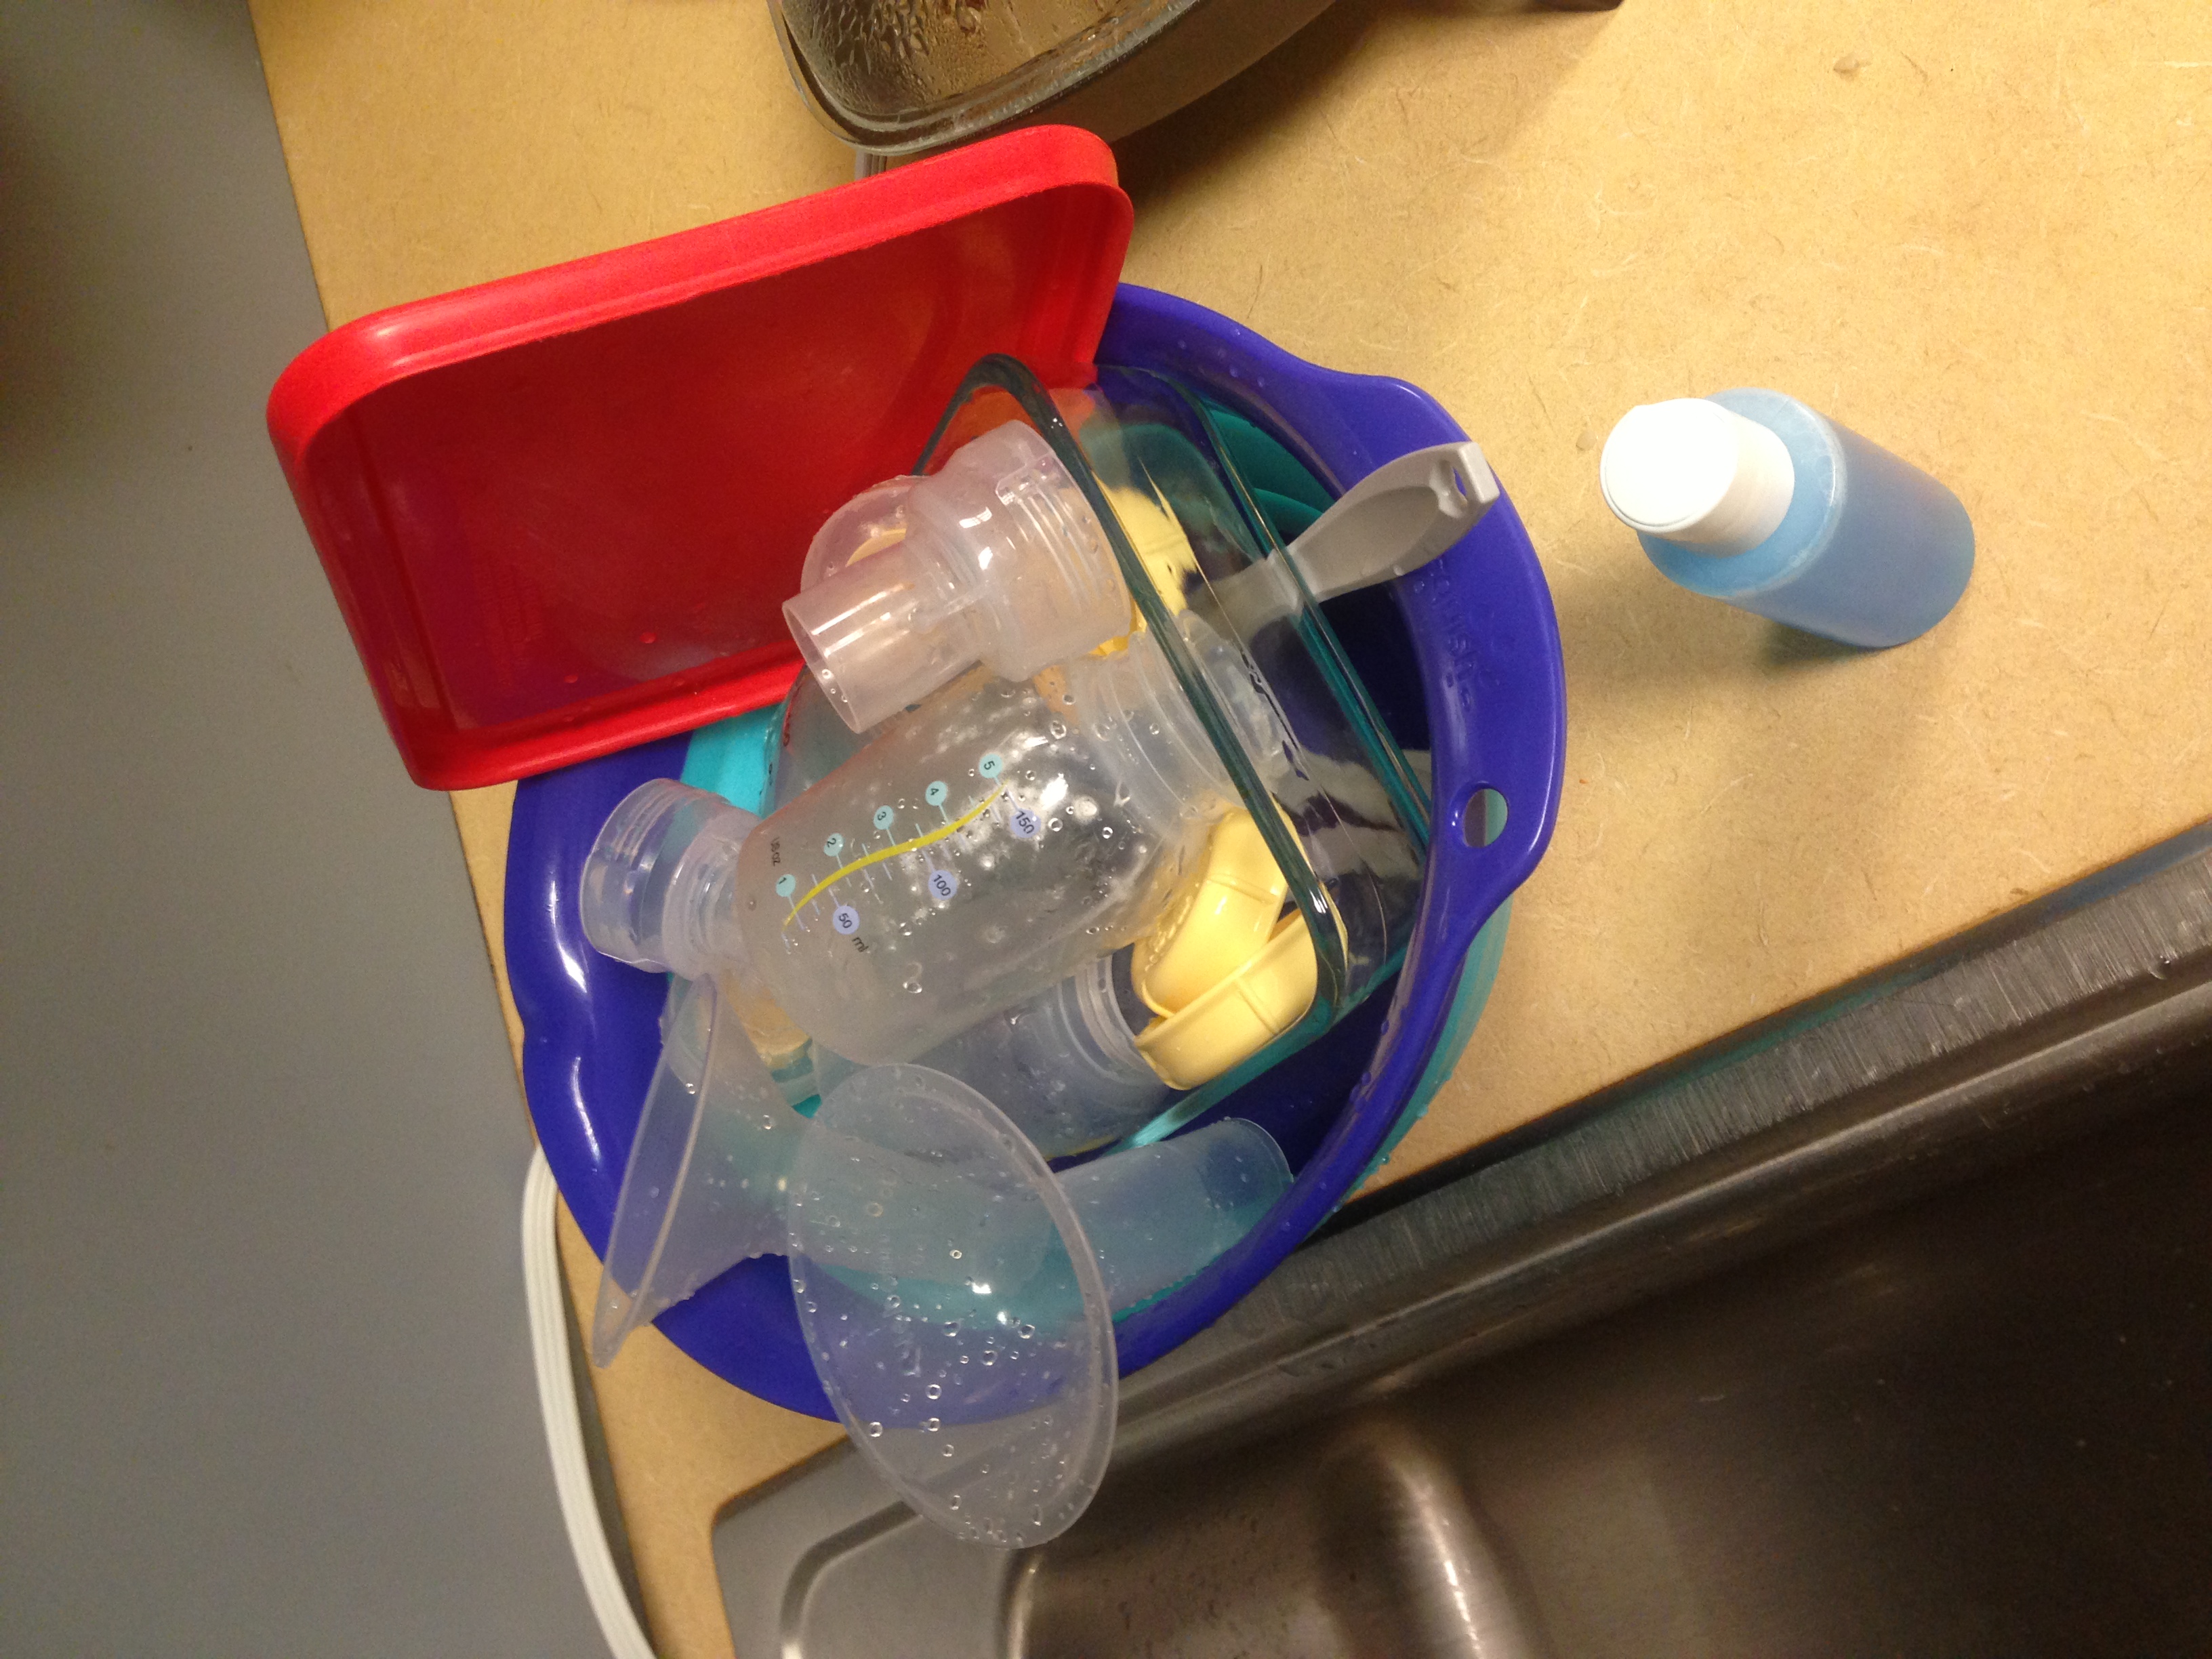
My scrubbed pumping equipment
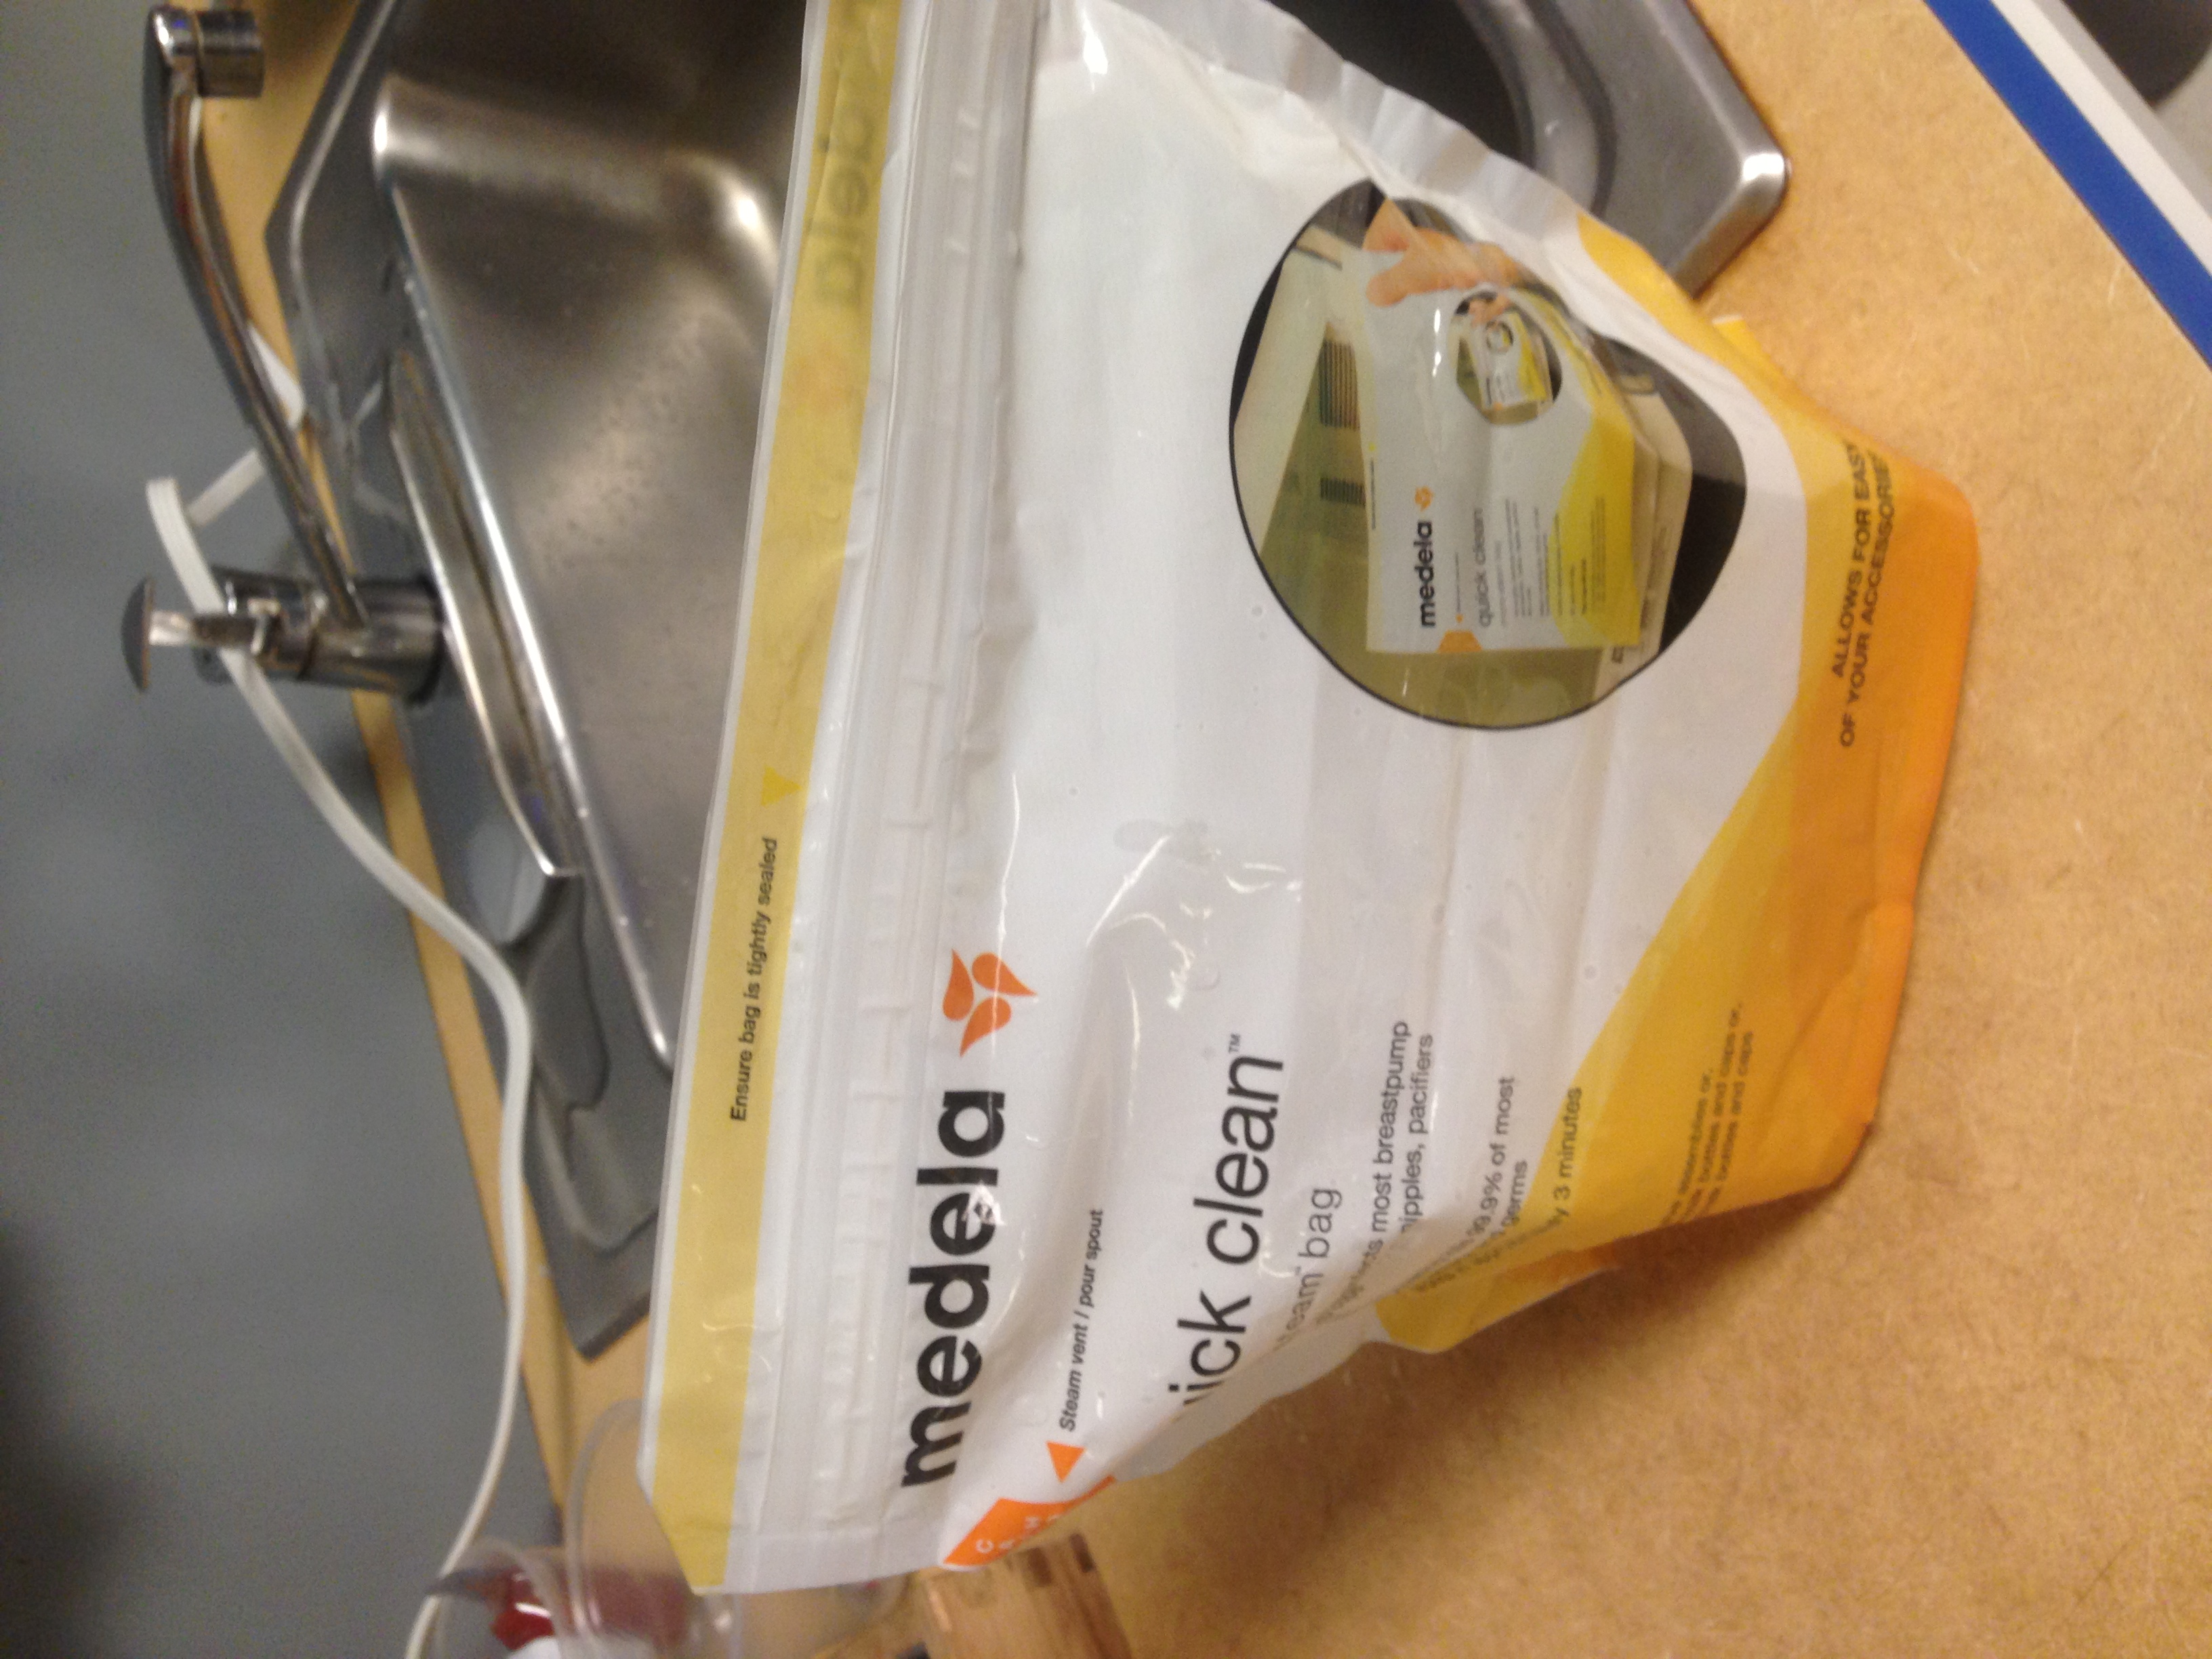
A little sterilization…
I store the hot pot and the Lil’ Skillet in my rolling suitcase, as I usually don’t need those except when in hotel rooms. It’s also where I shove the collapsible bowl and strainer.
My life…in a bag…
I used hand towels to wrap around the skillet lid and the actual skillet (in case I didn’t get it quite clean enough, I didn’t want any residual food on my clothes). Plus, they serve as extra padding around the glass lid to keep it from breaking.
Whew! That’s a lot! Want to see my insanely large caravan of luggage?
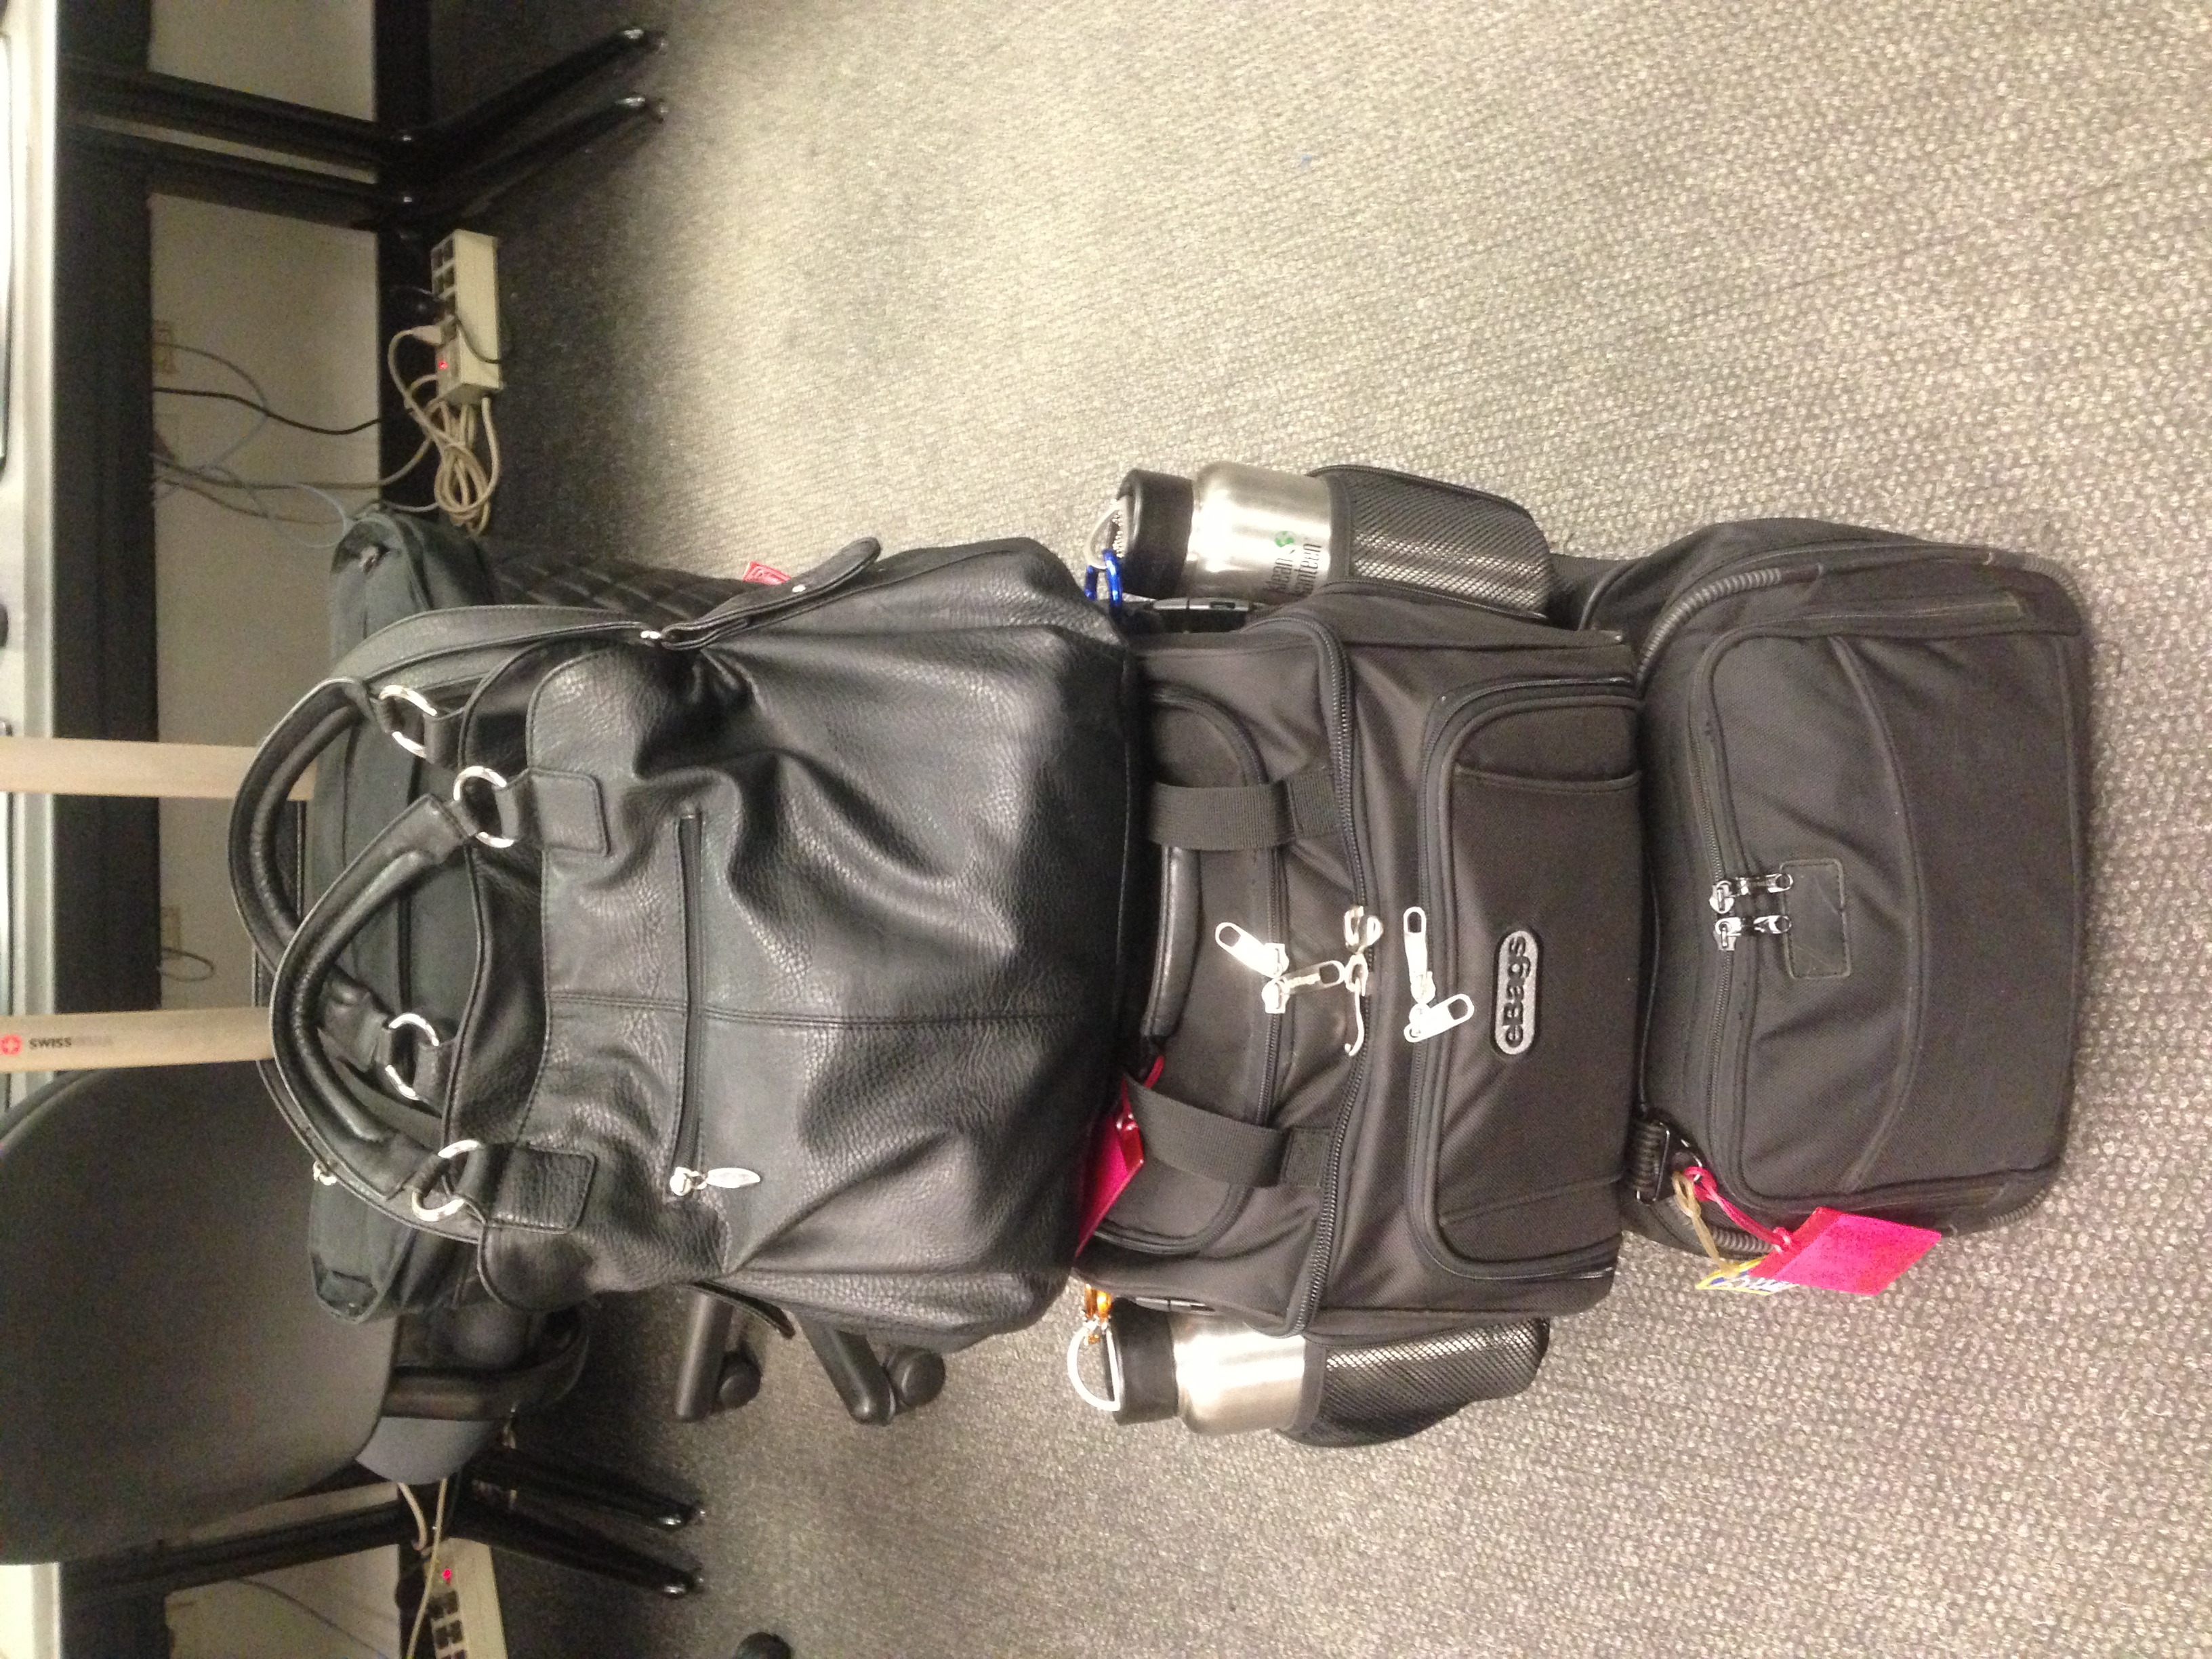
My Home away from Home
Doesn’t look too bad, right? How about a side view?
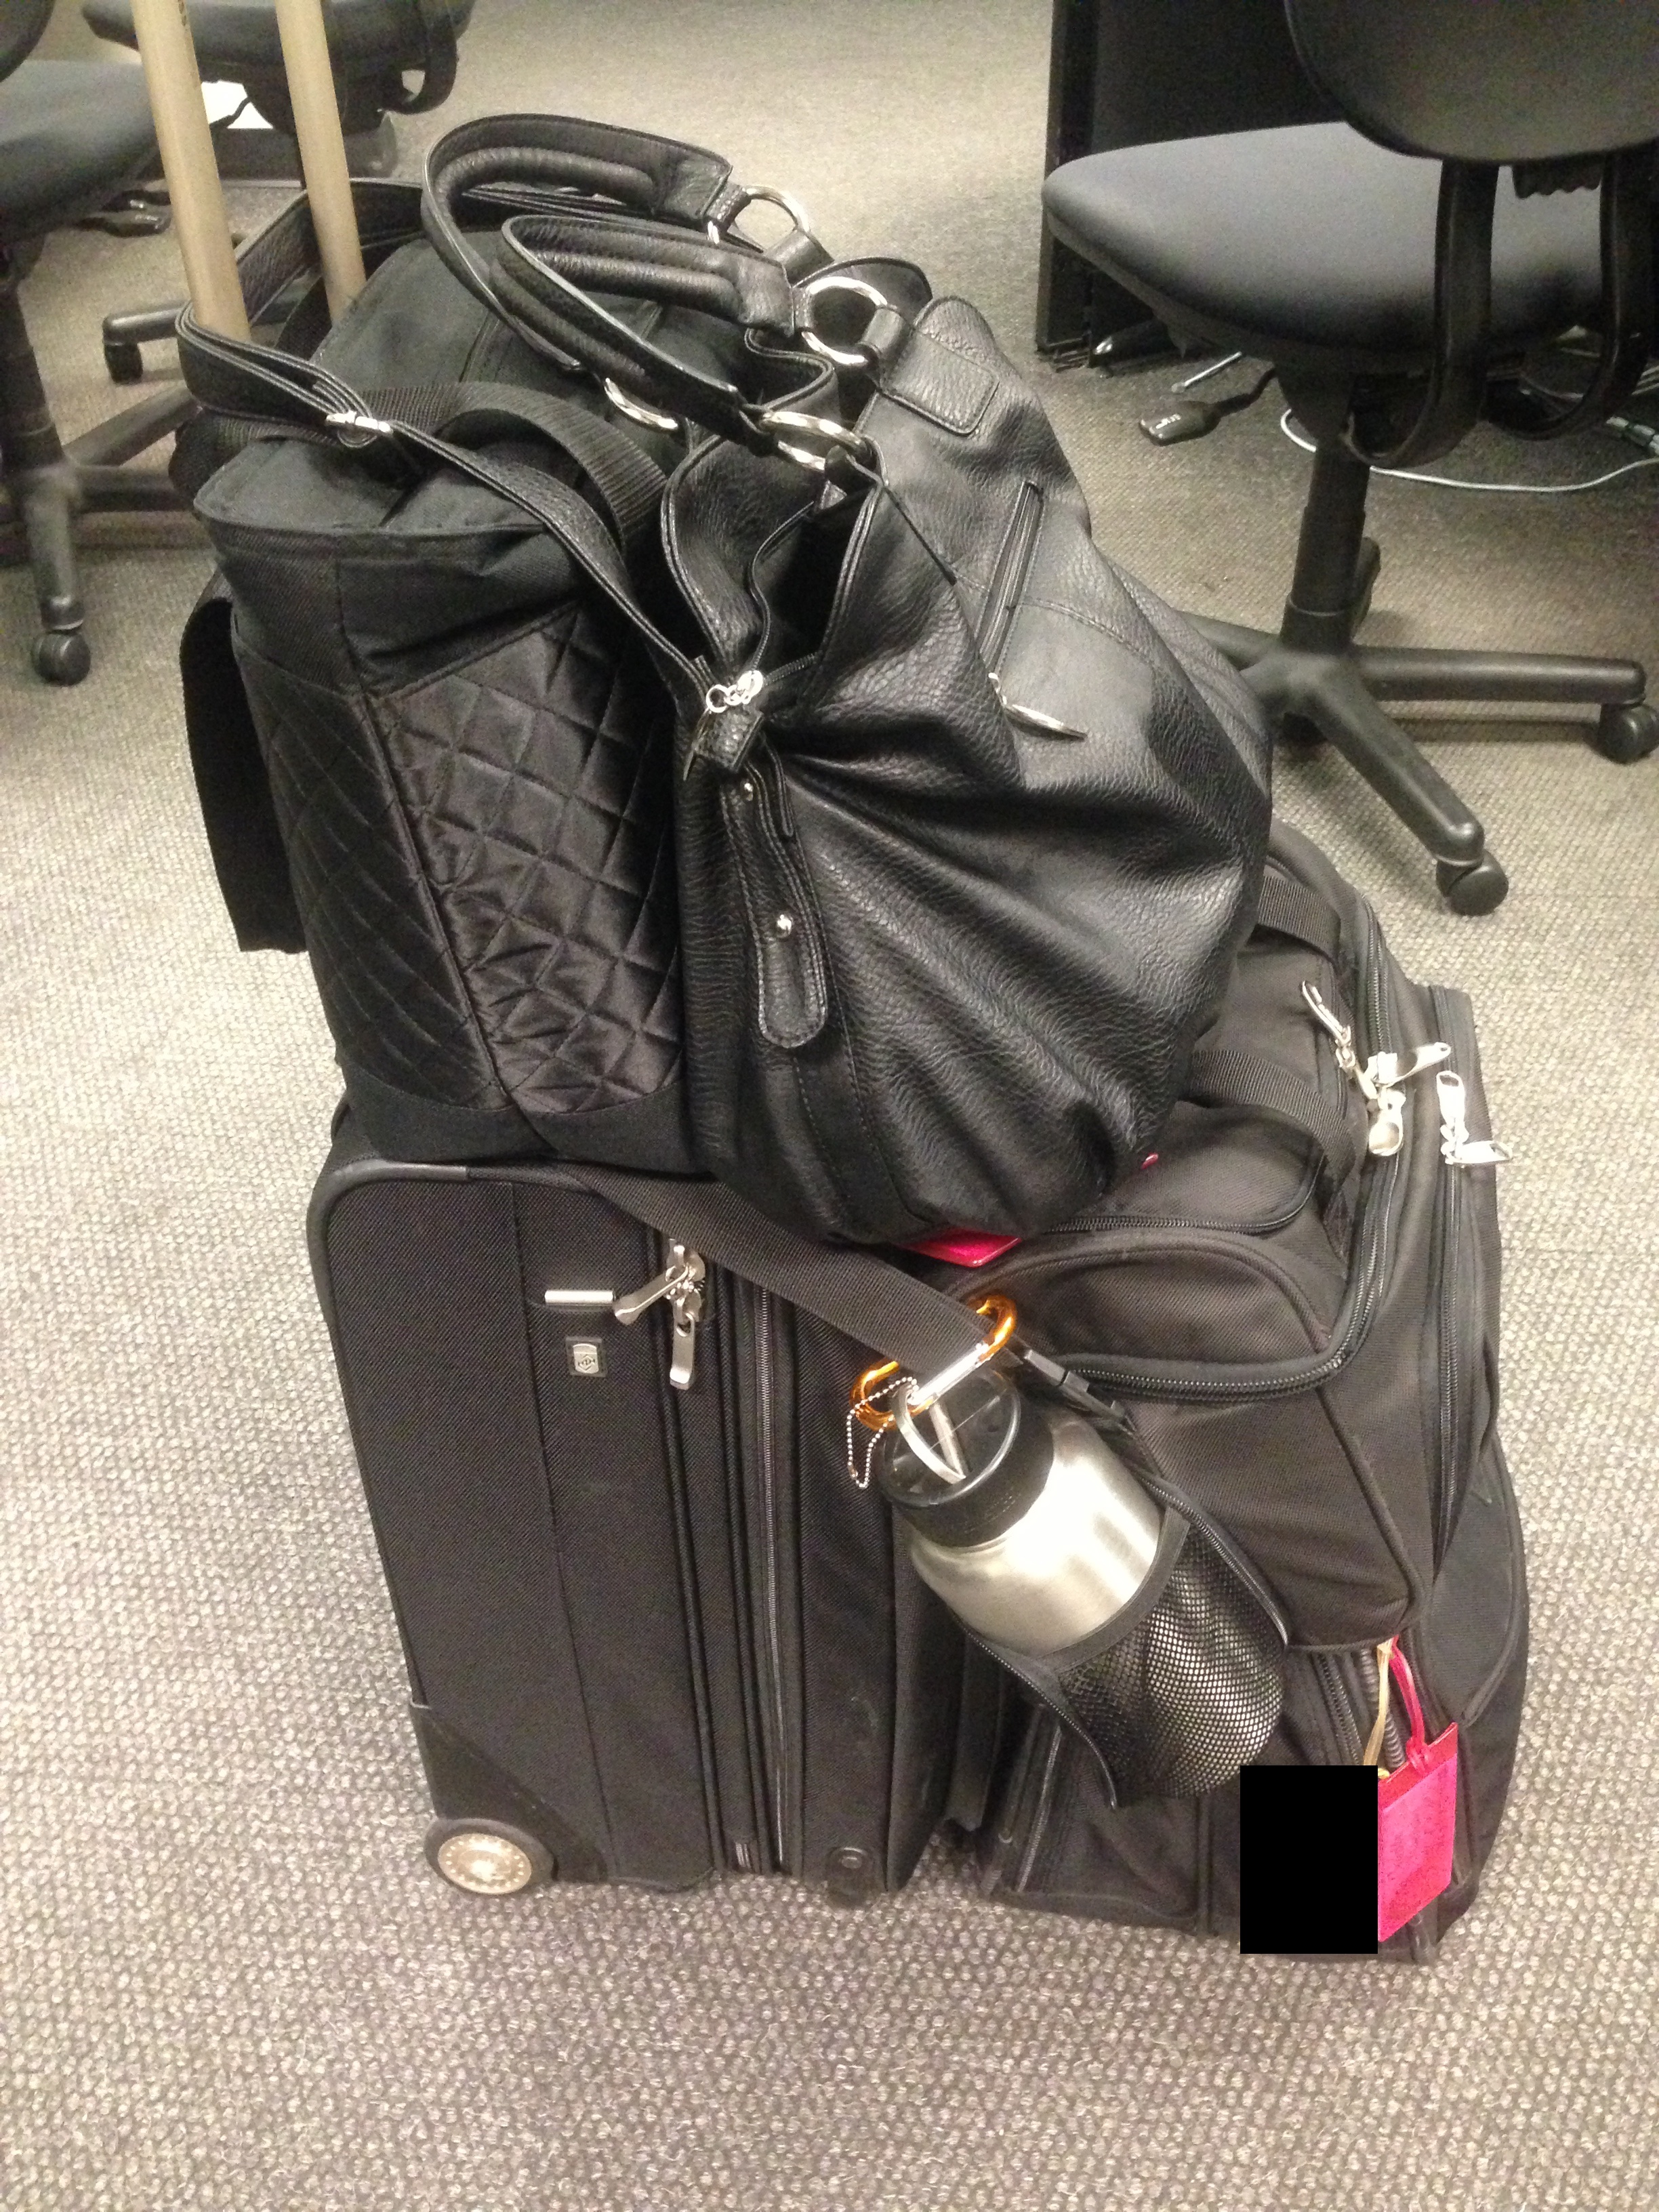
Holy Smokes!
So that’s my rolling suitcase, with my inflight tote, the lunch tote on top of that, the breast pump bag on top of the rolling suitcase, and my purse holding it in place.
Hello, shoulder dislocation?
But next time you see a Flight Attendant march through the airport hauling a load like this behind them, just try to remember: we’re not allowed to check our bags, and she might be ME, having to carry her normal travel stuff AND a Traveling Kitchen AND a milk machine!
(Or, you know, she just might like shopping. A lot.)
__________
I hope this series has been useful for you! There’s a lot of work involved in following a strict diet when you travel, but I believe it is very possible to eat well on the road.
If you have any tips, tricks, or questions, PLEASE leave them in the comments! I love learning new things and your question might be one others have but won’t ask.