A Healthy Baby

Last week on one of my flights we had a passenger board the plane with her gorgeous 6 month old daughter. As I’m a huge baby-lover, I struck up a conversation with the baby and the mother. (Yes, I shamelessly get a “baby fix” from playing with the babies on the plane – I miss my boys when I go away!)

Mom was a very nice lady. We chatted for a bit about normal baby stuff; traveling with a baby, nursing, sleep schedules and time zone changes, etc.

Somehow our conversation turned to the differences between boys and girls, and our hopes when we were pregnant about which gender we would have. She said that her husband had firm hopes for a boy, but that her only wish was “that the baby be healthy”.

Healthy.

All she wanted was a healthy child. She would be happy, as long as the child was healthy.

I felt a little bit like walking away and sitting dejectedly on my jumpseat at that moment.

See, I never thought much about this before, but when someone says that to a mother of children who are NOT healthy, well…it hurts. It offends. It angers.

My children are beautiful and amazing and perfect…and they happen to suffer from some very serious allergies and intolerances that mean, overall, they don’t quite fit the definition of “healthy children”.

So when someone says they will be happy if their unborn child is healthy, well, I have to wonder: will they then be UNhappy if the child is NOT healthy? Will they love that child any less?

Is that person saying my children are less valuable in some way because they are “not healthy”?

Or that I should somehow be unhappy because my children are “not healthy”?

The implication is there, even if the intention was not.

Women are encouraged to have in-utero testing for all sorts of maladies these days, and Darrel and I refused every single one of them the doctor would let us refuse.

Why? Well, think it through. You’re pregnant, the doctor tests you for cystic fibrosis or Down’s Syndrome and the test comes back positive.

What are you supposed to do with that information?

Logically, you have two choices: kill the baby because it is not “healthy”, or spend the rest of your pregnancy terrified and disappointed that you won’t have a “healthy” child (even though you know you’ll love your child regardless).

Both of those scenarios left a bad taste in my mouth. I don’t believe in abortion (generally, and especially not because of a fallible medical test), and I never wanted my pregnancies to be tainted with disappointment and/or fear.

Besides, Darrel and I would have accepted, loved and cherished whatever baby God gave us. Period.

Healthy or not.

So when someone says they “only wanted a healthy baby”, I get angry.

I get angry at the dismissal of my amazing little boys. I get angry at the dismissal of all children who fight against some difficulty that qualifies them as “not healthy”.

I get angry at the ignorance of that comment.

My children are no less valuable because of their challenges. NO children are less valuable because of their challenges.

I am happy with my children exactly as they are.

No, these kids are not perfectly healthy in every possible way.

But they’re perfect just the way they are. In fact, they’re downright inspirational!

These challenges are part of my boys, they are not the sum total of my boys. They’re just a part; a part that is going to help make my boys strong enough to stand up for themselves, smart enough to question experts and listen to their own intuition, empathetic to the plights of others, and kind to people with challenges of all stripes.

That makes my boys BETTER than many other children out there.

I want my children to outgrow their allergies and intolerances, sure. Life would be easier without them, but I never EVER want anyone to make my children feel as though they are flawed in some way because of their many food issues.

I never want my kids to wonder if Mommy and Daddy are sad that they were born, because they were born “not healthy”.

I don’t want parents of children with special needs to have this extra burden placed on them; this road is challenging enough without people behaving as if they could not be happy if their children were “not healthy”. That statement begs the question for parents of “not healthy” children: am I not supposed  to be happy? Is there something wrong with me that I am?

The sentence “I didn’t care what we had, so long as the baby was healthy” needs to vanish from the world.

Better to say “I didn’t care what we had. I just wanted my baby in my arms to LOVE with all my heart.”

Period. End of story.

Like I said, this Mom was a very nice lady. After her comment about “healthy baby”, I responded by saying “Well, my boys are NOT healthy, and I’m blessed by them and love them anyway.”

Without missing a beat she replied “Oh, yes. My nephew has special needs and he’s wonderful! I know what you Mom’s go through from my sister. That’s why we prayed for a healthy baby. My sister didn’t want me to have to go through what she did.”

Then she smiled and said “God gives those babies to very special parents.”

It was sweet, touching, and very redeeming for me…but I still wish this statement – and the accompanying attitude – would disappear.

Parents should be happy with their children, simply because their children exist. Health has nothing to do with love and enjoyment. Raising healthy children might be easier in many ways, but it does not mean the children are better or the parents are happier.

I’m happy with my family exactly as they are, and I resent any implication that demeans my family.

I just want my babies in my arms to LOVE with all my heart.

__________

What do you think? Do you feel the same way, or am I being too sensitive?
How to Clean Your Oil

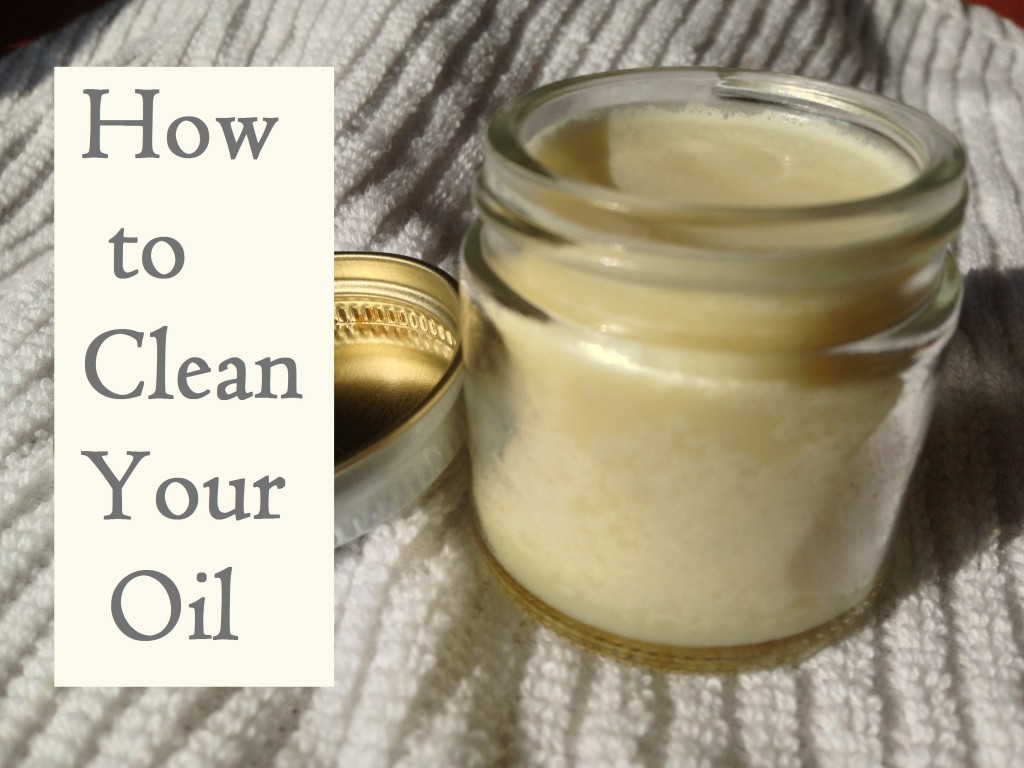
21 - clean, beautiful tallow hand cream - Copy

When I wrote about making my own hand cream out of tallow, I mentioned that my Mom had told me once about “how to clean your oil” but that I didn’t know how to do it at the time. I promised that the next time I made hand cream, I would ask her how to do it and share it with you.

Well, I needed more hand cream! So here I am, as promised, with this really cool “old school” information. It was far too much to add to the previous post, so I’m giving it a whole post and linking them together.

After the tallow hand cream post (but before I talked to Mom) I Googled “how to clean your oil”. I got a ton of links to the “oil cleansing method” (which I use, actually!), and a lot of stuff about basically filtering your cooking oil through a strainer and coffee filter, storing it in the fridge, and using it within a certain time frame.

People seem to be very cautious about using cooking oil for very long these days; I theorize that this stems from the fact that cooking oils today are usually already pretty nasty to start with. Back in our great-grandmother’s day, though, people used tallow, lard, and other animal fat to cook with, and cleaned and reused them for much longer than is recommended today. I suspect those are just “hardier” fats than today’s vegetable and canola oils.

Frankly, at this point in my food journey I look at things like this: if it worked and was normal for my great-grandmother, then it’s probably the best way to do it!

Back to the oil cleaning!

Turns out, there are two ways to go about cleaning oil. There’s cleaning your COOKING oil my Mom’s way, and cleaning your tallow for candles/creams/soaps.

They’re identical, basically, except for the quantity of water and the fact that after you’ve cleaned your cooking oil once, you filter it, store it, and re-use it.

With the “personal care” tallow, you clean your oil several times. I cleaned mine 4 times (and probably would have done it once or twice more, but ran out of time before work).

It’s easy, but takes time. Not exactly time consuming, more that it’s the kind of project you just sort of squeeze in to your kitchen duties throughout a day or so.

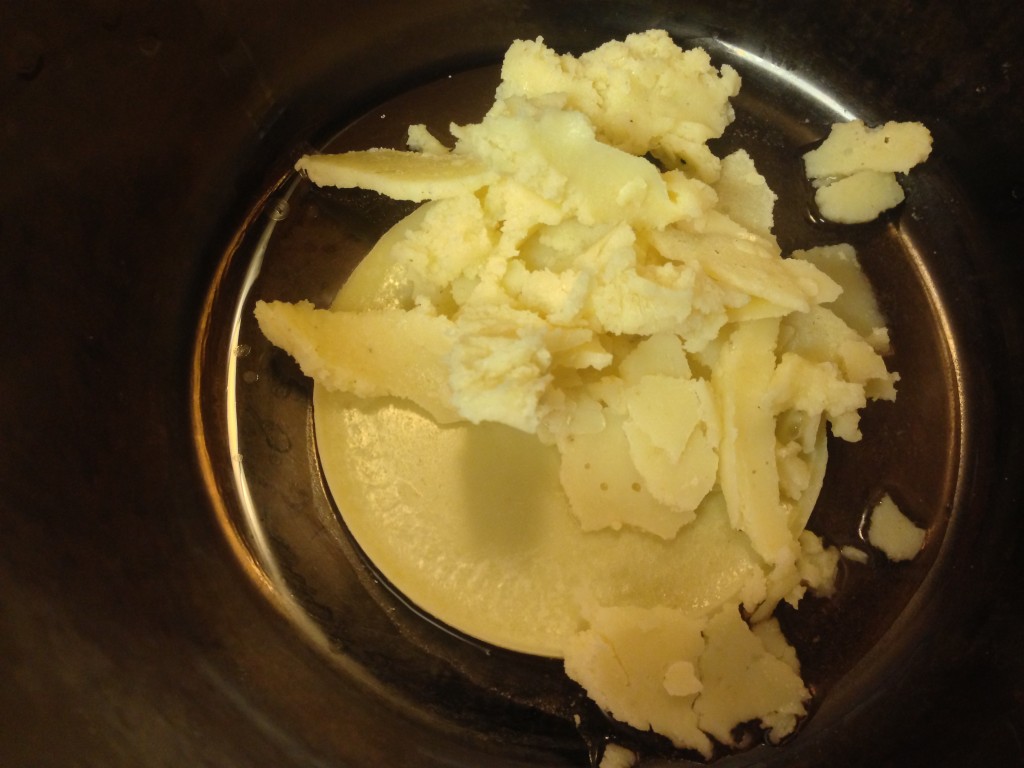
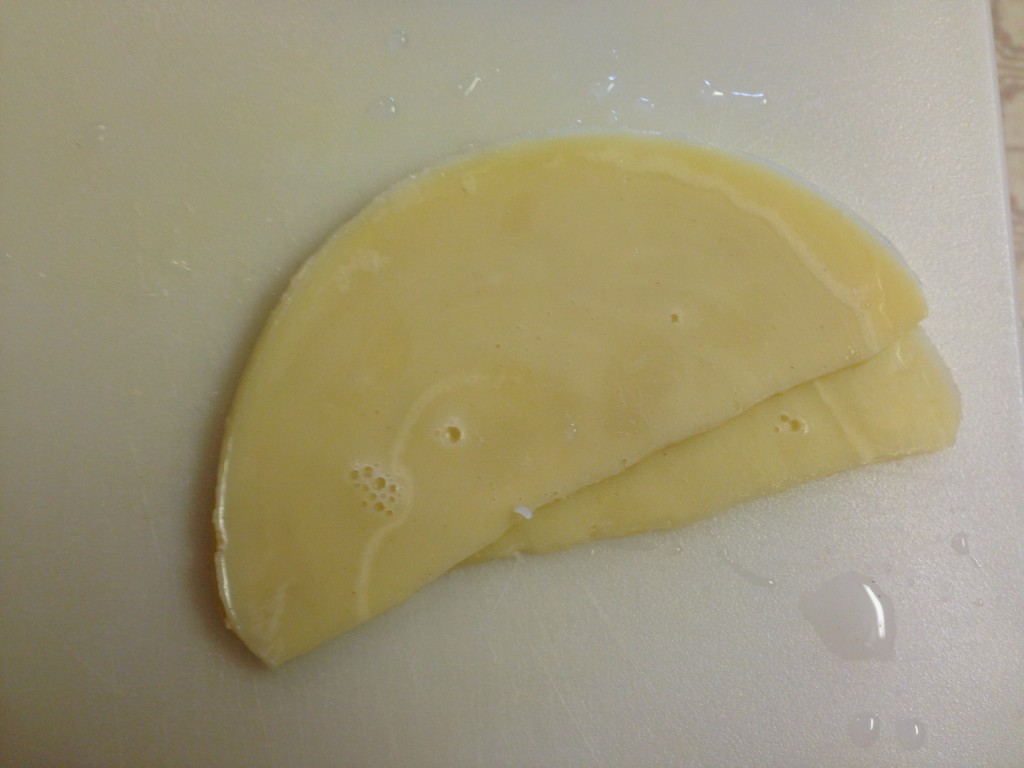
I started with some beef broth I’d made. After it had cooled in the fridge, I snatched the hardened beef fat off the top.

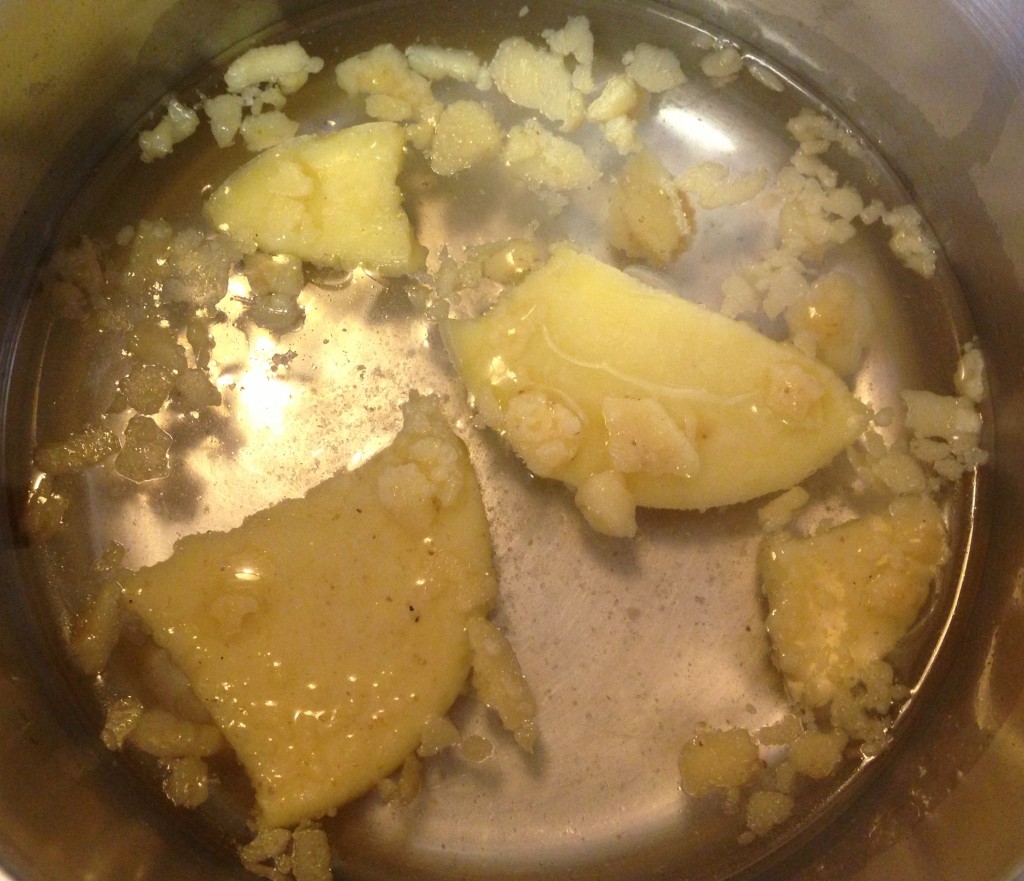
First broth fat in water in a pan.

First broth fat in water in a pan.

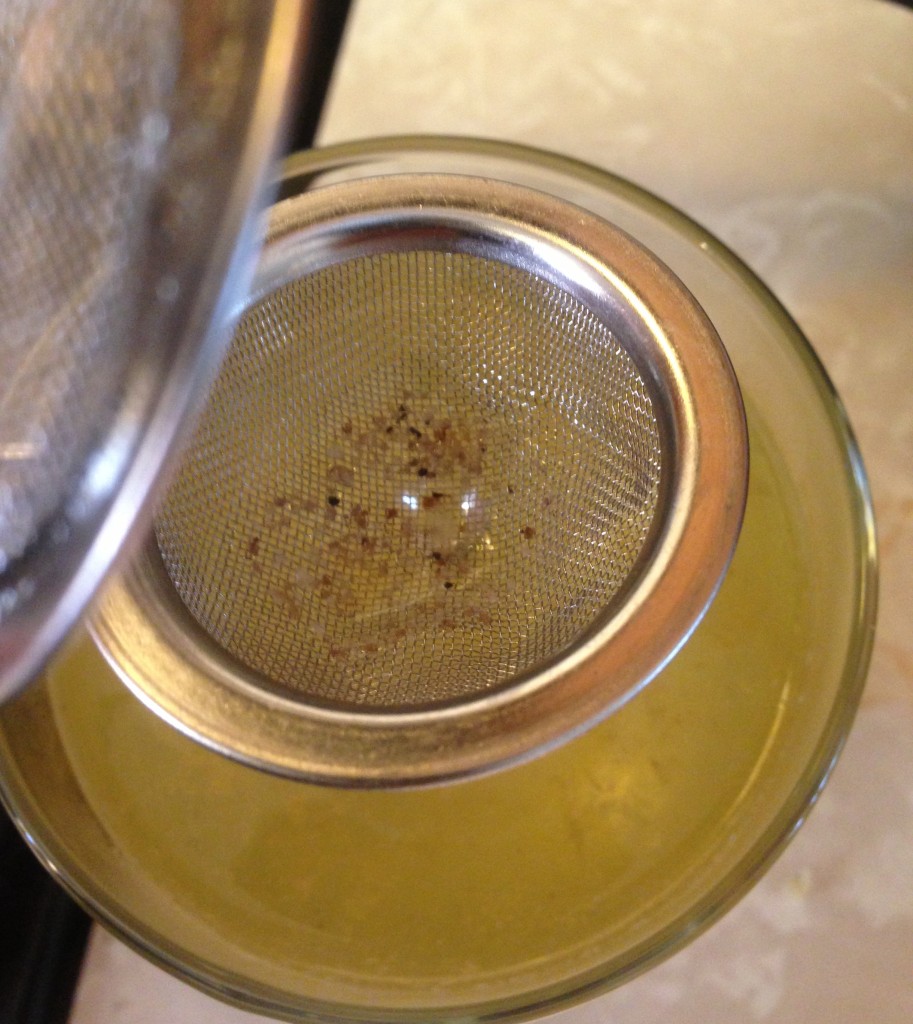
I put that in a pot on the stove, added some water, heated it until melted and filtered it through a mesh filter into a glass.

Straining it into a cup.

Straining it into a cup.

Then I called my Mom.

I didn’t have enough tallow to make hand cream and was in the process of making more beef broth, so I knew I would have more soon. Mom needed to “dish” the how-to’s of oil cleaning.

It’s so simple!

The steps are as follows:

  1. Put the tallow in a pan with about a cup of water.
  2. Heat it slowly until it melts.
  3. Take it off the heat, and let it cool on the counter.
  4. Put the whole pan in the fridge until the fat has hardened on top.
  5. Remove the fat from the pan and dump out the water.
  6. Clean the pan, or get a new one out, and put the fat into it.
  7. Add more water and repeat until the oil is whiter, purer and the water has almost no sediment or discoloration.
  8. Now you’ve cleaned your broth tallow!

Here’s what it looks like, step by step:

Second batch of broth fat.

Second batch of broth fat.

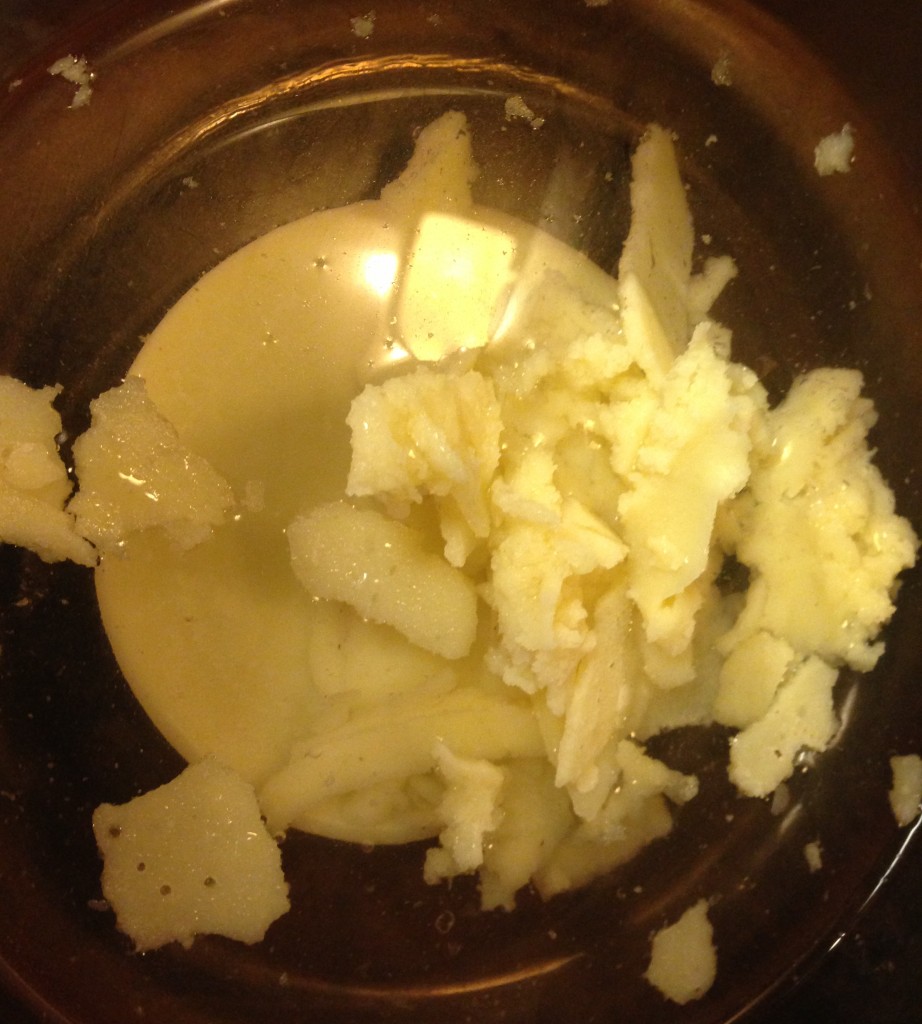
This was my second batch of broth fat, in the broth. I removed it, put it in a pan with the original broth fat, and followed the instructions.

Both batches in a pan on the stove.

Both batches in a pan on the stove.

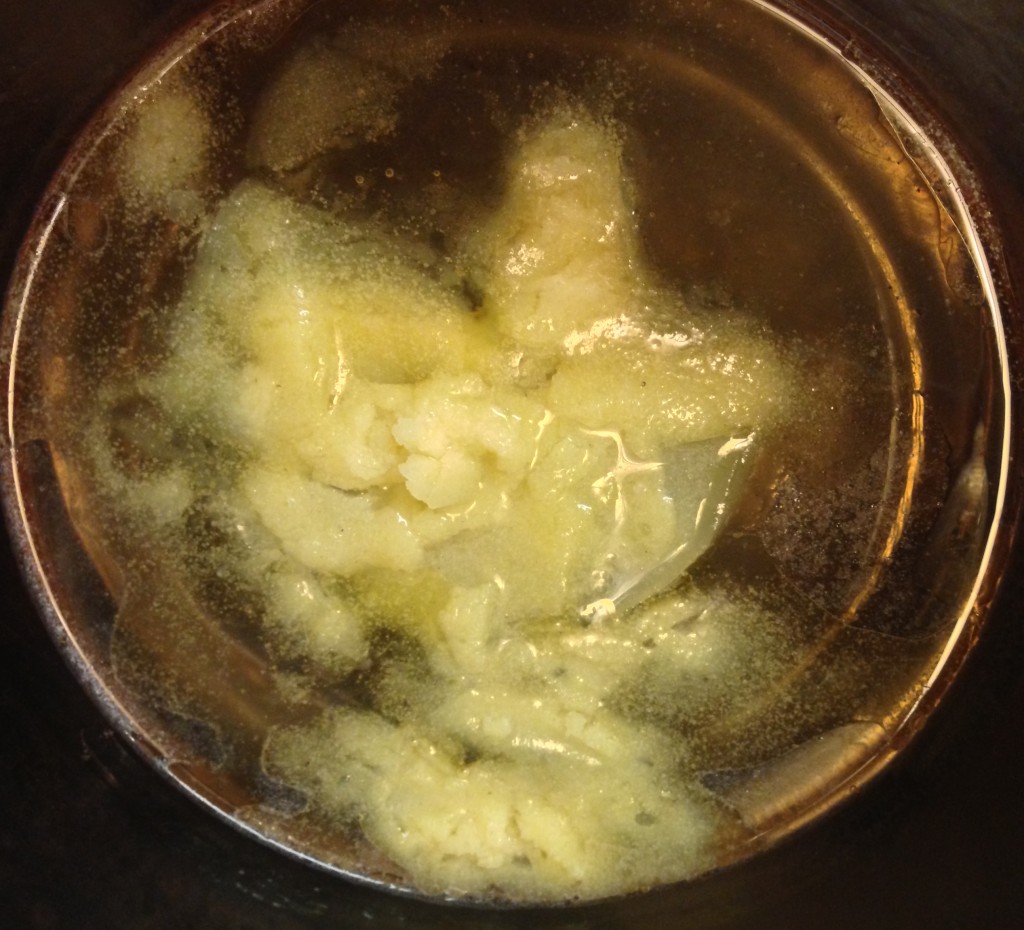
Added water until it melted.

Added water and heat.

Melting...

Melting…

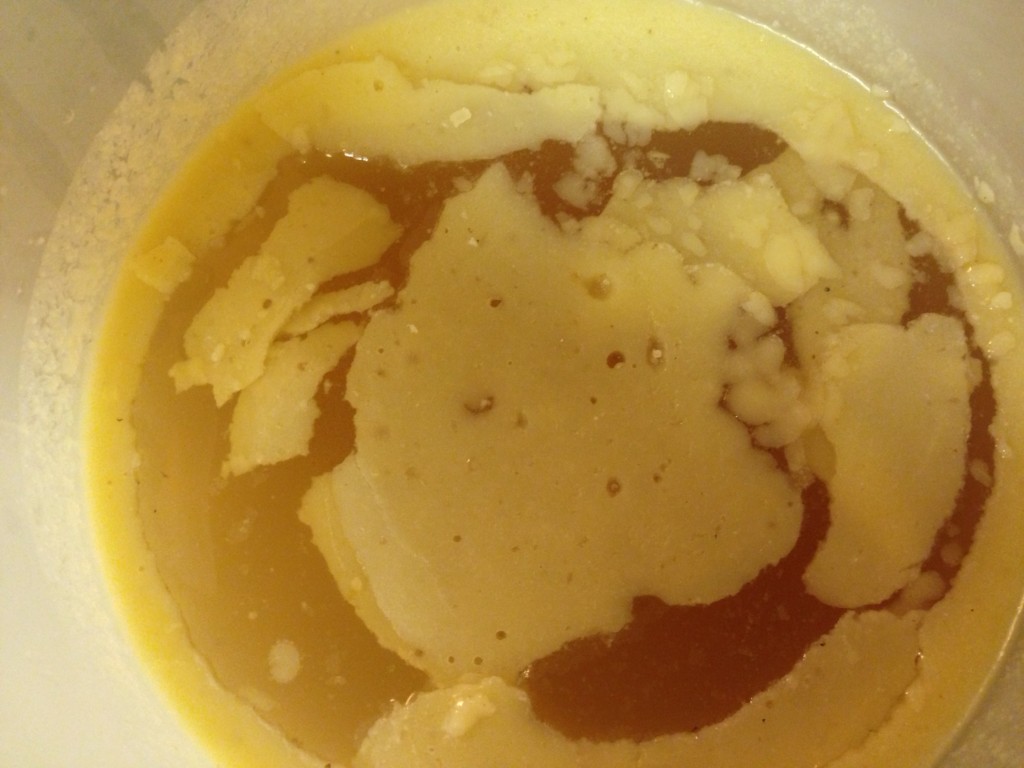
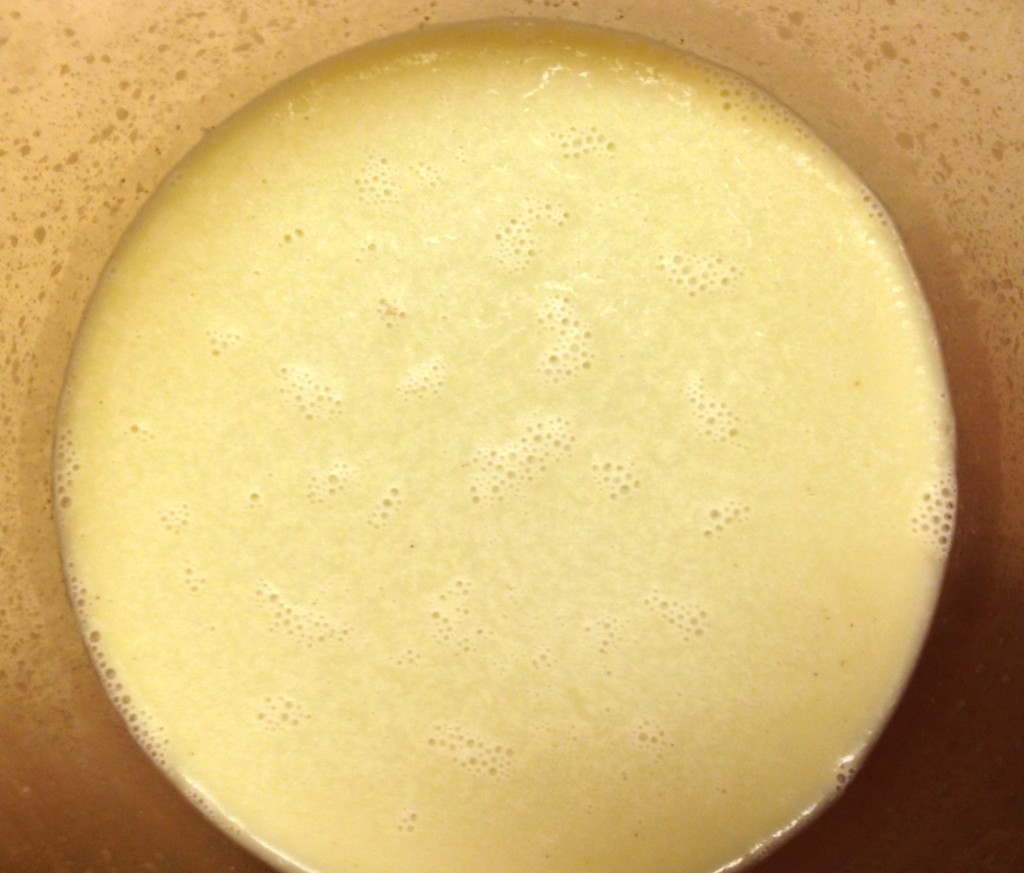
After it was melted, I let the pan cool on the counter and then put the whole thing in the fridge to harden. This is what I got after one cleaning:

First cleaning after hardening in the fridge.

First cleaning after hardening in the fridge.

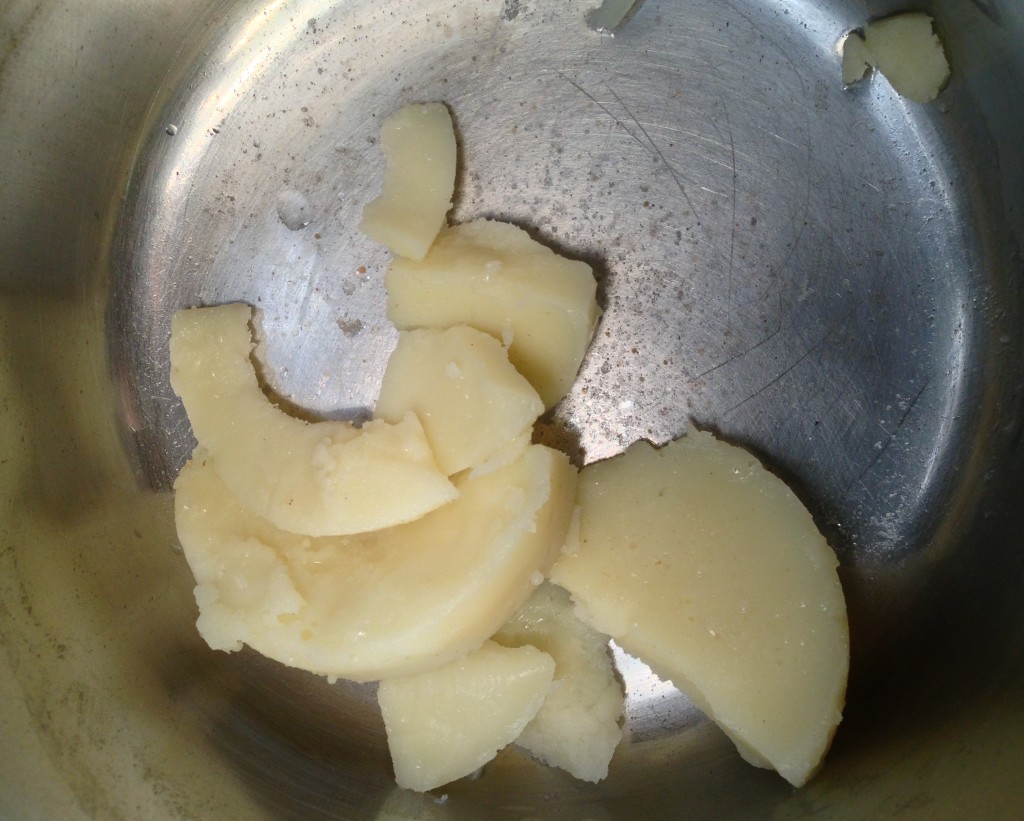
I broke the fat into pieces…

Broken into pieces to remove from the pan for the second cleaning.

Broken into pieces to remove from the pan for the second cleaning.

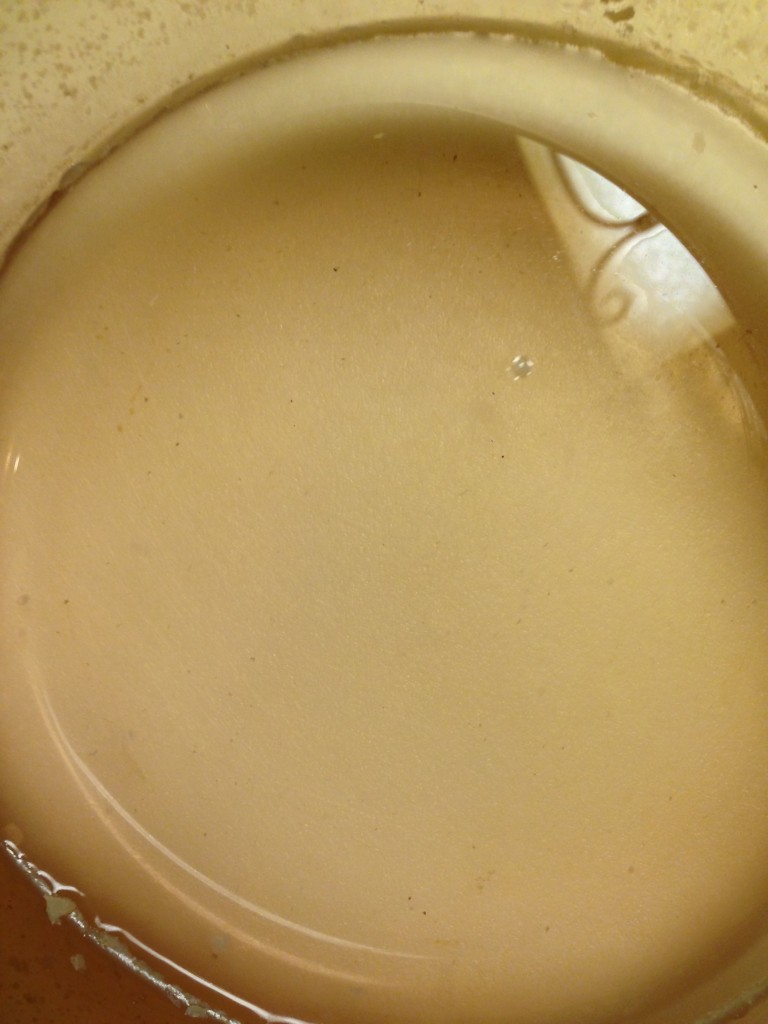
And took a look at the water. It was kinda gross! Lots of sediment and ickies floating in it.

This is what the water looked like to dump out after the first cleaning. Ew!

This is what the water looked like to dump out after the first cleaning. Ew!

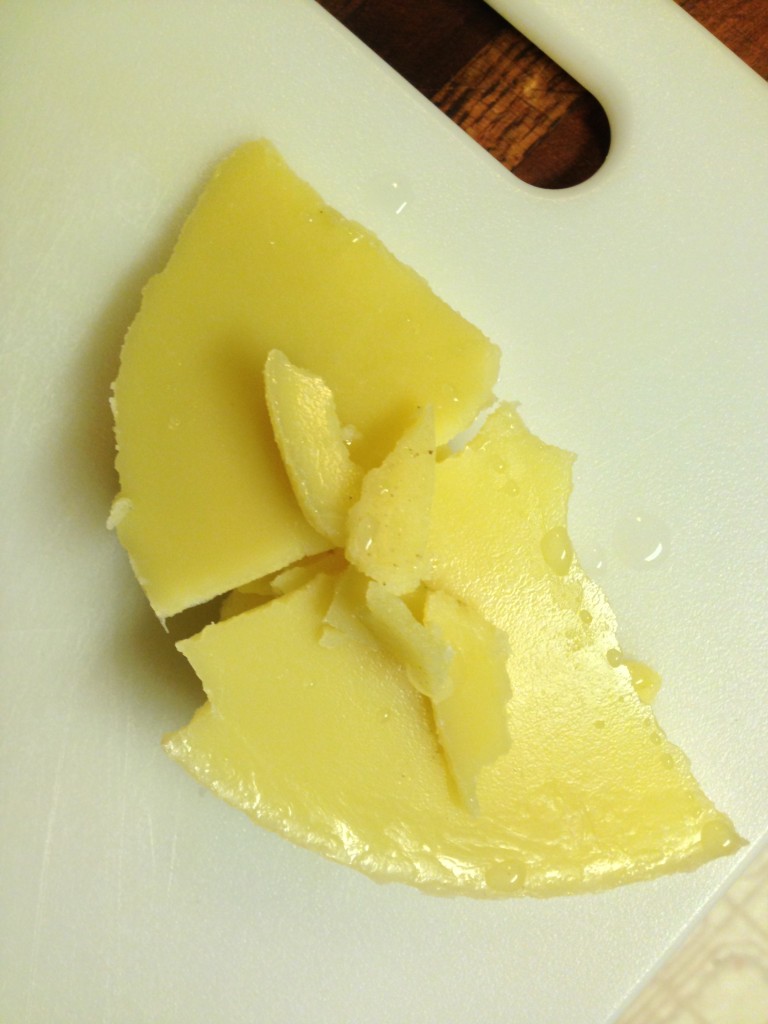
The tallow wasn’t much better.

What the tallow looks like after the first cleaning.

What the tallow looks like after the first cleaning.

So I threw out the water, cleaned the pan, and cleaned the tallow again. Here it is after the second cleaning.

After the second washing and hardening in the fridge.

After the second washing and hardening in the fridge.

The water was cleaner, but still had some sediment.

The water to dump after the second cleaning.

The water to dump after the second cleaning.

The tallow looked much better!

The tallow after the second washing.

The tallow after the second washing.

So I washed it a third time. Here’s how a third washing did:

After the third washing and hardening in the fridge.

After the third washing and hardening in the fridge.

Looking very clean!

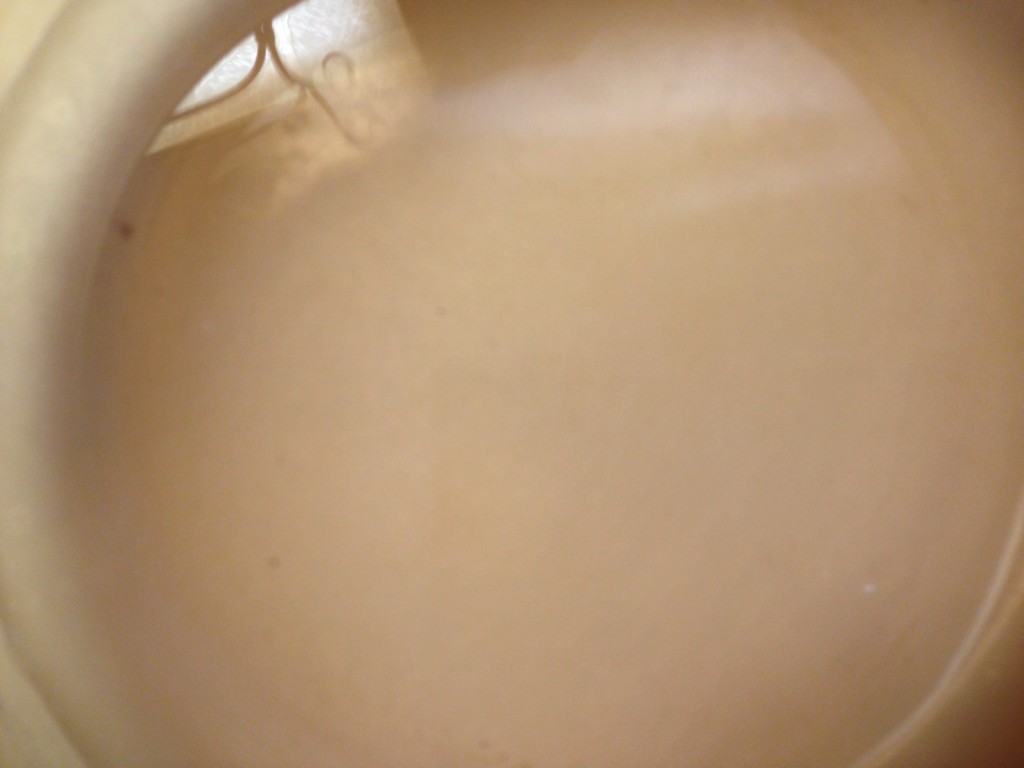
Water to dump after the third washing.

Water to dump after the third washing.

Huge improvement!

The tallow after the third washing.

The tallow after the third washing.

Still, there were some stubborn bits of sediment remaining, so I decided to pull out a strainer and try to grab them for the fourth cleaning.

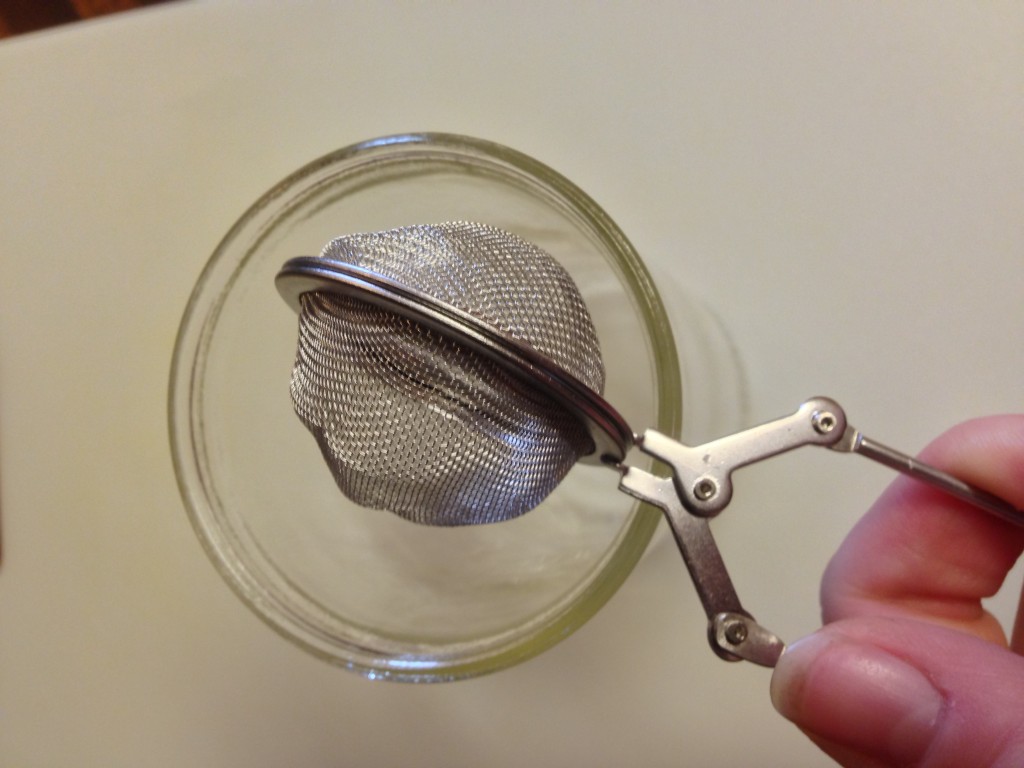
Most strainers are not fine enough to catch this sediment, but I had a tea strainer that seemed well-suited to the job.

The tea strainer I used to strain it after the fourth cleaning.

The tea strainer I used to strain it after the fourth cleaning.

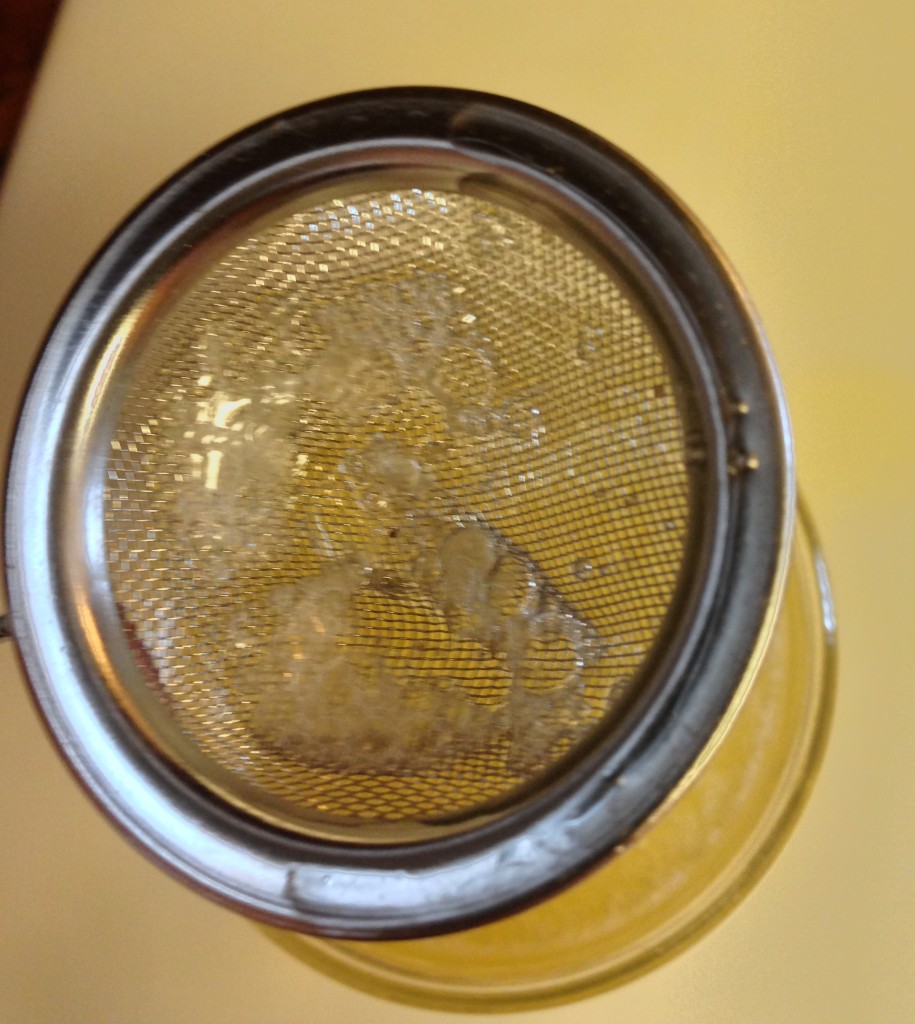
Straining the tallow after the fourth cleaning.

Straining the tallow after the fourth cleaning.

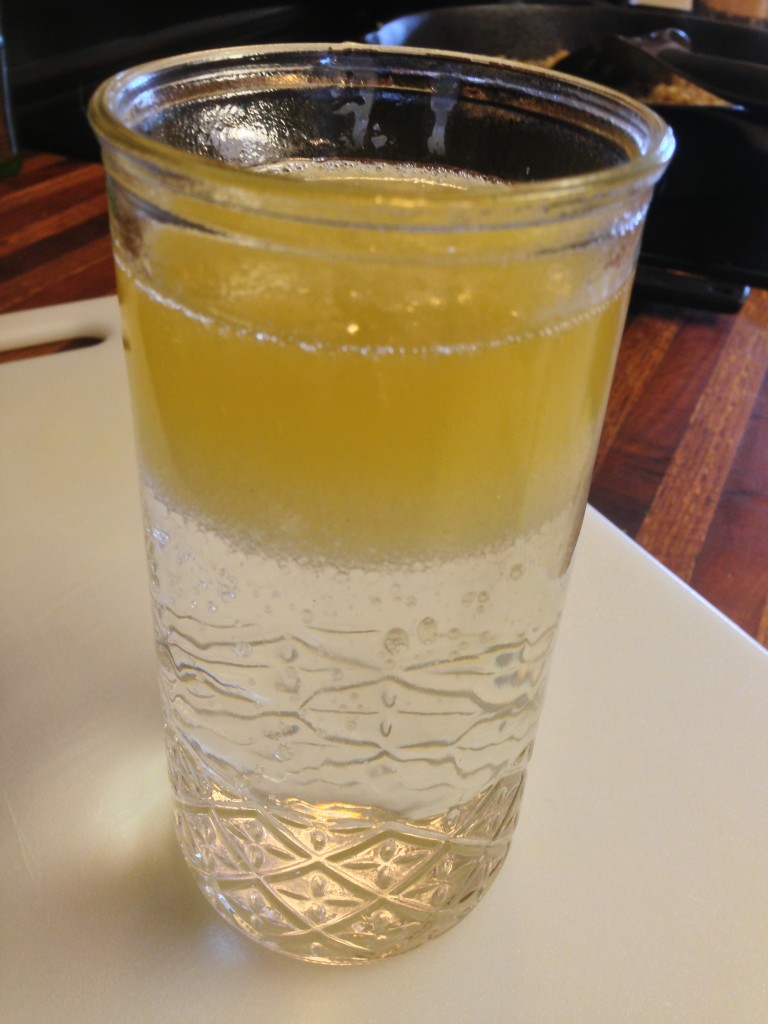
This was going to be the last time I could clean the tallow, so after I had – again – heated it with water until melted, I strained it into a glass to harden in the fridge. Less surface area=less moisture stuck to the tallow after it has hardened.

In the glass to go in the fridge after the fourth cleaning.

In the glass to go in the fridge after the fourth cleaning.

When it had hardened, I broke it off the top and threw it in the pan to make hand cream.

Four times cleaned, much whiter than it started, and in the pan to make tallow hand cream.

Four times cleaned, much whiter than it started, and in the pan to make tallow hand cream.

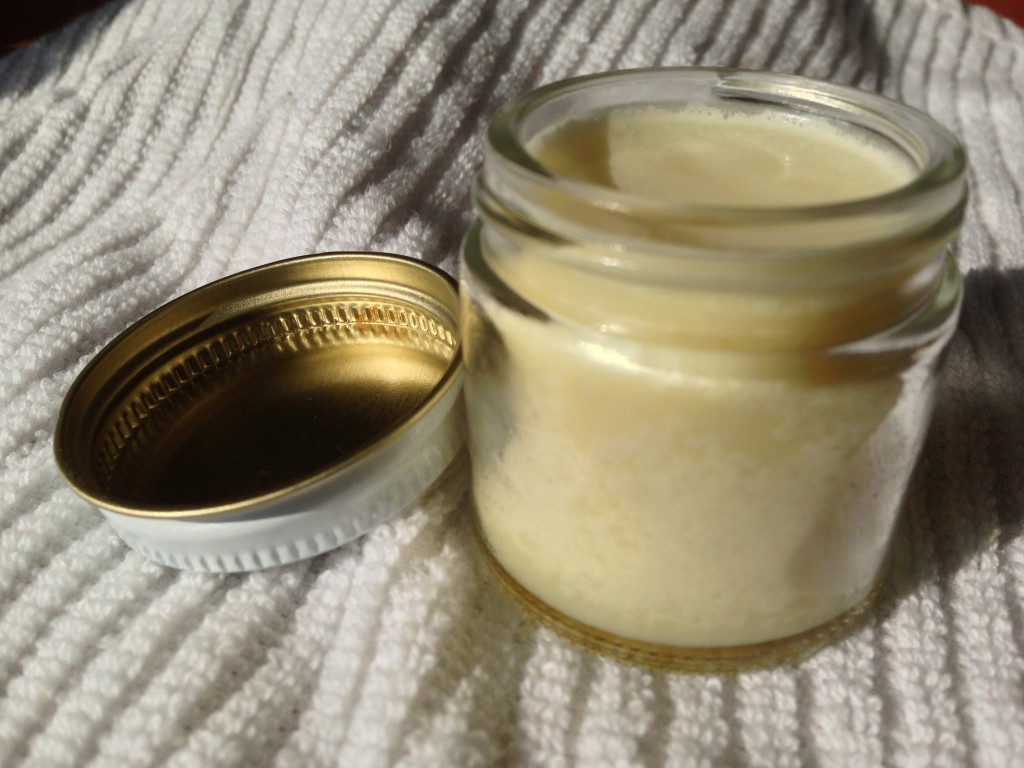
I did it exactly as I did in my tallow hand cream post, and in the end it came out much more white and clean looking than my first batch did by far!

Finished hand cream!

Finished hand cream!

Such an easy process, even if it takes some time. It’s well worth it to make such a nice, clean hand cream, though! It’s a little hard to tell in the photos, but this hand cream came out much whiter, brighter, and creamier than my first batch.

I used this cream on my face for two days, and my mystery “I’m 36 and still get pimples” face cleared right up!

Awesome!

So there you have it. How to clean your oil!

By the way, if you want to clean your cooking oil the old fashioned way, you’d simply add a cup of water to your deep fryer, heat it until it stops popping and crackling (that’s the water evaporating off), pour it through a strainer and store!  Much cleaner than just straining it and storing it!

Have you ever cleaned your oil like this?

__________

UPDATE! 5/1/2019

Once you’ve cleaned the oil, it still has water in it. This reduces its lifespan and makes it spoil and turn rancid. (Bacteria in the water grows and gets ugly.)

So if you want your freshly cleaned water to last a good long time, toss it in a slow cooker, put a wooden spoon in it, and prop the lid on top of the wooden spoon. Lay a towel over the top of the whole she-bang, and turn it on to high.

It could take a whole day to do, but eventually all that water will boil right out of the oil, leaving nothing but pure, perfectly clean, ready-to-keep-for-ages tallow behind!

Even better, I’ve gently ladled that super hot tallow into sterilized canning jars, placed a sterilized canning lid on top, and set it on the counter and lo and behold those lovely POP sounds ring in my ear! I’ve read that you CAN “can” tallow, but you need to give it the water bath treatment. I’ve never done that; but with the water-free tallow just placed in the jar, I’ve had jars of tallow last me over a year – and I’m still opening them to use!

(Do this at your own risk, of course!)

So there’s another trick to cleaning your own oil. Fatworks is a company that sells jars of tallow, duck fat, lard, etc. and it’s a great option if you run out of time or run out of tallow….but at $16.25 per 14 ounce jar, it gets expensive!

Think about how much money you will save just doing this yourself!

According to those prices, my last time making tallow I made $165 worth of canned tallow!

Happy Oil Cleaning!

__________

This post shared with:

AllergyFreeWednesdays

Frugal Ways, Sustainable Days and Real Food Wednesdays.

Holding Our Breath

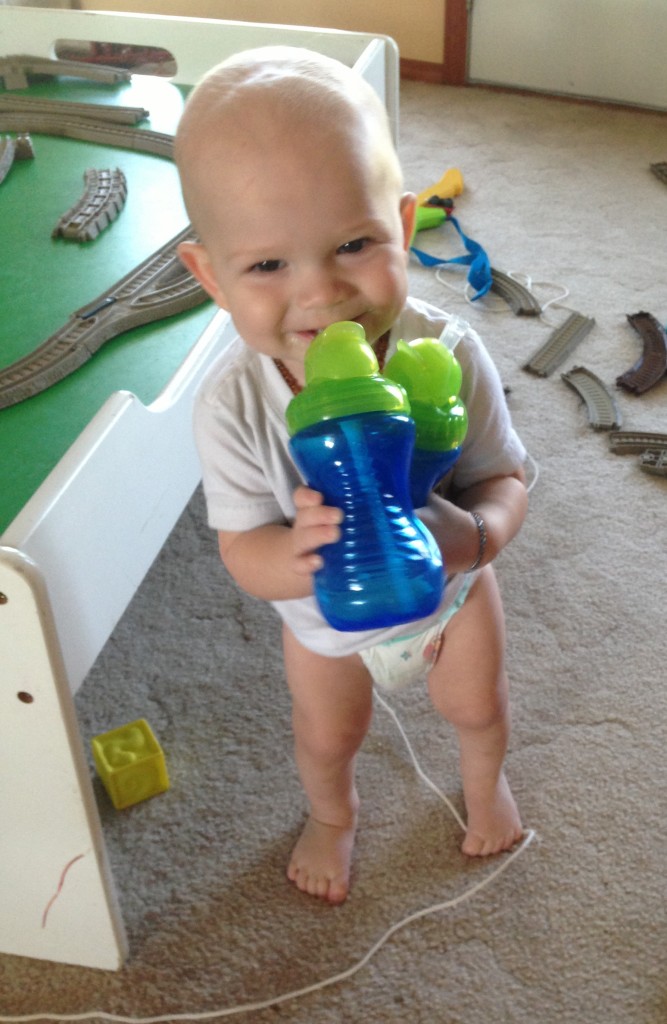
Two-fisted drinker! One sippy of Ali RTF and one of safe water. Too cute!

Two-fisted drinker! One sippy of Ali RTF and one of safe water. Too cute!

If you follow me on Facebook you know that Tuesday night, a mere 5 days after the Splash reaction, we were pretty much forced into a new formula trial. This time, we chose Alimentum RTF. 

We had tentative hope for the Ali, because it is the only formula that has NO corn as part of the ingredients list. It does, however, have dairy, and last summer Zac reacted to Nutramigen – another dairy based hydrolized formula.

So our prayers and hopes were based on one simple sentence: “Please, oh please, let him have outgrown his sensitivity to dairy!”

Last summer he also showed IgE to dairy (scary IgE – epi-pen worthy gigantic welts from the SPT), but at his appointment in  January he showed no IgE reaction to dairy through either SPT or RAST.

We simply crossed our fingers that last summers Nutramigen reaction was IgE and NOT FPIES.

To be on the safe side, we got the Epi-pens out and had them close by the first time we gave him the Ali, anyway.

Tuesday night he had 2 ounces of Ali at dinner. He sucked it down and cried for more! The next day, he had 4 sippy cups of 4 ounces each throughout the day and was just fine.

Fine enough, in fact, that I had to start getting my bags packed for work.

The whole point of this was to find something safe for him to eat while I’m at work, after all, so I packed and watched him with an eagle eye.

He seemed…fine!

Zac enjoys drinking his Ali, and though he did have a few poopy diapers on Wednesday, they were pretty standard “formula poos” and tested negative for blood. 

So, still nervous, yesterday morning we loaded the car with luggage, got Zac in his car seat, and hit the road for the airport. I nursed him along the way, said goodbye at the drop-off zone, and headed in to begin my trek to San Francisco for my first trip in my new base.

I knew that at any point during the day I might get a phone call saying I needed to turn around and head back home because Zac had a reaction.

‘Edgy’ just about covered my mood on Thursday!

By the end of the day, I wound up in San Fran to get the report that Zac was just fine, he had another poopy diaper that was standard formula poo (Army green, sort of thick, really stinky), and had drunk 42 ounces of Ali on TOP of the nursing he’d done before I left. Whew!

It’s still far too soon to call Ali a “safe food”; but at this point it looks like it will either be a safe food eventually, or a slow, chronic build reaction that just might get us through the rest of August for me to work.

There’s a lot riding on this; if Ali proves safe for him, I will be able to easily return to work in February, we can immediately move on to additional food trials, AND Darrel and I can finally, FINALLY get to have a “date night”!  (That last one is just the desperate fantasizing of two parents who haven’t had a moments break in over a year.)

If you wouldn’t mind, keep praying that he can tolerate this formula!

I start work today, and I’m still anxiously waiting for “Zac news”. After hearing how well he did on almost all formula on Thursday, though, I’m starting to relax…a little bit. It helps that Tuesday I also discovered one of his molars finally popped through. Fewer teething symptoms means easier diagnosis for him, and – hopefully – fewer strange things for him to chew up!

We sit here…holding our breath and waiting…

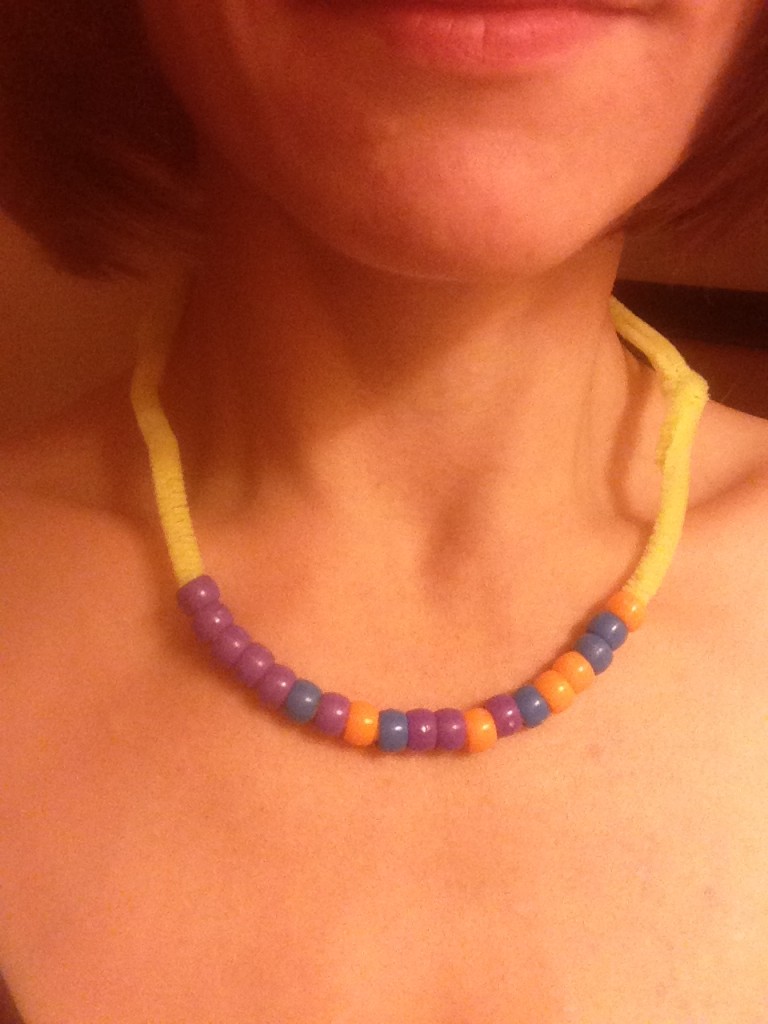
In the meantime, I have to share with you the most gorgeous necklace in the entire world.

The most beautiful necklace in the world.

The most beautiful necklace in the world.

Yup, cheap plastic beads on pipe cleaners. There can’t possibly be anything more precious than a necklace made by a 3 year old for Mommy! I love my boys!

Come back Monday for a quick Zac update AND a promised post: how to clean your oil! THANK YOU FOR YOUR PRAYERS!!!

How to Talk to Your Kids About Food Allergies

I don't want to wreck that smile...

I don’t want to wreck that smile…

Over the last month, Jed has developed a new comprehension of our “food issues”.

One night Darrel was eating a bowl of cereal before bed. Jed, of course, was fascinated and kept trying to get into Darrel’s food.

Since Darrel is the only person in the house that can drink dairy, we cautioned Jed to leave his food alone.

Before we could say anything more than “No, Jed, that’s Daddy’s food”, he said in his cute little boy voice “Daddy milk make Jed tummy hurt!”

We, of course, praised him, saying “That’s right! Daddy has his milk, and you have your milk. Very good, Jed!”

The next week, Jed was eating a popsicle on the porch and sweetly tried to force me to take a bite.

I said “No, Jed, Mommy can’t have that. I made those just for you!”

He pulled the popsicle away and said “Jed popsicle make Mommy sick!”

It was easier to just agree with him (because *I* don’t have any problems with anything that was in his popsicle) so I said “That’s right, Jed. Your popsicle isn’t good for Mommy. But they’re okay for you! I make them just for you so you can have a yummy treat!”

He smiled, took a big bite and said “Yummy Delicious!” before scampering off to his next distraction.

I’ll admit, as pleased as I am to finally be reaching the point where Jed can start to understand that some foods are okay and some foods are not, my heart broke a little each time. 

It reminds me of how cautious we’ll have to be, and brings up the difficult conversations we’ll have to have with Jed over the years as we explain things to him.

At this point, we will keep things on his level. That food is “not good for Mommy” or “will make Jed’s tummy hurt”. In the future, we’ll have to talk more about the serious side of food allergies…and I don’t know how we’re going to have that conversation.

How do you convince a child who has been so carefully protected that a food will make him terribly, terribly sick – and possibly even kill him? 

More importantly, how do you do it in a way that doesn’t terrify him?

He’ll hopefully have no memory of any IgE reactions; so how can we convey the seriousness of it all without scaring the poor child half to death?

I don’t know the answer to that, so I’m opening up the forum to my lovely readers:

Those of you with kids who have food allergies, how do you explain it in a non-threatening way? 

(Honestly, I may not have too large a problem with this. When I had to take the car in for a tire repair, I tried to explain what was going to happen to Jed. He wasn’t getting it. Finally I said “We’re taking the car to a car doctor.” He gasped and said “Oh! Car doctor make car better!”

Isn’t it sad that at barely 3 years old he understands doctors better than he understands automobiles?

Still, that may help me along the way, don’t you think?)

So please chime in: how do you talk to your kids about food allergies?

How to Clean Your Washing Machine

Looks brand new!

Looks brand new!

Okay, this may seem a little off topic, but it really isn’t.

So, you know these food allergy kids are super-sensitive, and most FPIES Mama’s have to change their laundry detergent because of reactions? (Along with their body soap, shampoo, cleaning products, perfumes, makeup…you get the idea!)

We haven’t had to do that, because Zac has been just fine with what we’ve been using. A few years ago, I heard about homemade laundry soap and jumped on that bandwagon. I was on a mission to reduce the amount of chemicals my son was exposed to (this was back when Jed was a baby).

I’ve used my homemade laundry soap for 3 years now, and it works just fine! I keep some Tide around for especially gross things that need the detergent, but I think I’ve used it twice in three years. Most things just don’t need detergent.

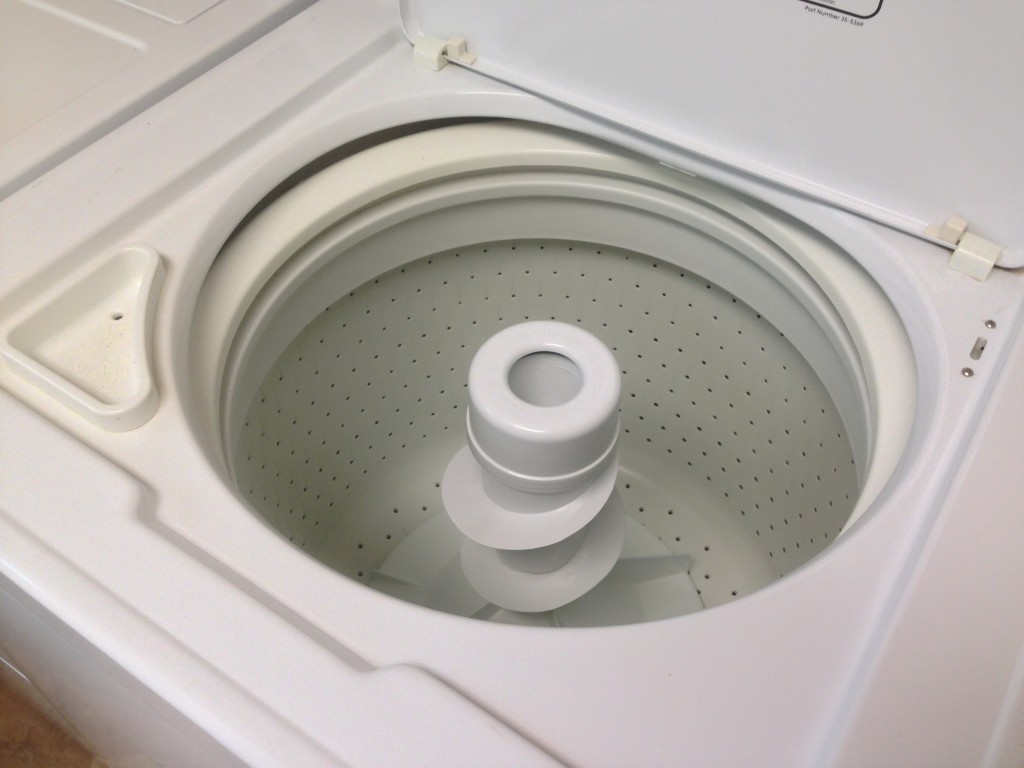
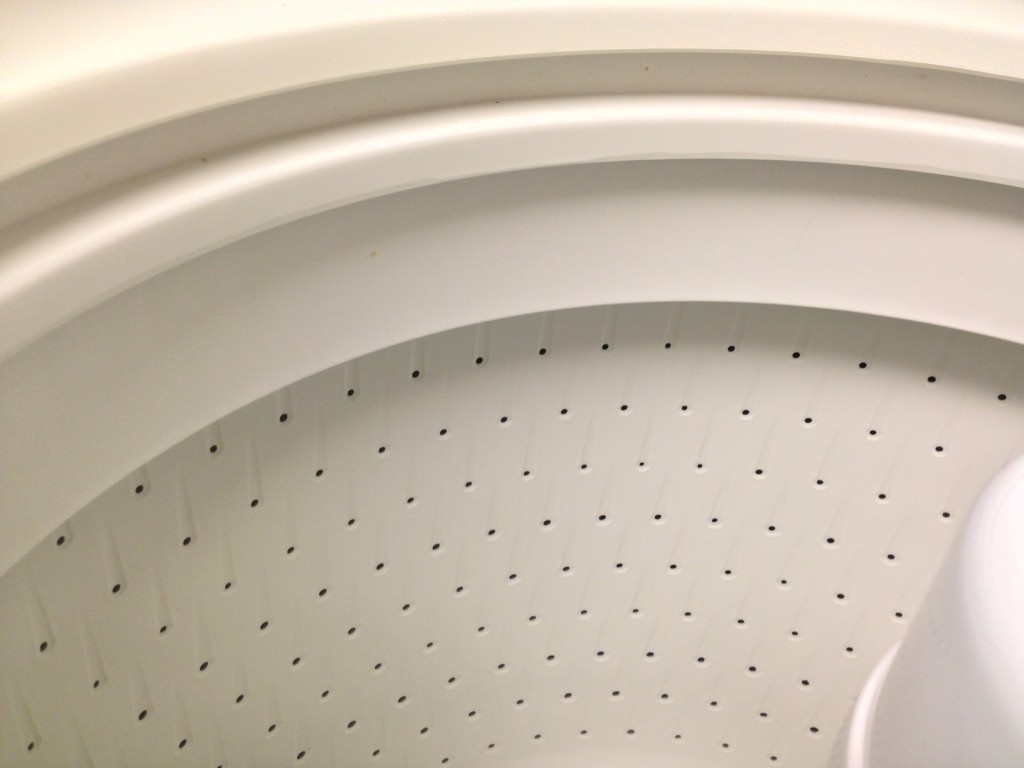
However, one thing I noticed with using the homemade laundry soap is a disturbing “ring” around the agitator of my washing machine. That lovely grey ring also decided to eventually show up just about the height of the water level on the inside of the barrel, too.

It was gross, y’all.

Maybe the homemade laundry soap isn’t the culprit; maybe it was there before with nasty, chemical detergents, and I just didn’t notice. (Sorry to say, but I’m a lot more clean – and paranoid – since the kids came along!)

Either way, my washing machine was funky and I didn’t like it, but I didn’t really know what to do. I’d tried using dirty kitchen rags when I was filling the machine to scrub the ickies away, but it never made a dent.

I’d resigned myself to either accepting the funk, or finding the time to get in there with some heavy duty spray cleaners to scrub the funk away. Fortunately, I was saved from either fate by Pinterest!

Why it never occurred to me to Google this problem, I’ll never know (except, of course, for the fact that I’m up to my eyeballs in problems far greater than a little washing machine grime), but I found an awesome pin on Pinterest, read Jillee’s post, and decided to give it a shot.

It worked!

It’s so simple, I can’t believe how easy it was, and my washing machine looks brand spanking new!

I didn’t take pictures of the before or during, because, well, ew, who wants to have a photo of their gross washing machine and also, I didn’t originally think “I need to blog this!” So you’ll have to use your imagination for how nasty it was to start.

Jillee’s post has great pictures from beginning to end, though, so feel free to just assume my machine looked about like hers did to start. (She also has WAY more detailed instructions and information – you should go read what she wrote! I just wanted to show you my attempts at it and share the highlights of what to do.)

Here’s what you’ll do:

Turn your machine on to the hottest water cycle, and the largest load it allows. Let the machine fill with hot water, then add 1 quart of bleach.

Let it agitate for about a minute, then stop the agitation and close the lid. Let it sit for one hour. Then turn the machine on again and let it complete the cycle.

When I came back after the hour was up, I was disappointed – it didn’t look like it had made a dent in the funk! Since I was so impatient that I didn’t want to wait for Step 2, I grabbed an unused, brand new toilet cleaner brush and gave it a quick scrub to see if that would help. Lo and behold, the grime came RIGHT OFF! It took about 3 minutes of gentle scrubbing and I saw bright white begin peeking it’s way through. Sweet!

So I started the machine up and let it finish, then moved on to Step 2. Repeat everything from Step 1, except this time pour in 1 quart of vinegar instead of bleach.

I grabbed a washcloth, dipped it in the vinegar water, and used that to wipe down all the surfaces, nooks and crannies in the washing machine.

The end result? A machine that looks like new – NO grey funky ring!

TOO EASY!

Gorgeous!

Gorgeous!

The "before" was nasty, I promise!

The “before” was nasty, I promise!

I read that you should do this twice a year, but with three humans of the male variety soiling my laundry (and making God-awful messes to clean up) I think I’d better make this a quarterly project.

Have you ever cleaned your washing machine? What technique did you use?
Another One Bites The Dust

splash

Last Thursday evening, Darrel and I decided to begin our next formula trial. We’d decided to go ahead and do a gradual trial before I returned to my last two weeks at work before the leave of absence, and Zac was at baseline on Wednesday. So, Thursday evening we gave him a sippy cup of Splash.

You’re confused, right? Last time I wrote about our plan, I said we were going to trial Neocate Junior. So what’s the deal with Splash?

I didn’t get a chance to mention the change in plans, but after we’d discussed Neocate Junior for a bit, the other FPIES Mama’s chimed in with suggestions. They mentioned that Nutricia also made a product called Splash that resembles a juice box drink; it also has corn, but in the form of maltodextrin instead of corn syrup solids.

Since I was having gut cramps at the idea of trialing Neocate Junior due to Zac’s reactions to it’s Infant product last year, I immediately got excited. When Darrel got excited, too, well, we knew we had to go with the Splash.

I had a gut feeling Neocate Junior would end up in a reaction, but I had a really hopeful, optimistic attitude about the Splash. For the first time, I had real hope that we would finally find a safe formula for him.

So, Thursday night and the sippy cup. We poured the whole box in with the goal of letting him drink as much of it as he wanted. He drank about an ounce and a half before he put the cup down and didn’t want more, and we called that good enough for a first night.

He seemed to like it, and acted normally for the rest of the evening.

At bedtime, it all started to go downhill.

Now, over the last week Zac has been behaving differently at bedtime. Instead of nursing and falling asleep right away, he’ll nurse for a minute, pop off, crawl away crying, and then when he hears the nursing bra snap open for the other side he turns around, smiles, and crawls back.

That’s teething; it hurts to nurse, so he doesn’t nurse for long and pops off, but he’s still hungry so he keeps coming back for more.

Well, he did that Thursday night, except after crawling away crying, he would turn around and scream at me in pain, arch his back with force, throw himself around on the bed, fight being brought back to me, and generally was acting as if he was in more pain than he knew what to do with.

The only way I could get him to nurse was to sit bolt upright with him sitting on my lap, facing me. After about 5 minutes of that, he was finally tired enough to be laid down and fall asleep.

He then proceeded to wake up EIGHT TIMES throughout the night, and each time was a repeat performance of the shenanigans at bedtime. Then he woke up for the day at 6:45 a.m. – much earlier than his usual wake up time.

Still, in the morning, he acted perfectly normal! Happy, smiling, easy-going Zac. So I started to think it was just a combination of teething and the sometimes rough transition to elemental formulas, and that we were still in the land of “This could be okay!”

Then he had a poopy diaper. It wasn’t bad, actually; a fair amount of mucous, but otherwise typical of an elemental formula diaper. I tested it for blood and it was negative.

A couple hours later, another poopy diaper. It was exactly like the first one, so we gave him a sippy cup with Splash (grape flavored, by the way) and he chugged down 6 full ounces!

I. Was. THRILLED! It really seemed like this trial was going well.

And then…the third poopy diaper.

Mind you, this is a child who, at baseline, will poop once every 3-6 days. So 3 poopy diapers in one day is not normal for his body. We decided it was because of the formula; new foods mean new poops, right?

But with the third poopy diaper, he screamed as soon as he pooped. He fought me on the changing table, and he whimpered and cried when I wiped him. He also had the “red ring of doom”, aka an “allergy ring” around his anus. (This is a common reaction symptom; the skin around the anus turns bright red in a circle shape.)

So I tested this diaper for blood, and it came back positive.

SPLAT

(That’s the sound of the world when it stops turning for a moment.) 

Neocate Splash is unsafe for Zac. 

At this point, our hope is that he will return to baseline by the end of this week so we can trial another formula on him. I have to fly back to work (at a new base, with a new supervisor who does not know me – ack!) next Thursday, work Friday through Monday and return home Tuesday. Then I’m scheduled to fly back the following Saturday for 6 days of work that begin on Sunday.

I have a horrible feeling I won’t be working those days.

Our tentative plan is to feed Zac the remaining breast milk until we run out, maybe leaving enough for a couple bottles still in the freezer, and start the formula trial on Friday or – hopefully – Saturday next week.

While I’m gone.

In another state.

And will need HOURS to get home if I’m needed.

I think I’m going to vomit. 

If he reacts to THAT formula, then we’ll have to get him to baseline and repeat the process for the following week I go to work. Or come up with a new plan.

Either way, Darrel and I have decided: we’ll be trying two new formulas, and if those don’t work, we’re giving up the formula search. We will trial the ingredients necessary to make a homemade hemp milk formula that is macro-nutritionally complete but not micro-nutritionally complete, just to have SOMETHING to give him on occasion, but we will progress to food trials beyond that.

And come February when I need to return to work again? If he doesn’t have enough safe foods to survive without primarily nursing (which is likely, given his track record), I will have to take some kind of extended leaves of absence from work and our finances really will bottom out.

I know I’ve mentioned financial strain in our world before, but we’ve been able to hang on to the edge of the financial cliff of doom with our fingertips by shuffling money, scraping by, compromising and making odd choices. This 5 month leave I’m facing is going to put us in a position that will, hands down, be the worst financial situation I’ve been in my entire adult life. That’s counting my first year as a Flight Attendant, when my take home pay per month was $963!

So if I can’t go back to work in February, and something major and miraculous hasn’t happened to change our situation before then, well…we’re screwed. Royally. Completely and totally.

Oh, and not to put all the focus on Zac, here, but Jed also had a food reaction Friday night!

Yeah, not gonna happen.

Yeah, not gonna happen.

With our financial situation looming, I’m trying to find as many ways to “eat cheaply” as I can, as our grocery budget is one area where I could, theoretically, cut some more corners. (Eating allergy free is VERY expensive!)

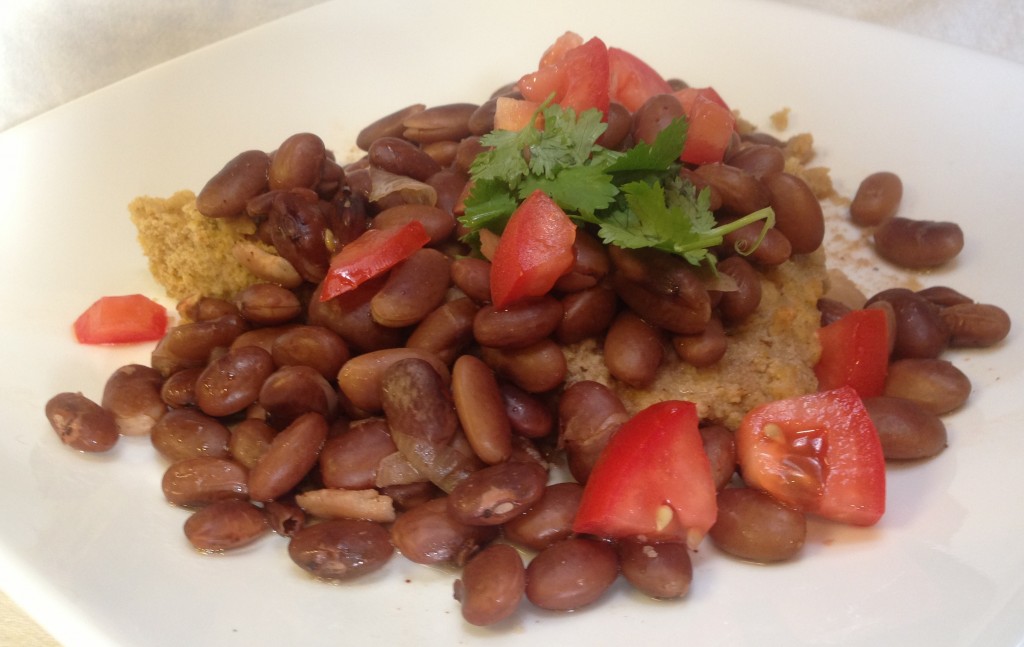
So I made a big ol’ pot of pinto beans to trial. Pinto beans – most beans, actually – are on the “probably not gonna work” list for Fructose Malabsorption. But Jed has surprised us with some of the things he can tolerate, and before all this started, pinto beans and cornbread was one of his favorite meals!

So he ate a couple small bowls of pinto beans for dinner, and within two hours my sweet little boy had turned into devil child. Belligerent, argumentative, uncooperative, tantrum-throwing, fit-pitching hyperactive little hellion!

Well, there goes my idea of $1 to feed Jed and Darrel for about 4 meals. 

Do you know what Jed LOVES to eat and will eat with NO hesitation or physical challenges? Freaking SALMON, CRAB, and SHRIMP! Only the most expensive stinking things in the whole grocery store!

But his little body can’t handle pinto beans at $1 for a pound.

And that’s just the way it goes for us. (Please join me in rolling my eyes, shaking my head, and sighing right now. Thanks; misery loves company!)

I’m not nearly as depressed by this development as I was by the lamb/quinoa reaction two weeks ago. I don’t know why, but I’m much more ‘sigh, matter of fact, stoic’ about this one.

Still, it’s a rough blow for our family – both reactions, actually – and things are just not good right now.

So, I need some cheering up! Tell me something good that’s happened in your life lately! Share a joke! (Seriously, y’all, I need something to laugh at and be happy about, so help a Mama out!)

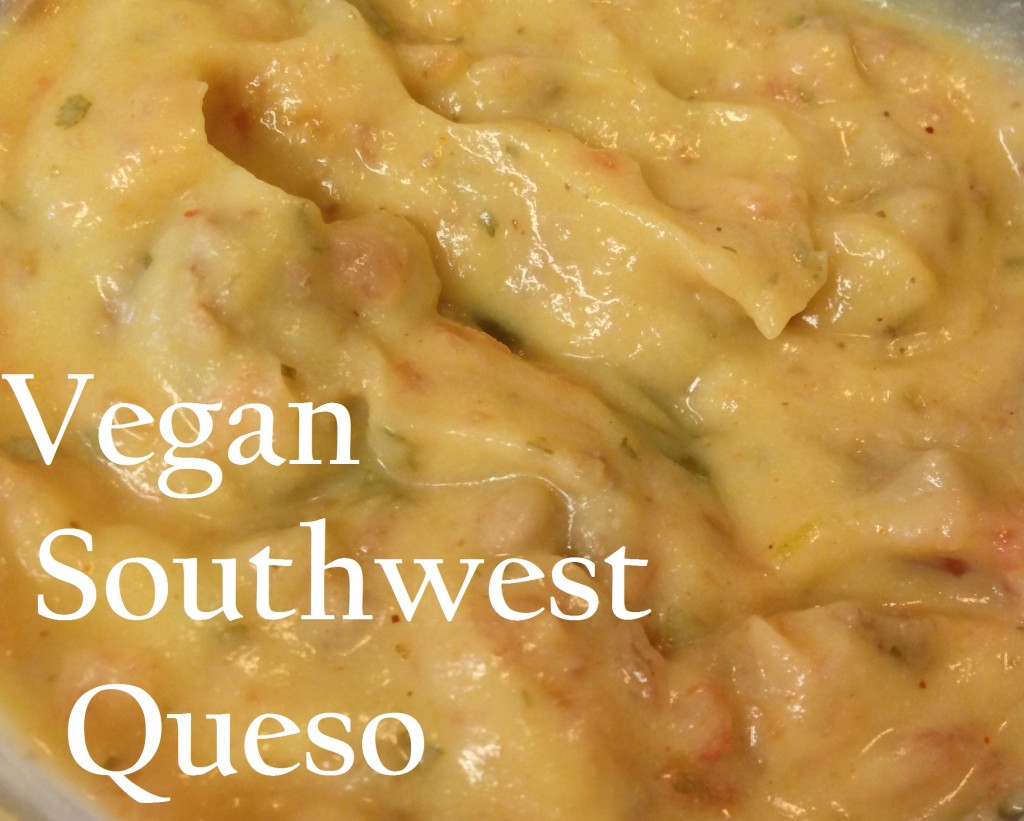
Vegan Southwest Queso

IMG_7999 - Copy

Cauliflower, oh cauliflower…why did it take me so long to fall in love with you?

Sometimes in the kitchen, you discover something cool that is very useful – for one  recipe.

Some kitchen discoveries, however, continue to excite you with the many ways they can be reinvented.

Such is the case for the cauliflower cream sauce I first used as the base for my “Vegan” Creamy Chicken Soup. I reinvented it to become a delicious, dairy-free Mac ‘n Cheese recipe for Jed, and now I turned it into a Vegan Southwest Queso for chips!

In fact, I first made it this time as a “cheese” sauce to pour over broccoli for dinner one night, and used the leftovers to make the cheese dip. Talk about a versatile recipe!

I didn’t take pictures as I went because I honestly was just re-making something I’ve already shared with you. So I’m going to cheat and re-use the photos from the Vegan Man ‘n Cheese post.

I made it almost exactly the same; however, we’ve since learned that Jed actually does NOT tolerate coconut milk, so I will share the small adjustment I made to the recipe for the fructose malabsorbative folks. Turns out, coconut milk is not necessary for this to turn out creamy and delicious! Instead of adding 1/2 c. of coconut milk, I just added water. Worked like a charm.

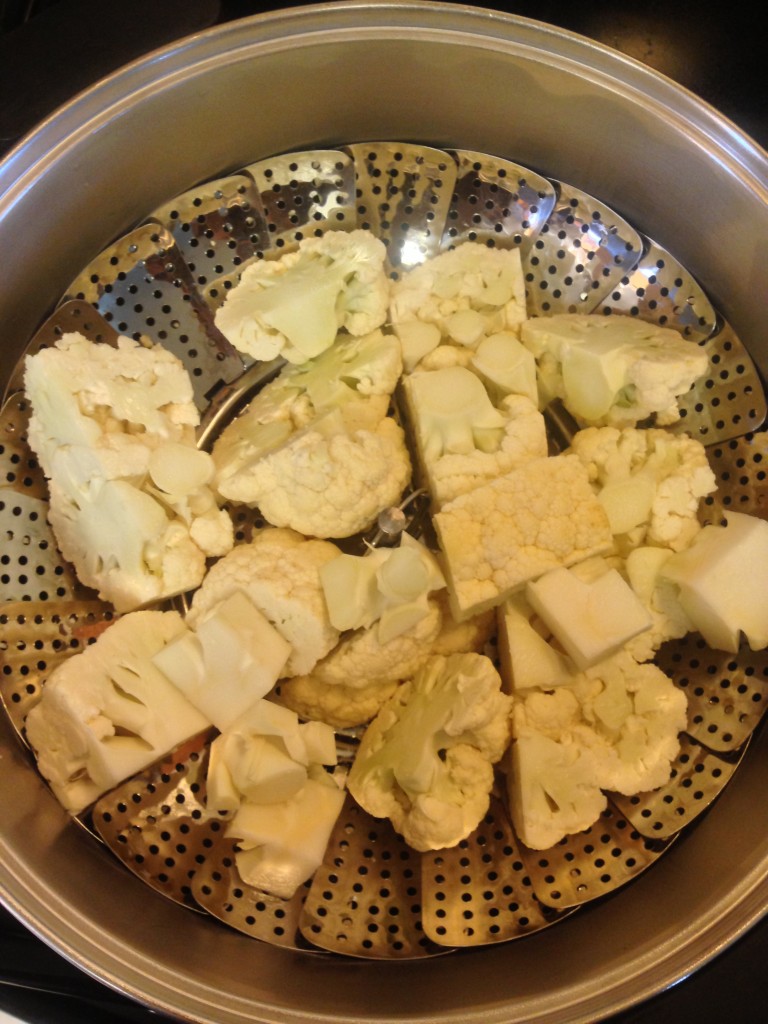
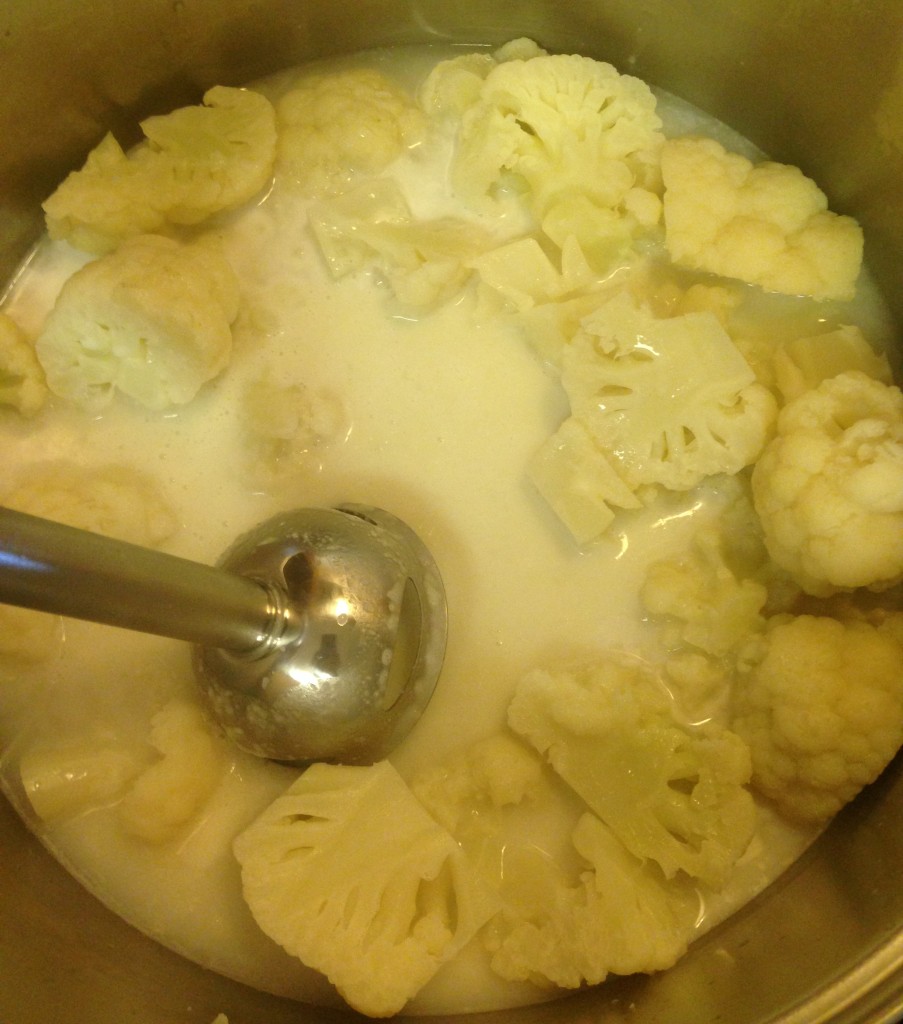
For this, since it was originally supposed to be a sauce for broccoli, I just started with half a head of cauliflower. I steamed it on the stove…

Steaming Cauliflower

Steaming Cauliflower

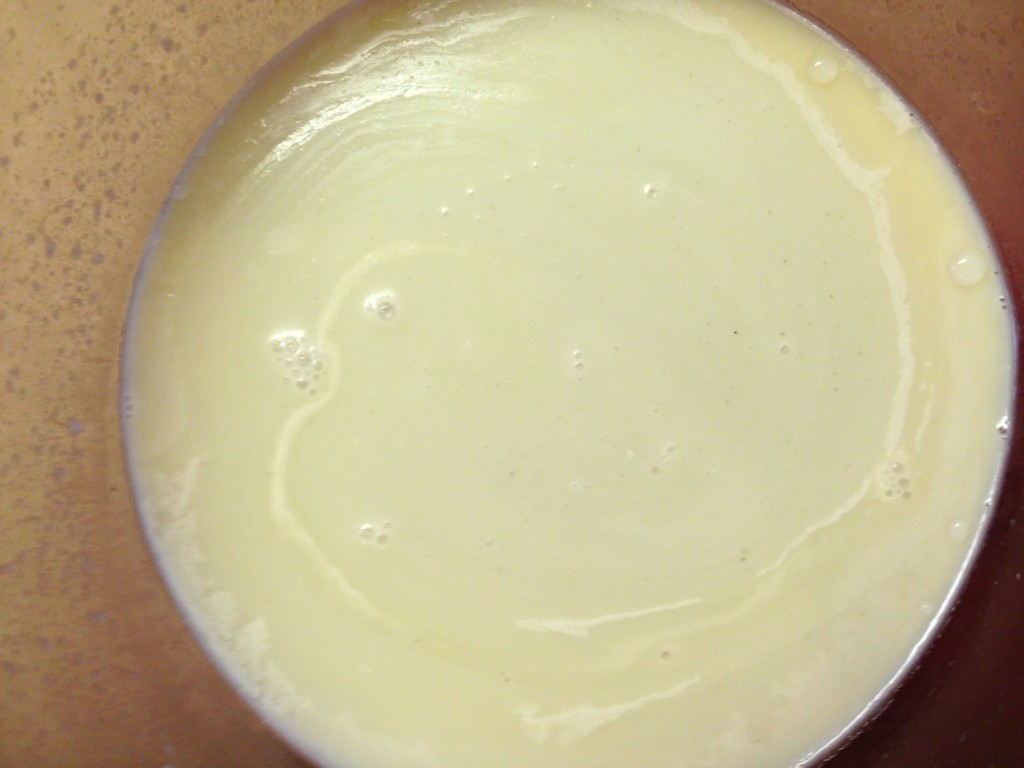
And dumped it back into the pan with the water and started pureeing!

Omit the coconut milk, and this is just what it looked like!

Omit the coconut milk, and this is just what it looked like!

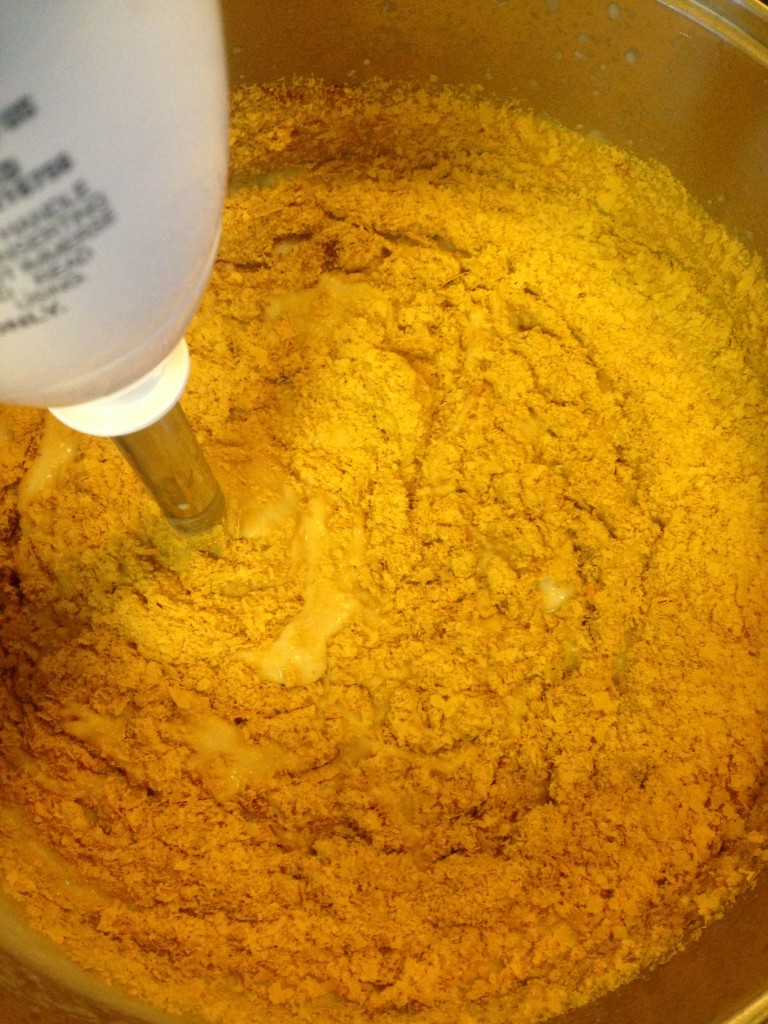
Then I added the same spices and pureed those in as well.

Mixing it in.

Mixing it in.

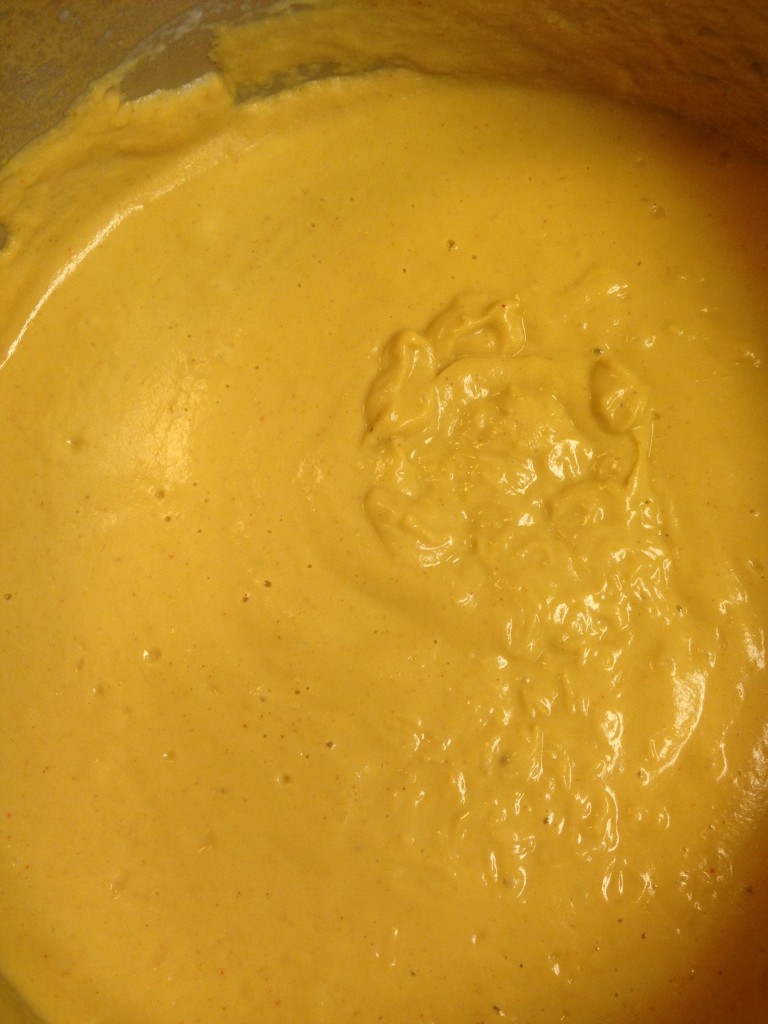
And there’s your basic cheese sauce, appropriate for Mac ‘n Cheese or as a topping on broccoli.

And a "cheese" sauce!

And a “cheese” sauce!

It worked great as a cheese sauce for broccoli, but we had plenty of leftover sauce, and no leftover broccoli! So the next day I decided to see how it worked as a cheese dip.

At first, all I did was heat it up. Darrel said it tasted – and I quote – “Fine.”

Well, come on, folks – I can do better than “Fine”!

I made some of my Fructose-Friendly Fresh Salsa last week and still had just a little left in the jar. So I tossed about 3 heaping T. of salsa into the cheese, stirred it up, and suddenly this “Fine” dip went to “Wow! That’s really good!”

Oh, yeah, baby. That’s what Mama likes to hear!

After some coaxing (he’s in a picky toddler stage) Jed started eating it. He didn’t care whether he dipped corn chips or potato chips into it – he just liked the dip! “Yummy!” He said.

So that’s FOUR uses for this cauliflower concoction, and I couldn’t be more thrilled with a recipe that fills so many voids in my dairy, soy, freaking-everything-free kitchen!

Vegan Southwest Queso
 
Prep time
Cook time
Total time
 
This vegan queso dip will surprise and delight...it tastes amazing!
Author:
Recipe type: appetizer, dip
Cuisine: Tex-Mex
Serves: 4 cups
Ingredients
  • ½ head of cauliflower
  • ¼ onion (optional)
  • ¾ to 1 c. water
  • ½ to 1 c. nutritional yeast
  • 1 tsp. mustard powder
  • 1 tsp. paprika
  • 2-3 tsp. sea salt
  • 3 heaping T. of salsa
Instructions
  1. Chop the cauliflower and onion and place in a steamer basket.
  2. Add water and the steamer basket to a pot on the stove; steam until fork tender.
  3. Dump the steamed veggies into the pot of water.
  4. Using an immersion blender, puree until smooth. You may need to add more water to achieve the consistency you want.
  5. Add your seasonings (except the salsa) and blend with the immersion blender.
  6. Add the salsa and mix together with a spoon.
  7. Pour into a bowl and dig in with some chips!

Do you have a recipe that is incredibly versatile? Share it, please! 

__________

This post shared with:

 realfoodallergyfree 

Frugal Ways, Sustainable Days, Thank Your Body Thursdays, Healing With Food Fridays and Real Food Wednesdays.

Cradle Rocking Mama is One…and One YEAR on a TED!!!

Actually, I’m not entirely sure that today is the actual  one year anniversary of Cradle Rocking Mama. As I said in the beginning, I post-dated the first many entries to correspond to the day they actually happened. Sometime in the first two weeks of August WAS the day I launched this blog, though, so WOW! I’ve been sharing our story for a whole year now!

When all of this started last year, I already had a blog; a small, password-protected blog to share stories about Jed with my out-of-town relatives and friends. I would have continued to write that blog exclusively with the addition of Zac to our lives, but FPIES changed that plan.

With FPIES, I quickly realized that other Mama’s were the reigning experts on my sons’ condition, and learned more from reading fellow FPIES Mama Blogs than I had from any doctor we had encountered thus far.

And I knew I couldn’t keep our story to ourselves.

Somewhere in the world there was a mother, desperately Googling bizarre symptoms in the hopes that she could finally find an honest answer for her child’s constant sickness; if finding something I wrote could help her wade out of the murk and into the light, well, then, I had to WRITE.

I’m so glad I made that decision! So far, I have received several messages from mothers who did, in fact, help diagnose their children via something I wrote on this blog. I’ve also received messages from people who suffer from different food-related illnesses who tell me I’ve given them a step in the right direction due to a recipe they found or from sheer inspiration – “If she can do it, so can I!”

Y’all, that makes my whole body warm and fuzzy to get those messages. It makes my WEEK when I hear from someone I’ve managed to help through this blog. (So don’t hold back if that applies to you – I’d love to hear about it!)

Beyond that, though, I’ve gotten an unintended benefit from Cradle Rocking Mama that I never saw coming.

Writing about our story this way, well, I would have done it anyway on my old private blog. But having readers, people who don’t actually know me and my family in real life, pushed me beyond simply diary-style documentation (though there is plenty of that, still!).

It made me want to learn more. It made me decide to document the recipes I created. It made me want to know more about our food supply, about healthy eating, about how food works in our bodies. It made me want to provide something useful for YOU, beyond just a narrative of our journey.

Basically, it made me want to “not suck” when you read my blog! 

In trying to “not suck”, I have gained knowledge I never would have gained. Y’all have been an amazing motivation to me this year, and I can’t thank you enough for that. 

More than any of it, though, this blog has created a small community of people that truly know and understand what my family is going through. You’ve become a source of comfort, humor, wisdom, and encouragement through all our trials.

Some days, you’re all that keeps me going. When I’ve wanted to bury my head under the covers and not emerge for a week, you’ve been there reminding me that it will get better. When I’ve had good news about some little thing in my boys lives, you’ve been there understanding why something so little could be such a big deal.

You’ve been there through it all, and I am blessed by you and grateful for you. So today, I want to celebrate this tiny little milestone in my life. One year ago I started writing this story…and now you have become a part of it.

Thank you.

__________

Today is also another actual milestone: one year ago on this very day I started my Total Elimination Diet for Zac

One year of eating nothing but grass-finished beef, carrots, potatos, onion, garlic, olive oil, sea salt, black pepper, tea, and stevia.

Yowza.

August 8th of last year, I honestly believed that by now I would be eating more foods. It never entered my mind as a possibility that at 14 months old, Zac would still be exclusively breast fed. Darrel and I both were confident that by this age he would have at least a small list of safe foods.

Because of that confidence, I never investigated vitamins or supplements for my own health. We’d planned to introduce “powerhouse” foods for Zac to begin with; foods that would certainly add to my own nutrition to make my diet complete.

As time passed, and we realized how sensitive a reactor Zac actually is, I hesitated to try any vitamins or supplements because every one I looked at had corn as one of the ingredients. I was – and am – too scared to mess with what is working to risk trialing a vitamin for me, when we so desperately need a solid food for Zac.

So I’m sure my body has been slowly cannibalizing itself of vitamins and minerals this year to provide what Zac needs from my breast milk, and I’m sure that in my old age, I will pay heavily for this TED. (Osteoporosis, anyone?)

Zac and Jed, August 2012

Zac and Jed, August 2012

Today, though, one full year into it and knowing what I know now, I asked myself the question: Was it worth it?

Was it worth it to spend a year on such a diet when we’re still not really any further along than we started? Was it worth it to wreck my own health this way?

My honest answer:

YES!

A resounding YES, as a matter of fact!

Jed and Zac a couple weeks ago. They're SO worth it!!

Jed and Zac a couple weeks ago. They’re SO worth it!!

We may not have any safe foods for Zac, he may have had nearly constant reactions to random junk throughout the year, and our family may face bankruptcy from my current (and any future) leave of absence from work, but one year ago, Zac reacted to two elemental formulas and I had no choice but to begin this diet.

By knowing without a shadow of a doubt that his diet – my breast milk – was safe for him, we’ve been able to discern what he reacts to much more easily. We’ve been able to discover his terrible sensitivity to corn, and were easily able to spot his reactions to oat, acetaminophen, ibuprofen, GutPro, not to mention tree buds!

Keeping my diet safe removed one GIGANTIC variable out of this whole mess, and that diagnostic tool was worth every bit of energy expended and health wrecking I went through. 

So, I’ll keep on TED-ing for Zac, and hopefully August 8, 2014 will see me – and Zac – eating a much larger menu.

Let’s also not forget that it was going on this elimination diet that also helped us discover a major health issue for Jed. I don’t know how long it would have taken us to learn he has Fructose Malabsorption without spending August of last year unwittingly bombarding his system with fructose!

So for Zac, and for Jed’s health, I’m grateful for the TED.

Oh, and the 63 pound weight loss is a nice little side benefit to this TED, too, come to think of it. My vitamins and minerals may be deficient, but the weight loss is a nice health BOOST for me; as time goes on and I can eat more variety, the vitamins and minerals will work themselves out. Now that I know how my body functions, I have every confidence I can keep the weight off while that happens. I never would have figured out how my body reacts to foods (by making me fat) if I hadn’t done the TED.

So really, everyone in my family has benefited from the TED! (For his part, Darrel eats healthier and loves having a skinny wife!)

Besides, it’s not really that rough on me, believe it or not! To this day I still LOVE pot roast, hamburgers, french fries, carrot chips, and steak. (After one year of cooking and eating nothing but those things, I’m also a by-God expert on how to make them perfectly, too!)

__________

So here’s to One Year of Cradle Rocking Mama, and One Year of my TED!

(Go have a cocktail and some mozzarella sticks for me, okay?)

Cheers!

Dear One Year Molars

Photo courtesy of rajcreationzs at http://freedigitalphotos,net

Photo courtesy of rajcreationzs at http://freedigitalphotos,net

Dear One Year Molars,

Sigh…I’m very disappointed in you. You’ve been hanging around in Zac’s mouth for over a month now without popping through. You’re causing him a great deal of pain.

Which means, of course, a month of disturbed sleep for MAMA, too, and many days of me having to become a human pacifier to make things tolerable for Zac.

Mama doesn’t have time for that, little Molars. 

And Mama doesn’t like seeing her little boy in pain.

Now, you are very important little teeth, and I don’t want you to think I’m mad at you. You’re big, and flat, and I know popping through the gums is much more difficult for you than it is for other, pointier teeth.

But you know, I think you could try harder.

The little boy you belong to is such a sweet, happy little boy; I know you don’t like the idea of making him miserable. You are, though. He’s just miserable.

Lots of Mama’s talk about how hard it is for their little boys and girls to teethe their one year molars, because it is well known that your compatriots cause discomfort around the world in the teething process.

But you, dear one year molars that belong to my son? You are part of a very special little boy.

Zac has FPIES, and many of the symptoms that YOU produce mimic FPIES reaction symptoms…and I’m very tired of trying to sort out what pain symptoms are FPIES or Molars.

See, that whole sleep disturbance thing, for instance, is a common FPIES symptom when a child is reacting. But it is ALSO a common symptom when a child is trying to get their one year molars. So the fact that you’re taking so long to pop through means I spend more time trying to figure it out: is he waking up so much because he’s teething, or because he’s reacting?

Let’s not forget the comfort nursing thing, either. Lots of babies comfort nurse when they’re teething, but FPIES babies will often comfort nurse when they’re reacting. So again, not only do I have to figure out what is causing Zac to comfort nurse, but I have to do it while being a Human Pacifier! I’d really like to be able to close my shirt some during the day, dear molars. (Not to mention be able to pump some safe milk for him, which has proven impossible over the last two weeks thanks to being constantly drained by his comfort nursing!)

The other very distressing thing about you is that you are causing Zac a LOT of pain and discomfort, and I don’t have anything I can do to alleviate his pain! Because of FPIES, he reacts to acetaminophen and ibuprofen, and I can’t risk him reacting to any other pain medicines at this moment in time because, 1. you’re already confusing his symptoms and 2. we really have GOT to find him a safe FOOD to eat.

We don’t have time to waste finding a safe pain reliever for him right now, not when we are in desperate search for a safe FOOD; he has nothing else he can eat right now and staying alive is far more important than being pain free.

Sadly, the pain you are causing is too much for his amber necklace to offset, and he is just as stubborn as you are and refuses all frozen teether devices to chew.

So I’m getting very disappointed in you, little molars, because you’re confusing the issues in our house and causing such pain in my son, and it would all go away if you would just POP THROUGH THE GUMS ALREADY!!!

Now, maybe you’re shy. I don’t know what to tell you about that. Rest assured, you are very wanted and loved – why, you’ll be the teeth that help my little boy eat food (when one day he can  eat food)!

Maybe you just don’t feel like you’re necessary, since Zac doesn’t yet eat food. I promise you, you are very necessary! The faster you get here, the faster we can stop having such confusing symptoms and can start giving him food for you to grind up.

So you see? You are wanted and necessary, and we want you here very much.

Do you think you could hustle a bit, little molars? Break on through those gums and make your grand appearance! We all really, really want you here!

Lots of love,
A Very Tired and Stressed-out Mama

Carrot Popsicles – Mama Gets A Treat!

IMG_8012 - Copy

I’ve spent the last year devoted to making delicious, safe and nutritious food for my kiddos. Feeding myself is sort of an afterthought, even while on the TED. Most of my efforts on that front are simply making sure I get enough calories and that the food isn’t disgusting.

Okay, maybe that’s a bit of an exaggeration; after all, I LOVE pot roast and hamburgers, even after a year of eating almost nothing but those things!

But really, once I had “basic sustenance” covered for me, all my efforts have gone to making treats and delicious goodies for Jed – and for a short time, Zac.

So I had a total brain shock a couple weeks ago when I was browsing the other recipes shared on Gluten Free Fridays and saw a recipe for Carrot Cakesicles.

Seriously, it felt like a head slap! “Wait – I can eat carrots! You  mean I can turn them into a DESSERT??”

So I read the recipe with glee and gusto, and quickly realized that on my TED, I could not make them the way the original recipe creator did. However, it certainly got me thinking about how I could make myself a treat out of carrots!

Last week I finally got the chance to give it a try.

Here’s what I did:

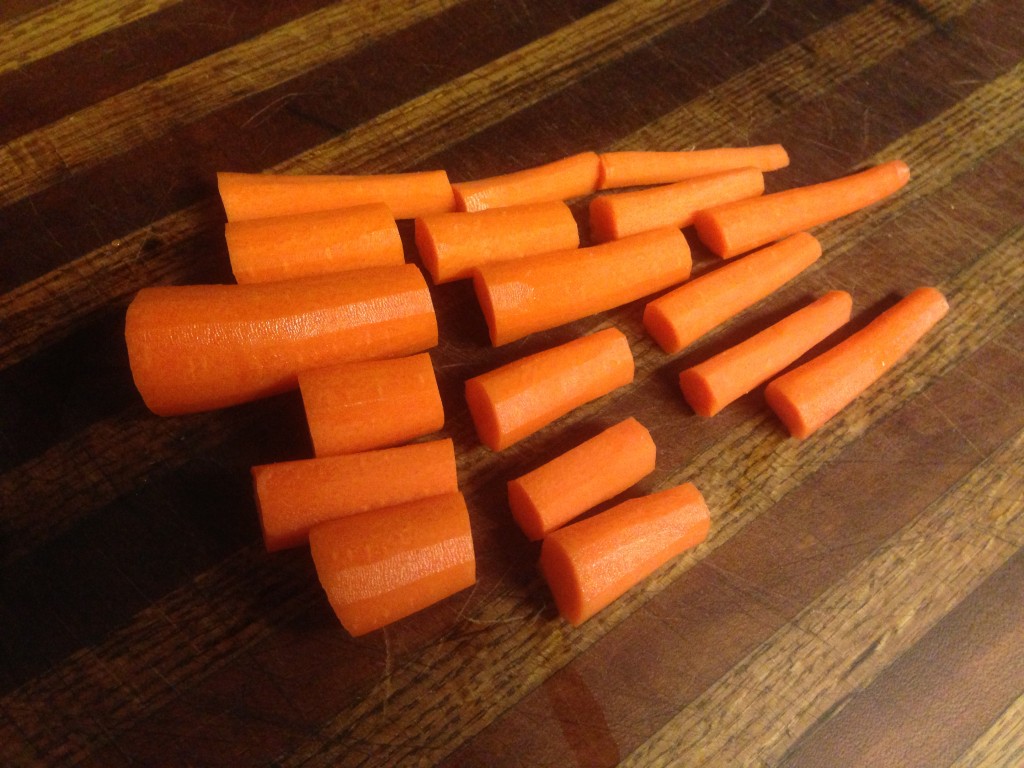
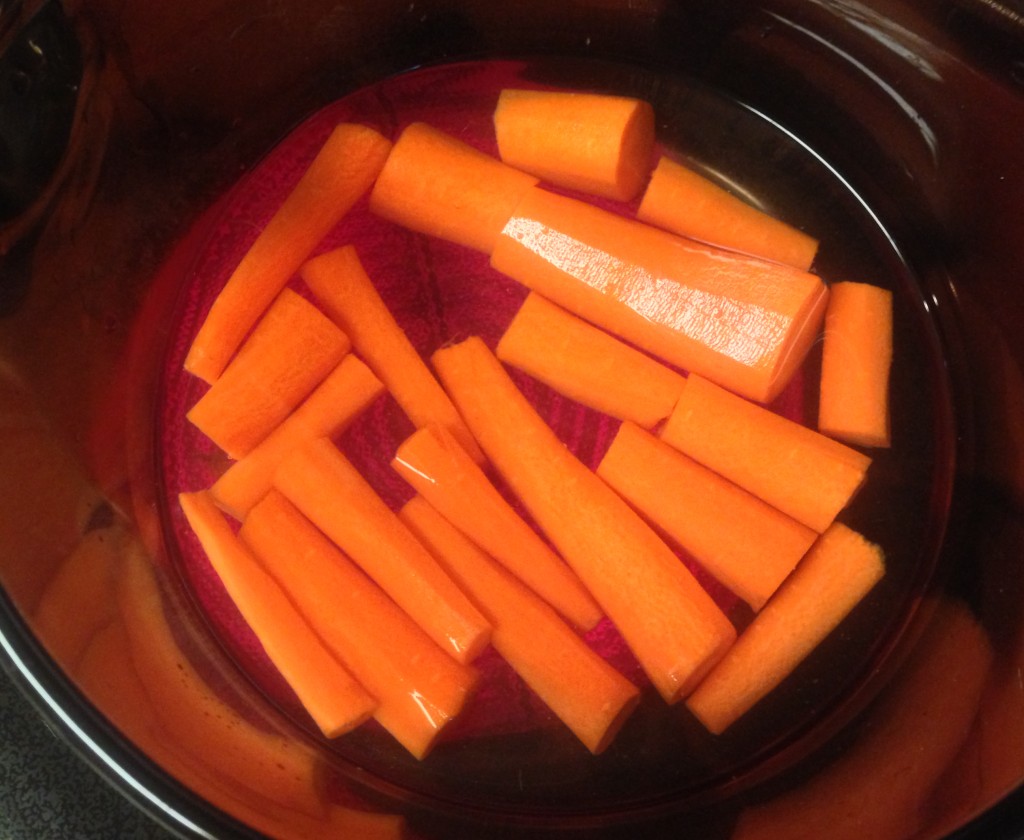
I didn’t have large carrots, so I peeled 7 smaller carrots and chopped the ends off. Then I chopped them into large chunks and put them in a pot, covered in water.

Chopped and ready...

Chopped and ready…

Then I cooked them until they were fork tender.

Cooking...

Cooking…

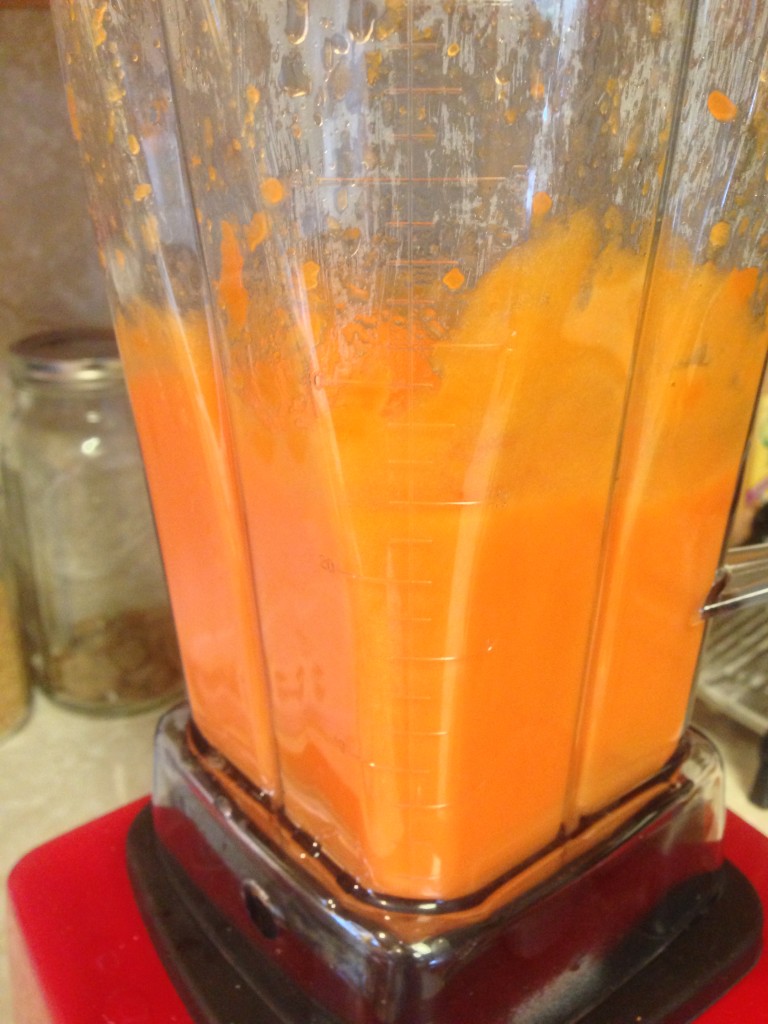
Once they were soft enough, I threw the carrots and the water into my blender. I added a heaping scoop of stevia* and let ‘er rip!

Blending...

Blending…

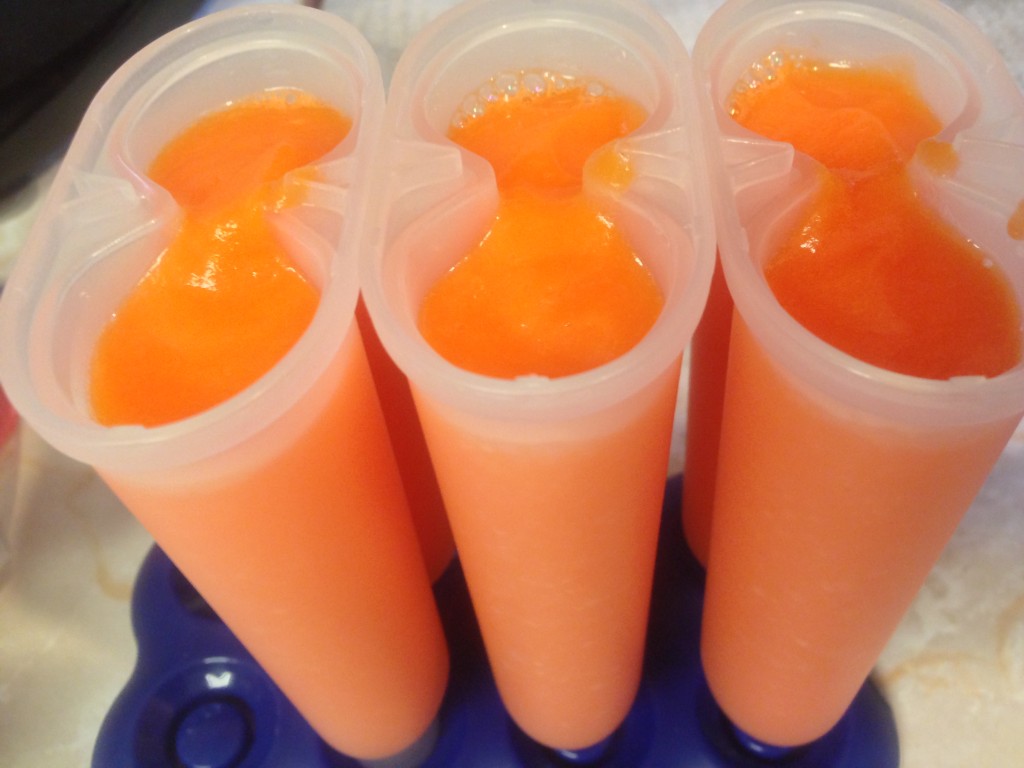
I had to add some more water to help it blend, and in the end I had a nice, pourable puree, which I poured into popsicle molds and froze.

Poured...

Poured…

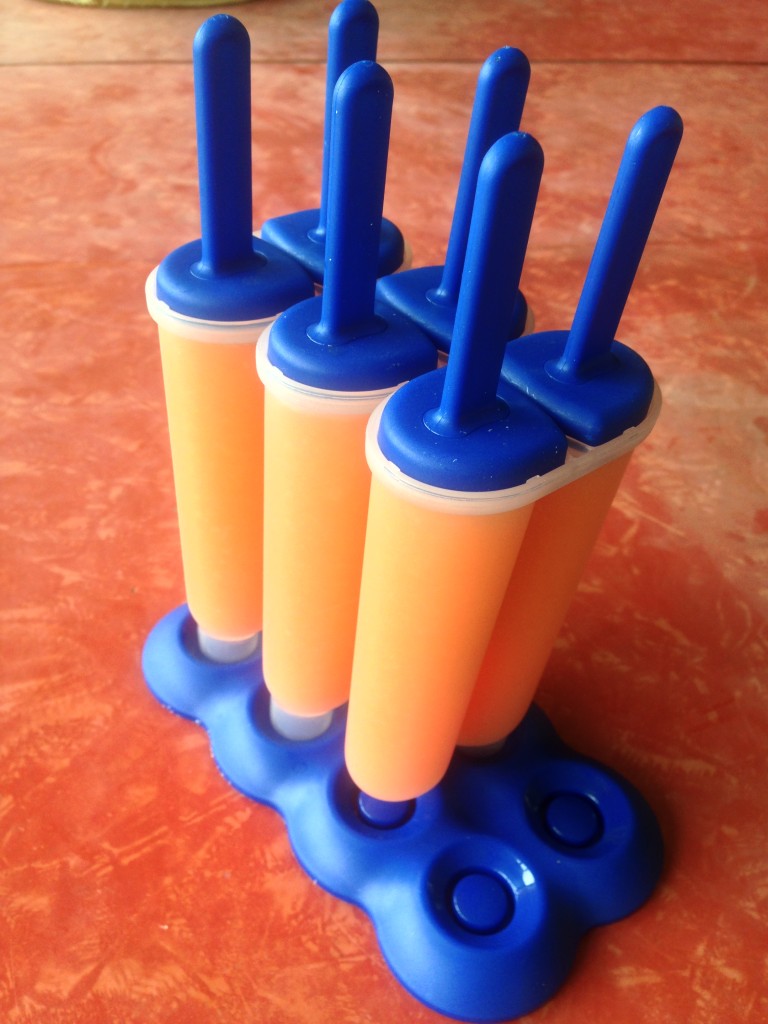
Ready to freeze!

Ready to freeze!

SO simple, right?

Verdict: well, they aren’t the best frozen treat I’ve ever eaten in my life (nothing compares to chocolate ice cream!), but for such basic ingredients they’re surprisingly tasty! They don’t taste like frozen carrots…they really are an icy treat – that just happens to be carrot flavored.

They will certainly hit the spot on hot days when MAMA would like an after dinner treat!

Still, I look forward to the day when I can spruce them up a bit, as the original recipe calls for. Some spices and creamy milk additions will certainly send these through the roof as one of my favorite summer treats.

Until then, though…MAMA’S FINALLY GOT A SAFE TREAT!!

*Oh, and one word about the stevia; I use KAL Stevia, which I’m very happy with. I’ve heard, however, that it is incredibly strong compared to other stevia extracts. Since I’m not well-versed in the difference in potency between brands, you may want to add sweetener gradually and adjust the sweetener to taste. Of course, if you aren’t restricted as I am, you could easily use some honey, maple syrup, or a simple syrup for extra sweetening!

__________

CARROT POPSICLES

– 7 small or 3 large carrots
– water
– 1 scoop of stevia (to taste) (or other sweetener of choice)

  1. Peel the carrots and chop the ends off. Cut into smaller pieces.
  2. Put the carrots in a pot covered in water and boil until fork tender.
  3. Pour the carrots and water into a blender and add sweetener.
  4. Puree until nice and smooth (you may have to add a bit more water to achieve this!).
  5. Pour into popsicle molds and freeze.
  6. Enjoy a very healthy frozen treat!

__________

I can think of a ton of options with this: milk, coconut milk, spices, different sweeteners…how will you make your carrot popsicles?

__________

This post shared with:

 realfoodallergyfree 

Frugal Ways, Sustainable Days and Real Food Wednesdays.