This week has been an emotionally difficult week for me, with these wretched anniversaries reminding me of our rough year. So I decided that I needed to lighten the mood and indulge in a little not unhealthy, but not really healthy treat making.
After Jed’s sudden comprehension of what a candy bar actually is, he’s bugged me at every checkout register we’ve been at for the last two months to buy him a candy bar. (Thanks, marketing and product placement people. I hate you all. Seriously. Hate you.)
I’ve gotten tired of the battle, and I decided to make him a bona fide candy bar.
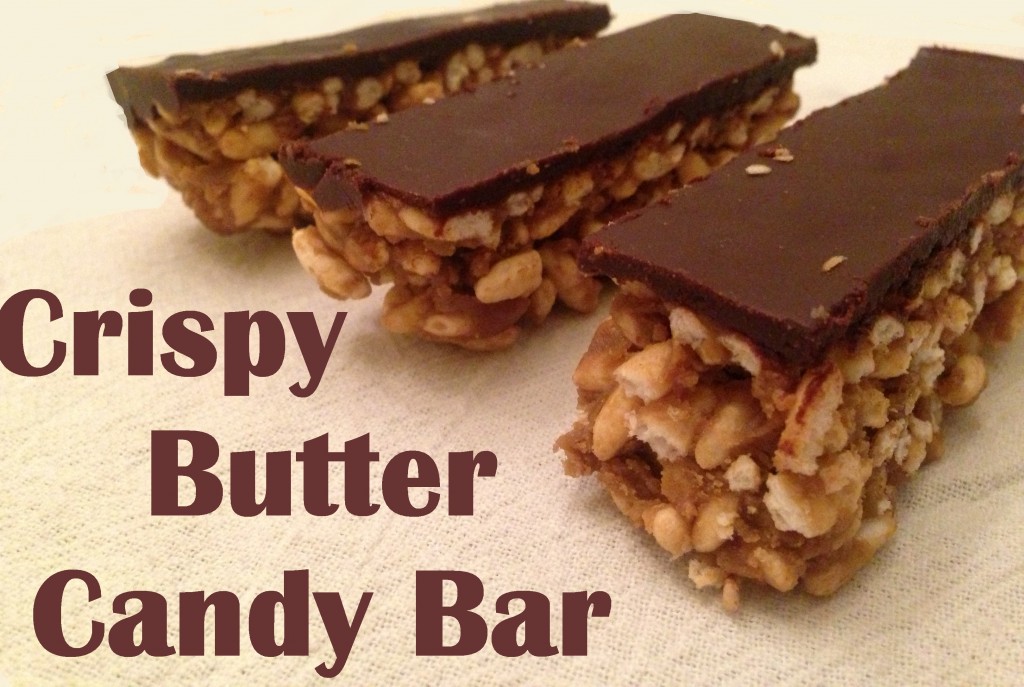
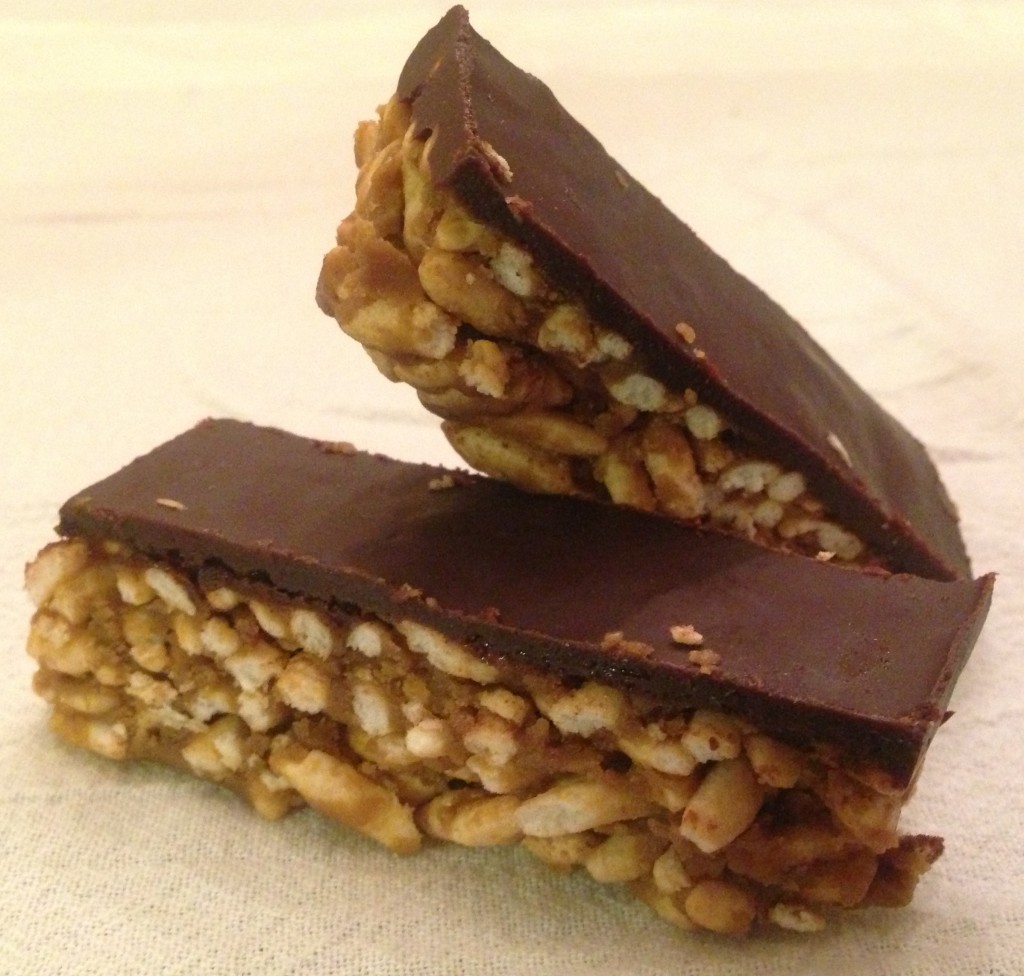
Well, what I created doesn’t quite resemble anything you or I might call a candy bar, but it satisfies Jed’s desire to eat a plastic-wrapped, chocolate-y, candy bar-ish concoction…and while it is NOT a treat like the cookies that I would be happy to feed him for breakfast, it is certainly a whole lot better for you than your typical Snickers or Milky Way!
I got the idea from Pinterest (seriously, go follow me over there – I have lots of awesome recipes pinned!) and it comes from the Queen of Quinoa. Don’t you just love that name? Her recipe was Healthy “Reese’s Quinoa Crispy Treats, and I read it, pinned it, and then forgot where I’d seen the recipe when the time came for me to make it! So my recipe differs slightly from hers, as I was winging it and making substitutions, but she most definitely inspired this little goodie!
Here’s what you do:
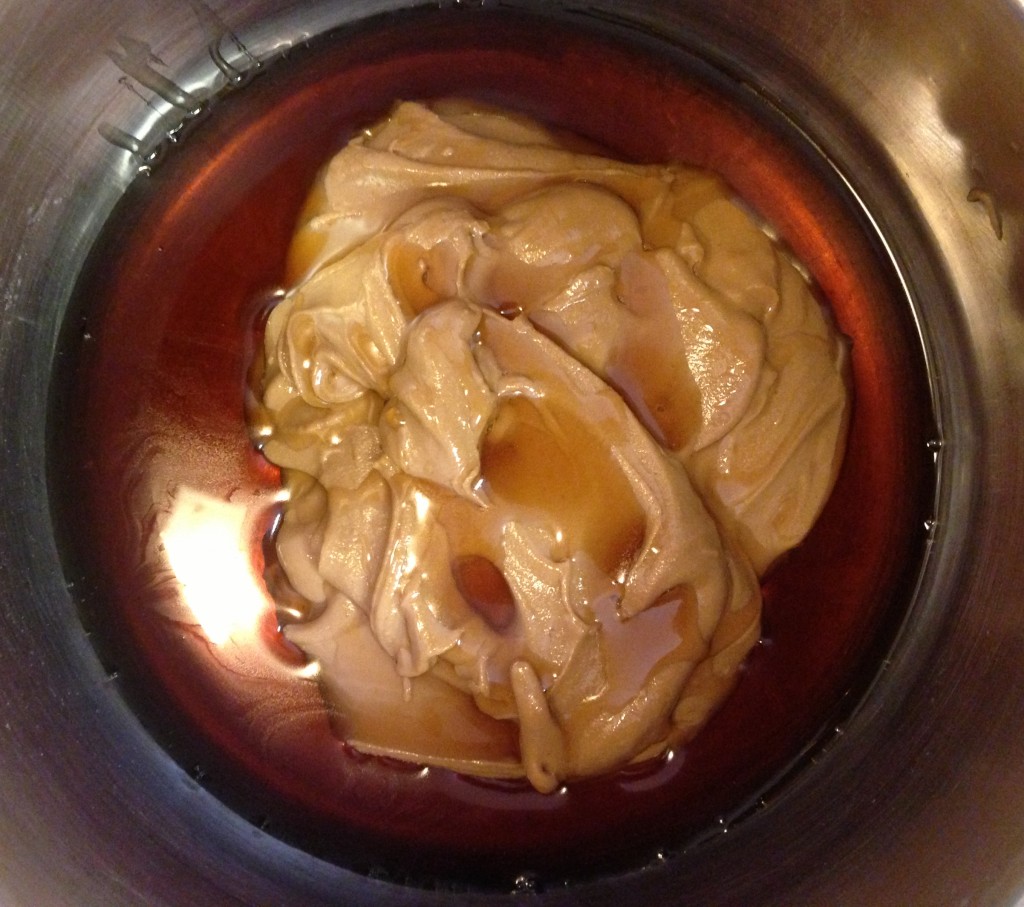
Add your butter and maple syrup to a pan. I used sunbutter, but peanut or almond butter would work just fine, I bet. (And in case you’re wondering, this is the source of the “butter” in the recipe title!)
Heat it enough to blend together, but be careful not to cook too high or too long or it will start to stick to the bottom of the pot! (Ask me how I know this!)
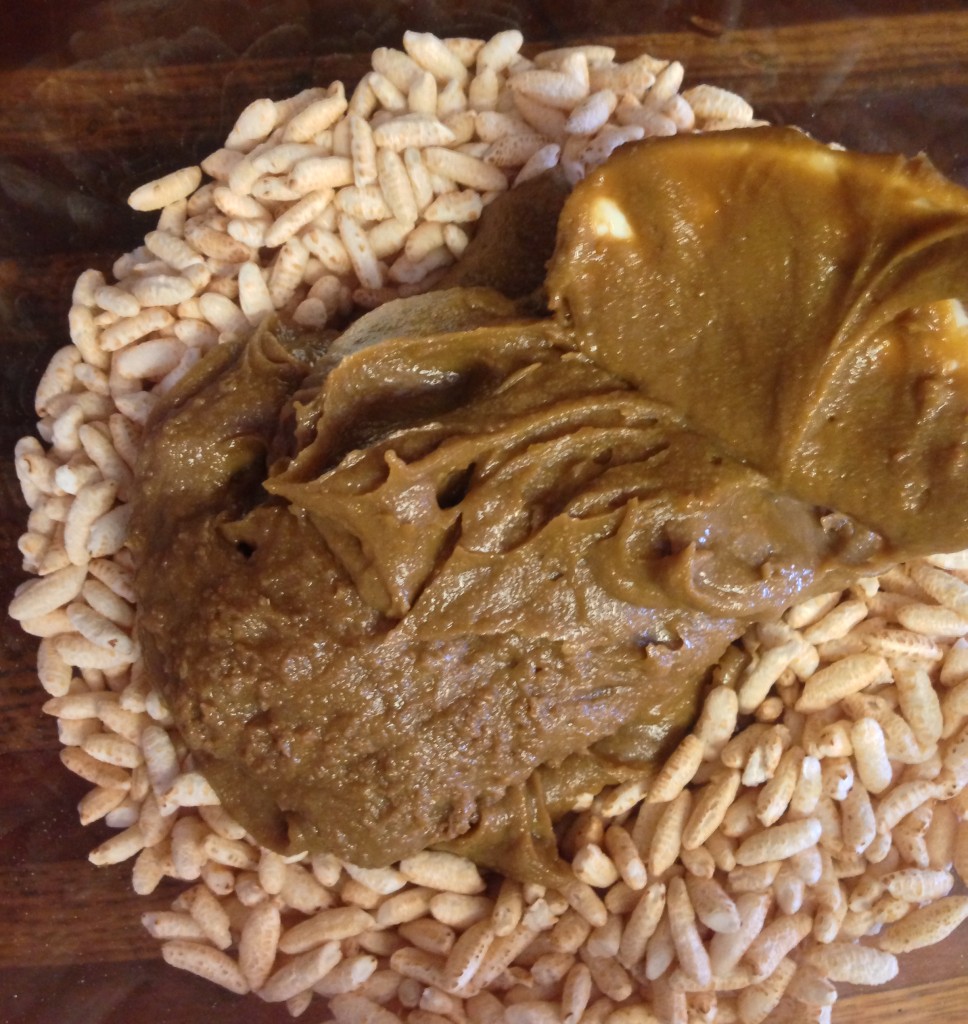
Once it is well blended together, pour it over rice puffs. I suppose you could use icky, nasty, full-of-junk Rice Krispies, but we use plain puffed rice. Of course, the Queen of Quinoa used puffed quinoa, but I didn’t have any of that. In fact, that is now something I’m going to search out and buy – I would love to make these with puffed quinoa!
If you don’t have either of those on hand, I’m sure millet puffs or kamut puffs would also work. (Just remember that kamut isn’t gluten free, since it’s an ancient wheat.)
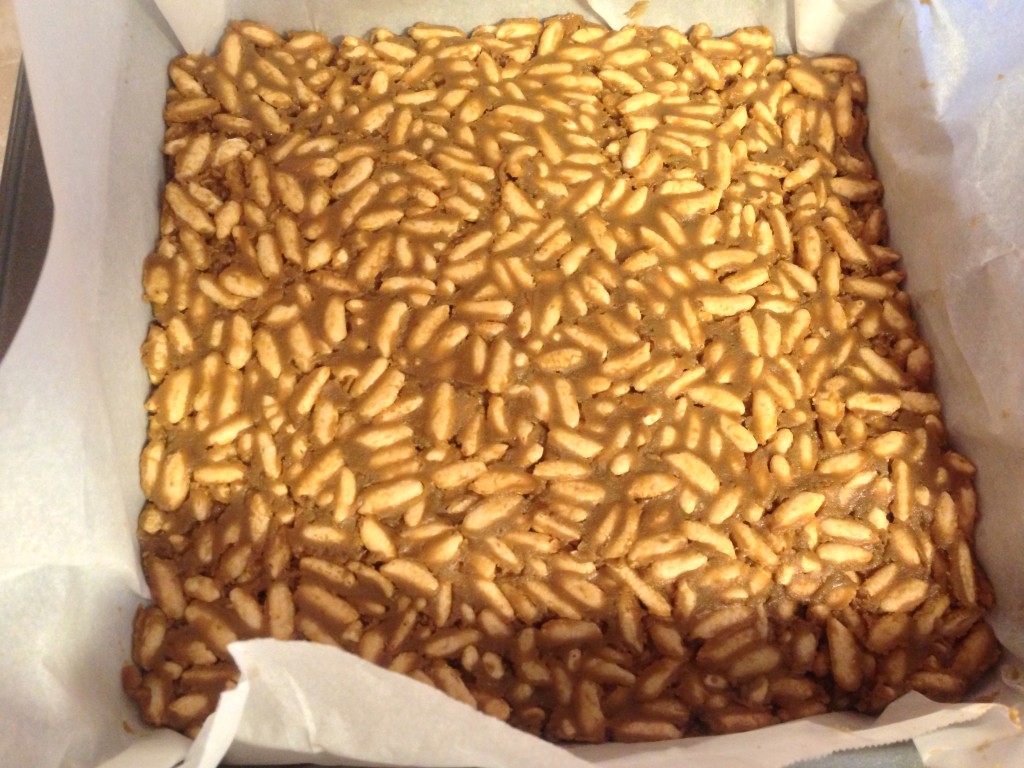
Use a spoon and mix that mess all together until it’s evenly coated, then pour it into a square cake pan (lined with parchment paper, of course!) and press it down until the top is nice and evenly smooth. I believe the pan I used is a 9×9 pan, but anything relatively small will work just fine. It all depends on how thick a candy bar you would like.
Then throw it in the fridge to set. I don’t know how long you’d need to let it set for, because I made this part of it in the morning, threw it in the fridge, and then didn’t get to the next step until dinner time. So mine was in the fridge all day long and I don’t quite think it needs that long. An hour or so would probably be sufficient. Let me know if you come up with a specific time that works for you!
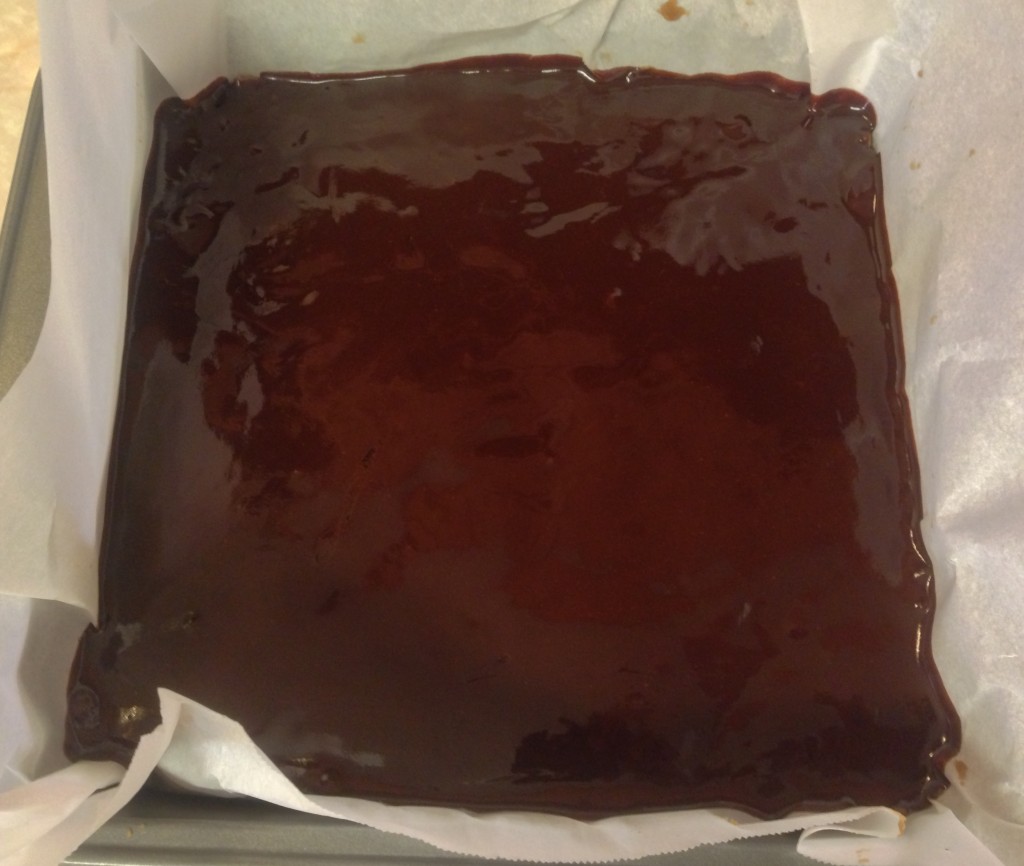
The next step is my favorite part: make a batch of my homemade chocolate recipe and pour it over the top!
You’ll have to tilt the pan around to make sure the chocolate spreads evenly. If you don’t want to make my homemade chocolate (because you’re lucky enough that you can use pre-made chocolate from the store), you could simply melt some chocolate chips on a double boiler and use those. I don’t know exactly how much you would need; probably in the ballpark of 3/4 to 1 cup of chips. Again, if you go that route, please leave me a comment letting me know what you used and how much!
Then I put the whole thing in the fridge for a few hours.
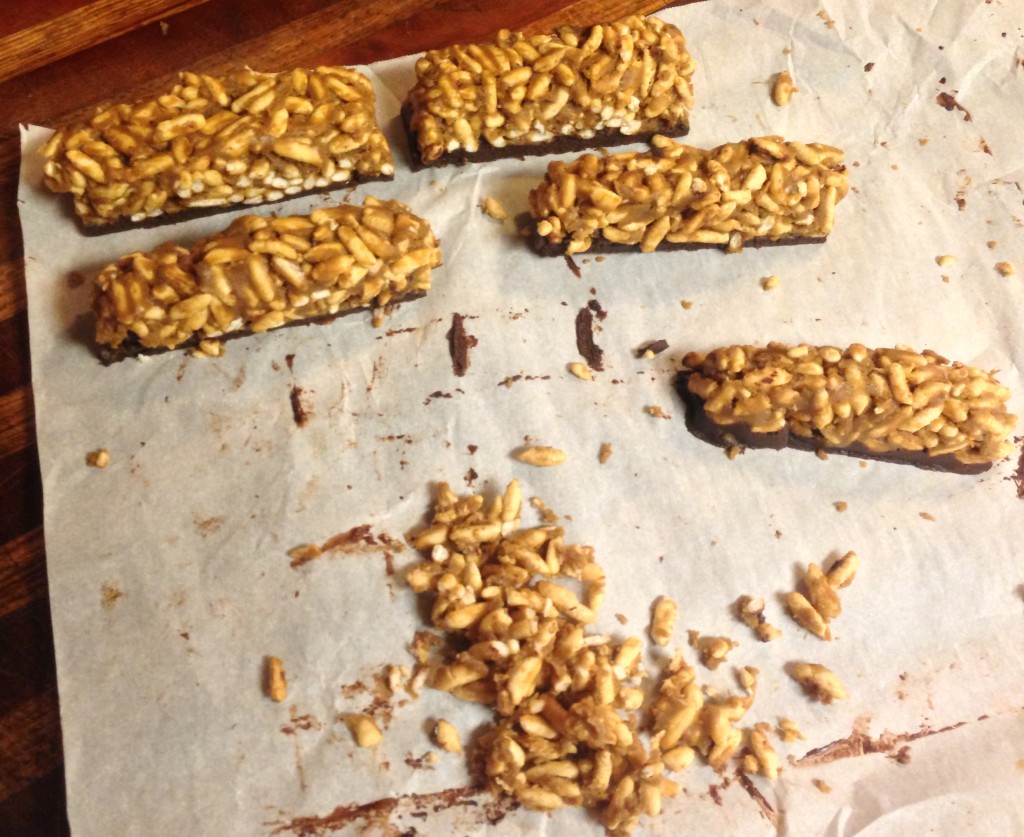
The next time I make this, I’ll either leave it in the fridge overnight or put it in the freezer, though. I don’t think I let it harden enough; when I started cutting the bars, I wound up with a bit of a mess.
Lots of the rice/butter bits were falling off the chocolate, and I had to press them back into place. Not the end of the world, but sort of a sticky nuisance to deal with. Having it be firmer and more set would probably fix that inconvenience. See?
Oh, well. It wasn’t that big of a pain, and it was worth it when I saw Jed eat one!
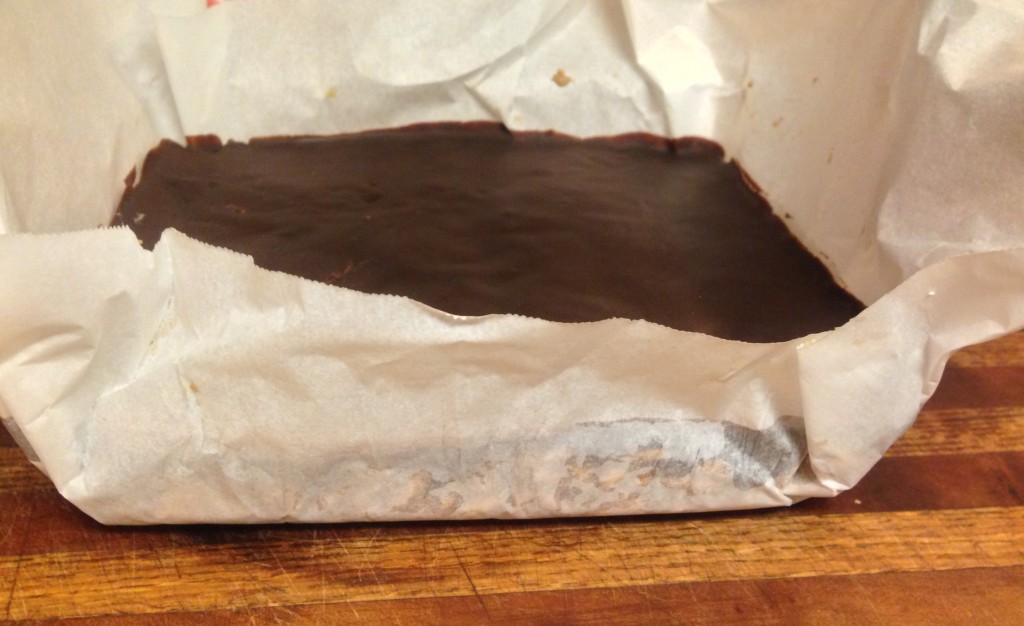
Once they’ve hardened as much as you like, then pull the whole bit out of the pan using the parchment paper and lay it on a cutting board.
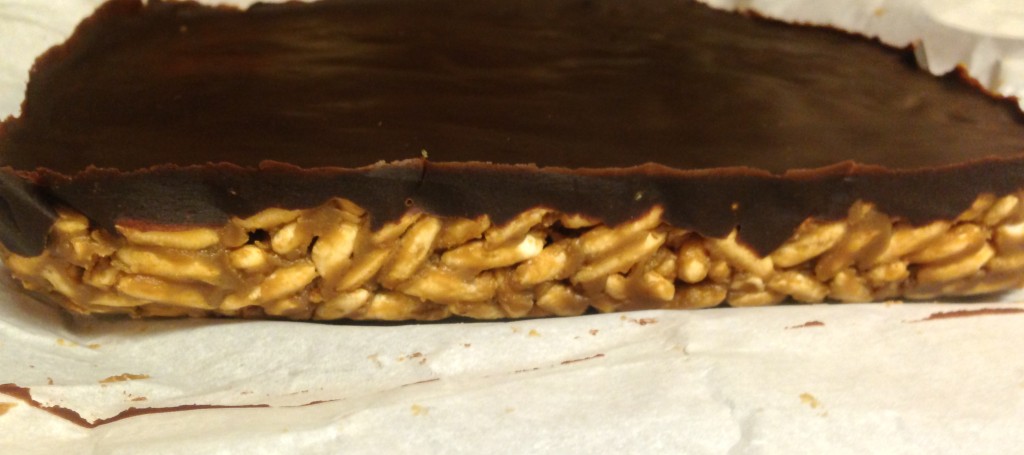
Then it’s time to cut them out. Out of this pan, I got 14 candy bars. For a toddler, I didn’t want a huge bar, so I made one cut down the center, and then aimed for 1-1 1/4 inch wide bars from each half. It was perfect!
After they’re cut out, wrap them individually in saran wrap and store them in the freezer. I have no idea how long these will be good for. I’m expecting 14 days will be the maximum we’ll see these in our ice box!
The verdict: Darrel liked them and Jed LOVED them!! When I told him he was going to get a candy bar he was immediately cooperative, and when he started eating he wouldn’t stop – even to give me feedback!
Usually he’ll exclaim “Yummy delicious!” over something he likes; with the candy bar, I had to ask him “Do you like it?” and I got a grunted “Uh-huh” in response as he shoveled another bite into his mouth. Bad manners, but a great review!
When Darrel got home from work, one of the first things Jed told him was “Jed eat candy bar!” So these are a definite SCORE for my household.
I try really hard to make my kiddos healthy treats – the kind of treats you wouldn’t mind giving them for breakfast because (yummy as they are) they’re chock full of nutrition. But sometimes, you just gotta indulge, you know?
So I’m happy I found a good “candy bar” that Jed will jump through hoops to get. Next time I make them, though, I might try making a SECOND batch of chocolate and coating the bar completely after they’re cut out. In for a penny, in for a pound, right?
__________
CRISPY BUTTER CANDY BAR
makes 14 small candy bars
– 3 c. puffed rice
– 1 c. sunbutter (or peanut, almond, or other nut butter)
– 1/2 c. maple syrup (or honey)
– 1 batch of Homemade Chocolate Recipe
- Get out a 9×9 cake pan and line it with parchment paper.
- Put the butter and maple syrup in a pan and heat until well blended.
- Pour that over the puffed rice in a bowl, and stir until well combined.
- Pour the mixture into the cake pan and press down until flat and smooth; place in the fridge for at least an hour.
- When the mixture has set, begin making the chocolate. (Recipe below; follow link for better instructions).
- Pour the chocolate over the top of the butter/rice mixture and place in the freezer to harden for at least an hour.
- When the bars are hardened, remove the block from the cake pan using the parchment paper and begin cutting out the bars. Make them however large you would like!
- Wrap each bar individually in saran wrap and store in the freezer.
- Enjoy a candy bar that isn’t quite health food, but is healthier than a store-bought bar!
__________
HOMEMADE DAIRY FREE CHOCOLATES
– 1/2 cup cacao butter
– 4 T. cocoa powder
– 4-6 T. maple syrup
– pinch of sea salt
– 1 tsp. vanilla
- Put your cacao butter in a double boiler on your stove and heat it slowly over medium heat until just melted. Immediately remove from heat.
- Add the remaining ingredients to the cacao butter and whisk until smooth and shiny.
- Pour over the candy bar mixture OR make an extra batch and:
- Pour into molds or onto a parchment paper lined pan with an edge.
- Let set in the fridge for at least half an hour.
- Enjoy some delicious, and really fairly healthy for you homemade chocolate!
__________
Have you made a homemade candy bar for your allergic kiddo? What did you make? Please share the recipe!
__________
This post shared with:







Those look SO good! Well done!
Thanks! I already need to make more – Jed can’t get enough of them! 🙂
Pingback: Crispy Butter Candy Bars, Why I Gave Up Peanut Butter, Broccoli and Quinoa Satay, and Asian Chicken with Sweet Orange Cabbage Salad
Quinoa puffs are available at nuts.com. I gotta warn you, they’re expensive! Now I have to go back to the store and buy rice puffs to try this recipe! 🙂
Thanks for the info! Sigh…everything my family eats is expensive, it seems! LOL 😉
If you can have them, millet puffs would work just as well in this recipe and they’re MUCH cheaper! I buy a huge bag of them at my local health food store in the cereal aisle.
I actually have millet puffs at home; I originally wanted to create a “rice krispie” type treat for him, but after making these I also considered millet puffs. I’ll share how it works if I do it that way. Let me know if you do it, too. 🙂
Pingback: My Kitchen Sees A LOT of Action - Cradle Rocking Mama
Pingback: Popped Quinoa - Cradle Rocking Mama