


I had to share this with you! This was dinner for the boys last night:
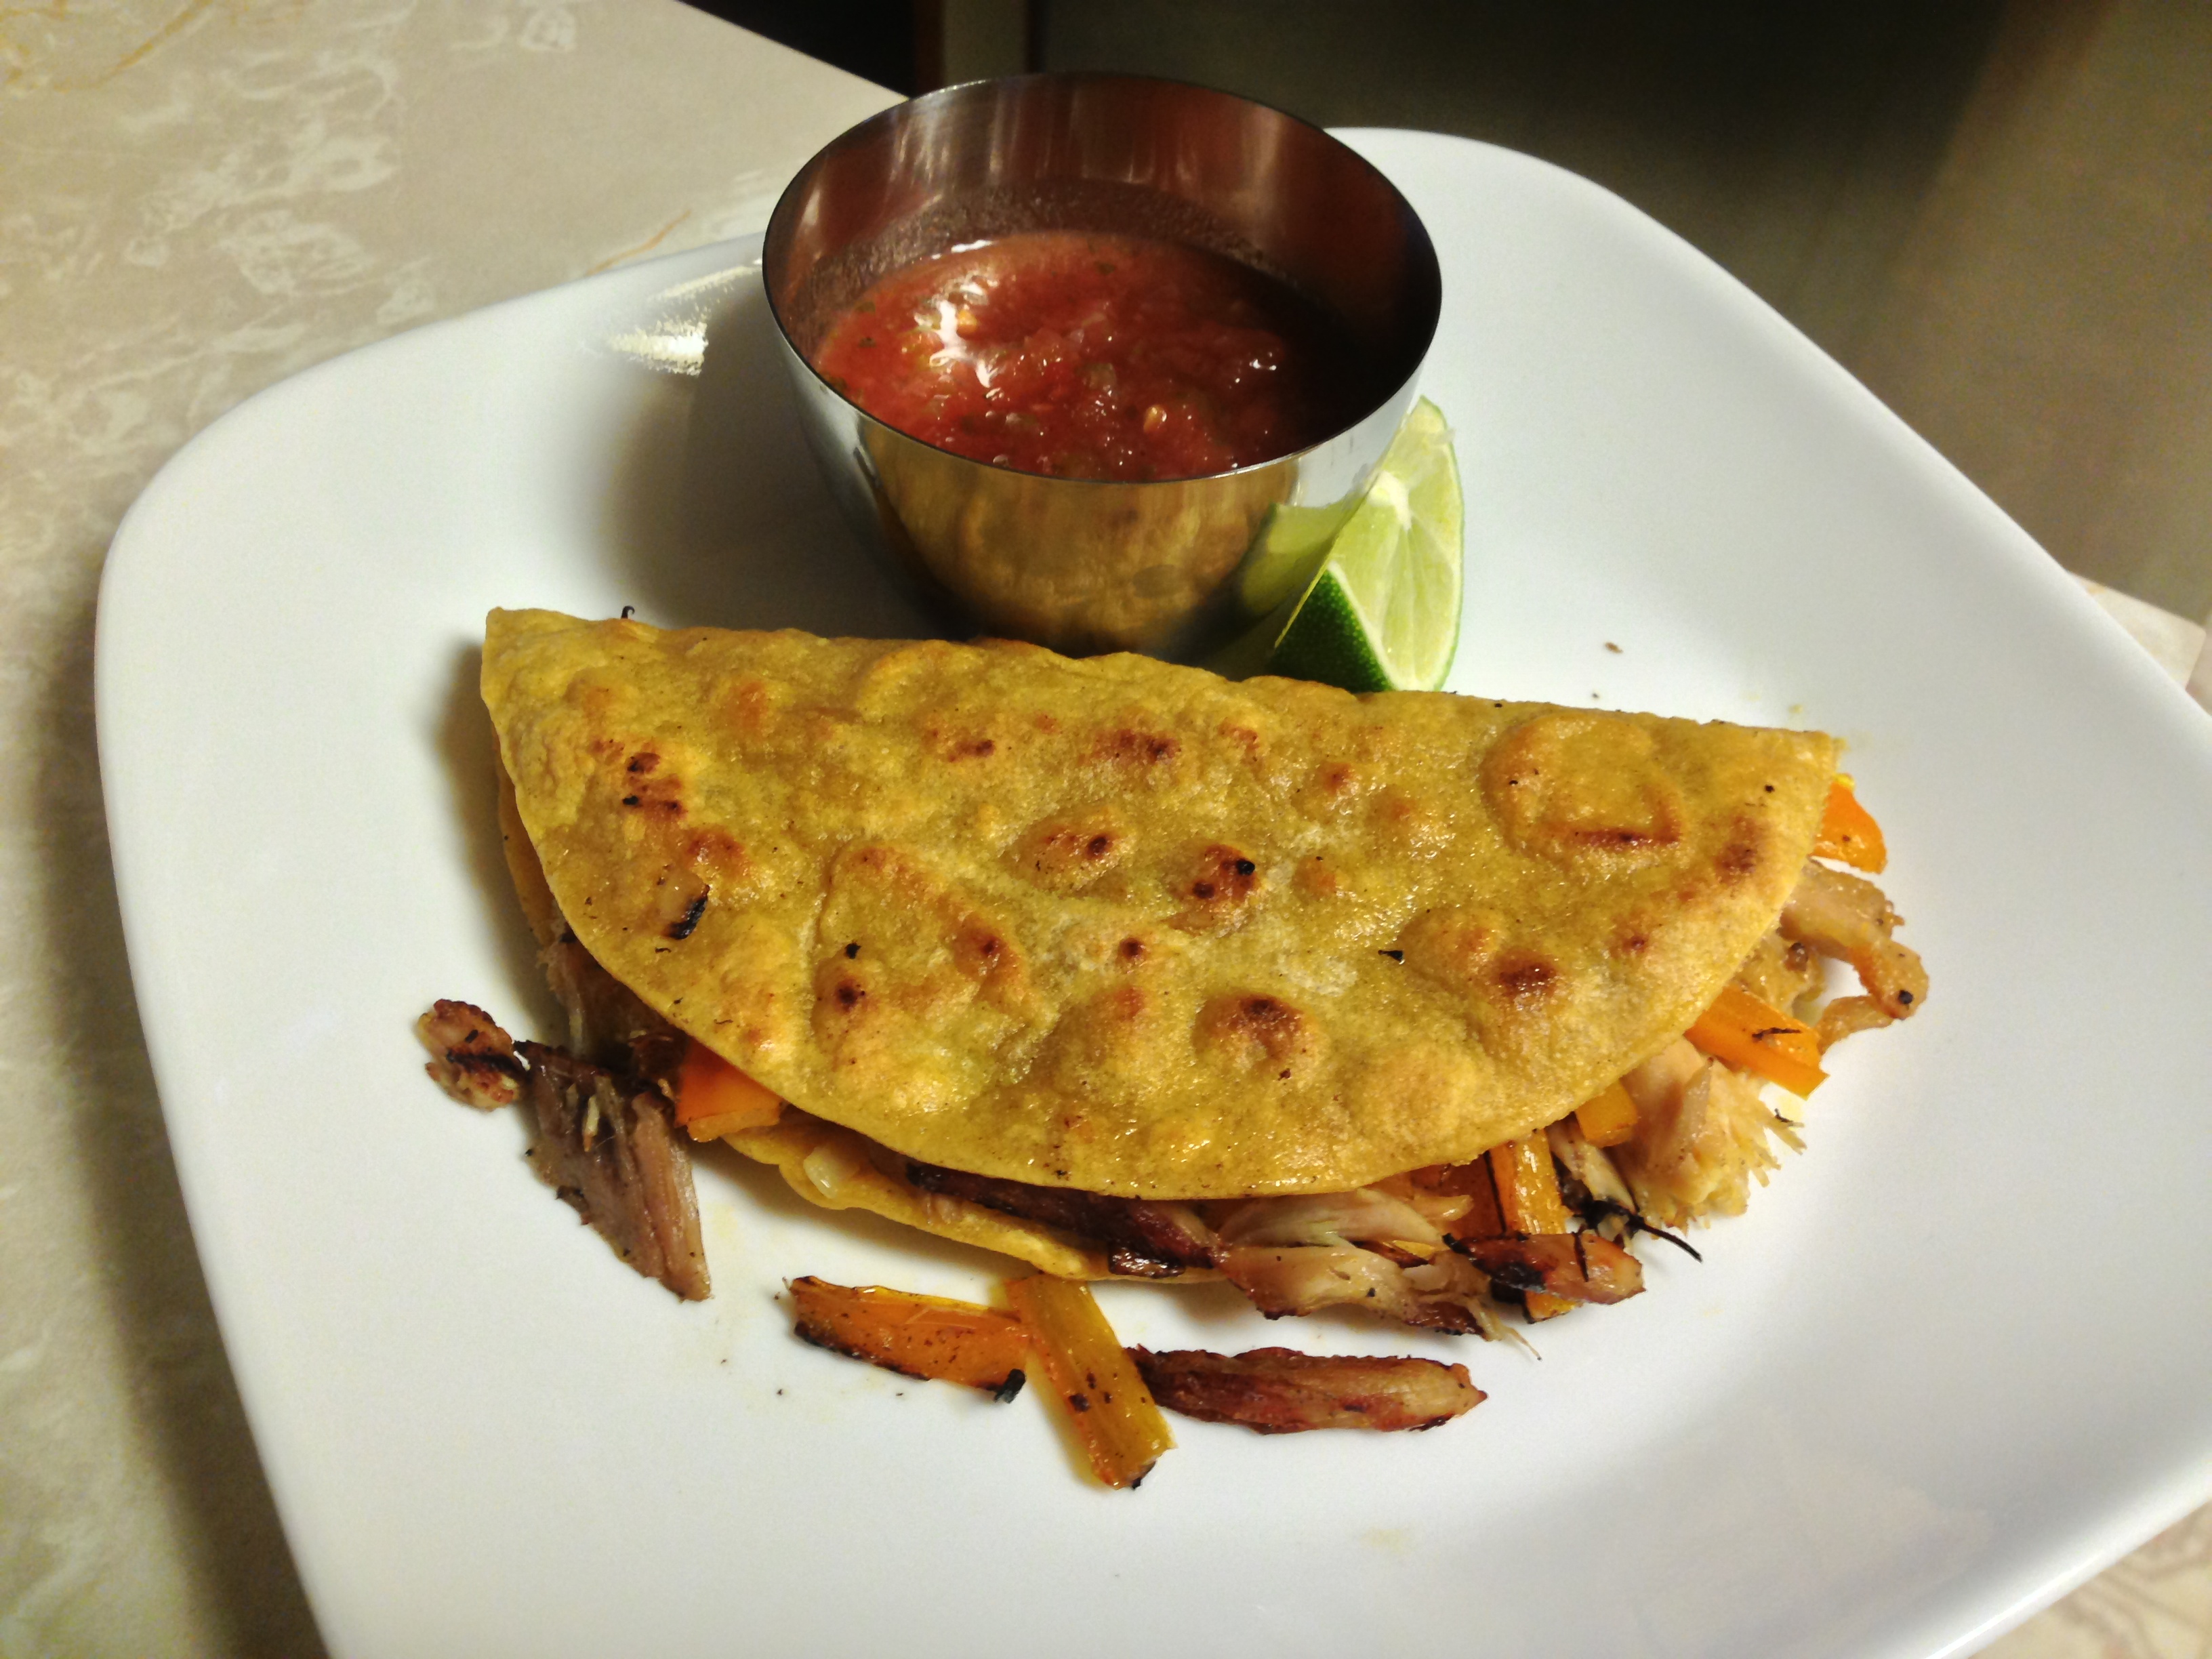
Pretty unremarkable looking, I suppose…until you find out that these quesadillas were made with homemade vegan cheddar that TASTES GOOD!!!
I wish I could take credit for this recipe, but I cannot. The brilliant mind behind this is Mary Banducci, over at Sweet Roots. While I want you to go visit her site and read all her cheese recipes (and look at her other brilliant stuff, too!) this was just too good not to show you how easy it is, and I had to share. (Mary, if you read this – my family is madly in love with you for giving us back CHEESE! Kisses!)
So, last summer, shortly after Zac was born, I discovered this recipe. I was so excited I almost hurt myself getting to the kitchen to make it – and it came out divine! For the first time in his life, Jed got to have bean and cheese burritos, and quesadillas, and I got to eat vegan cheese that didn’t taste like feet. (Sorry, Daiya – I just can’t stomach you!)
Then, a week later Zac was hospitalized and this whole elimination diet journey began for us and I have not been able to make this cheese for us ever since!
Well, last week we were busy testing out Jed’s reaction to coconut. The verdict: he doesn’t do well with actual shredded coconut, but he could drink whole milk coconut by the can and it’s just fine on his tummy! WOOT!
Coconut milk is one thing I really want in my kitchen if we have to be dairy free. It makes so many gorgeous dairy substitutes, and many of them are tastier than the original! So I was very busy doing a happy dance this week and suddenly remembered this delicious cheese recipe.
Yesterday, while Zac was down for his nap, Jed and I ventured into the kitchen and made some.
KITCHEN TIP: When cooking with toddlers, it makes life a lot easier if you utilize mise en place. Then you don’t have to worry about having your attention scattered when your little one is near a hot stove; everything is ready to go!
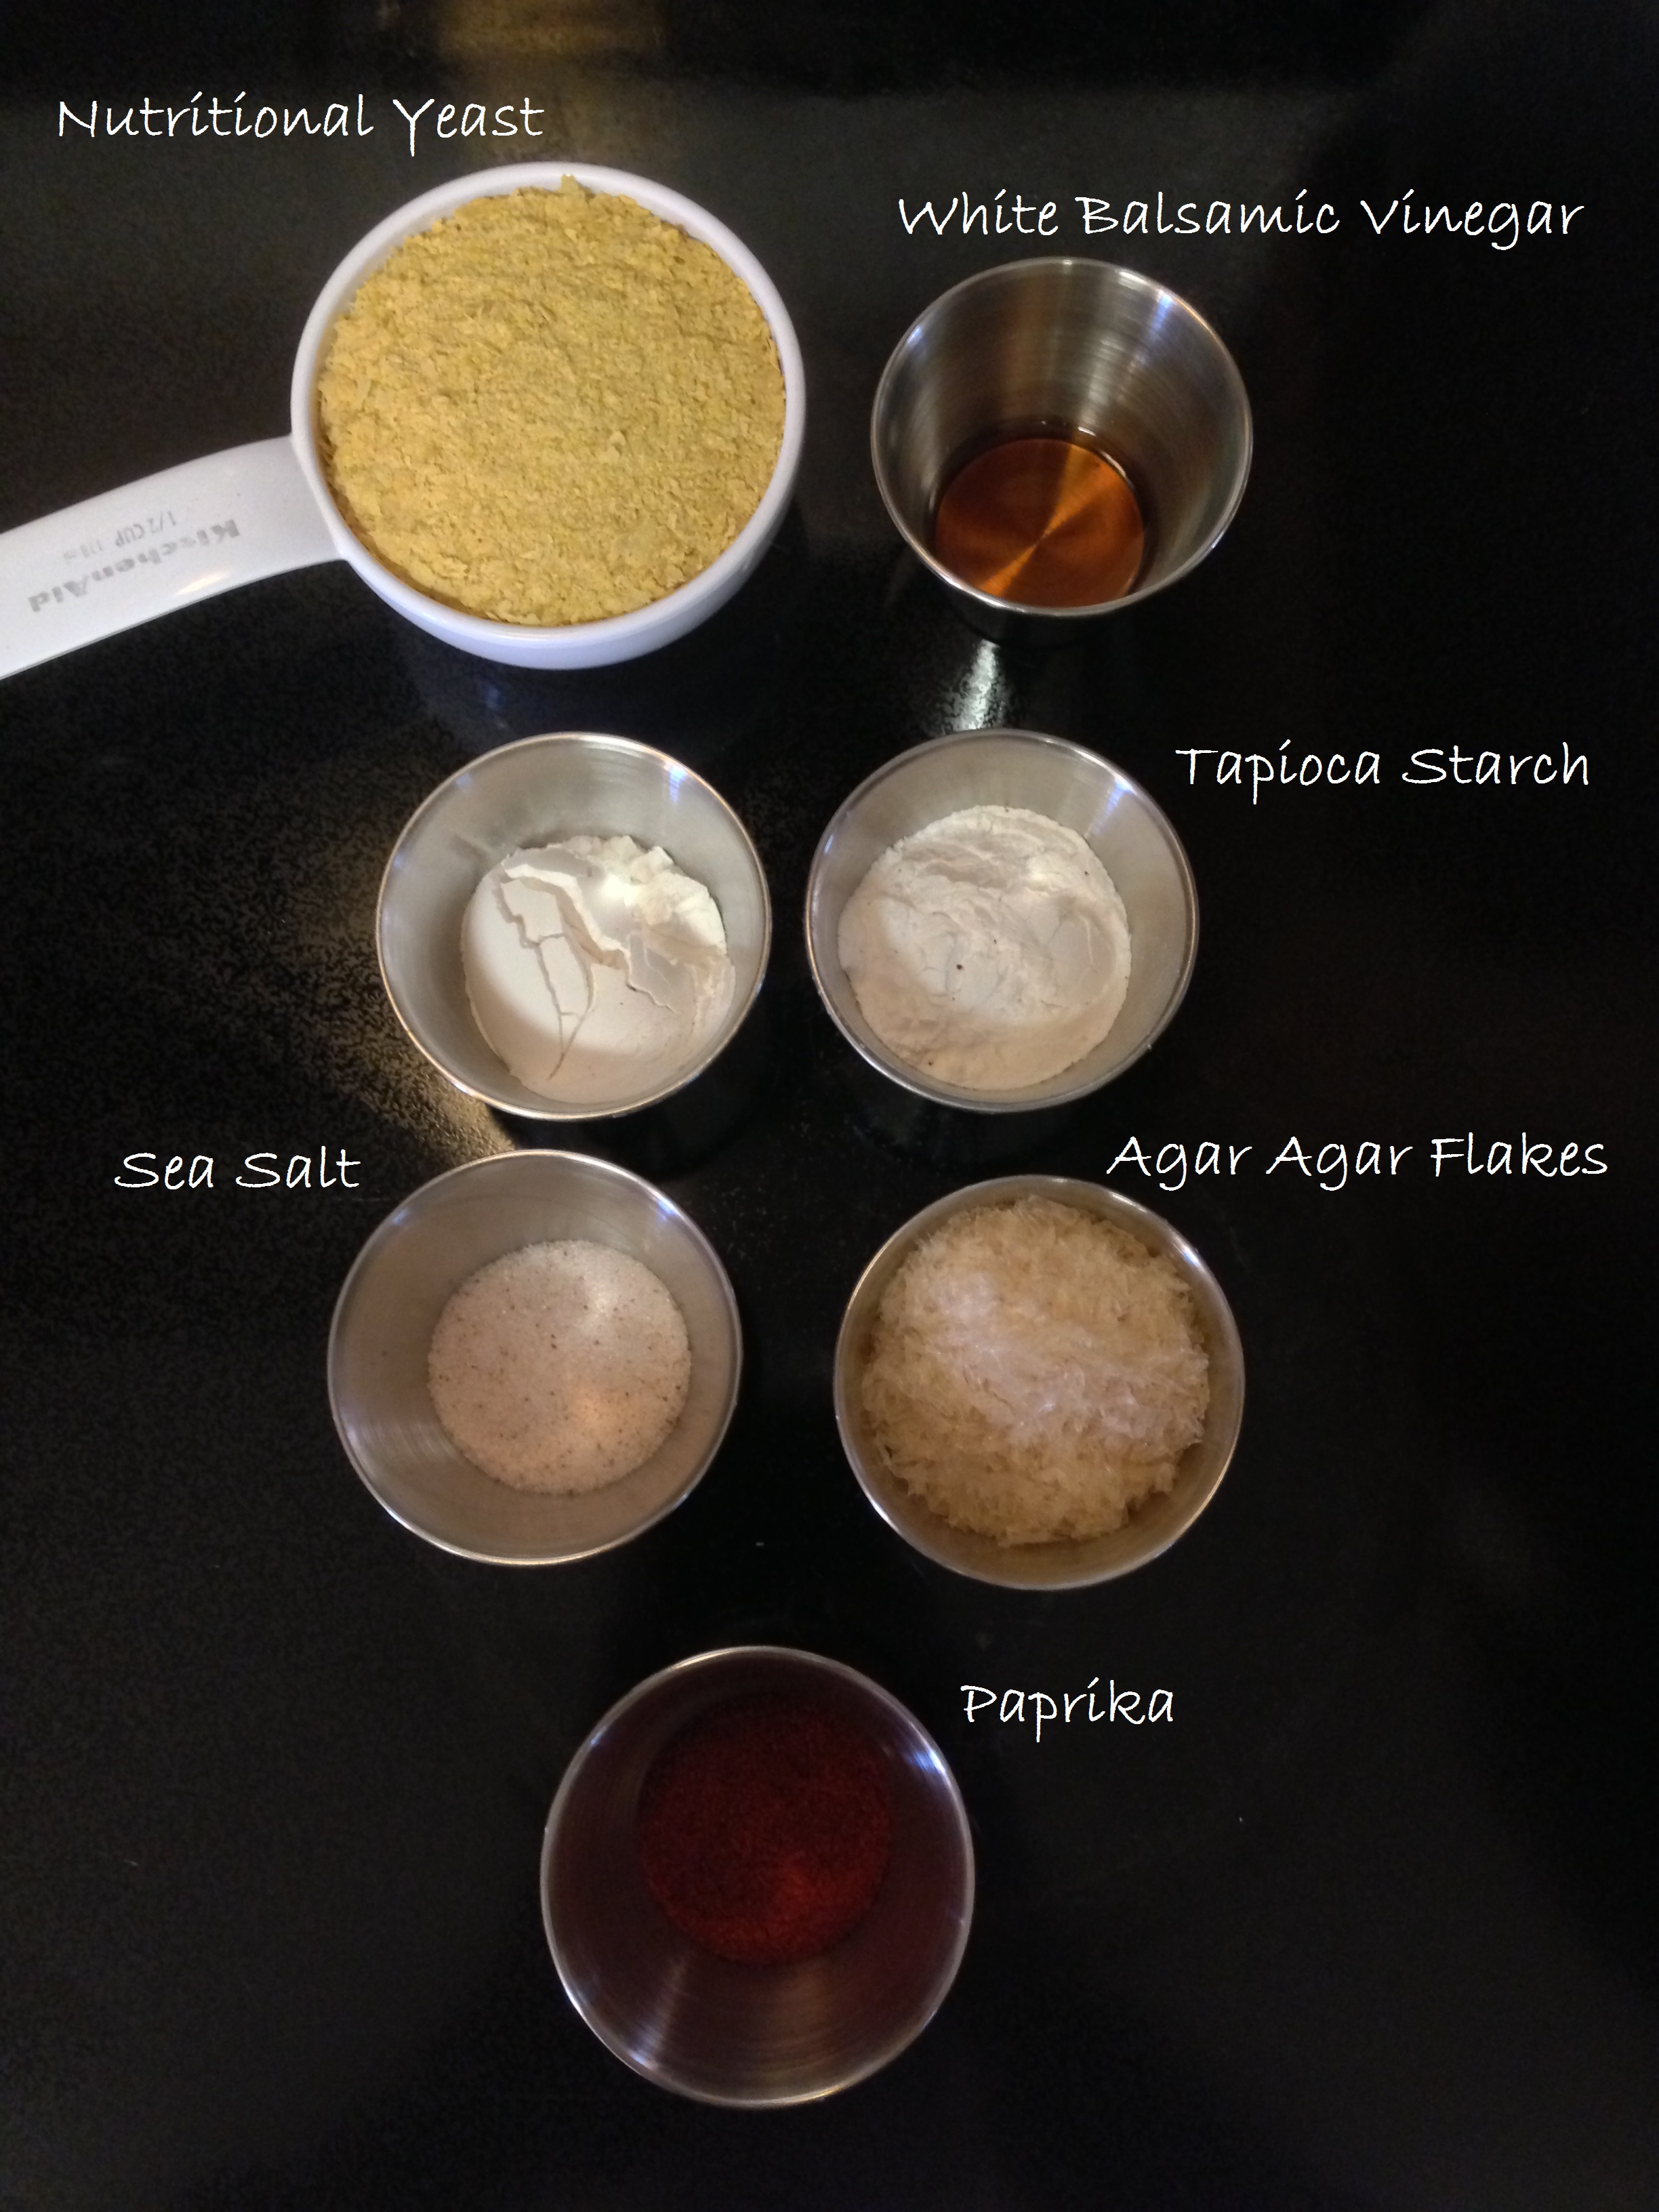
Mise en place ingredients
First, Mary has you boil two cans of full-fat coconut milk until they are no longer separated.

Coconut milk in the pot, starting to heat up
Jed likes to help stir anything and everything in the kitchen!

He’s learning early – taste-testing while cooking is one of the best parts!
Once it gets to a good, hot temperature, add your vinegar, agar flakes, and salt.
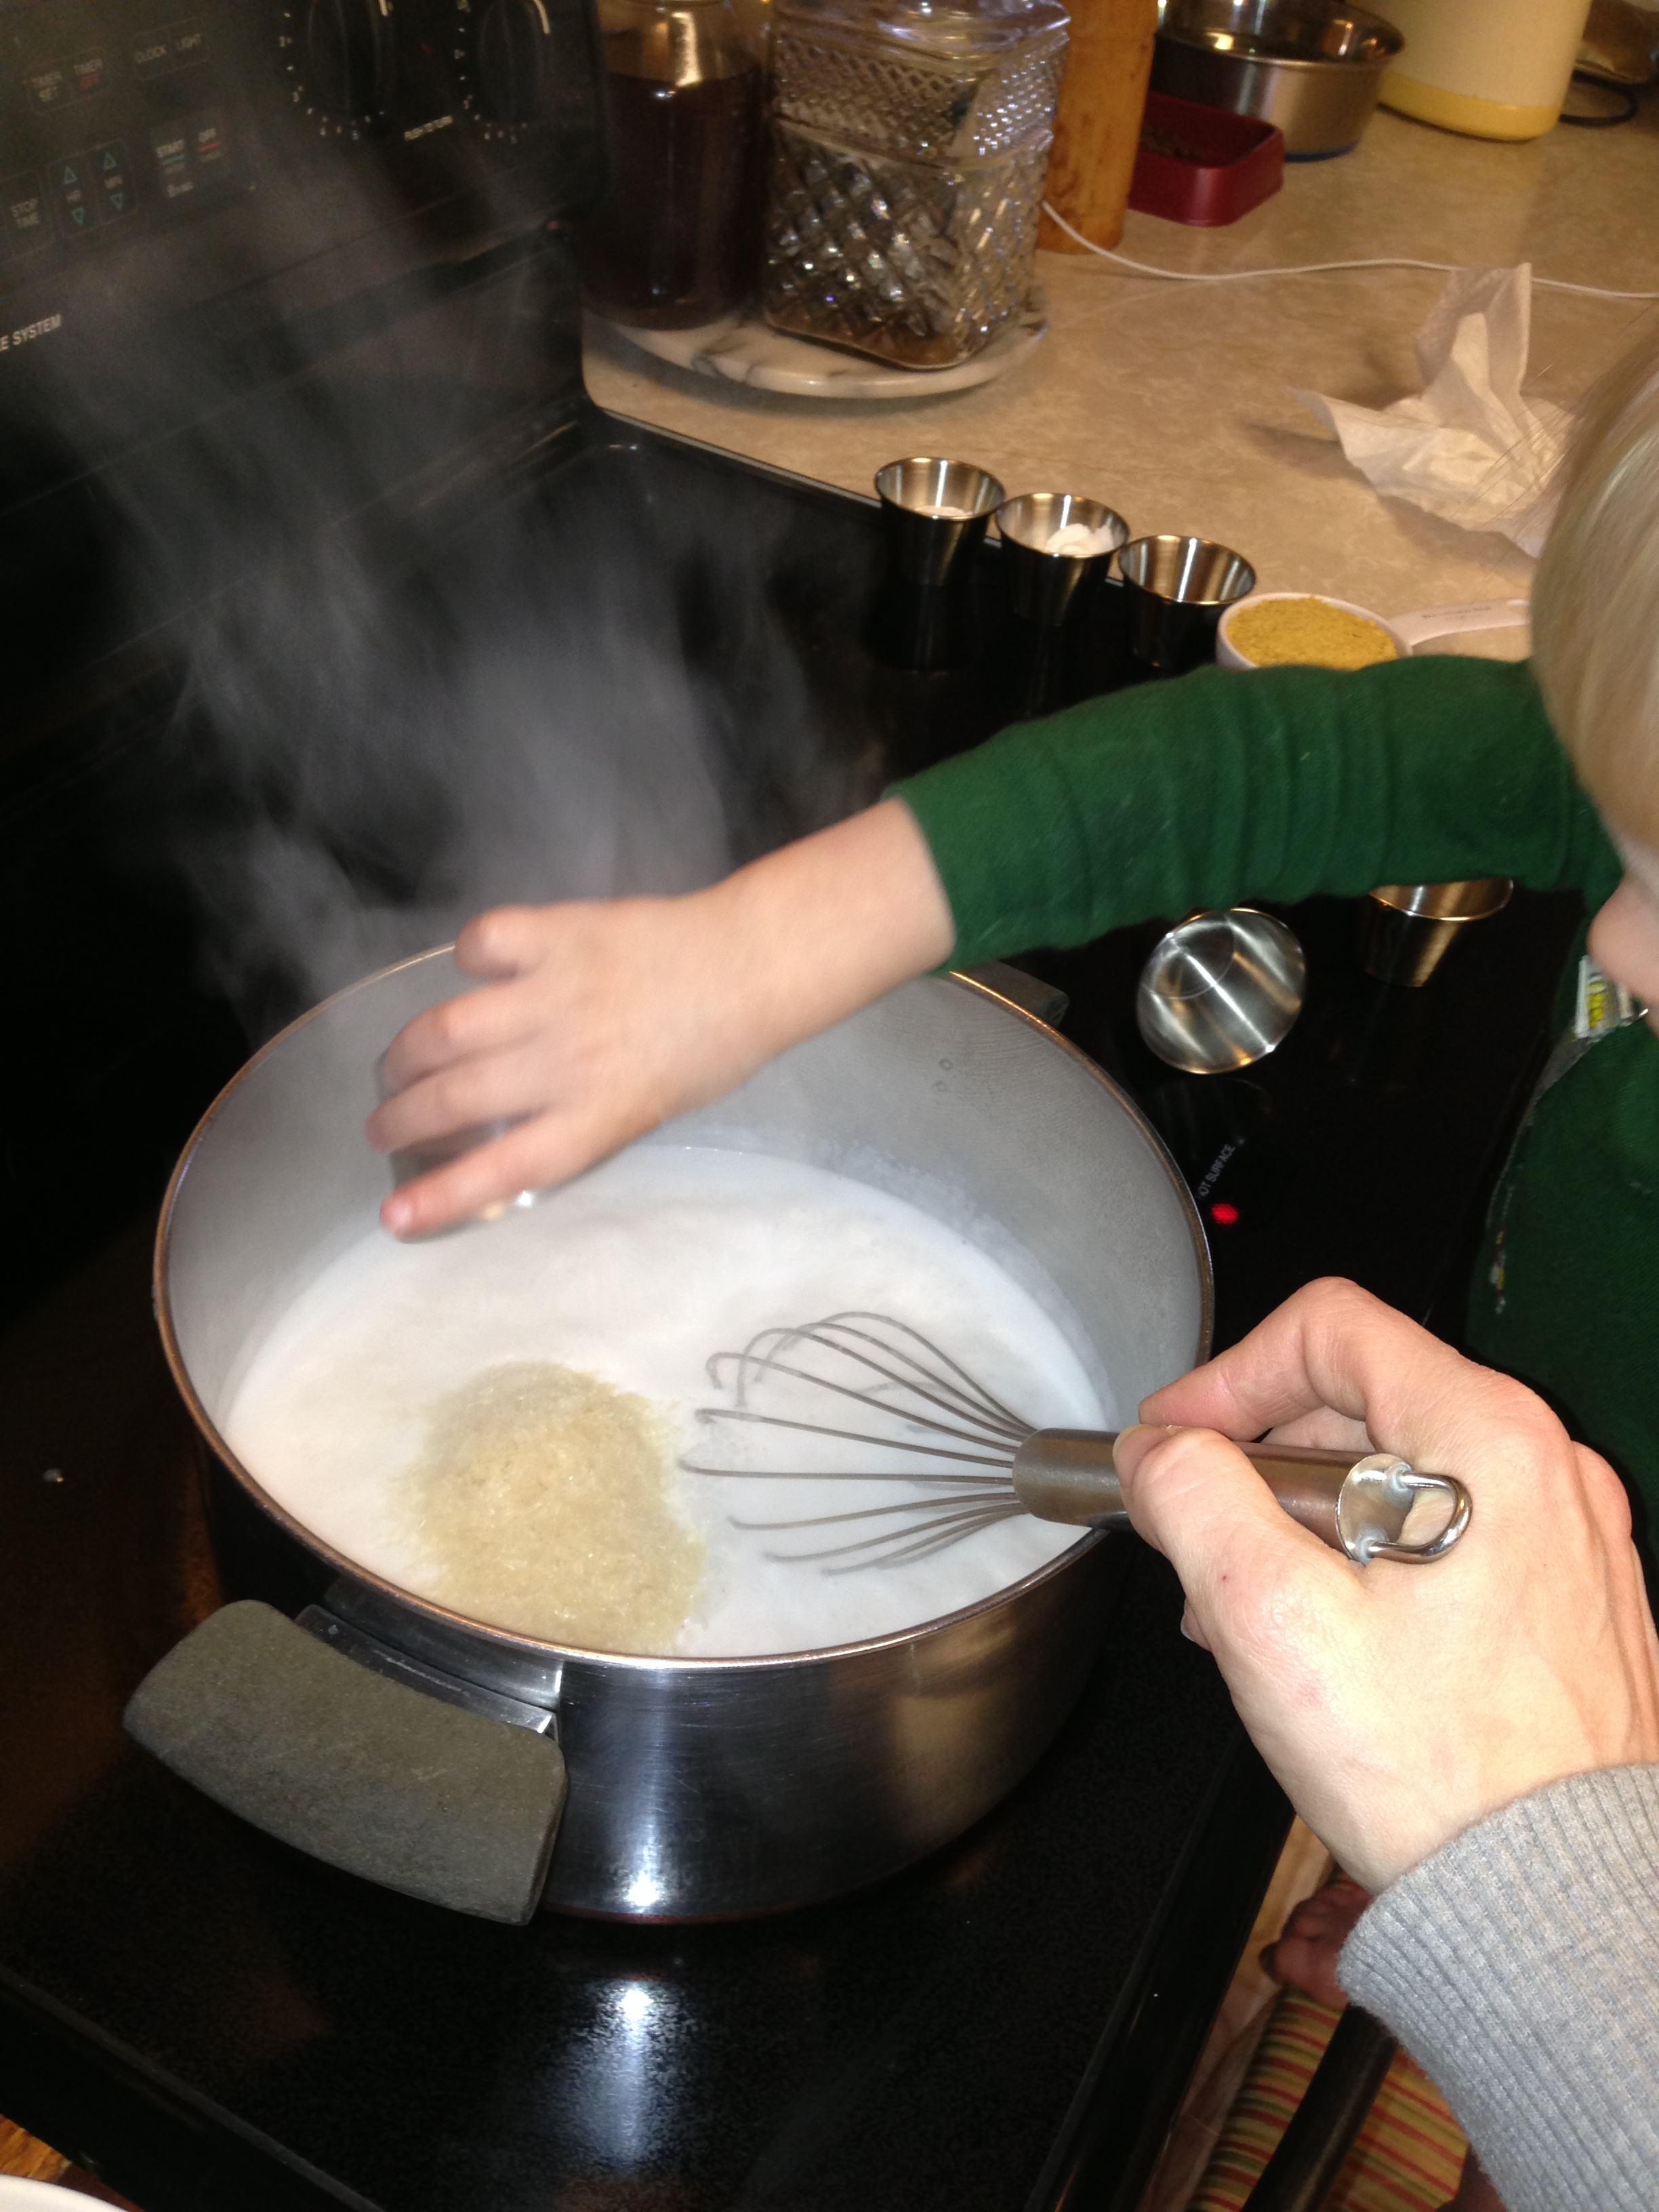
My little helper dumping the ingredients in the pan while I whisk.
Whisk constantly and bring that to a boil for 15 minutes. (I just saw that Mary has updated her recipe to include instructions for using Agar POWDER, which means you can boil for a shorter time. That is VERY useful for cooking with a toddler!)
At this point, Jed entertained himself playing with the ingredients still in ramekins on the stove top, which lasted about 6 minutes. Then he played with the can opener for a couple minutes. Then he wanted to stir for a minute. Then he started to lose interest. So, when you reach this sort of long step when cooking with a toddler, make sure to have ‘entertainment’ available so you don’t lose their interest!
After 15 minutes, you add the rest of the ingredients.
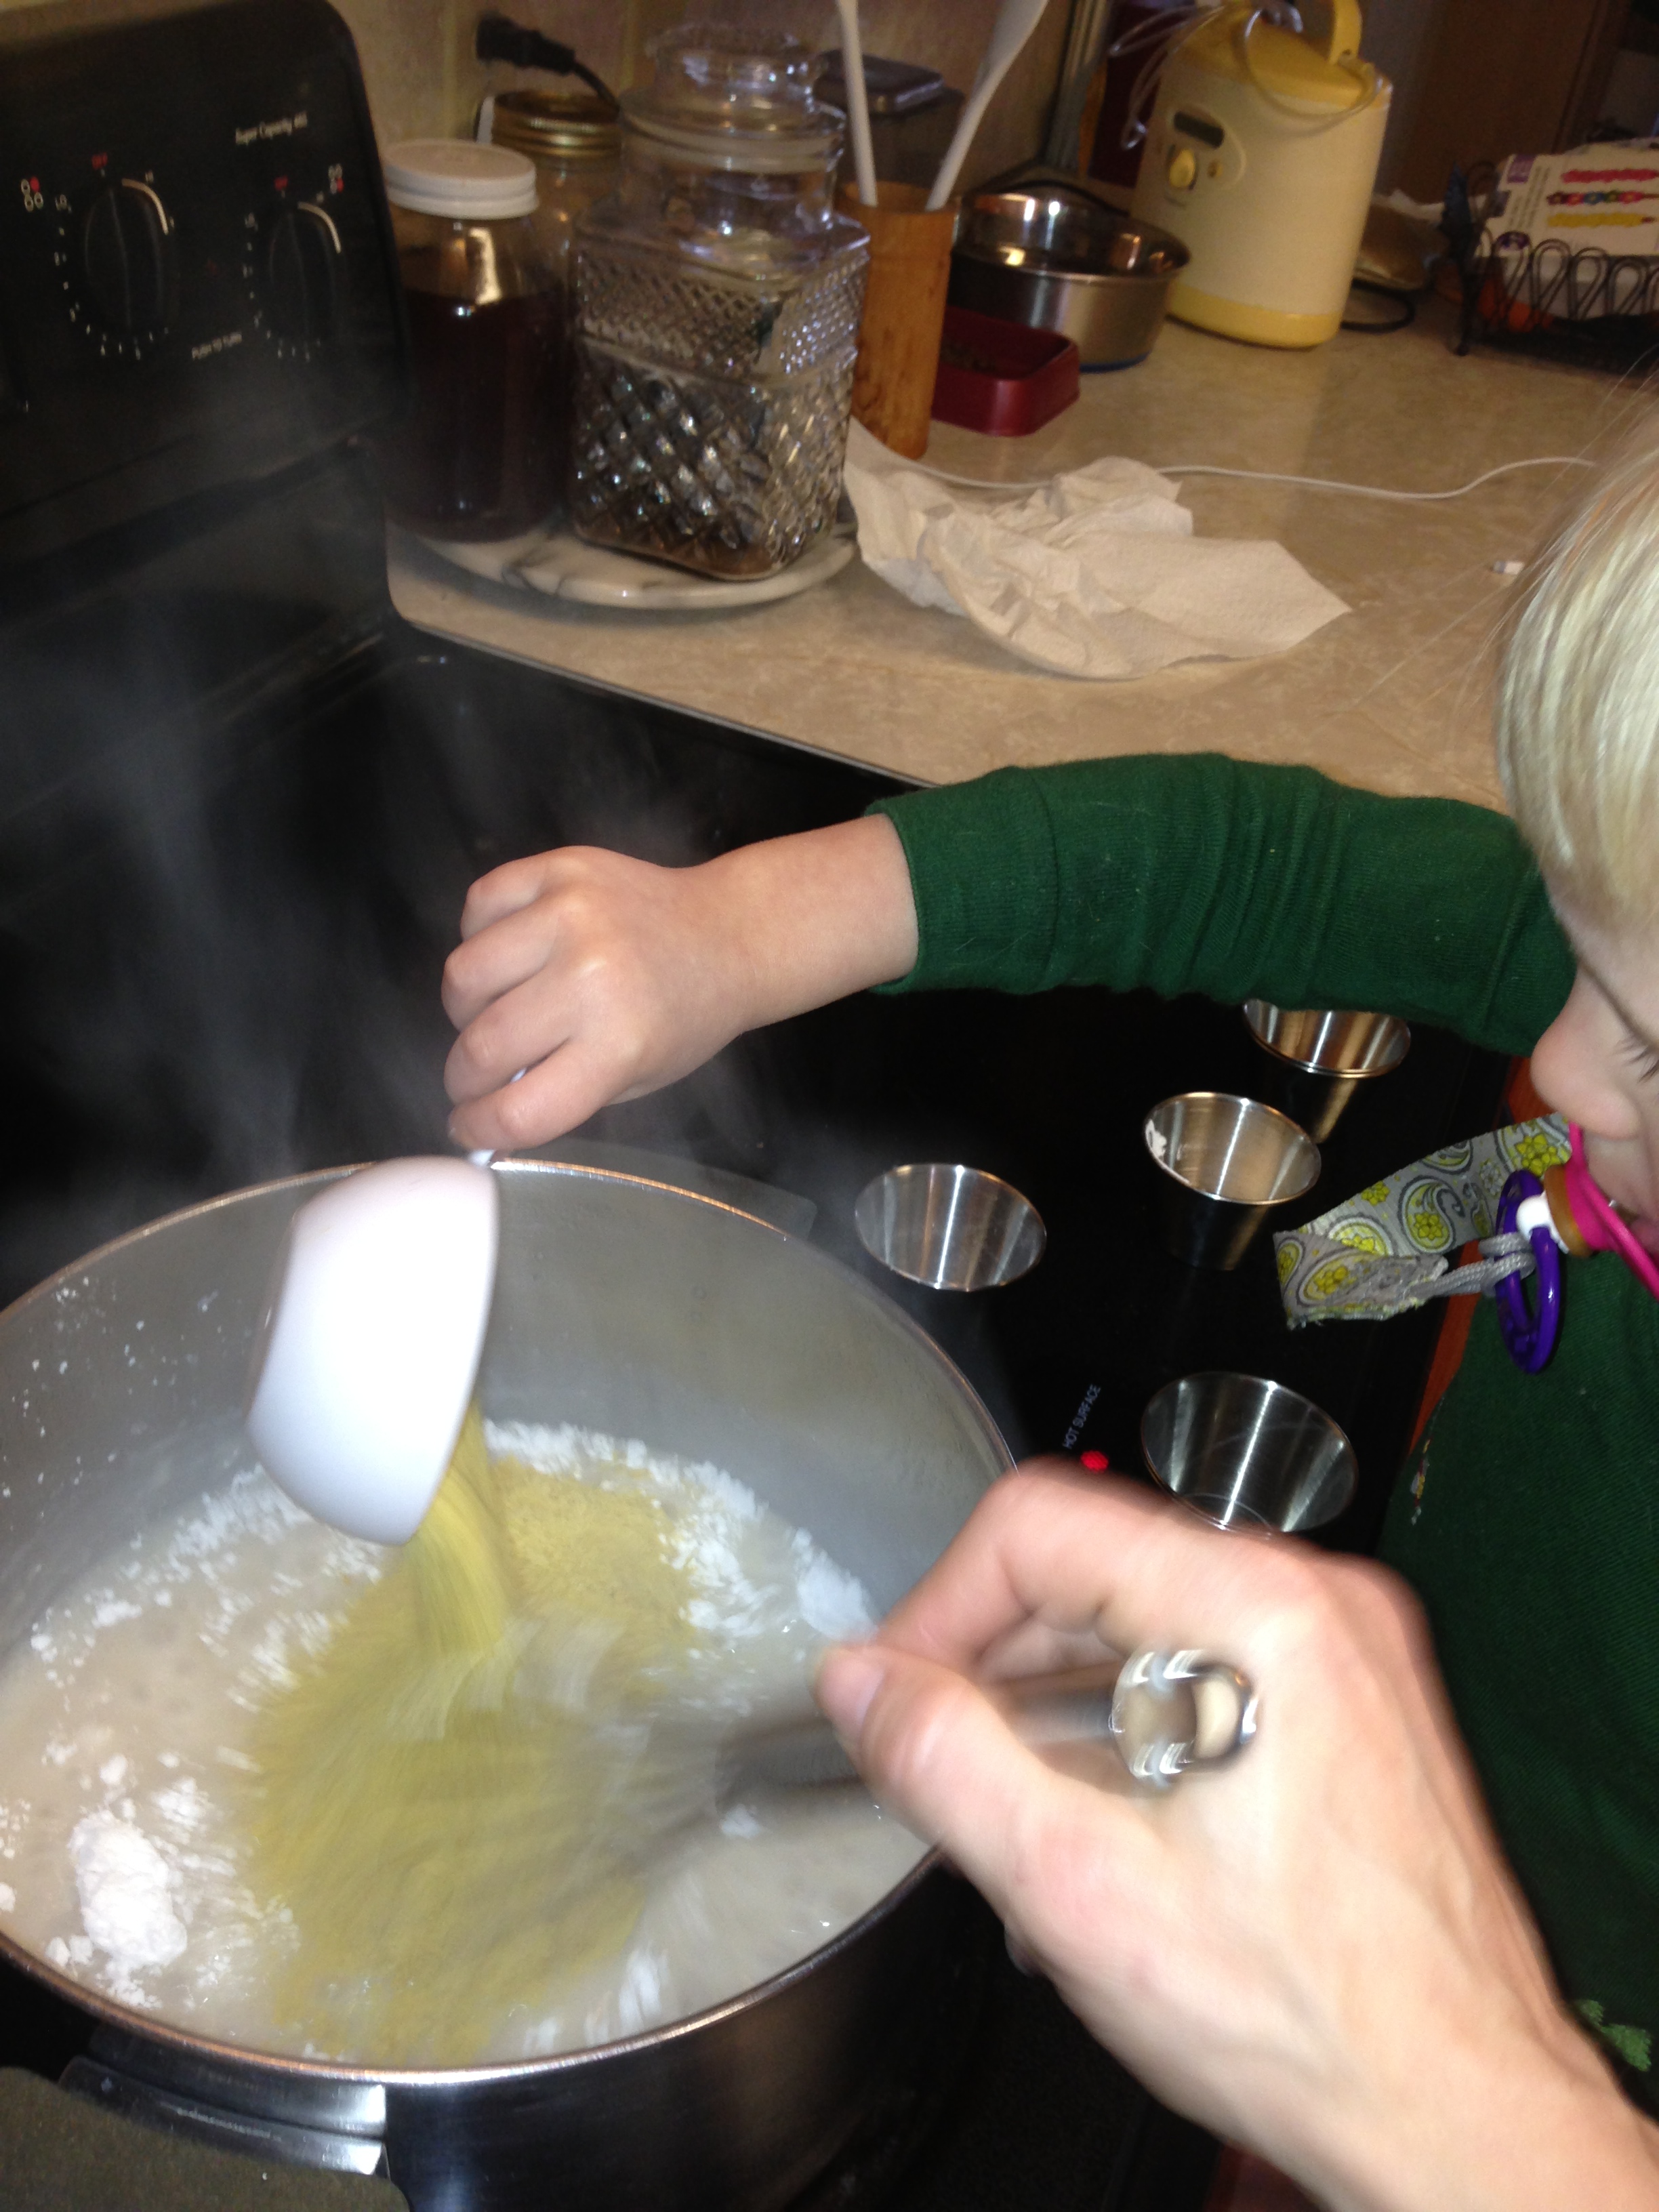
Adding the last few ingredients!
You have to WHISK CONSTANTLY at this point! It quickly starts coagulating and needs constant motion.
So, of course, this was when Zac woke up from his nap! Obviously!
I shoved the cheese off the stove, raced in, grabbed him, raced back, and one handed stirred while instructing Jed to drag the bouncy chair in from the dining room. He did, and I took a quick couple of seconds to unceremoniously shove Zac into the bouncy chair before turning my attention back to the cheese. Whew! It wasn’t ruined!
After 5 more minutes of stirring, I took it off the heat and poured it into a greased dish.
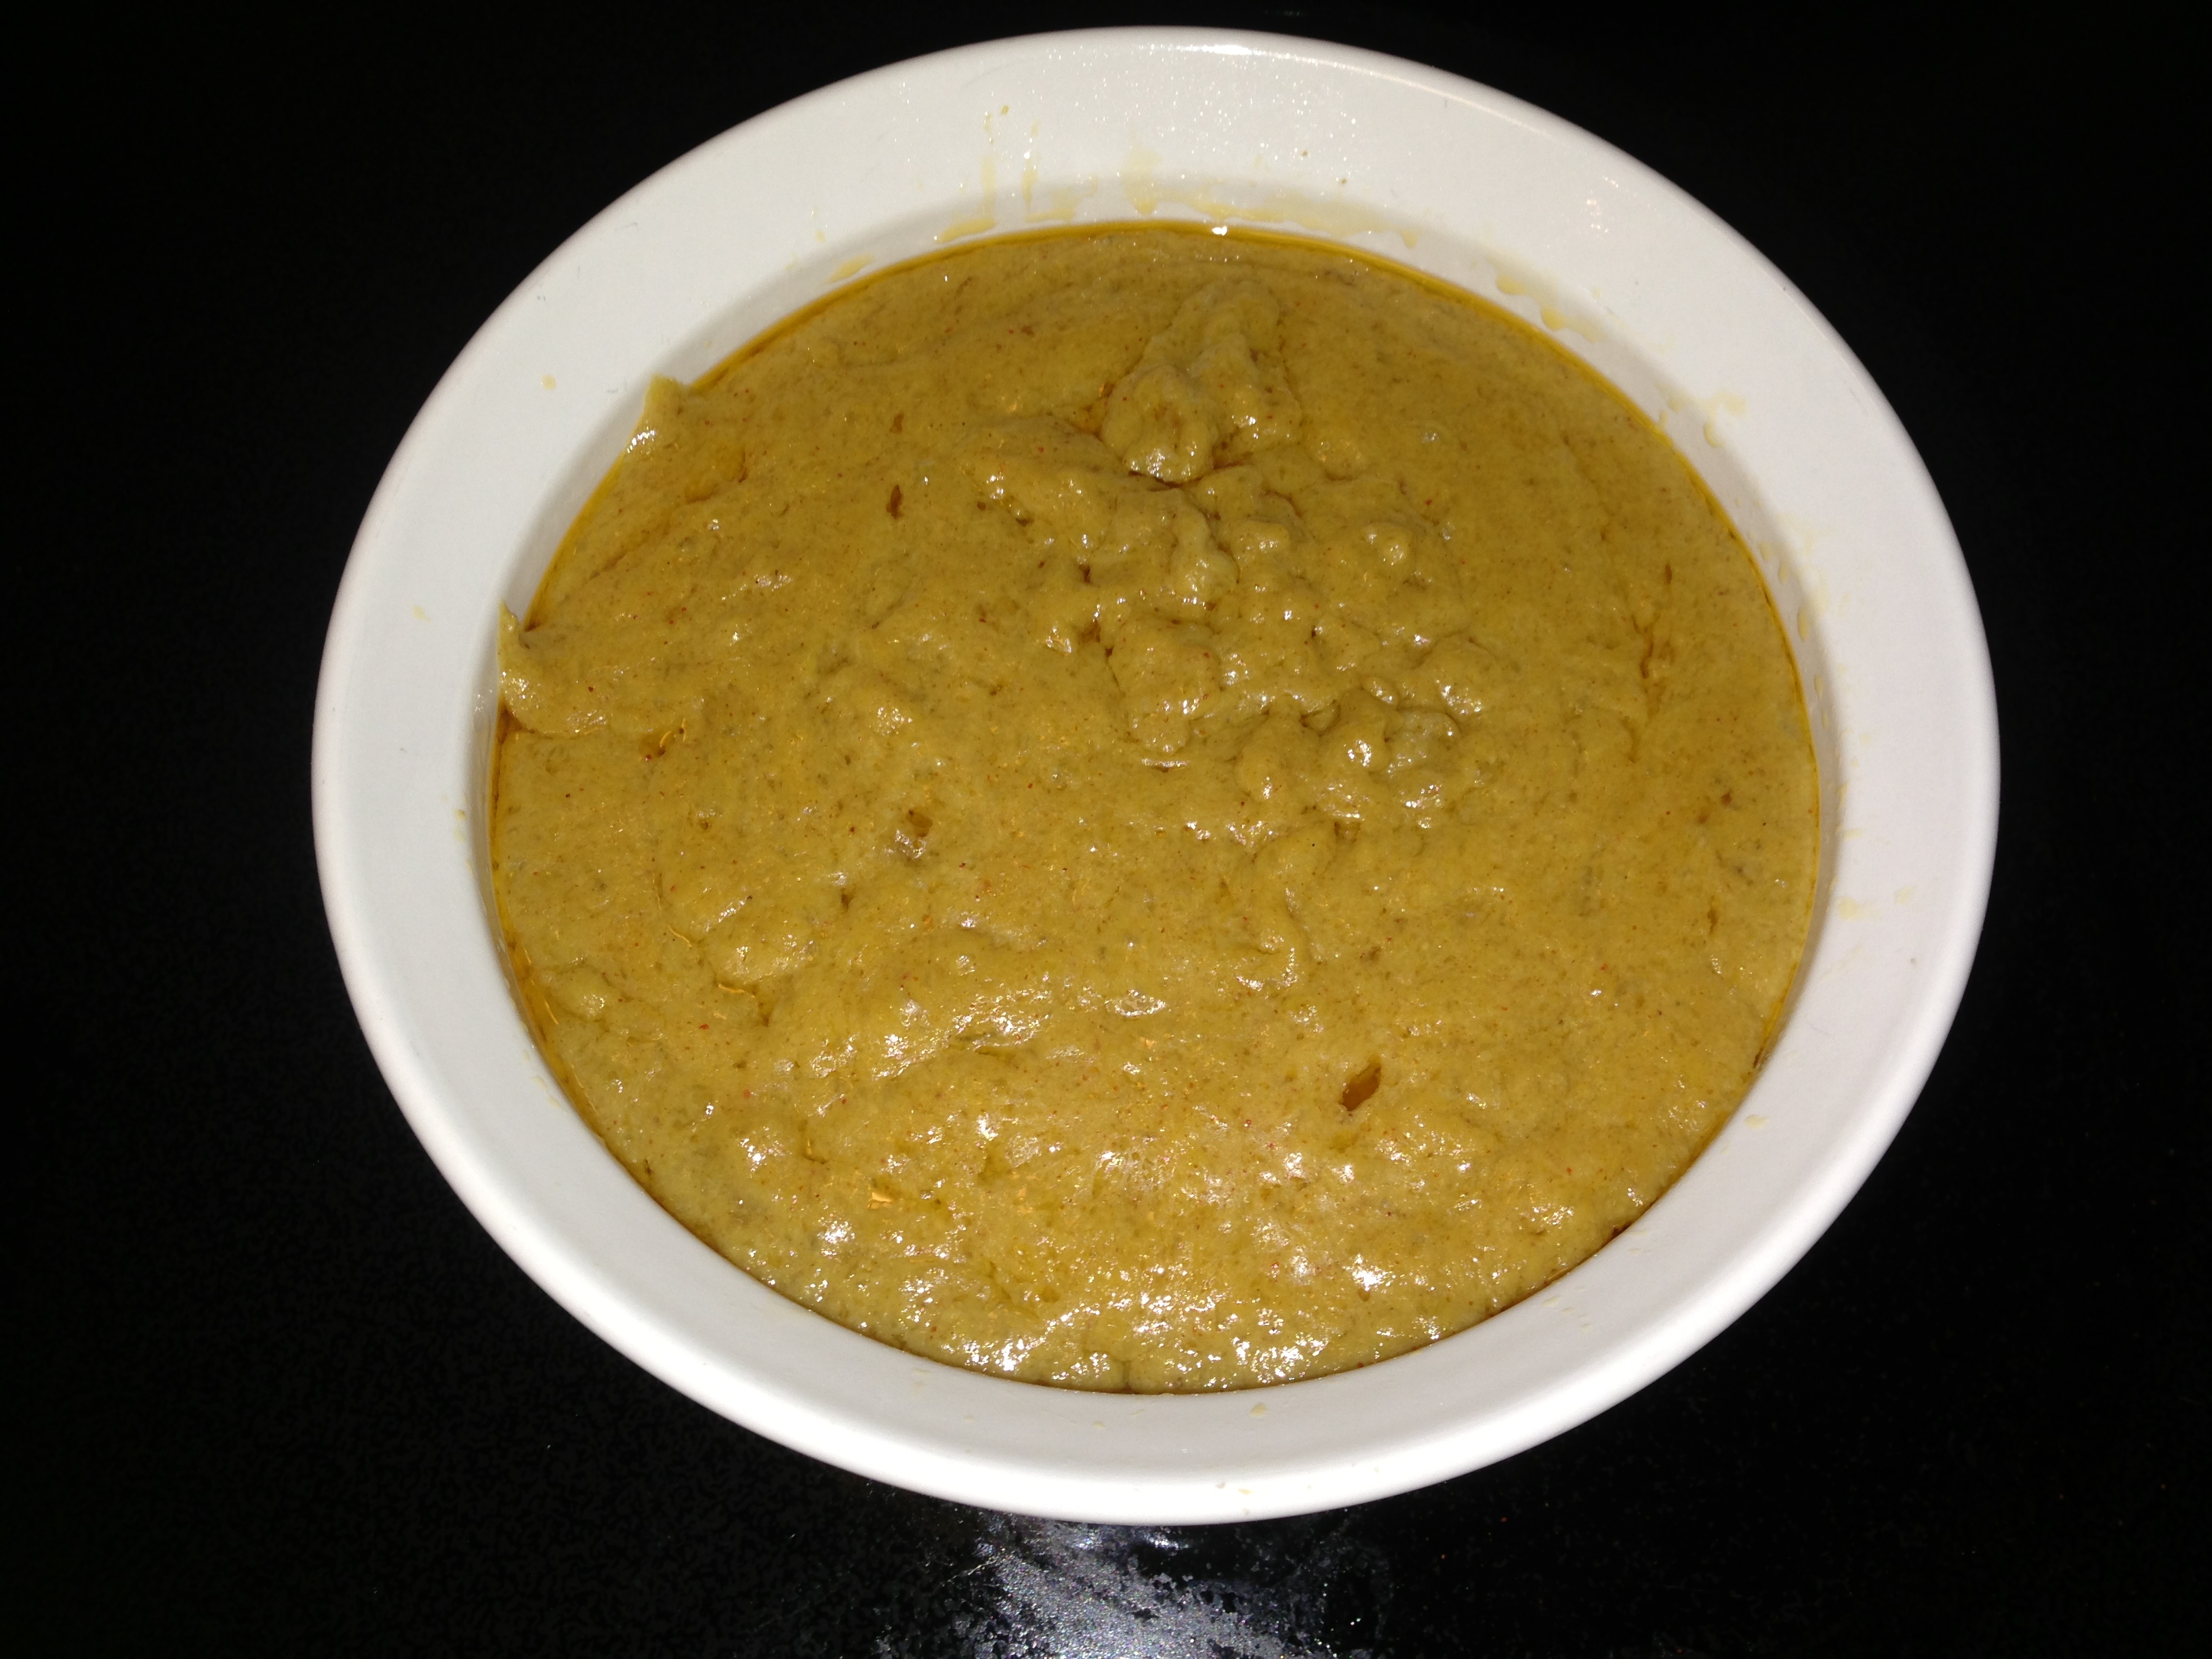
AND…we have CHEESE!
Now, something I remembered from the first time I made this is that it is very greasy. Maybe I’m doing something wrong from her recipe, but this time I made sure to pour off as much of the grease as possible before pouring the cheese part into the dish. Then, after the cheese was in it’s resting place, I used paper towels to blot the surface of the cheese and remove more excess grease.
I’m glad I did, because it made a HUGE difference! This was much more like a cheese than the first time I made it!
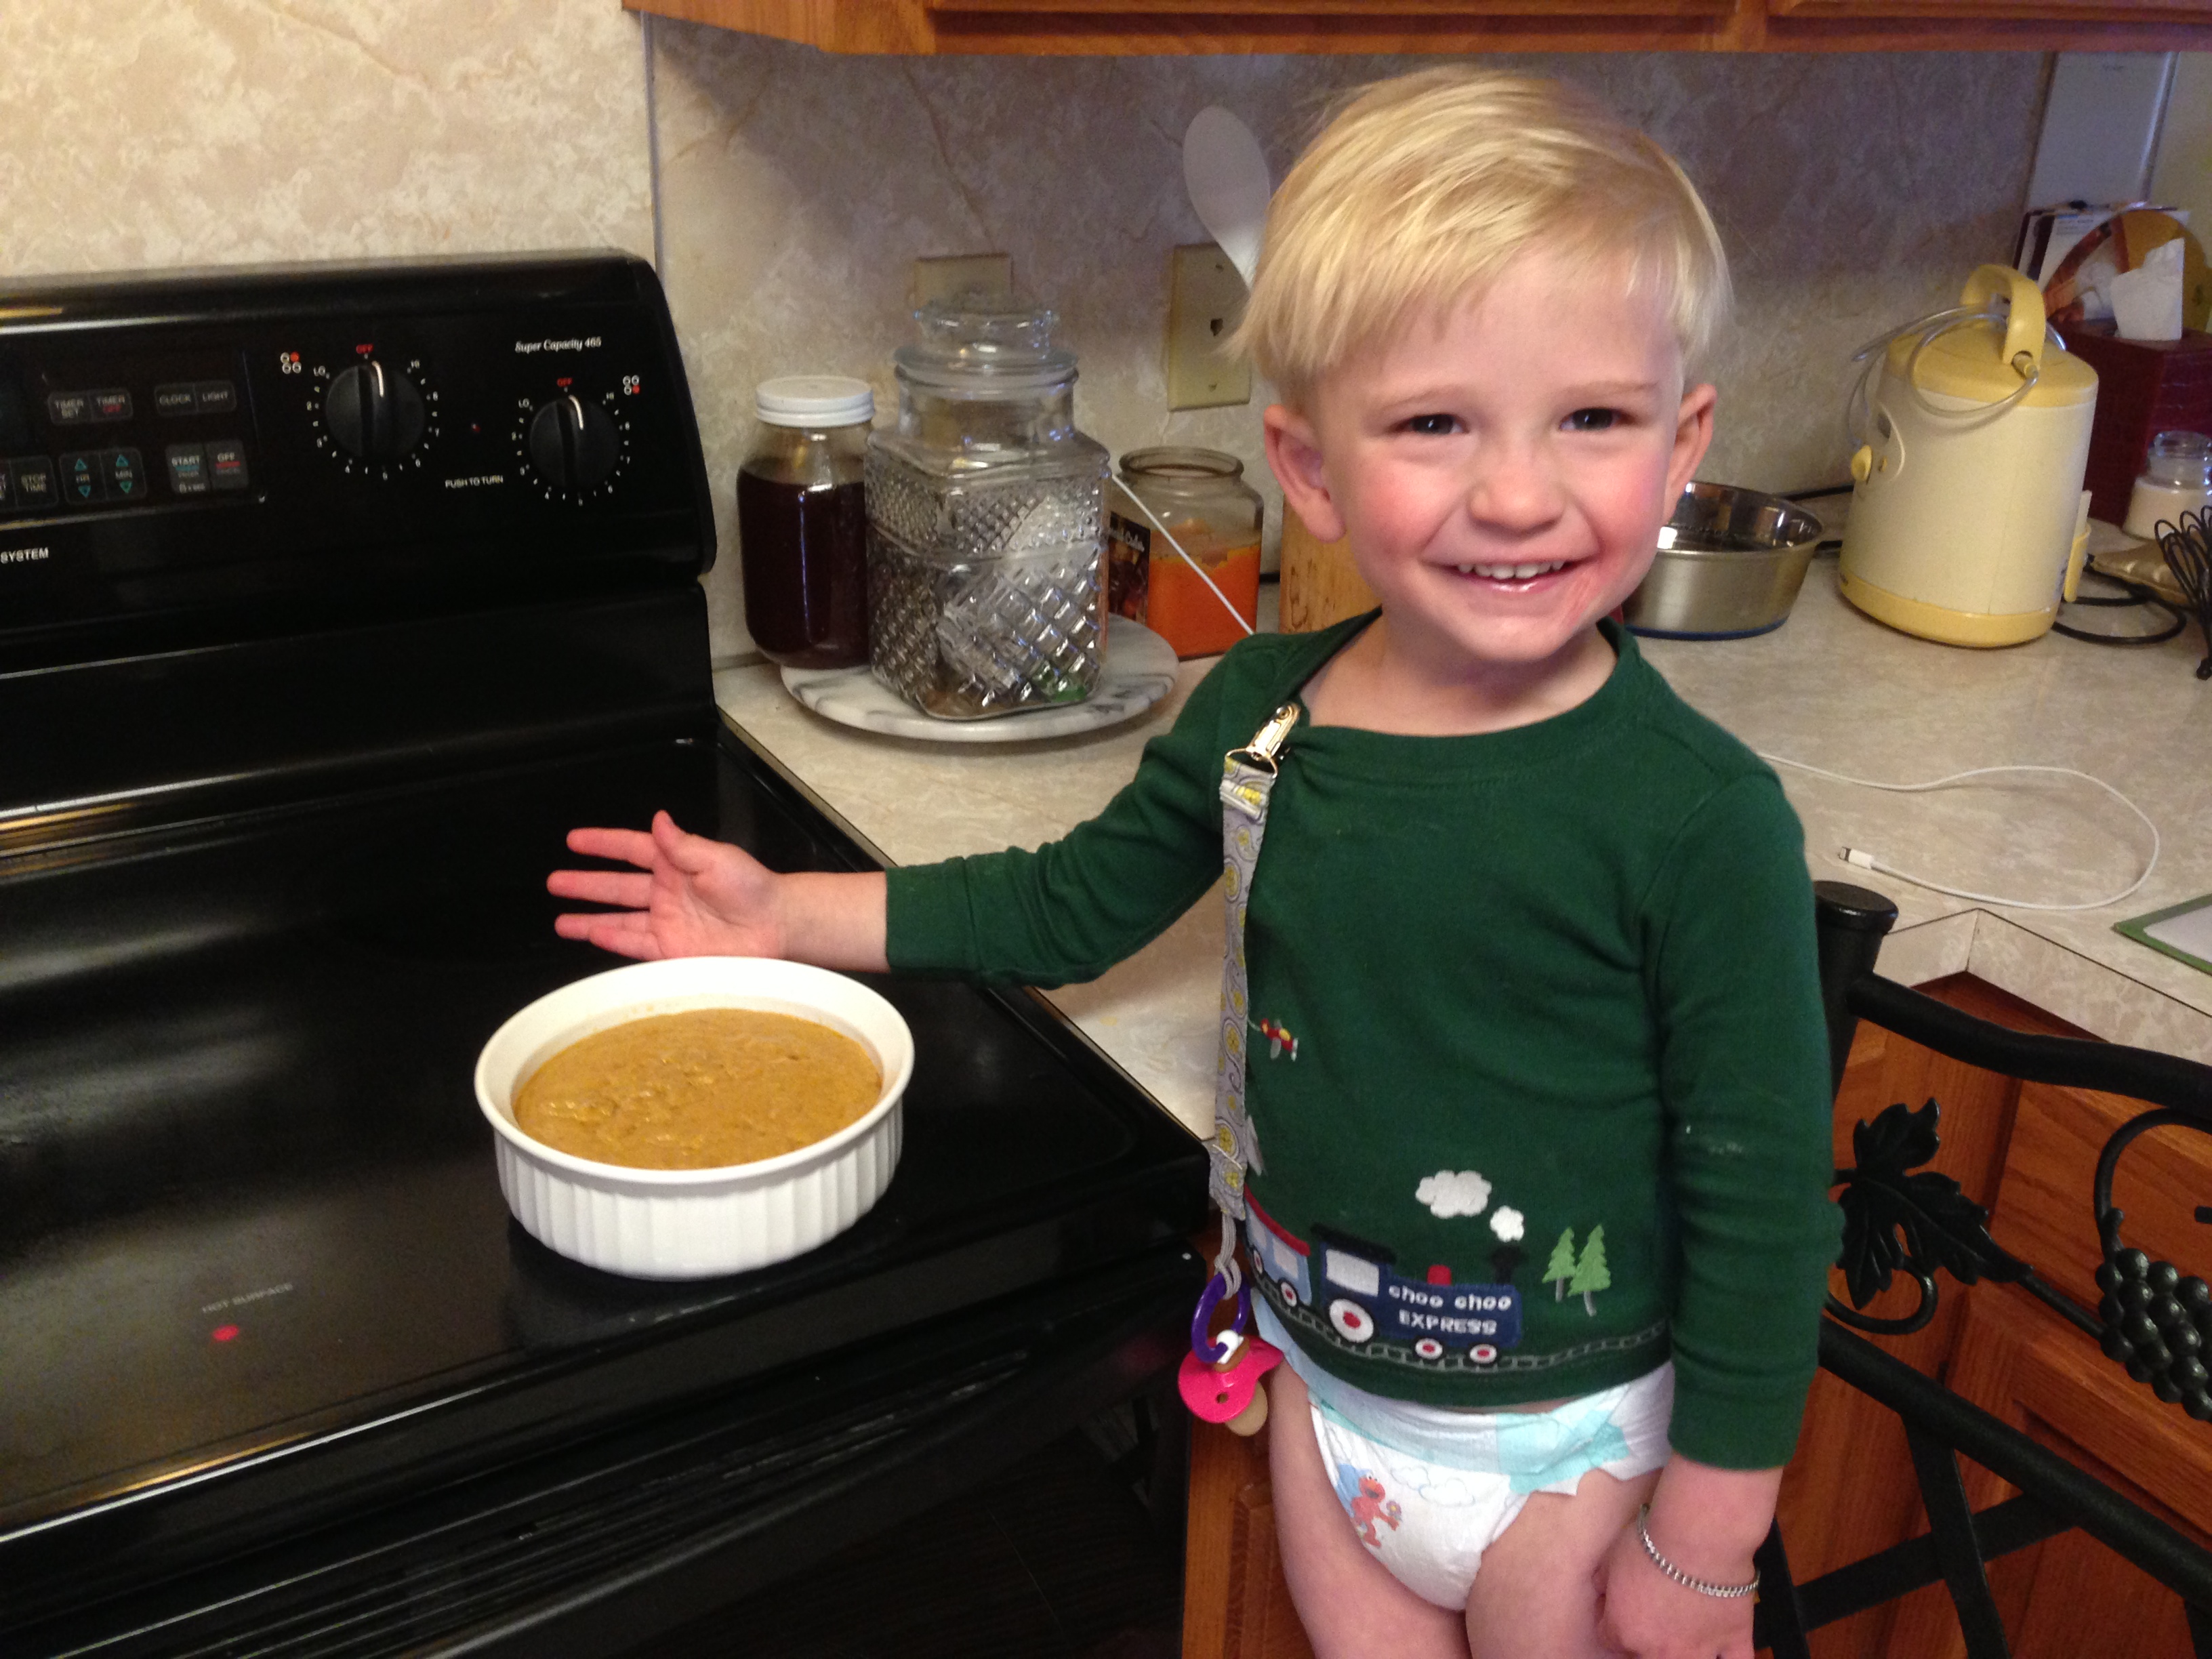
He’s so proud of himself for helping me make cheese!
Once you’ve got your cheese poured out, it needs to cool. I put mine in the fridge until I was ready to use it, which was about 6 hours later, but it really only needs an hour or two in the fridge before it is good to go.
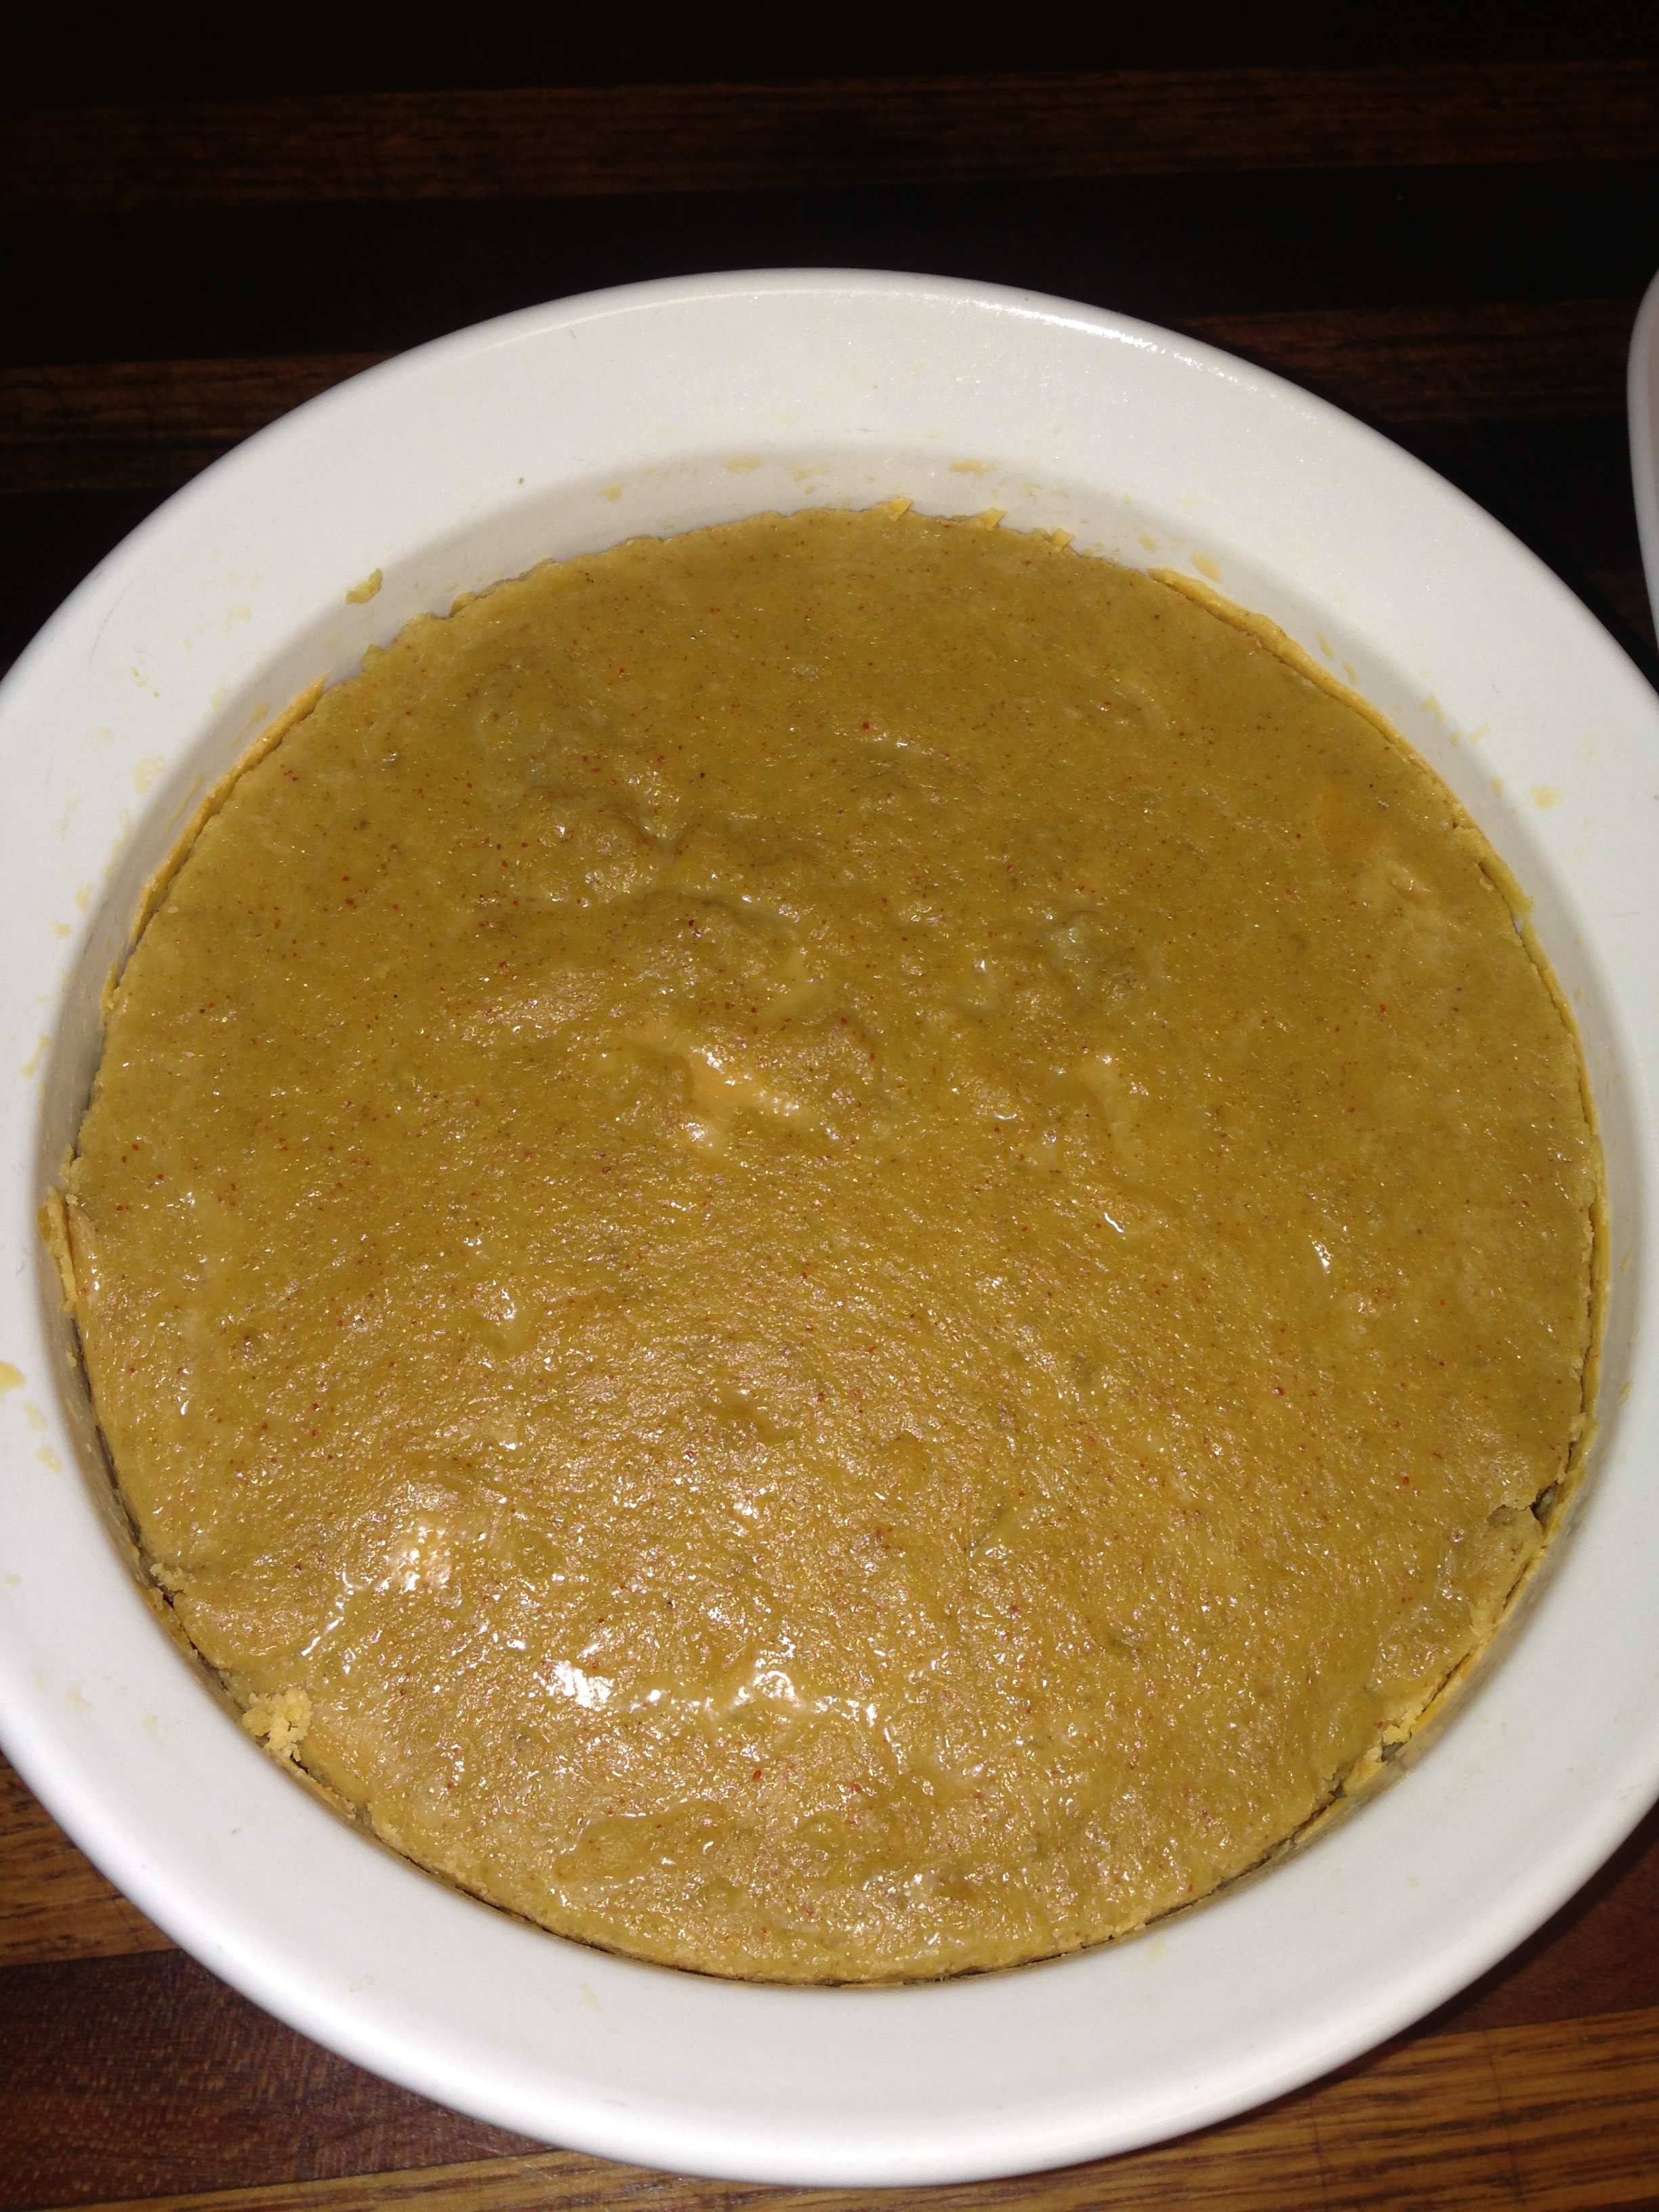
After cooling in the fridge for a couple hours…

…and a lovely wedge cut out for display!
Now, Mary says the cheese will get firm enough to grate; mine has never managed that. It’s more of a soft cheese. Then again, I never use liquid smoke in the recipe like she says, and I didn’t have smoked paprika, only regular paprika, so maybe that has something to do with it. It doesn’t matter, though. Either way, it’s delicious and it melts beautifully!
I’m not going to write the recipe down here, because in this instance I just did exactly what she said (with a couple of omissions but no substitutions or changes). So if you want to make this – and you SHOULD want to make this – go visit Sweet Roots and come back to thank me for sharing her with you!
Now with all this beautiful cheese, what to make for dinner?
Quesadillas, of course!
Since I already had some chicken cooked and shredded, I simply chopped up some bell pepper, mushrooms and onions and tossed them into a pan with olive oil.
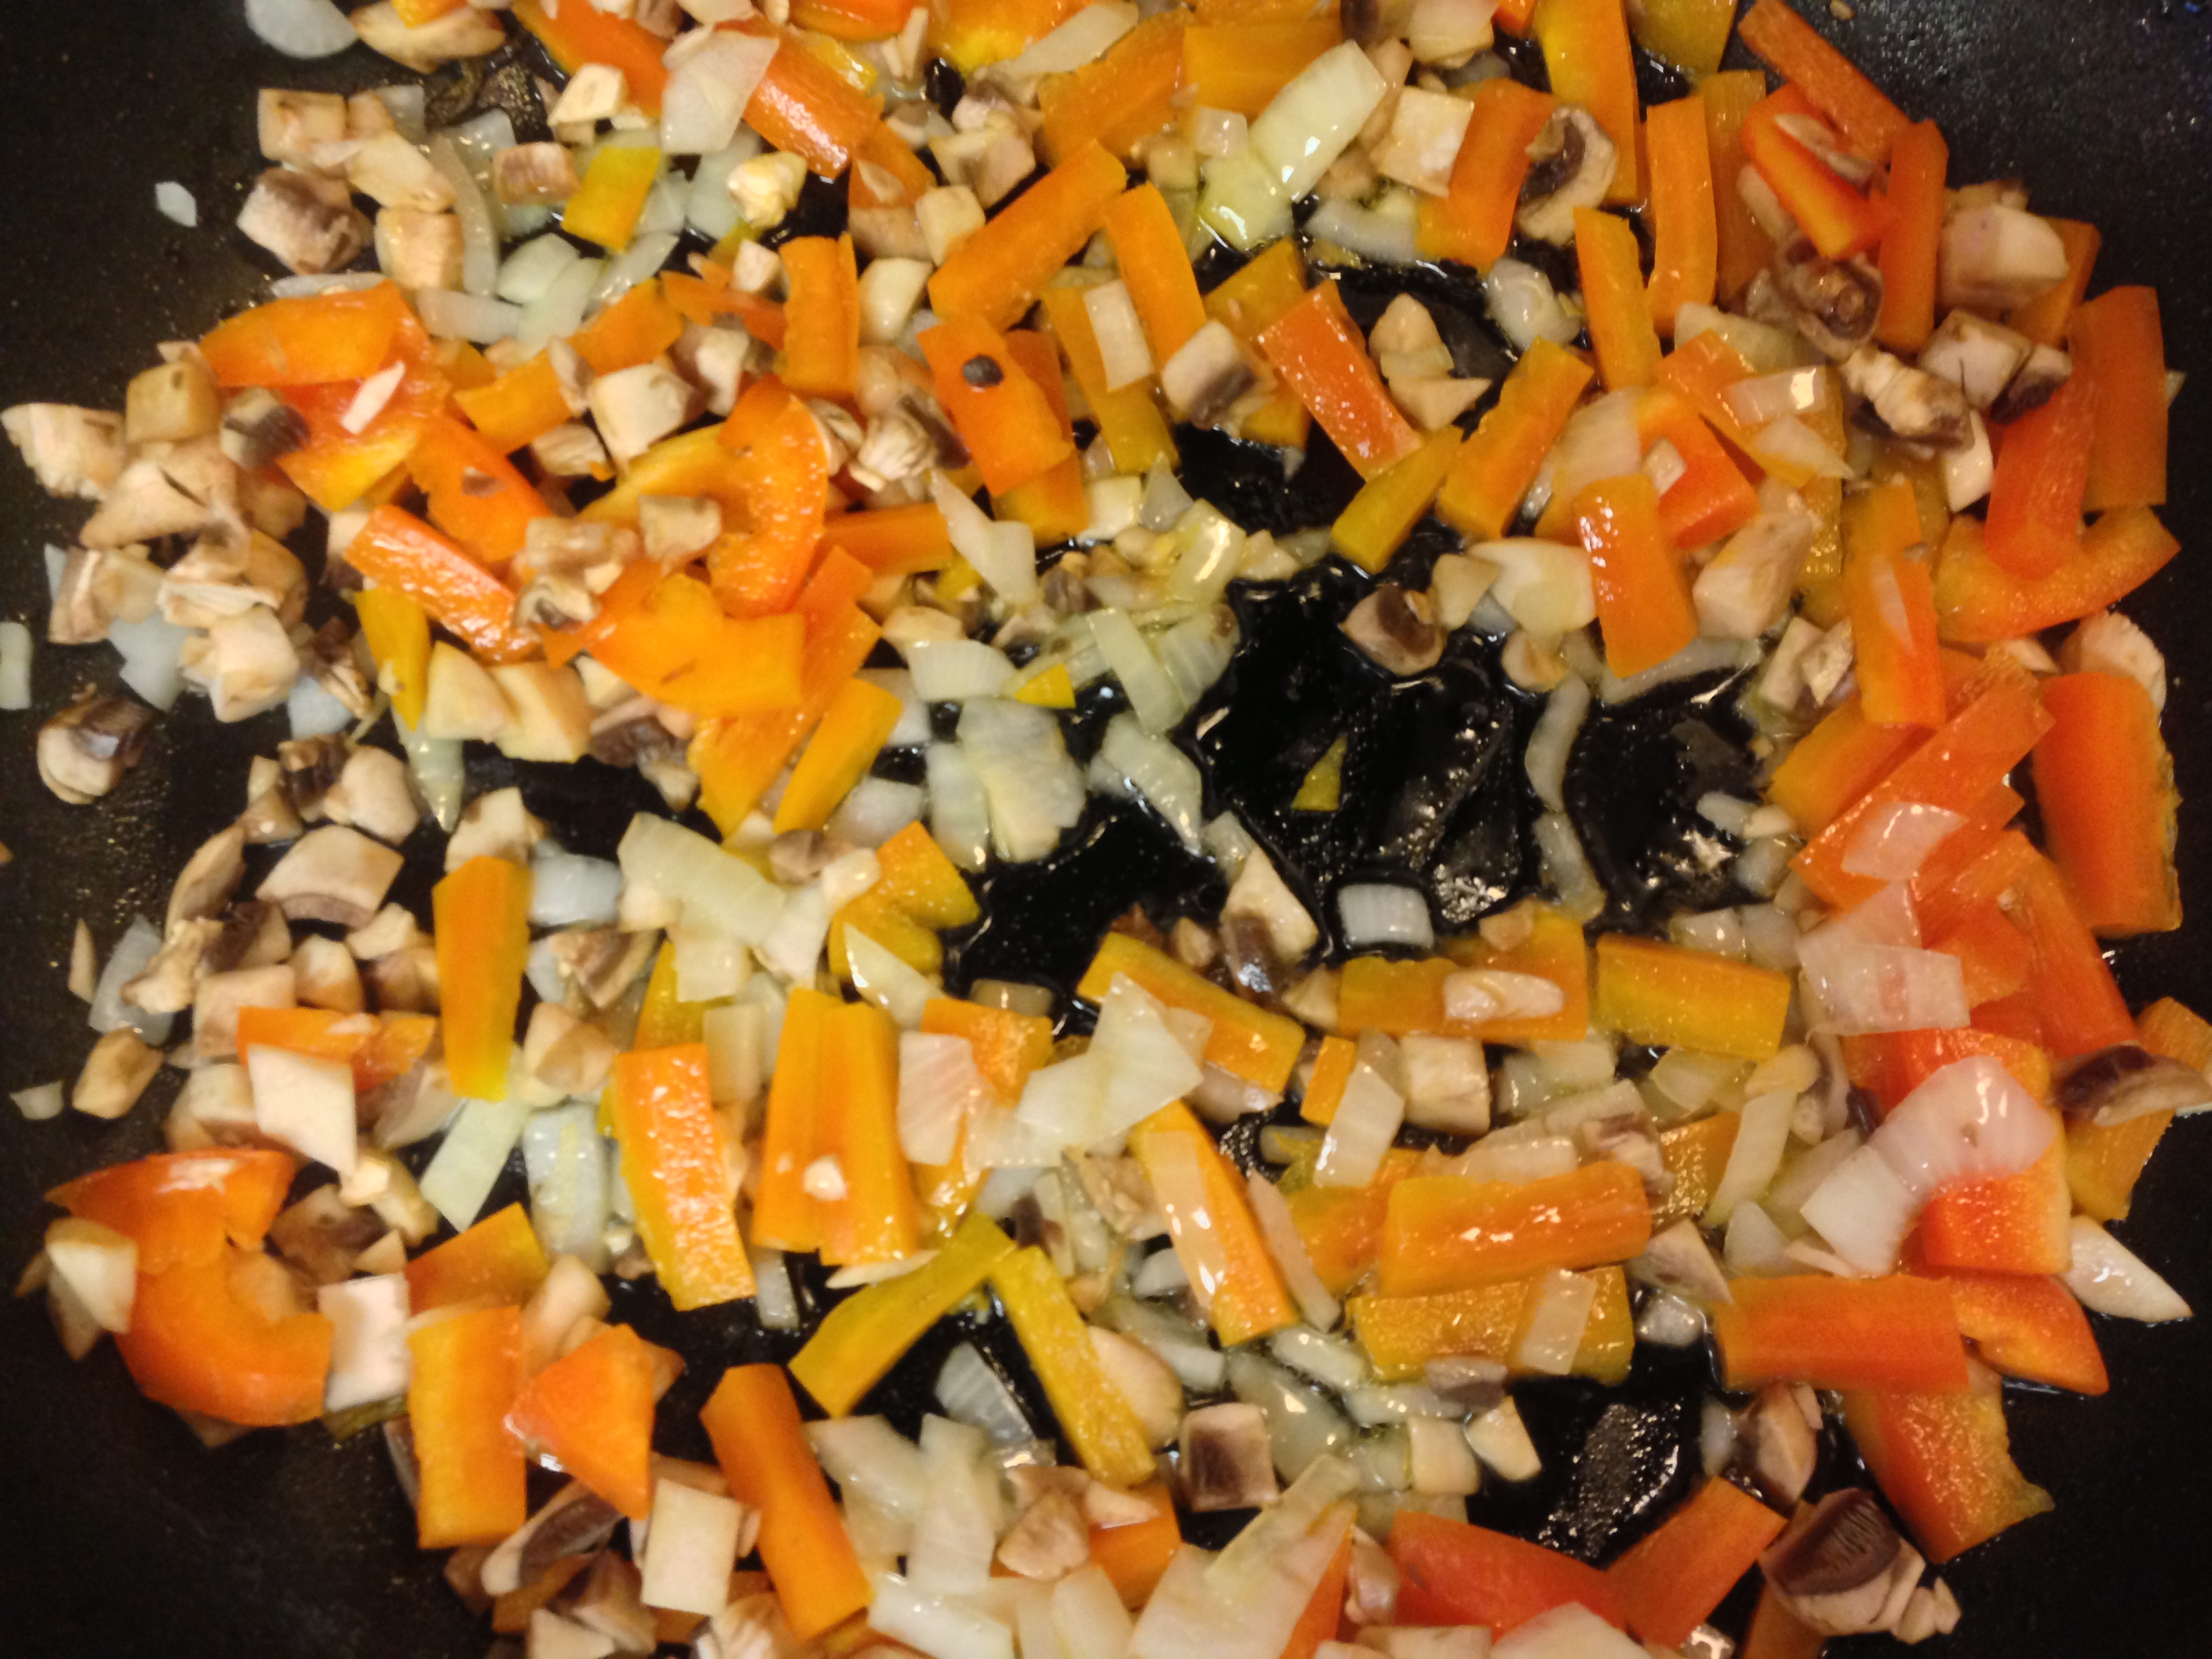
Orange bell peppers, onions, and mushrooms softening in the pan
We’re moving on to trial onions on Jed now, so the next few days will have very onion-y food in our house!
I cut a lime in half and squeezed some lime juice on top of the veggies while they cooked.
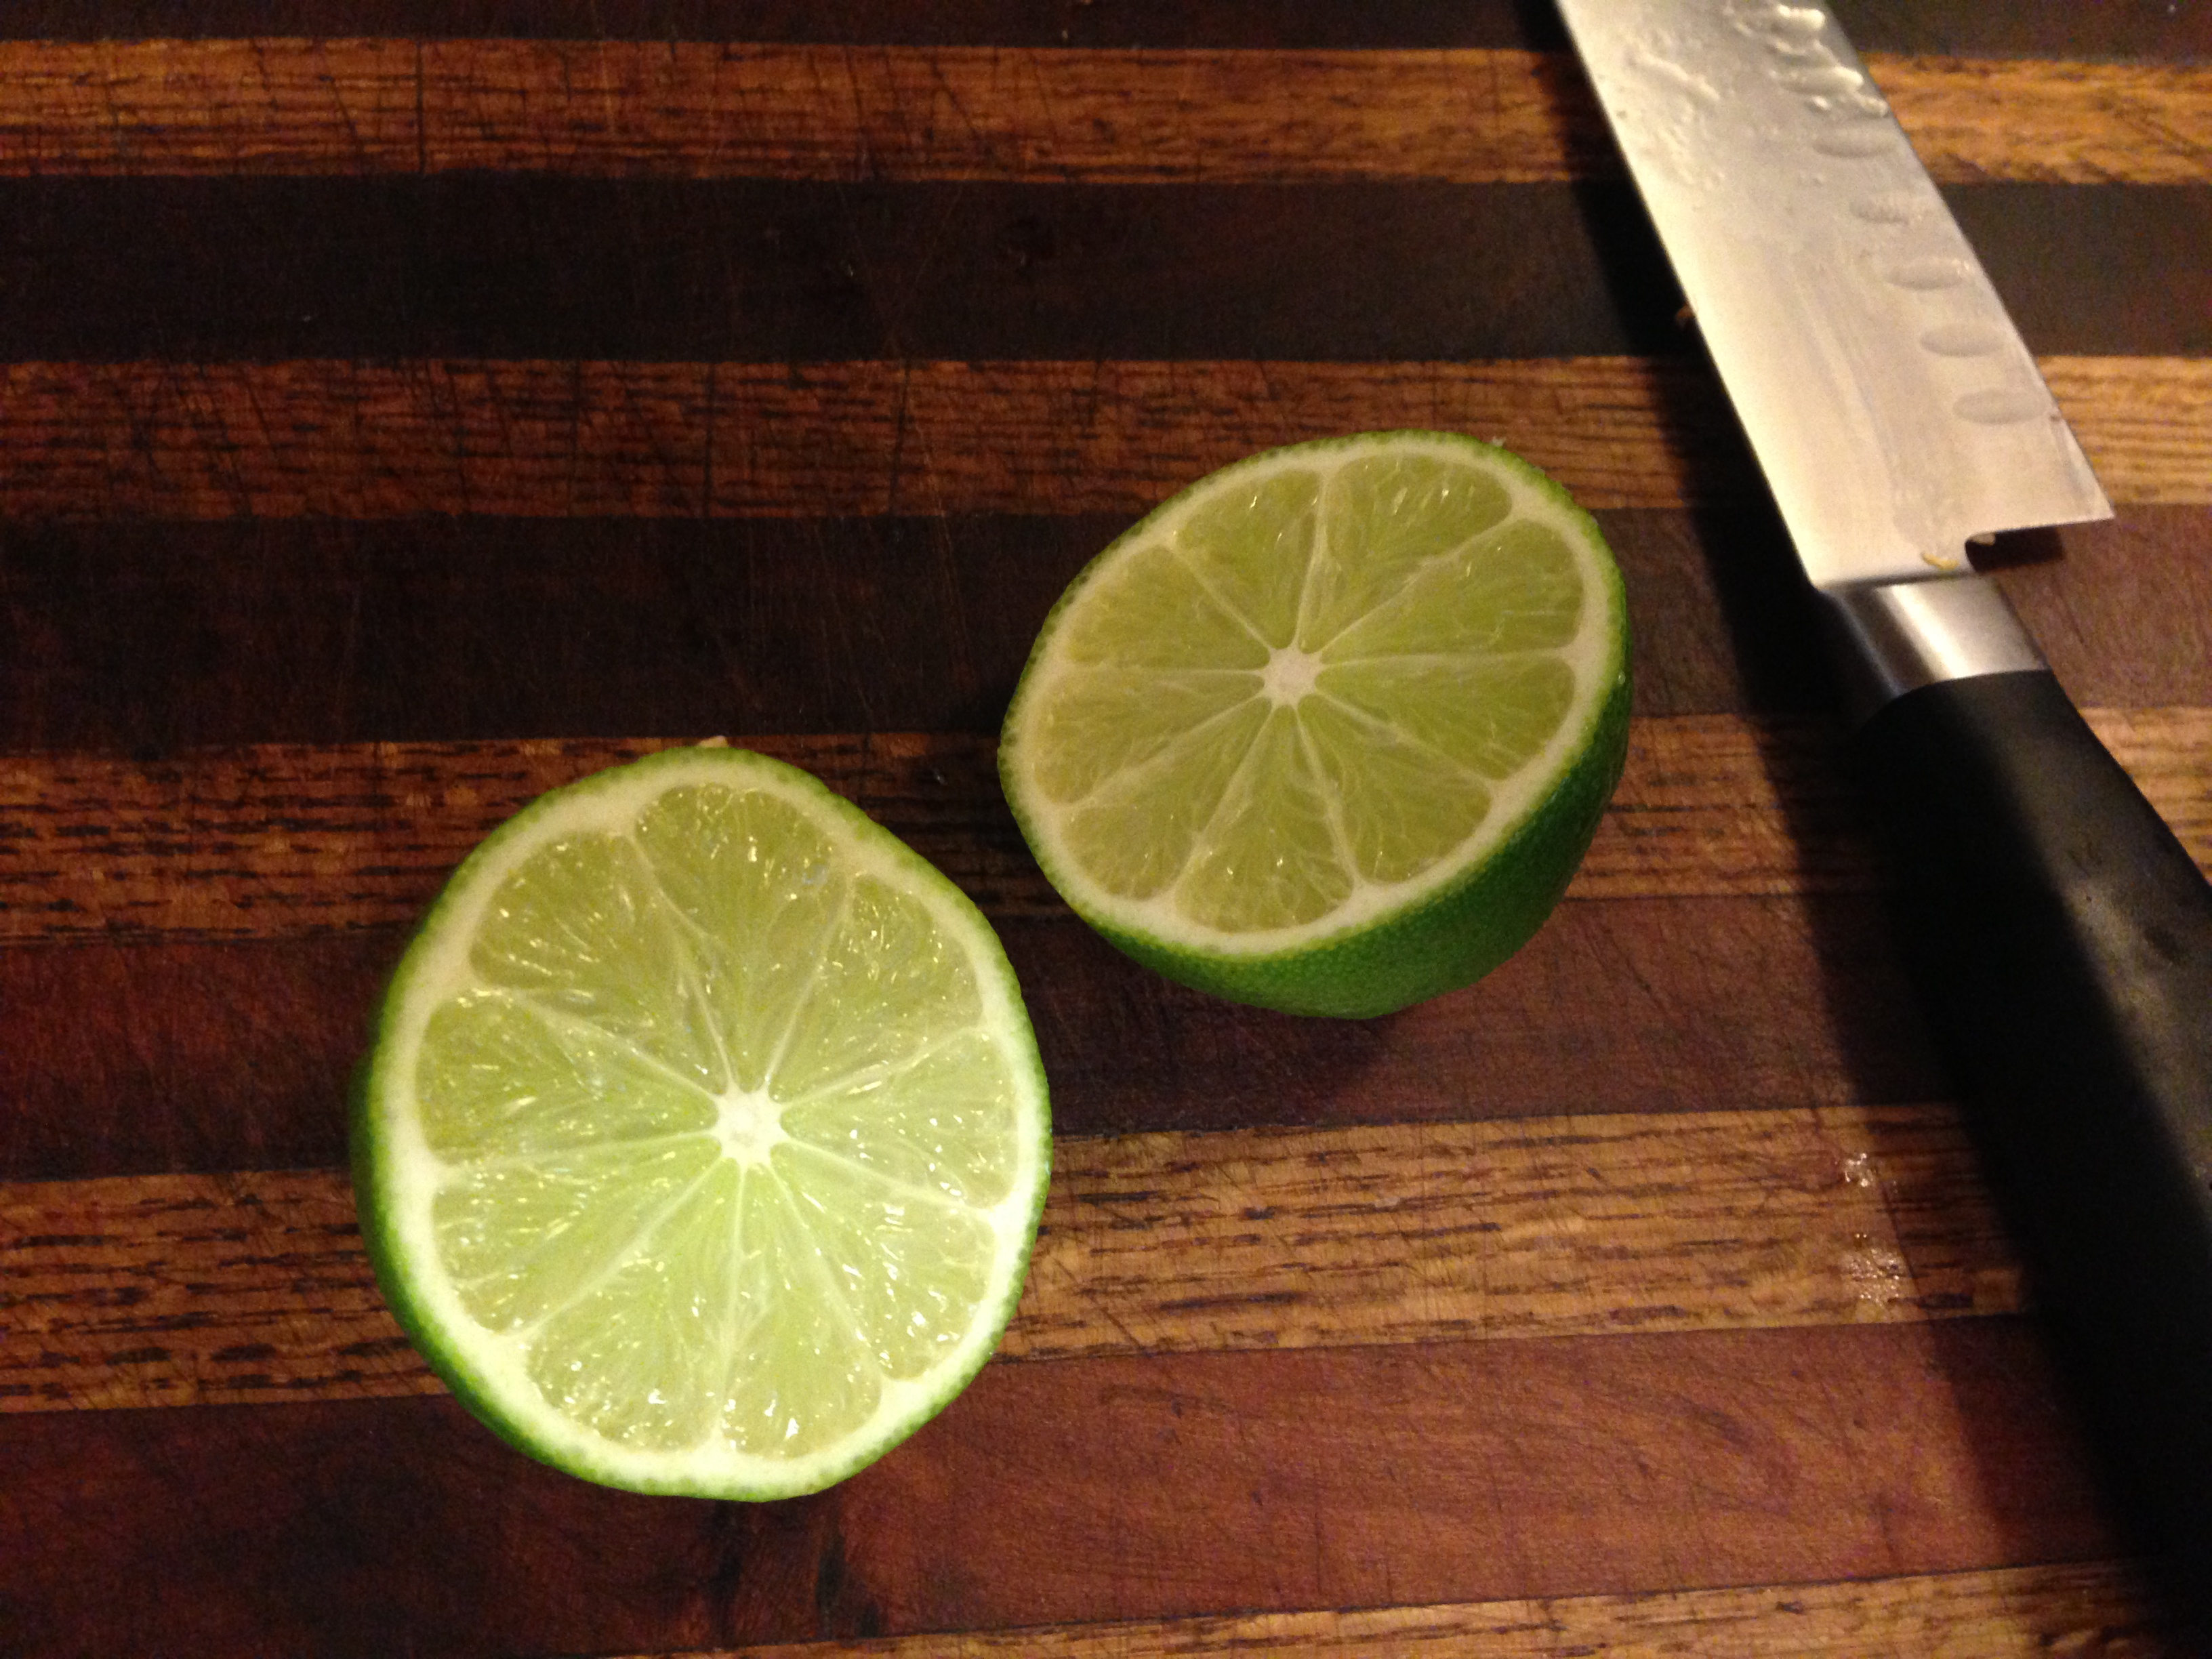
I can’t help it…limes are just pretty.
I had planned on using my homemade taco seasoning mix, but we were out! Ack! I didn’t have time to make more before the recipe was ready to move on, so I decided to just go simple: lime, salt and pepper. Turns out? Good move. Darrel said it was very flavorful but not overwhelming.
Then I tossed in the chicken to heat up and get some of that yummy flavoring…
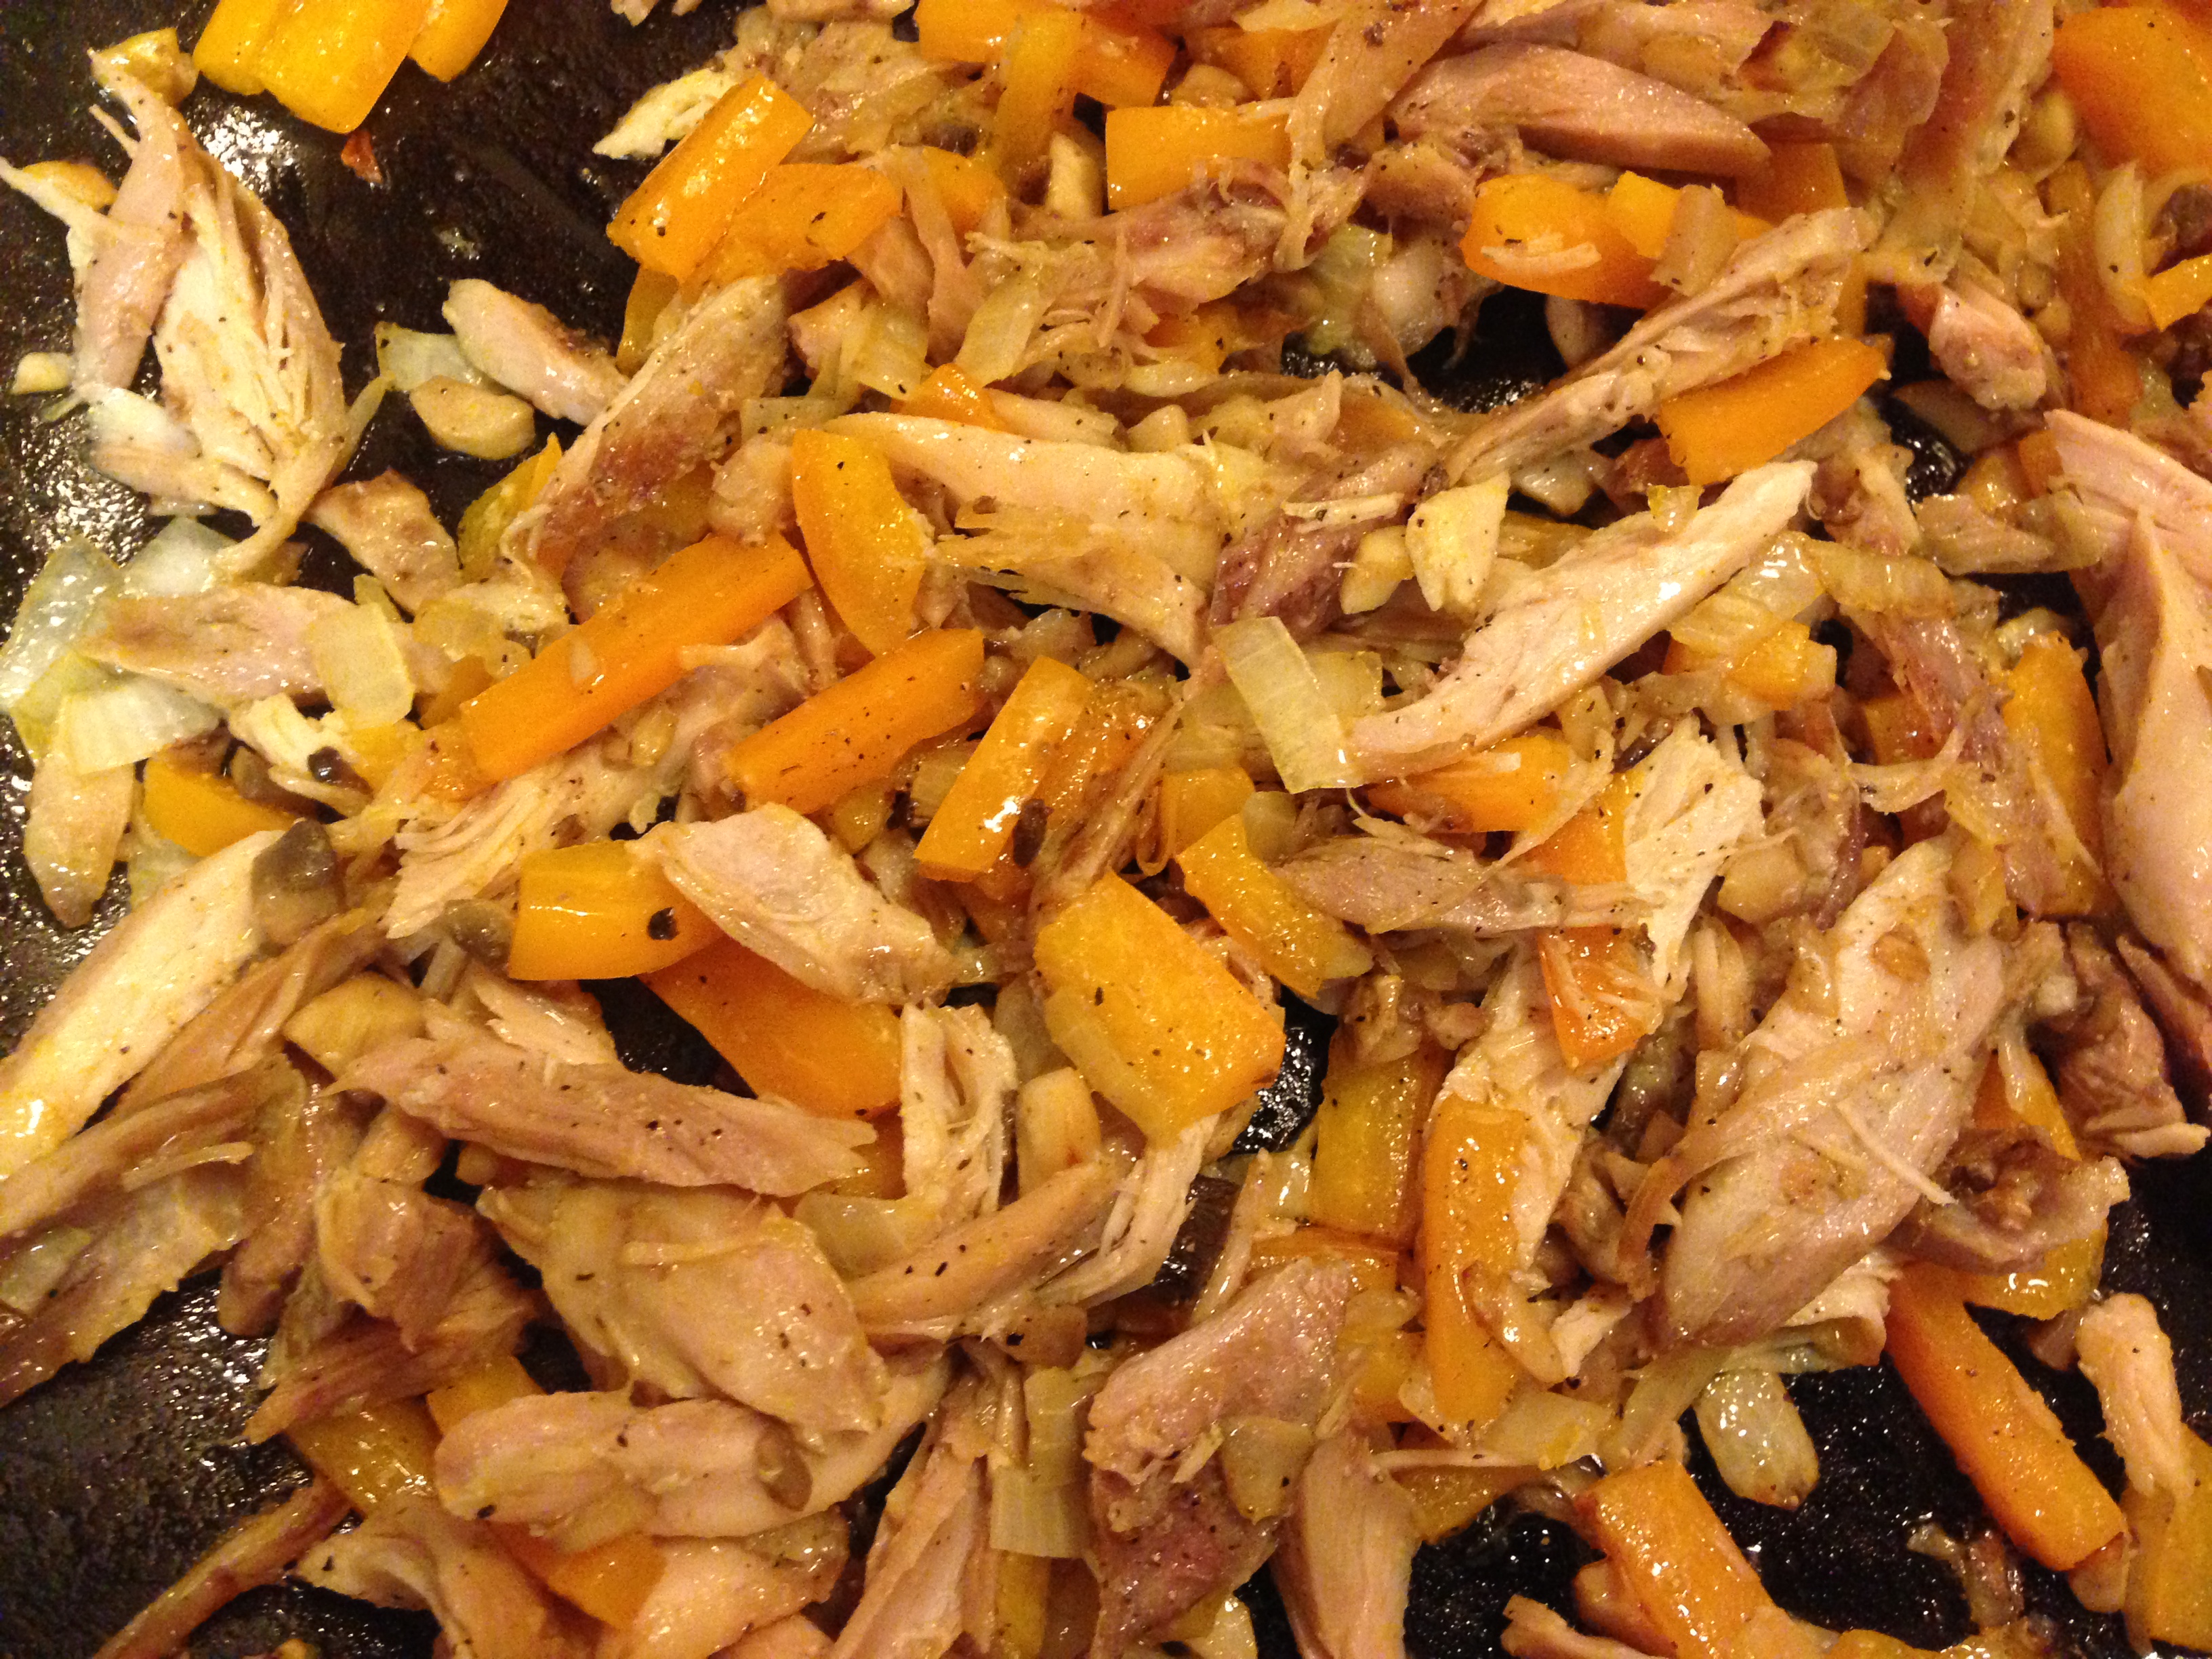
Some chopped up chicken warming in the pan…
And when that was all heated up I dumped it into a bowl, scraped all the little ‘bits’ out of the inside of the pan and added some more olive oil to heat. Then I tossed in a corn tortilla to begin warming. If you can use flour tortillas, feel free, and if you need to make your own homemade quinoa tortillas, those would almost certainly work fine, too. I just happened to have corn tortillas in the fridge!
I scooped out a couple of heaping spoonfuls of my chicken mixture and threw it on half the tortilla, then sliced a few ‘slices’ of cheese and put those on top.

Ready to fold…
Then I folded the corn tortilla over the filling and cooked it for a few minutes on each side until it was crispy good!
I went and dug out some of my homemade, fresh salsa from the fridge, used a pizza rotary cutter to cut the quesadillas into finger food sized pieces for Jed, and dinner was served!
I’ve already been informed that this needs to be lunch today, too.
LOVE winning recipes!
I SO hope Zac passes all of these foods so I can eat them, too. THIS was a huge temptation for me – I LOVE quesadillas!
__________
VEGAN CHEESE QUESADILLAS
– 1 bell pepper (we used an orange)
– 1/2 cup mushrooms
– 1/4 cup chopped onion
– juice of half a lime
– about 1-1 1/2 cups pre-cooked, shredded chicken
– olive oil
– corn tortillas (or whatever flour is safe for you)
– 1 recipe of vegan cheddar cheese from Sweet Roots
– 1 cup of fresh salsa (for dipping)
- Chop up the bell pepper, onion and mushrooms into small pieces. Toss them in a pan with olive oil on medium heat to begin softening.
- Squeeze the juice from half a lime on the veggies.
- Add the chicken to the pan to let it warm. Add some sea salt and pepper, too.
- When it is heated all the way through, pour off the chicken mixture into a bowl and scrape out the bottom of the pan.
- Add more olive oil to heat, and toss in a tortilla.
- Scoop a few spoonfuls of chicken mixture onto the tortilla, and top with a few small slices of vegan cheddar cheese.
- Fold the tortilla over the mixture to make a half-moon shape. Cook for a few minutes, then flip and cook on the other side until crispy and delicious!
- Serve with Salsa, and enjoy your vegan quesadillas that taste like the real thing!
__________
Have you made a homemade cheese before? How about a homemade vegan cheese? How did they turn out? What do you put on your quesadillas?
__________
This post featured by Whole New Mom on 
And shared with:


Pingback: Berry Cheesecake, Vegan Bacon, Pumpkin Scones with Cardamom Icing, Vegan Quesadillas and Italian Kale Chips
Pingback: Dairy & Gluten Free Chicken & Rice Casserole - Cradle Rocking Mama
Pingback: Vegan Cauliflower Cheddar “Cheese” – Fructose-Friendly! - Cradle Rocking Mama
Pingback: Frugal Fridays – Stretch A Chicken - Cradle Rocking Mama