 About two years ago I made some gummy treats for Jed. The recipe I used was simple and delicious, and since I didn’t change a thing about it I only shared the link, not the whole recipe.
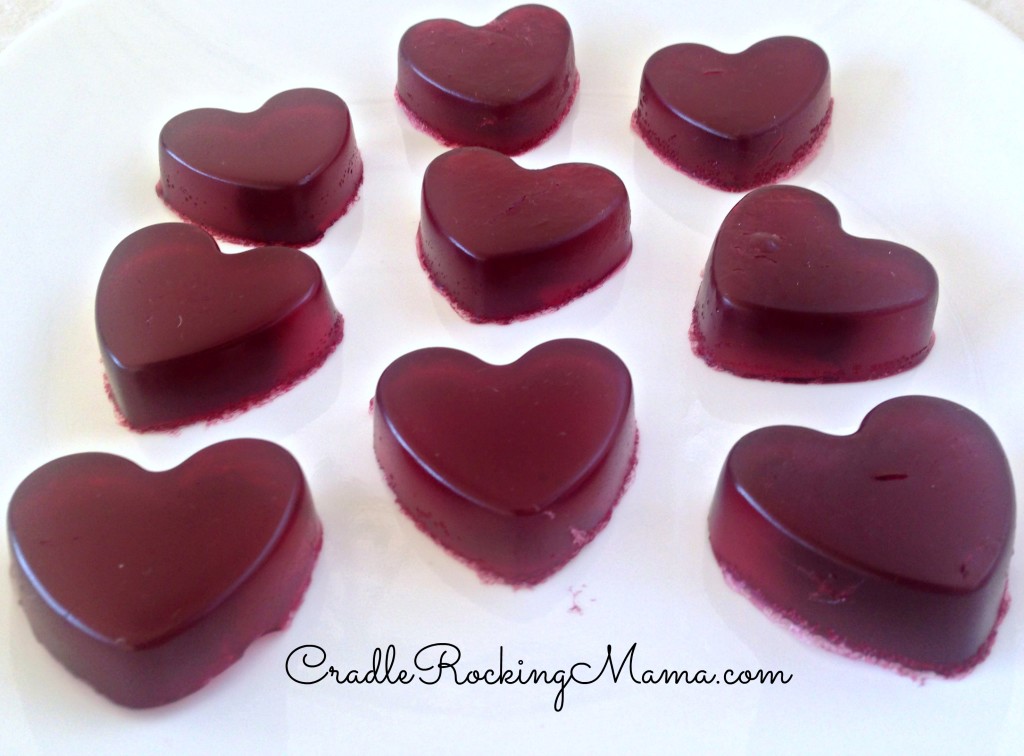
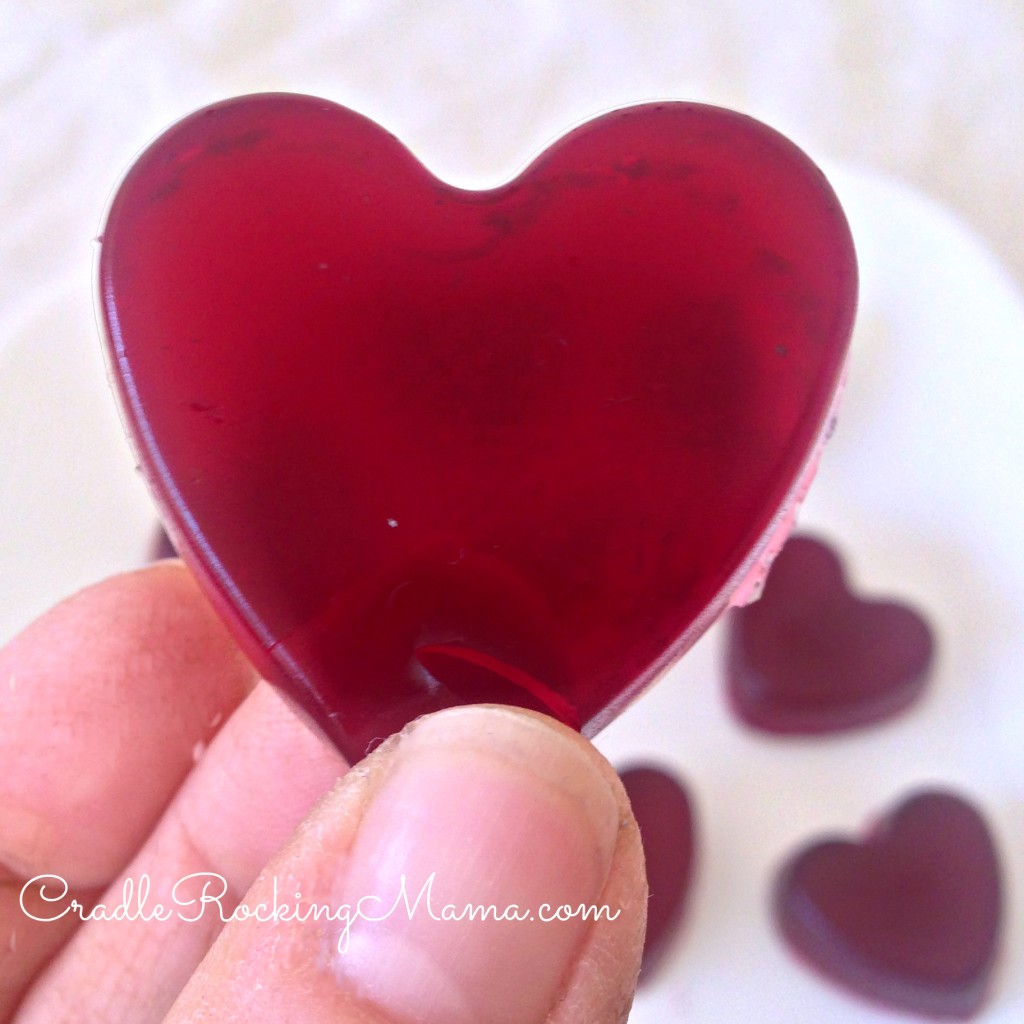
We loved those gummy treats! There were only two things I wanted to be different about them: one, they were a little too gummy…almost tough to chew, and two, they were opaque. I wanted to give Jed something that more resembled a traditional gummy bear.
So I tweaked that original recipe, and the results earned a HUGE double thumbs up from both Darrel and Jed!
It’s very simple to make, but I didn’t take step by step photos; you’ll have to use your imagination.
Other homemade gummy recipes I found online said to either juice your fruit or use store-bought fruit juice. We don’t have a juicer, so that option was out, and we don’t use store-bought fruit juices since pretty much all of them have added sweeteners or are a mix of fruits.
Instead, I took two cups of frozen raspberries and two cups of water and put them in a sauce pan. Decide which fruit is safe for you and your kiddos, and use that for this recipe. Bring the fruit and water to a low simmer and let it simmer for about 20 minutes.
The result will be a fruit-flavored liquid. (I made raspberry.) Pour the mixture through a strainer into a measuring cup, collecting 2 cups worth of fruit-flavored liquid.
If you have a juicer, do whatever you have to do to get 2 cups of juice and warm it in the stove before the next step.
To that, add the maple syrup and lemon juice and stir. Then add the gelatin and stir. Immediately pour into your molds.
I had a silicone pan with 24 heart-shaped mold spots to use for this Valentine’s Day treat (like this one). However, any silicone mold will work beautifully for this. If you don’t have a silicone mold, just use a cake pan lined with parchment paper.
Place the pan in the refrigerator and let set for at least three hours. Once it has set completely, remove the gummy treats from the mold and dig in!
If you’ve used a cake pan lined with parchment paper, lift the whole thing out of the pan using the edges of the parchment paper and cut the gummy treats into squares.
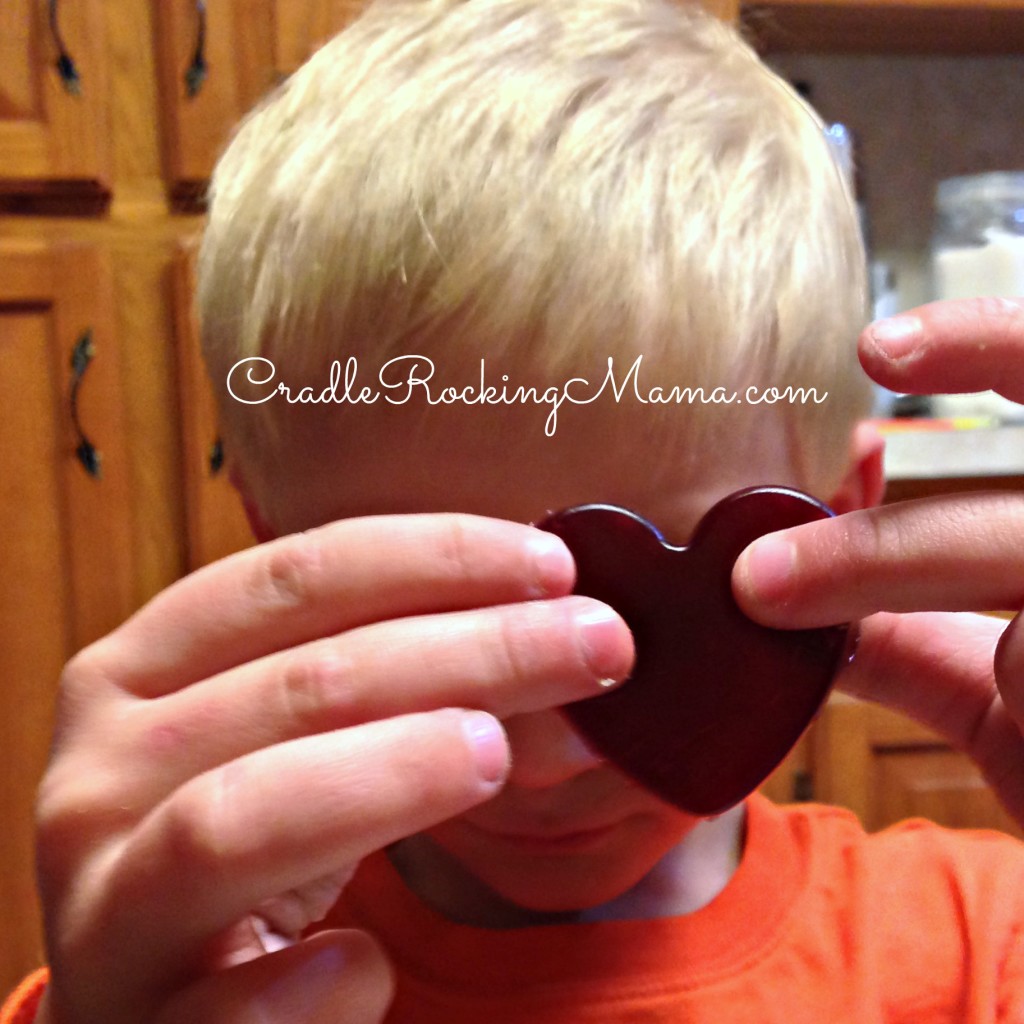
Jed ate ALL of these gummy treats in one day, so I have no idea how long they’ll keep. I’d recommend storing them in the fridge, though, just to make sure they stay fresh.
These are truly reminiscent of regular gummy bears, only made with real food ingredients and just about as healthy as a treat can be. Enjoy! Jed certainly did!
- 2 c. frozen fruit
- 2 c. water
- 2 T. gelatin
- 3 T. maple syrup
- 1 tsp. lemon juice
- Put the frozen fruit and water in a sauce pan and simmer for 20 minutes.
- Pour through a strainer into a measuring cup, collecting 2 cups of liquid.
- Add the maple syrup and lemon juice and stir together.
- Add the gelatin and mix together well.
- Pour the liquid into a silicone mold and place in the refrigerator for at least 3 hours.
- Remove the gummies from the mold and store in the fridge.
- Enjoy your healthier gummy treat!
If you like this recipe, please share it! To get more great recipes like this in your in-box, subscribe so you don’t miss a thing!






These look great! A speech therapist recommended gummy snacks as a way to build mouth muscles and I hate buying the store bought ones because they are so full of unnecessary stuff and the “healthier” ones are so expensive! I can’t wait to try your recipe!
Yay! I hope you like it and that it helps. 🙂 First thing this morning, Jed insisted we make more. I made a triple batch and he’s already trying to eat all of them!
Pingback: Homemade Conversation Heart Candies - Cradle Rocking Mama
Hi. Thank you for all of your hard work on his site!! What kind of gelatin may be safe for kids that fail beef?
Sorry for the delay! There is a pork version of Great Lakes Gelatin (the best brand, IMO). That would work beautifully.
If you can’t use pork, either, Agar Agar is a vegetarian option I’ve used before. It will take a bit of practice, as it is a little different than animal gelatin, but you should be able to figure out how to use it, too!