


Making allergy and intolerance safe, healthier versions of traditional treats for my kiddos on holidays has become somewhat of a mission for me.
Last year, I finally managed to master making homemade dairy-free chocolates for Jed, which helped make Easter, Christmas, and Halloween more traditional for him. However, we recently discovered that cocoa gives Jed the Meanies, which means chocolate is out.
Boo.
I was starting to feel a little sad about Valentine’s Day treats for this year. All I could think of making for Jed were homemade gummy treats. Nice, but not as much indulgence as I’d hoped to provide.
Fortunately, a few weeks before Valentine’s Day a fellow FPIES mama shared a video of an adorable little girl making homemade conversation heart candies for Valentine’s Day. She was precious, and the recipe looked pretty simple.
Ecstatic, I filed that idea away…but didn’t bookmark the video. When I was ready to work on the recipe, I couldn’t find the it! Instead, I had to Google for conversation heart recipes. Fortunately, there were several to choose from.
What I made is based off the recipe provided by About Food, which uses regular sugar, regular food coloring, and corn syrup. I’m sure it’s delicious and great for normal people, but it won’t work for us since we avoid fructose and food dyes.
I’ll be honest and say that I really had no idea if my tweaks and adjustments would work, but in the end, I will go on record saying these candies just might be better than the traditional, store-bought candies of our childhoods!
Jed loved them! He ate an entire pound in a matter of days. Darrel doesn’t even like conversation heart candies, and he liked them. My Mom liked them.
And when Jed gave Miss K (Zac’s speech therapist) a bag of candies for Valentine’s Day, she said they were better than the store-bought conversation heart candies. Then she ate the rest of the bag that day.
That’s some powerful rave reviews!
It rocked our little world to create such an awesome little candy for Jed, but the really fantastic part of these goes far beyond treats and candies.
For people with Fructose Malabsorption, eating some dextrose along with fructose can help offset reactions (within limits). Unfortunately, the dextrose tablets in the drugstore are laden with food dyes and other unpleasant little extras that we avoid.
So I’ve never been able to have convenient dextrose tablets handy for Jed before.
These work perfectly for those purposes! I can make these little candies to have around so Jed can eat slightly more fructose than he’s been allowed and still may avoid having reactions.
I can’t wait to see how much his food options expand with this creation!
The other bonus is that these are very easy to make. There are a few more steps to take than a regular, sugar-based confection, but nothing is difficult.
The original version of this recipe calls for powdered sugar. I switched the sugar for powdered dextrose.
To make sure the dextrose was the right texture, I ground the dextrose more finely in the Vitamix. If you don’t have a Vitamix you can use a coffee grinder; it will just take a little longer to accomplish because you’ll have to do smaller batches. Remember that you’ll need to add a little arrowroot starch to the dextrose to make the powdery texture just right.
The candies themselves call for one pound of powdered dextrose; you’ll need a little bit more to dust the counters. So grab a kitchen scale and grind up the dextrose until you have one pound (16 ounces) plus a little extra of finely powdered dextrose.
Once you’ve got all your finely powdered dextrose made, the rest is super easy!
Take 2 T. of regular, non-finely powdered dextrose and 1 T. of water and put in a sauce pan over medium heat. Stir until it dissolves and thickens a bit to become a simple syrup.

By making your own simply syrup, you avoid using corn syrup. If you use dextrose derived from tapioca instead of corn, these could also be corn-free candies!
In another sauce pan, measure out 1 tsp. of the simple syrup, the gelatin and water and heat until the gelatin is completely dissolved.
In a stand mixer, add the one pound of finely powdered dextrose and add the liquid mixture. Turn on the mixer until you have a nice dough formed.

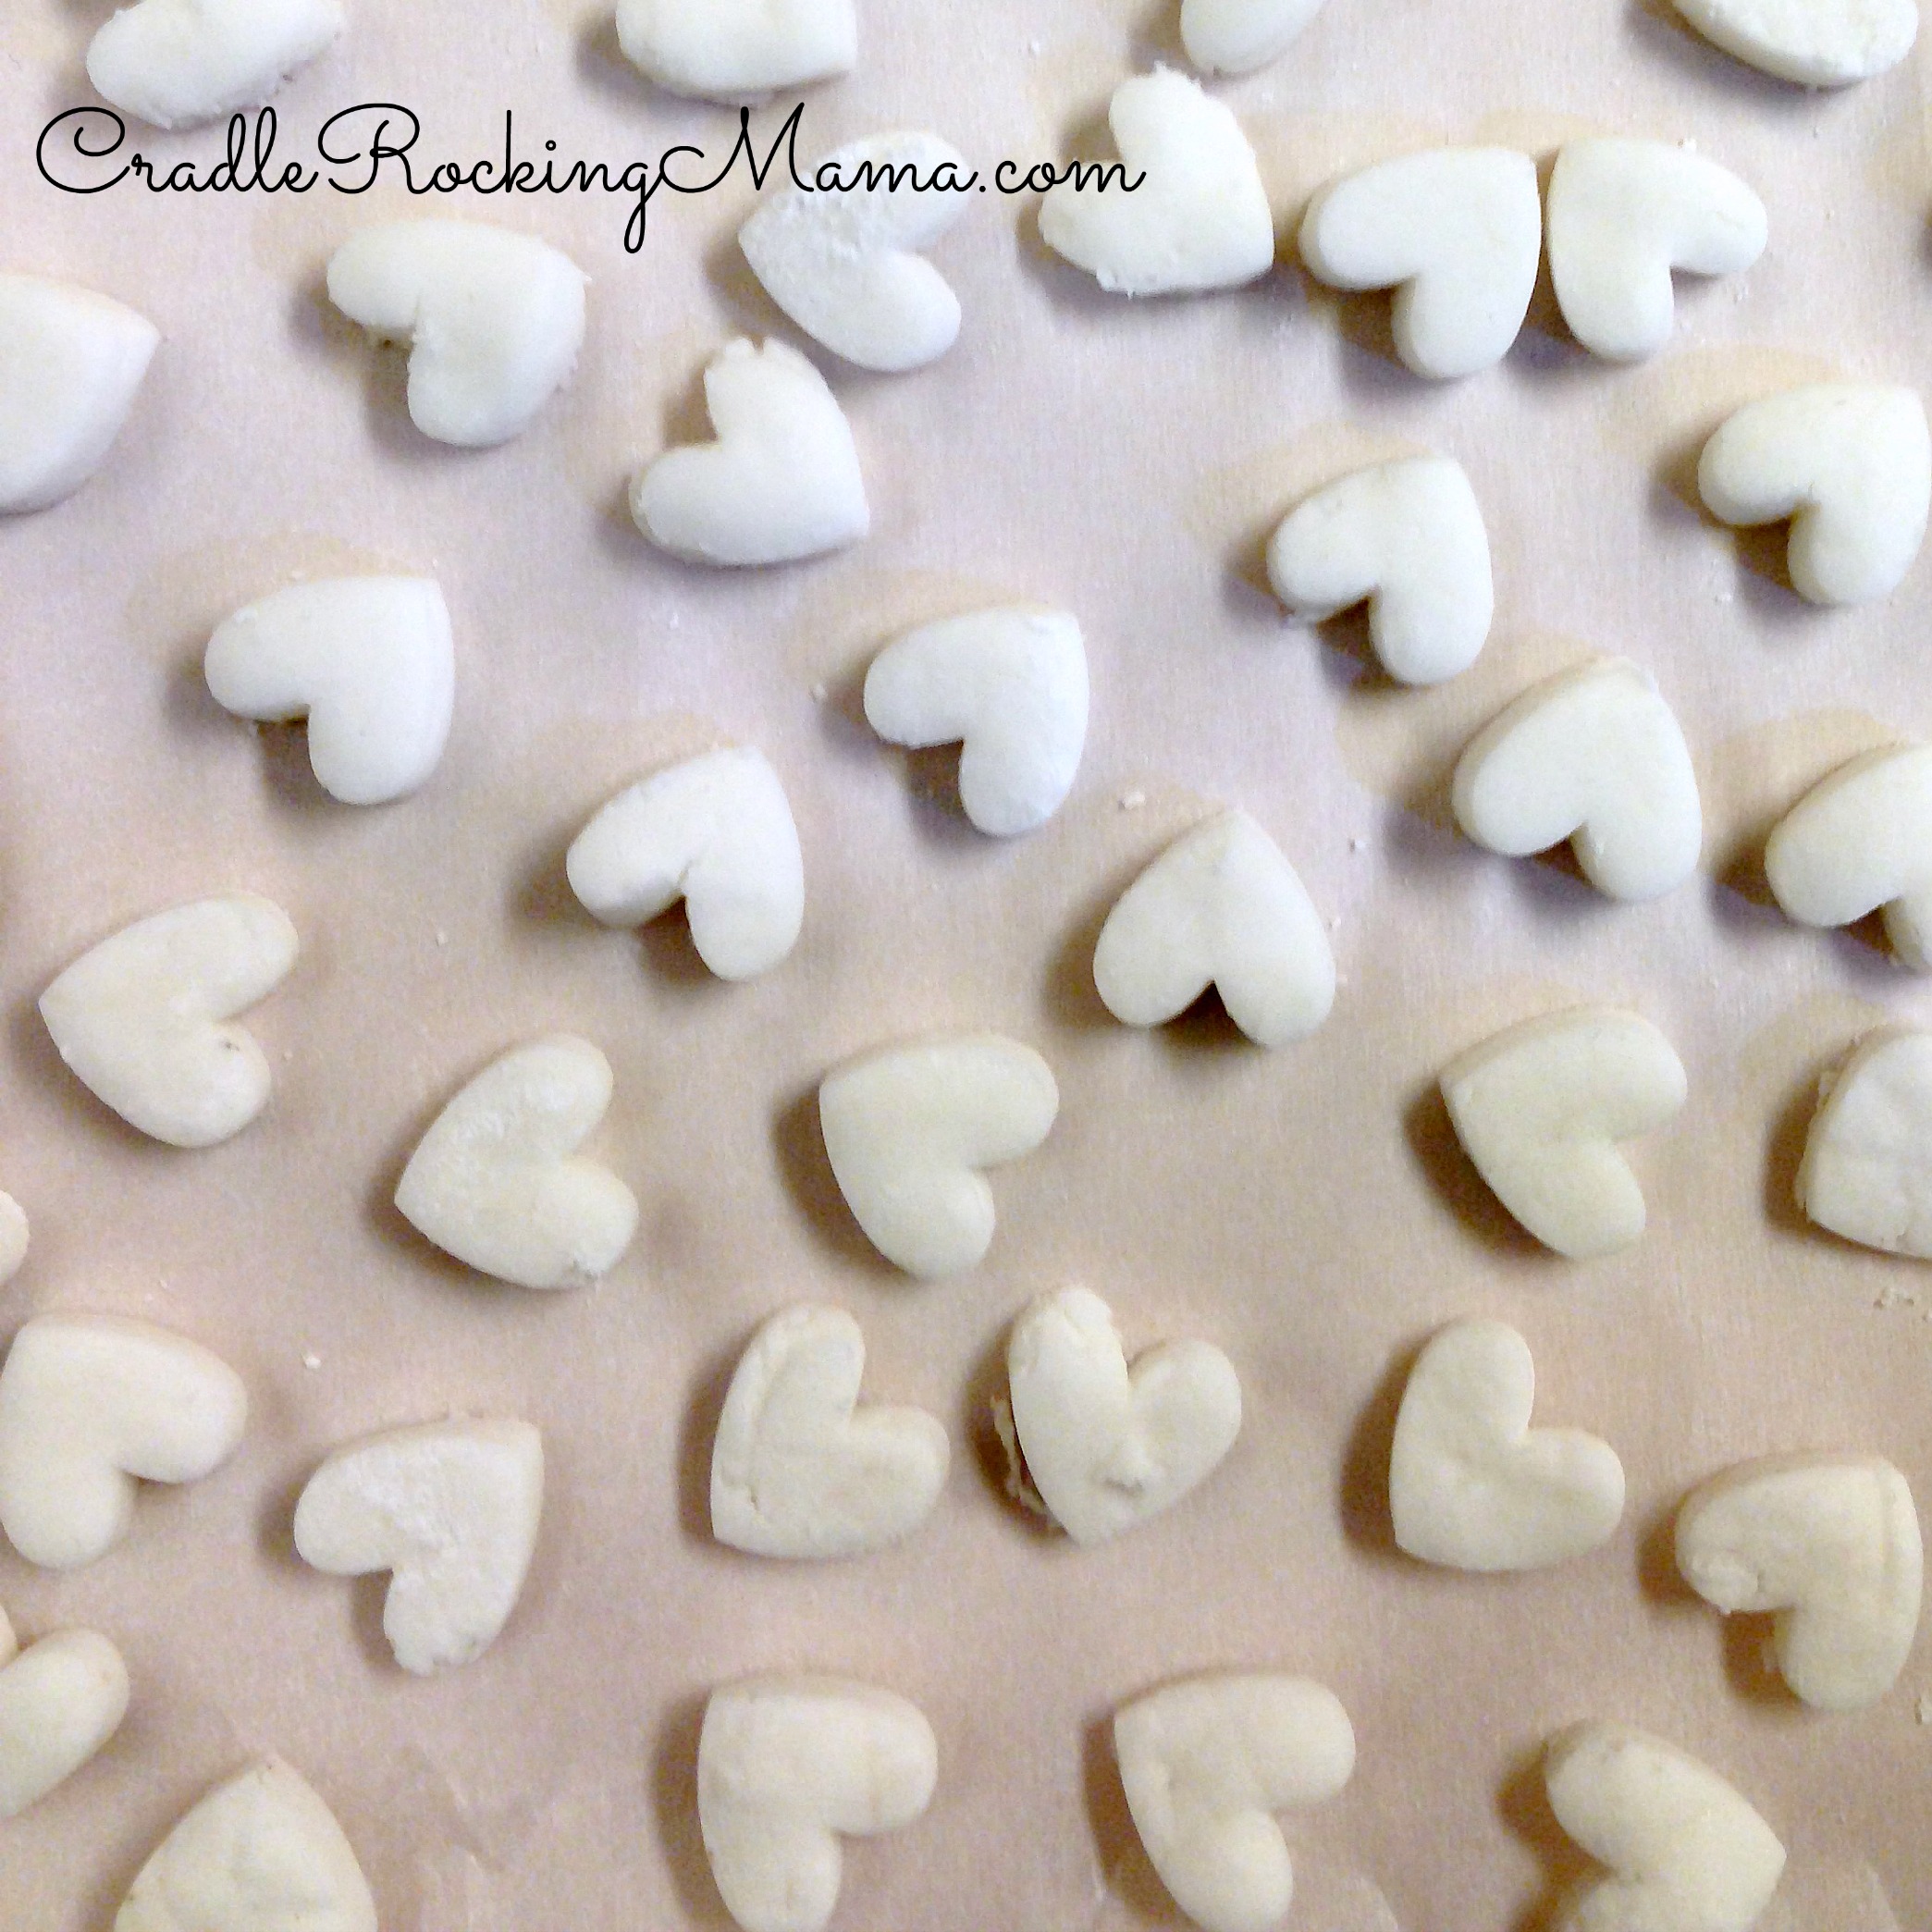
At this point, you can split the dough into sections to make different colors and flavors. I made three different variations of candies for Jed: pink/peppermint, yellow/orange, and white/vanilla. For each variation, I added 1 T. of extract and simply added food coloring until it was the depth of color I wanted.
After splitting the dough into thirds (if you’re making three flavors), plop one section back in the stand mixer and add the all natural food colorings and the flavor extracts. Mix until well combined.
Dust some of the finely powdered dextrose on the counter, dust the dough, and roll the dough out to about 1/8-1/4 inch thick.
Then grab your cutters.
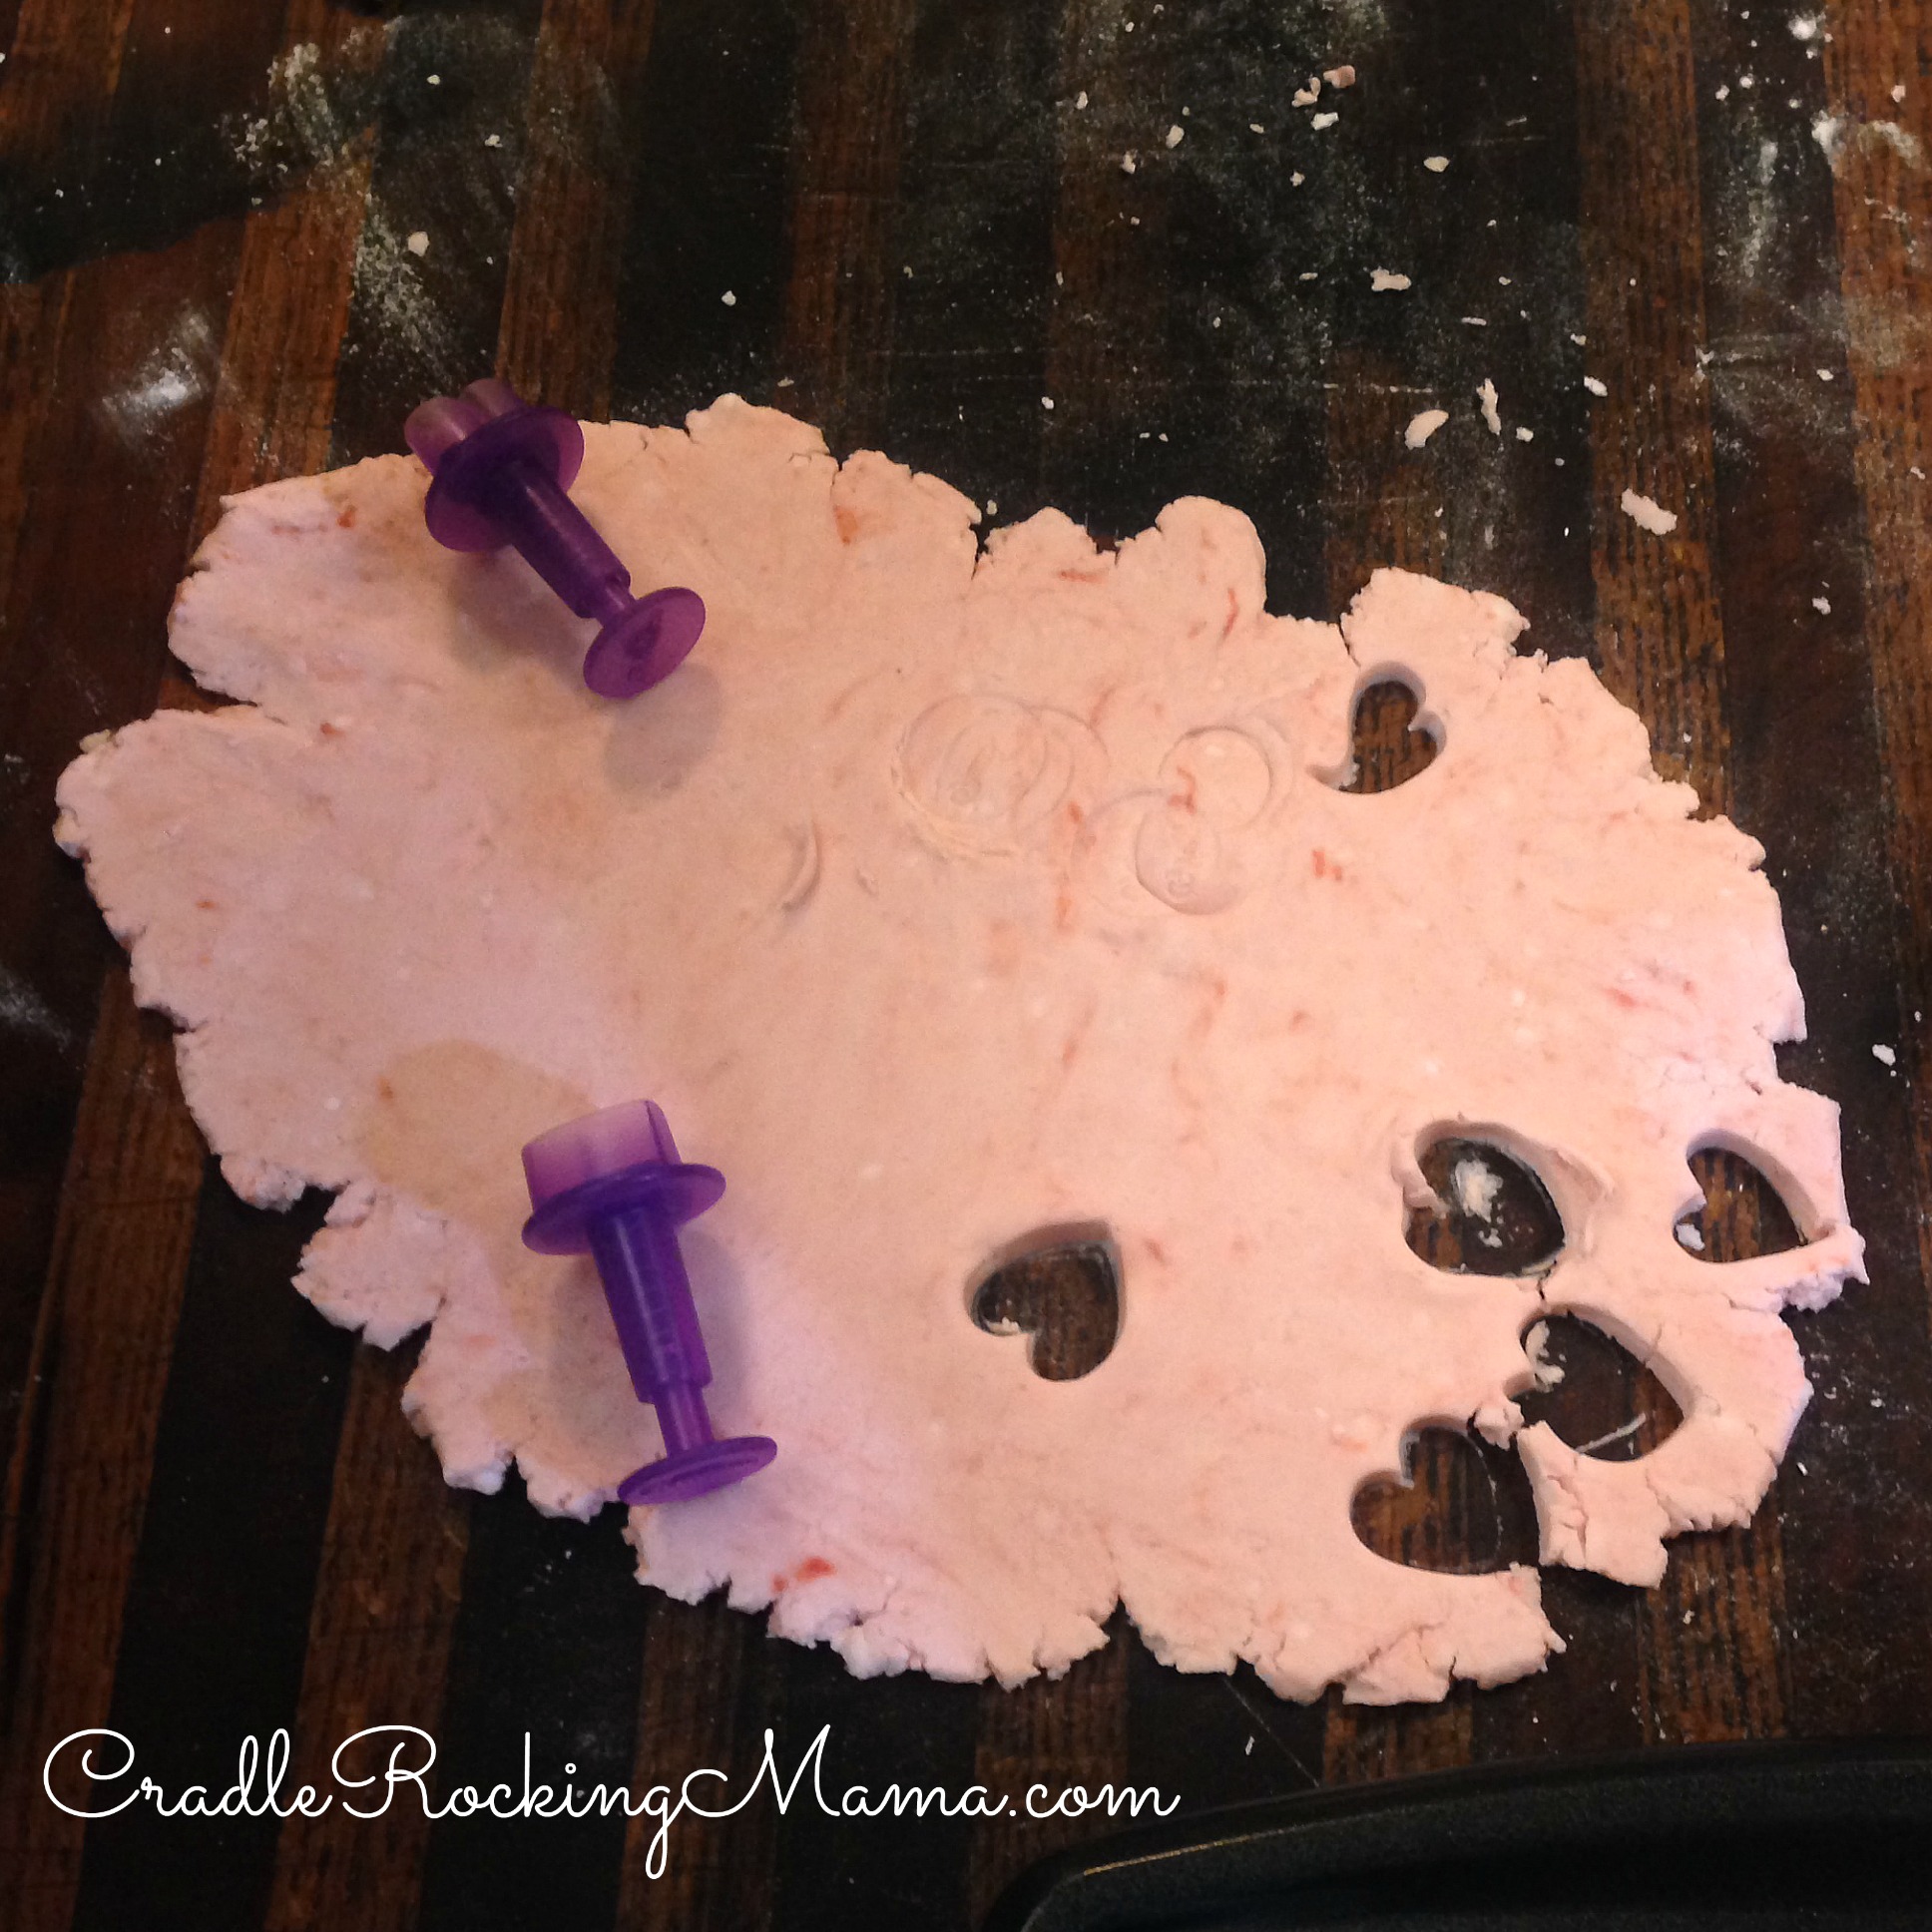
The easiest way to do this is to spend the $2-5 on some tiny fondant cutters. This isn’t where I bought mine, but these are the cutters I got and they made it SO easy for the kids to cut these out for me!
Jed had an absolute blast cutting out the candies!
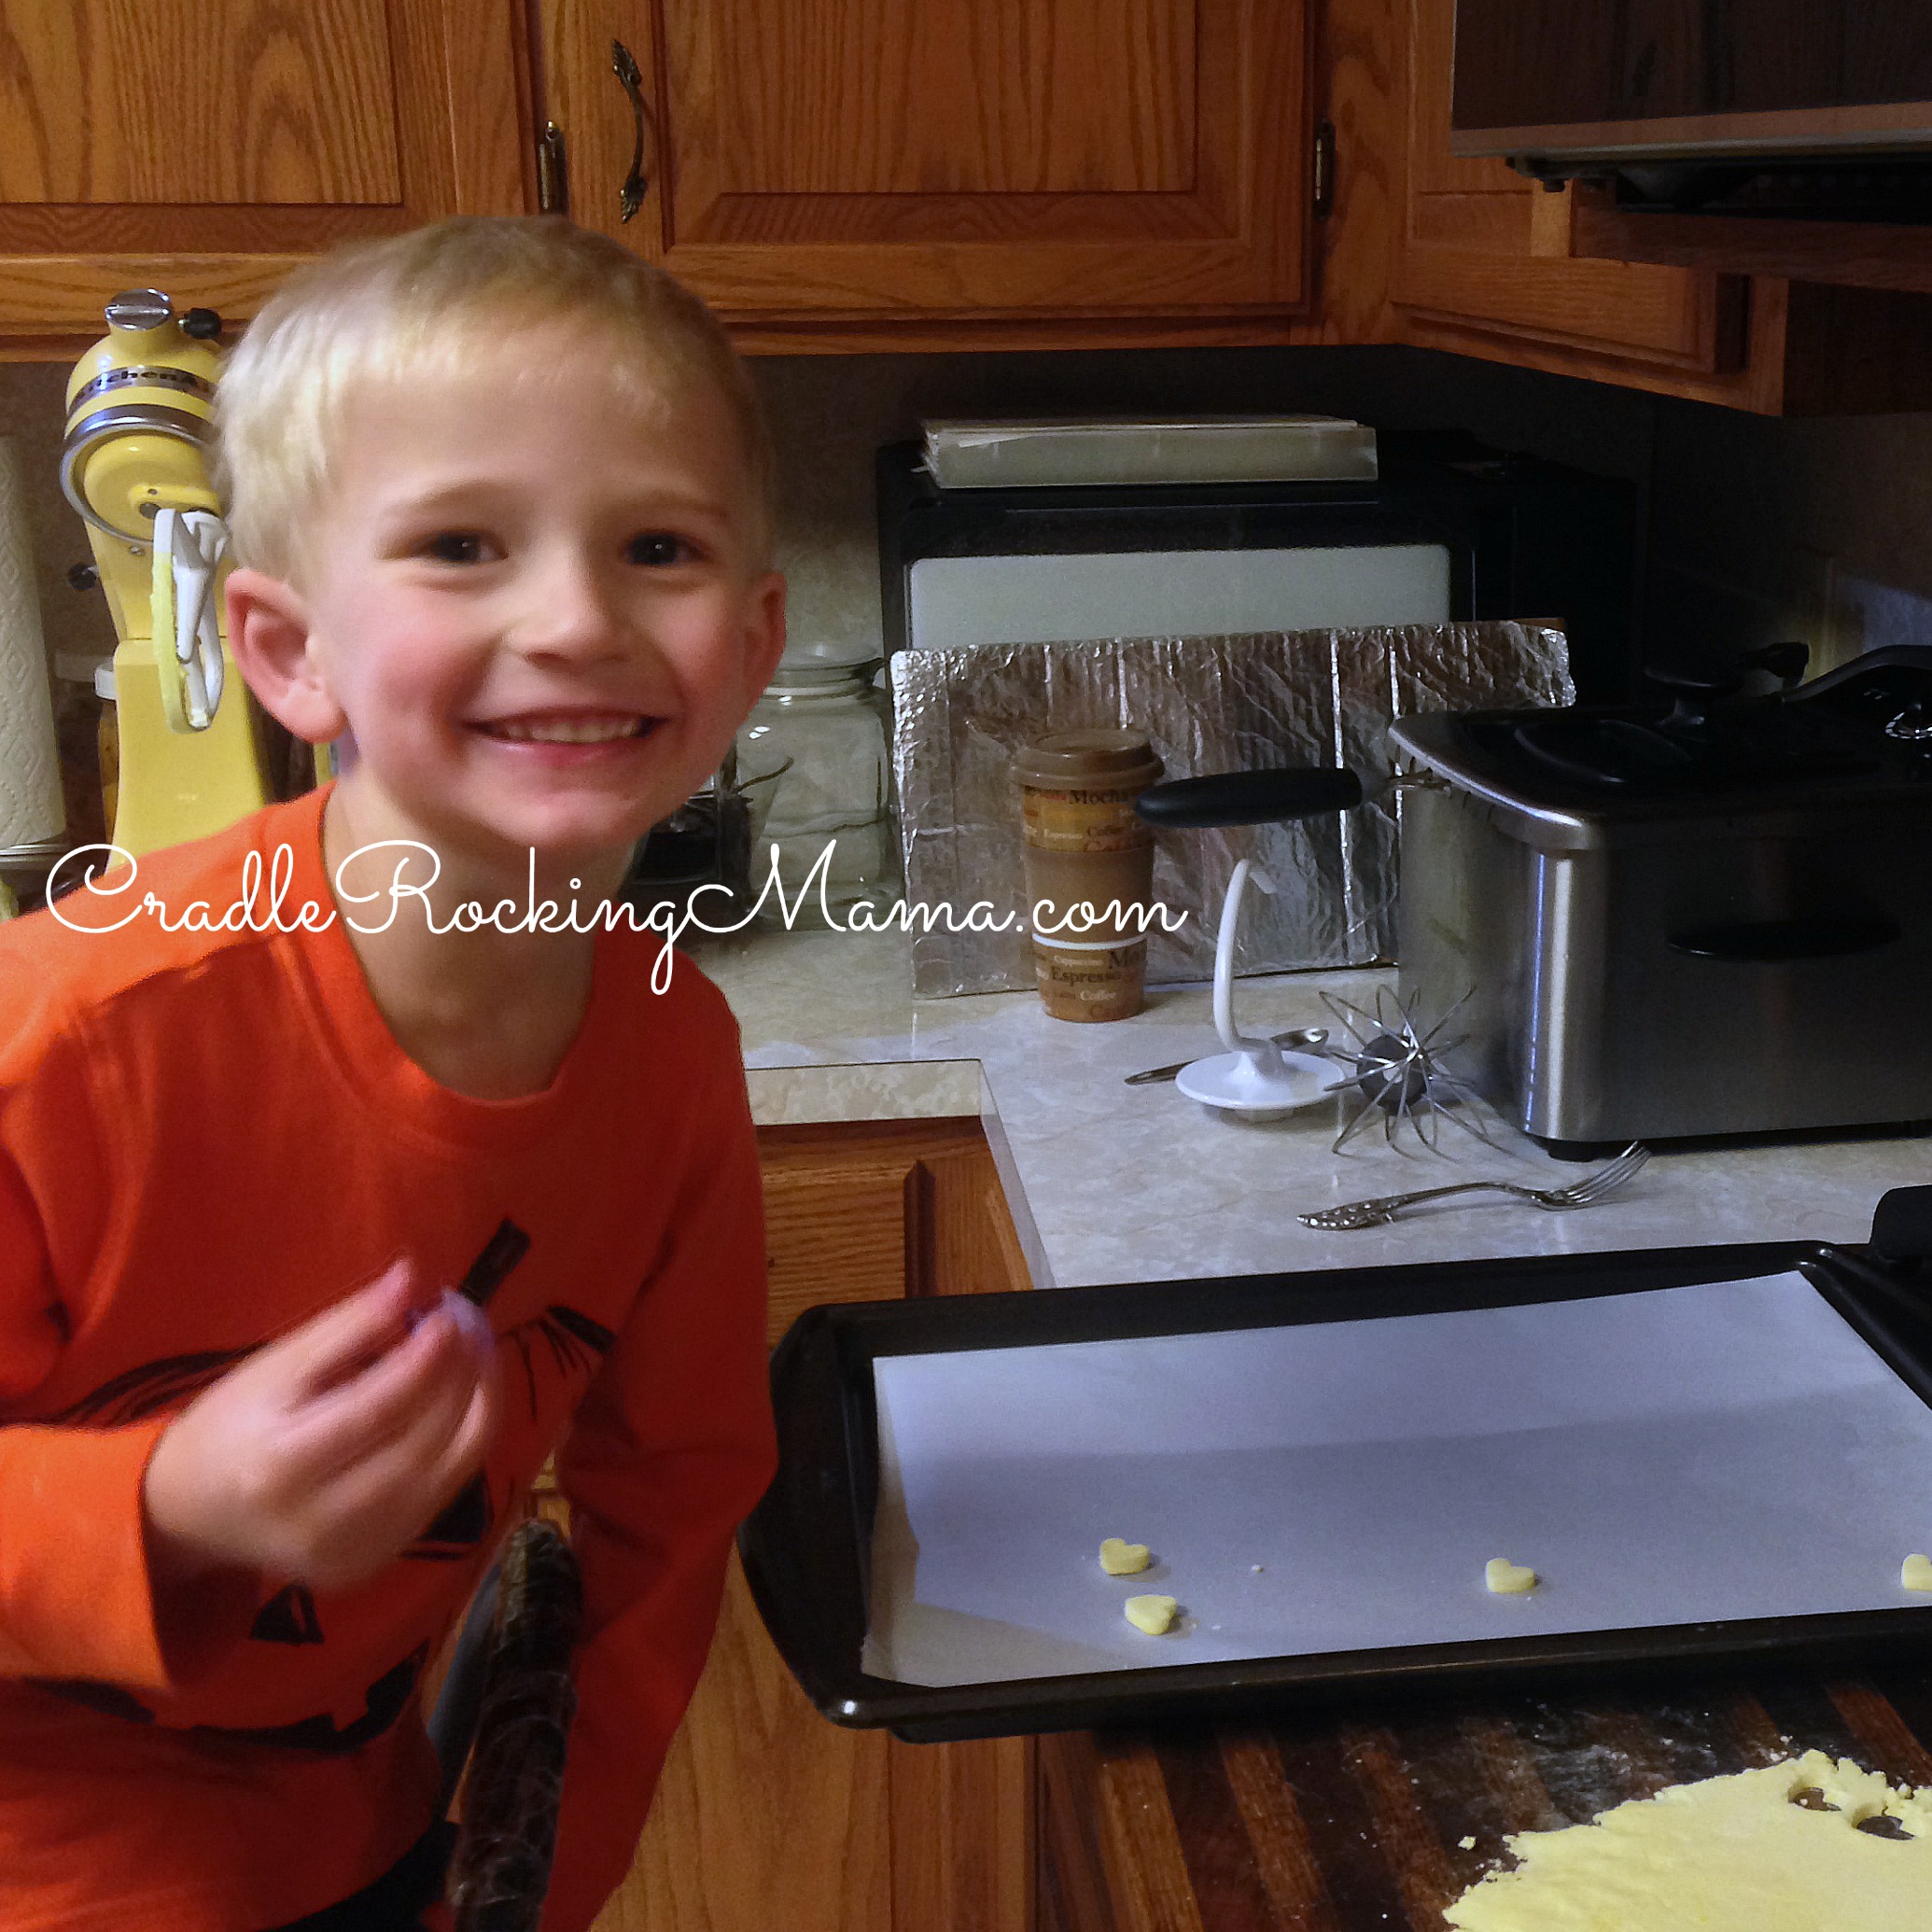
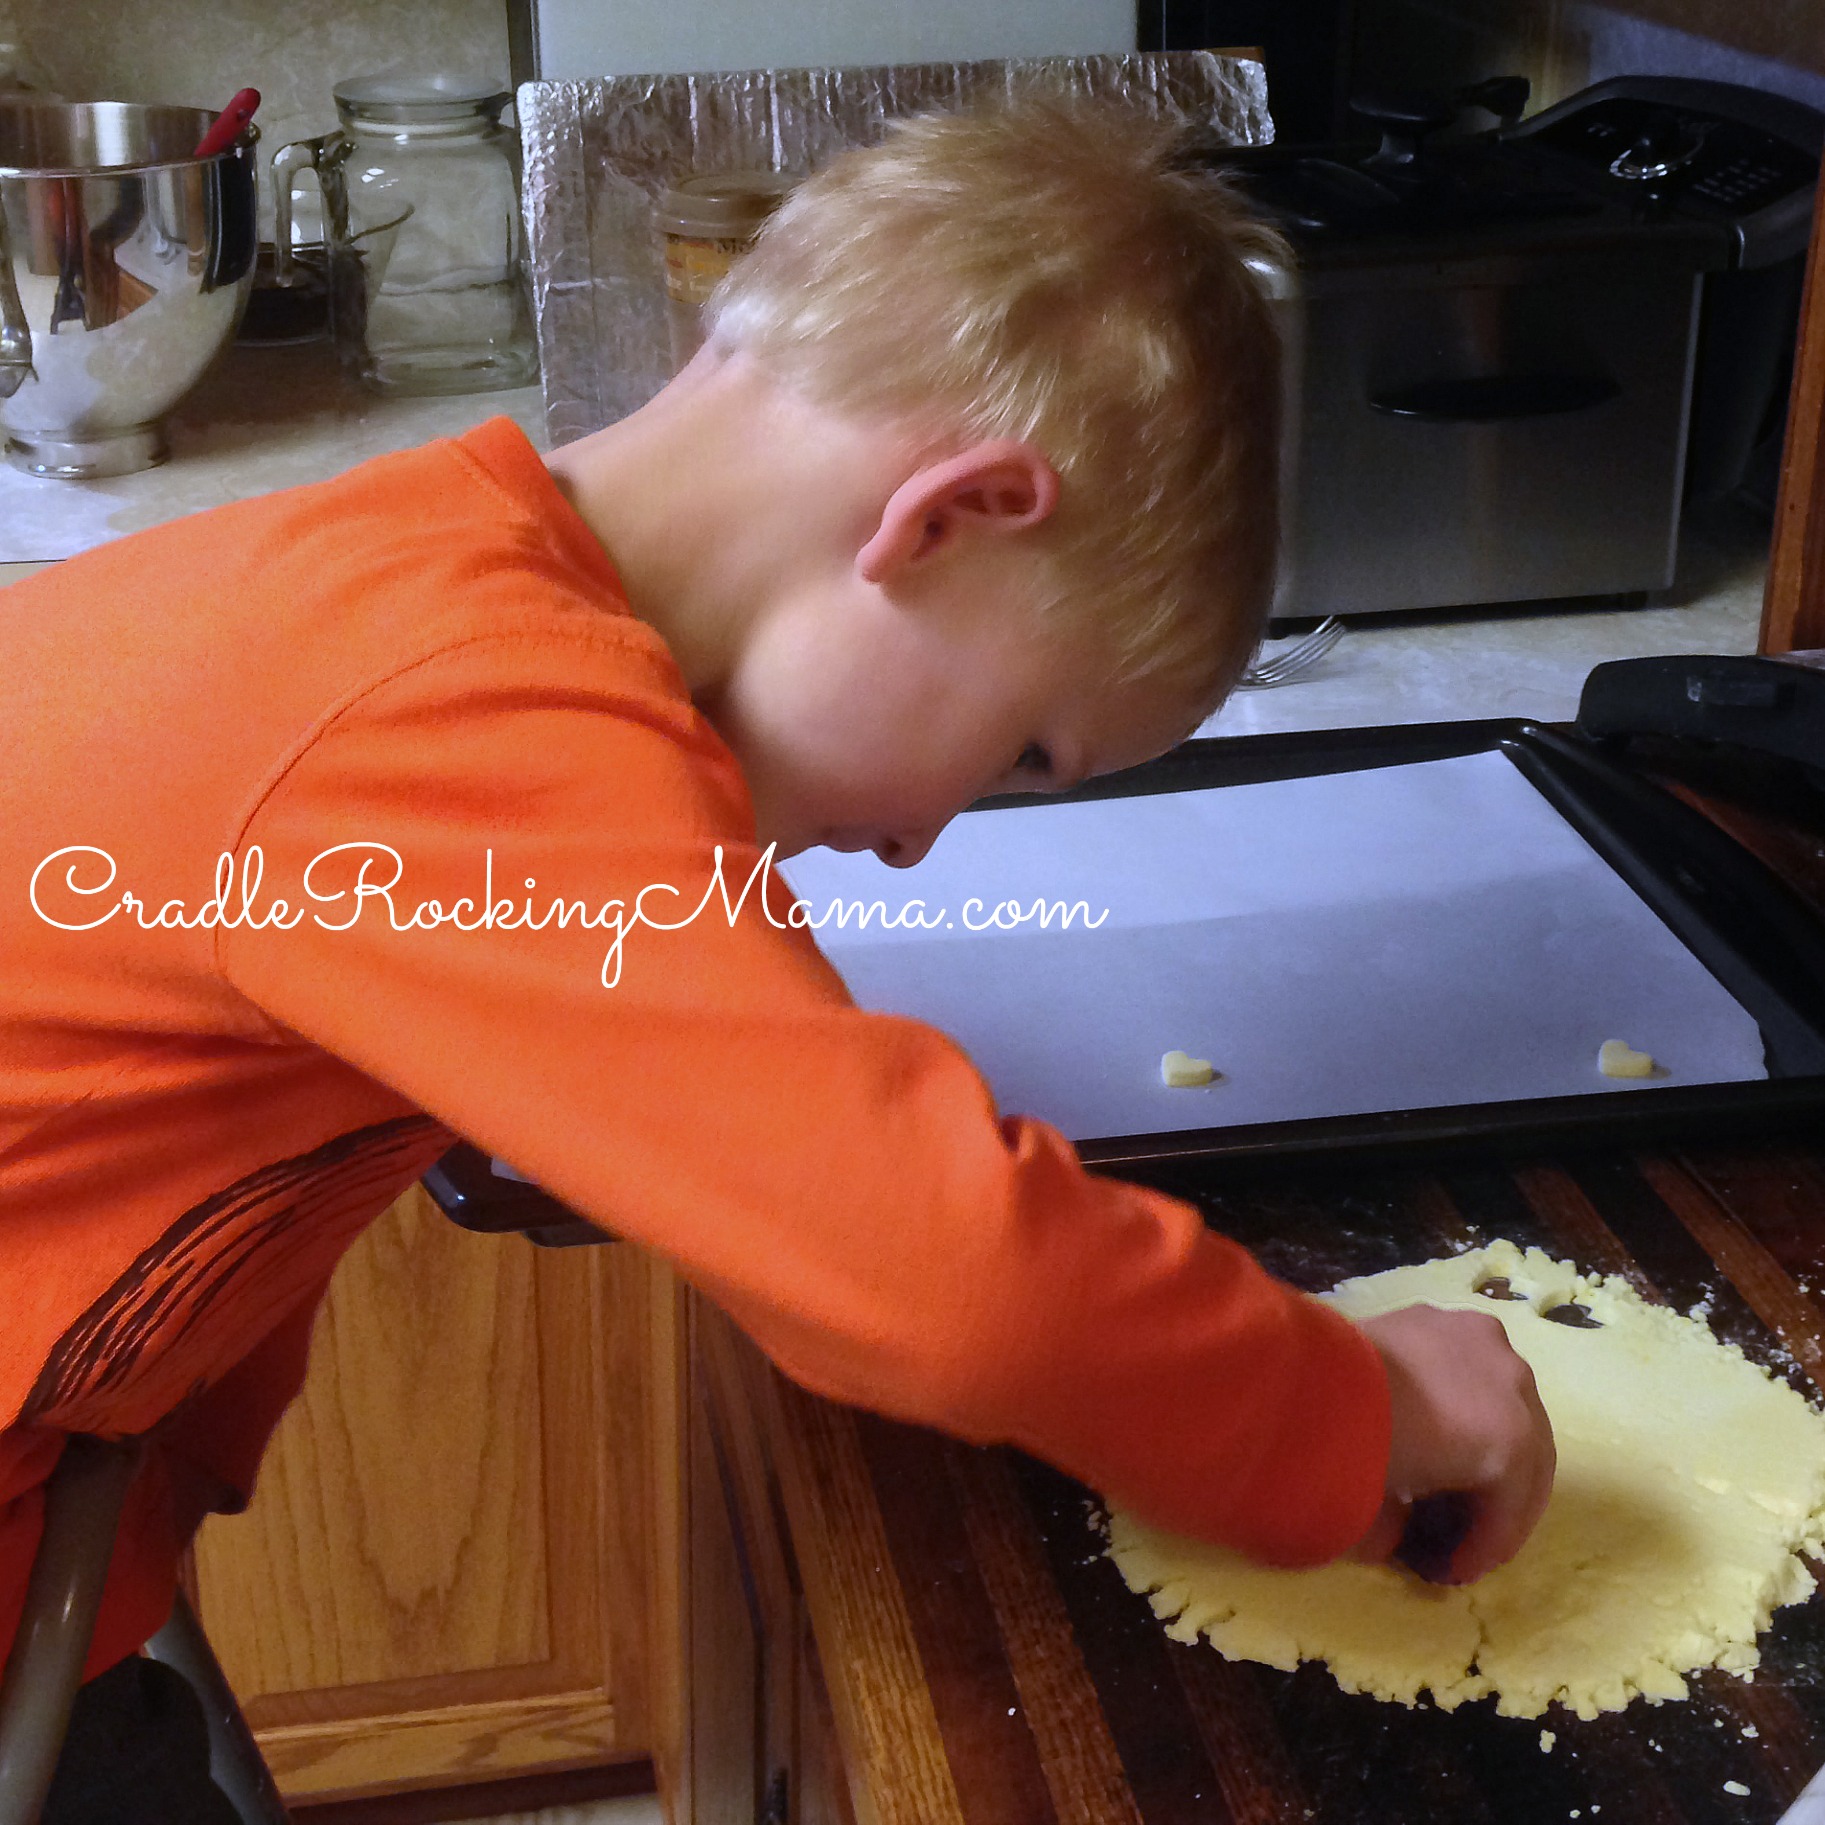
Place each candy on a parchment lined cookie sheet and let lay to dry for at least 24 hours.
One thing I learned in this project is that dextrose is a thirsty ingredient. My original recipe made a dough that was just right, but dried out very quickly. By the time I got to the yellow candies, the dough was almost too dry, and it crumbled and broke easily.
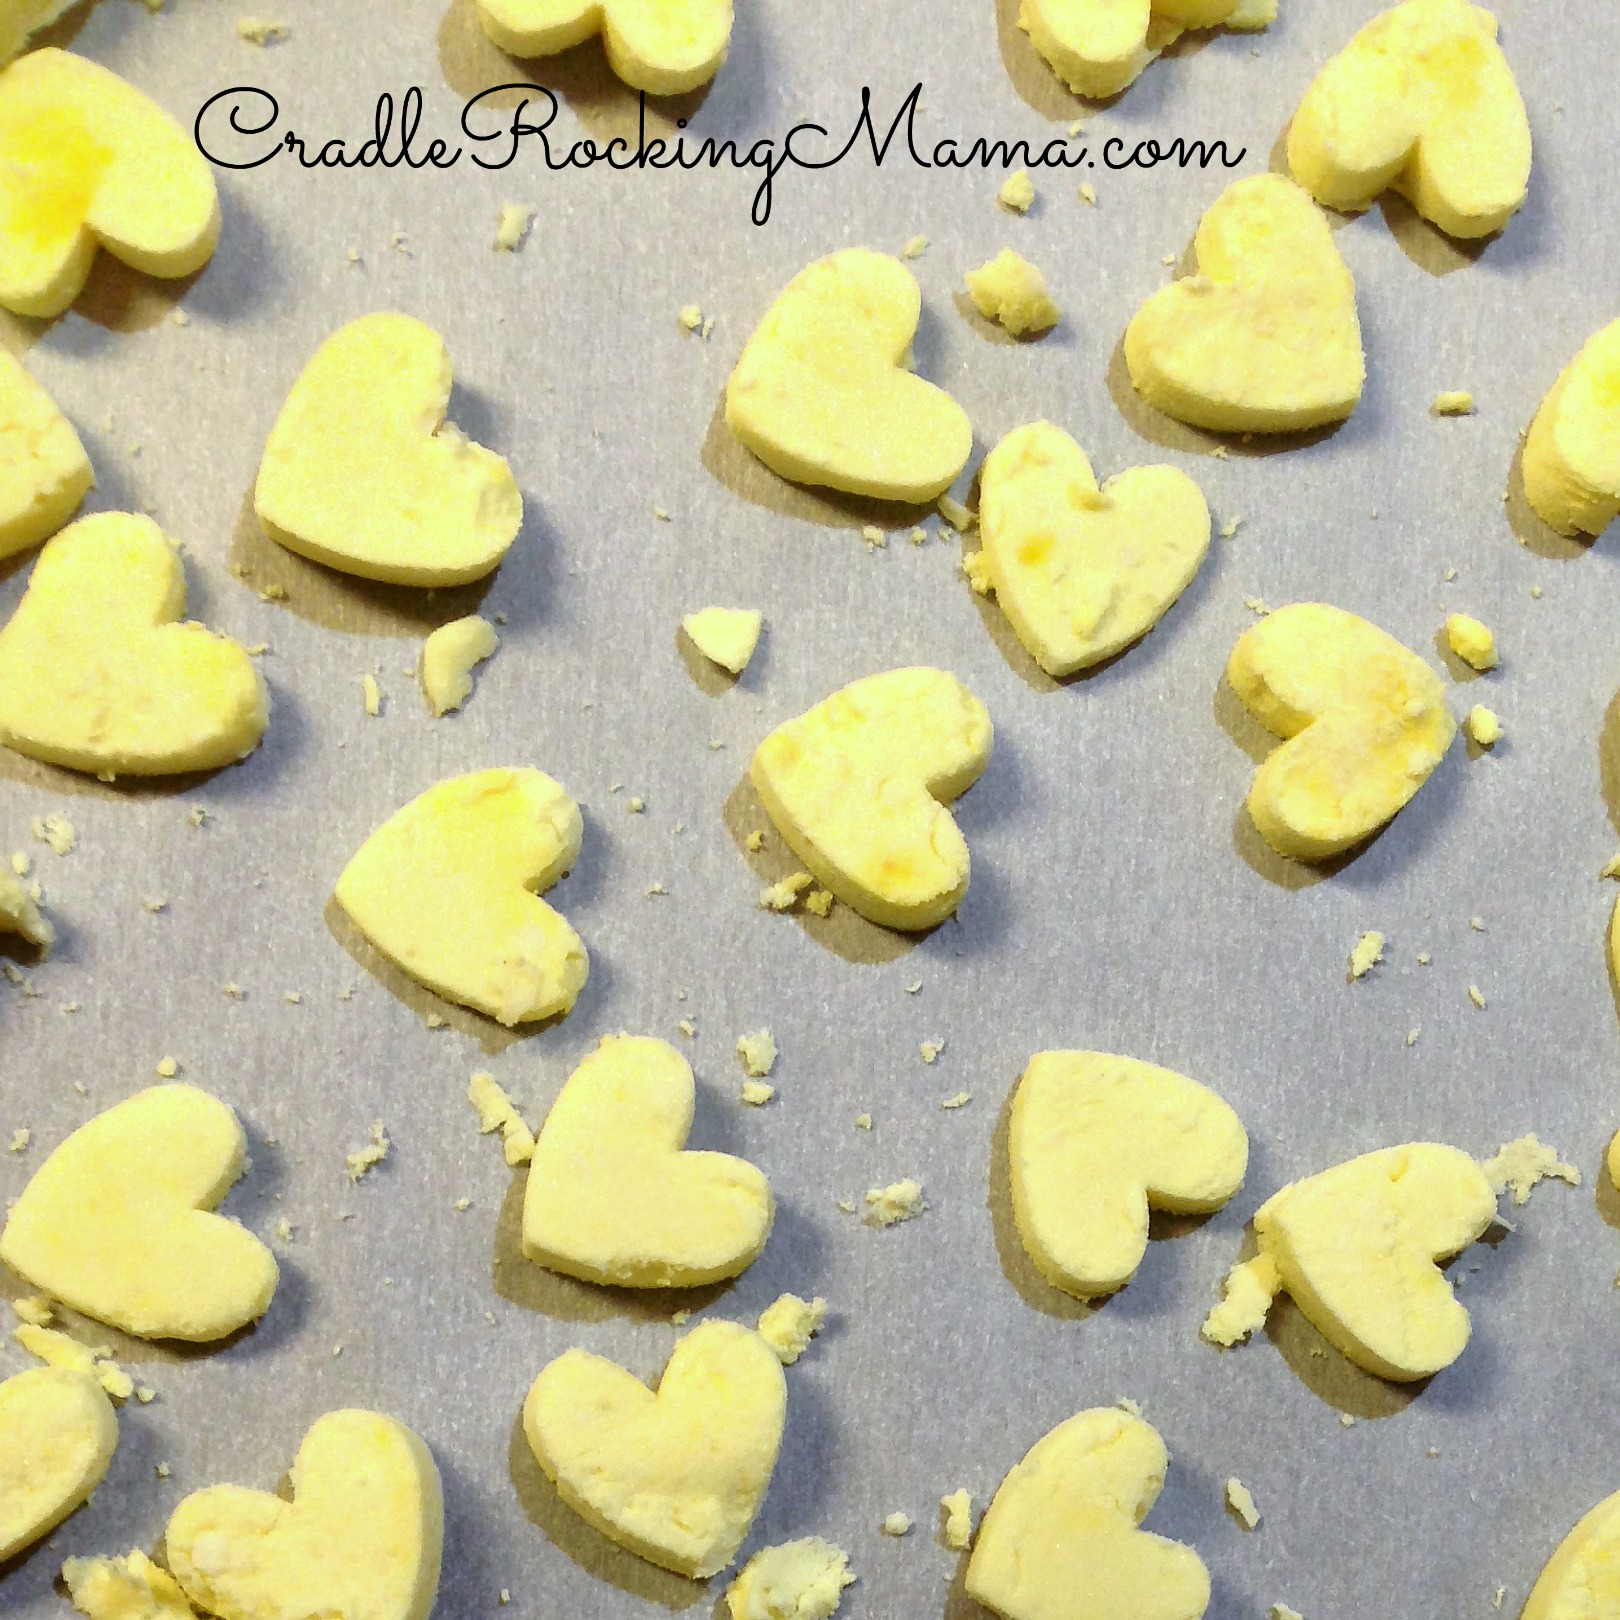
Consequently, I adjusted the recipe to add just a bit more water from the beginning to give more time to work with the dough before it gets too dry.
An additional step to take is to cover the dough with saran wrap when you aren’t working with it to keep it from drying out.
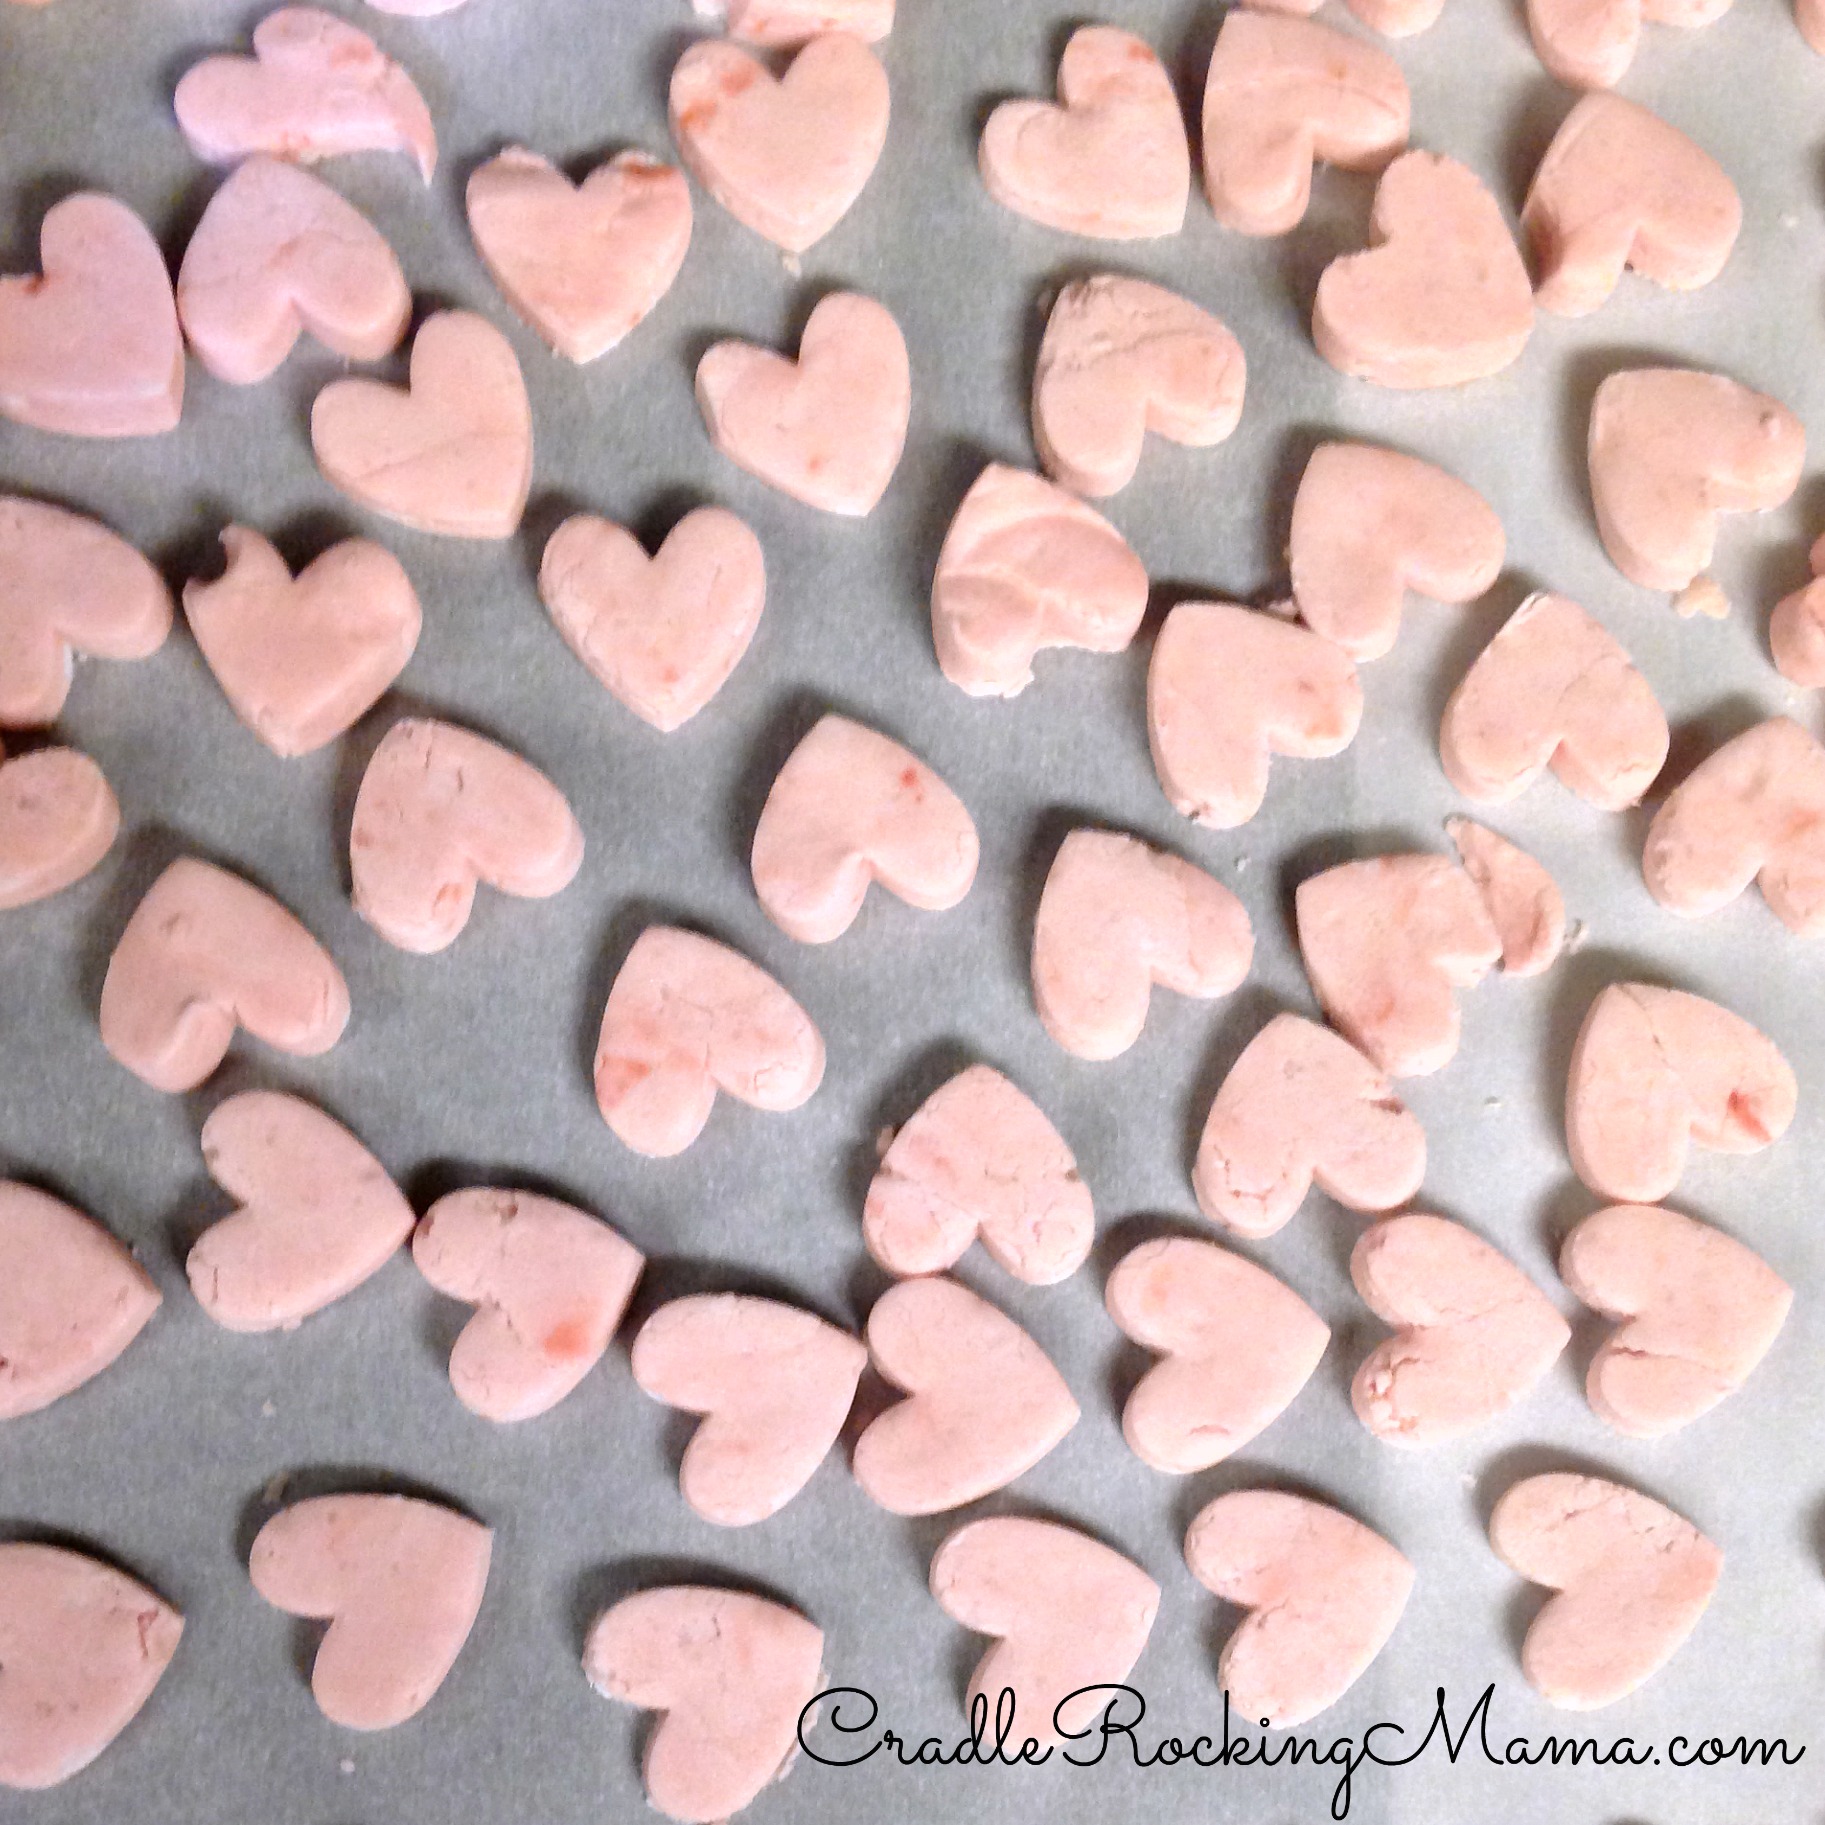
Once the candies are dry, though, they’re firm and not prone to breaking…and they’re delicious!

Double the recipe if you want to give these away as gifts for Valentine’s Day, but the proportions of this recipe are enough to satisfy your kiddos without overindulging.
Oh, and if you have a yen to make these even MORE authentic looking, you can grab a food coloring marker to write words on the candies. However, those are filled with food dyes, so if you’re avoiding artificial food dyes you’ll need to go plain.
That’s no big loss, though. These candies are beautiful and special without the words.
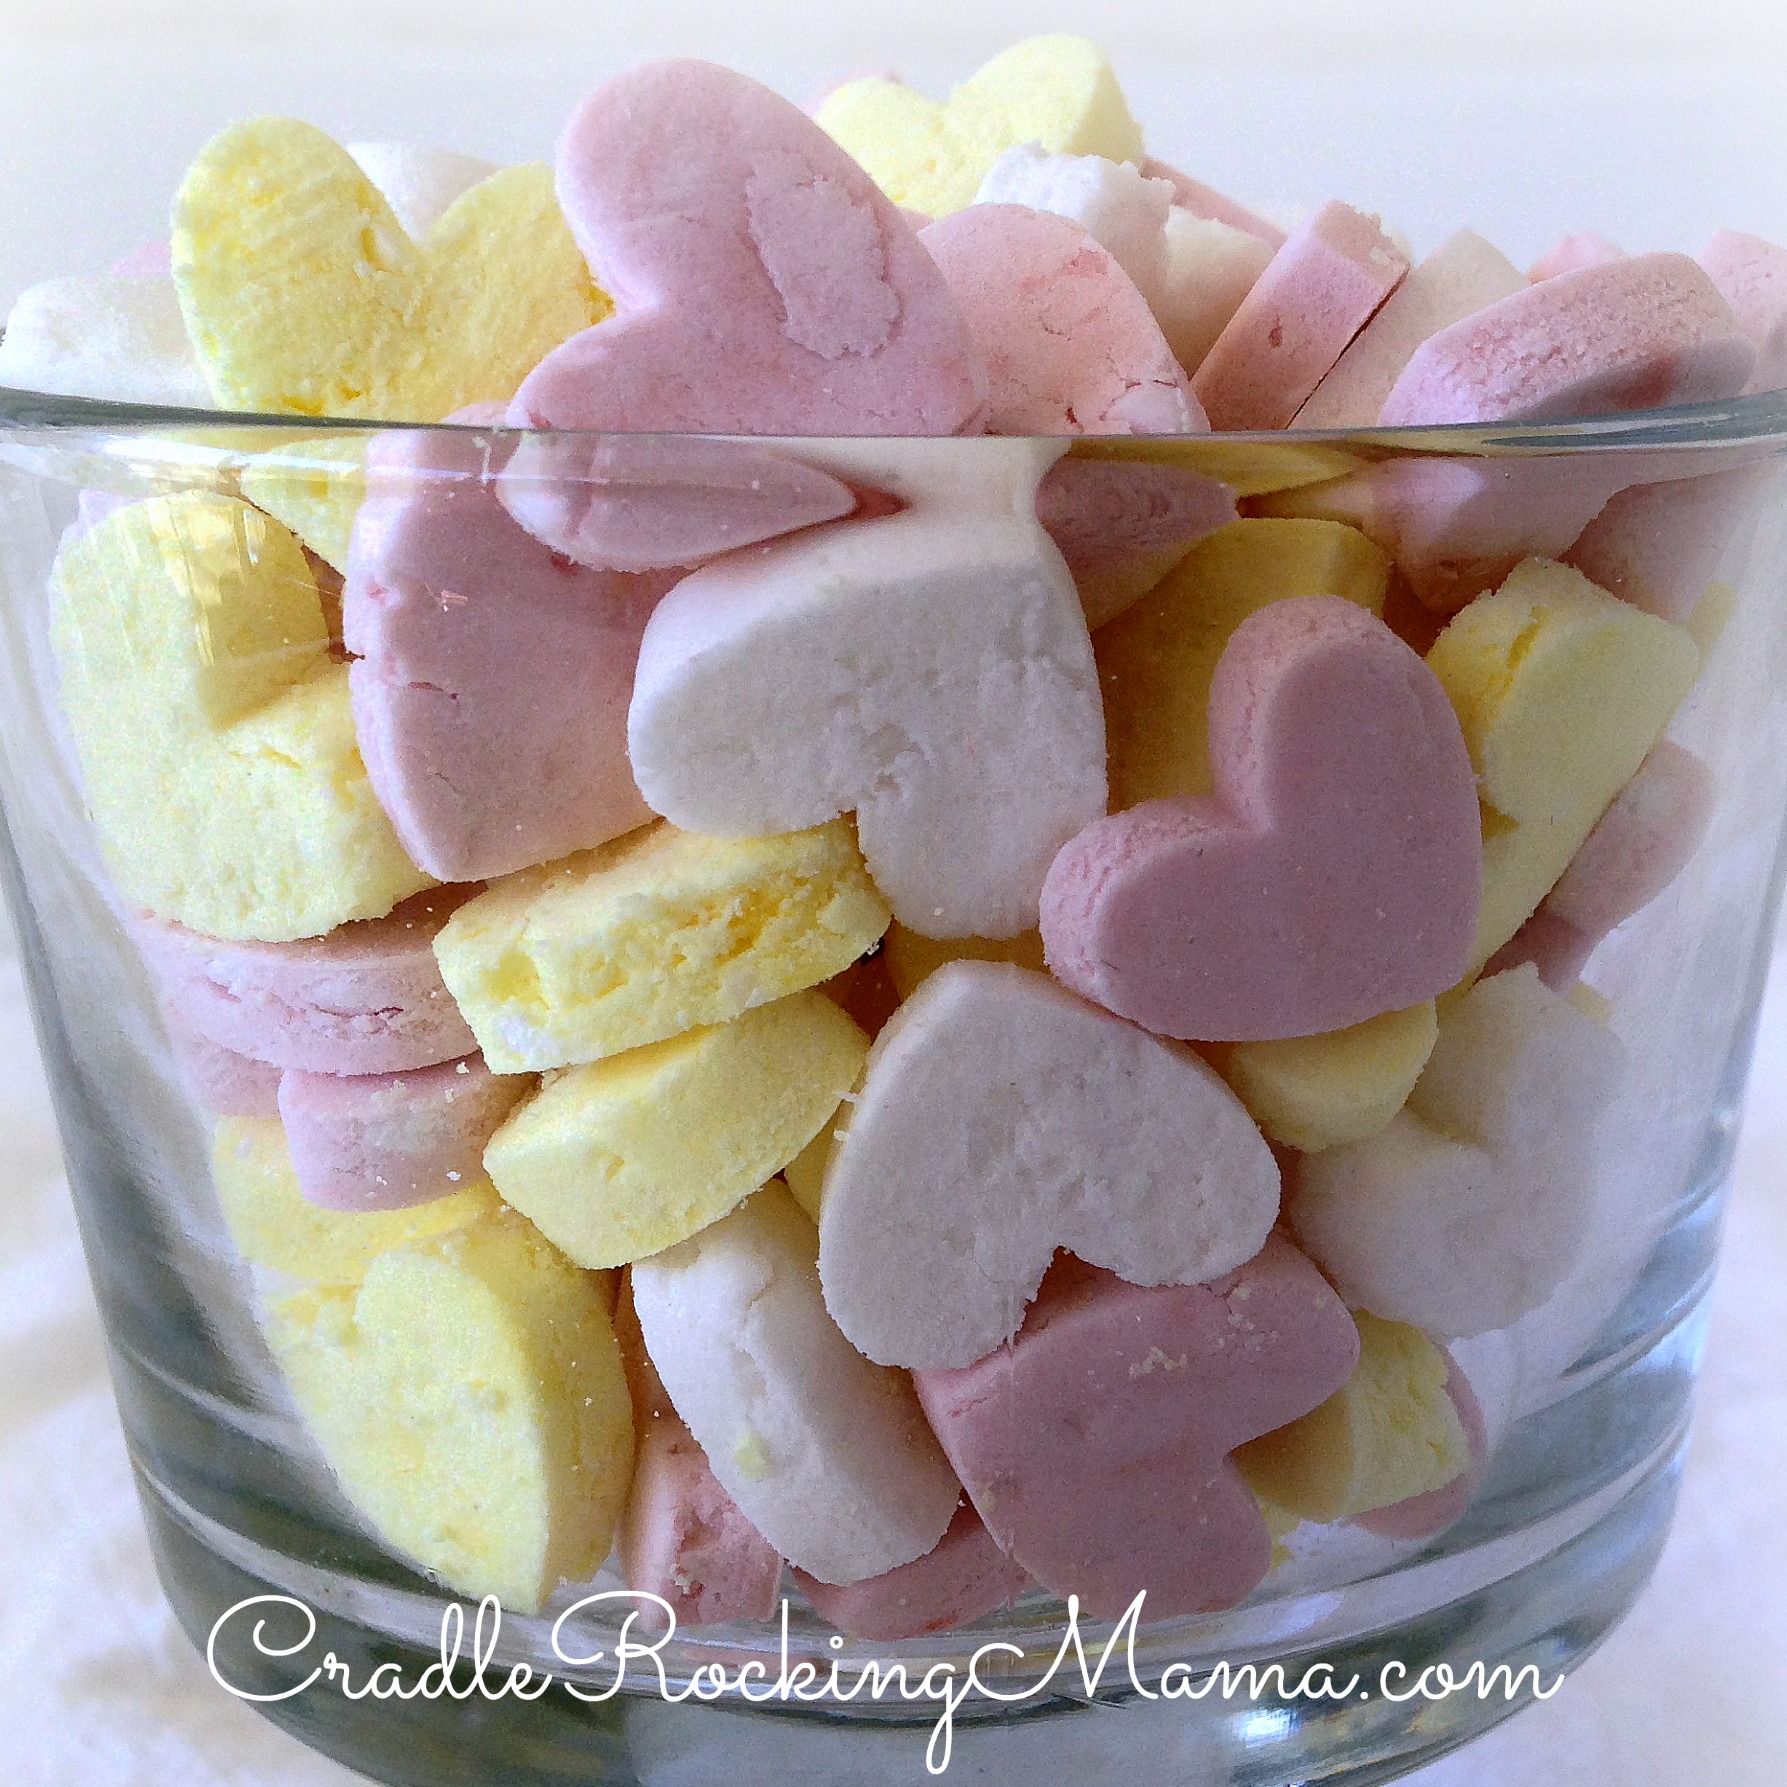
After all, the love is obvious with these from-scratch, fructose-free, food dye free gourmet candies!
- 1 lb. dextrose
- 3 tsp. arrowroot starch
- 1 tsp. gelatin
- ¼ c. plus 1 T. water
- 1 tsp. simple syrup* (ingredients needed: 2 T. dextrose and 1 T. water - see instructions)
- all-natural food coloring
- flavoring extracts
- heart shaped fondant cutter/cookie cutter
- food coloring markers - optional
- Begin by powdering the dextrose: mix the arrowroot starch and dextrose and grind in a Vitamix (or other high powered blender or a coffee grinder) until finely powdered.
- Make a simple syrup: put 2 T. regular dextrose and 1 T. water in a sauce pan and heat until the dextrose has dissolved and thickened into a syrup.
- Put the gelatin, water, and 1 tsp. of the simple syrup into a sauce pan and heat until the gelatin is dissolved.
- Put 1 lb. of finely powdered dextrose and the gelatin liquid in a mixer and mix until a dough forms.
- Split the dough into sections. To each section, add food coloring and extracts to taste and mix until well blended.
- Roll the dough out on a dusted surface and cut out shapes with fondant cutters.
- Lay each candy on a parchment lined cookie sheet and let dry for at least 24 hours.
- Enjoy your gourmet candies!
If you like this recipe, please share it! To get more great recipes like this in your in-box, subscribe so you don’t miss a thing!
This post shared with:
