The addition of baking soda to our diets has been wonderful for baking. It really helps make everything I’ve ever made for Zac fluffier and better textured than they were without it. Including these gluten-free dairy-free quinoa pancakes!
A while ago, I realized that the cookie recipe I make for him could easily be poured into a skillet and fried up like a pancake. It’s the exact same recipe, but he sometimes prefers it cooked that way.
The other day, I decided to make Zac pancakes, and with baking soda on board, I took it a little bit further.
They were a Screaming Success!
He LOVED them! Couldn’t get enough and ate an entire batch before noon.
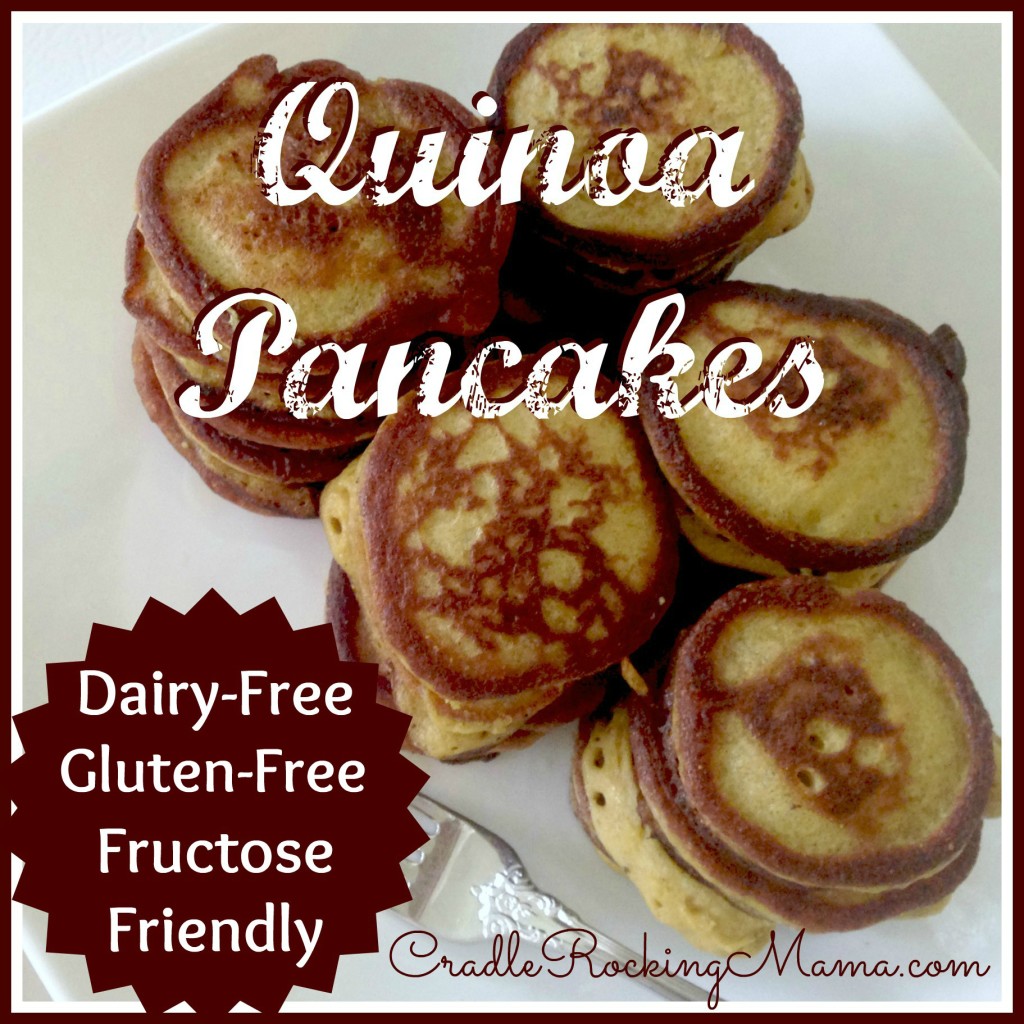
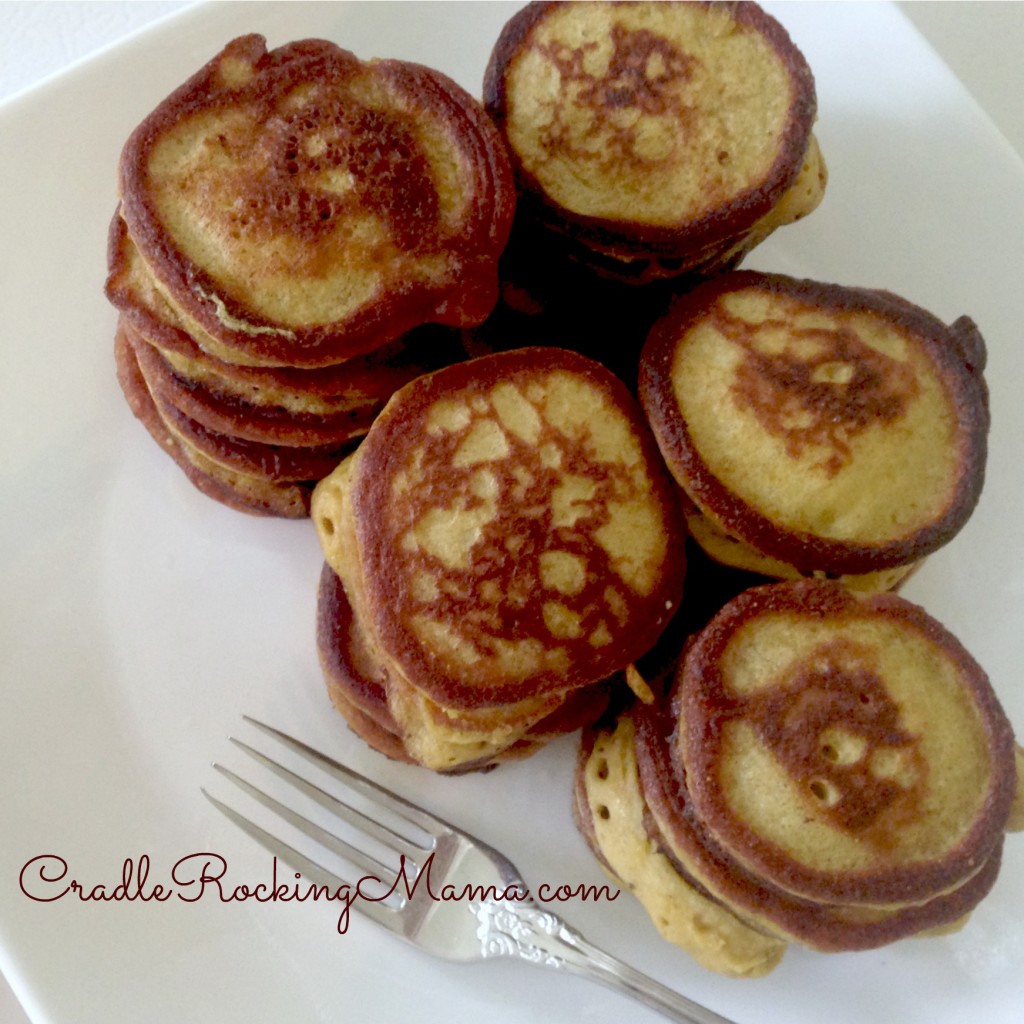
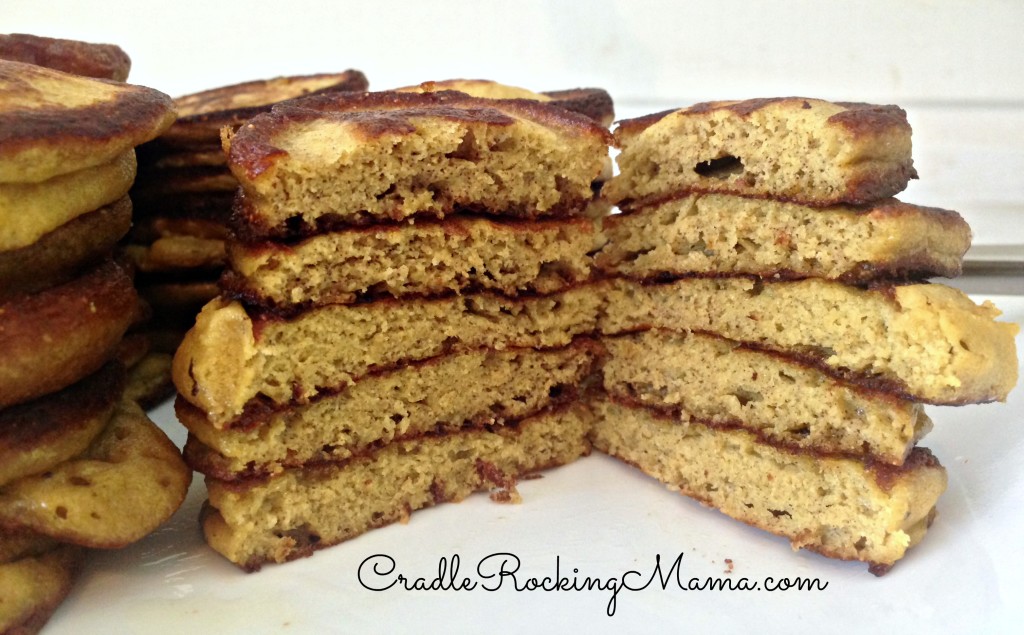
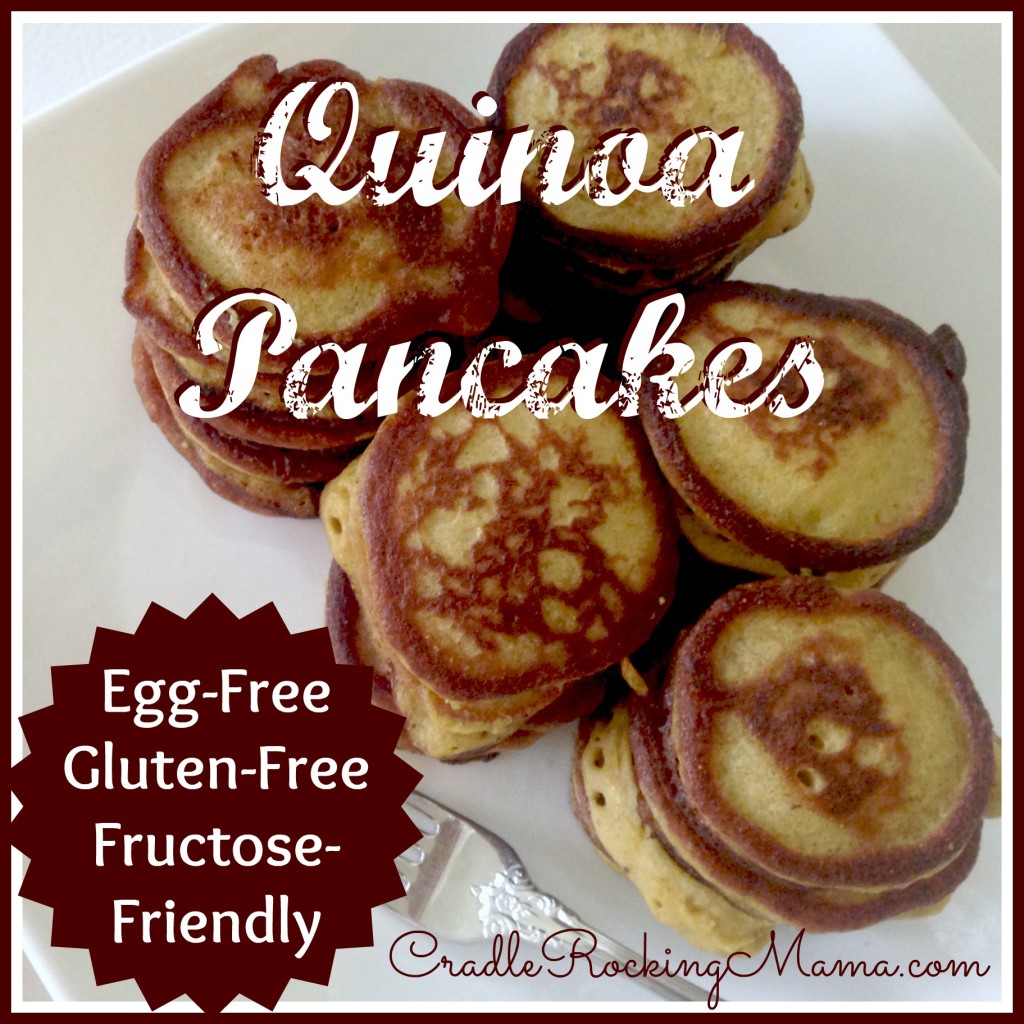
These yummy little pancakes came out fluffy, and looked and felt exactly like regular pancakes. I was thrilled!
They’re also really simple to make, and are naturally gluten-free, wheat-free, fructose friendly, and potentially dairy-free if you use an alternate liquid.
If you also make sure to avoid corn-y ingredients, you can make these corn-free, too!
Basically, you’ll follow the steps for the quinoa cookies, except to begin, you’ll add some safe fat or oil to a skillet and start heating it up on the stove. Pancakes of any stripe cook better when poured on to a hot surface!
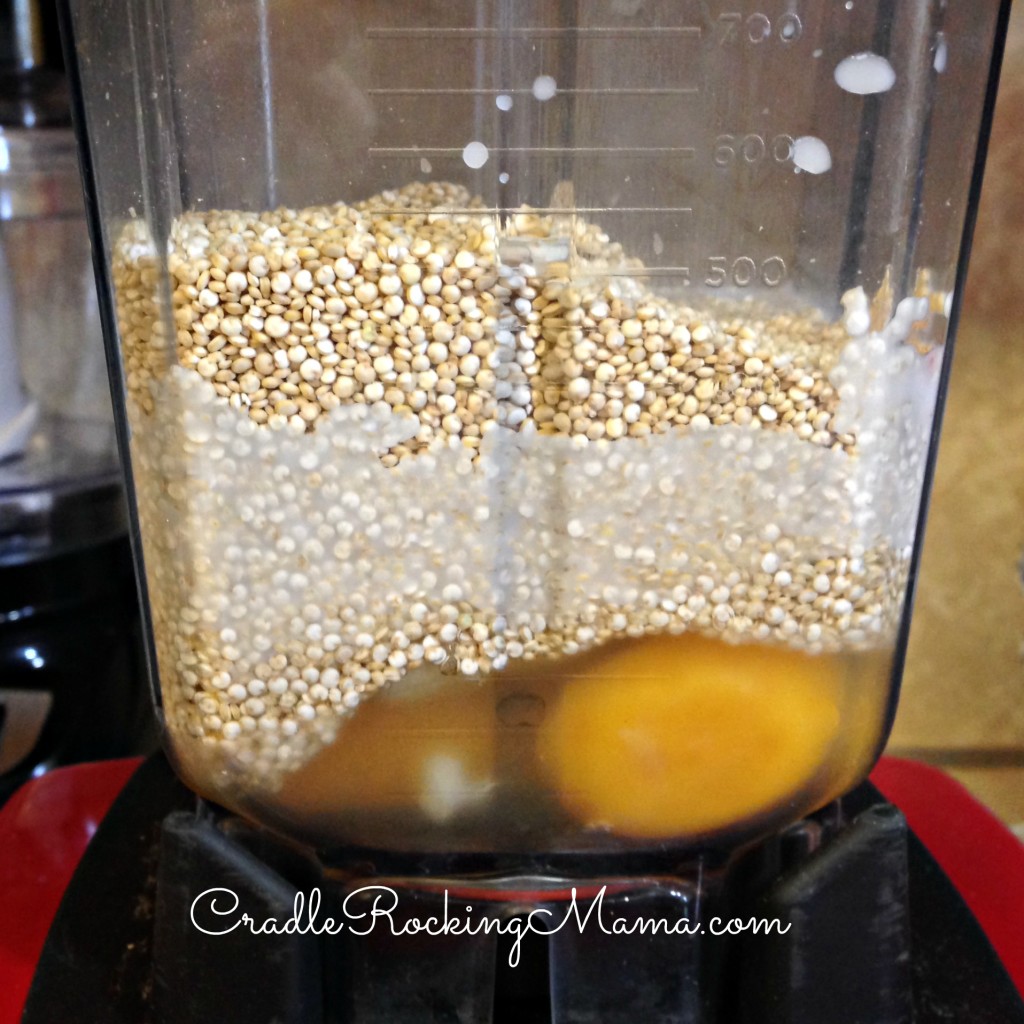
Add 2 eggs, the milk, and the uncooked quinoa to a blender and process until smooth. To make these dairy free, just use an alternate milk like hemp or quinoa milk.
Obviously “extras” aren’t safe for us, yet, but this would be a good time to add any that you’d like. Vanilla and some sweetener come to mind. I would suggest stevia; if you use anything else, like maple syrup or some granulated form of sugar, reduce the liquid accordingly.
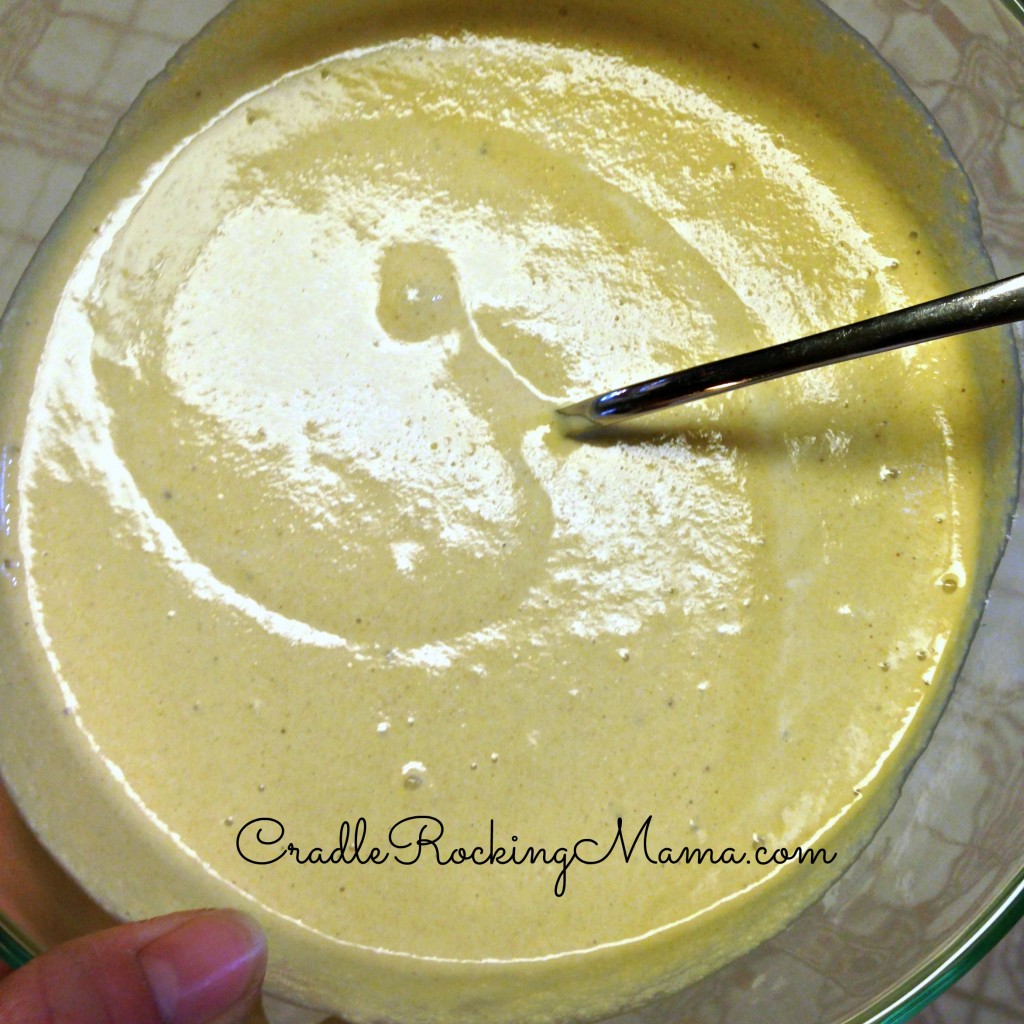
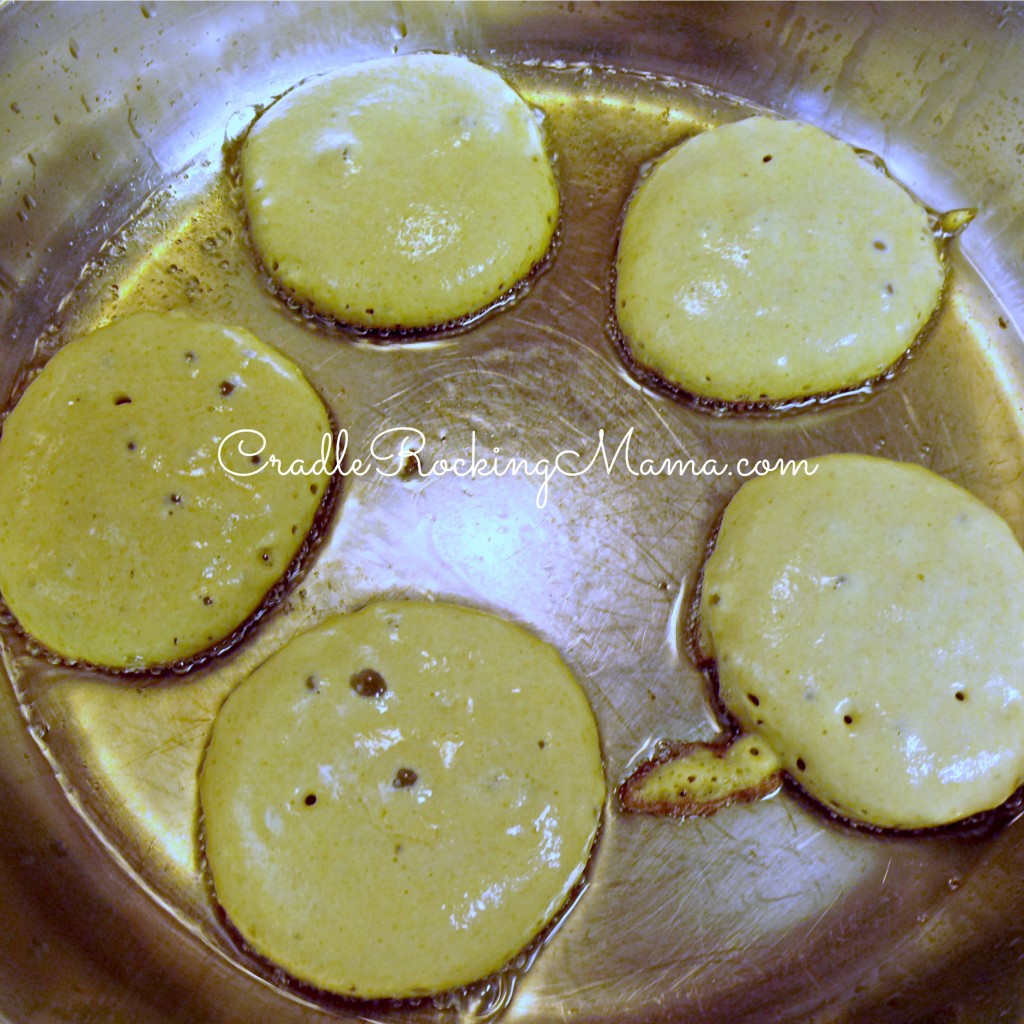
Pour the batter in to a bowl, and add the baking soda. Stir it together with a large serving spoon, then use that spoon to “spoon” the batter in to the skillet.
I was aiming for mini-pancakes. Mine came out a little larger than a typical “silver dollar” pancake.
I’ve since made them larger, and they come out just fine as full-sized pancakes.
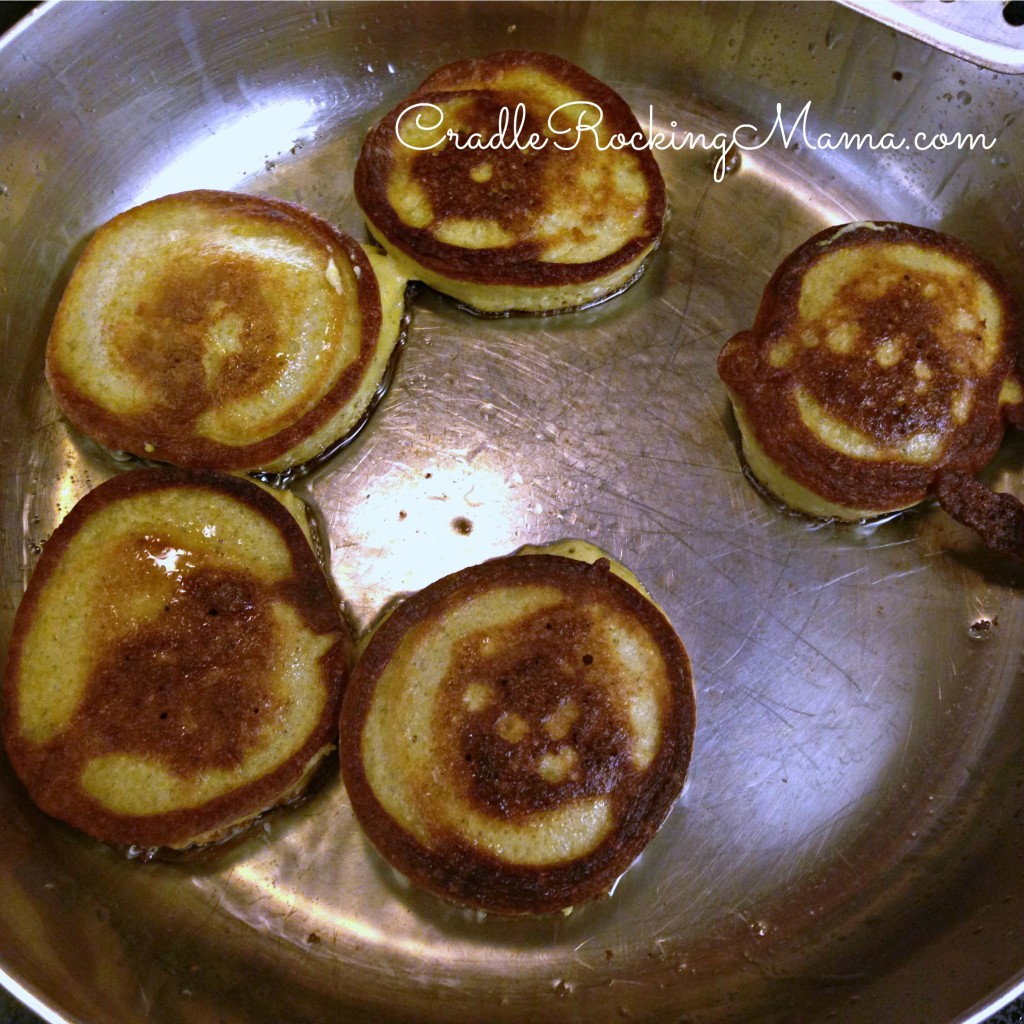
Cook the cakes for 2-3 minutes, or until you can see the edges begin to brown and some bubbles forming on the top.
Then flip, and cook for an additional 1-2 minutes.
Plate them up and enjoy a delicious, healthy breakfast!
Since the first time I made these, I’ve made an alternate version with bananas for extra flavor.
I simply added the banana to the blender with the rest of the ingredients; the only difference is that I reduced the milk to 1/2 c.
That version also came out fluffy and beautiful!
Enjoy your gluten free, potentially dairy free, and fructose friendly pancakes!
- 2 T. safe oil/fat (olive oil, tallow, butter, etc.)
- 2 eggs
- ¾ c. milk
- ¾ c. uncooked quinoa
- 1 tsp. baking soda
- 1 banana (optional - if you use banana, reduce the milk to ½ c.)
- 6 scoops of stevia (just under ¼ tsp.) - optional
- 1 tsp. vanilla - optional
- Add your safe oil/fat to a skillet and begin warming the pan on the stove. Pancakes work best on a hot surface!
- Crack the eggs into a blender.
- Add the milk and uncooked quinoa seeds. (Now would also be a good time to add the banana, stevia and vanilla, if using.)
- Process until a smooth batter forms.
- Pour the batter into a bowl.
- Add the baking soda and mix together with a spoon.
- Using a large serving spoon, spoon the batter into the hot skillet. These work best as smaller, "silver dollar" sized pancakes.
- Cook for 2-3 minutes until the edges have browned slightly, then flip and cook for an additional 1-2 minutes.
- Use a spatula to slide those cute little pancakes on to a plate.
- Enjoy your delicious breakfast!
