


Chocolate Avocado/Banana Pudding…Yum!
Back in January, our new dietician had a Fructose Free Vitamin for us to give to Mr. Charm. This new vitamin is a powder and the instructions on the can say to mix the powder with a thick liquid, like yogurt or pudding.
Houston, we have a problem!
I haven’t been able to find a safe yogurt for Mr. Charm yet, nor have I found a safe pudding!
Until now…
I had made several attempts at vegan pudding using variations on a cornstarch thickened liquid theme, but none of them panned out. The flavor was off, the texture was wrong…something was always just a tad “off”. Plus, I’d like to find a pudding recipe that *might* be safe for Mr. Happy one day, so, probably best to NOT include an ingredient that we already know is unsafe for him!
So I was playing around with the idea of using bananas as a base for pudding. It needs to be sort of creamy and thick…bananas get that way when they’re mashed! And after the great success of banana ice cream, well, I thought I might be on to something!
But it never came out quite right.
Finally, I remembered a recipe I’d seen somewhere before for a dessert or a smoothie (I really can’t remember the recipe, so if this rings a bell, let me know so I can credit them!) that used banana and avocado together!
Now, I know the whole world seems to LOVE avocado, but for me and my household, we pretty much think it’s the most disgusting, slimy, icky thing on the planet. Still, I’d actually hoped Mr. Charm would like avocado when he was a baby (it is very healthy, after all), but one bite and he gave us the most pitiful look you’ve ever seen and spit it right out!
Still, maybe, just maybe, if it’s hidden in banana and cocoa powder, we may not mind it so much? It was worth a shot!
So I bought some avocados (asking my Mom on the phone how you’re supposed to know when one of those icky things is good to buy) and went to work.
I’ll spare you the details of the failed batches, and share with you what works like a Charm! (Get it? Sorry, little pun there!) Mr. Charm LOVES this stuff!
So here’s what you do:
Take an avocado, cut it in half, remove the pit, and scrape out that green mess into your food processor. Peel a banana and toss it in as well.
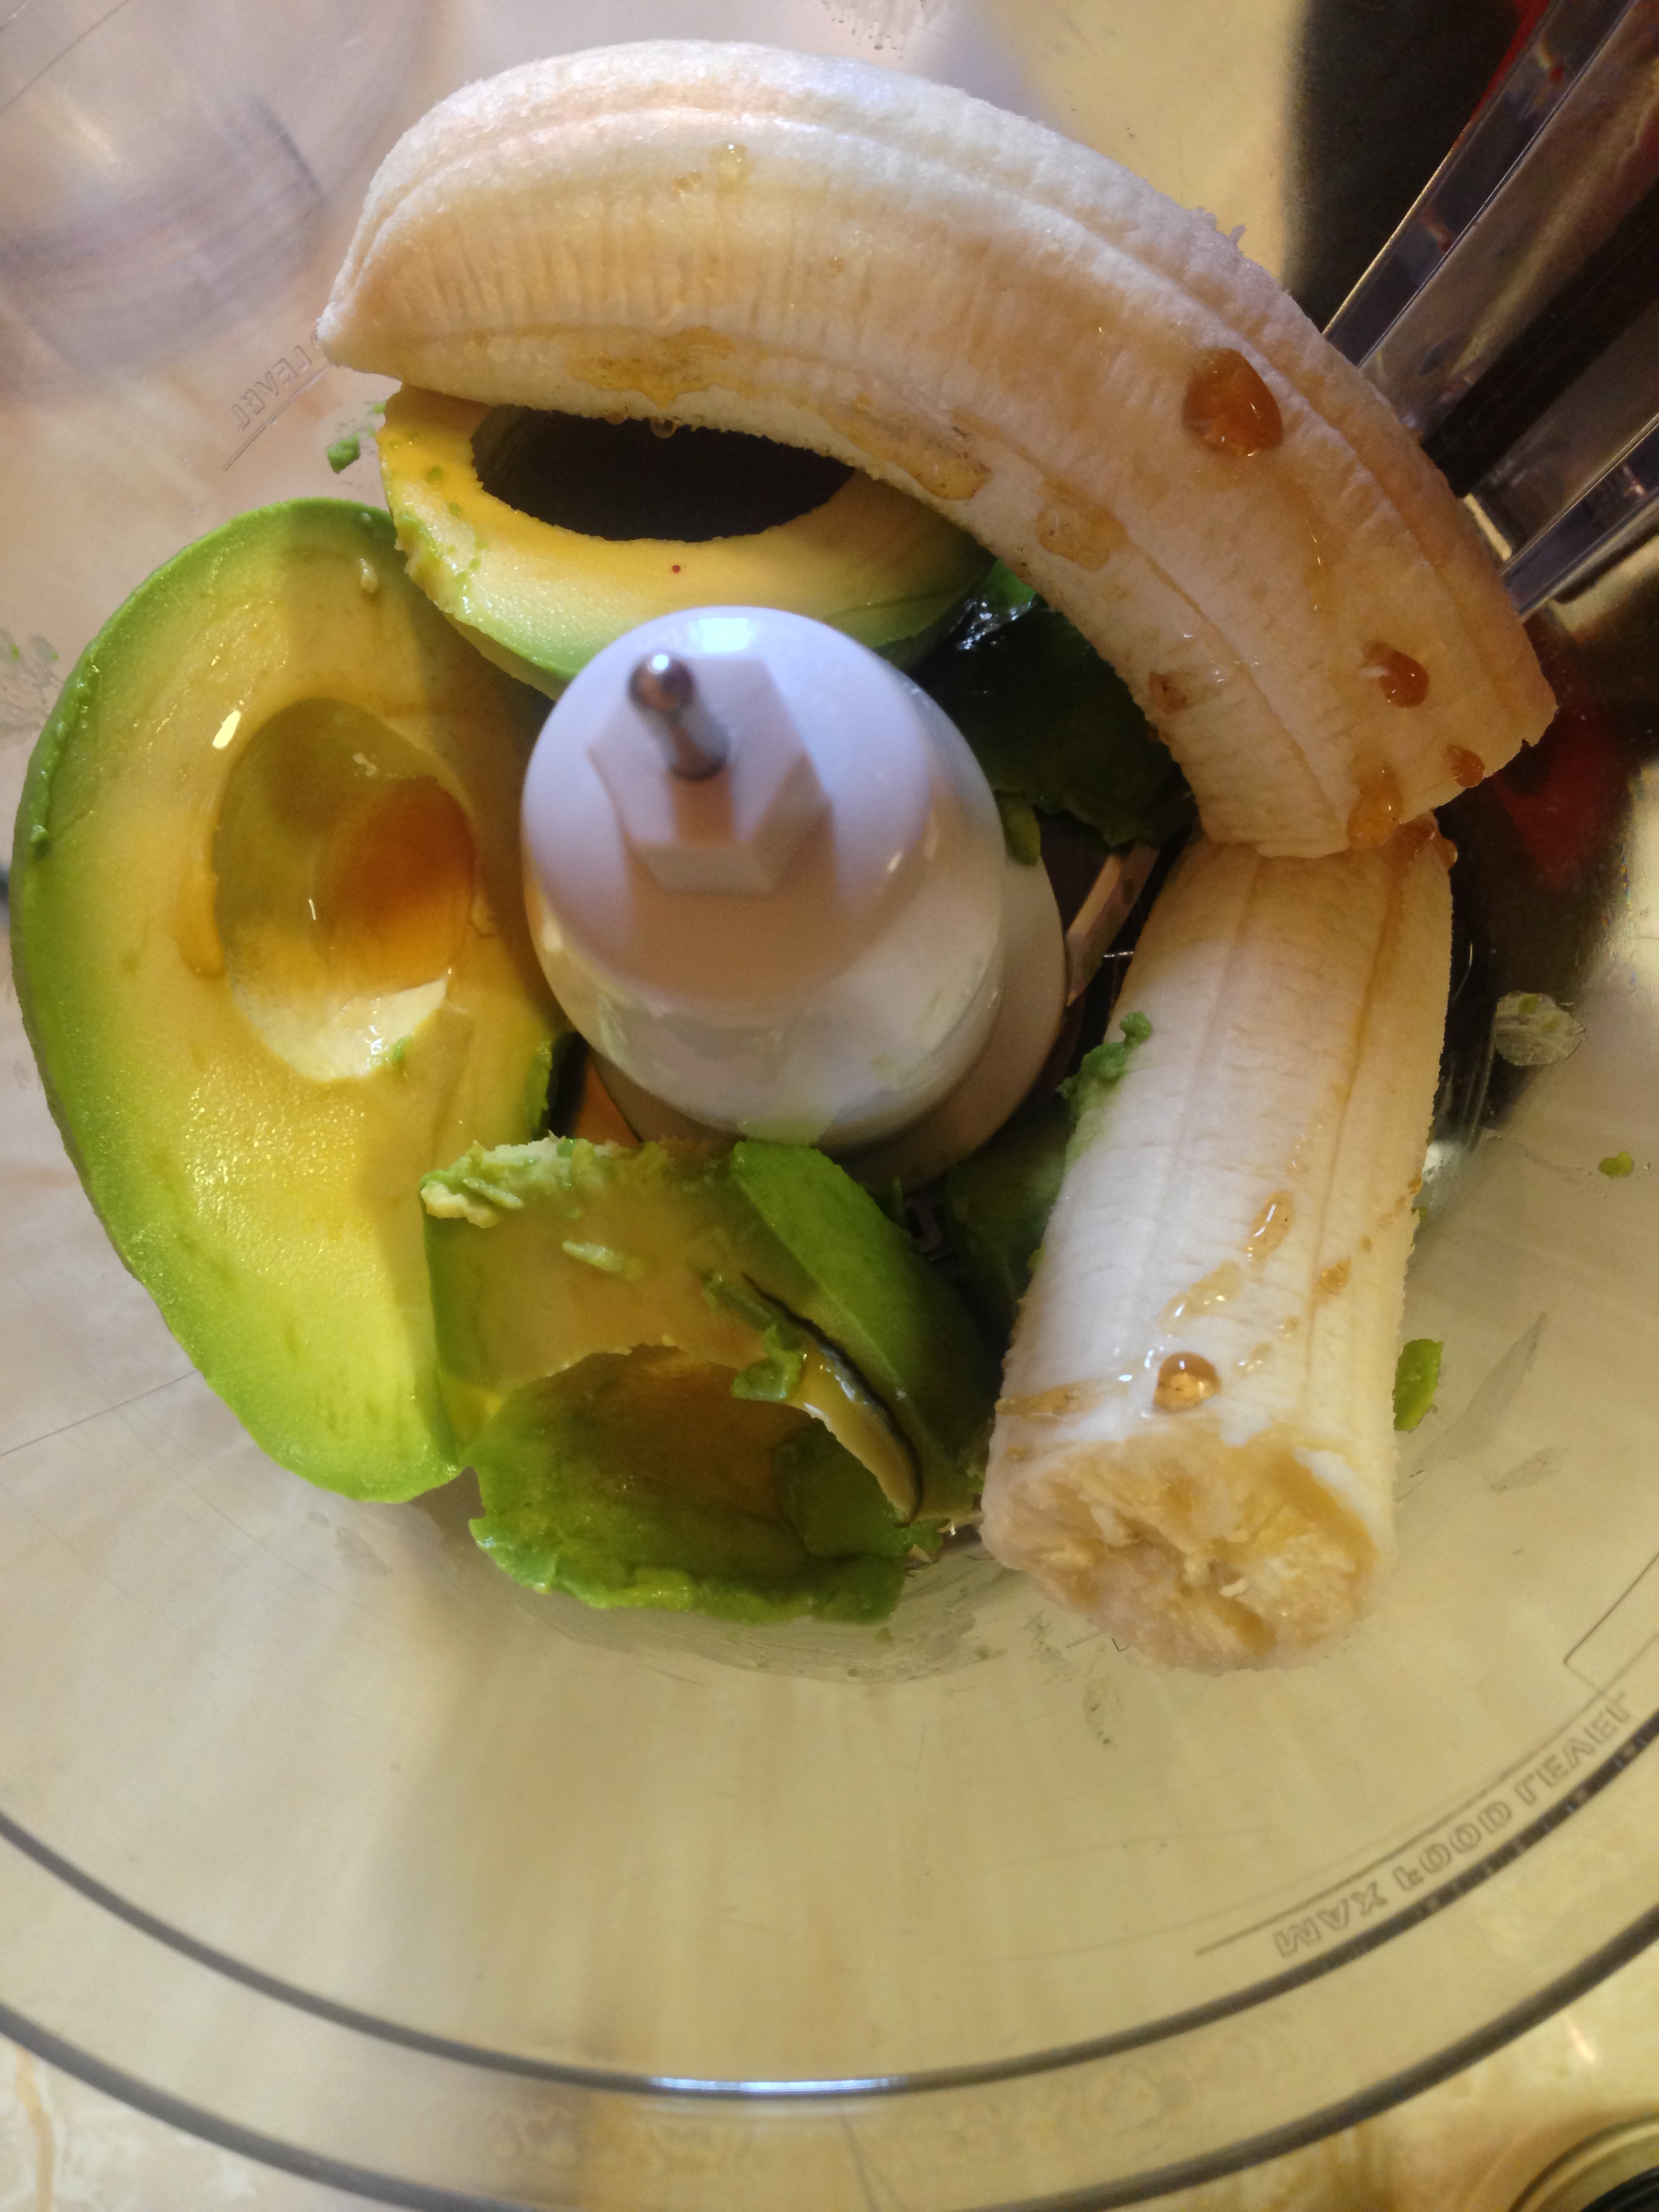
Banana, Avocado and Maple Syrup ready to process
Top that off with maple syrup, cocoa powder, and some alternative milk. We used almond, but if you used hemp or rice it could be Top 8 allergy free!
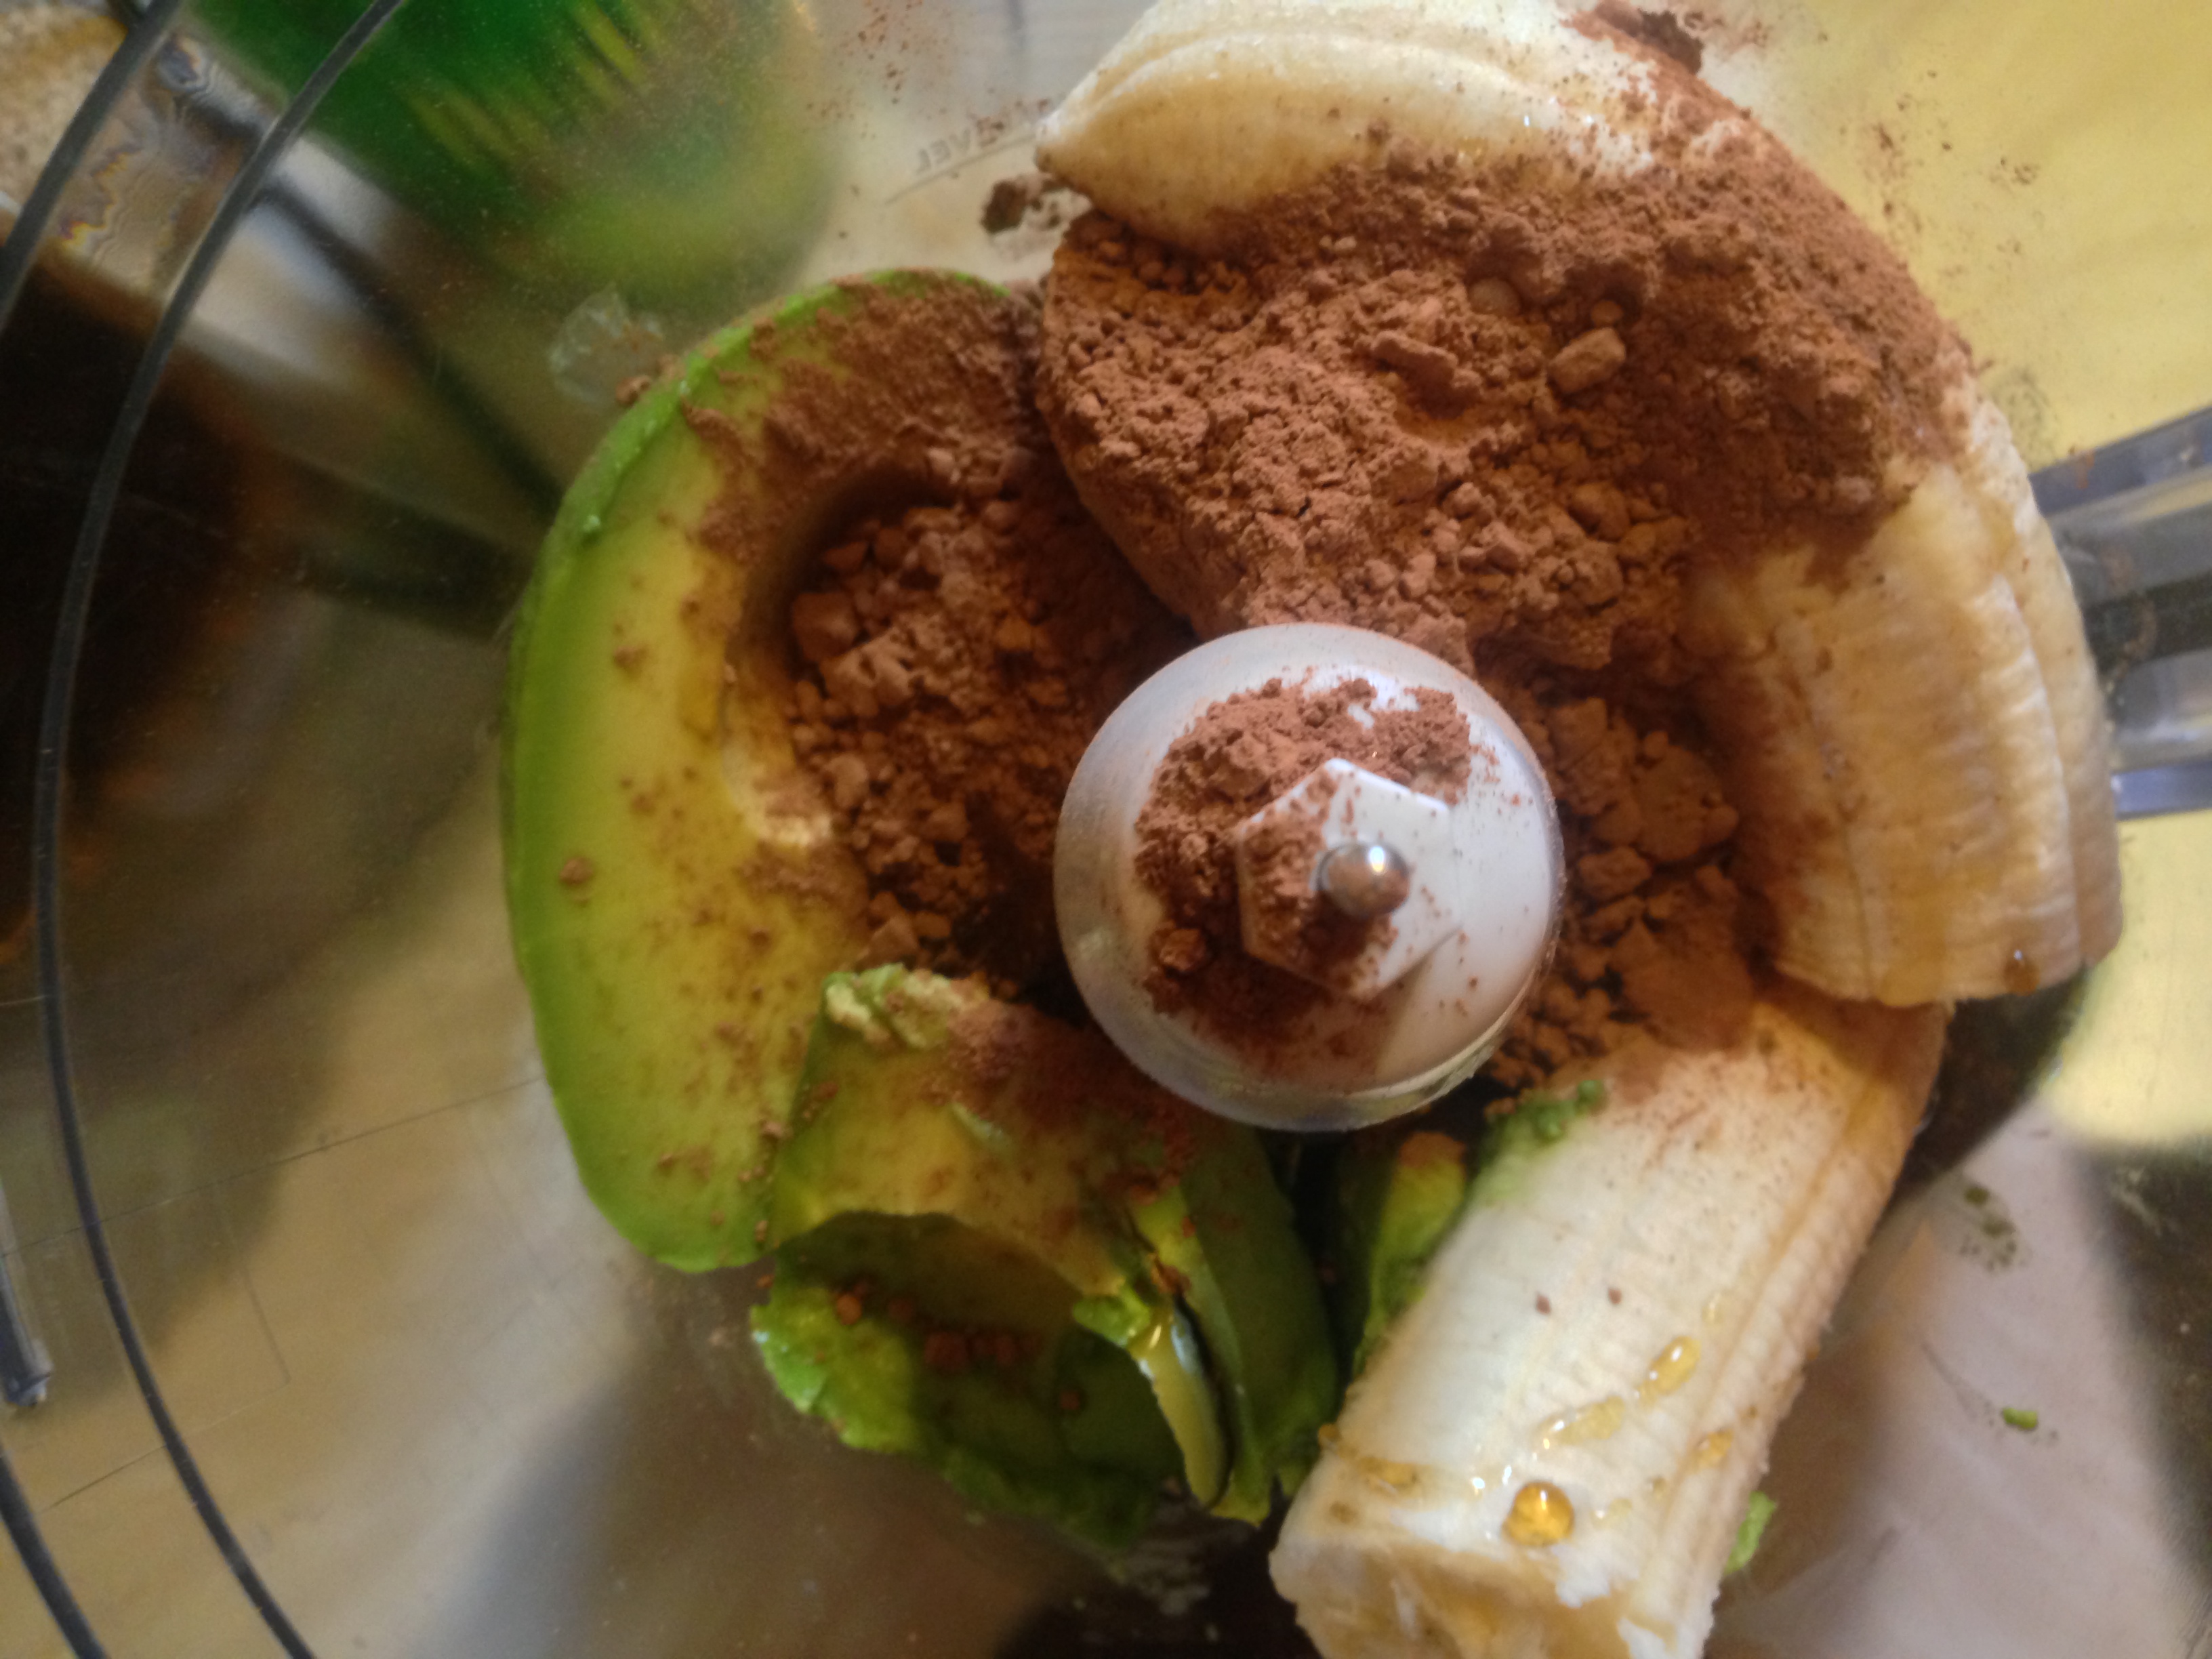
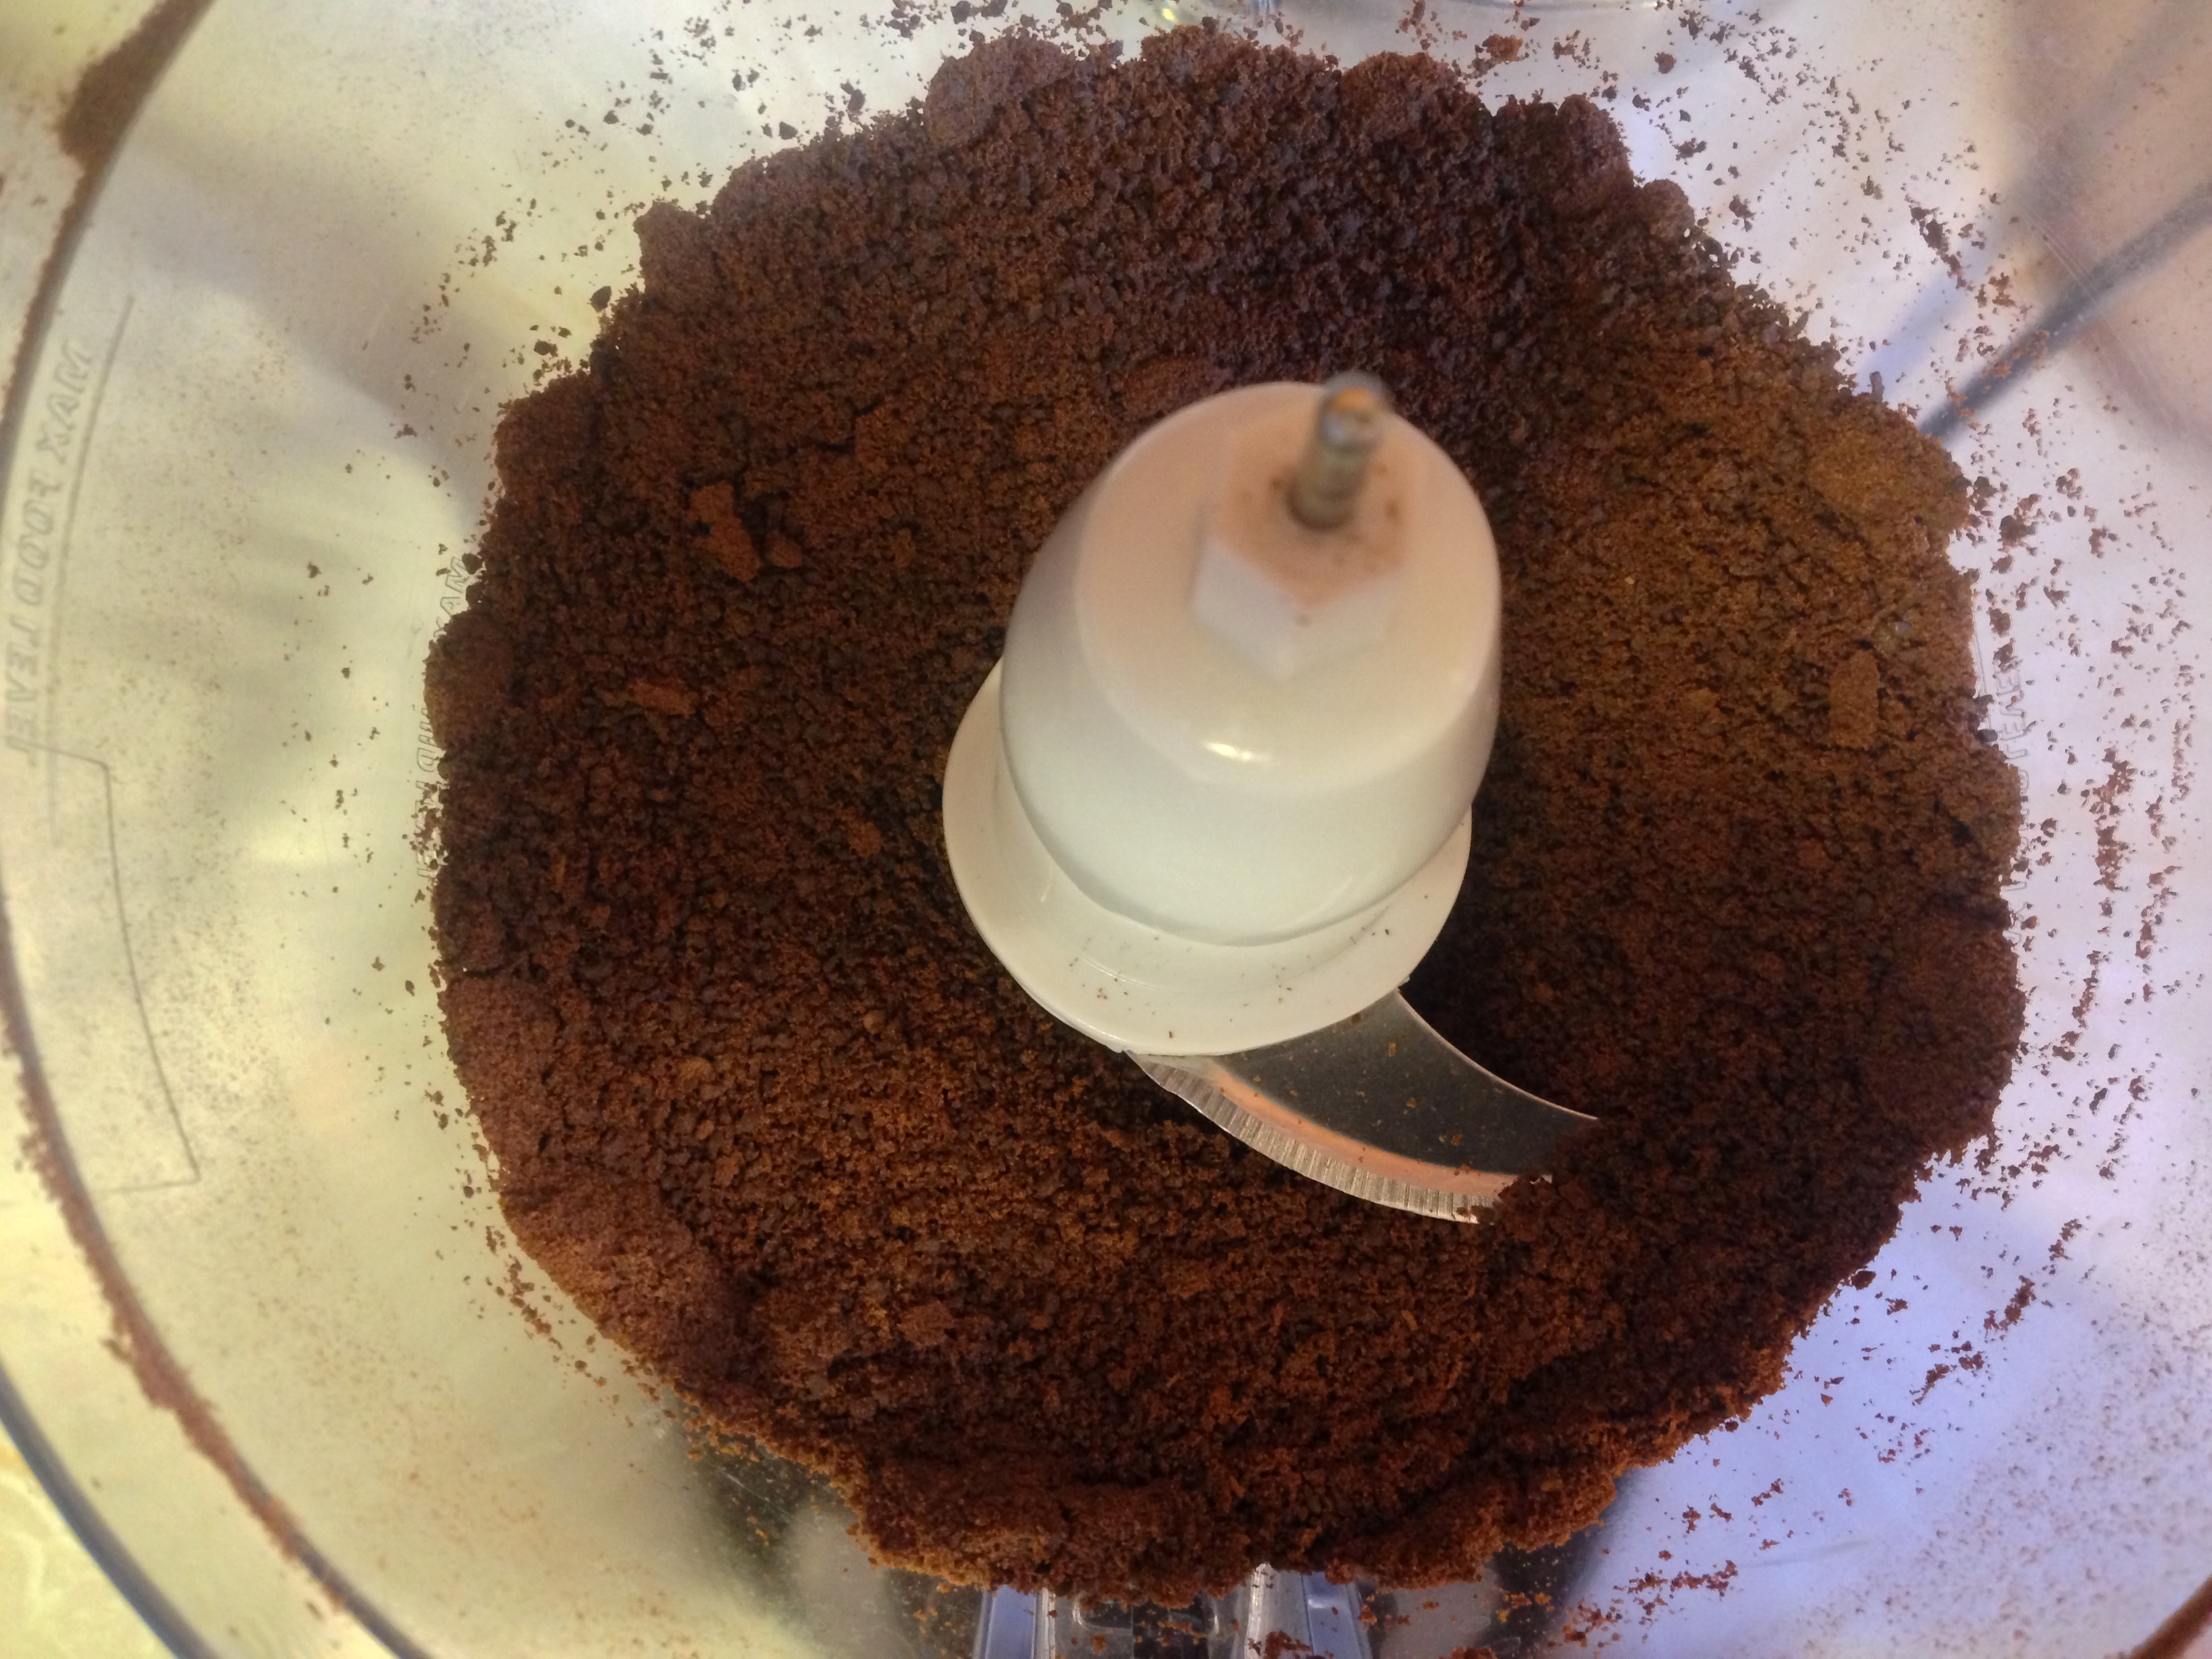
Cocoa powder added…
Blend it to death – you may need to scrape the sides of the bowl once or twice to get everything mixed well.
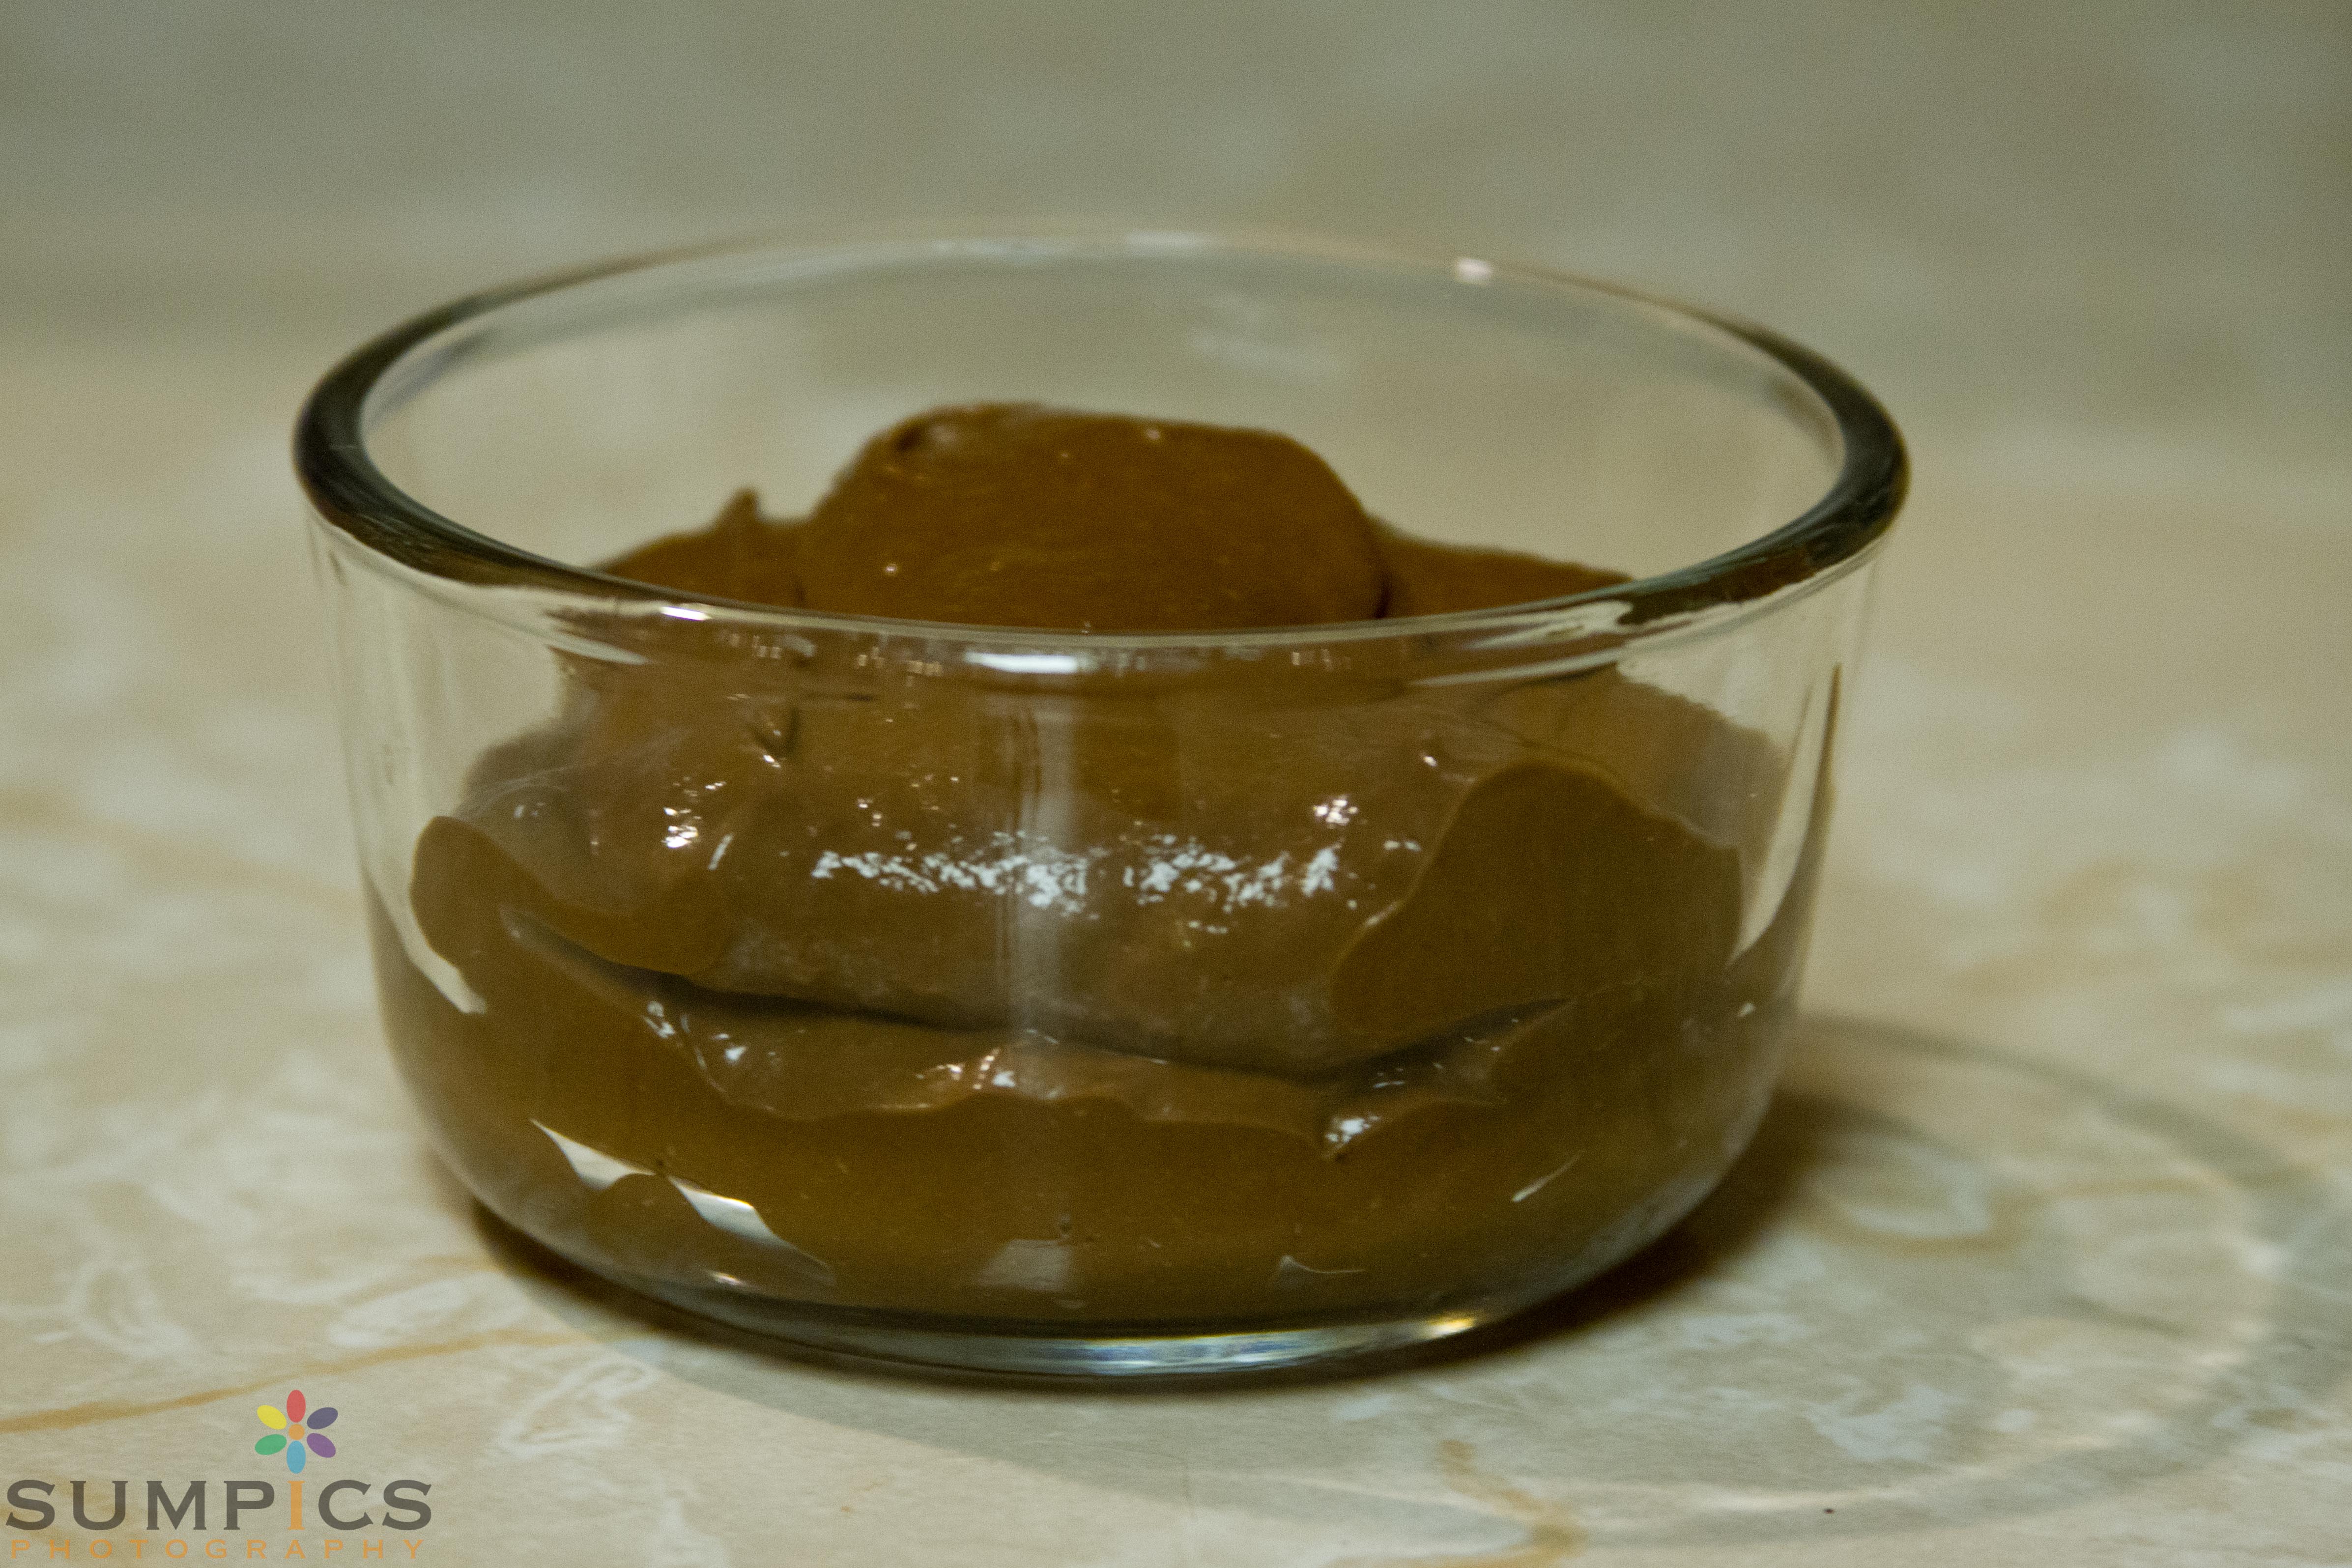
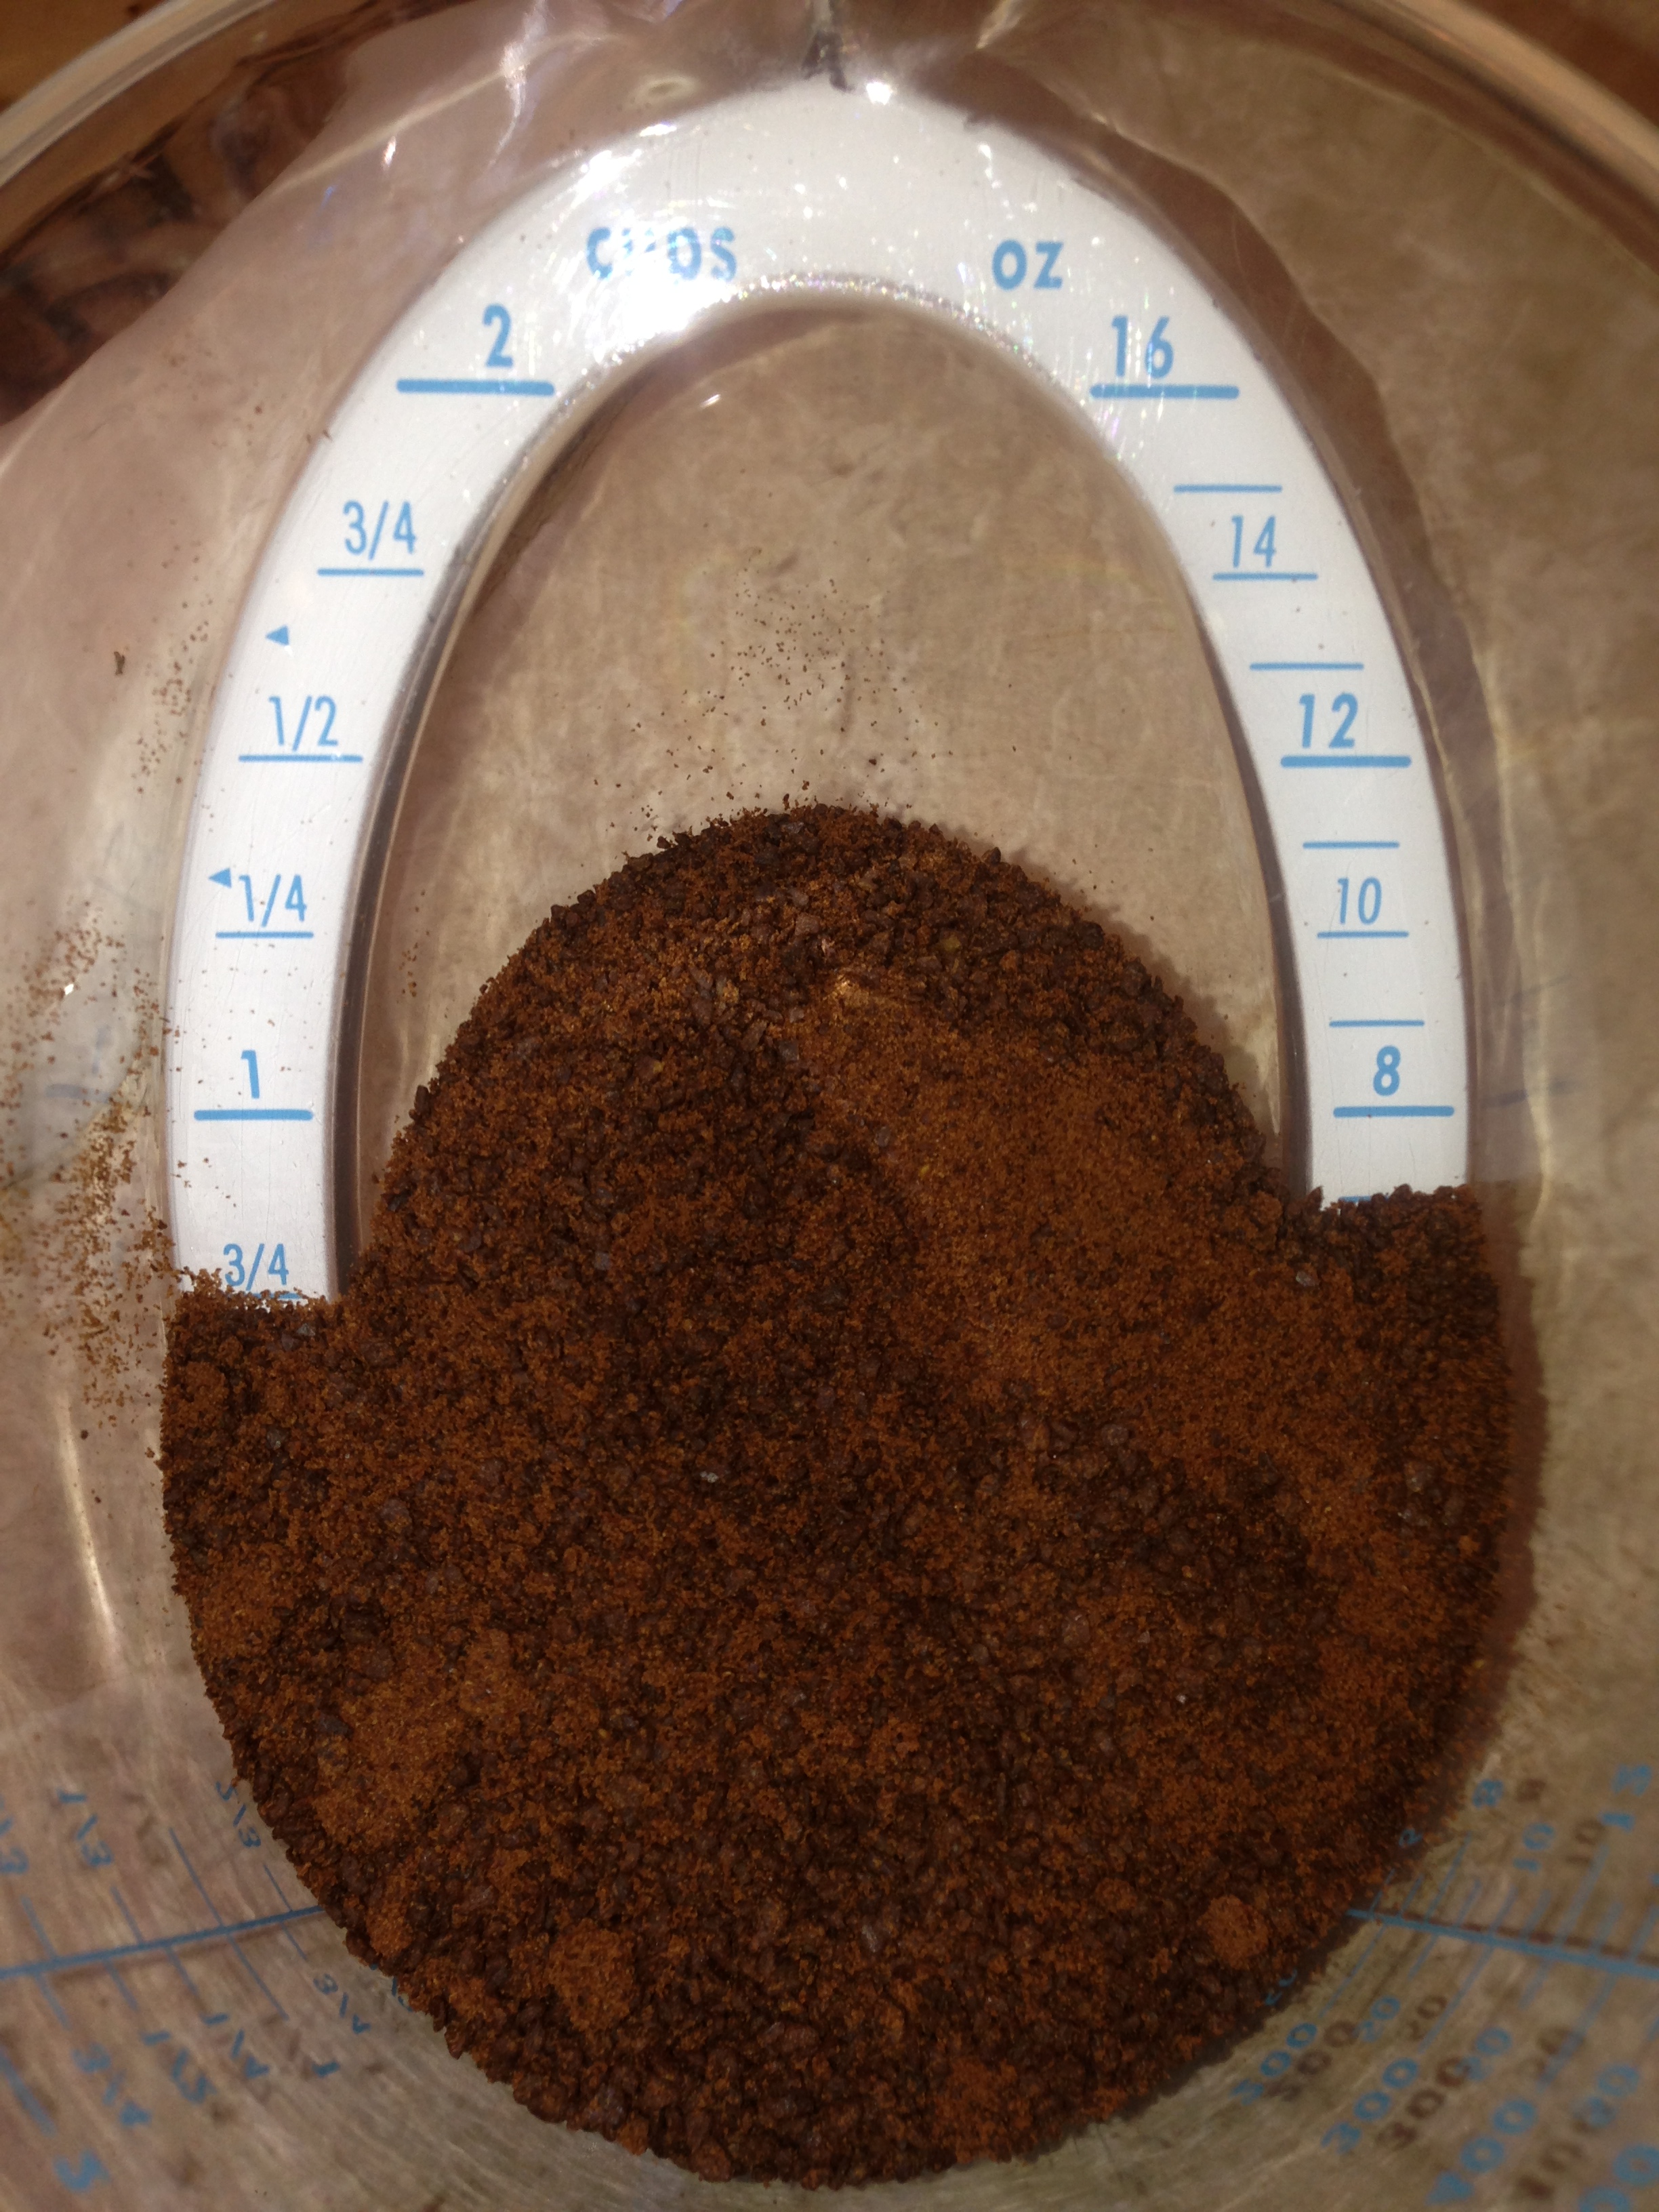
Ta-da! You’ve just made 4 servings of an absolutely delicious chocolate pudding that you can actually give your kid for breakfast guilt-free!
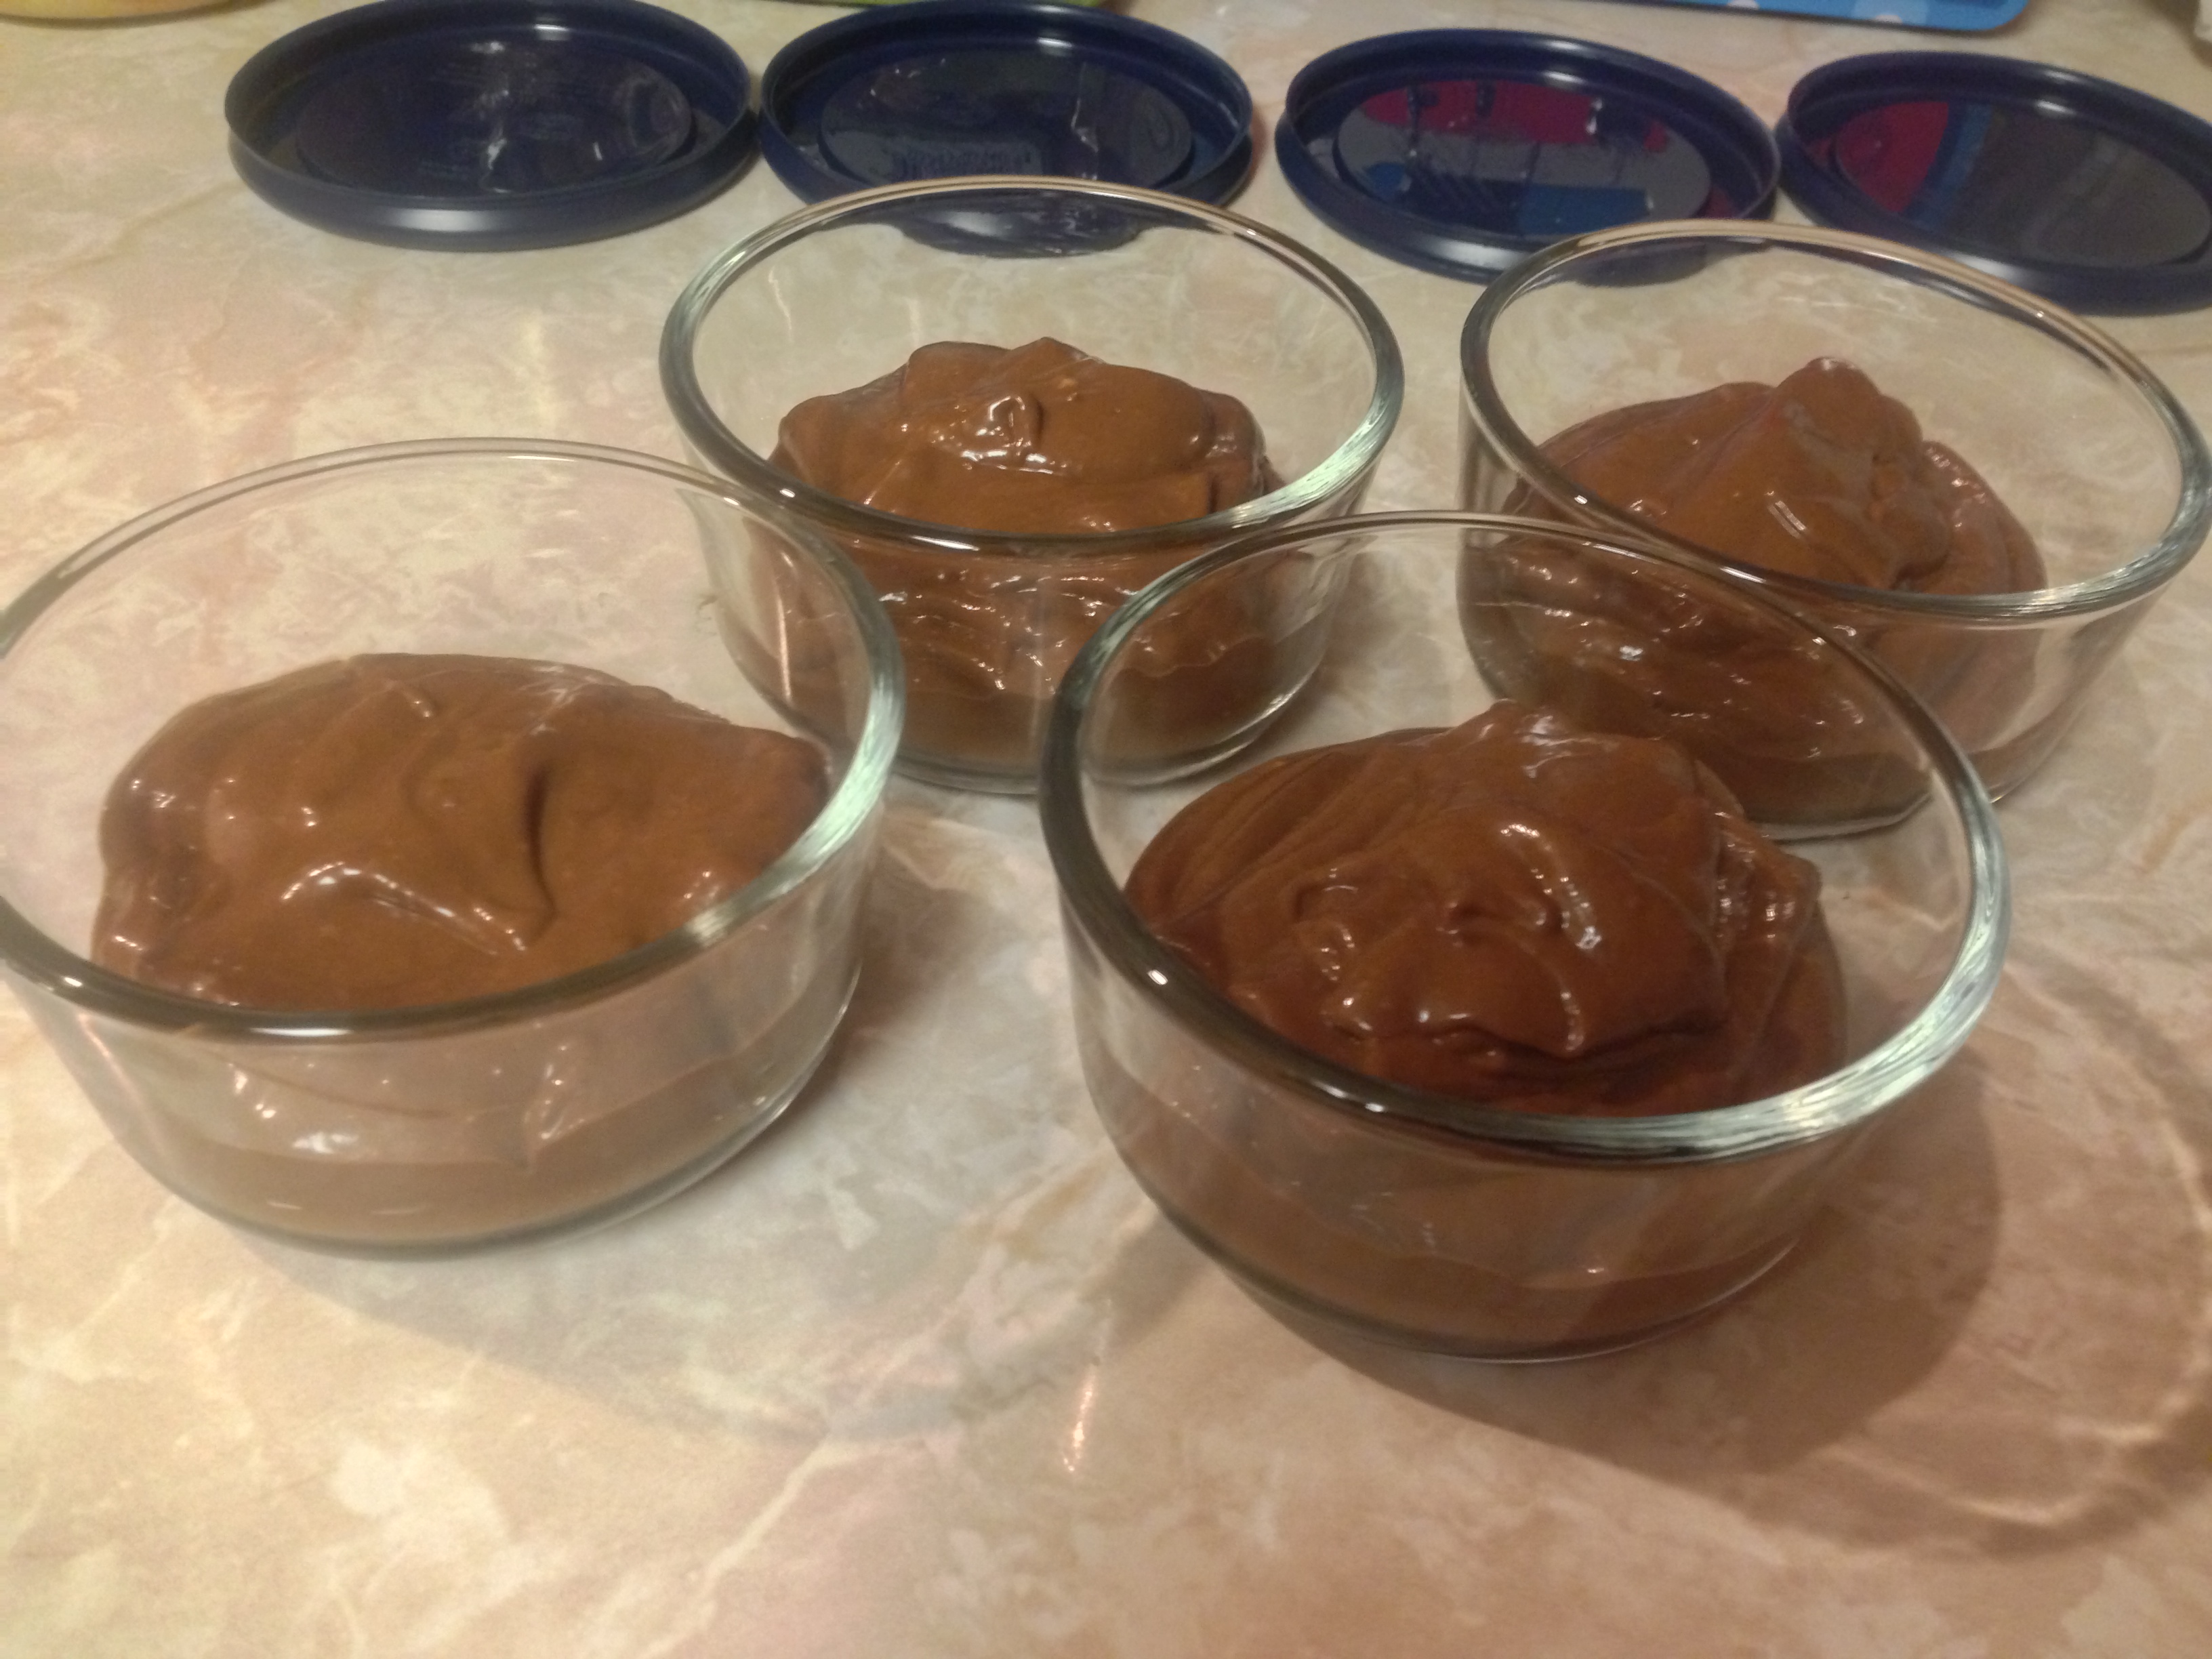
Four days of Vitamin Carrier Yummies, all ready to go!
But wait – there’s more!
In the interest of not having to make this every 4 days – aka, “not having to clean my food processor every 4 days and remember to have fresh ingredients all the time” – in order to give Mr. Charm his vitamins, I thought: “Well, why not make extra batches and freeze them?”
Then I thought: “Well, if Mr. Happy passes all of these foods, and I can add them to my diet, when I go back to work it would be GREAT to have an easy dessert to bring with me – how would this work dehydrated?”
So the experimenting continued!
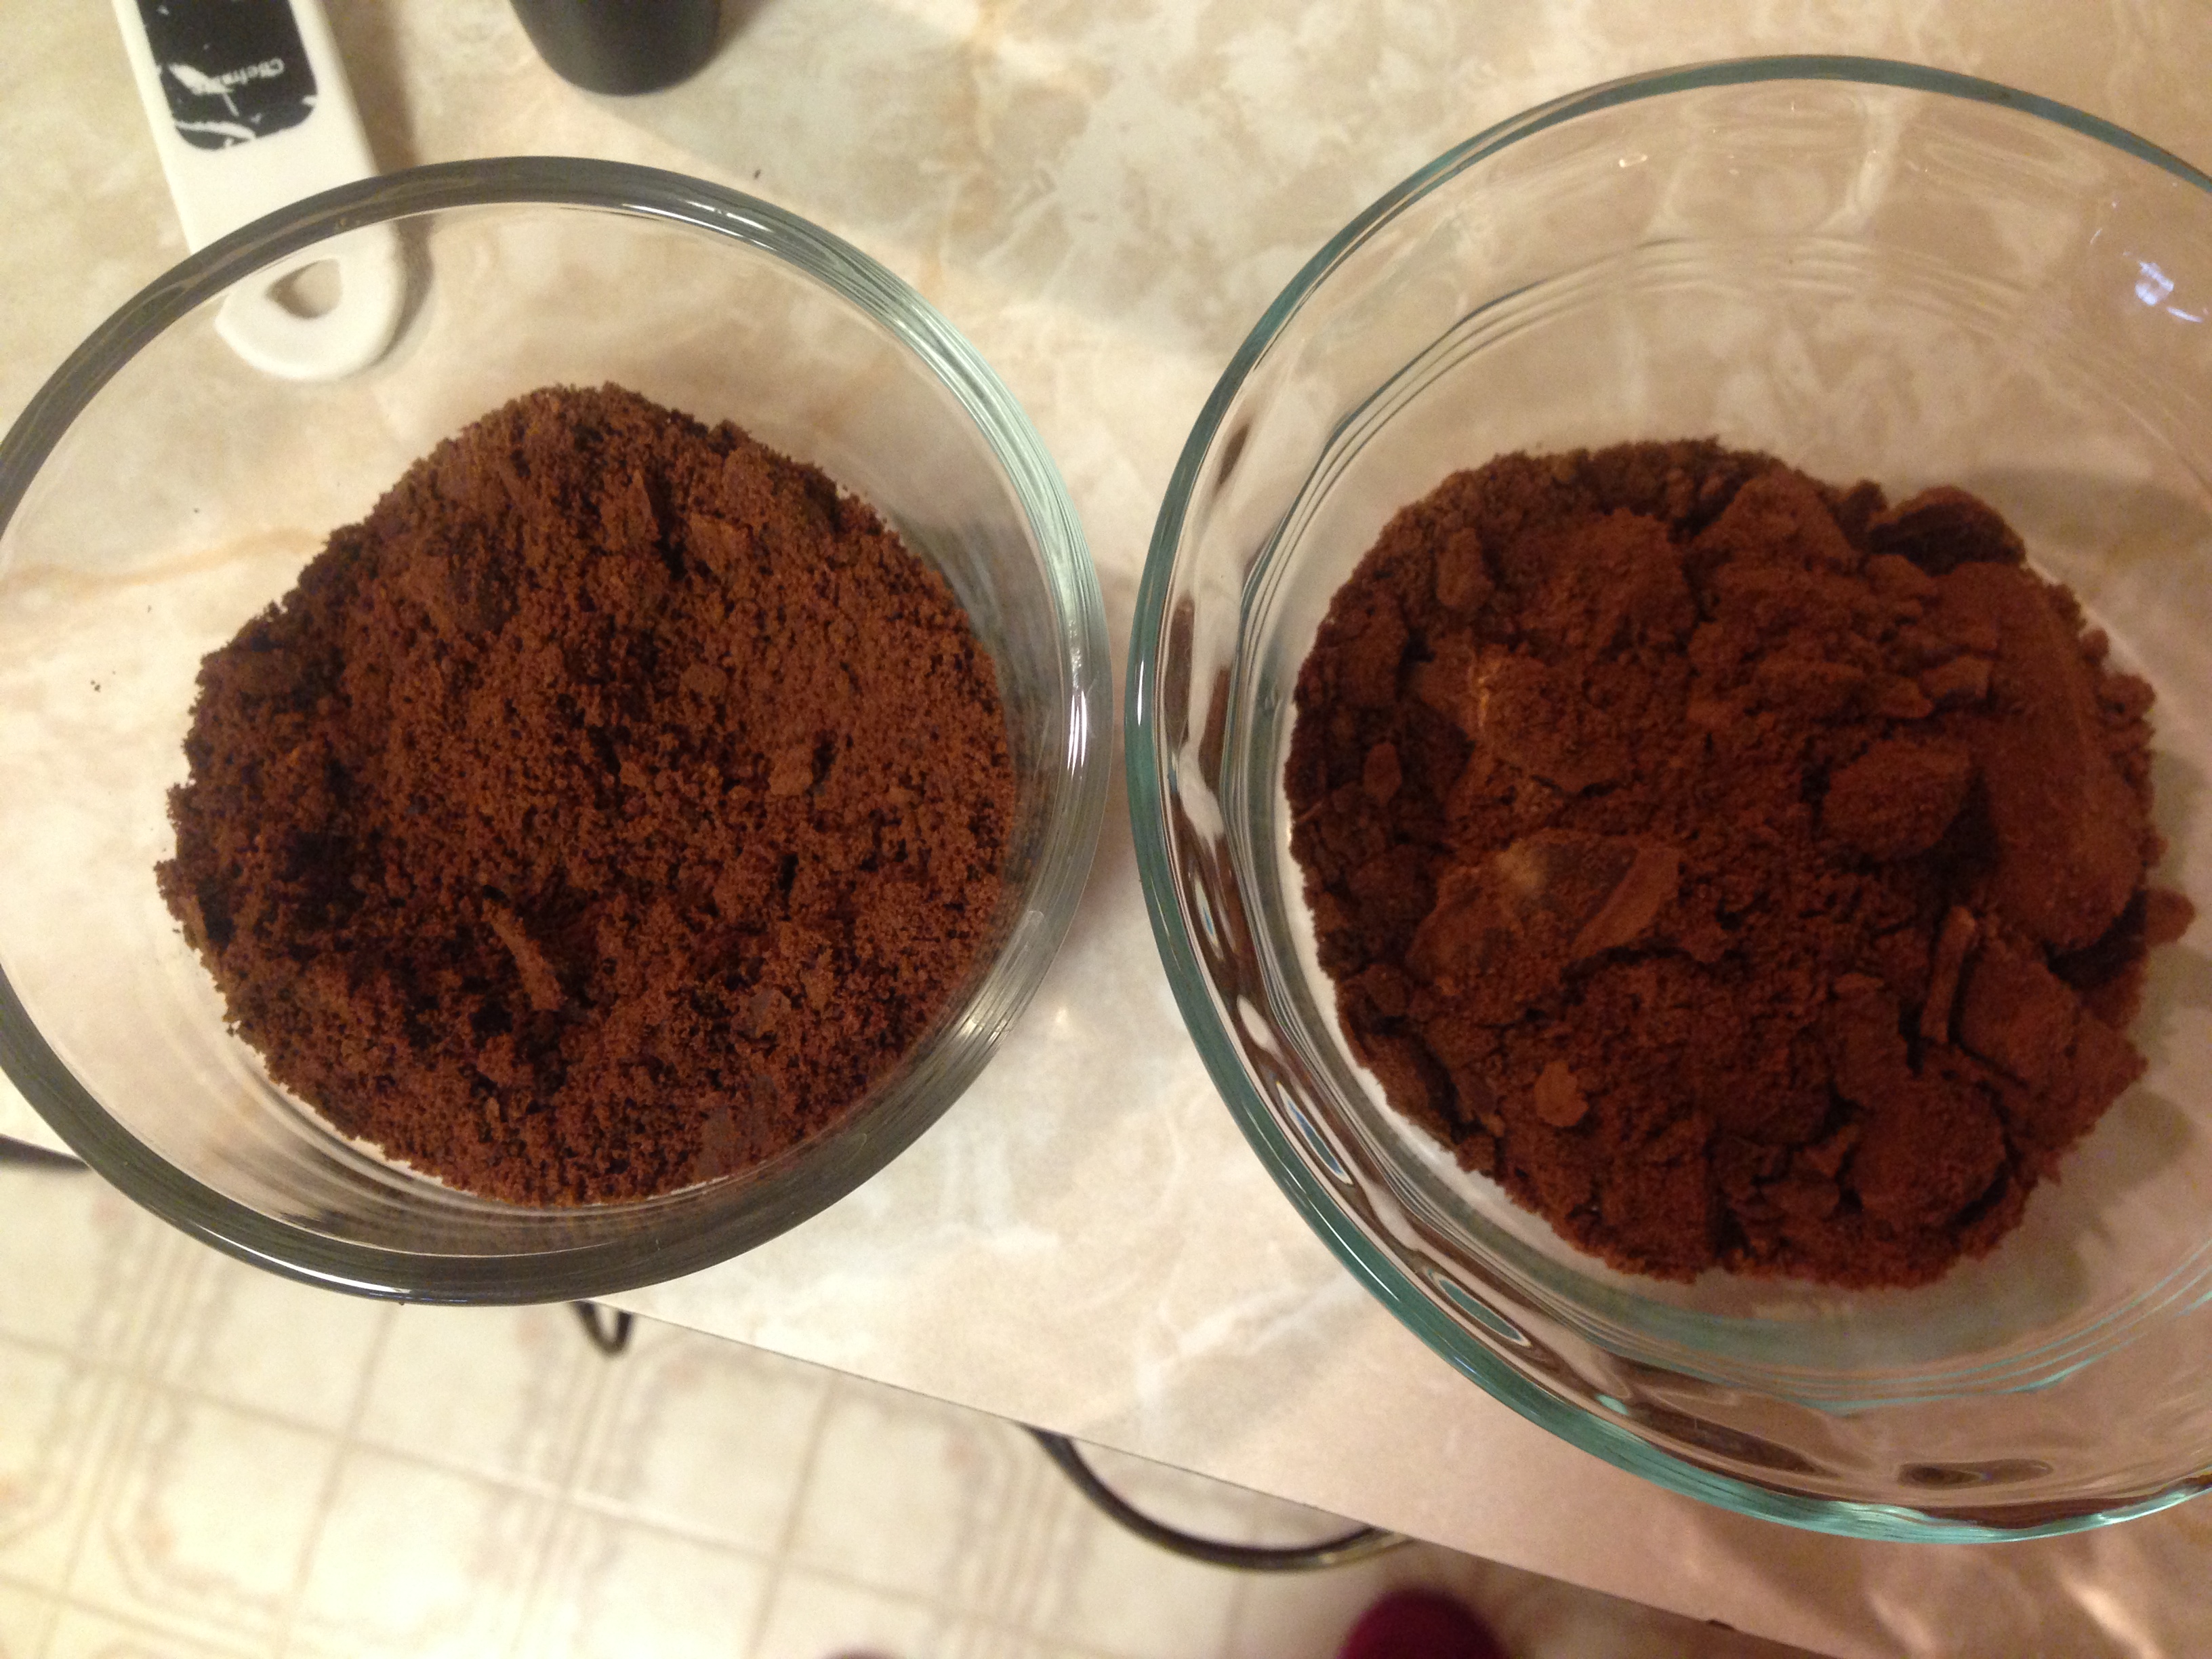
I made one batch without any milk to freeze.
I made one batch without any milk to dehydrate.
I made one batch WITH milk that I split in half, freezing one half and dehydrating the other half.
Since I was planning to dehydrate some of this, I wondered if it would make it faster and easier to do without adding extra liquid to the recipe first. Then I wondered if the milk might crystallize in the freezer and affect the texture of the pudding once thawed. So I tried it both with and without milk added first.
Freezing it was simple: make a batch, throw it in Ziploc bags, label, flatten, and freeze. Easy peasy! For the frozen and dehydrated versions, I added lemon juice to the recipe to ensure no color changes, and to help with preservation.
When it was time to try it out, I just laid them out on the counter for a couple hours, then ran warm water over them, mashing the bag, until it was certainly still cold, but no longer frozen.
Then I snipped the corner off one bottom of the bag and squeezed the pudding into bowls!
Batch #1 is the WITH milk added frozen batch. I simply squeezed it into a bowl and was done.
Batch #2 is the NO milk added frozen batch. I squeezed it into a bowl, added 1/4 cup of almond milk, whisked it together, then portioned it into individual servings. (Each full batch is 4 servings.)
The Geek and Mr. Charm are my taste testers, of course, but for this I only asked the Geek’s opinion.
He thought both Batch #1 and #2 were delicious, but Batch #2 had a much stronger banana taste than the other batches. He likes banana, so both were good for him, but he noted that someone who doesn’t like banana would prefer Batch #1.
So, that’s good! I can make extra batches of this and freeze them…if I wanted to be REALLY clever, I could get sandwich baggies and freeze individual servings of the pudding. *This could be handy for Mama’s with kids in school; throw a frozen pudding bag in with the kiddos lunch in the morning, and by lunchtime it will probably have thawed enough they can just eat it right out of the bag!
For me, though, I’m interested in finding foods I can carry with me on the plane…so, how did this work dehydrated?
For the dehydrated version, I was hoping to find a way to make a dry pudding base that would only need water or milk to rehydrate and turn into pudding…sort of a “vegan-homemade-allergy-friendly” instant pudding mix.
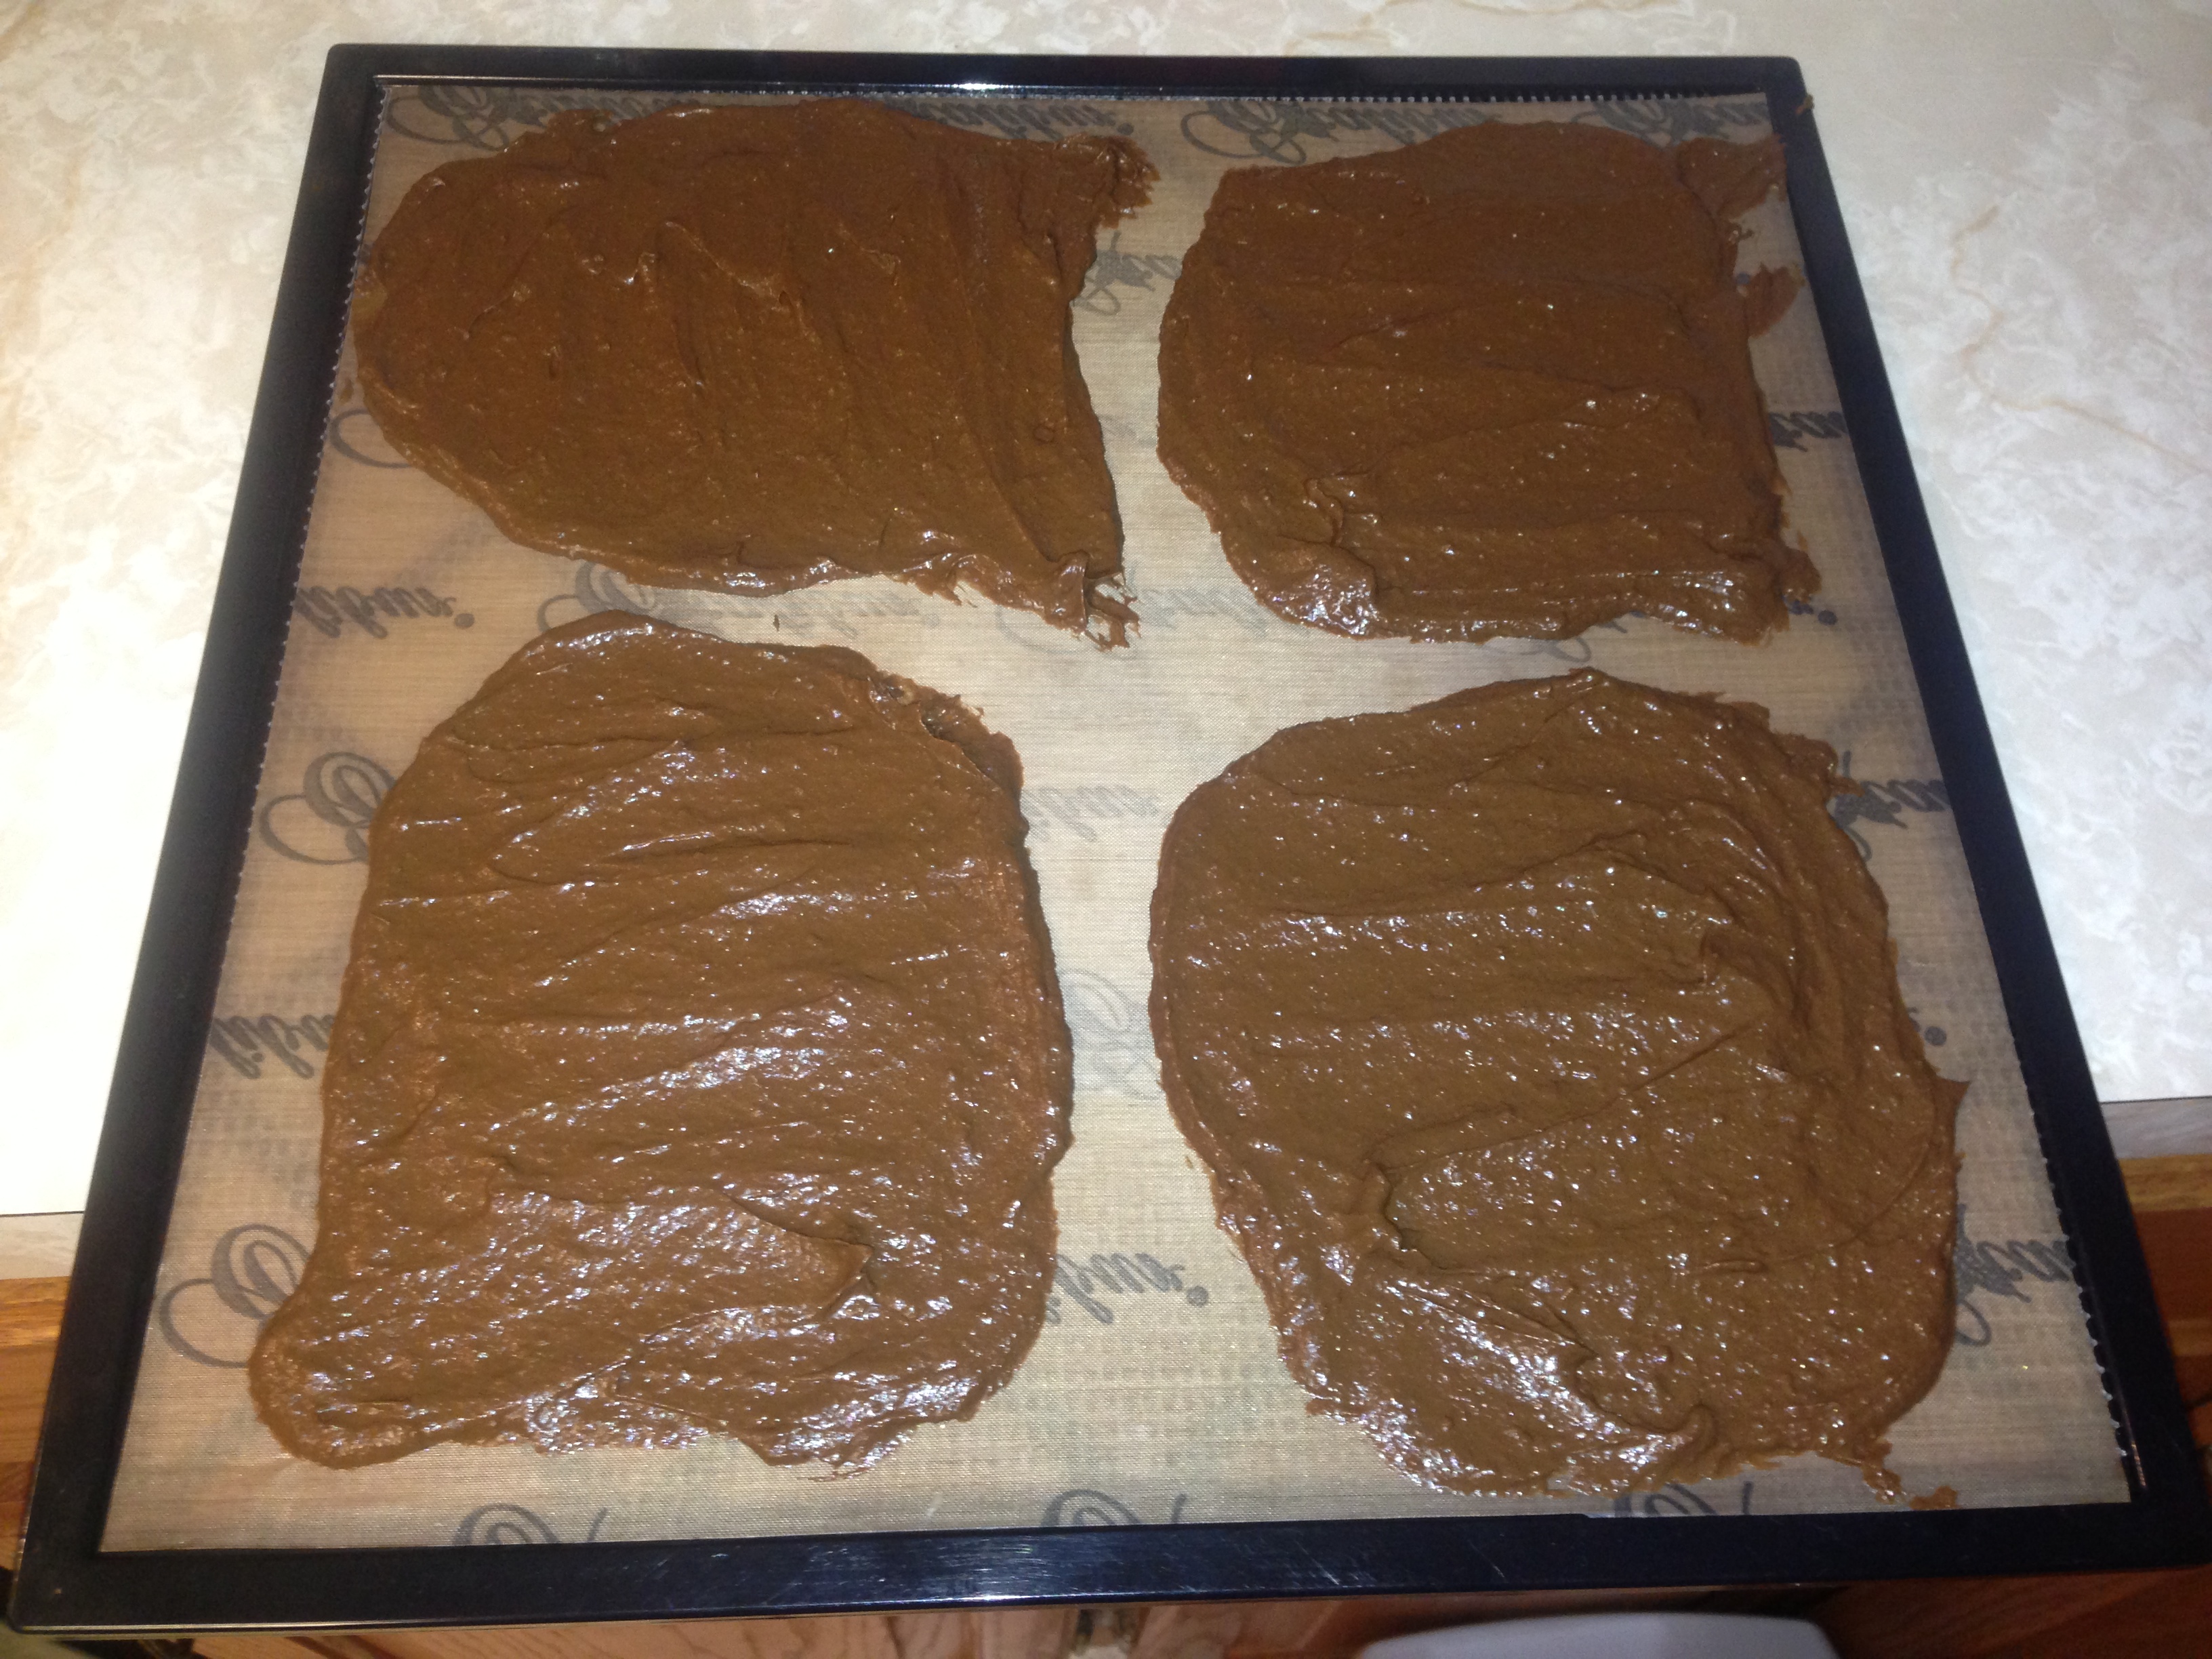
First I made the pudding, then I smeared it on my ParaFlexx non-stick drying sheets for my Excalibur dehydrator and turned it on!
I set the temp at 135 degrees, and it took quite a while – about 24 hours – before the pudding was dry enough to satisfy me. (Must be humid!)
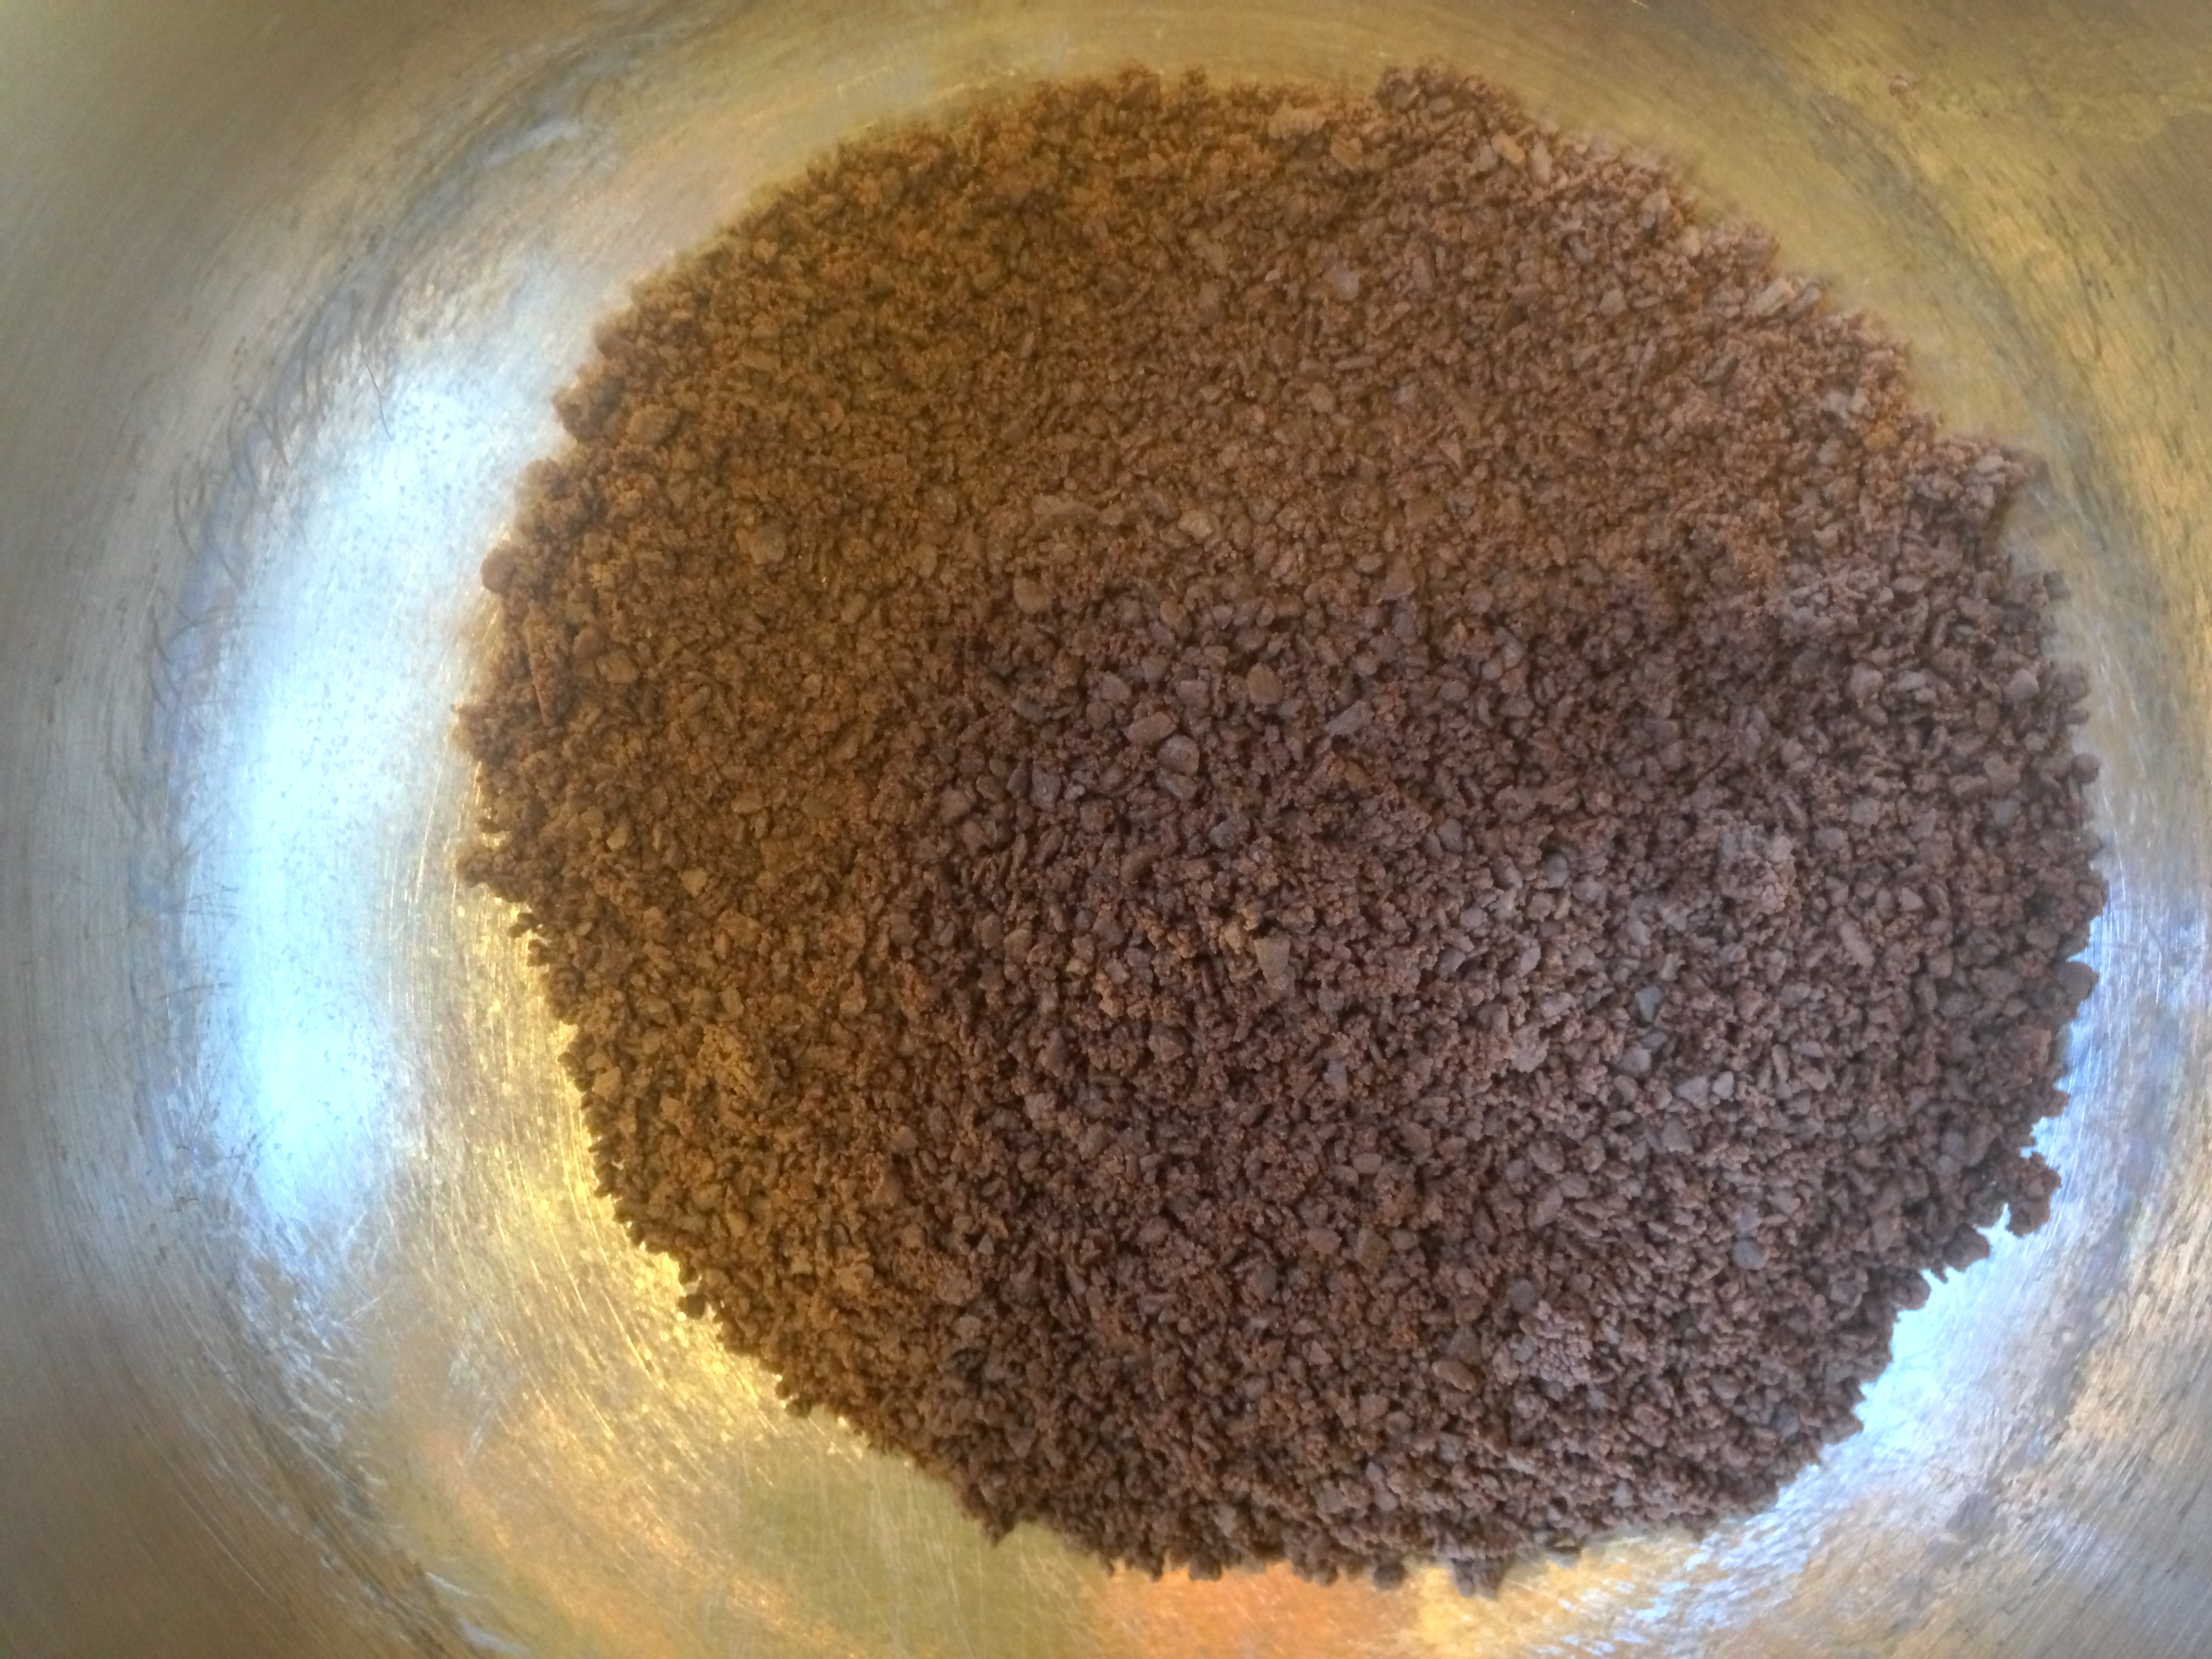
So after both batches were dried, I took each batch and did the following: put the dried pudding in my food processor with the S-blade, pureed it to death, added heated liquid, and stirred.
Now, I ran my food processor for-ev-ah trying to get the pudding as fine as I could get it, and it just never got as fine as I would like. After rehydrating one serving of each batch, I looked over and saw the Geek’s coffee grinder and thought that was just what I needed!
So I ran a single serving of each batch through the coffee grinder, and that turned it into a nice, fine powder that rehydrated beautifully.
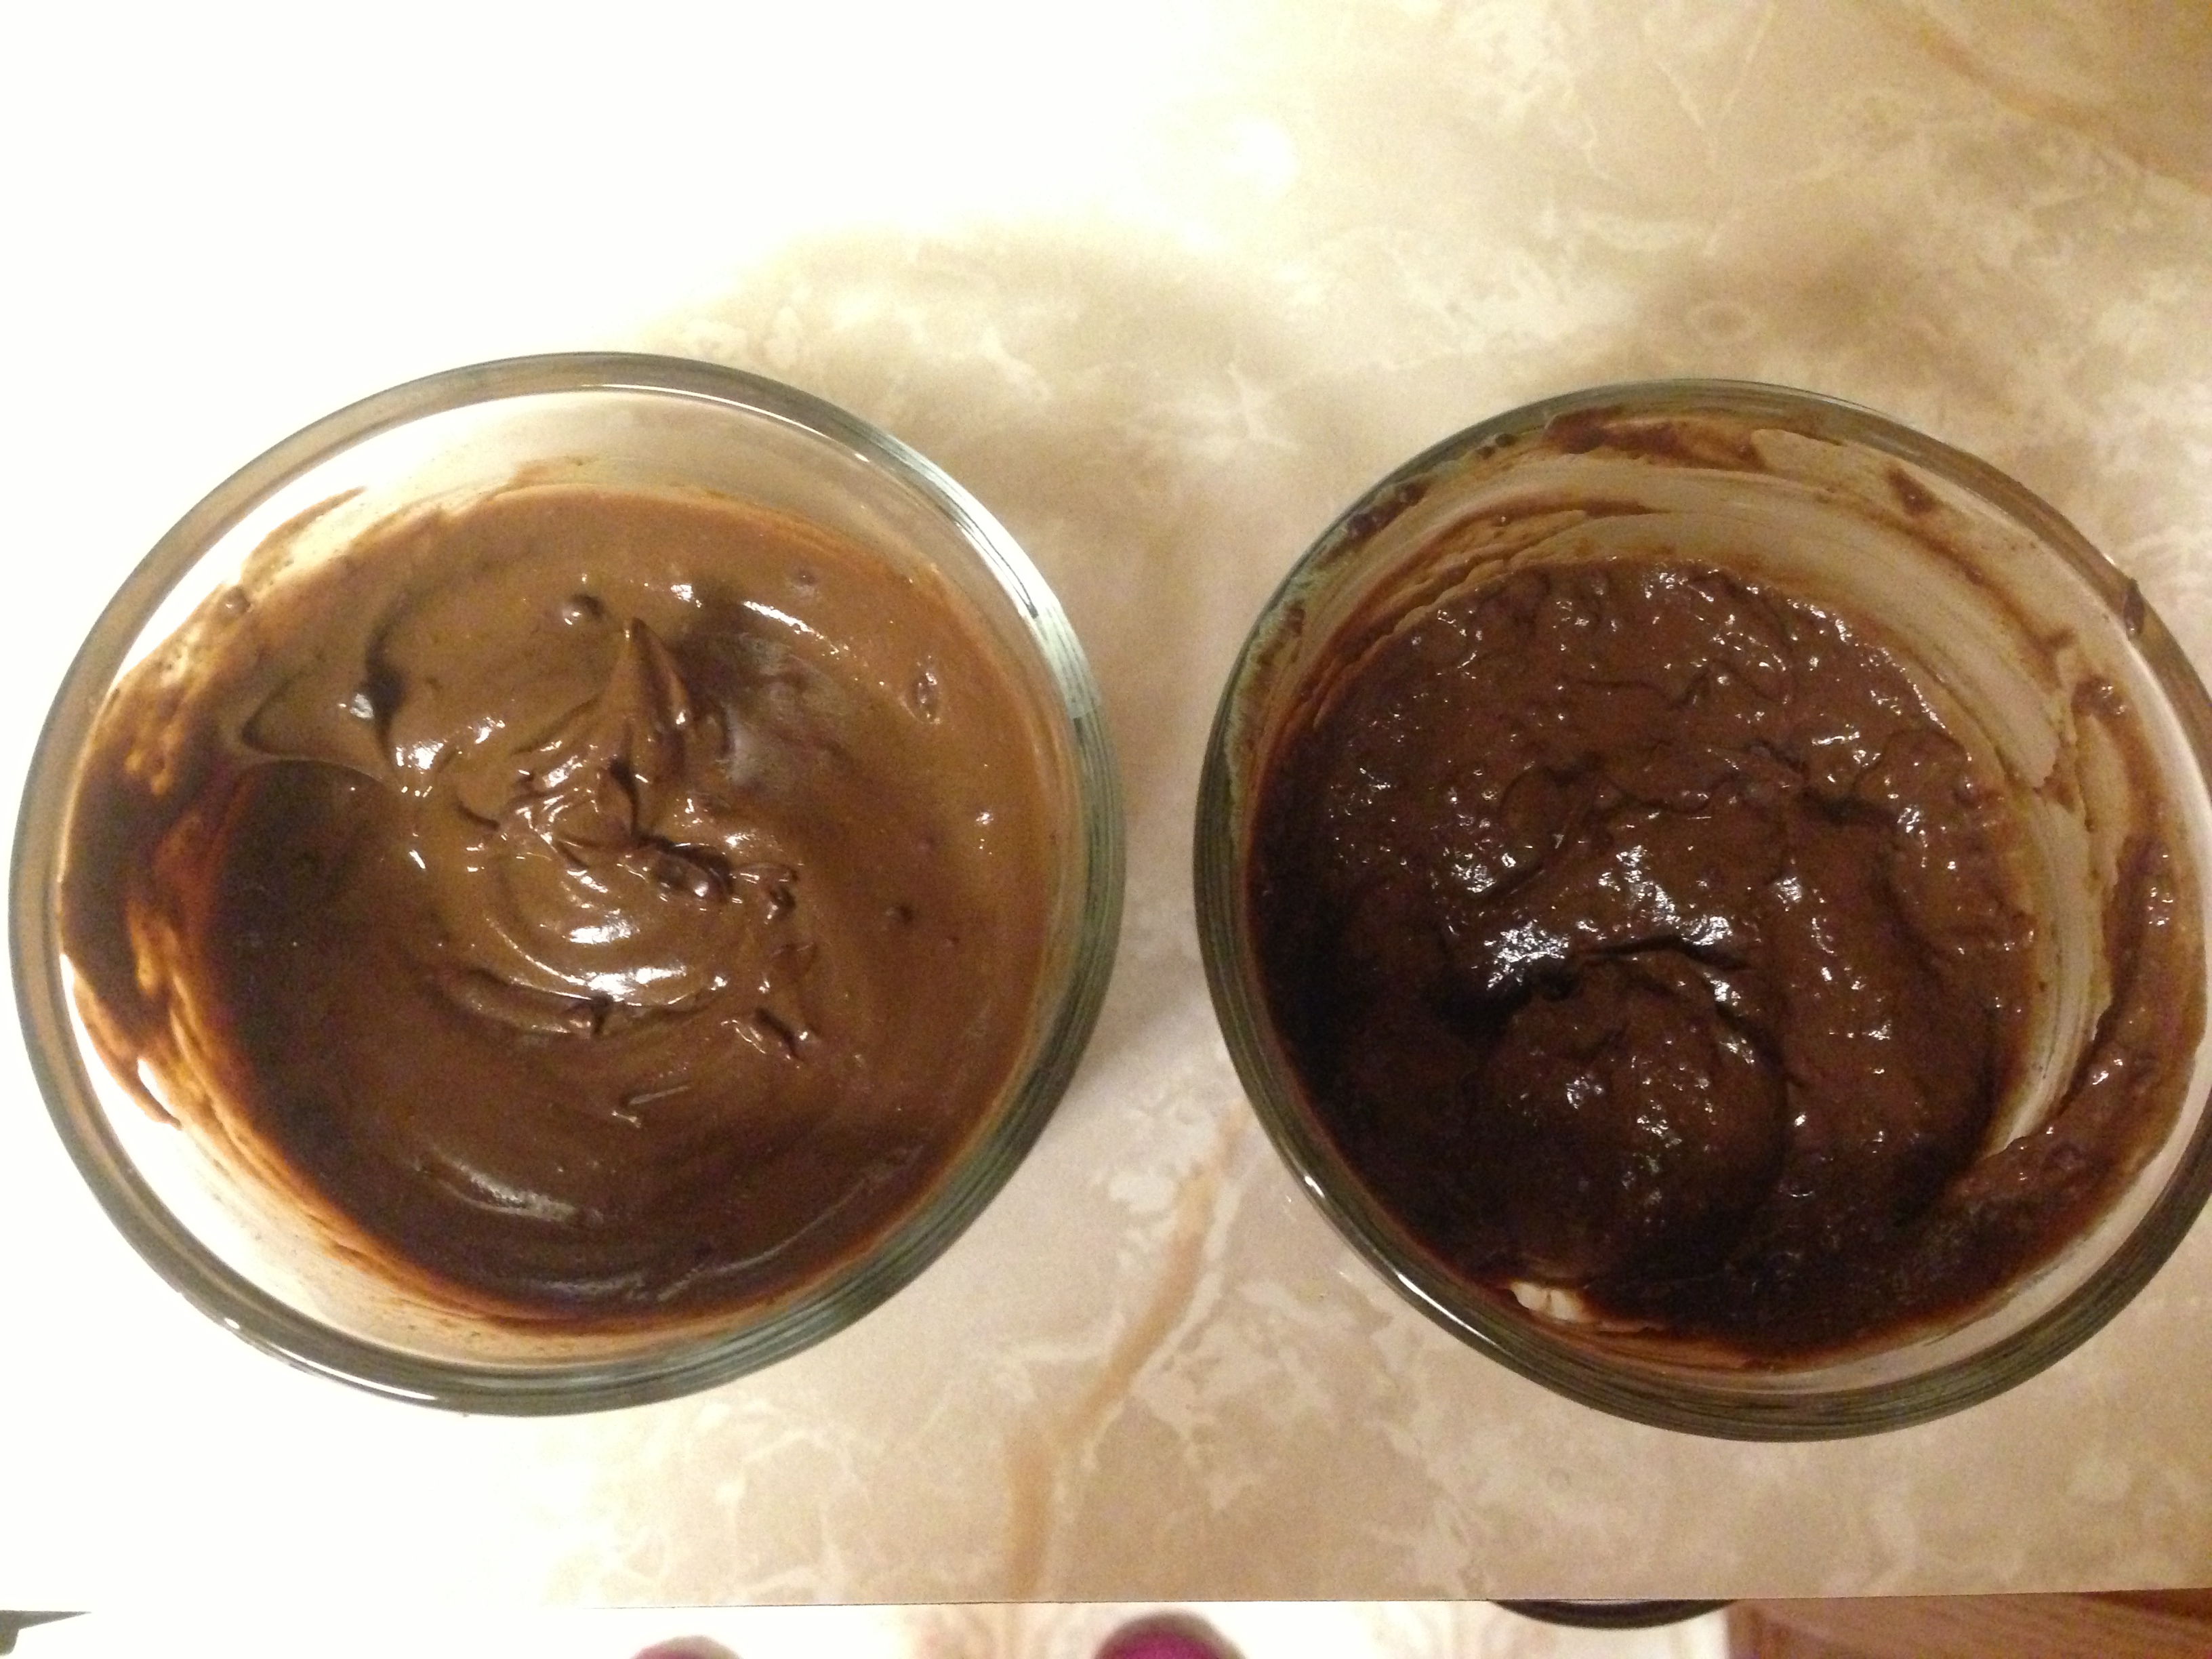
Batch #3 is the WITH milk added batch.

Batch #3 (With Milk) spread out on the dehydrator tray. This was a half batch, since I froze the other half.
Batch #4 is the NO milk added batch.
Batch #4 (NO milk) spread out to dry. I don’t know why I portioned it out on the dehydrator sheets…Mommy Brain is weird sometimes!
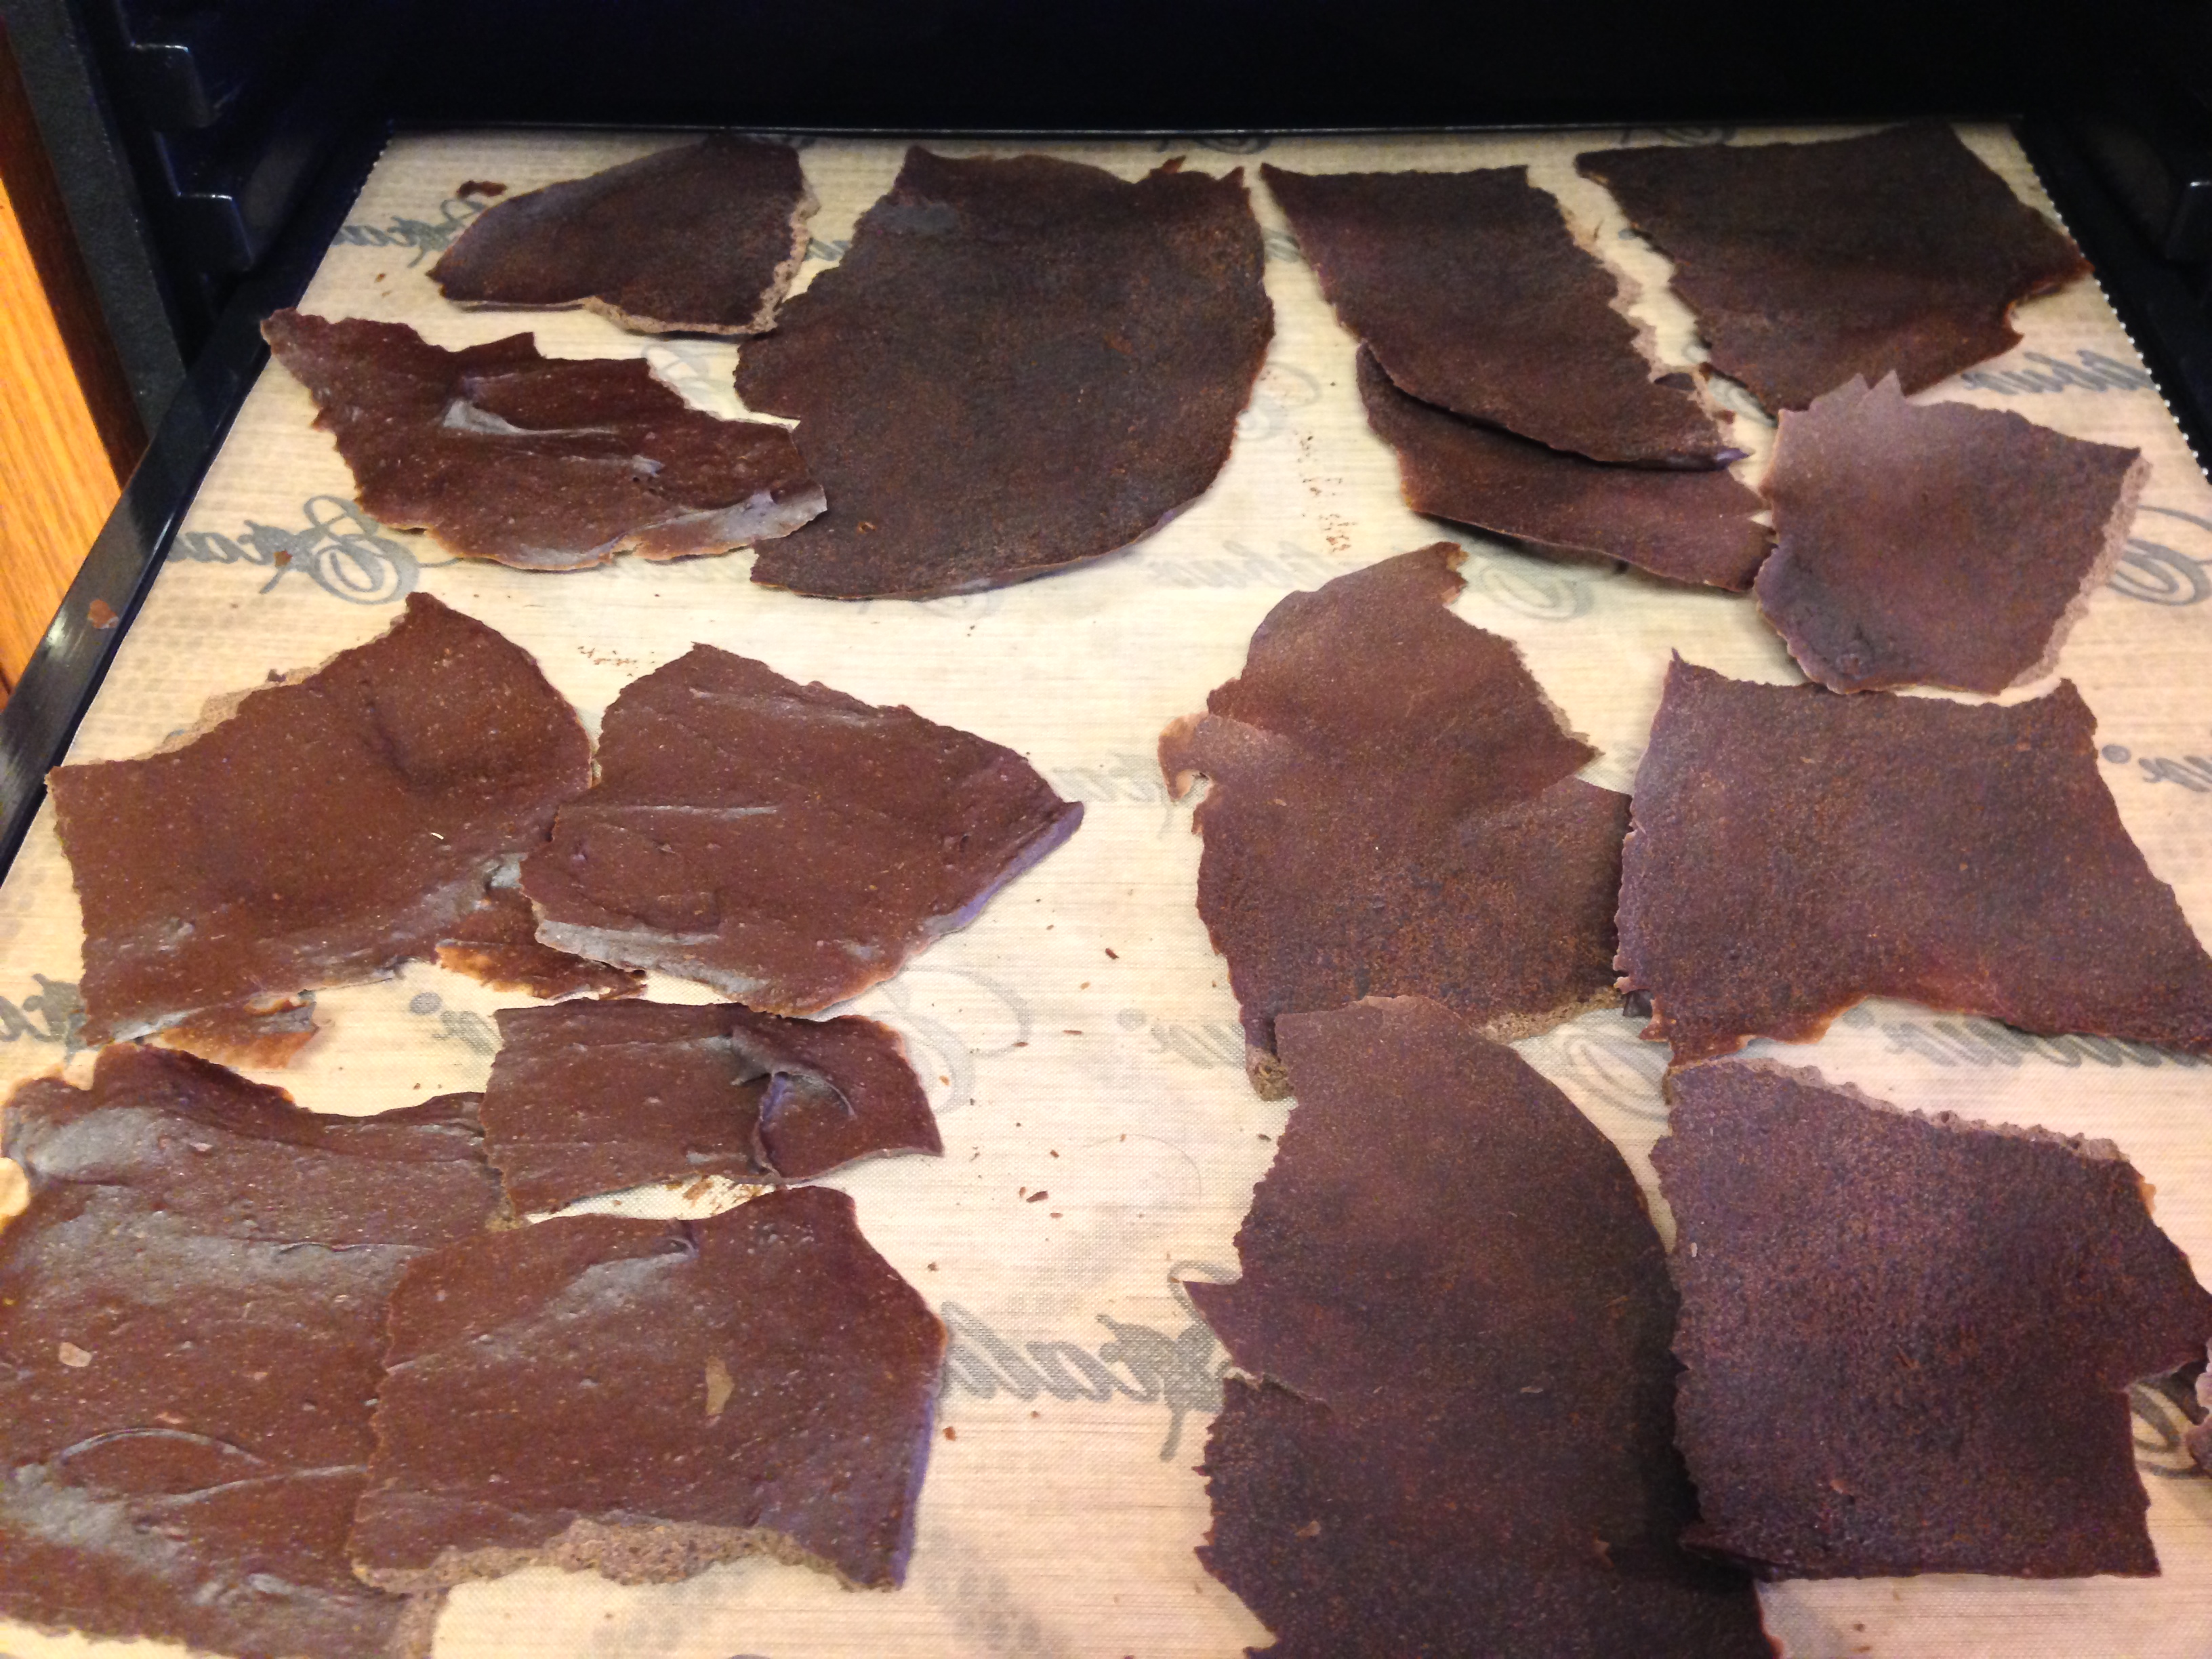
So here’s Batch #3 being processed…
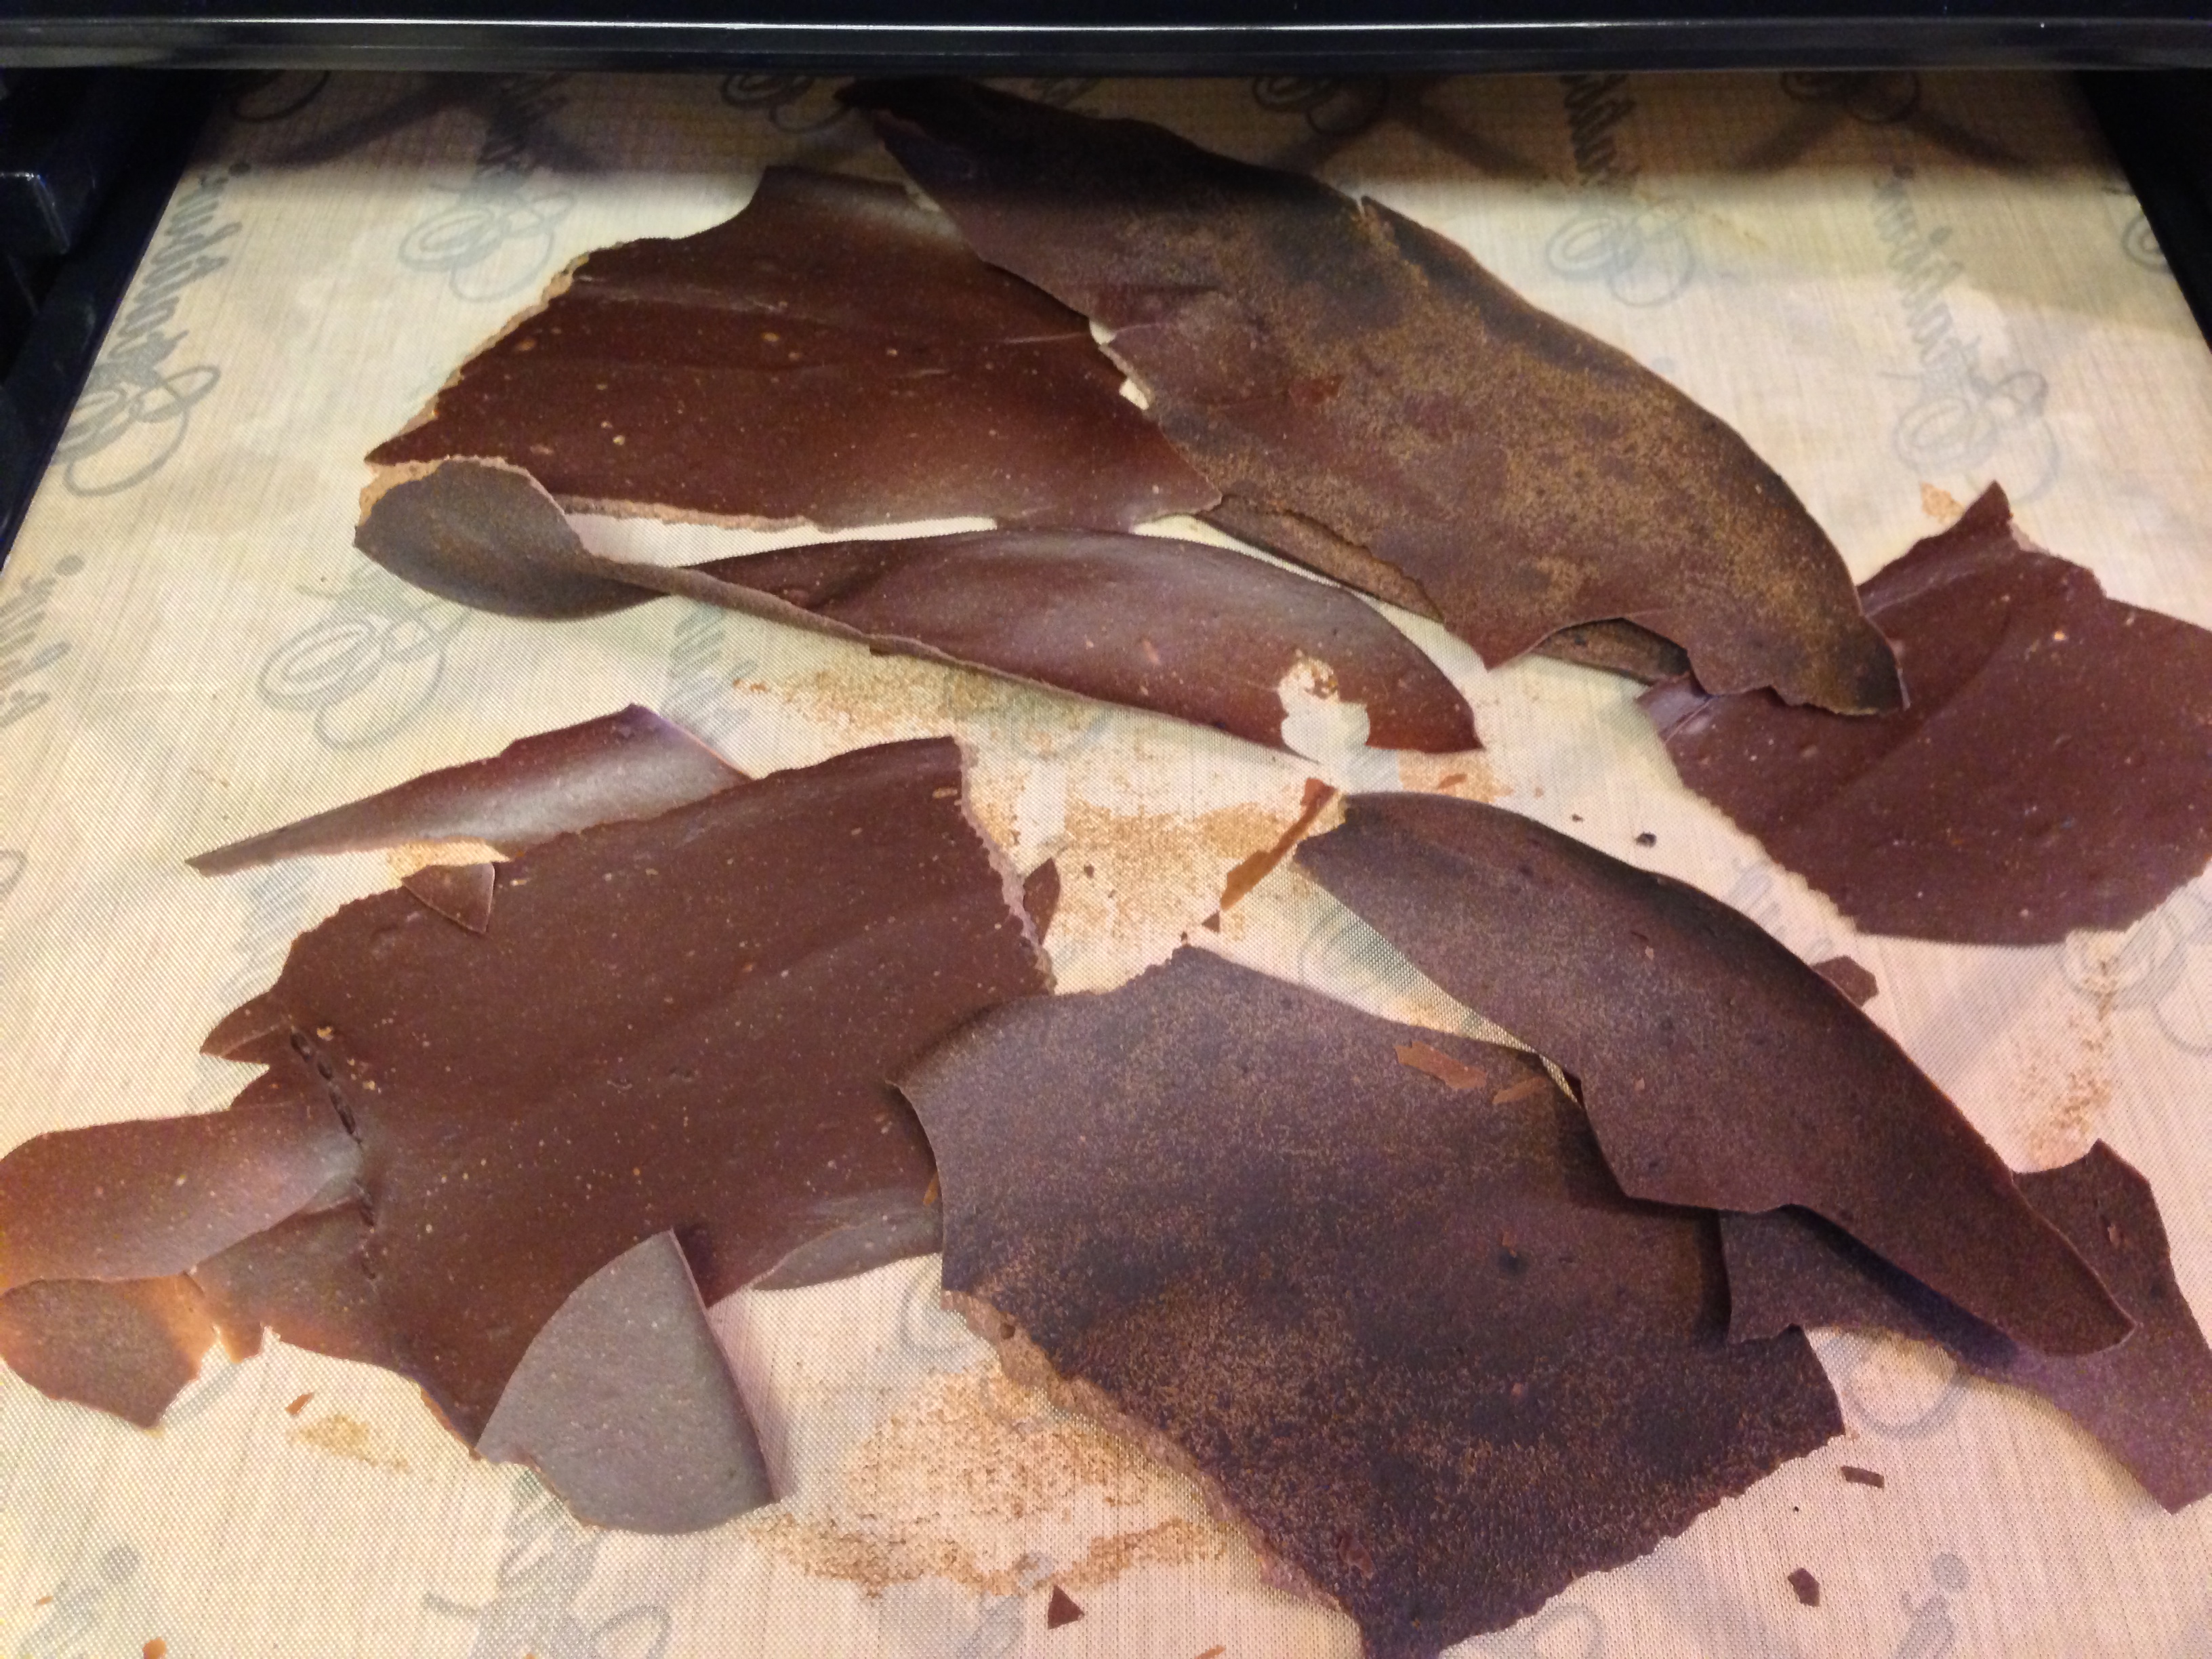
Completely dried Batch #3!
After being processed in the food processor

With milk added, it yielded 1/4 cup for 2 servings!
And here’s batch #4 being processed…
Batch #4 dried and ready to go!
After being ground up in the food processor…
Four servings was 3/4 of a cup!
And here are both batches after being ground finely in the coffee grinder. Batch #3 is on the left.
Batch #3 on the left, Batch #4 on the right. It’s powdery fine, now!
I wanted to rehydrate both batches in two ways: with hot water, and with hot almond milk, to see if it made a difference in taste. (Which is fortunate, since I didn’t think of the coffee grinder until after I rehydrated with water!)
Alrighty…here’s the math portion of our program, kiddies:
There are 16 T. per cup. Batch #3 yielded 1/4 cup of dried pudding mix for two servings. So, I used 2 T. of powder per serving. Then I added 3 T. of heated liquid to rehydrate.
Batch #4 yielded 3/4 cup of dried pudding mix for four servings. So, I used 3 T. of powder per serving. Then I added 4 T. of liquid to rehydrate.
For both batches, you could add a little bit more liquid if you’d like; they did come out quite thick.
Batch #3, the left version is after being ground in the coffee grinder.
You can see how chunky it turned out when it wasn’t ground as finely as possible – the coffee grinder is worth it!
The Geek’s verdict: the batch without milk added was…okay. Tolerable. Edible. (That’s batch #4, in case you’re confused!) It wasn’t bad, just sort of bland. Why that would happen after being dehydrated, I couldn’t tell you, but that’s what he said!
Batch #3 – the milk added version was almost as good as the fresh or frozen versions! Though, he preferred it a bit more when it was rehydrated with almond milk instead of water.
So, the end result is:
- 1st Place – Freshly made!
- 2nd Place – Frozen with milk (Batch #1) [though Frozen without milk (Batch #2) is tied, if you like a strong banana flavor]
- 3rd Place – Frozen without milk (Batch #2)
- 4th Place – Dehydrated with milk (Batch #3) and rehydrated with milk
- 5th Place – Dehydrated with milk (Batch #3) and rehydrated with water
- 6th Place – Dehydrated without milk (Batch #4) regardless of how it is rehydrated
So there you have it. You can make a yummy, allergy-friendly pudding fresh for your kiddos, you can freeze extras if you’re super efficient in the kitchen, and you can dehydrate it if you want to take it to go!
I sure hope Mr. Happy is safe with bananas, avocados, cocoa powder, maple syrup and almond milk! It would be great to be able to have homemade, healthy chocolate pudding when I go back to work!
__________
CHOCOLATE (AVOCADO/BANANA) PUDDING – with an “Instant Pudding” Option!
(makes 4 kid-sized servings)
– 1 avocado
– 1 banana
– 2 T. maple syrup
– 1/4-1/3 c. cocoa powder (to taste)
– 1/4-1/2 c. alternative milk (we used almond)
– 1 tsp. lemon juice (optional if you plan to freeze or dehydrate)
- Cut your avocado in half, remove the pit and scrape into food processor.
- Peel a banana and throw it in the food processor, too.
- Add maple syrup, cocoa powder, milk and lemon juice.
- Process until smooth and creamy!
- Enjoy your healthy, vegan, allergy-friendly pudding!
TO FREEZE:
- Pour pudding into either individual serving size Ziploc bags or one big Ziploc bag, squeeze out all the air, lay flat and freeze.
- To thaw, lay out on the counter for a few hours, or run under warm water until pudding is cold but not frozen.
- Serve and enjoy!
TO DEHYDRATE:
- Pour pudding out onto non-stick dehydrating sheets. (You cannot possibly spread it TOO THIN – the thinner, the better!)
- Dehydrate at 135 degrees until completely dry and brittle. Probably at least 12 hours, if not more.
- When dried, break the pieces into a coffee grinder and process until a very fine powder.
- Store in an airtight container in your freezer. (That’s what I would do, just to make sure it stays fresh!)
- To rehydrate the entire batch, heat 1/2-3/4 cup of alternative milk to a simmer – NOT A BOIL – and add to the powder.
- Whisk and set in the fridge to cool for half an hour. Enjoy!
- To rehydrate an individual serving, separate the batch into 4 same sized portions; should be about 2 T. per serving.
- Heat 3 T. of alternative milk to a simmer – NOT A BOIL – and add to the powder.
- Whisk and set in the fridge to cool for half an hour. Enjoy!
__________
Does anyone have a fabulous allergy friendly pudding recipe they’re willing to share? Mr. Charm might get bored with chocolate after a while!
__________
This post shared with Allergy Free Wednesdays, Whole Food Wednesdays, and Real Food Wednesdays.

__________


This is awesome. Bananas are not a safe food for my FPIES baby, but this might be a good treat for my older child who is a total chocoholic! Would love to see him get some more fruits in his diet.
Thanks! Hope he likes it! Every night I get tickled watching Mr. Charm jump up and down for pudding, knowing he’s eating healthy and still getting a treat!
I believe the avocado banana chocolate recipe was from Dancing Carrots.
Thanks! I went to Dancing Carrots…what a great website! Lots of yummy looking stuff there. But…I know I’ve never seen that website before, so I still don’t know where I first saw this recipe! I don’t feel too badly about it now, though, because obviously this isn’t rare – I guess alternative cooks sort of think the same way! I’ll keep looking for my inspiration, though. Thanks for sharing, and by the way, you have a great memory to know where you saw this before!
I just ran across this post when I was googling whether I could freeze a vegan pudding….I just created a vegan chocolate tapioca pudding and I know I can’t (read: shouldn’t) eat it all in the next few days, so I will now with confidence freeze some of the batch in smaller portions. Thanks for all the details of your experiments!
So glad you found it! Just make sure to squish it around really well after it thaws. 🙂 Welcome, GretchenJoanna!
OH!! This is neat, I love the instant option! Got it pinned to our Gluten Free Fridays board!
I’m excited about the instant option, too! Thanks for hosting again!