The lifestyle and duties of a Flight Attendant have changed enormously since the 1960’s.
Back then, stick thin single gals (and a few fellas, too) happily catered to wealthy customers who preferred to travel in style.
I hear there were some AWESOME parties, too.
Nowadays, Flight Attendants are more likely to wear support hose than Go-Go Boots, and are far more likely to be able to rattle off a list of makeshift weapons they could create or find on the aircraft than they could list an extensive wine selection offered on board.
Despite the decided lack of glamour present in my job today, one thing is still consistent with Stewardesses of old: appearance standards.
While no longer required to look like a model (airlines once regulated what color lipstick their attendants wore and told them what hairstyle they needed to wear), we modern Flight Attendants are required to look professional and as pleasant and attractive as we can.
Sadly, our job differs from the 1960’s stews in another way: we bust our butts now in a way that wasn’t typical back then.
Today, I frequently work a 12-16 hour work day followed by a brief 10 hours on the ground.
“10 hours on the ground” breaks down like this:
- 1 hour for deplaning the last flight and boarding the next flight
- 30 minutes – 1 hour for travel to and from the hotel
- 1 hour for getting dressed in the morning
- 30 minutes – 1 hour for eating something on the layover
- Leaving 6-7 hours for sleep (that’s if you can go to sleep as soon as you hit the room!)
For me, it’s worse. I have to pump at least twice during that time, so subtract another 1 hour from potential sleep. And since I have to cook my food, I usually need 1.5-2 hours for eating.
So I’m left with 4-5 hours to sleep before another 14 hour day.
All work and no sleep makes for a very grumpy Flight Attendant, so something has to give!
I do everything as quickly as I can on my layovers, but even at my best I’ll only get 5.5 hours of sleep a night…unless I cut my grooming time short. But I can’t look a disheveled mess!
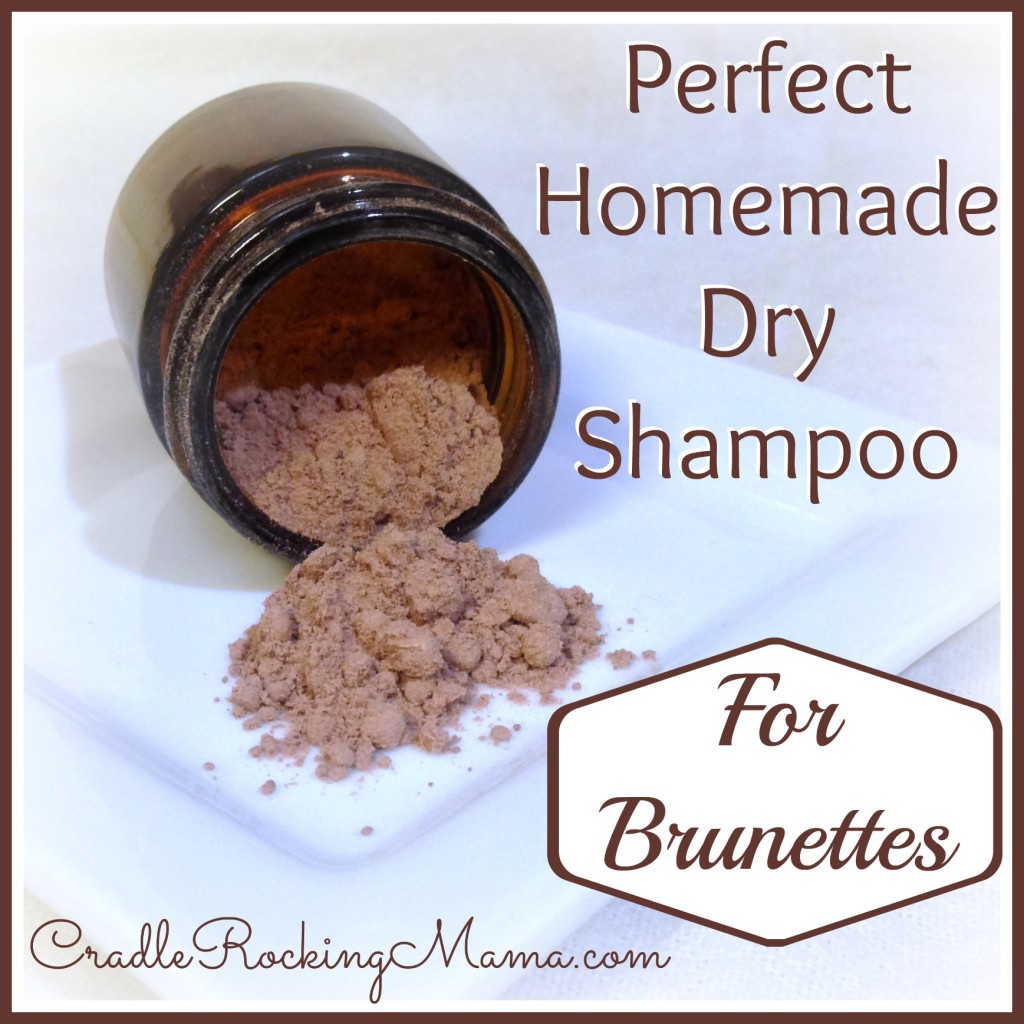
What I’m about to share has saved my cookies in uncountable ways since I started using it: dry shampoo.
Oh, sure, dry shampoo has been around for ages, and is even making a bit of a comeback of late. However, the canned dry shampoos you can buy in stores have three big drawbacks for me:
- They’re expensive
- They’re made of nasty chemicals and cornstarch
- I’ve yet to find one geared towards Brunettes (I’m sure they exist, I’ve just never found one)
Food allergy and intolerance people, I’ve noticed, tend to start looking for fewer chemicals in their lives. Many start making their own personal care items (like their own hand creams), so I figured this might be a useful share.
After all, you don’t have to be a Flight Attendant to want to look human and presentable while faced with restrictions on how often and how long you can bathe.
Any mama of a little one will vouch for that!
After a full two months of using it, I can say without exaggeration that this stuff works!
Plus, it’s cheap, has no chemicals, no cornstarch, and is insanely simple to make and use.
Here’s all you have to do:
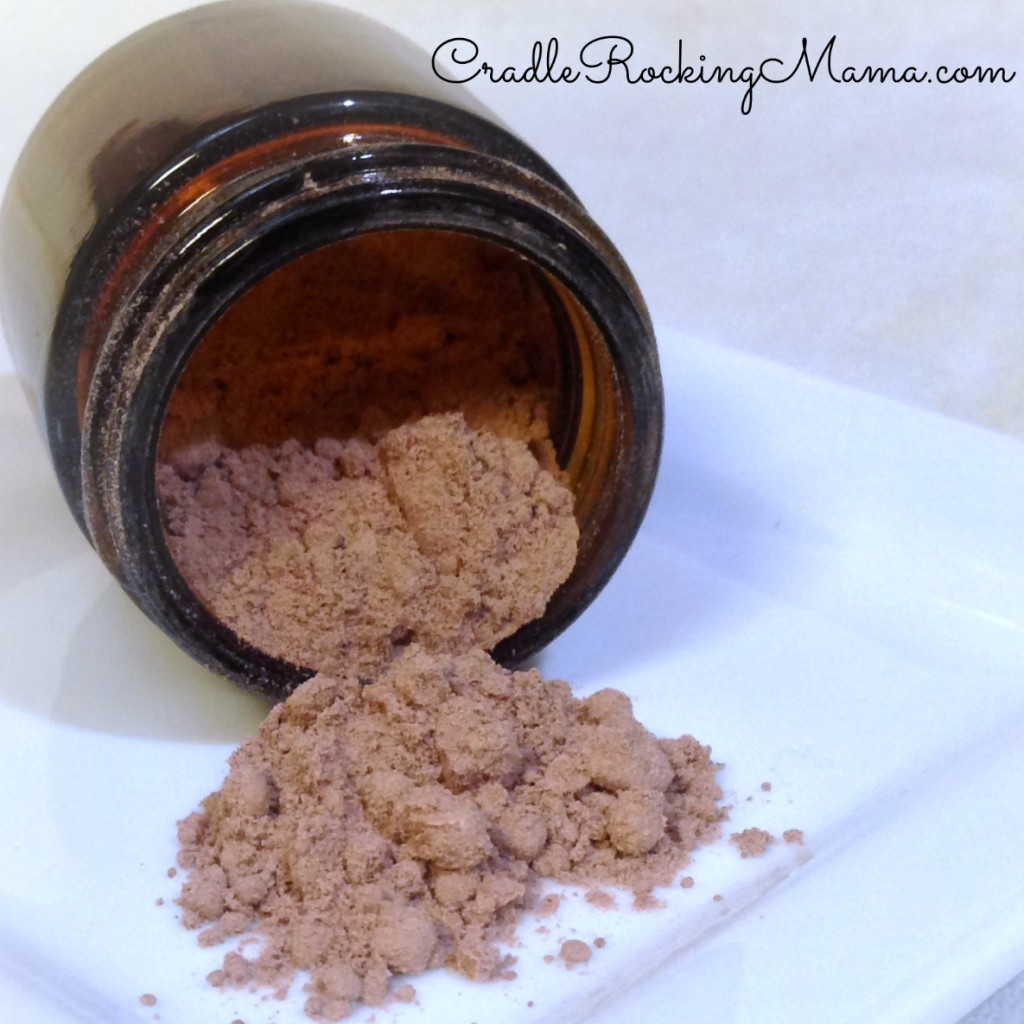
Find some nifty jar or container to hold your dry shampoo. Some people use a cleaned spice jar; I’ve been using a small apothecary jar.
Dump 1 T of arrowroot starch in a bowl.
Add 1 T of cocoa powder.
Drop in a few drops of essential oil, if you feel so inclined. I added some peppermint to mine; I’m sure there are better EO’s for hair care…I picked peppermint because peppermint+cocoa just smells yummy, you know?
Use a fork and mix it up well.
Store it in your jar.
Ta-da! You’ve made yourself an awesome dry shampoo that could add half an hour to your sleep routine!
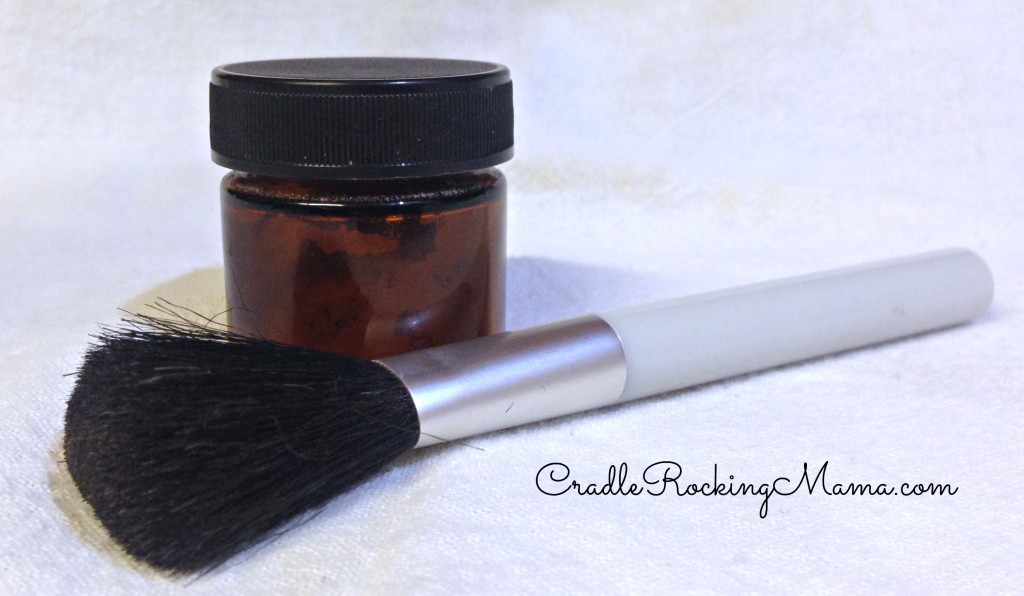
As for how to best use it, you’ll want to get a cheap powder brush. Seriously – the $1 deals at the cheapest store work great for this.
- Dip the brush in the powder and dab it anywhere your hair looks a little lank and oily, usually at the roots.
- Let it sit for a bit. I usually do my dry shampoo bit as the first thing after I wake up, and let it sit while I pump and put on my makeup. It does not work very well if you don’t give it time to sit, but it works beautifully if you do!
- When you’re ready to do something with your hair, for best results first brush it out as much as possible…then use a blow dryer to fluff your hair.
- Brush and style as desired.
You’ll look gorgeous!
(You can skip the blow dryer; it just looks better if you zap your hair for 30 seconds or so.)
So that’s it. Instead of spending half an hour making your hair look decent for the day, spend a grand total of five minutes to refresh the ‘do you had the day before…and still look fabulous!
And never fear, my blonde friends. You can do this, too! Simply omit the cocoa powder and you’re good to go.
- 1 T. arrowroot starch
- 1 T. cocoa powder
- a few drops of essential oils (optional, to preference)
- Dump the Arrowroot starch, cocoa powder, and optional essential oil into a small bowl.
- Mix together well with a fork.
- Store in a dry, sealed container.
- To use, dab powder on hair at roots (or wherever lank and oily looking) with a small makeup powder brush. Let sit for a while.
- Brush out, blow out with a hair dryer for a minute, then style as usual.
- Enjoy your corn free, chemical free, cheap dry shampoo!
What’s your favorite time saving beauty routine?
This post shared with:
Real Food Wednesdays, Gluten Free Wednesdays, Corn-Free Everyday, and Let’s Get Real


LOVE this post!!!