There are lots of things you can do with apricots, but pretty much everything I’ve made for Zac so far has involved puréed apricot.
Fortunately, that makes it really easy for me to preserve enough apricot to use all year! Puréed apricot is easy to store.
Before I knew whether apricot would be safe or not, I simply froze the apricot purée. Now that I know it’s safe, I have been canning the purée to save room in my freezers.
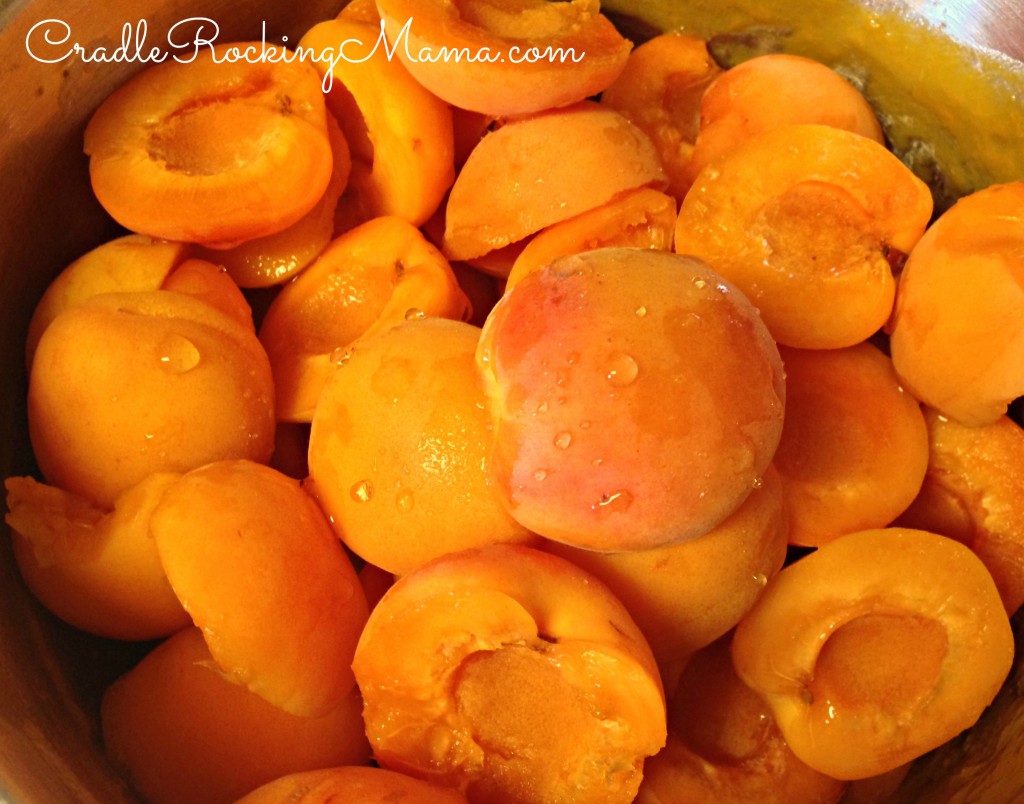
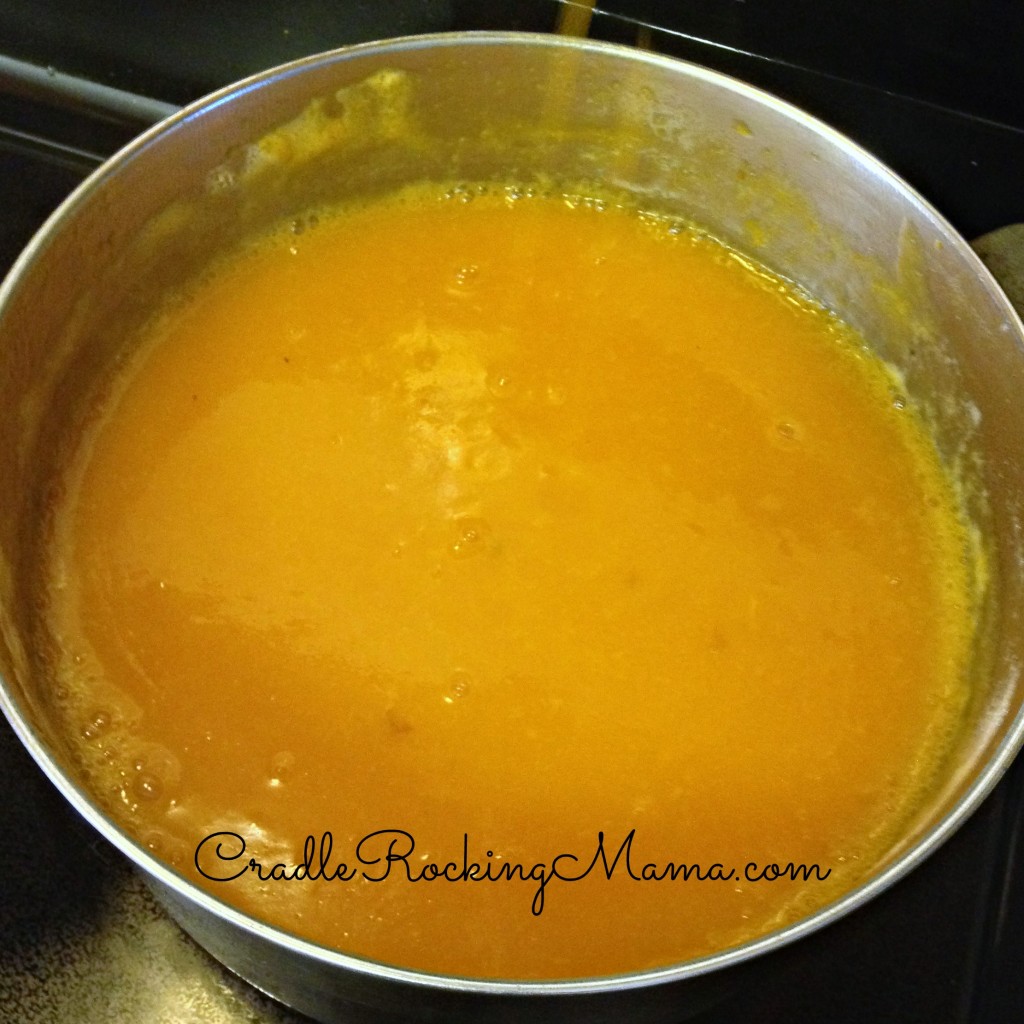
To start, you have to make your purée. It’s insanely simple: cut the apricots in half and remove the seeds. Put the apricot halves in a large pot.
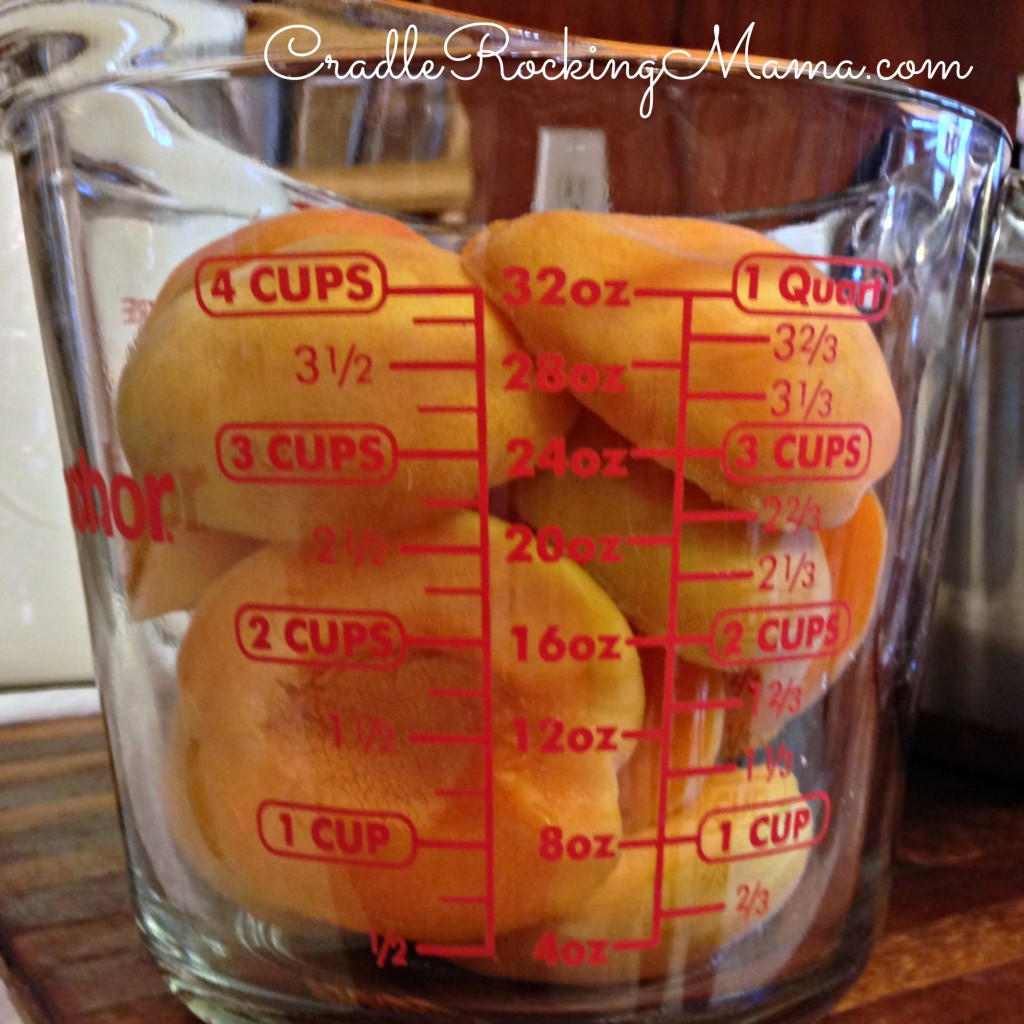
For every quart of apricot halves, add 1 cup of water. (Remember 1 quart is 4 cups.)
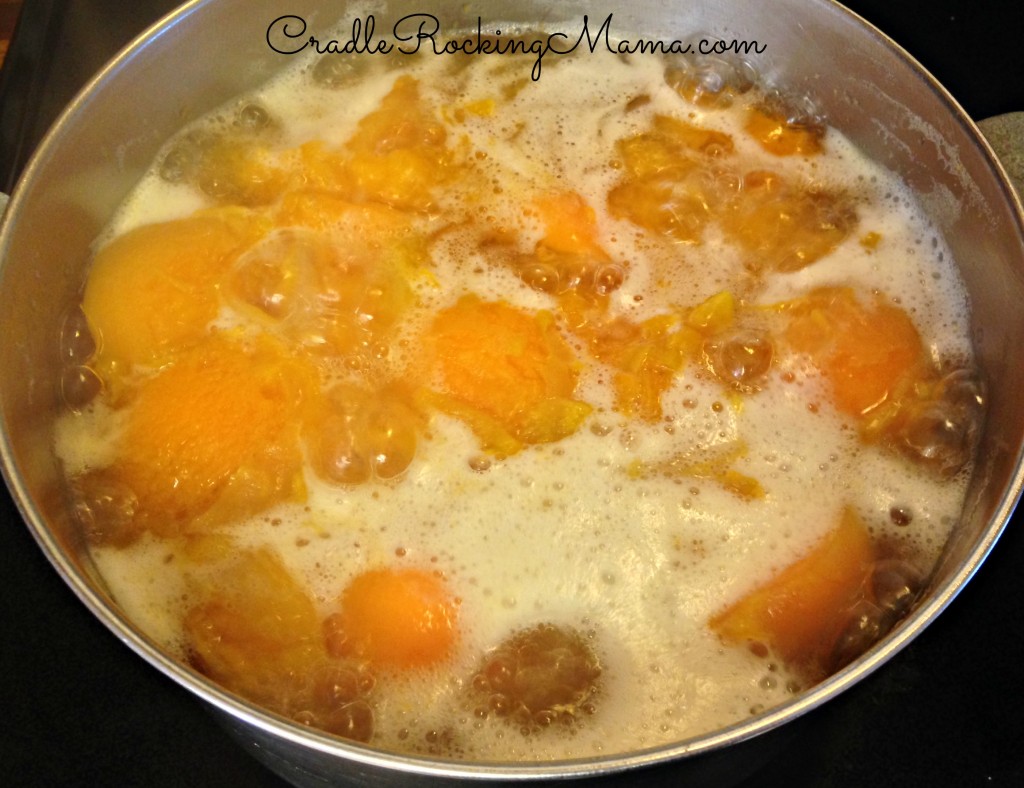
Turn the stove on and bring the apricots to a boil. Then drop the heat and let the apricots simmer until softened. That will take 8-10 minutes.
Once they’re nice and mushy, grab an immersion blender and let ‘er rip!
If you don’t have an immersion blender, very carefully pour the mushy apricots into a blender. Be careful not to burn yourself!
Once everything is puréed as smoothly as you’d like, you’re all set to either freeze or can your purée.
Oh, and if you get busy (cooking other things, emptying the dishwasher, doctoring boo-boo’s, attending to screaming children) and forget to lower the heat right away on your apricots so that when you turn on the immersion blender you get gnarly little black burnt bits in your purée? Don’t worry about it. Pick out what you can and use that purée for baked goods.
No one will ever know.
(Until you announce that you did that on your blog. Ahem.)
If you want to freeze the purée, all you do is take your puréed apricot off the stove and let it cool to room temperature.
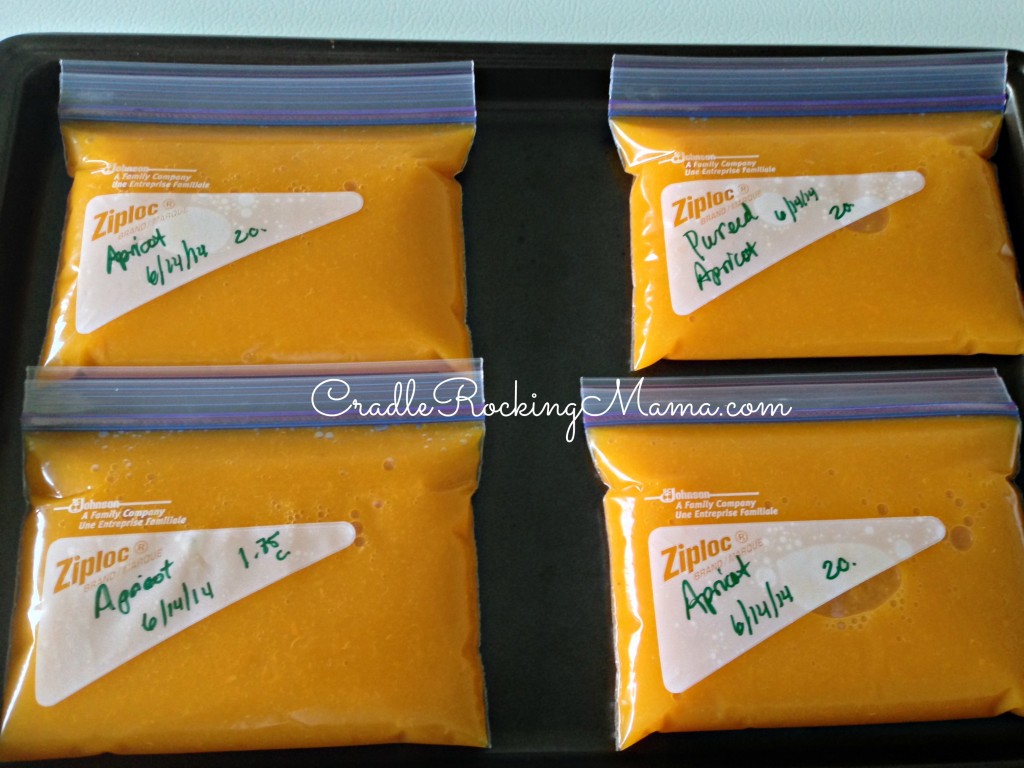
Then simply portion out as much as you like into freezer bags, press out all the air as you seal them, and lay the bags on a cookie sheet to freeze.
Ta-da! Preserved apricots. Easy, right?
I put 2 cups in each pint bag. It worked perfectly.
If, however, you want to can your apricot purée, then before you even start cutting your apricots in half you need to do some prep work.
(For some fantastic reading on basic water bath canning, click here.)
Get your water bath canner and fill it with water. You’ll need to have at least an inch over the tops of the jars when you insert them.
Don’t make my mistake and put too much water in at first. Remember what I forgot: those jars? They’ll displace quite a bit of water! Trying to pour or ladle off boiling water=no fun for Mama.
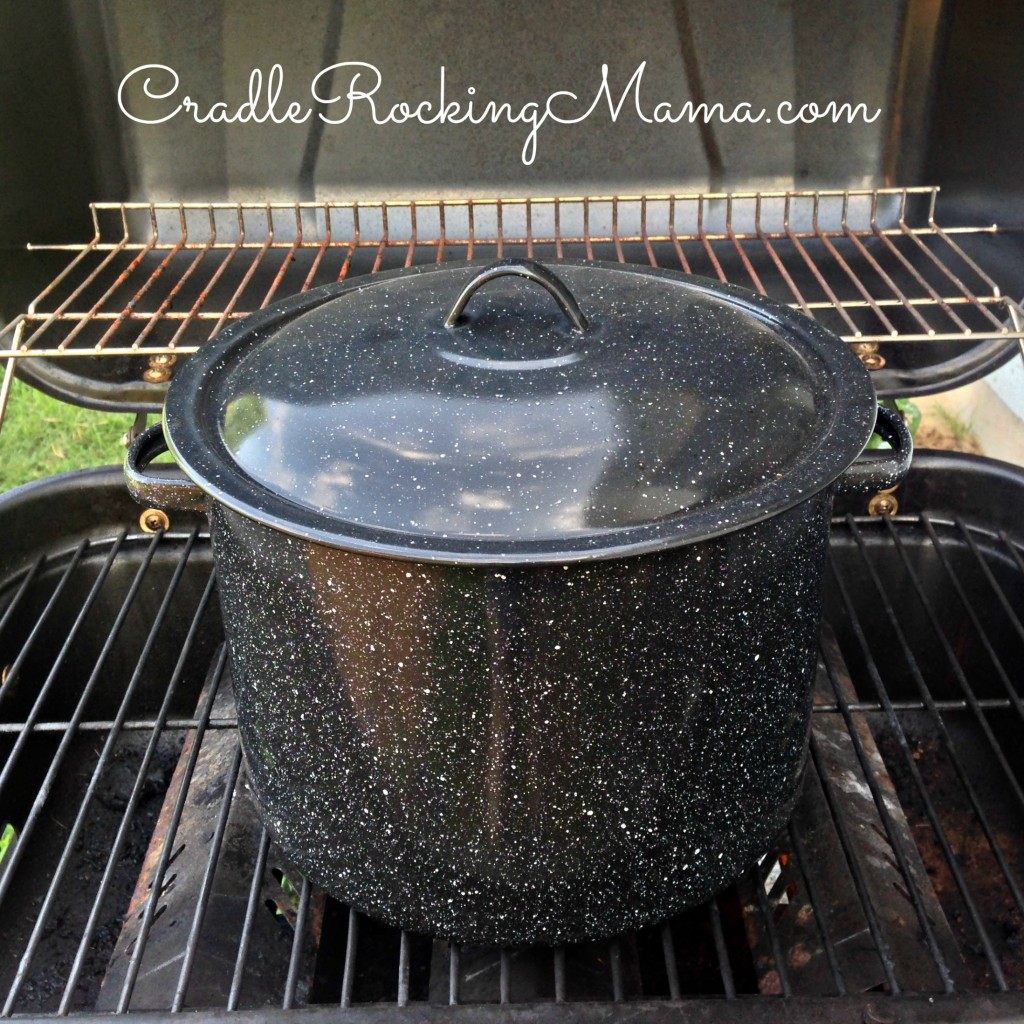
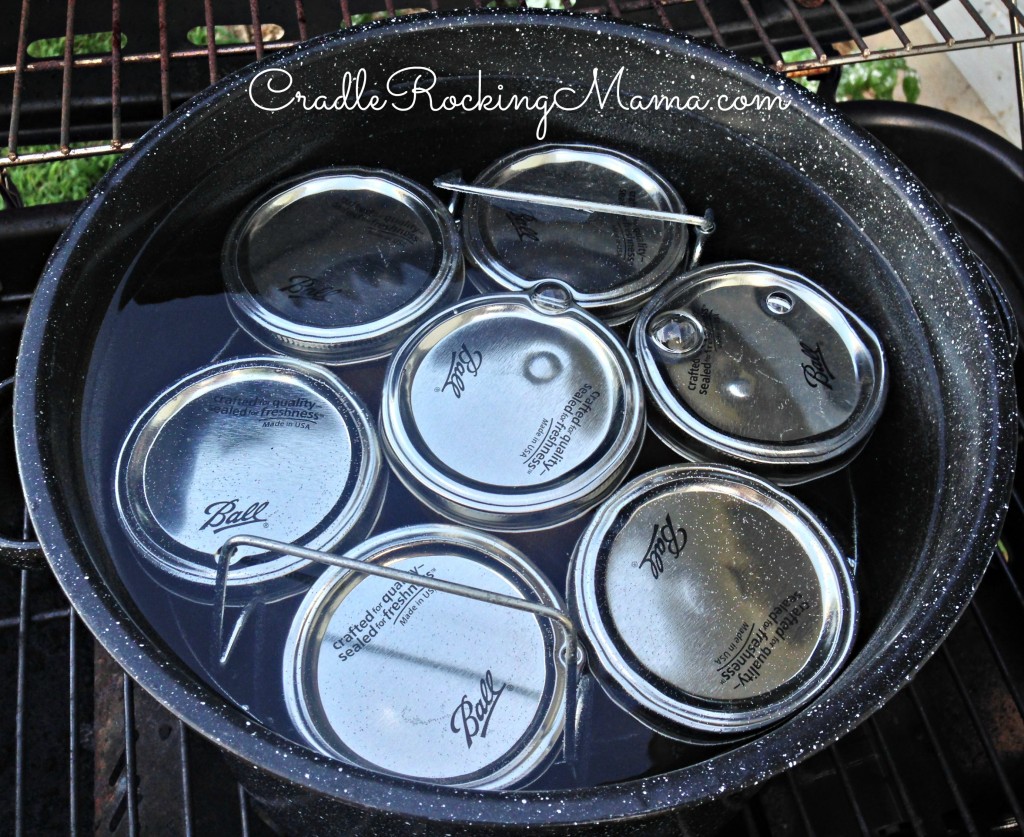
The first time I did this, I set the canner up on our gas grill. I had read that you couldn’t can on an electric stove, so it seemed like a good solution.
A few days later I was visiting my parents, and watched them pressure can with great success on their electric stove! So next time, I’ll save myself the trouble of carrying all those jars in and out of the house.
Your call, though.
By the way, if you don’t have a water bath canner, you can use any large pot you have as long as it will allow the jars to be covered by at least 1 inch of water, and you use something in the bottom of the pot to keep the jars off the base. People often bind the canning rings together in a grid for this purpose.
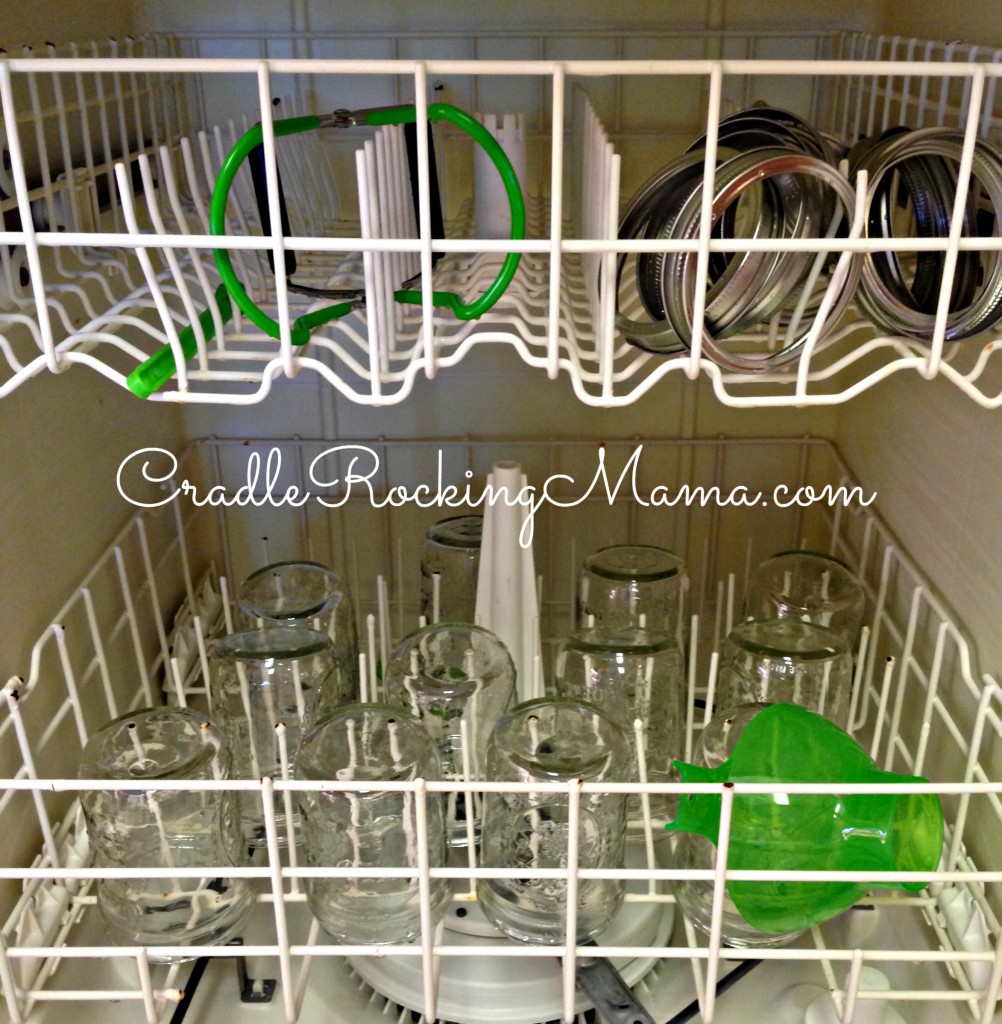
While the water bath canner is getting warmed up, prep your jars. I went the easy way and just put everything I needed to use in an empty dishwasher and ran it.
Some people prefer to boil their jars, while others sterilize their equipment in the oven. The dishwasher method seemed the easiest, therefore, the most practical way to go.
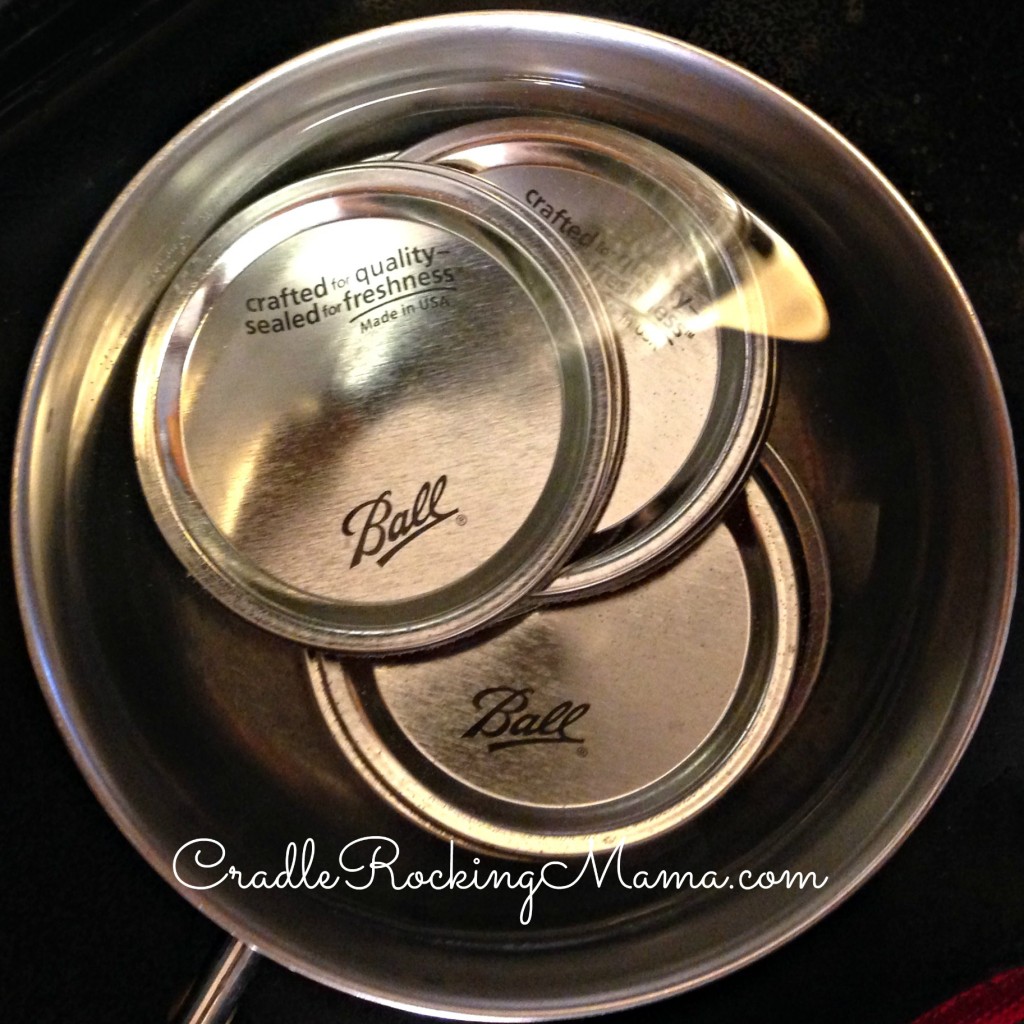
When everything was sterilized, I grabbed the lids (the flat part that seals) and stuck them in a pot of hot (not boiling) water on the stove. Keeping them warm helps them make a good seal when it’s time to actually use them.
Everything else I kept in the dishwasher to keep warm until ready to use.
(And of course, while all this was happening I was making the purée.)
So now you’ve got sterilized equipment, lids warming on the stove, a canner with boiling water, and nicely puréed apricots still hot from cooking.
You’re ready to go!
Get a ladle and start filling those jars. I don’t have step by step photos of this because I was working as quickly as I could and didn’t think to ask Darrel to snap some shots.
It’s pretty easy to do, though. Just fill the jars until there is an inch of headspace left at the top. Those canning funnels work GREAT at this job – really helped keep the mess down while filling everything.
Once the jar is filled, grab a clean towel and wipe off the rim of the jar to make sure it’s clean.
Then snatch one of those warmed lids from the pot on the stove, place it on top of the jar, and tighten the ring down.
Only tighten it as tight as you can with gentle finger pressure; don’t crank it down.
Then place the jars in the water bath canner, put the lid on, and start timing it.
For basic sea level canning, you’ll want to leave the jars in the canner for ten minutes. If your altitude is over 1,000 feet, you’ll need to add some time to that. Click here for a link to altitude canning adjustments.
When the timer goes off, take the canner off the heat source, and take the lid off the canner. Let the jars rest for about 5 minutes, then carefully take the jars out of the canner. I use those special jar tongs just for canning purposes, and can’t imagine how I would have done this part without them!
Set the jars on a thick towel on a flat surface. My mom told me to cover my jars with a towel to help make sure they didn’t cool too quickly and break. So I did, of course.
After 12-24 hours, the jars should be cooled and sealed. Check the lids to make sure they don’t pop up and down when pressed; if they do, the jar didn’t seal properly and it is NOT safe to store.
You can either re-process it, or stick it in the fridge and use quickly.
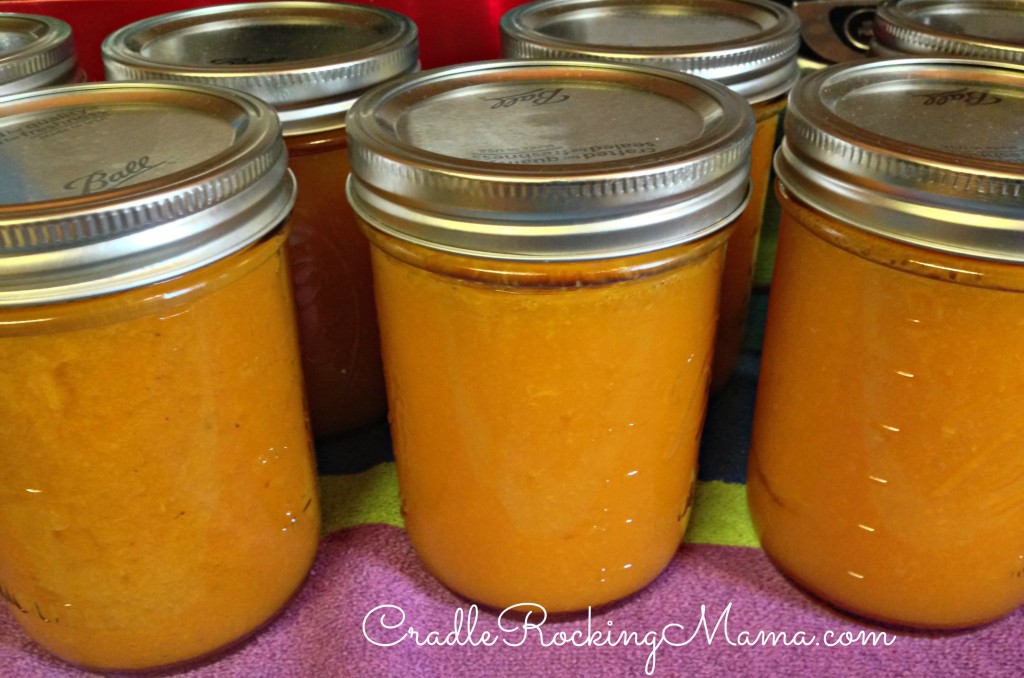
I got lucky and all my jars sealed properly. Aren’t they pretty?
Then just store those jars in a nice, fairly cool (under 70 degrees F), dark place, and they’ll last you for years to come.
And that’s it! All you need to know to freeze or can apricot purée.
This was my first ever attempt at canning anything, and I’ll admit I was intimidated by the process. Turns out, it really is a whole lot easier than it sounds when you first read about canning. So if you’ve never canned before, don’t be intimidated. It’s fun and really easy!
Happy Preserving!
Were you intimidated the first time you tried canning?





Thank you so much. I was looking for the most simple, healthy and quick way to process my apricots. This is it. I just put some in my crock pot with a little honey to see if it will make apricot butter…I froze the puree and some sliced ones and tomorrow I will can some, too. Thank you, thank you, thank you and I love the pictures!
Hi Maggie! Oh, you’re very welcome! It’s really SO easy. I’m dying to know…how did the apricot butter turn out? 🙂
I was taught steam canning a few years ago. While I look forward to fresh-picked apricots this time of year, I never look forward to canning. It’s time consuming and tedious. I have an entire cupboard of supplies which are only used a couple times a year.
I love my apricot puree cold and this idea of freezing. It might take up freezer space, but it’s worth it to skip the intense preparation of steam canning and the messy clean up.
I wish you would have mentioned how you thaw out your bags. Refrigerator?
Thanks.
I understand kitchen dread. 😉 Yes, I just thaw my bags in either the refrigerator or in a cold water bath in the sink.
Should I add some lemon juice to keep the apricot puree from turning brown in the freezer. Could I make it part of the amount of water being added?
You could do that; I didn’t and it turned out fine with no browning. If you do, I would make it part of the water being added.