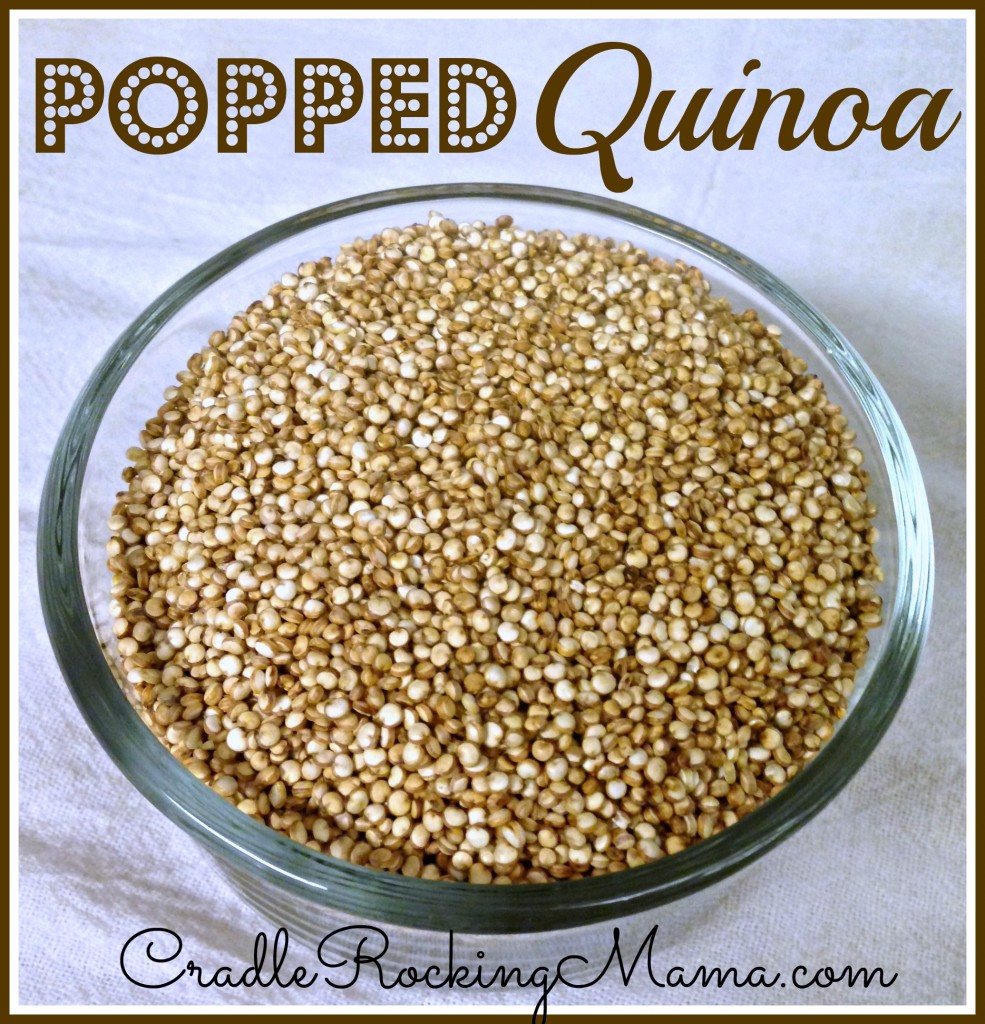
So here’s a fun little recipe: Popped Quinoa.
Back when I first made the Crispy Butter Candy Bars for Jed, I had the idea that puffed quinoa would be a great substitution for the puffed rice or puffed millet.
If I could use puffed quinoa, then one day, those bars could be safe for Zac (providing he passed enough foods, of course).
The search began…and ended pretty quickly.
I’m not sure that any of the brands of puffed quinoa out there are unsafe. I just couldn’t find enough proof that any of them ARE safe, either.
As sensitive to trace contaminants as Zac is, I needed 100% guarantee that there is no potential for cross-contamination.
Without that, my wallet stays closed.
Somewhere along the way, I discovered the idea for popping quinoa at home. I looked into it, and it seemed easy enough. Unfortunately, I read early on that it would not be an exact replacement of puffed quinoa, as you need specialized equipment to make that and the average home chef just won’t have those expensive machines.
No matter; I thought I’d try it out anyway. Anything that offers a little variety in our limited diets is worth a shot, right?
Turns out, it’s easy. It’s healthy. It’s a nifty snack (the easiest way to eat it plain is to lick your finger and stick it in the bowl, then lick the stuck quinoa off – fun!). And it works pretty good as a cereal with milk.
Over my long year of experimenting with quinoa, I’ve discovered that the pre-rinsed stuff still has some bitterness to it. Some people don’t notice it, or aren’t bothered by it, but my family does and is.
(In case you aren’t aware, quinoa has a natural pest deterrent built in: saponins. They’re bitter and keep pests away. The pre-rinsed quinoa seeds get most of it off, but some people still detect it. My family all can detect it.)
Because of that, I rinse my quinoa before using it.
The only downside to that is that when using quinoa in something that requires it be dry to start with, you have to dry the rinsed seeds before using. Things like grinding your own quinoa flour (totally worth it, in my opinion) or making popped quinoa are two things that require that extra step.
So if you don’t mind the slight bitterness, or don’t even notice it, then skip the next part of the tutorial.
Otherwise, rinse your quinoa well. I’ve put it in a bowl, covered it and drained it off, and I’ve also put the quinoa in a strainer and poured water over it. Either way works.
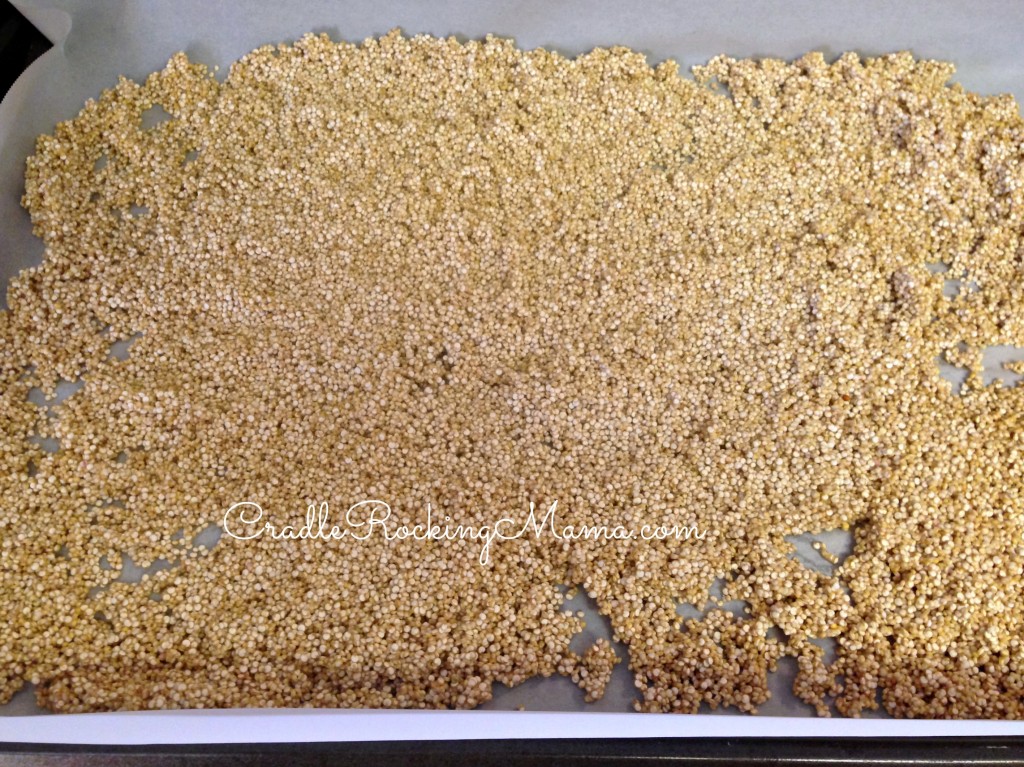
Then dump your rinsed quinoa out on a cookie sheet. Make life a LOT easier and line it with parchment paper first!
Then set the sheet in the oven. The lowest temperature my oven will go is 170 degrees, and I set it on that and close the door.
About every hour or so, I stick my head in and stir the seeds around to make sure they’re drying evenly.
It only takes a few hours at most to dry the quinoa completely, and then you’ve got this:
To turn those lovely rinsed seeds into popped quinoa, I use a 1/4 c. scoop and a large soup pot. The higher the sides the better.
I tried it in a skillet with a lid once. What a mess! I burnt most of the quinoa seeds, and the ones I didn’t burn popped all over my stove (and the floor in front of it).
Once I tried the soup pot I never went back. I don’t even use a lid!
Put the soup pot on the stove and heat it up on medium heat.
After a minute or so, when the pan is nice and hot, dump 1/4 c. of quinoa seeds in the pot.
Give it a second or so to start popping, then start shaking the pot back and forth to keep the seeds moving. This keeps them from scorching in place.
Here’s a short video of popping a batch of quinoa:
It really doesn’t take long. Maybe a minute or so in the pot and then they’re popped.
Some people like to add some oil or butter to the pan first. I tried it that way and didn’t particularly care for the extra nutty flavor it gave the seeds. You may like that, though, so feel free to try it that way, too!
Then dump the popped quinoa in a container and enjoy a healthy snack.
Some people like to season their popped quinoa at this point. You can toss some nutritional yeast, or some herbs on it for a nice flavor boost.
Since none of those are safe for Zac yet, I haven’t experimented with any of them. So have fun and let me know if you try any!
The easiest way to eat it plain is truly to lick your finger, stick it in a bowl of popped quinoa, and lick the stuck seeds off. Very fun for toddlers and small children!
I kind of prefer it with some ice cold milk and a sprinkle of stevia. It’s a nice little breakfast cereal for me.
So pop some quinoa at home and have fun with a nifty snack/cereal.
- 2 c. quinoa seeds
- sea salt, herbs or spices (optional, to taste)
- If you don't care to rinse your seeds first, skip to step 5.
- To rinse your seeds, pour water over them well or cover with water in a pot and strain.
- Dump the seeds on a parchment lined cookie sheet and put in the oven at the lowest temperature. Mine only goes down to 170 degrees Fahrenheit.
- Stir every hour or so until dry; about 3 hours.
- Put a large soup pot on the stove and heat it over medium heat.
- After the pan is nicely heated, dump ¼ c. of quinoa at a time into the pan, shaking the pan constantly as the quinoa seeds pop.
- After about 1 minute, dump the popped quinoa seeds into a container.
- If you want to season your popped quinoa, do so while still warm.
- Enjoy as a snack or as a breakfast cereal!
Have you ever popped quinoa? What do you like to season it with?
__________
This post shared with:


That looks pretty good!
Give them a try! I hope you’ll like it!
Pingback: 2014 Wrap-Up! - Cradle Rocking Mama
How and how long can you store popped quinoa? Thanks
Hi Jenny! I haven’t been able to store it for long; my boys eat it too fast. If I were to try and store it, I’d do so in an airtight container. Whether I used oil or not would make a difference in how I stored it. With oil, I’d store it in the fridge. Without oil, I’d just store it on the counter. I’d imagine both methods would keep for at least a couple of weeks, if not longer. Good luck!
Hey Carrie!! I’ve tried popping quinoa a number of times and can’t seem to get it right. Do you have any tips for me!!? 🙂
All I can recommend is constantly moving the pan and stopping before you think it’s done. If you’ve ever made popcorn on a stovetop, it’s the same principle: constant movement and don’t wait until you don’t hear pops to stop! Stop before the pops stop, when they start to slow down.
I’ve tried this twice and it’s burnt both times. 🤦🏻♀️😭
Oh, no! It can be tricky. I always had to stop just before I thought it was done for that very reason. Hope it eventually works out for you!