Mr. Charm is in love with Larabars. Who can blame him? They’re yummy, but best of all, they’re pretty healthy and nutritious, too. That makes Mama happy, so we indulge him in his love of all things Lara.
Have you seen the price of those things, though? It can really add up when you’ve got a kid that will eat 3 of those a day!
So I decided to try making them myself…after all, it’s just a handful of ingredients; how hard can it be?
Well. Pretty hard for us, though it really should not be difficult. I mentioned in an older post that our blender died. Our food processor died LONG before that. I have a Star Frit manual food processor that does a fabulous job of cutting up onion, tomato and other not terribly thick things, so I never bothered to replace the electric food processor.
Without an electric food processor, these Larabars are really time consuming to make! If you have an electric food processor, though, these won’t be difficult to put together.
Anyway, here is what we did:
Get a whole bunch of bananas, peel them and slice them.
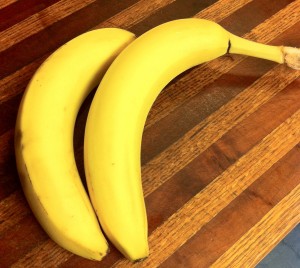
Bananas ready to be dehydrated.
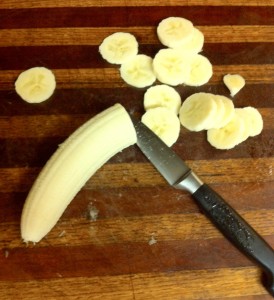
Slice and Dice
Make up a bowl of water with lemon juice and drop the slices in there as you go. This will help keep the bananas from turning colors.
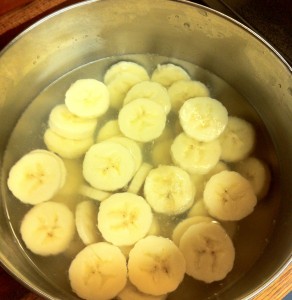
Soaking in Lemon Water
Then lay them out on your dehydrator trays and start drying! I set the temp at 105 degrees. You can do this part in the oven if you don’t have a dehydrator, but I don’t know what temperature you would need to use.
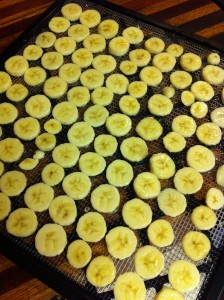
Ready to dry
I didn’t let these dry until they were completely banana chips, either. I left them a little bit gummy. Larabars have that nice soft texture to them and I didn’t want there to be a hard piece of banana to bite in to. What can I say…I’m a texture girl!
Get some dried, pitted dates and set them in a bowl of warm water to soak for about ten minutes.
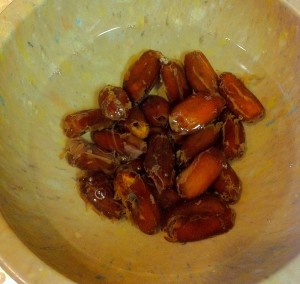
Soaking the Dates
Throw your almonds in a food processor and process until fine, but not powder. I left mine a little chunkier than I probably should have.
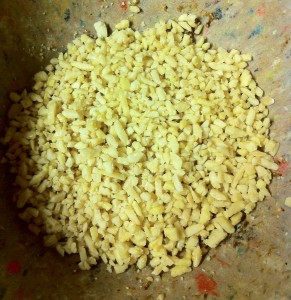
Chopped almonds
At this point, you would take your dates and bananas and put them into a food processor to – essentially – pulverize, and we tried it in the manual food processor. Not a good idea!
It turned into a solid mass of food that the blades couldn’t move through! So, the Geek did it the hard way…turned the whole gloppy mess out onto the cutting board and used a knife to cut…and cut…and cut…AND CUT until the bananas and dates were a nice mushy paste.
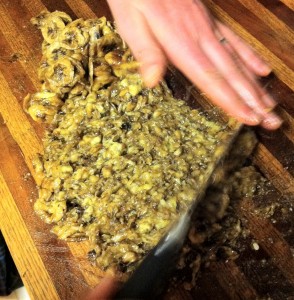
Chopping the bananas
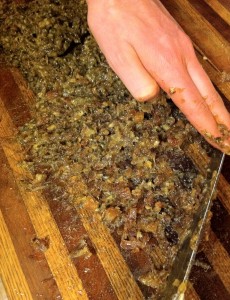
Chopping the dates and combining them with the bananas
I took pictures and told him to tell me when he was ready for the next step! (There are benefits to nursing beyond the whole “it’s good for the baby” thing!)
Eventually, you’ll have a nice, pasty ball of mashed up fruit.
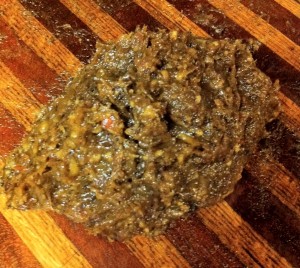
Yes, Mom’s…I know JUST what that looks like!
Then toss it in with the chopped nuts and mix them completely together.
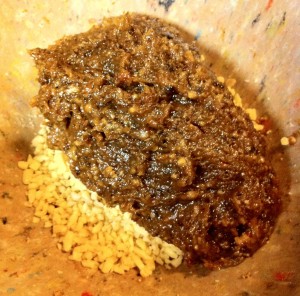
Ready to mix it all together
We were going based off a few online recipes, but all of them called for making 2-3 bars at a time. Mr. Charm can eat a lot more than that, and we had fresh foods that were going to go bad so we increased our amounts. In the end, we made two batches and each batch provided 12 bars. Since there’s so much to each batch, once the fruit and nuts are all mixed together, split the ball in half and put each half into a loaf pan.
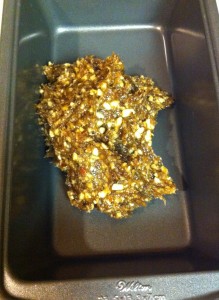
Ready to spread
Press the mixture down into the loaf pan until it’s nice and flat and as smooth as you can get it.
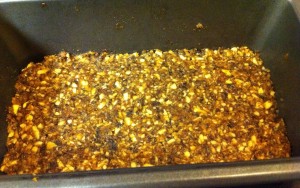
Spread out in the pan
Set it in the fridge for about ten minutes.
Pull it out, and use a spatula to cut the bars. It would probably work perfectly to get 5 bars out of each pan, but we decided to make slightly smaller bars for Mr. Charm. He IS two, after all, and sometimes decides mid-snack that he’s done. We’d rather not waste the food!
I placed the bars in a tupperware container with parchment paper between each layer. The whole thing will keep in the fridge for about two weeks. You could also individually wrap the bars so they were a grab-n-go sort of breakfast food for your family. The way we will eat them, though, all in a big container works fine.
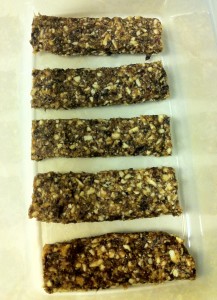
The end result!
NOW…having done this, would we do it again?
Probably not.
The math on it just doesn’t work out. We used about $9.00 worth of bananas, $2.00 worth of almonds, and $6.00 worth of dates. That’s $17.00 for 12 bars, which comes out to $1.41 per bar.
I can buy them at my local health food store for $1.89 per bar. BUT I can get them on Amazon for $1.33 per bar!!
Not to mention the cost of running the dehydrator for long enough to dry the bananas, plus all the TIME that we spent on this – it took HOURS, y’all!
So it was a fun experiment, and they taste just as good as the original, but it isn’t worth it to make ourselves. I’m willing to spend more money and take the time to make things that greatly increase the nutrition/health/taste of the food, but, frankly, Larabars are healthy and nutritious and taste great all on their own. There isn’t a whole lot to improve upon.
So, we’ll be ordering cases of these from Amazon and calling it a day.
That being said, I can totally see little kids LOVING this recipe! It’s sticky and goopy and mushy, and pressing it down into the pan would be a blast for a kid that loves to make messes! So if you want to make these, turn it into a hands-on experience for your kiddos! They’ll love it!
_________
HOMEMADE BANANA BREAD LARABAR KNOCKOFFS
– 2 cups of dried bananas
– 1 cup of dried, pitted dates
– 3/4 cup chopped almonds
If you buy your bananas already dried, skip down to step 4. Otherwise…
- Peel and slice your bananas.
- Make a bowl of water with lemon juice and put your banana slices in the bowl.
- Lay the banana pieces out on a dehydrator tray and dehydrate at 105 degrees. (Or use your oven but I don’t know how to tell you to do that!)
- Chop the almonds in a food processor until small chunks.
- Soak the dates in warm water for about ten minutes.
- Put the dates and bananas in a food processor and process until well combined and slightly pasty.
- Combine the nuts and fruit until well mixed together.
- Split the ‘dough’ in half and put each half into a loaf pan.
- Press down until flattened and smooth.
- Set in the fridge for ten minutes.
- Take out of the fridge and cut into bars. You can easily get 5 or 6 bars from each loaf pan.
- Either wrap each bar individually to grab-n-go, or lay them out in a tupperware container and store in the fridge. They should last up to 2 weeks.
- Enjoy a yummy treat!
__________
Have you ever made homemade Larabars? How did they turn out?
__________
UPDATE October 4
I made an error calculating the cost of these bars. The math was sound, but…garbage in, garbage out. I DID use $9.00 worth of bananas…but remember when I said we made two batches of these? Ahem. I only used half the bananas in each batch, but I added the dates and almonds up individually. Oops.
So in the end, it was $4.50 in bananas, $2.00 in almonds and $6.00 in dates PER BATCH, which brings it to $12.50 for 12 bars, or $1.04 per bar, which is still cheaper than on Amazon. So, I suppose it is worth it to make the bars, anyway! We’ll order off Amazon only when I’m feeling lazy.
Sorry about the misleading information. I blame Mommy brain. __________
This post has been shared with Allergy-Free Wednesdays, Real Food Wednesdays, Whole Food Wednesdays, and Frugal Days, Sustainable Ways.
Like this:
Like Loading...


