On occasion I come up with a recipe that just makes me feel all warm and fuzzy inside.
This is one of them.
Of course, that could be just because it’s pumpkin pie, and that happens to be one of my FAVORITE desserts of all time!
Pre-TED and FPIES, Thanksgiving was the one and only occasion during the year I would eat a pumpkin pie. Every year, we made three pumpkin pies for my family: one for me, one for my dad, and one for everyone else to share!
Daddy and I LOVE pumpkin pie, in case you couldn’t tell.
I never consciously thought it, but when we realized Jed had issues with dairy and soy at his first solid-food-eating Thanksgiving, my heart broke a little when I realized I couldn’t share my passionate love of pumpkin pies with my son.
I found a decent recipe for him, nonetheless, and it tasted just as good as the original, dairy-laden version that I had held so dear my entire life! He liked it pretty well, too!
And then, last year, fructose malabsorption showed up and wrecked my recipe. I didn’t have time or energy to figure out a pumpkin pie for last years Thanksgiving feast, but this year, oh, this year I managed to make a masterpiece!
No Dairy. No Soy. No Wheat. No Egg. Very little fructose, and that’s only in the ginger.
AND I made a gluten-free pie crust that rocks!
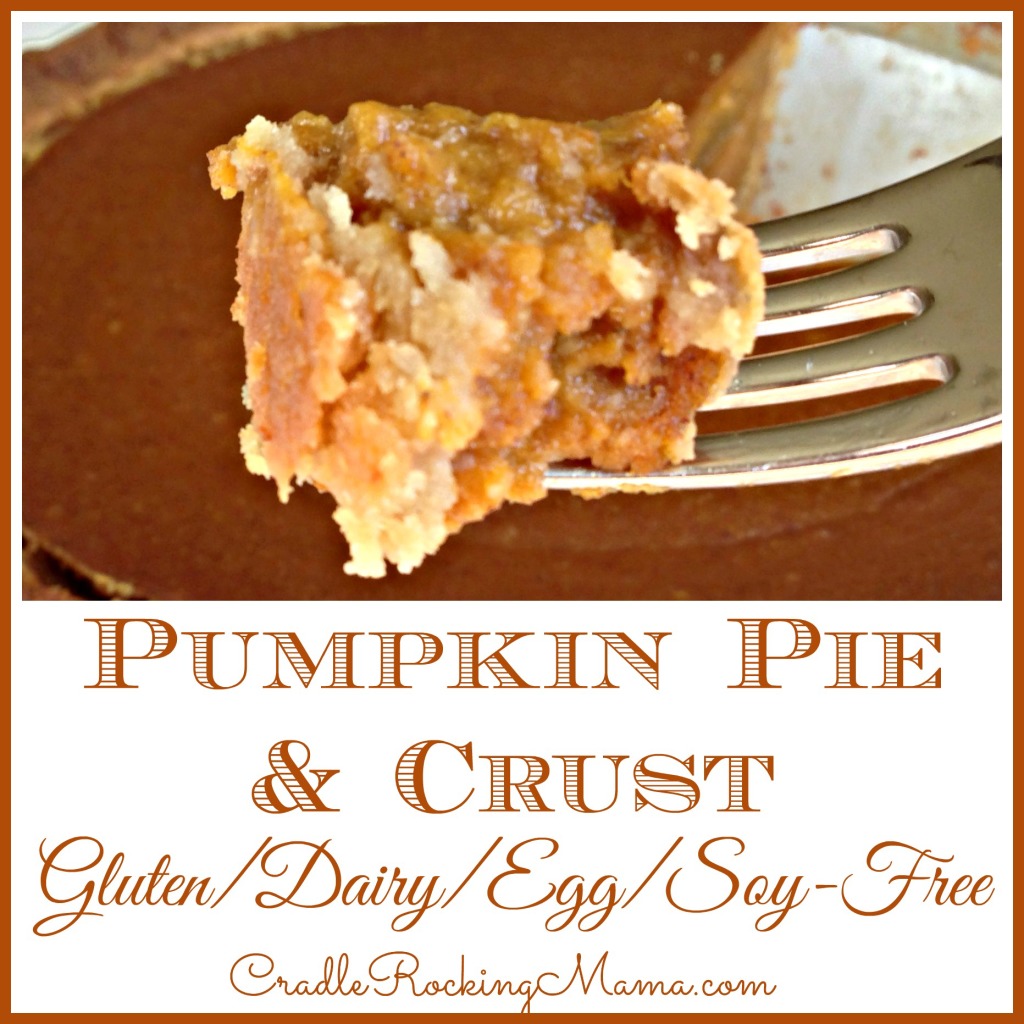
So, a little late in the day, but with still enough time for y’all to make this for your own feast tomorrow, I present: A FREAKING AWESOME PUMPKIN PIE!!!
First, make the crust.
This is going to seem an awful lot like a regular pie crust, but it has no wheat or gluten so it works a little differently.
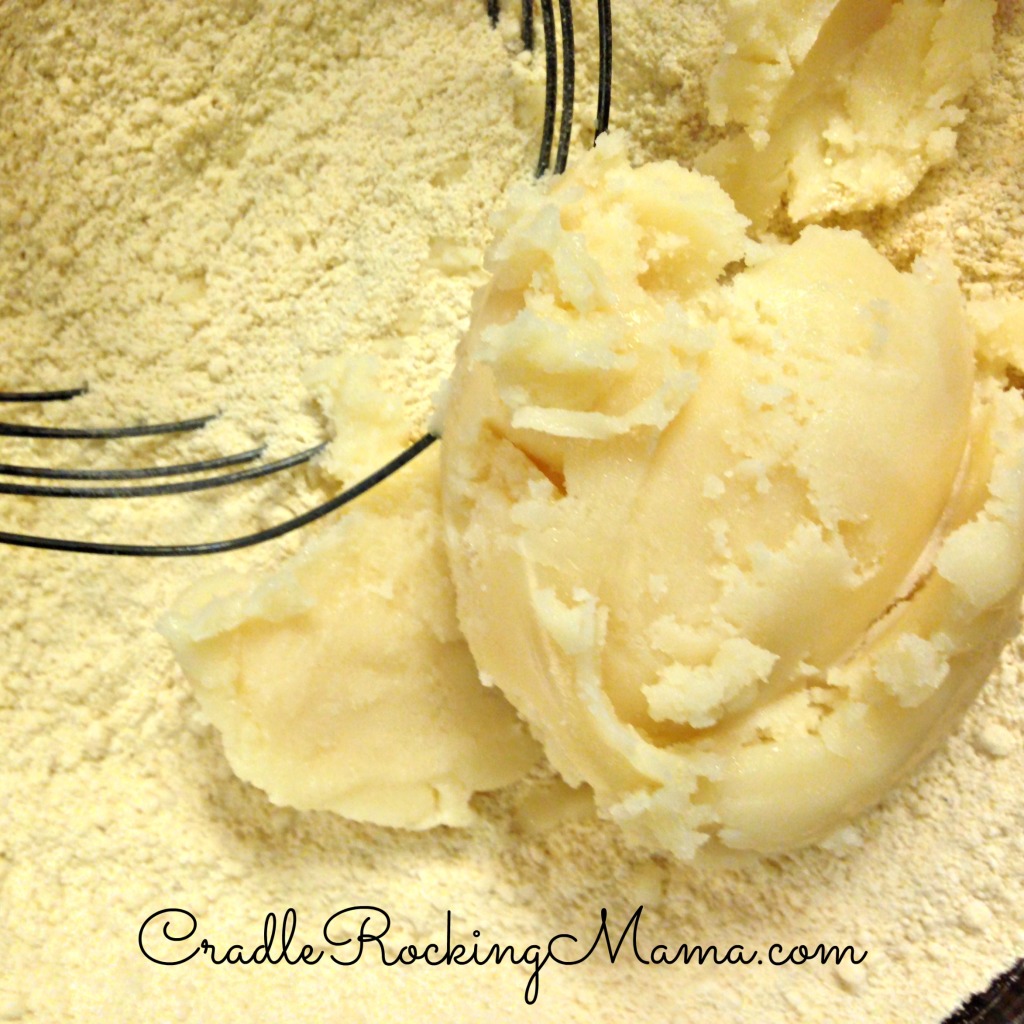
Gather your flours, mix them well in a bowl, and then get some fat. I used tallow (and why don’t you have tallow around, by the way, after learning all the awesome ways it can be used?), but regular shortening, lard, or vegan butter would work fine. Using a non animal product in the crust would also make this recipe Vegan, which is always sought out at the holidays!
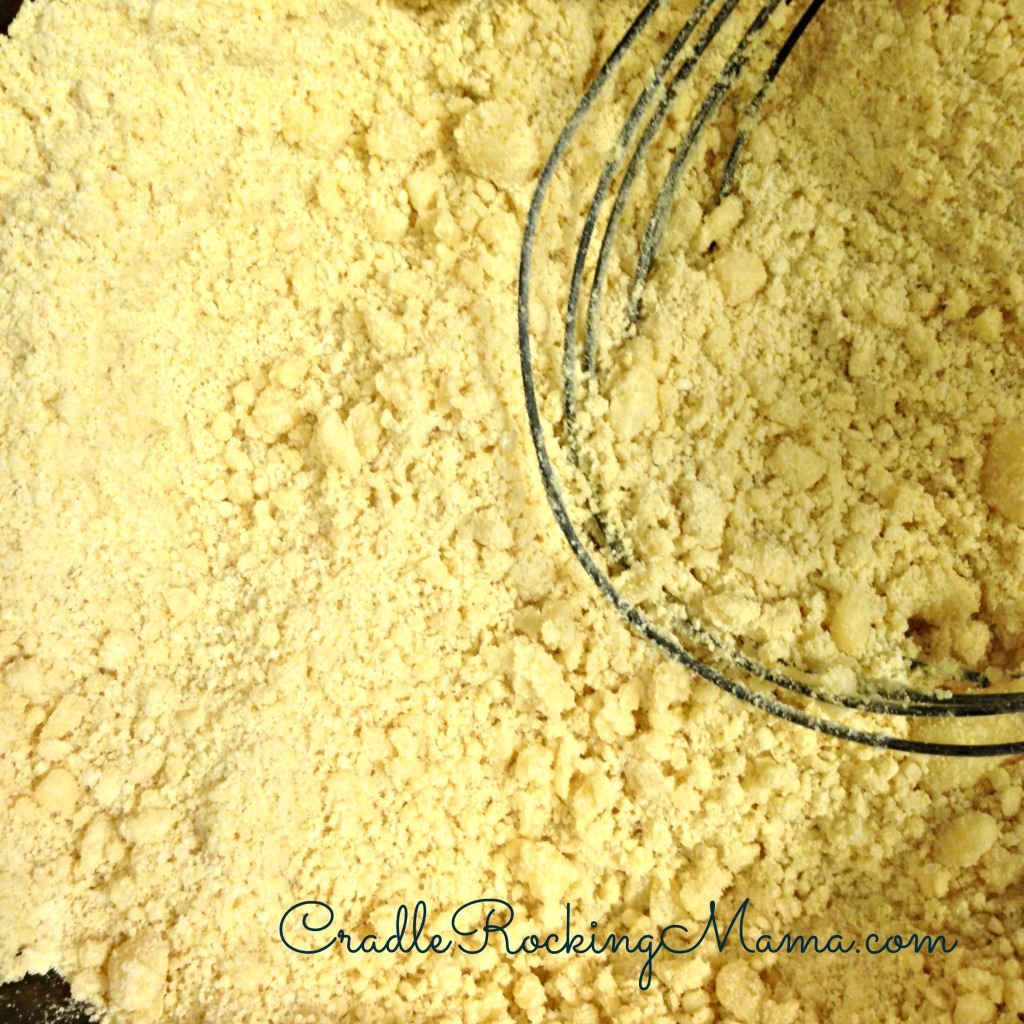
Using a pastry cutter, chop the tallow into the flours until you have that gorgeous, flaky crumble.
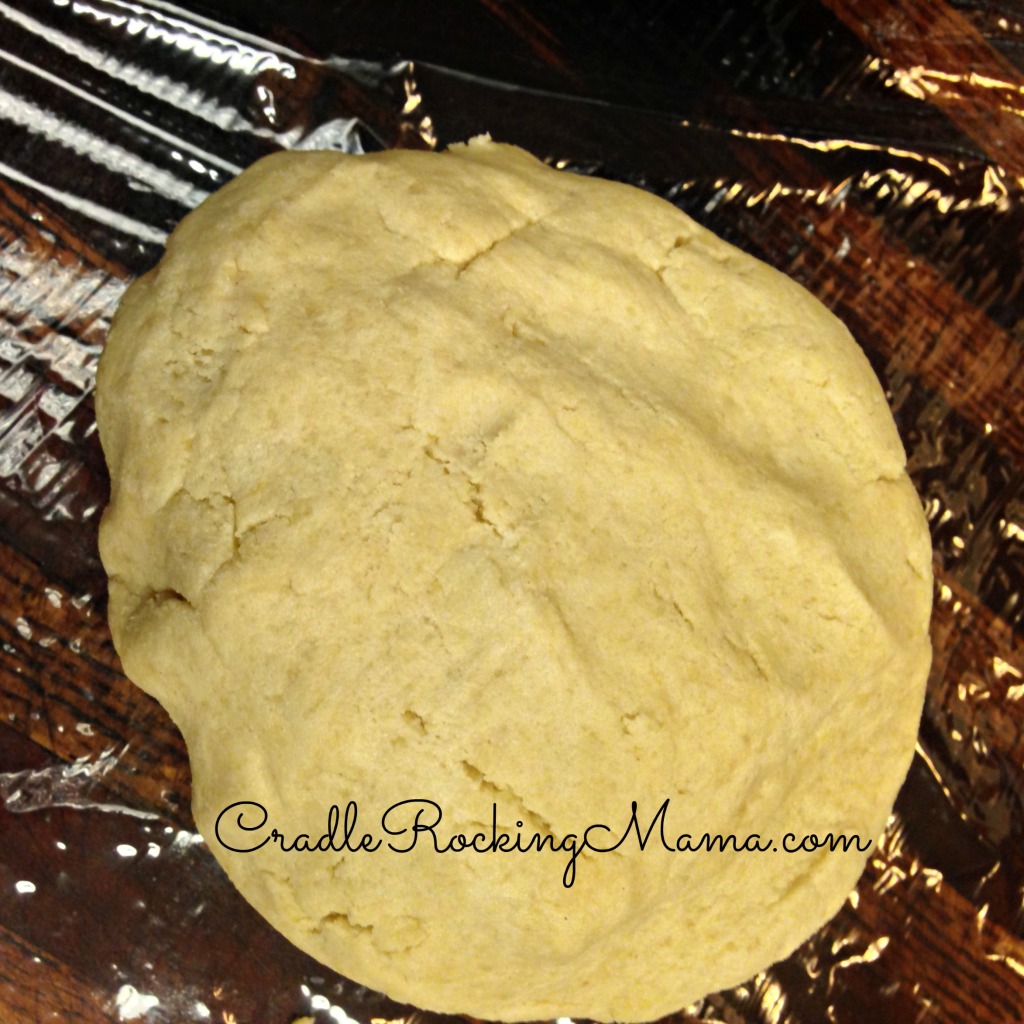
Then add ice cold water 1 T. at a time and use your hands to press it into a lovely dough. I used about 5 T. total for mine, but 4 T. is a good guideline.
Now, at this point, I tried to treat the pie crust like a regular pie crust. I wrapped it in saran wrap and put it in the fridge until I was ready to roll.
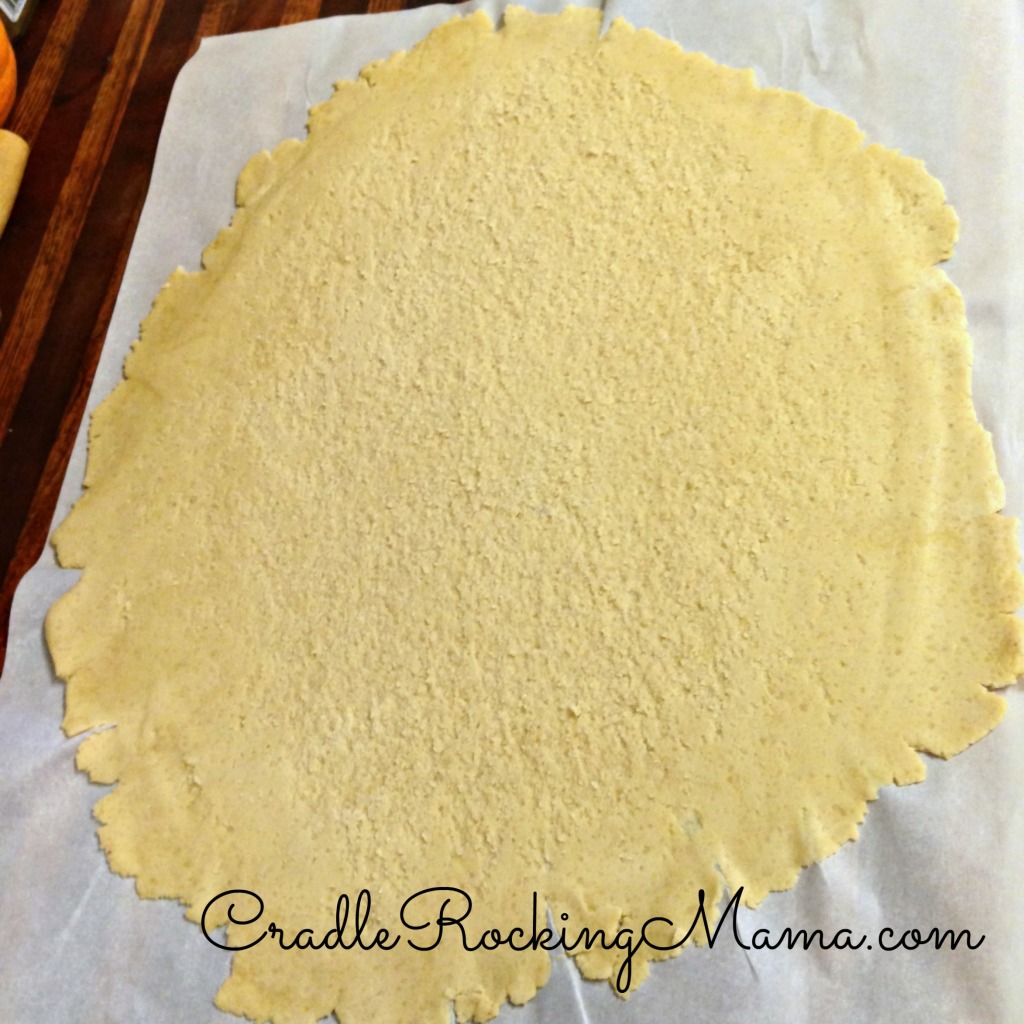
Then I laid the dough on a sheet of parchment paper, put another sheet of parchment paper on top, and rolled it out in an irregularly shaped circle.
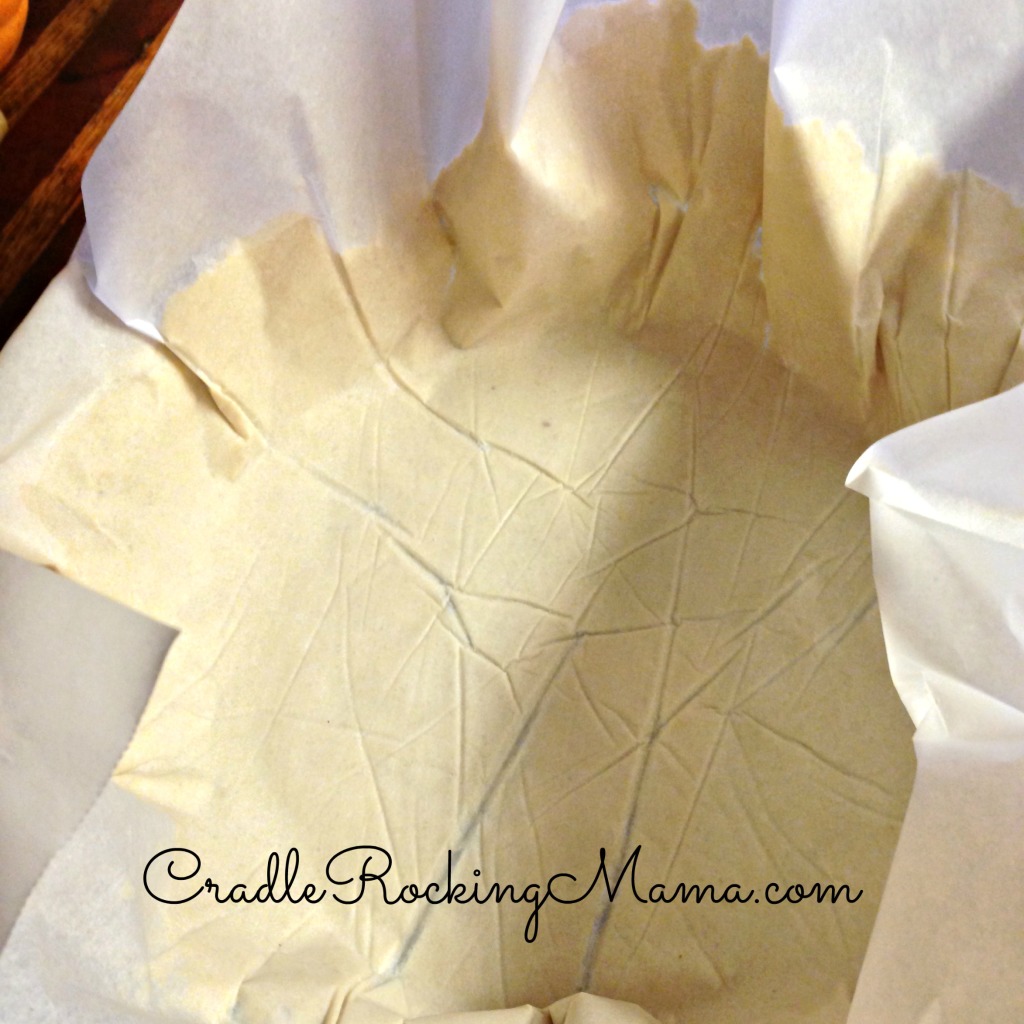
Then I flipped the crust over into my pie plate, and attempted to pull off the second sheet of parchment paper.
Epic. Fail.
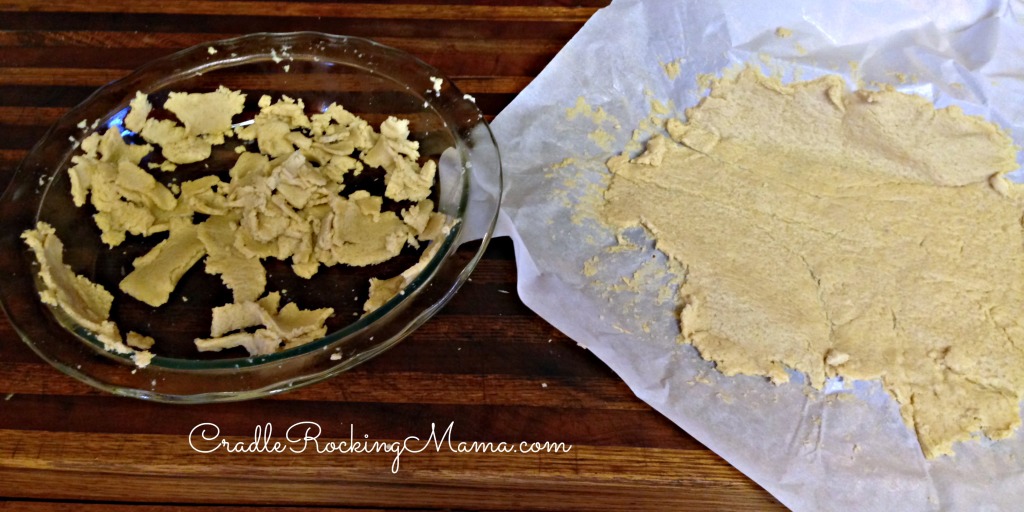
This is when Captain Obvious of the “Duh” Patrol flew down and slapped me upside the head: this isn’t a normal pie crust. It isn’t going to hold together like a wheat/gluten filled pie crust.
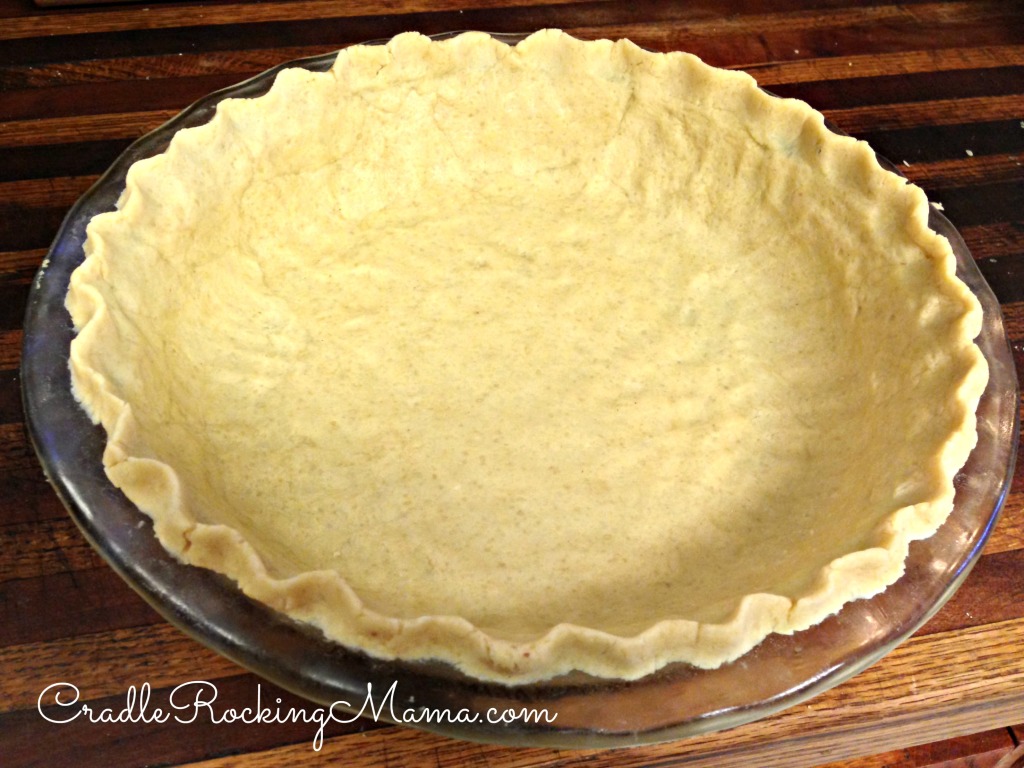
So I simply scraped up all the dough, laid it in the pie plate, and used my hands to press the dough into shape.
Perfect.
All of that is to say: once you’ve made your dough and you’re happy with the texture of it, just go ahead and throw it in your pie plate, press it into place with your fingers, and then toss the whole plate with the ready dough into the fridge until you’ve made your filling.
Now, for the pumpkin filling.
If you’ve searched for a way to make a pumpkin pie filling that doesn’t have any dairy, you’ll have seen that about 80% of the options out there call for tofu.
First of all, ew. (Personal taste, there!) Secondly, that’s soy, and I try to avoid GMO’s/soy whenever possible. Thirdly, I’m not convinced Jed has outgrown any soy issues he has, so we avoid it for that reason alone.
So what’s a pumpkin pie lovin’ girl to do? How do you get that custard-y, rich, creamy goodness without tofu or evaporated milk?
Believe it or not, the answer is FLOUR.
The addition of some flour to the filling makes the texture and taste just right!
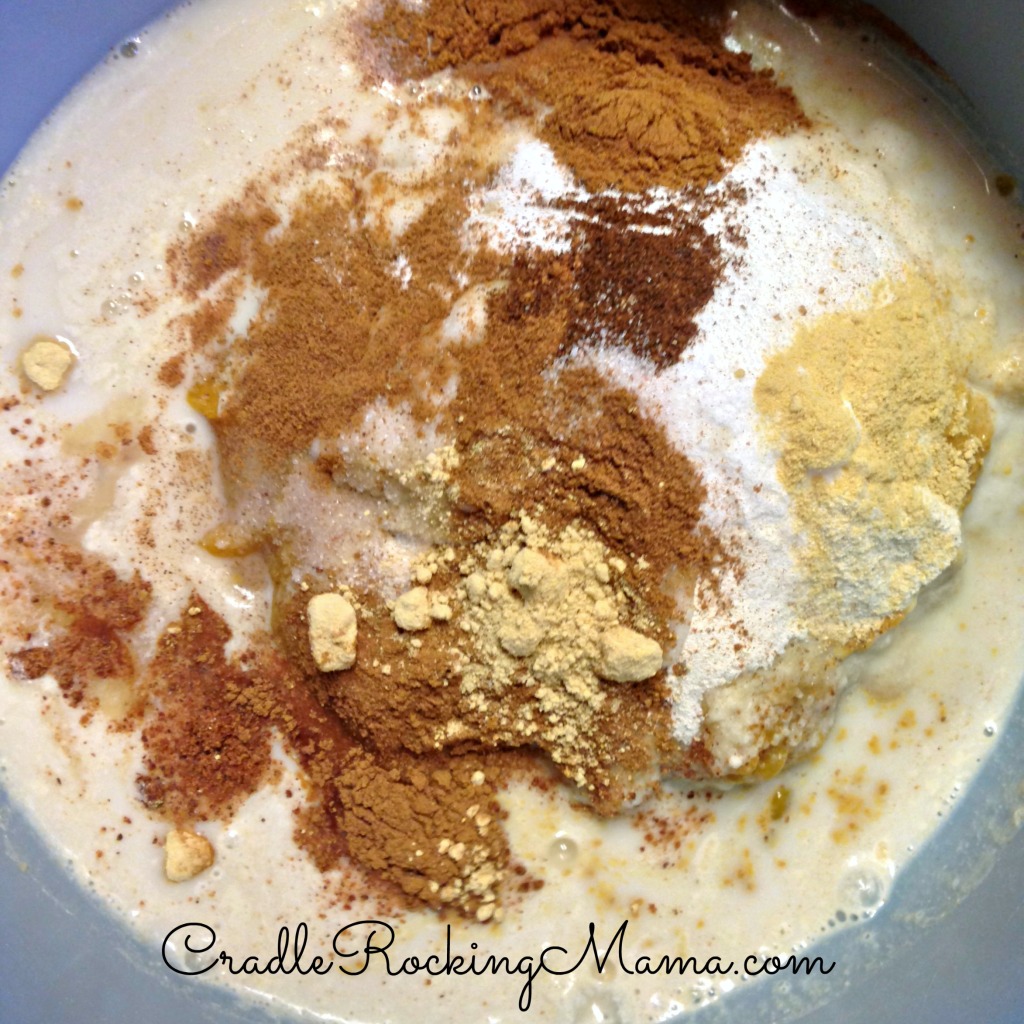
So the next part is easy: dump all the ingredients into a bowl…
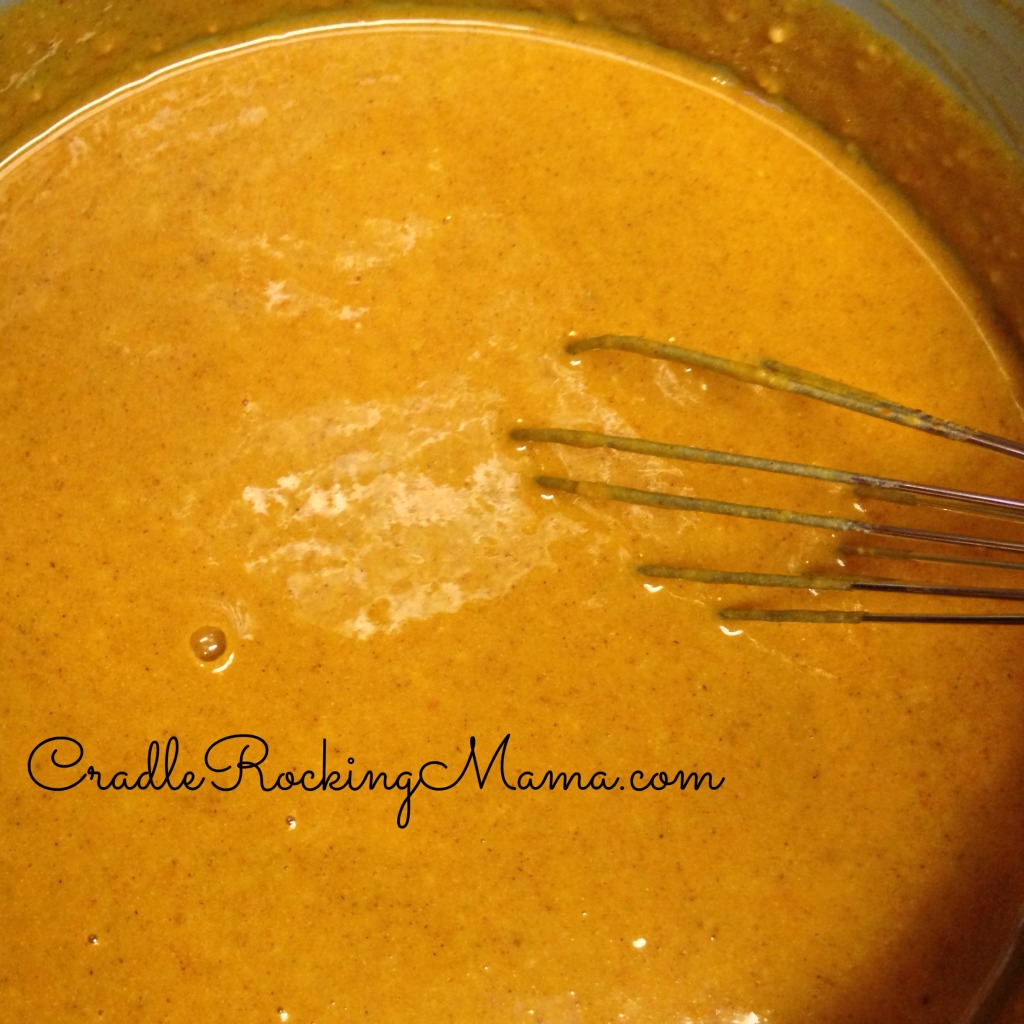
whisk together…
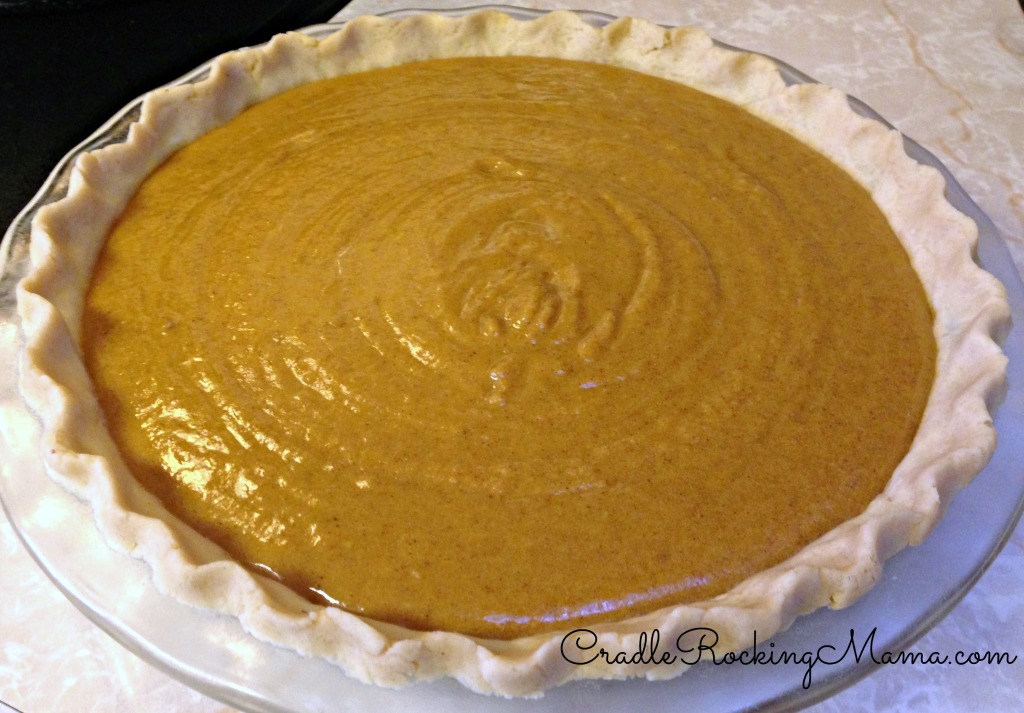
and pour into your pie crust.
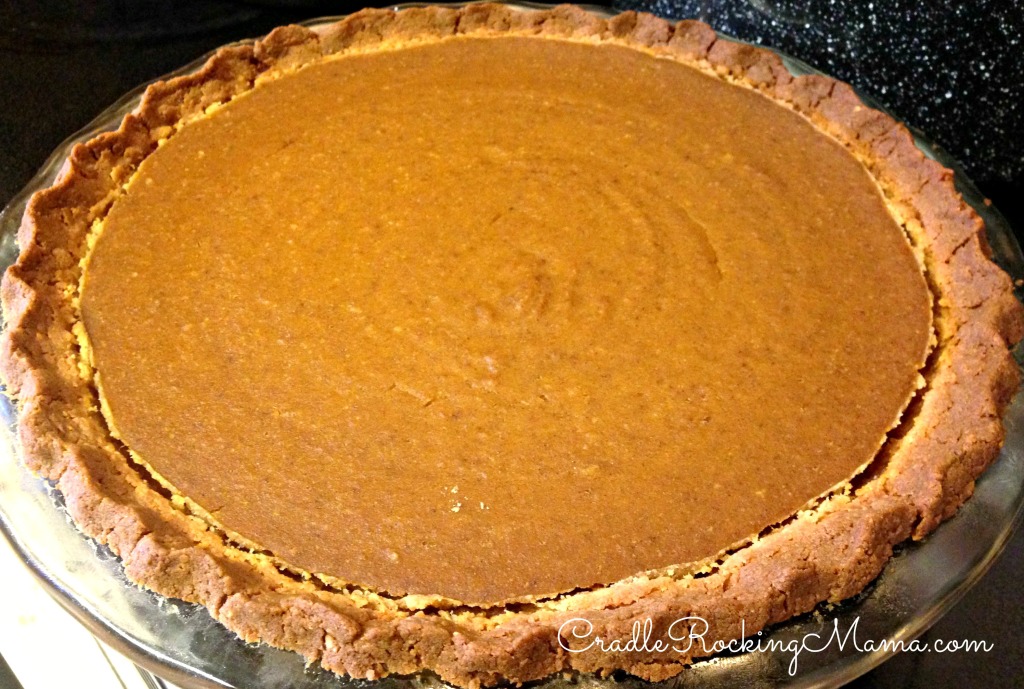
Throw in the oven and bake for an hour, and voila! Pumpkin pie that almost anyone can eat, and everyone will enjoy!
Now, again, Captain Obvious didn’t slap me upside the head in time, so don’t make the mistake I did. The pie crust is – once again, NOT a regular pie crust! Cover the exposed edges with foil or one of those fancy pie crust thingies from the beginning, because I didn’t, and it slightly burned the exposed edges of my pie.
The unexposed pie crust? PERFECT! Flaky and tender and oh my GOD I want to eat this pie!!!
If you’re using a 9.5 inch pie plate, which is what I used, you might find that one recipe of the filling isn’t quite enough to fill the pie. I used about 1.5 recipes of the filling to make this as full as I wanted it. If you’re using a smaller pie plate, one filling recipe will probably be enough.
If you have to make a second batch to top off your pie, you can simply pour the rest of the filling into a glass dish and bake it for a crustless pumpkin pie custard dessert! (Jed wolfed that down immediately!)
Other than that, this turned out to be an exceptionally delicious Thanksgiving dessert that I cannot WAIT to be able to dig in to!
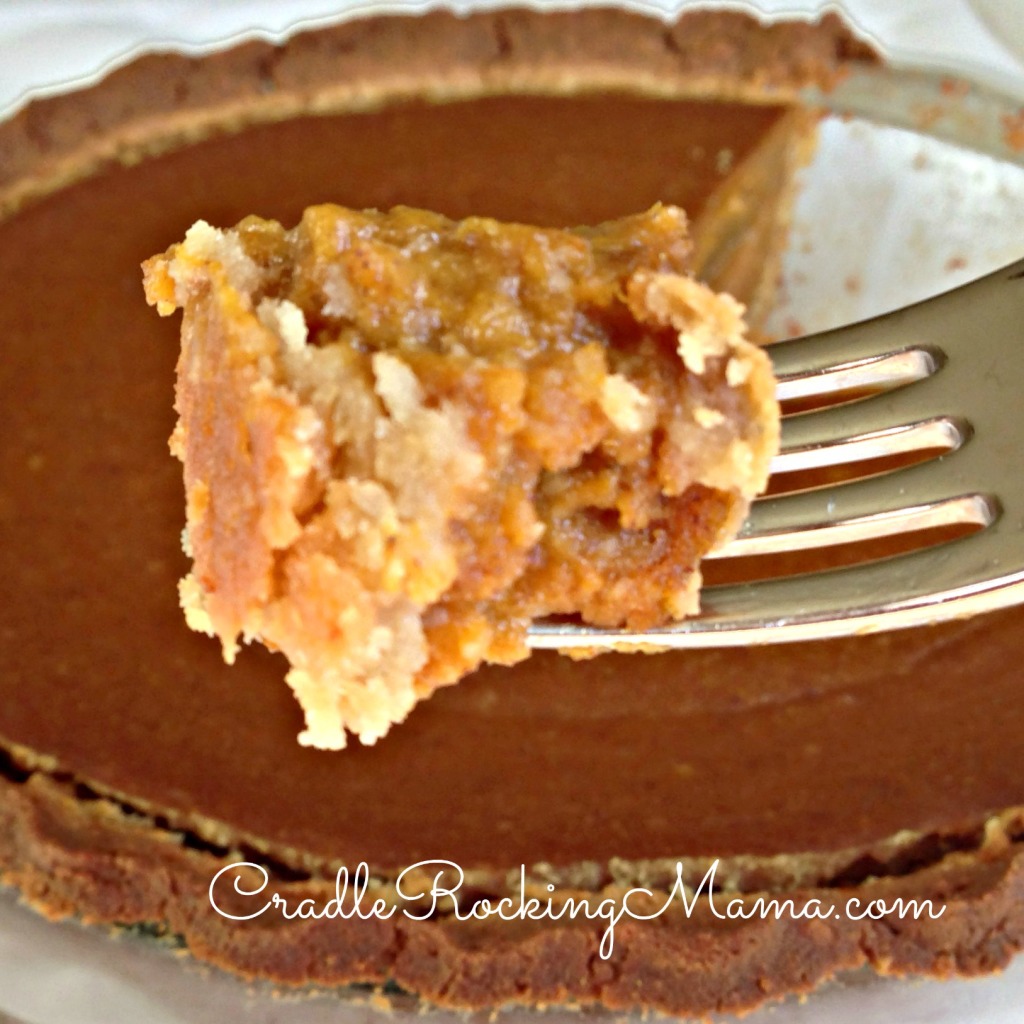
Oh, and you’ll want to let your pie cool completely before cutting in to it. Otherwise, the filling will still be too loose to stay on your fork. It has to set. Be patient. I know it’s hard to wait, but it’s worth it!
Happy Pumpkin Pie Day! I mean, Happy Thanksgiving!
I hope you’ll share your pie, but if you don’t, I understand.
- For the crust:
- ½ c. millet flour
- ½ c. quinoa flour
- ½ c. almond flour (use another flour if making this top 8 free)
- ½ c. tallow/shortening
- 4 T. cold water
- For the filling:
- 1 can pumpkin puree (~15 ounces)
- 1 c. milk (whatever your personal alternative milk preference)
- 1 c. dextrose or ⅔ c. sugar
- ⅓ c. almond flour (use another flour if making this top 8 free)
- ⅓ c. quinoa flour
- 2 tsp. cinnamon
- 1½ tsp. ginger
- ¼ tsp. cloves
- ¼ tsp. nutmeg
- ½ tsp. salt
- Make the pie crust first: put all the flours and fat in a bowl; using a pastry cutter, cut together until flaky.
- Add cold water 1 T. at a time until the dough comes together like a pie dough.
- Press the dough into a pie pan and form a pretty edge on top, if you like.
- Turn on the oven to 350 degrees F.
- Begin making the filling: put all filling ingredients into a bowl and whisk together.
- Pour into the prepared pie crust.
- Put in the heated oven and bake for 50-60 minutes.
- Enjoy your delicious, almost-everything-free, allergy friendly pumpkin pie!
What’s your favorite dessert of all time? The one you won’t share, even with your kids?
This post shared with:







Pingback: Pumpkin Pie Revisited! - Cradle Rocking Mama
Pingback: Surviving Thanksgiving with Food Allergies/Intolerances - Cradle Rocking Mama
Where’s the recipe?
Sorry…I was having some technical difficulties. They should be fixed now! Just click on the photo at the bottom of the post and it should take you right to the recipe. Thanks for the heads up!
Thanks for linking up at our Gluten Free Fridays Party! I have tweeted and pinned your entry to our Gluten Free Fridays board on Pinterest! 🙂 I can’t wait to see what you share next time!
-Cindy