


It was gettin’ crazy in my freezer, y’all.
In the 18 months I’ve been on the TED, I’ve eaten 4 cows worth of beef. That’s a lot of beef!
It’s also a lot of beef BONES.
Because I’m frugal, and because I can’t have any pre-made, store-bought broths, I’ve saved all the bones from all of those steaks and roasts these last 18 months. And while I’ve made broth frequently throughout that time, I had fallen behind.
WAY behind.
So behind, I’d started running out of room in my freezer for, you know, food, because I was storing so many bones. It was ridiculous!
Worst of all, I knew that once I made all the broth I needed to make from those lovely bones, I’d have a TON of broth to freeze…so making the broth wasn’t actually going to help out on the freezer storage solution very much.
Unless…
Surely there had to be a way to dehydrate the beef broth for future use, right?
Well, not according to anything I could find on the internet! The closest I could find was a recipe for making your own bouillon cubes that used a scary amount of salt and was incredibly comprehensive. Plus, you still had to store it in the freezer.
One day, I will be returning to work. When that day comes, I’d like to be able to take my broth with me…without it leaking all over my suitcase!
So I experimented, and I found the answer.
Read on and learn how you, too, can dehydrate beef broth!
Start out by making your broth. Most people add veggies and some vinegar to the bones to make their broth; I can’t really do that and it always comes out just fine (though probably not as nutritious). I prefer the “low and slow” approach to making broth. It’s not unusual for my broth to simmer for as long as a day or two!
Then strain all the solids out of your broth and put it in the fridge so any fats will rise to the top and solidify.
Scoop out as much of the fat as you can and set it aside to be cleaned.
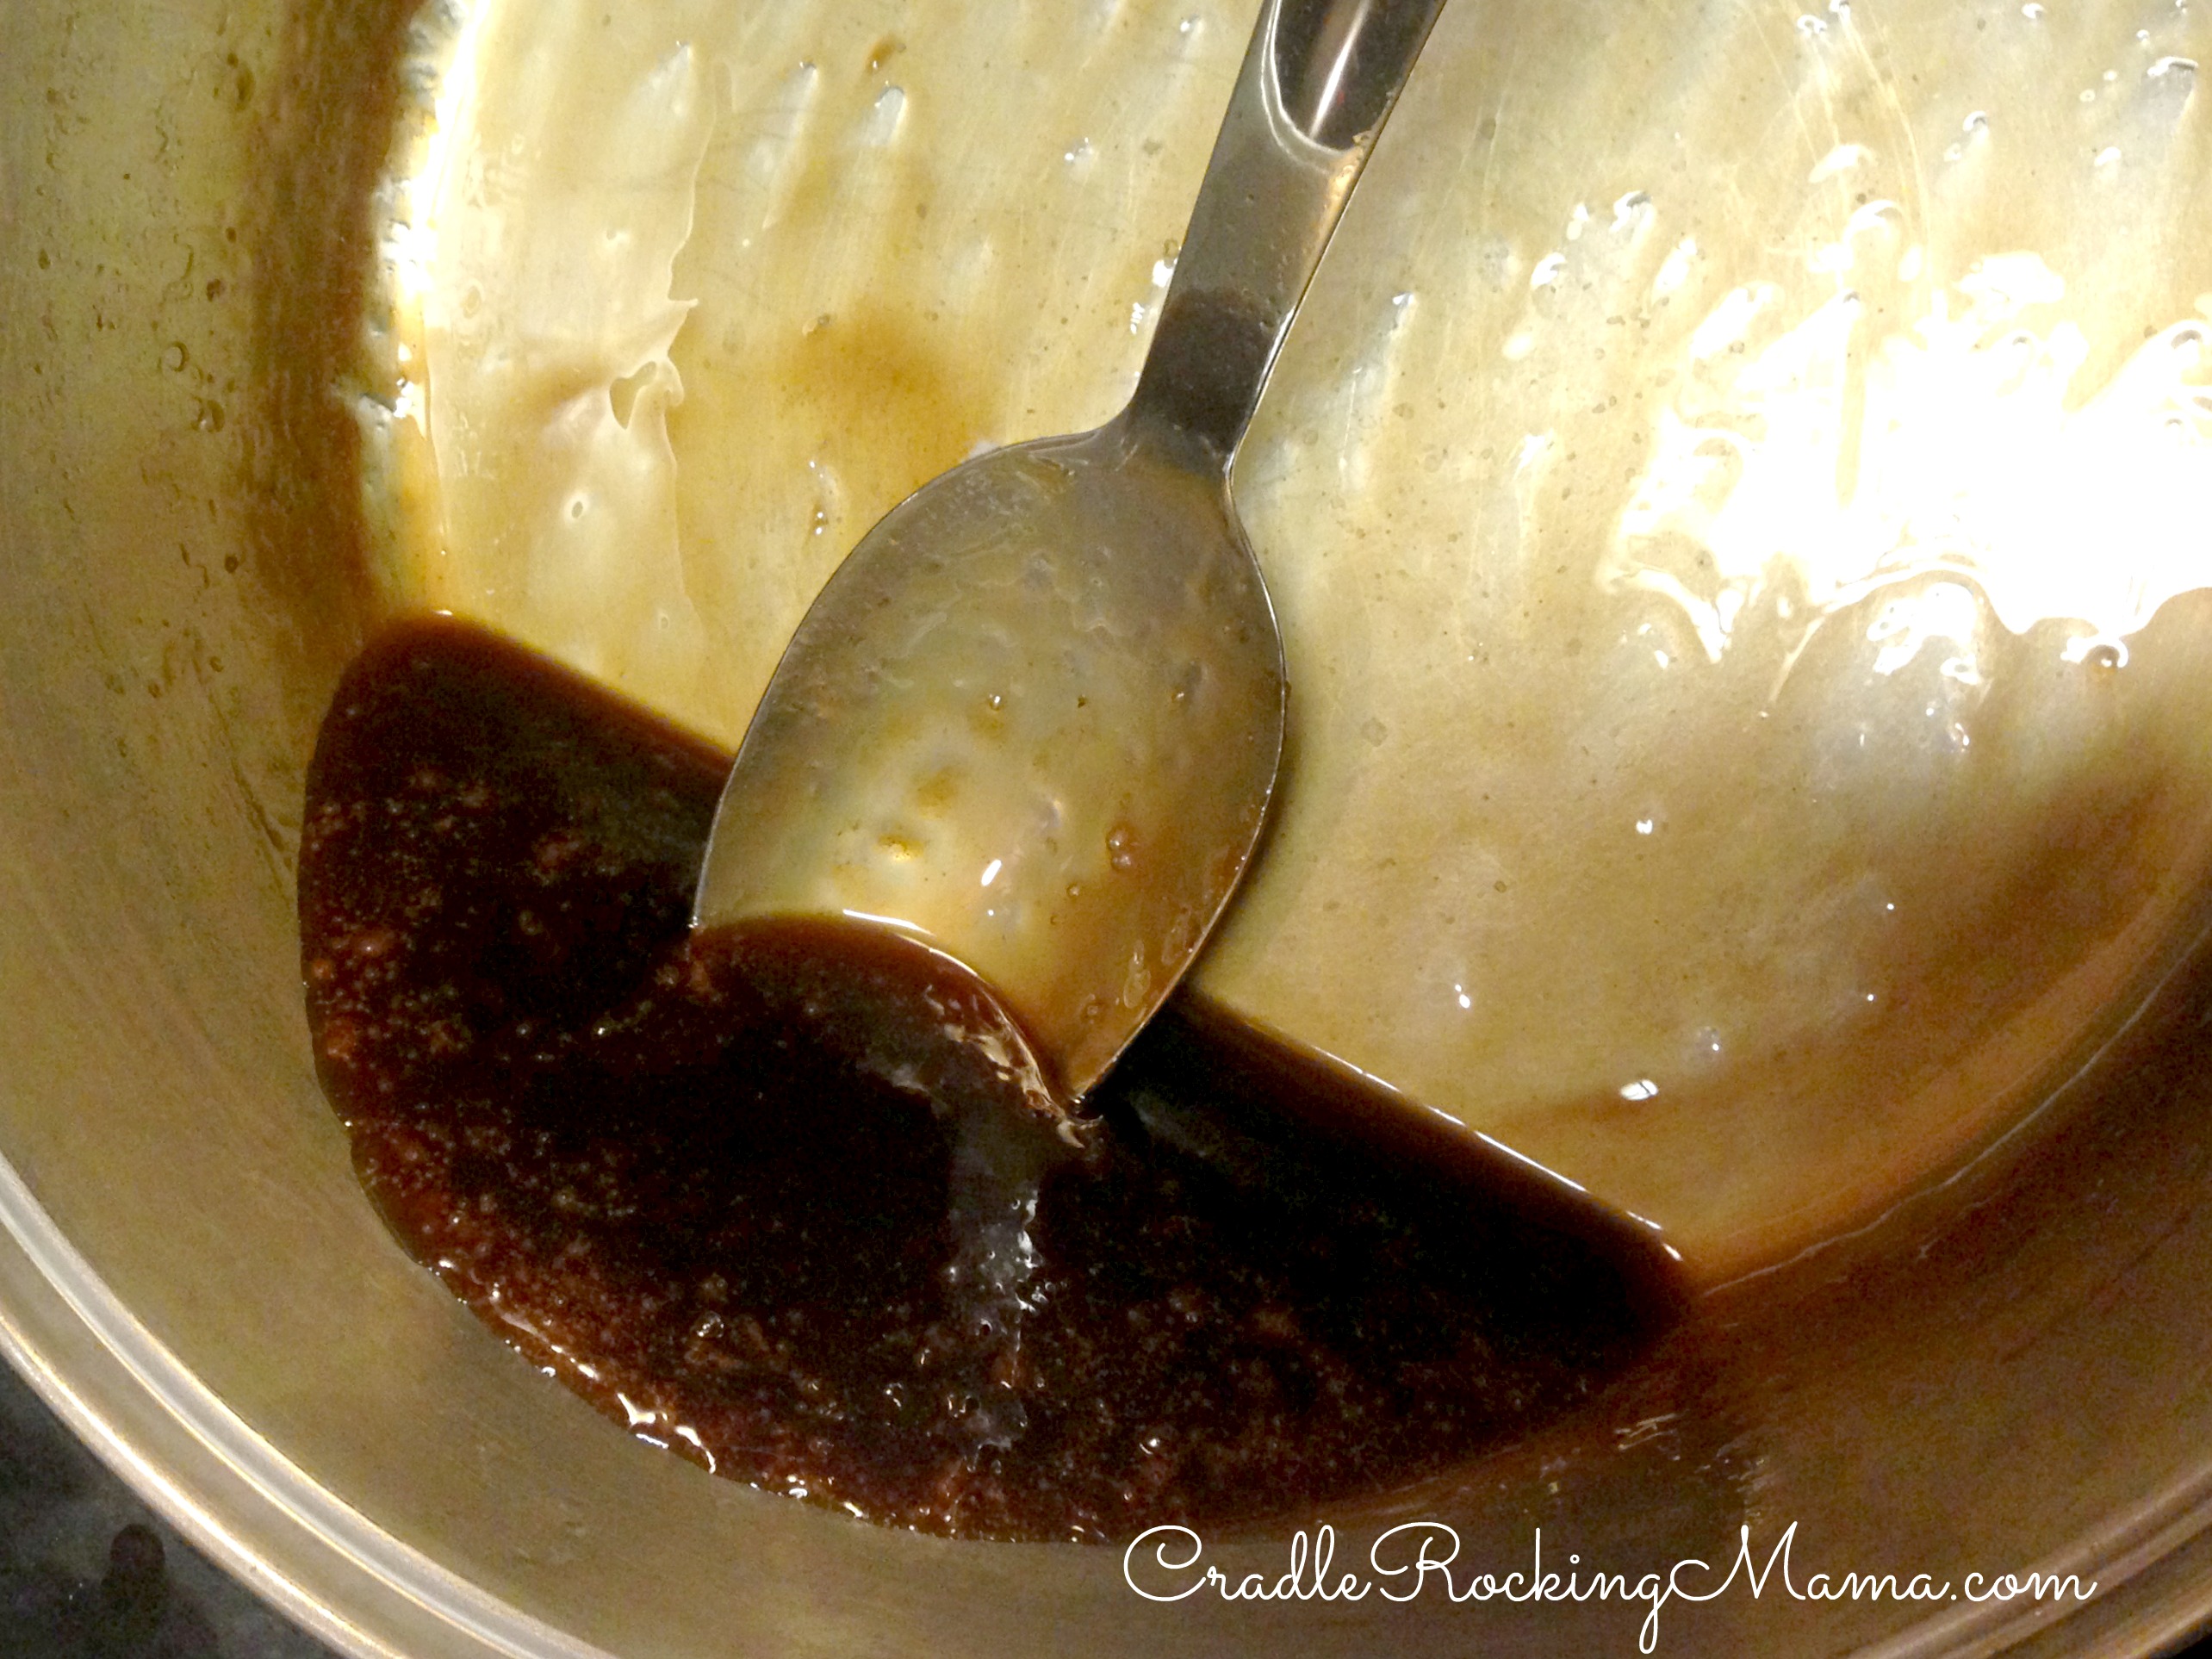
Now take that broth back to the stove and begin reducing it down. Turn the heat up until the broth is simmering, with the lid off, and let it cook until it is thickened and reduced to almost nothing.

This was 6.5 quarts of broth to start out.
In my experience, the broth will simmer for what feels like ages, doing nothing particularly interesting, and when I leave it alone for an hour I come back to find I’ve almost ruined it by letting it go too long. So, keep an eye on it.
It did take all day on low heat, but I finally had it reduced to almost nothing.
What you’re going for is a thicker, gravy-like consistency. It should still be runny, not like a thick syrup.
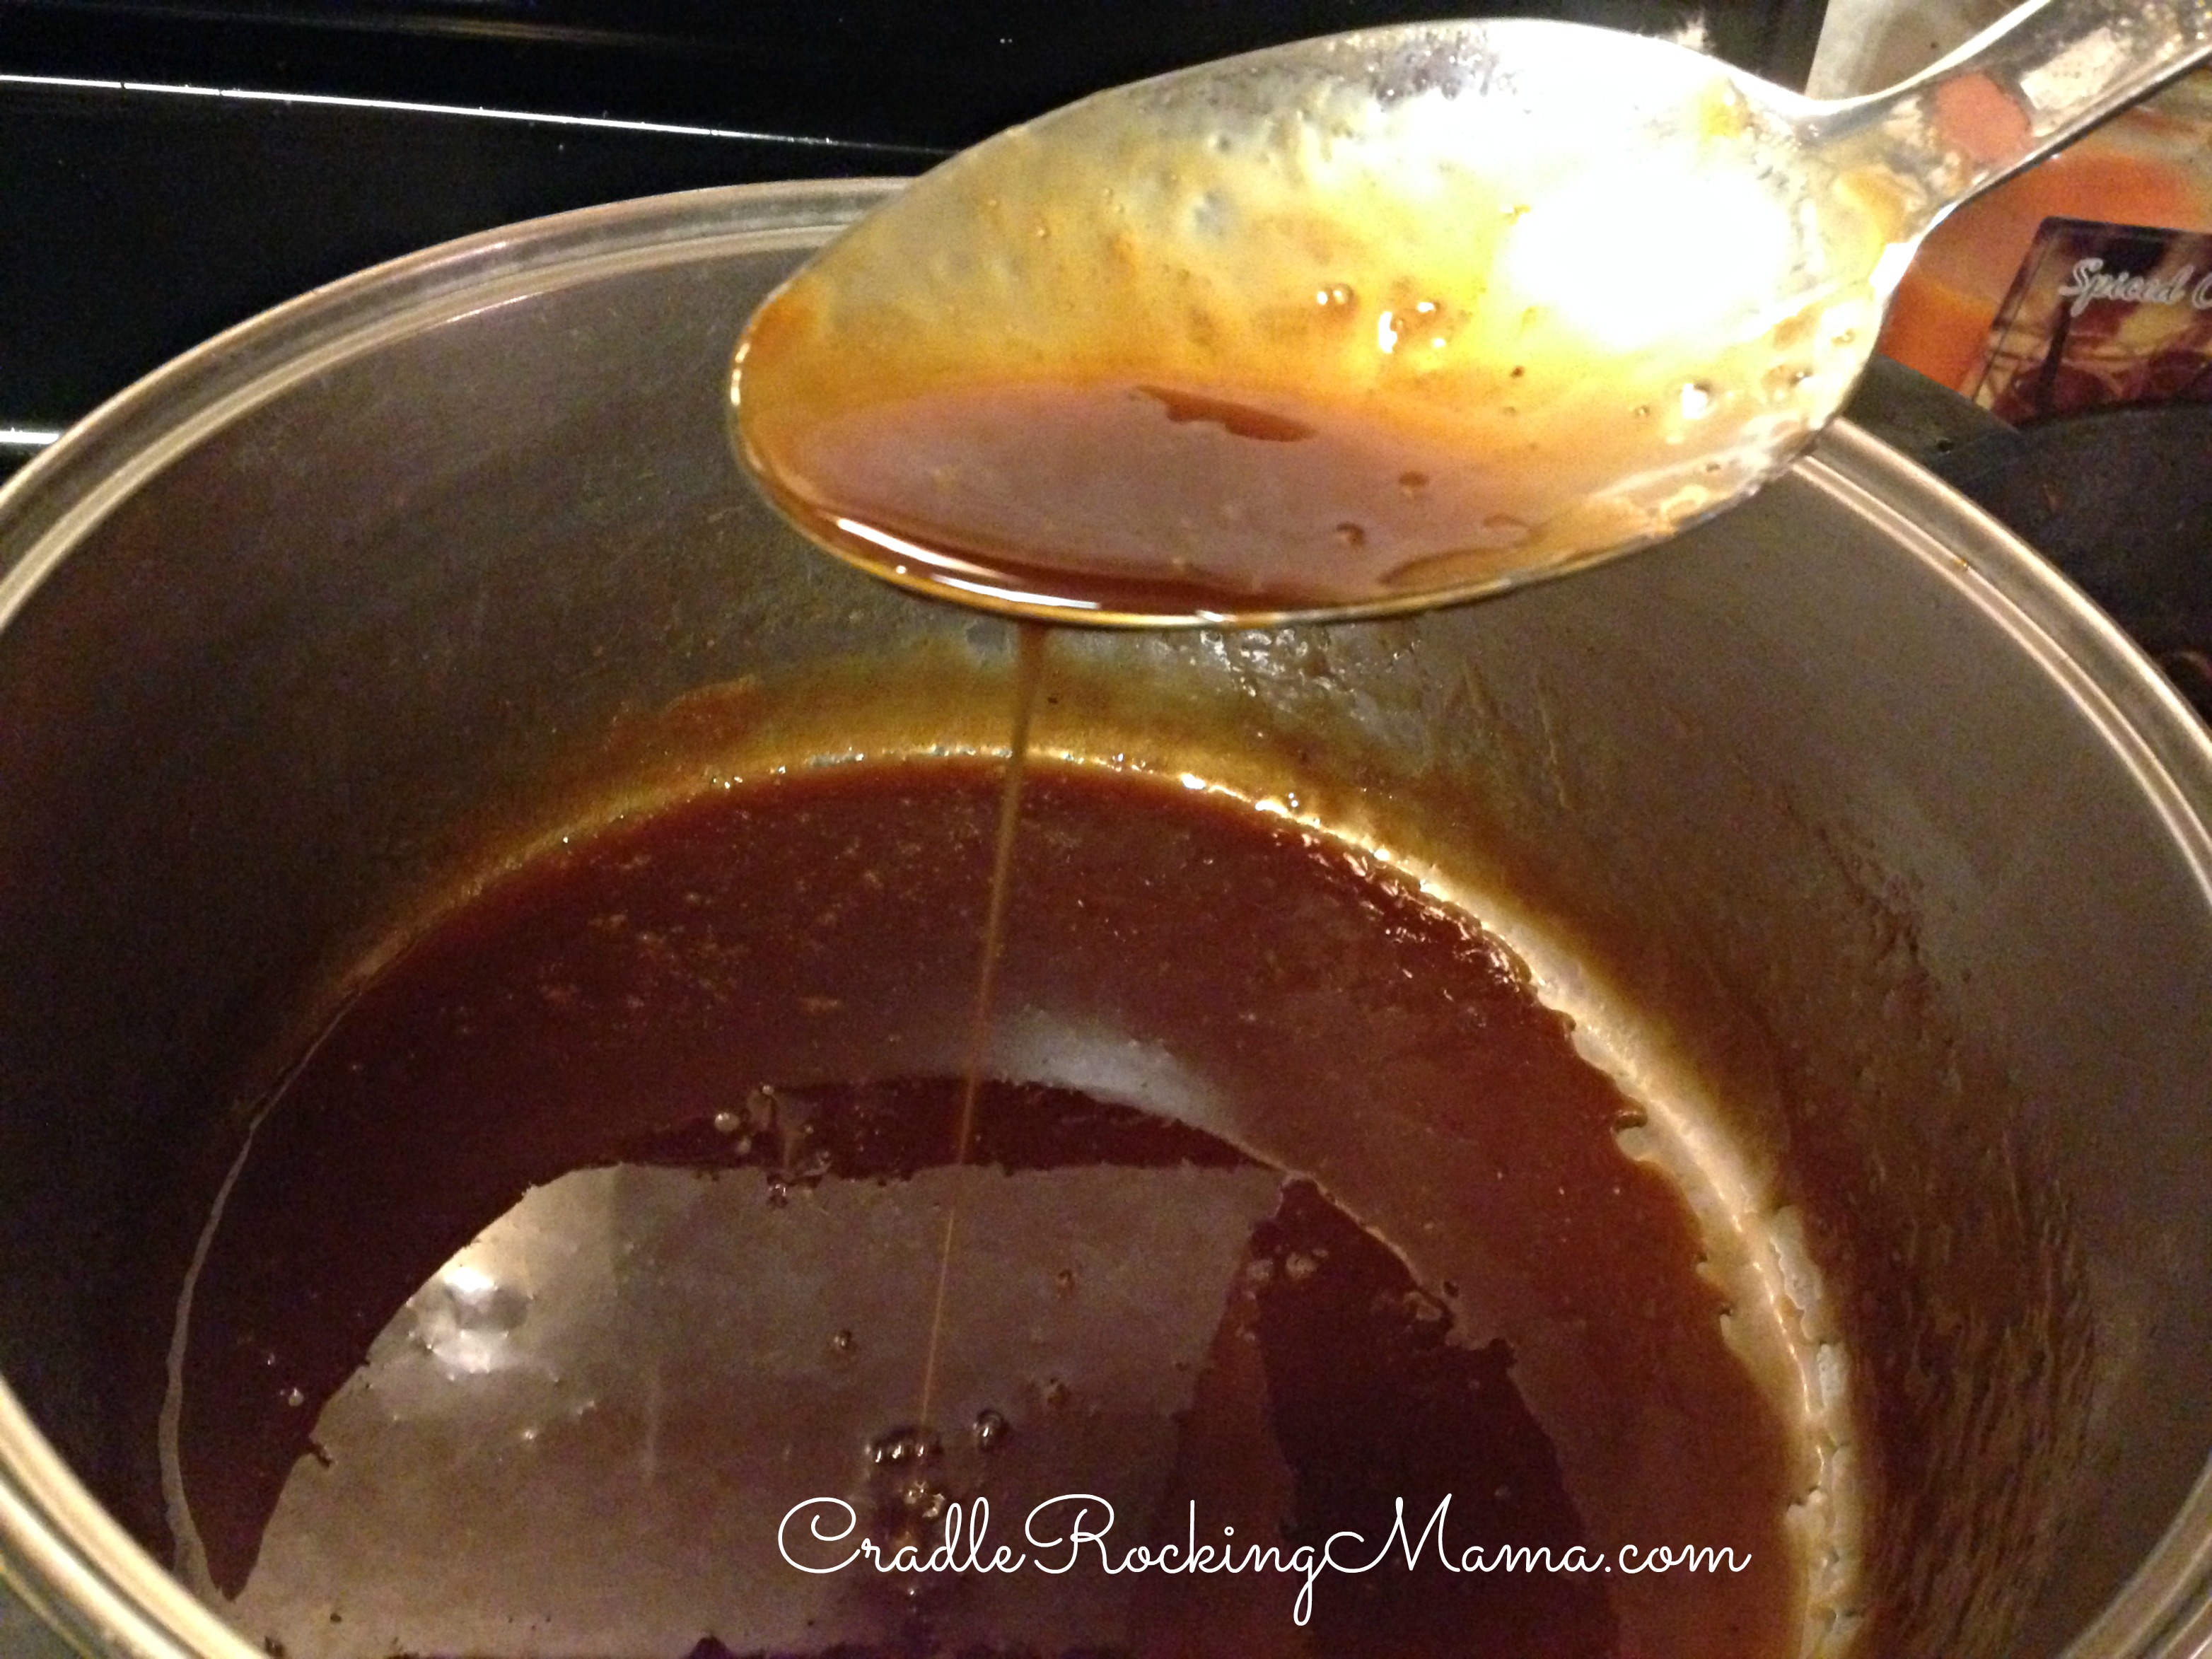
Still runny, not syrupy. But thicker.
Once you’ve reached the consistency you want, head over to your dehydrator. I’m sure you could use an oven for this, but since I haven’t done it that way I can’t give much guidance on dehydrating that way.
Drizzle the reduced broth on the non-stick sheets that come with your dehydrator. If yours doesn’t come with non-stick sheets, try using Saran Wrap wrapped around the trays. I’ve heard that works well.
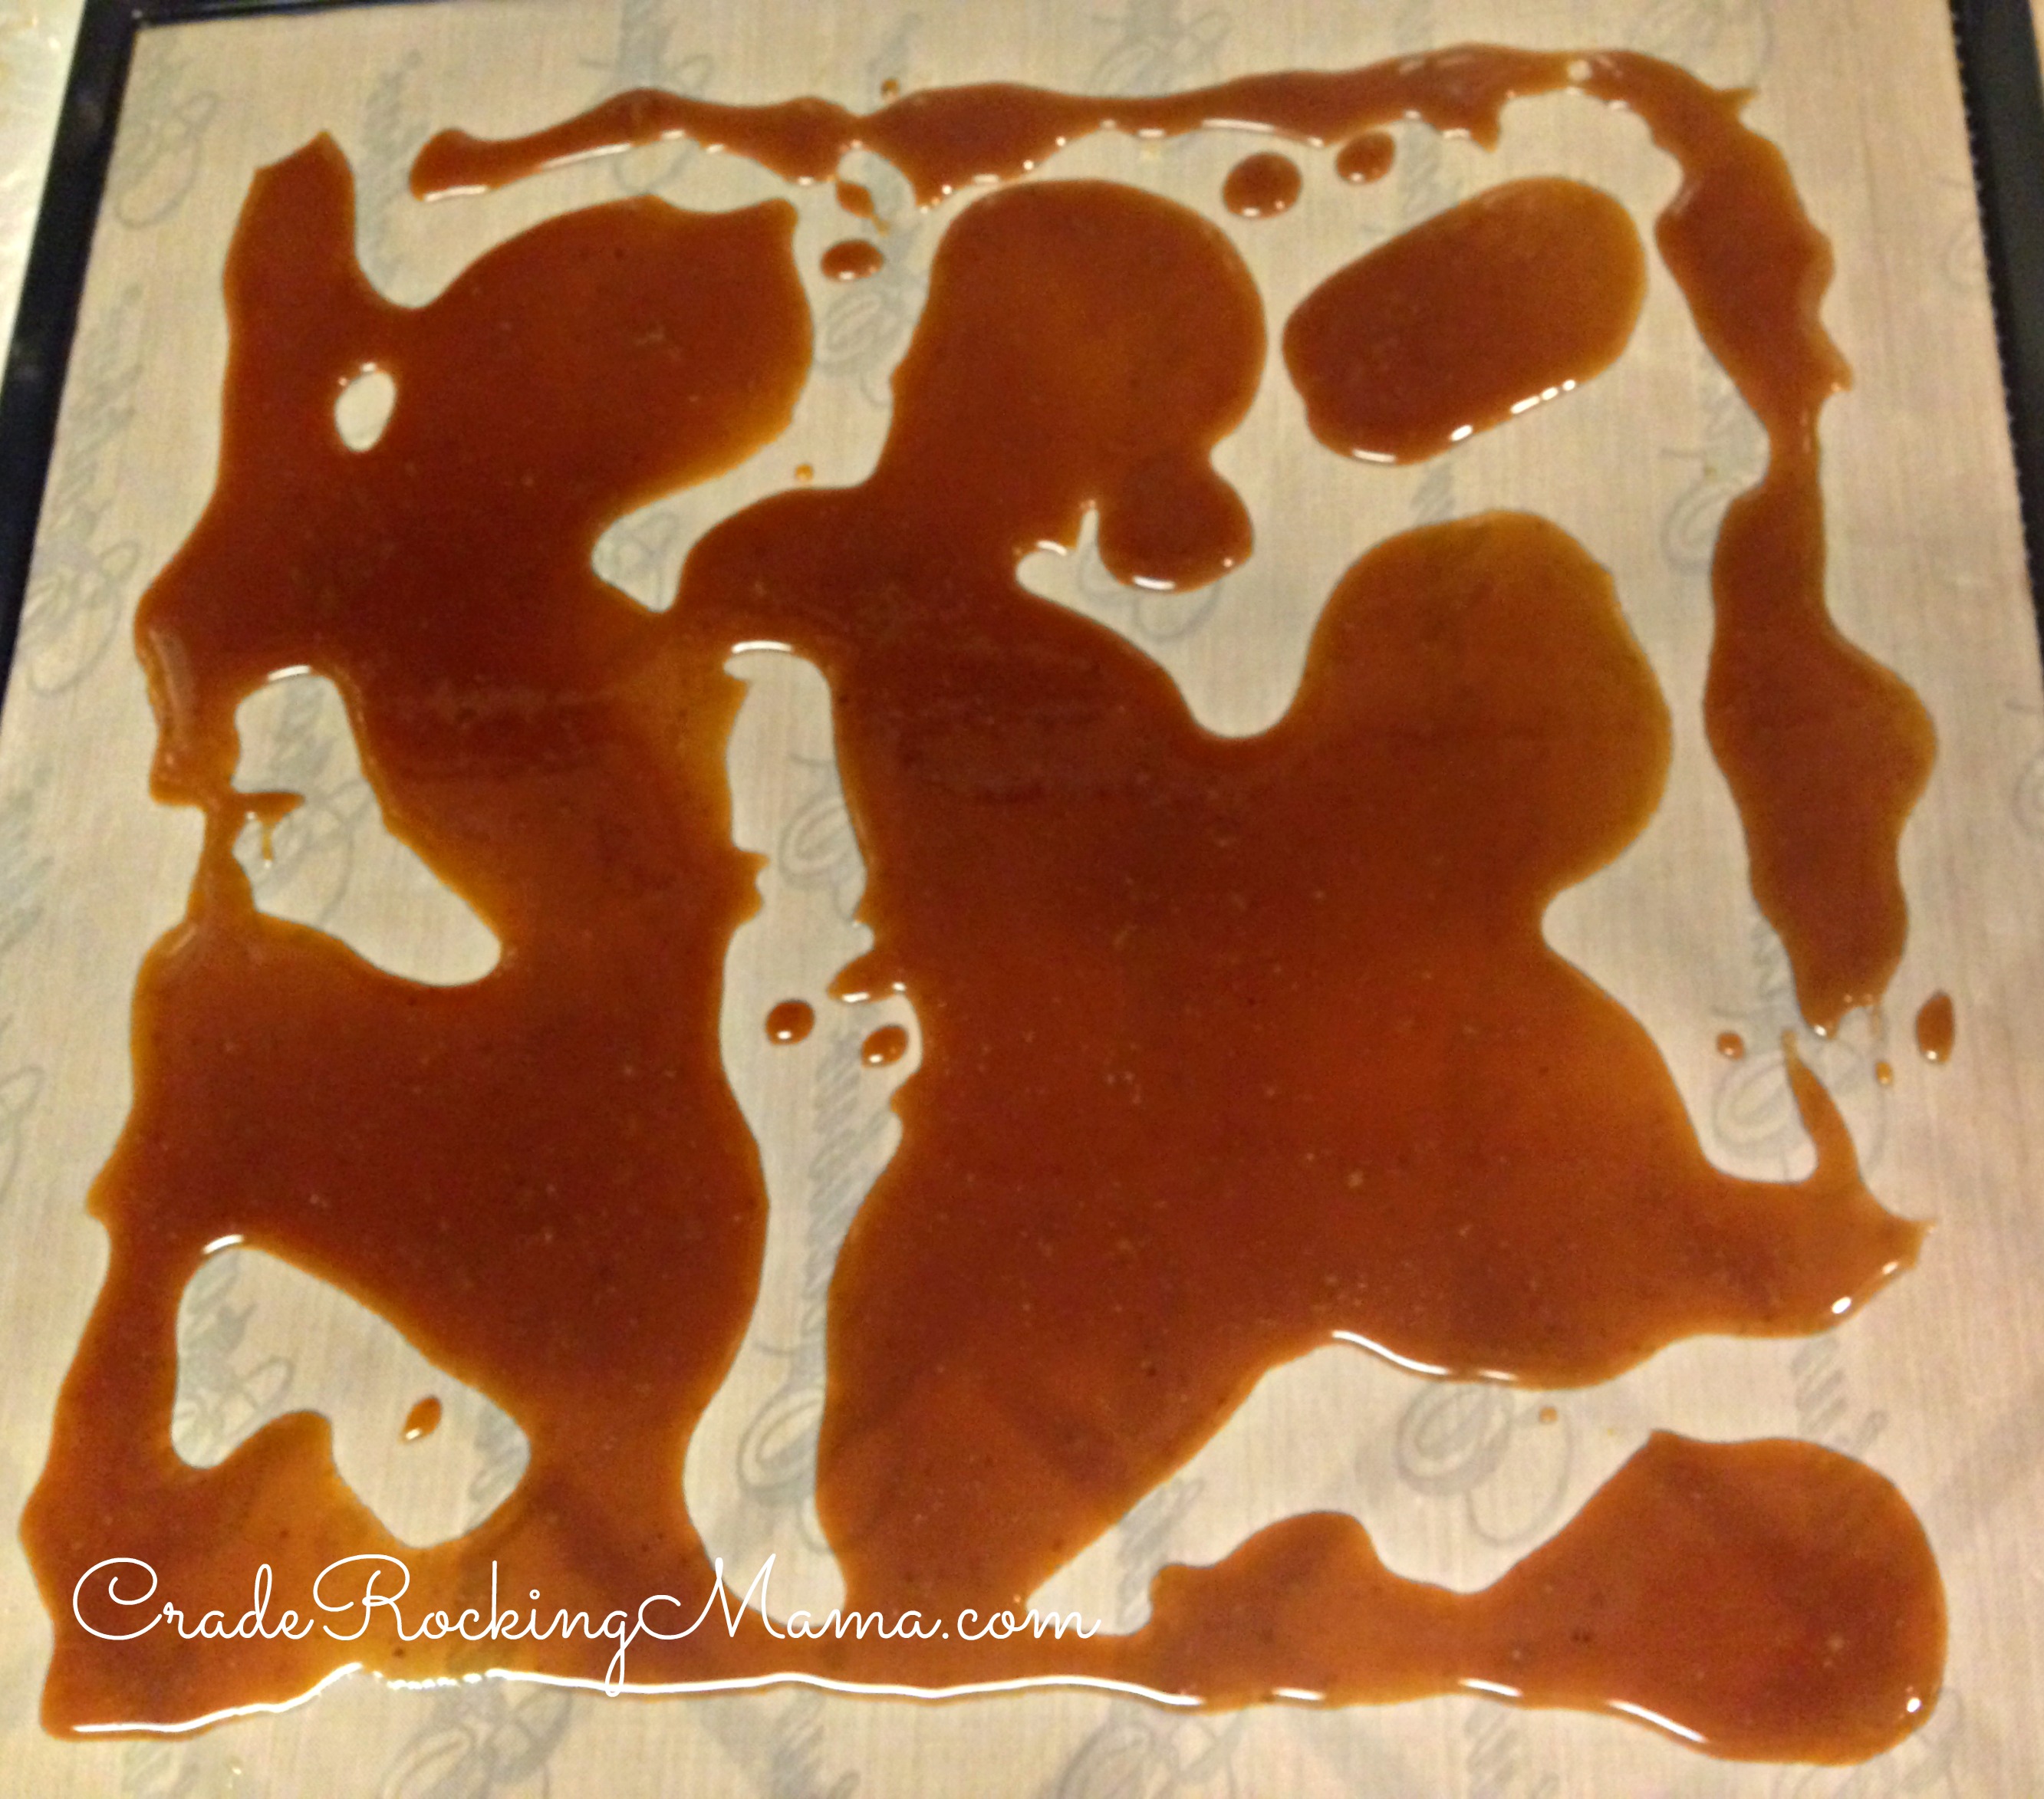
Drizzled onto the trays. Use more trays with thinner drizzling if possible. I was being lazy and wanted to use just one sheet for this. It took longer.
Try to drizzle the broth as thinly as you can. Some of my sections got thicker than others, and they took far longer to dehydrate.
Then set your dehydrator up for the highest temperature it will go (mine is 155 degrees for meats; this is why I think this will do well in an oven) and turn it on.
After about 8 hours, I started checking mine. In the end, it took about 16 hours for me to think this had dried enough. Then I let it go an extra 2 hours, just to be sure. You really want this to be completely dried.
When it is dried, it will easily snap into little pieces!
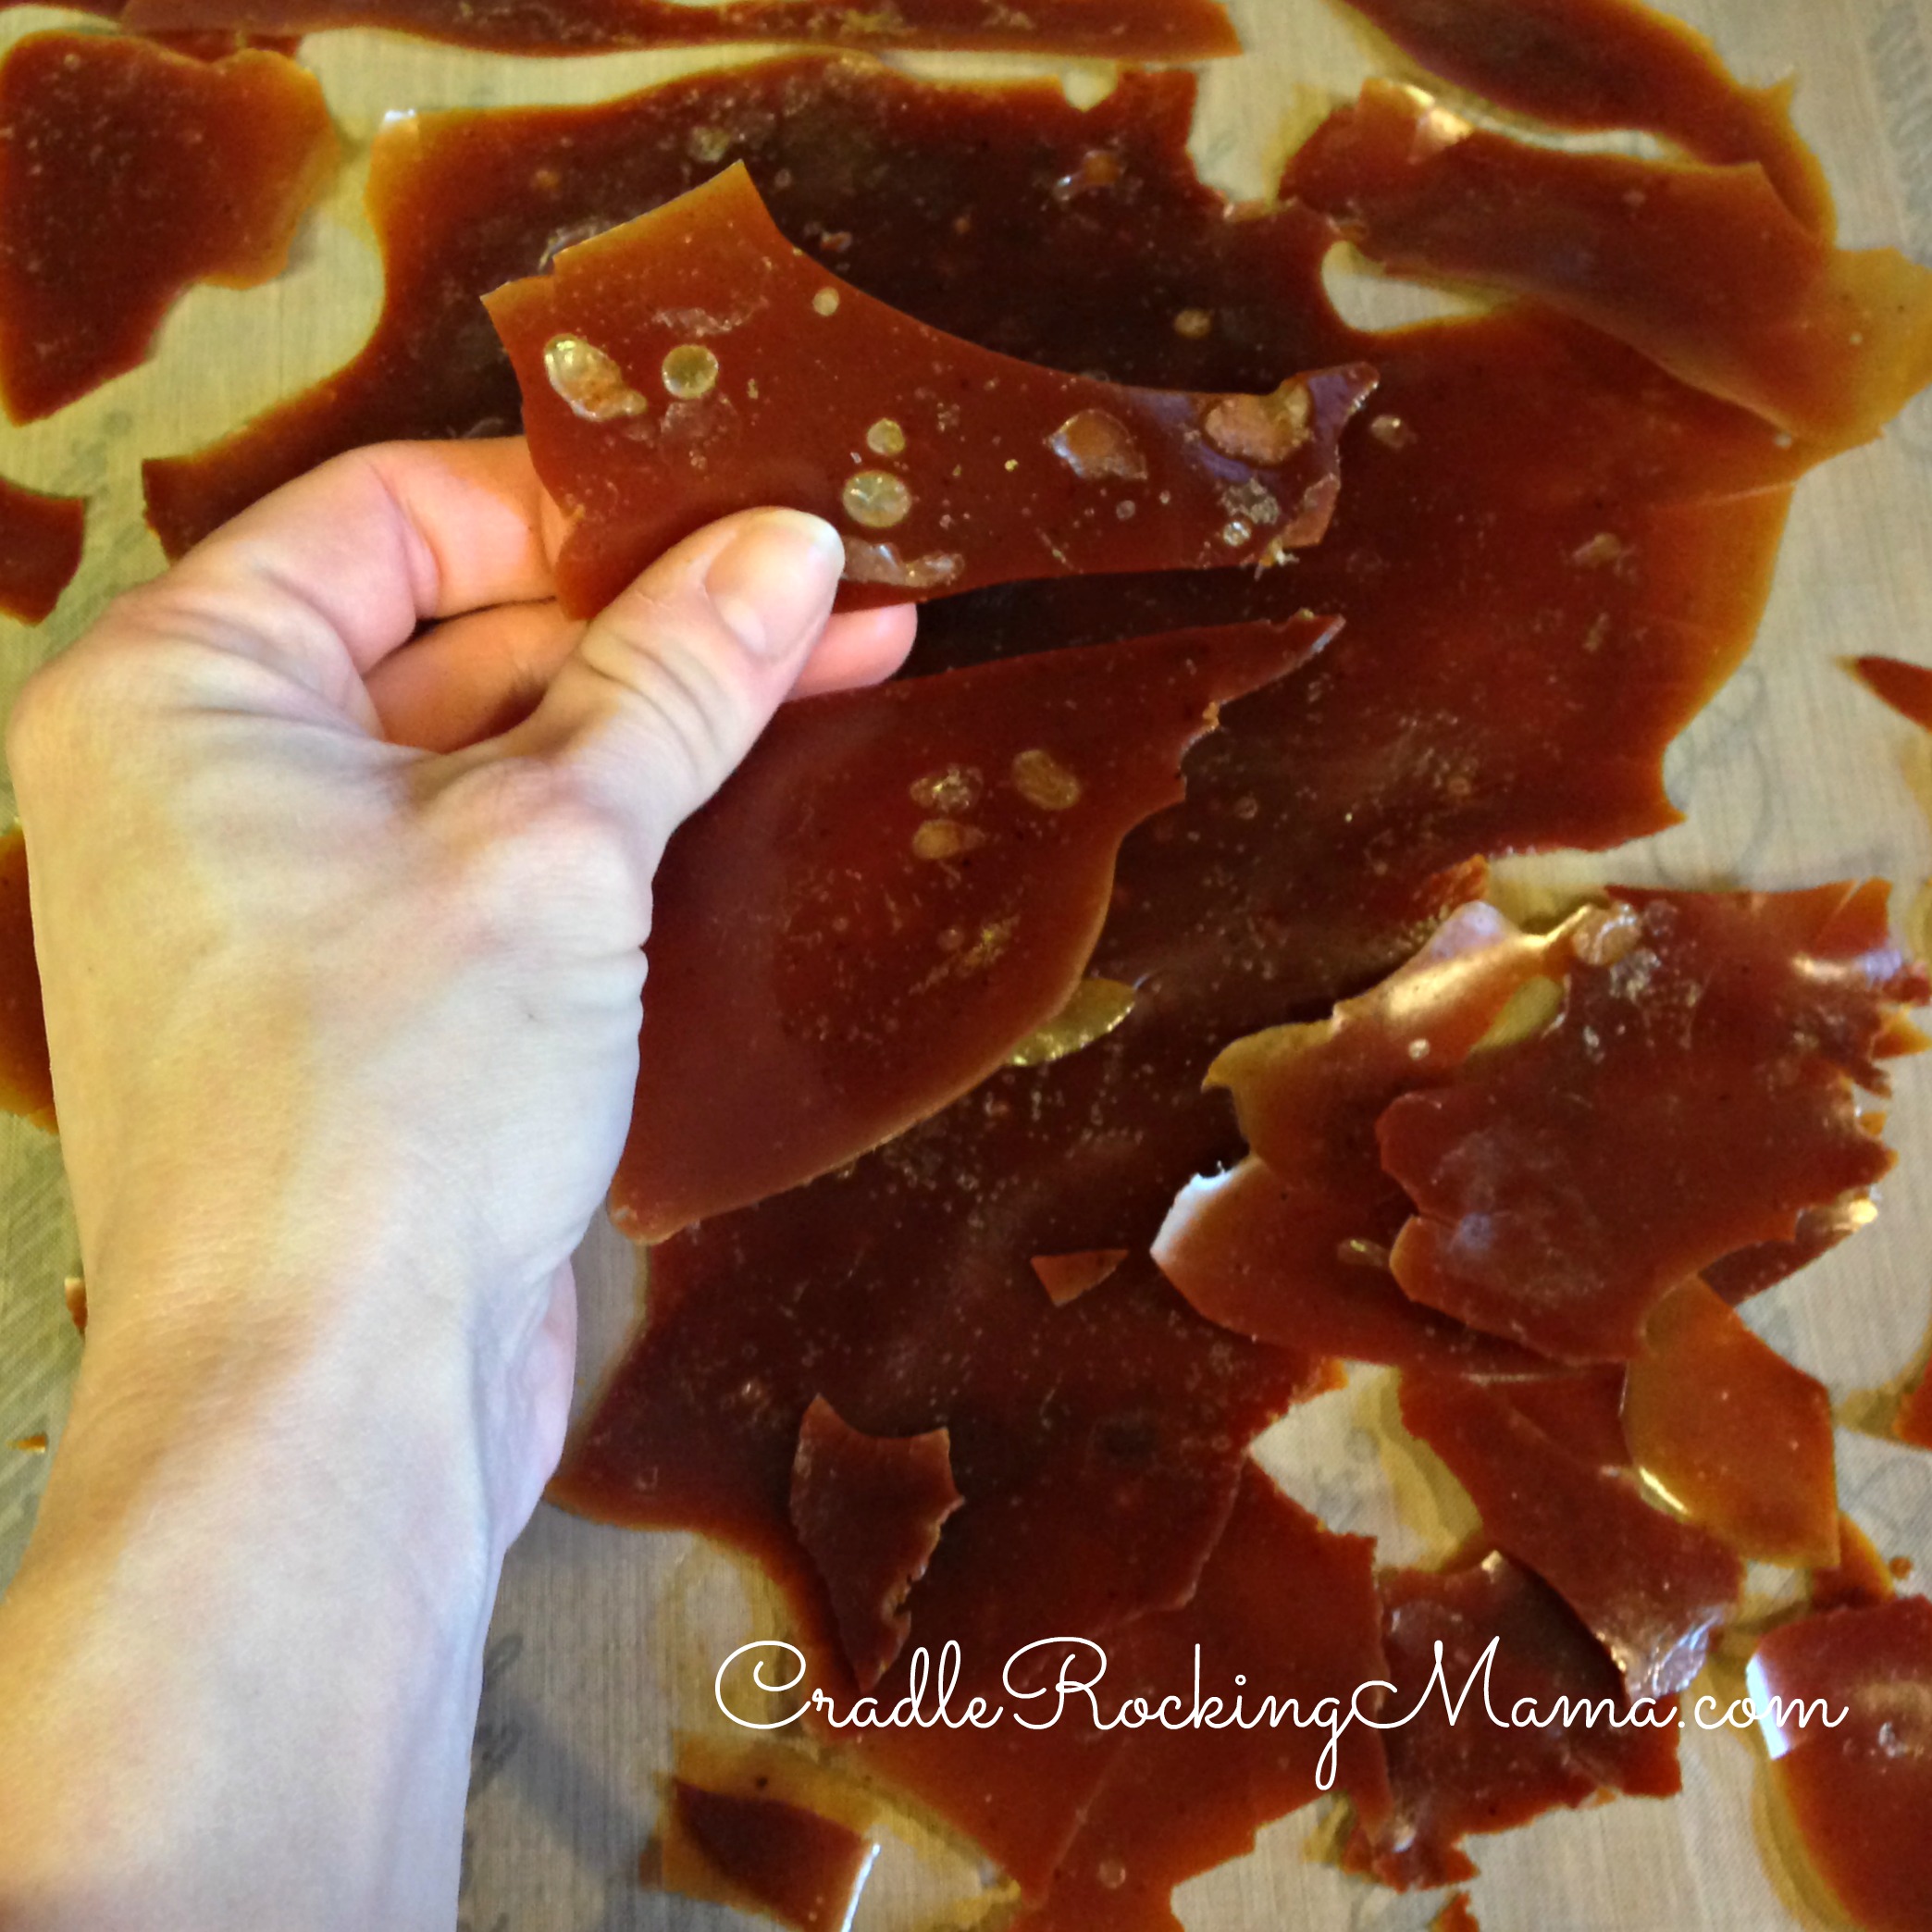
Snap!
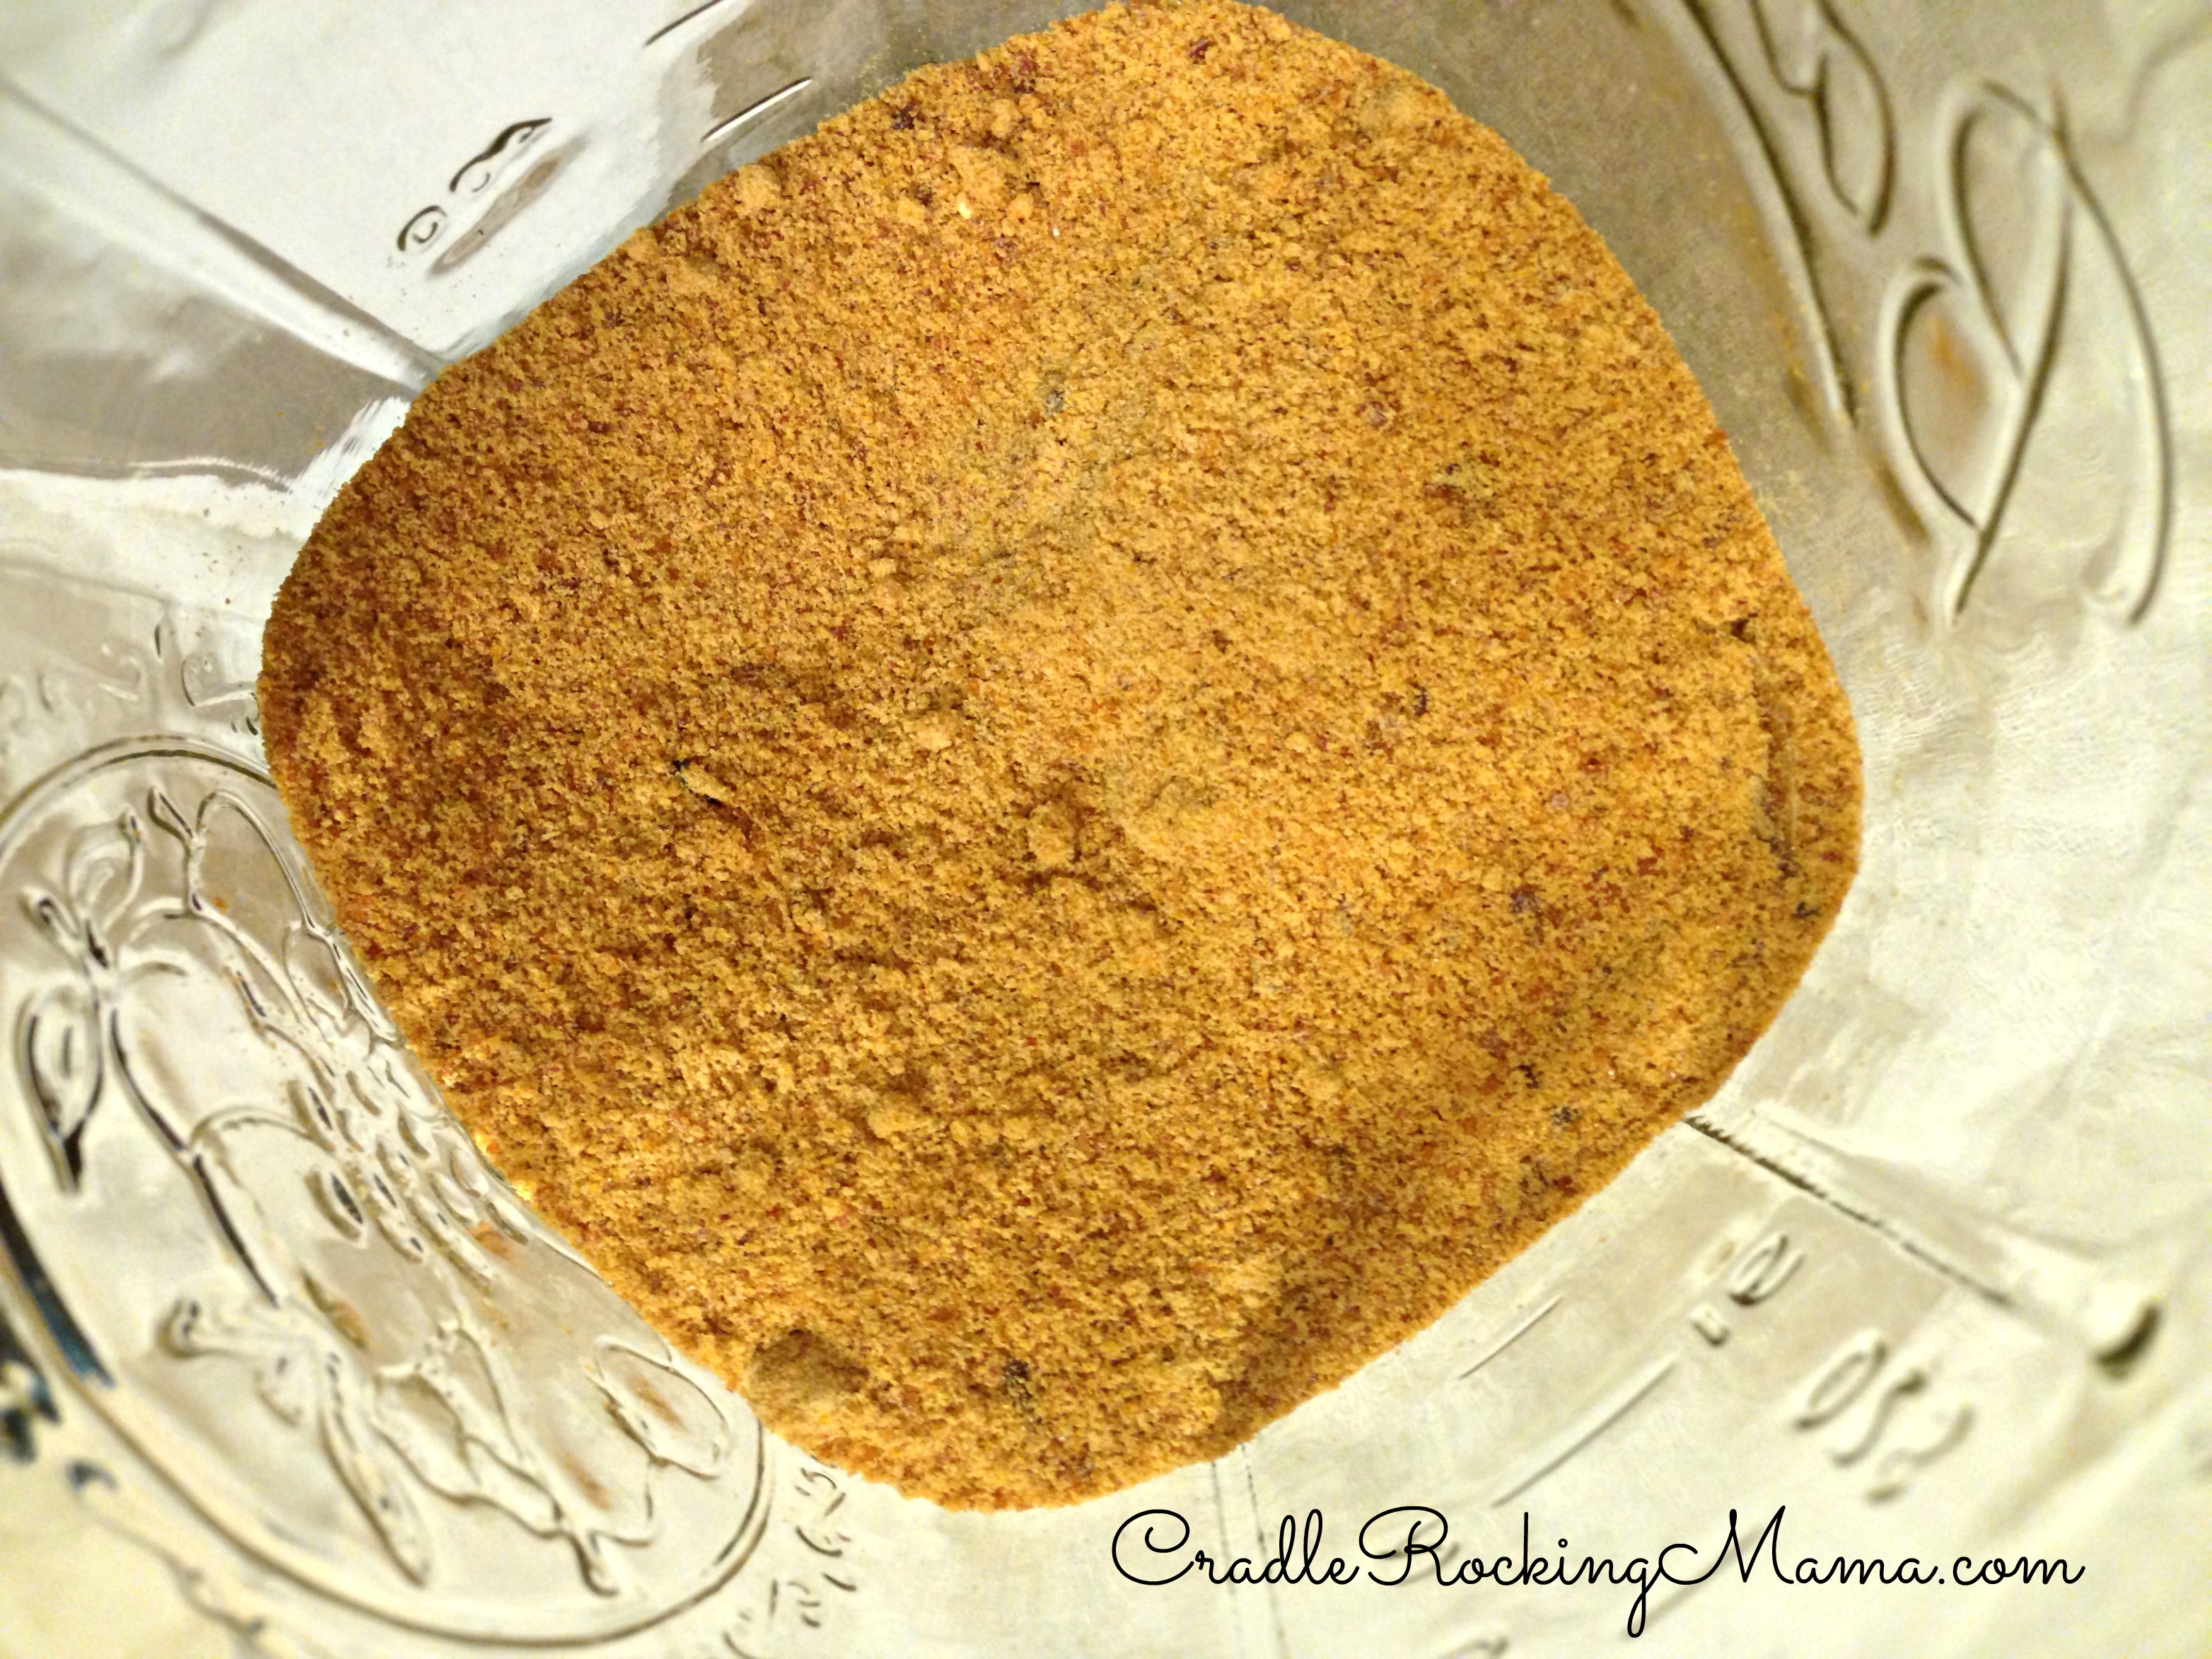
You can stop right here, if you’d like, but I wanted to be able to measure it out accurately and make it easier to store and transport. So I got out a clean coffee grinder and used it to grind the dried broth into powder.

In the cleaned coffee grinder.
In the end, 6.5 quarts of liquid broth became 2/3 c. of powdered broth.
Dried and ground.
Much smaller amounts to store and deal with!
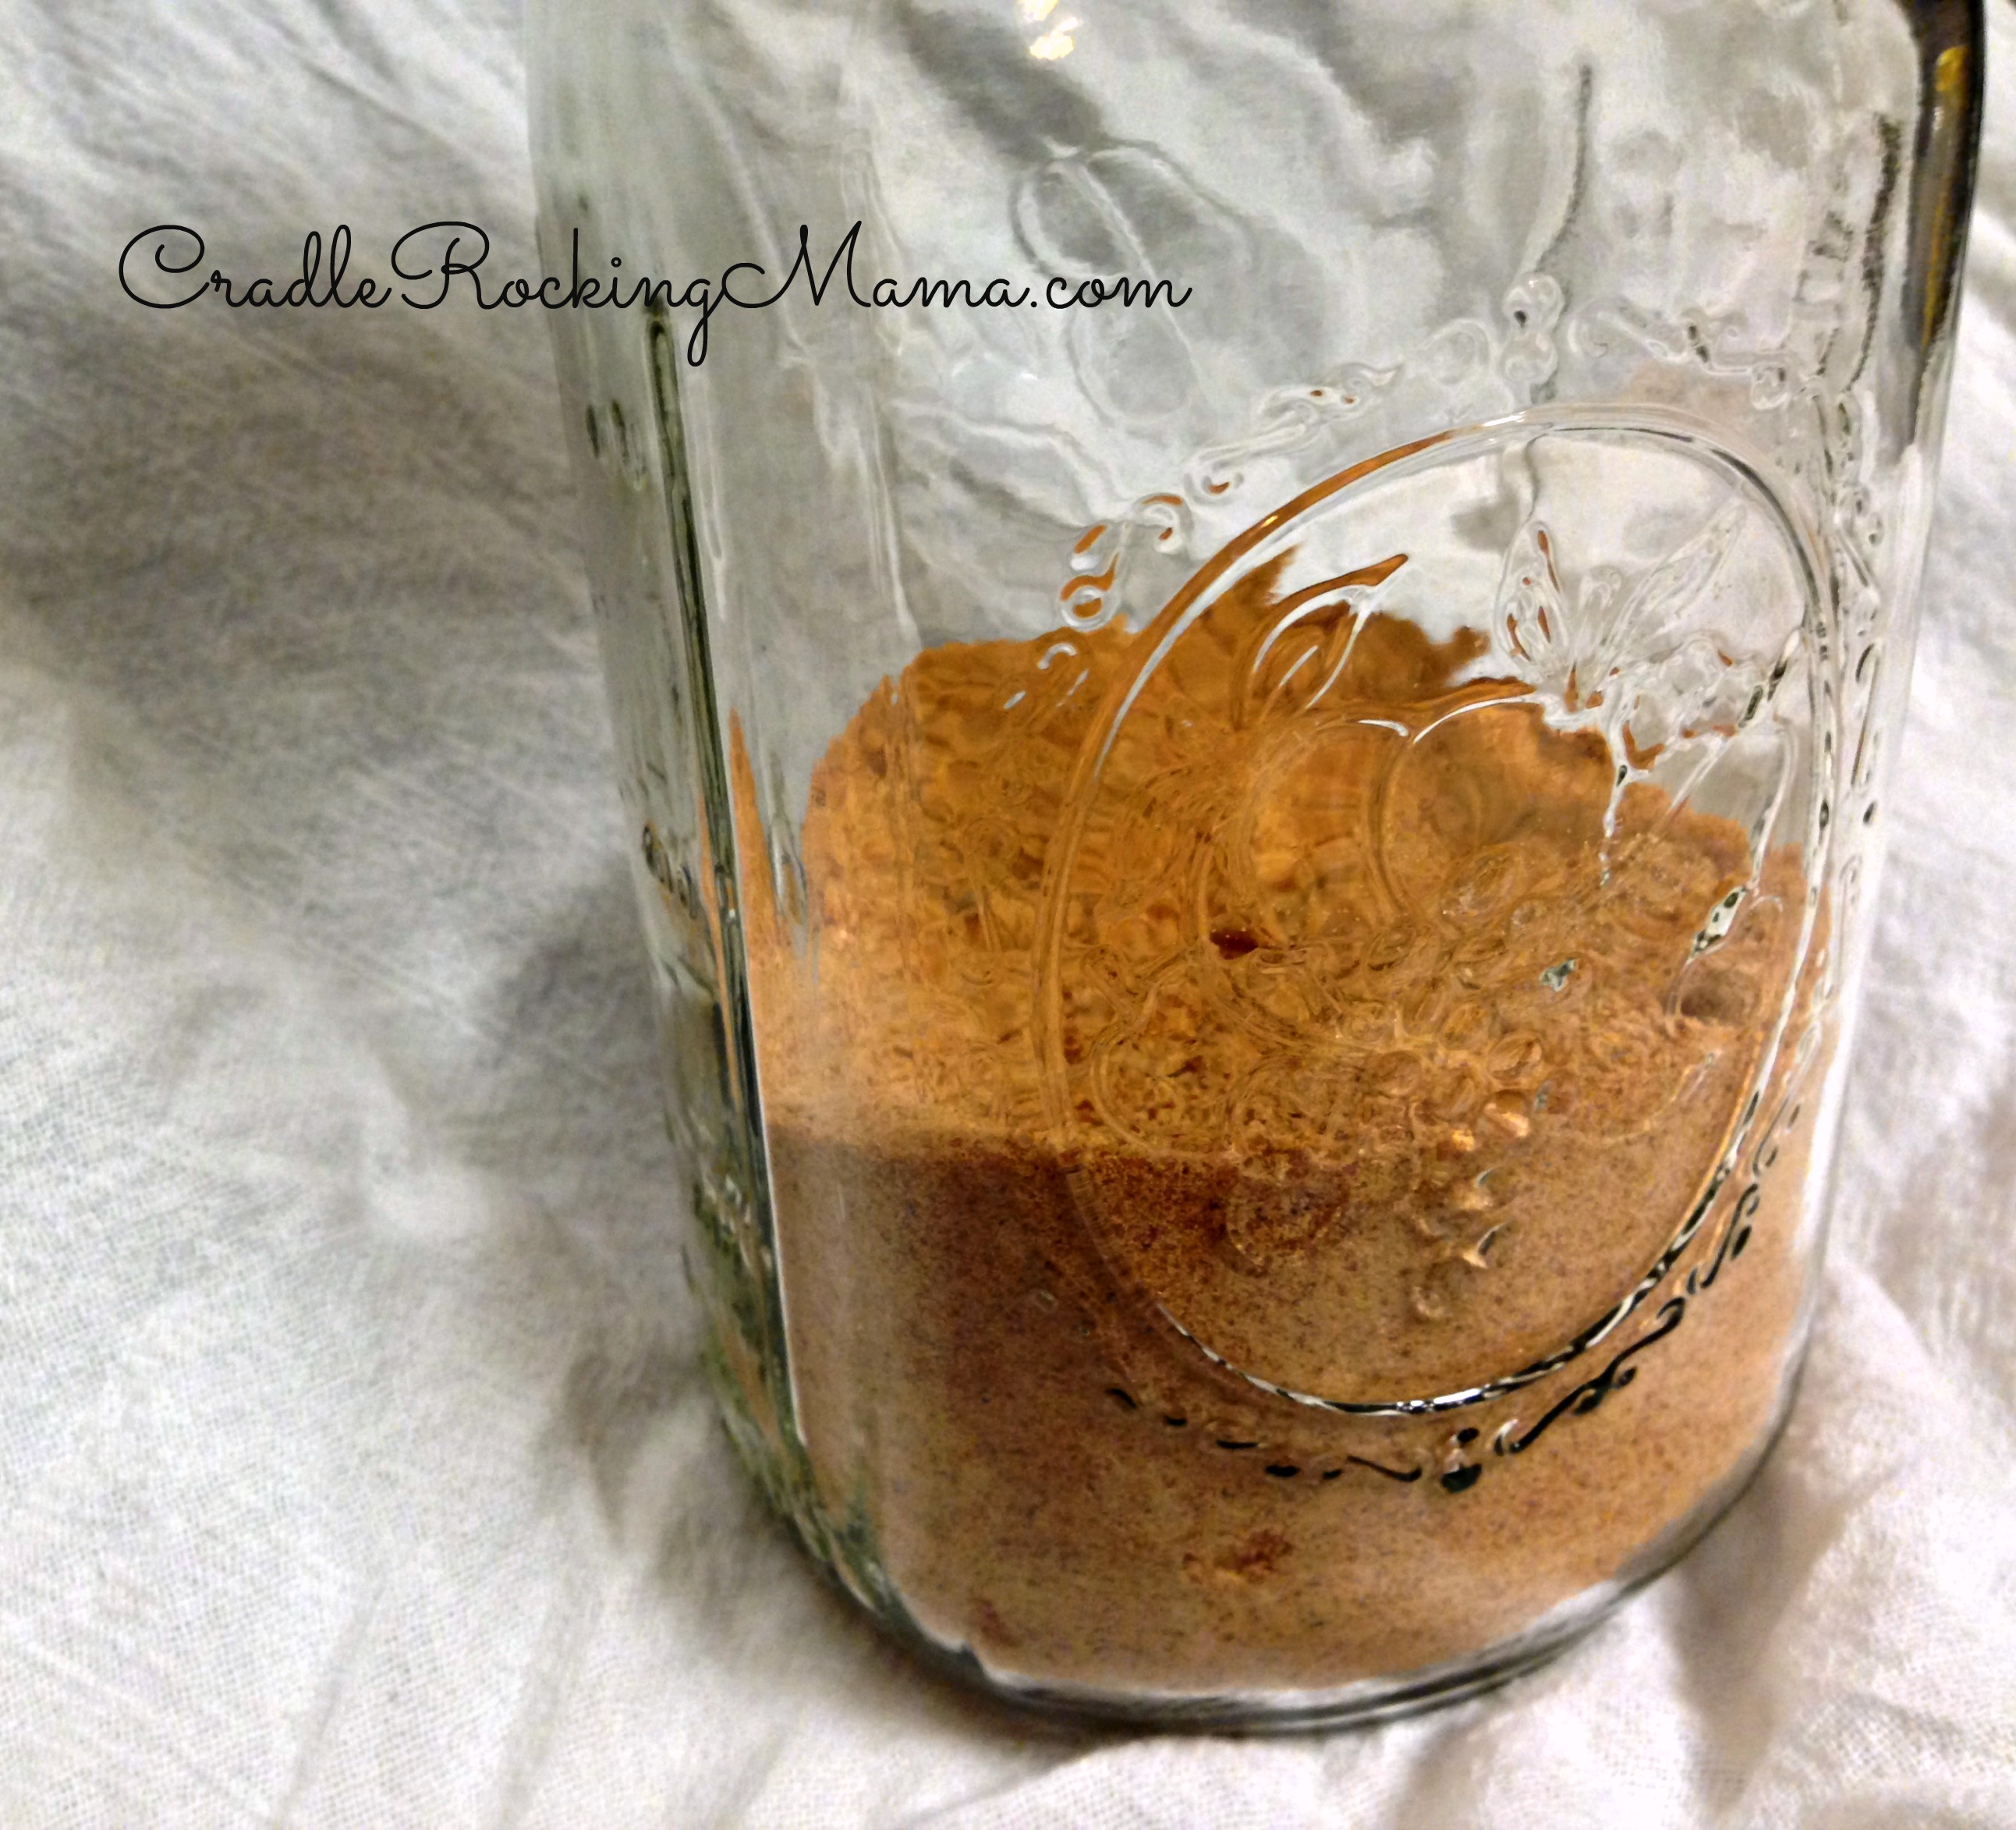
This was over 13 quarts of liquid broth. It doesn’t even halfway fill a quart canning jar when dried and ground.
Now, as for long term storage, I’ll admit that I’m not sure how this will best be kept. Traditional wisdom says, for things like this, that using moisture-removing packets and removing all the air (like with a food saver) would sufficiently protect this for safe, long term storage.
Personally, I’m making up quantities of broth to clean out my freezer of bones, and once it has been powdered I’m storing it in canning jars in my freezer and refrigerator.
I’m not aiming to build a surplus of broth to last through the end of the world as we know it; just a way to clear out some freezer space and make my broth easier to store and use!
I don’t think it will hang around my house long enough to worry about safe long-term storage methods. However, if you know anything about storing this long-term, please share in the comments!
When it comes time to use this broth, it’s incredibly simple. Figure out how many cups of broth you need. For each cup of needed broth, add 1 1/4 tsp. of powdered broth to 1 c. of water. Heat it up and stir well, and voila! Perfectly good broth, ready to use!
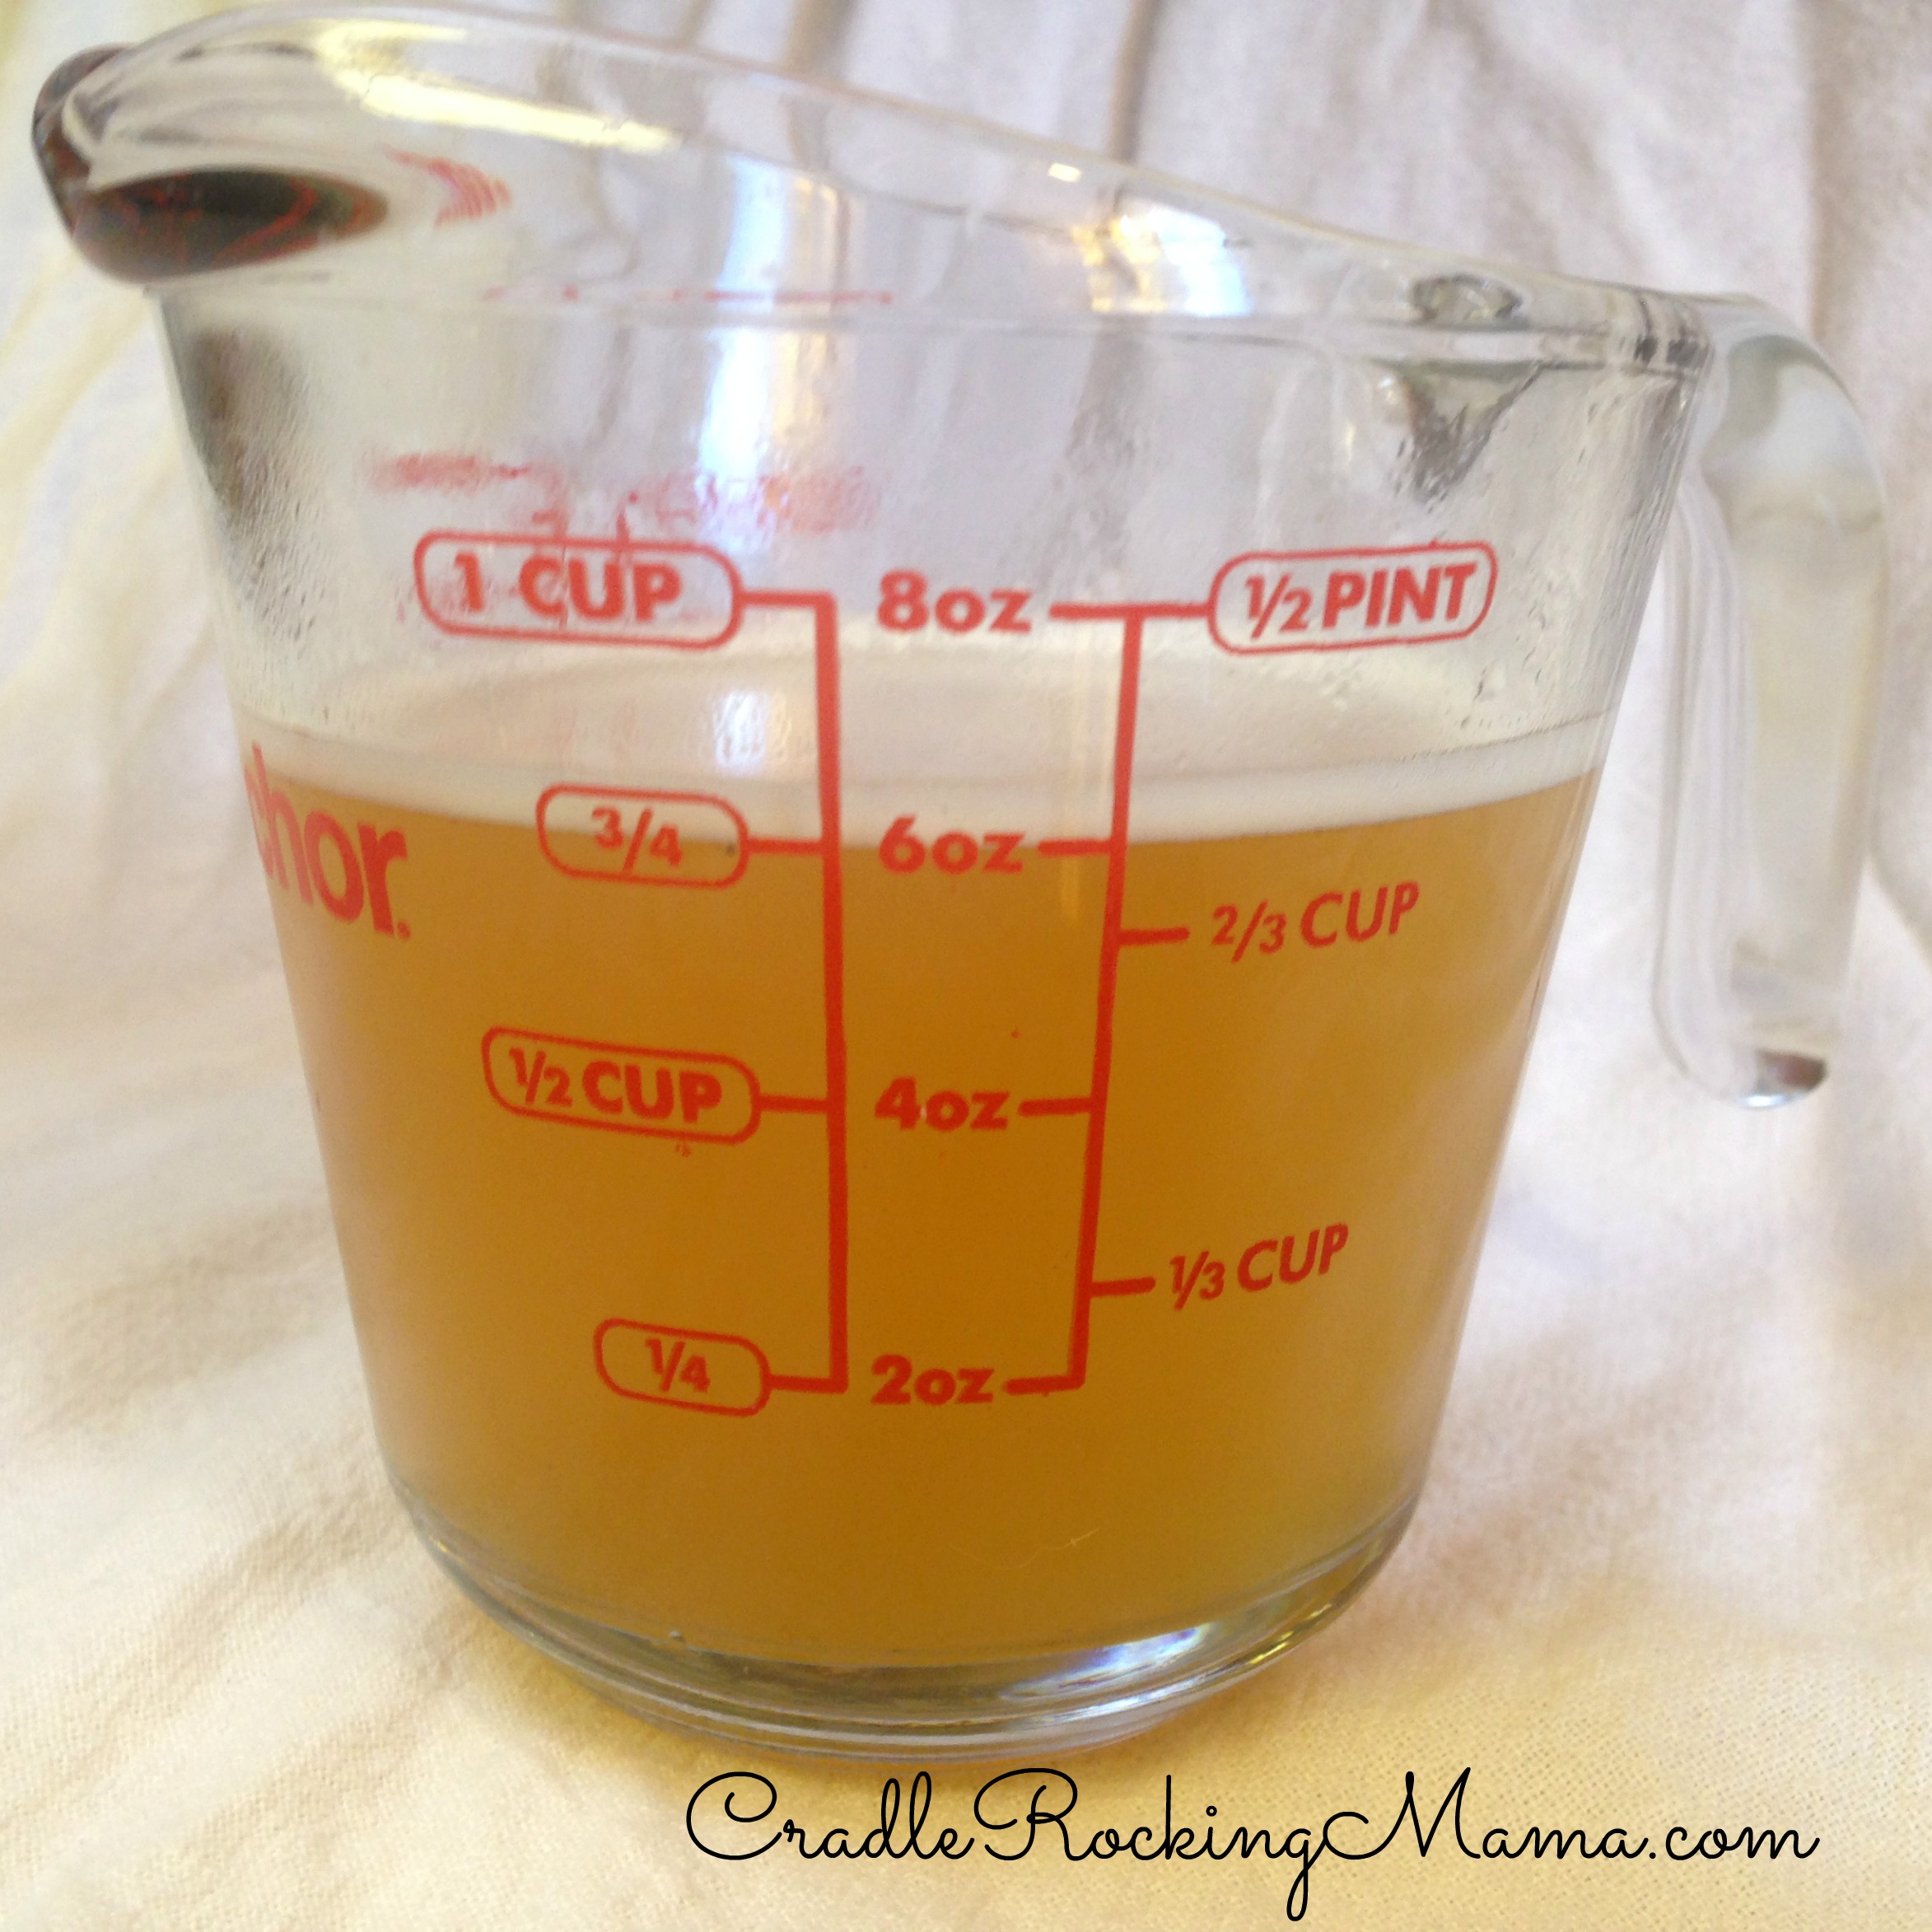
Reconstituted Broth. Yum! Tastes just like when I first made it.
So there you have it: how to dehydrate broth. I can think of a ton of ways to use this!
Of course there are a zillion ways to use this around your home, but this would be useful for backpackers, travelers, or for taking to work to spruce up your lunch and give it extra flavor. After all, all you need is hot water and BAM! Instant homemade broth, full of nutrition and taste!
I used beef broth as the example here, but any sort of broth would work just as well. So boil up your chicken bones, or make your veggie broth and have fun dehydrating!
I’m also going to take this opportunity to give a big shout out to my Excalibur dehydrator. I LOVE this thing! If you are serious about dehydrating, I strongly urge you to get one. It can handle anything I’ve thrown at it, and is well worth the cost. If you seriously dehydrate foods, you will easily save the cost of this dehydrator in a few short months.
*I am an affiliate seller for Excalibur. I loved them long before I ever had a blog, and recommended them before I ever made a penny off those recommendations. So I’m coming from a place of honest applause, here. If you buy an Excalibur and do so through one of the links on my blog, I will receive a small compensation for the referral…and I’d really appreciate it if you would keep me in mind if you decide to enrich your life with an Excalibur! Thank you!
__________
HOW TO DEHYDRATE BROTH
- Make your broth. Refrigerate it, and scrape the solidified fat off the top once it has hardened.
- Take the broth back to the stove; pour it in a large soup pot.
- Simmer until it has reduced almost completely. Look for runny, but thicker and more like a gravy than a watery consistency.
- Drizzle the broth on non-stick sheets for your dehydrator.
- Set to the highest temperature and dehydrate until completely dry. It will easily snap into pieces once dry, and will not feel sticky or tacky at all.
- Break it into pieces, and drop in a clean coffee grinder. Grind until powdery.
- To reconstitute, take 1 cup of hot water and mix with 1 1/4 tsp. of powdered broth.
Store in an airtight container; for extreme long term storage, use moisture removing packets and vacuum seal your broth. For general long term storage, keeping it airtight and in the freezer or refrigerator will probably work fine.
__________
Have you ever dehydrated broth before? Do you have any tricks or tips about this method?
Pingback: Bone Broth Benefits and Uses | Wellness Mama
Pingback: Avantages et utilisations du bouillon d'os | bonne-sante-au-naturel.com
Pingback: Knochenbrühe Vorteile und Verwendungen | demannergesund
Pingback: Organic Bone Broth Recipes: 26 Creative Ways to Cook with the Gelatin Rich Elixir
Pingback: Organic Bone Broth Recipes: 26 Creative Ways to Cook with the Gelatin Rich Elixir – Keto Diet Cheats
Pingback: Organic Bone Broth Recipes: 26 Easy Ways to Cook with the Gelatin Rich Elixir – Keto Diet Cheats
Pingback: Organic Bone Broth Recipes: 26 Easy Ways to Cook with the Gelatin Rich Elixir | A&C Accounting And Tax Services - Top Quality Accounting, Bookkeeping, Payroll And Tax Services- Oakland, CA