


When I wrote about making my own hand cream out of tallow, I mentioned that my Mom had told me once about “how to clean your oil” but that I didn’t know how to do it at the time. I promised that the next time I made hand cream, I would ask her how to do it and share it with you.
Well, I needed more hand cream! So here I am, as promised, with this really cool “old school” information. It was far too much to add to the previous post, so I’m giving it a whole post and linking them together.
After the tallow hand cream post (but before I talked to Mom) I Googled “how to clean your oil”. I got a ton of links to the “oil cleansing method” (which I use, actually!), and a lot of stuff about basically filtering your cooking oil through a strainer and coffee filter, storing it in the fridge, and using it within a certain time frame.
People seem to be very cautious about using cooking oil for very long these days; I theorize that this stems from the fact that cooking oils today are usually already pretty nasty to start with. Back in our great-grandmother’s day, though, people used tallow, lard, and other animal fat to cook with, and cleaned and reused them for much longer than is recommended today. I suspect those are just “hardier” fats than today’s vegetable and canola oils.
Frankly, at this point in my food journey I look at things like this: if it worked and was normal for my great-grandmother, then it’s probably the best way to do it!
Back to the oil cleaning!
Turns out, there are two ways to go about cleaning oil. There’s cleaning your COOKING oil my Mom’s way, and cleaning your tallow for candles/creams/soaps.
They’re identical, basically, except for the quantity of water and the fact that after you’ve cleaned your cooking oil once, you filter it, store it, and re-use it.
With the “personal care” tallow, you clean your oil several times. I cleaned mine 4 times (and probably would have done it once or twice more, but ran out of time before work).
It’s easy, but takes time. Not exactly time consuming, more that it’s the kind of project you just sort of squeeze in to your kitchen duties throughout a day or so.
I started with some beef broth I’d made. After it had cooled in the fridge, I snatched the hardened beef fat off the top.
First broth fat in water in a pan.
I put that in a pot on the stove, added some water, heated it until melted and filtered it through a mesh filter into a glass.

Straining it into a cup.
Then I called my Mom.
I didn’t have enough tallow to make hand cream and was in the process of making more beef broth, so I knew I would have more soon. Mom needed to “dish” the how-to’s of oil cleaning.
It’s so simple!
The steps are as follows:
- Put the tallow in a pan with about a cup of water.
- Heat it slowly until it melts.
- Take it off the heat, and let it cool on the counter.
- Put the whole pan in the fridge until the fat has hardened on top.
- Remove the fat from the pan and dump out the water.
- Clean the pan, or get a new one out, and put the fat into it.
- Add more water and repeat until the oil is whiter, purer and the water has almost no sediment or discoloration.
- Now you’ve cleaned your broth tallow!
Here’s what it looks like, step by step:
Second batch of broth fat.
This was my second batch of broth fat, in the broth. I removed it, put it in a pan with the original broth fat, and followed the instructions.
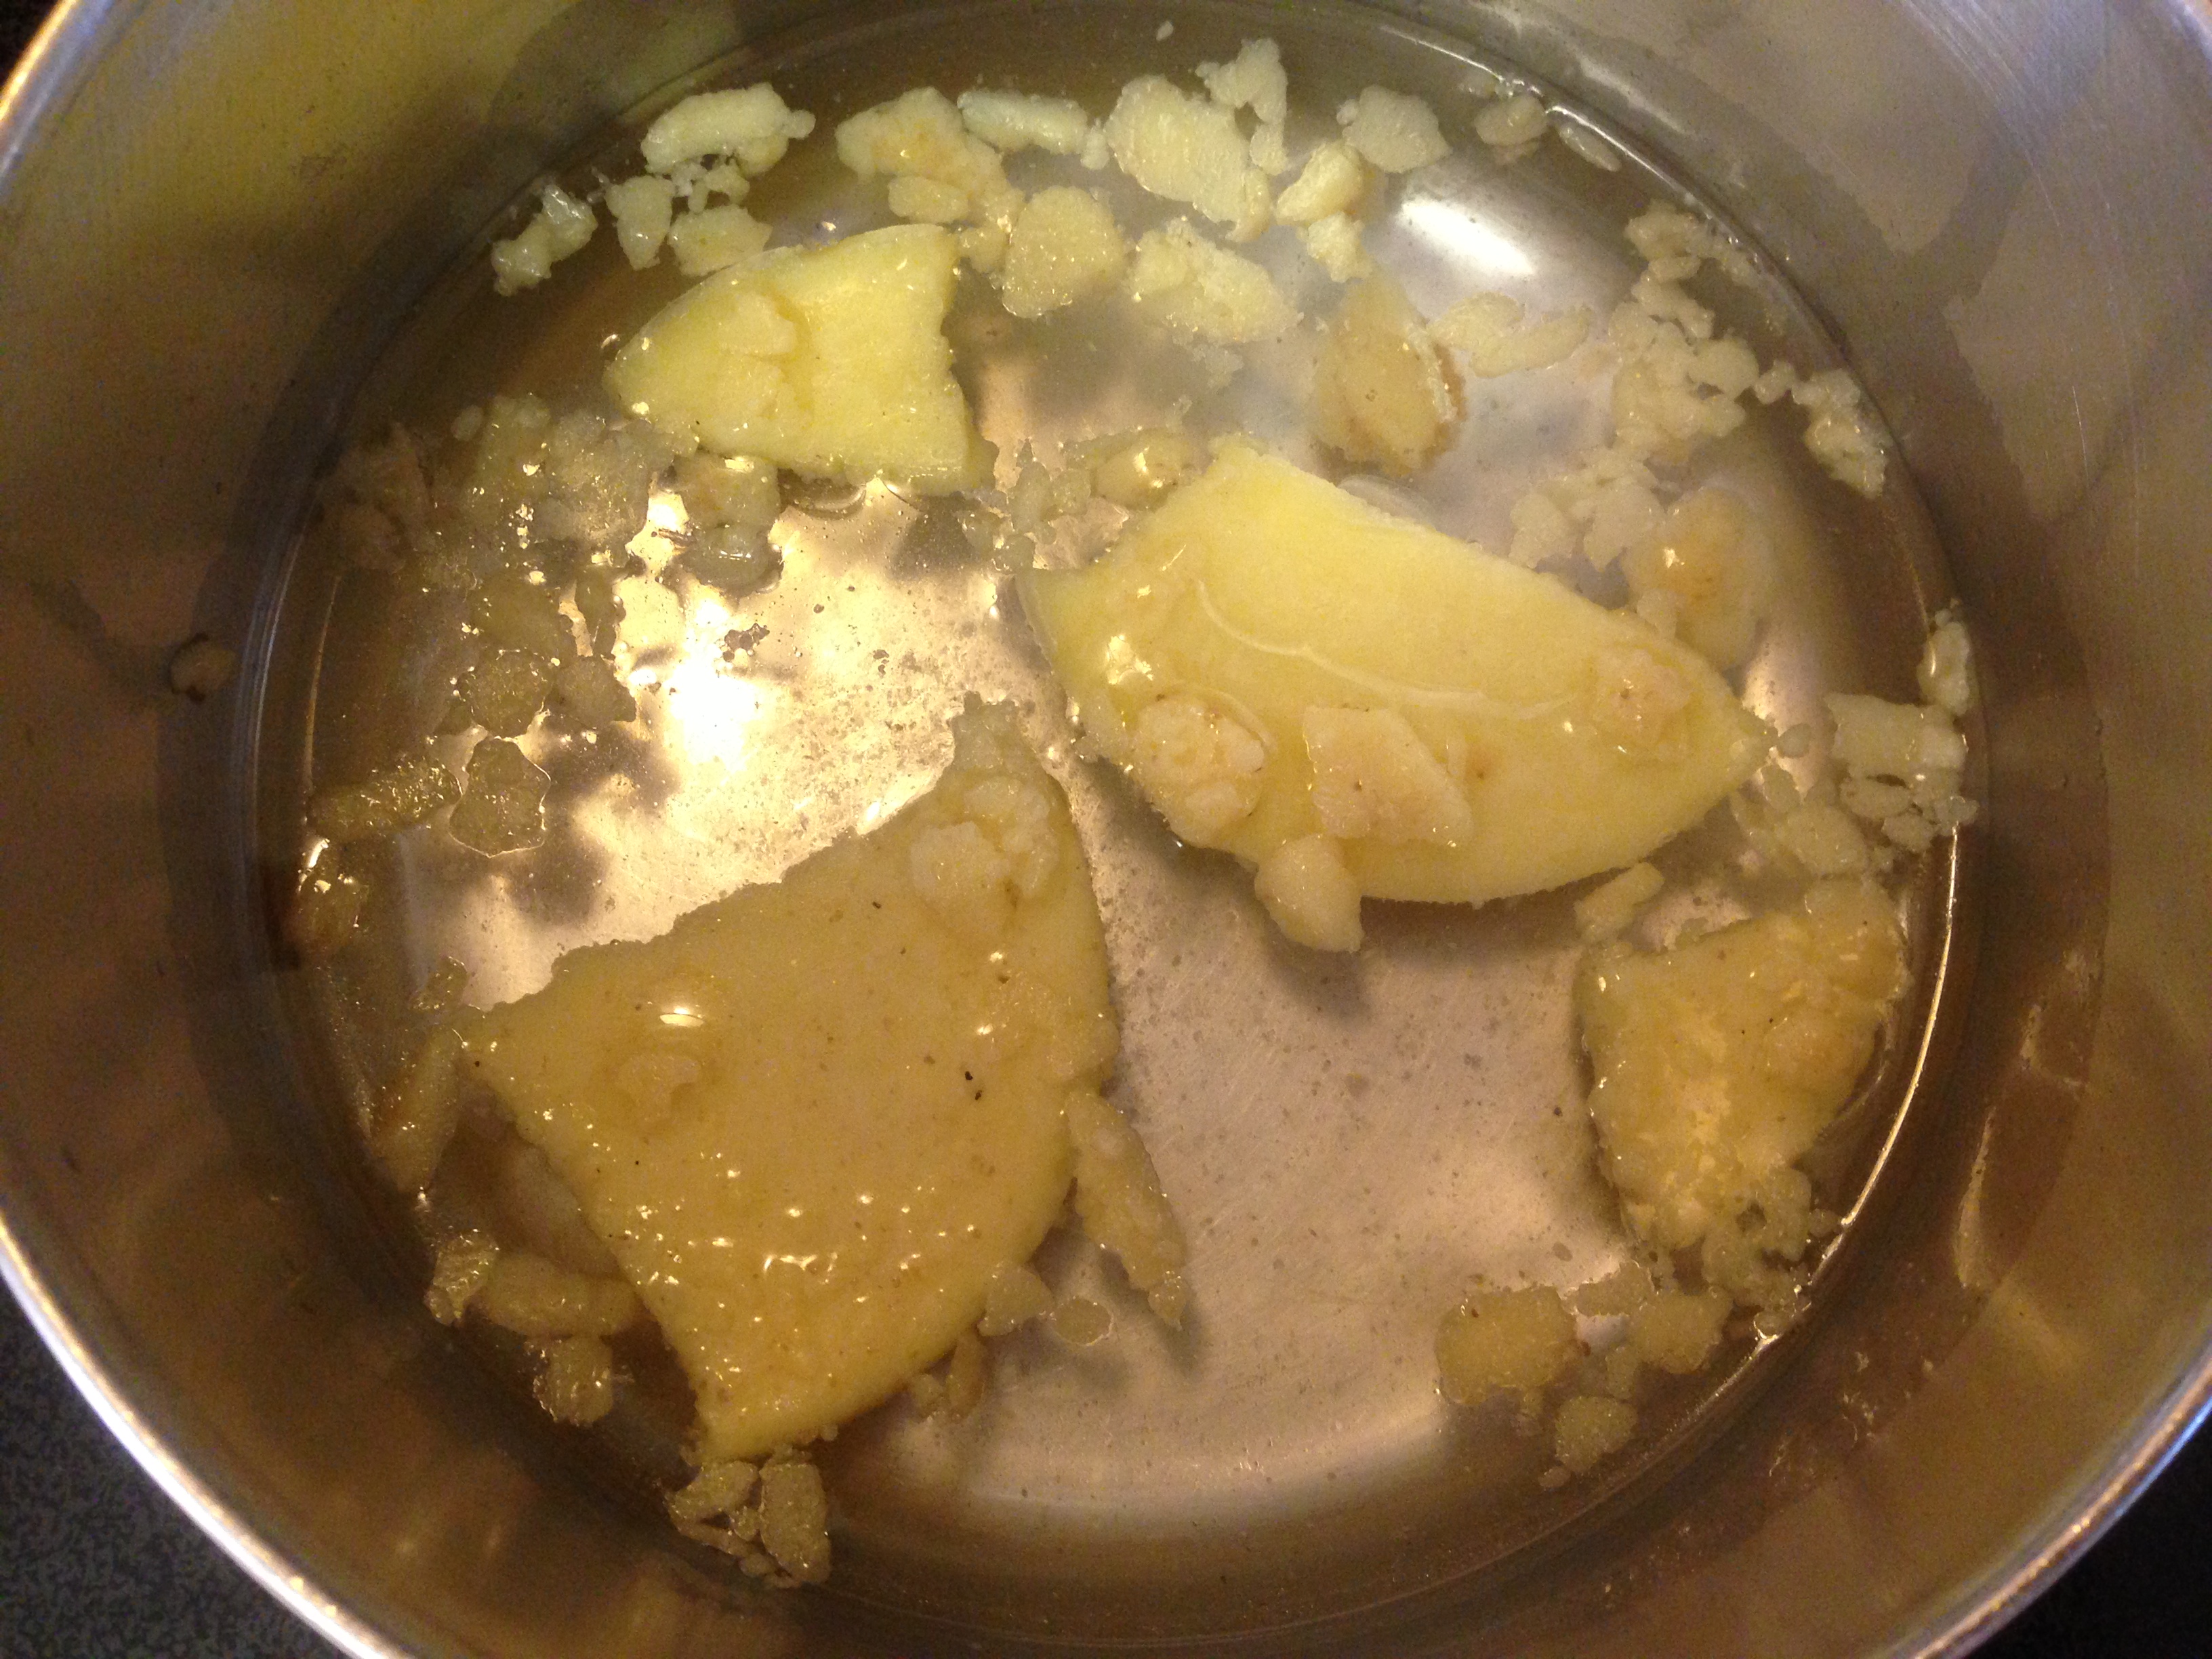
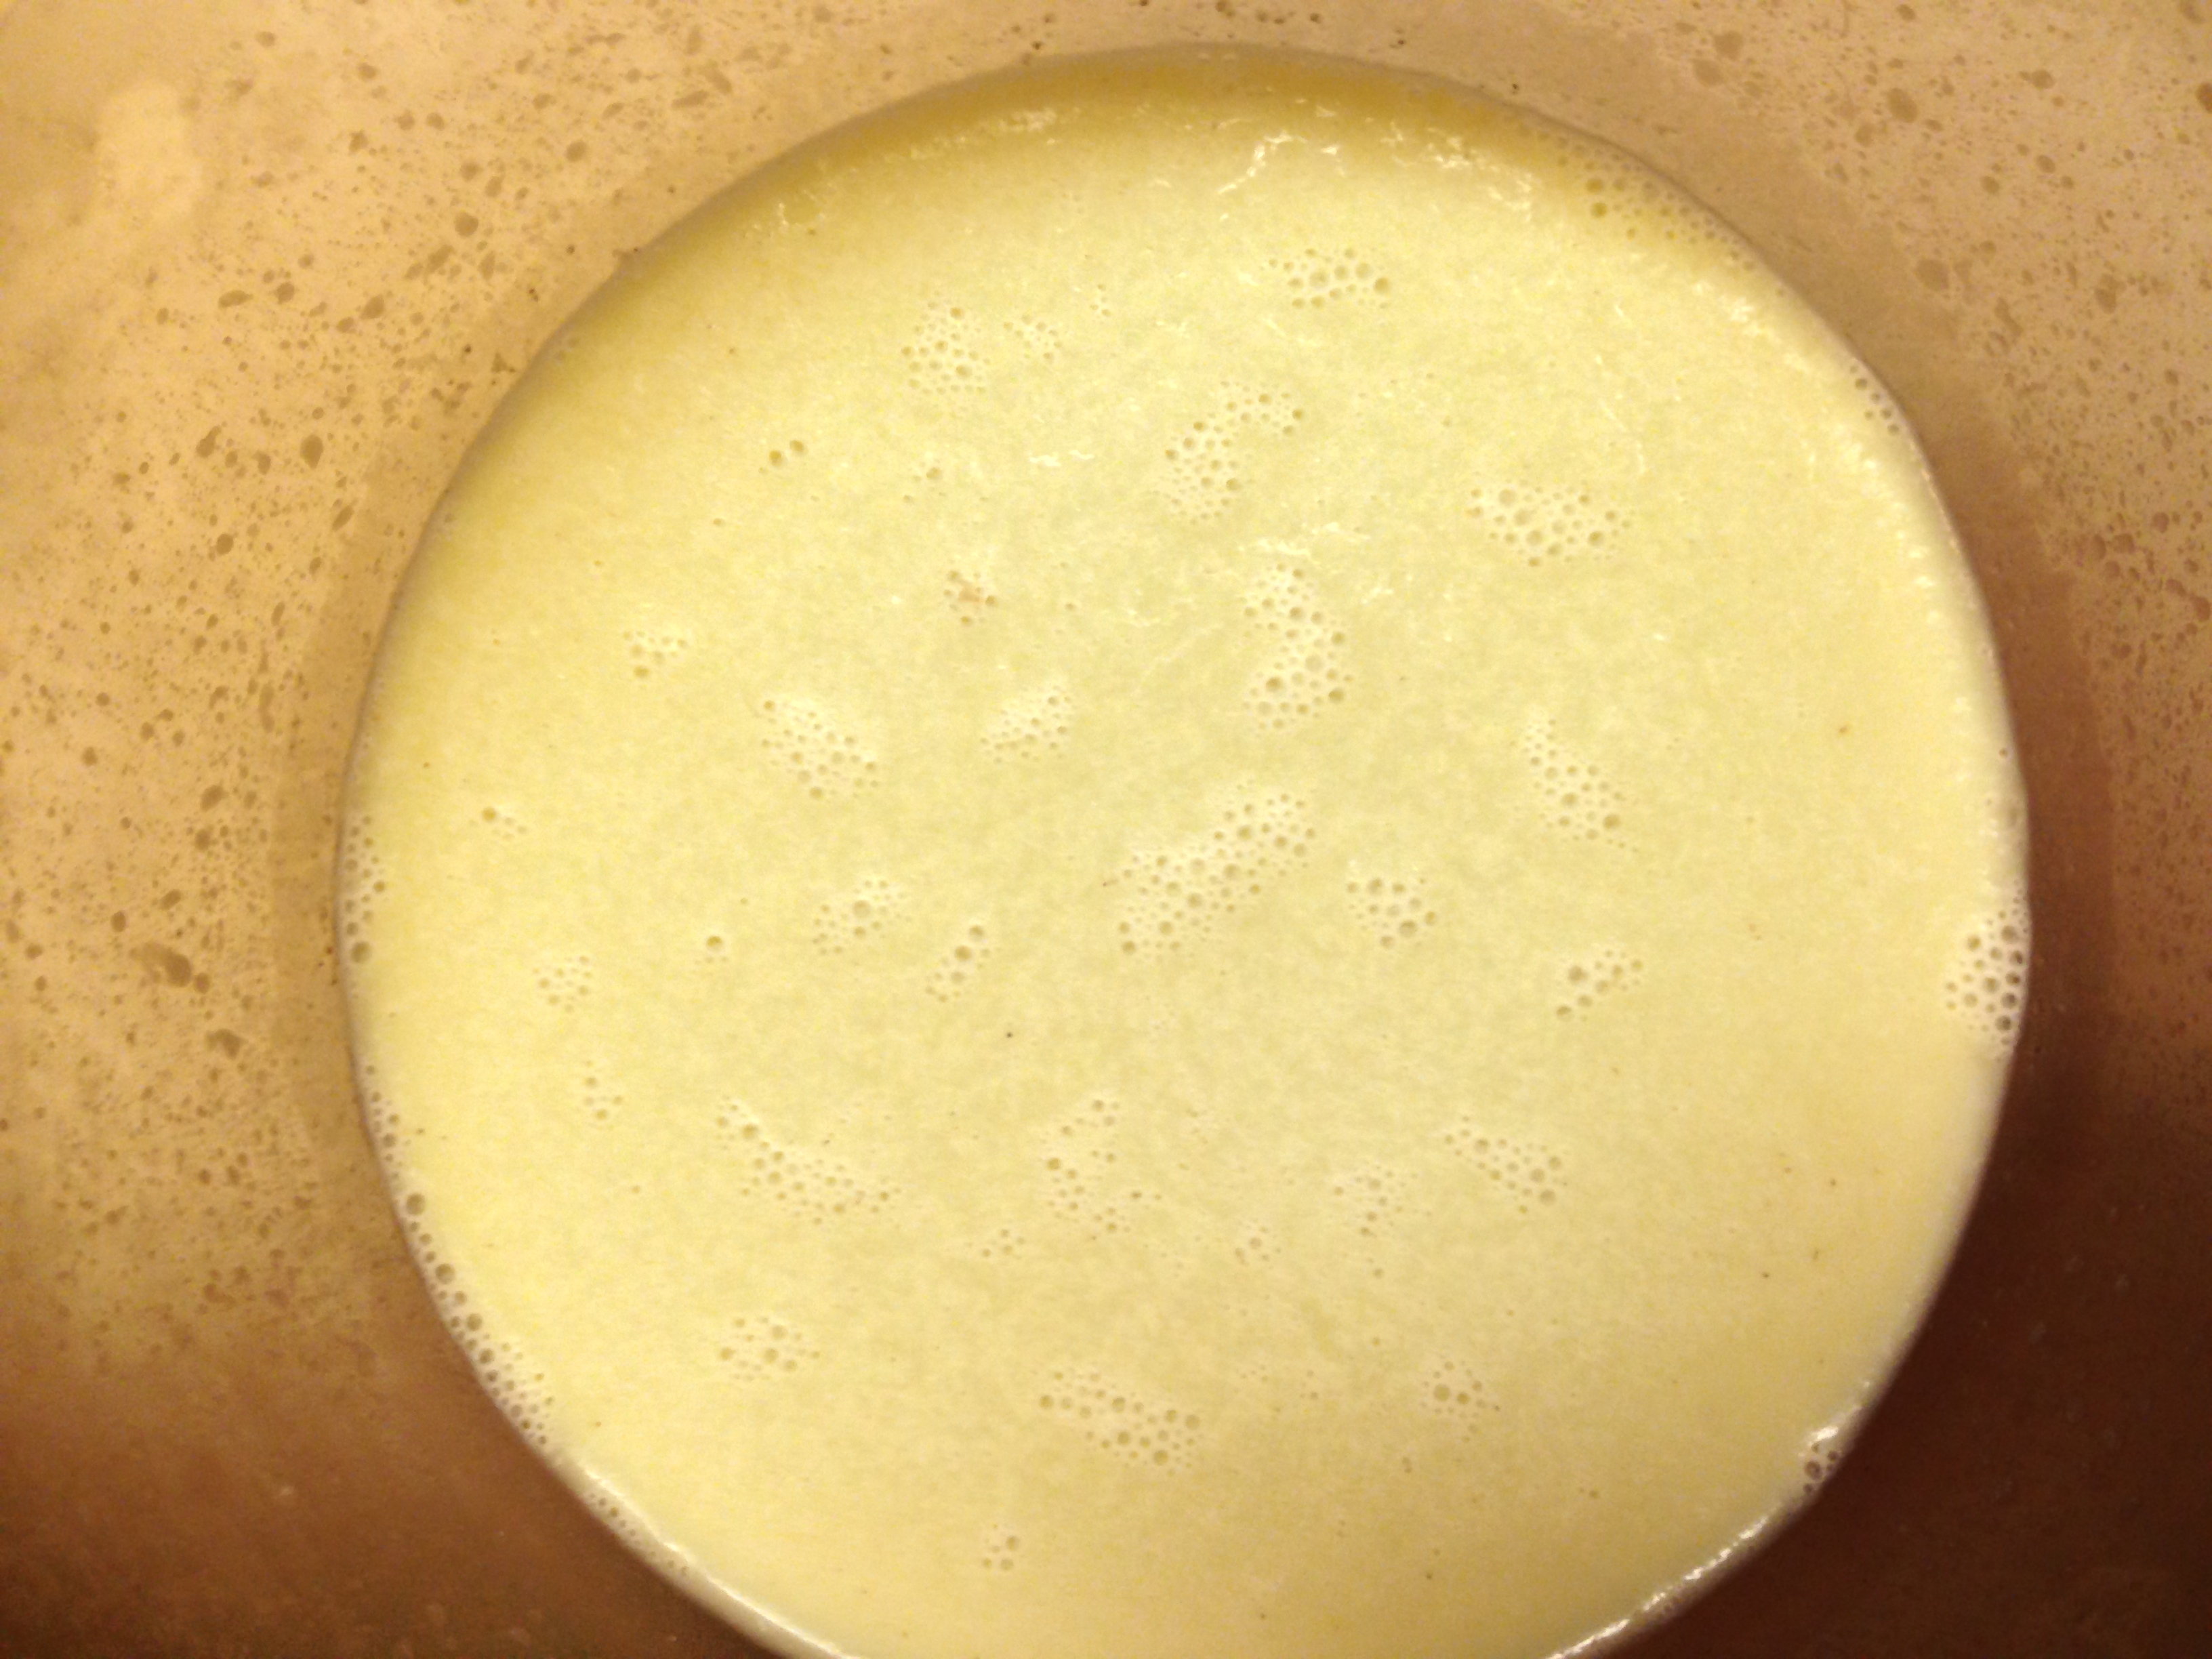
Both batches in a pan on the stove.
Added water and heat.
Melting…
After it was melted, I let the pan cool on the counter and then put the whole thing in the fridge to harden. This is what I got after one cleaning:
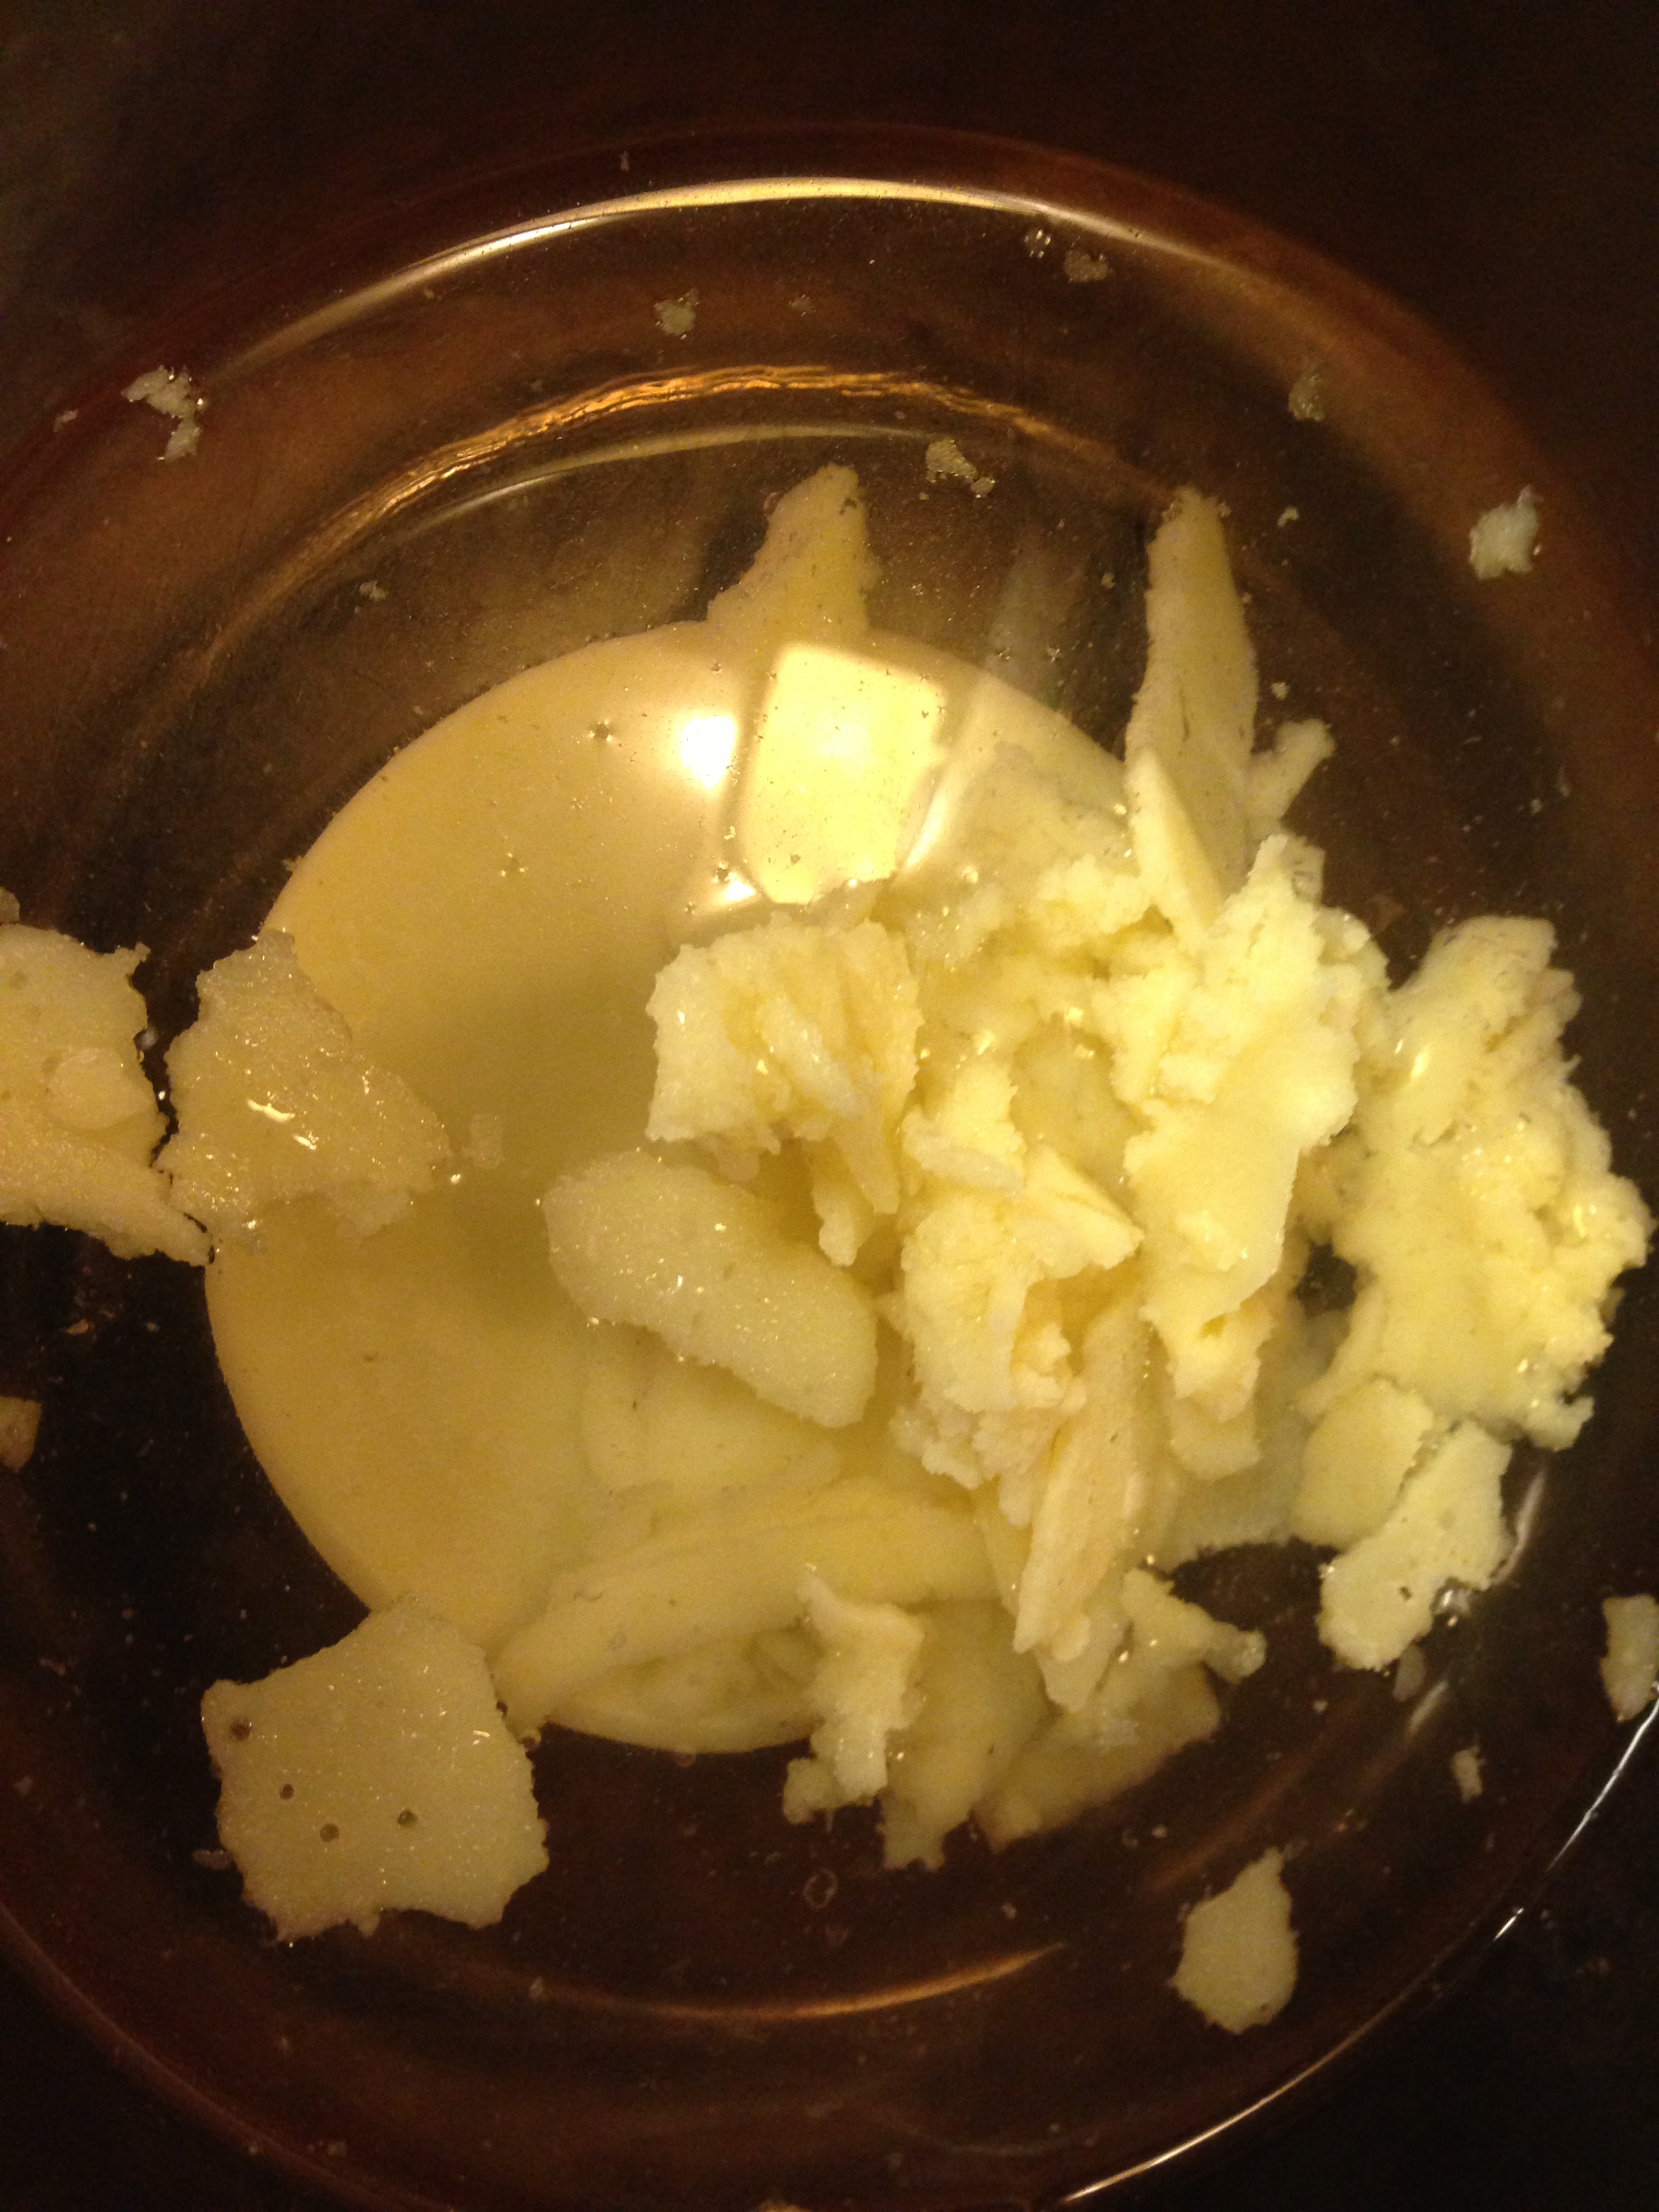
First cleaning after hardening in the fridge.
I broke the fat into pieces…

Broken into pieces to remove from the pan for the second cleaning.
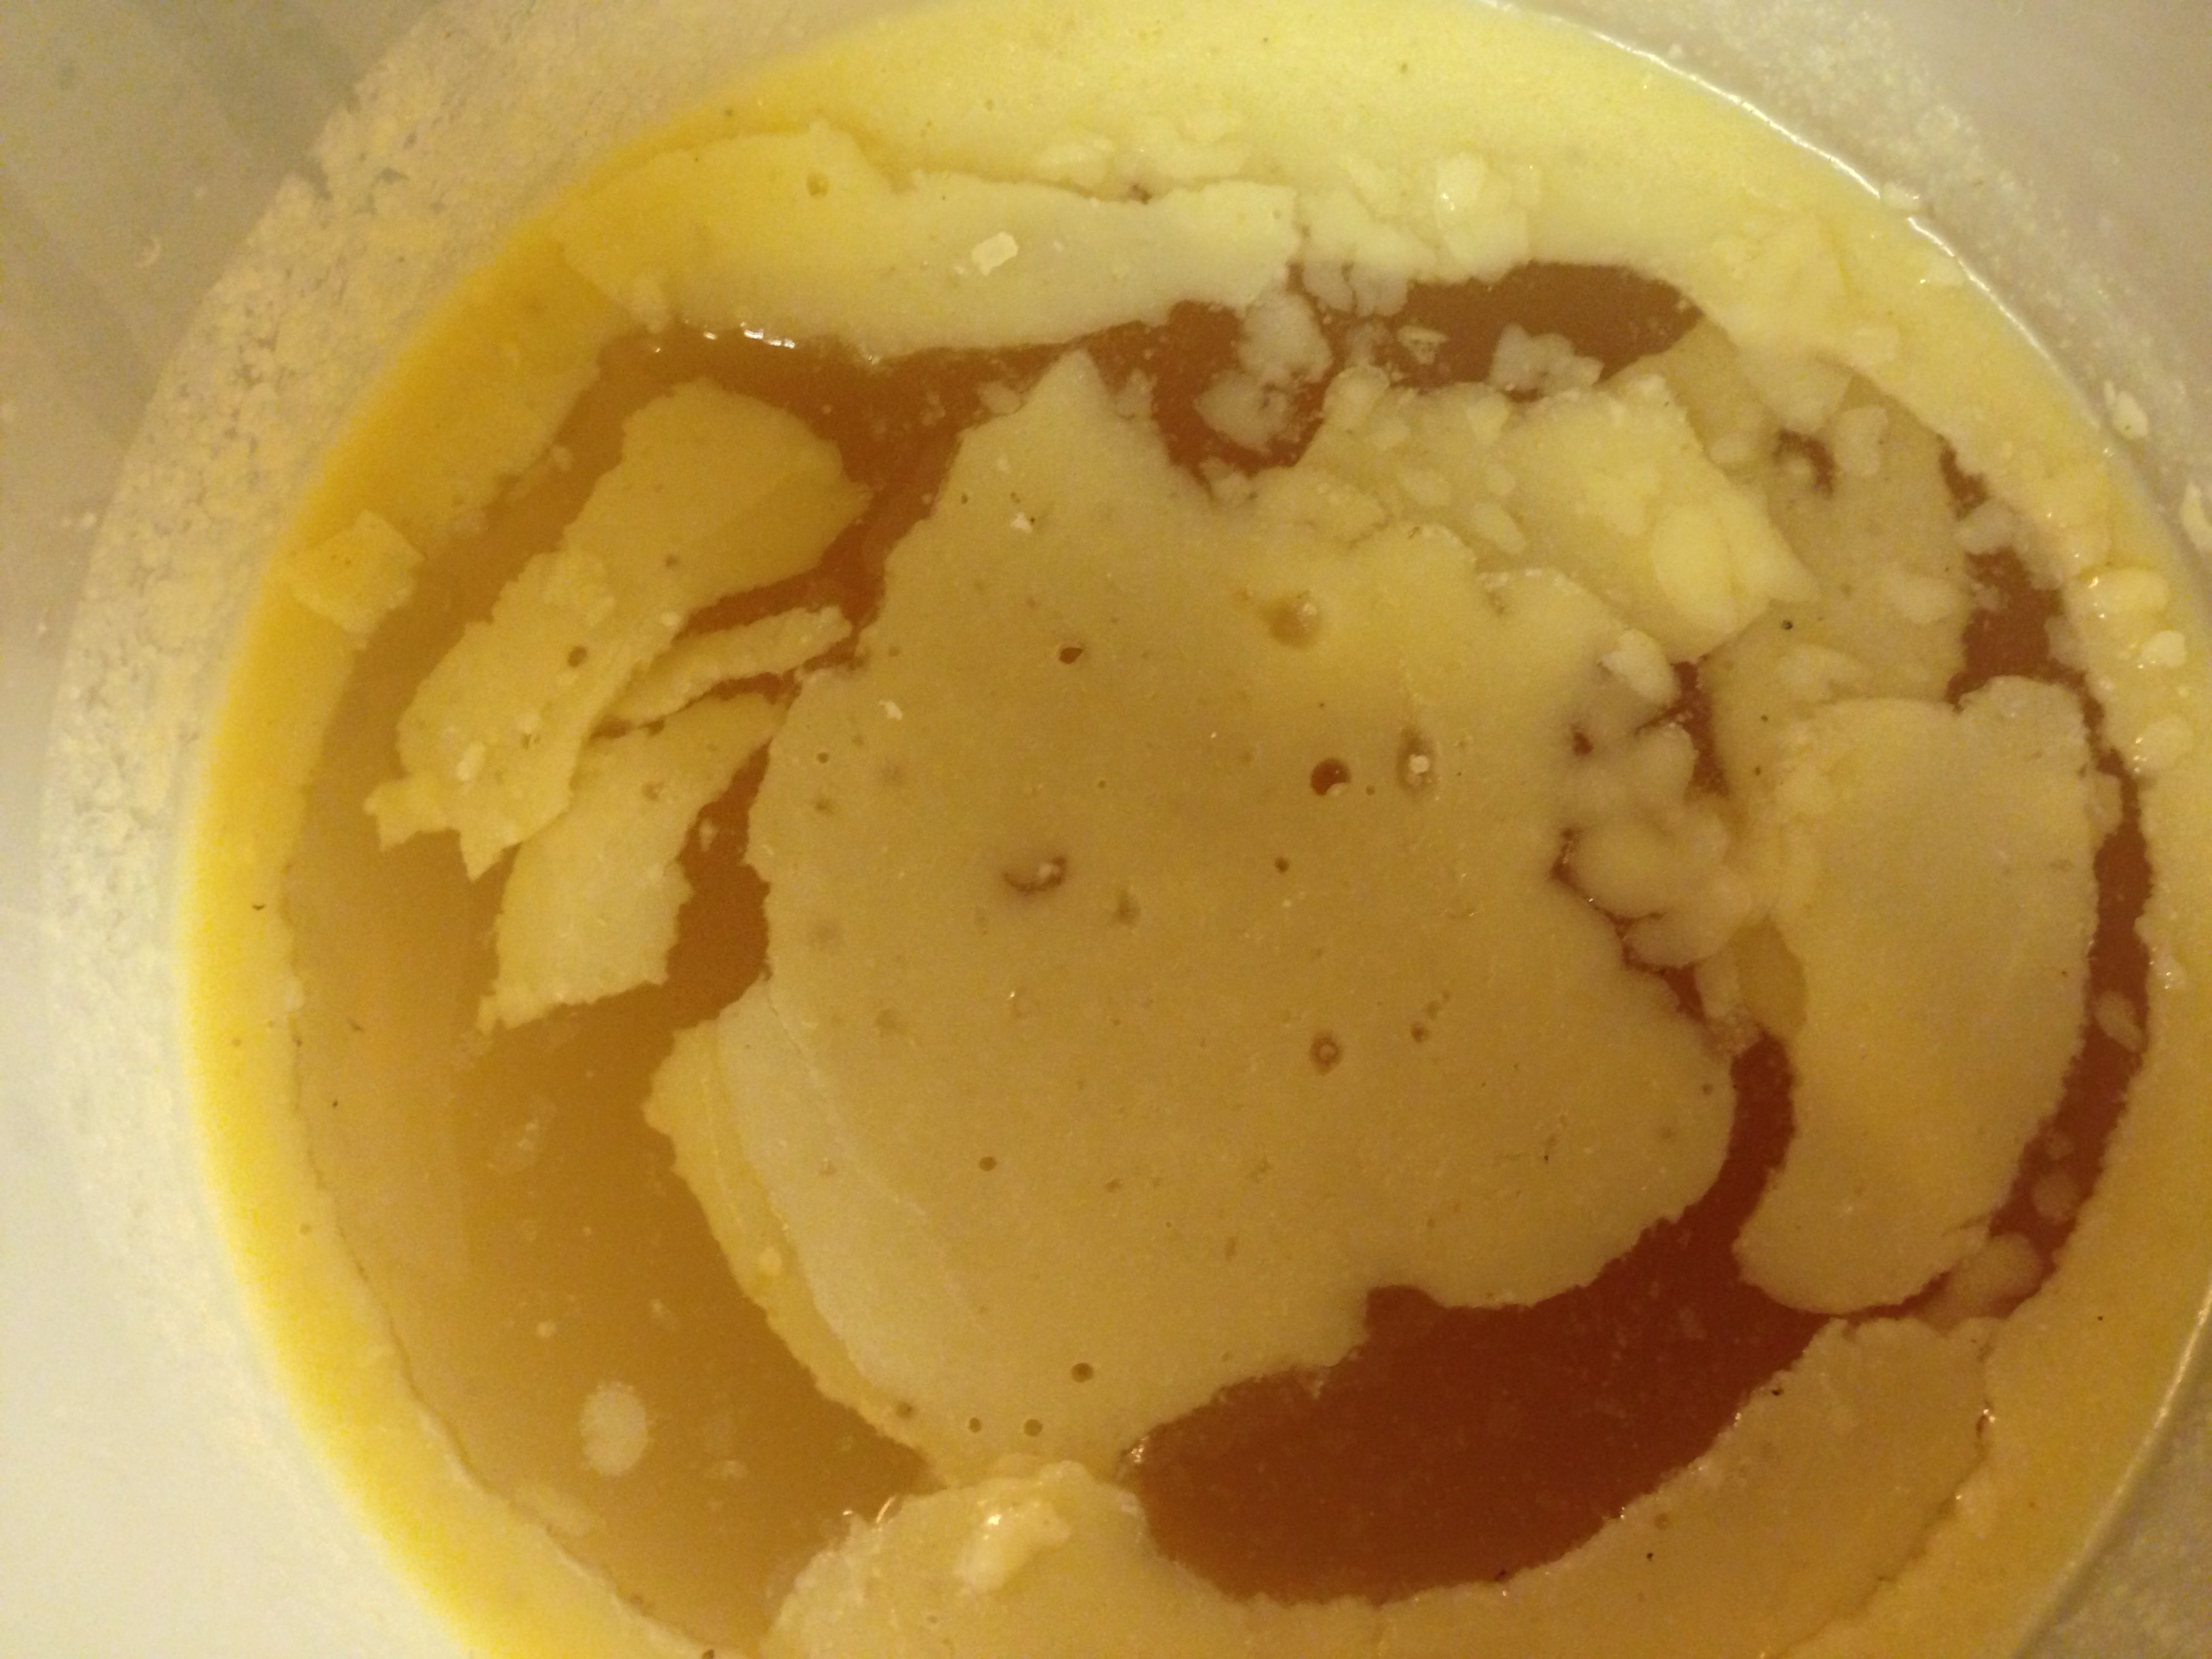
And took a look at the water. It was kinda gross! Lots of sediment and ickies floating in it.

This is what the water looked like to dump out after the first cleaning. Ew!
The tallow wasn’t much better.
What the tallow looks like after the first cleaning.
So I threw out the water, cleaned the pan, and cleaned the tallow again. Here it is after the second cleaning.

After the second washing and hardening in the fridge.
The water was cleaner, but still had some sediment.

The water to dump after the second cleaning.
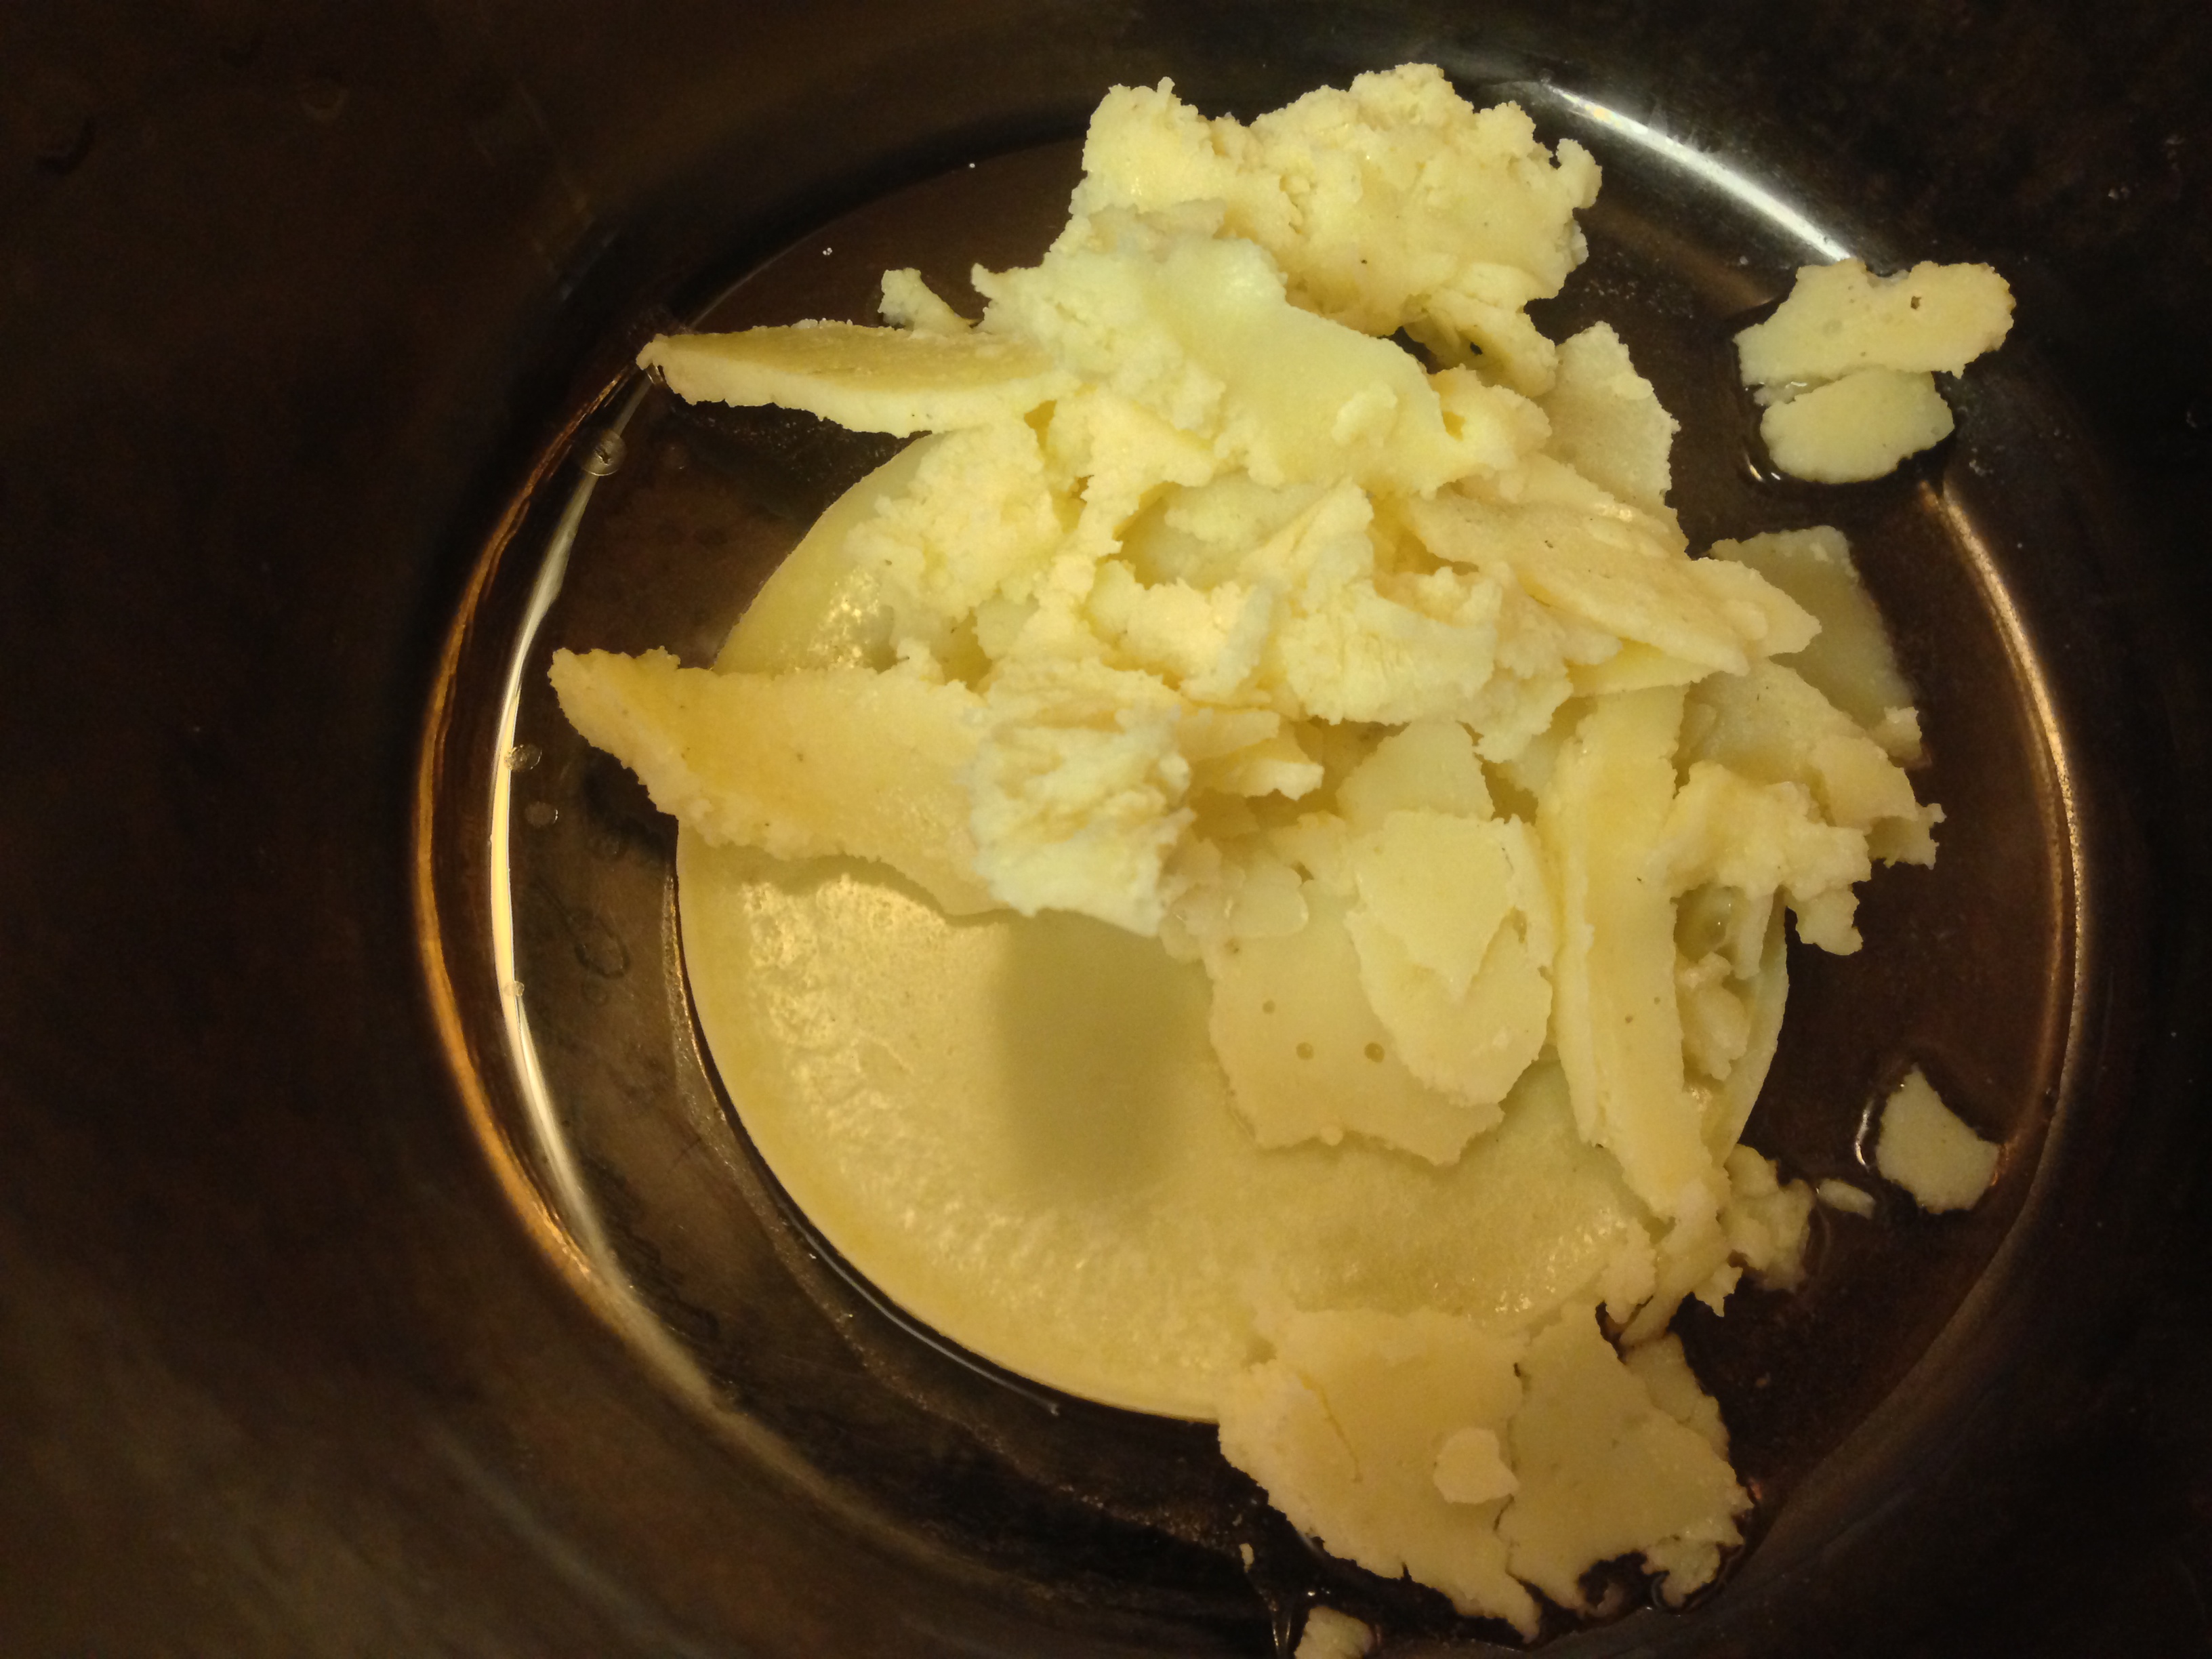
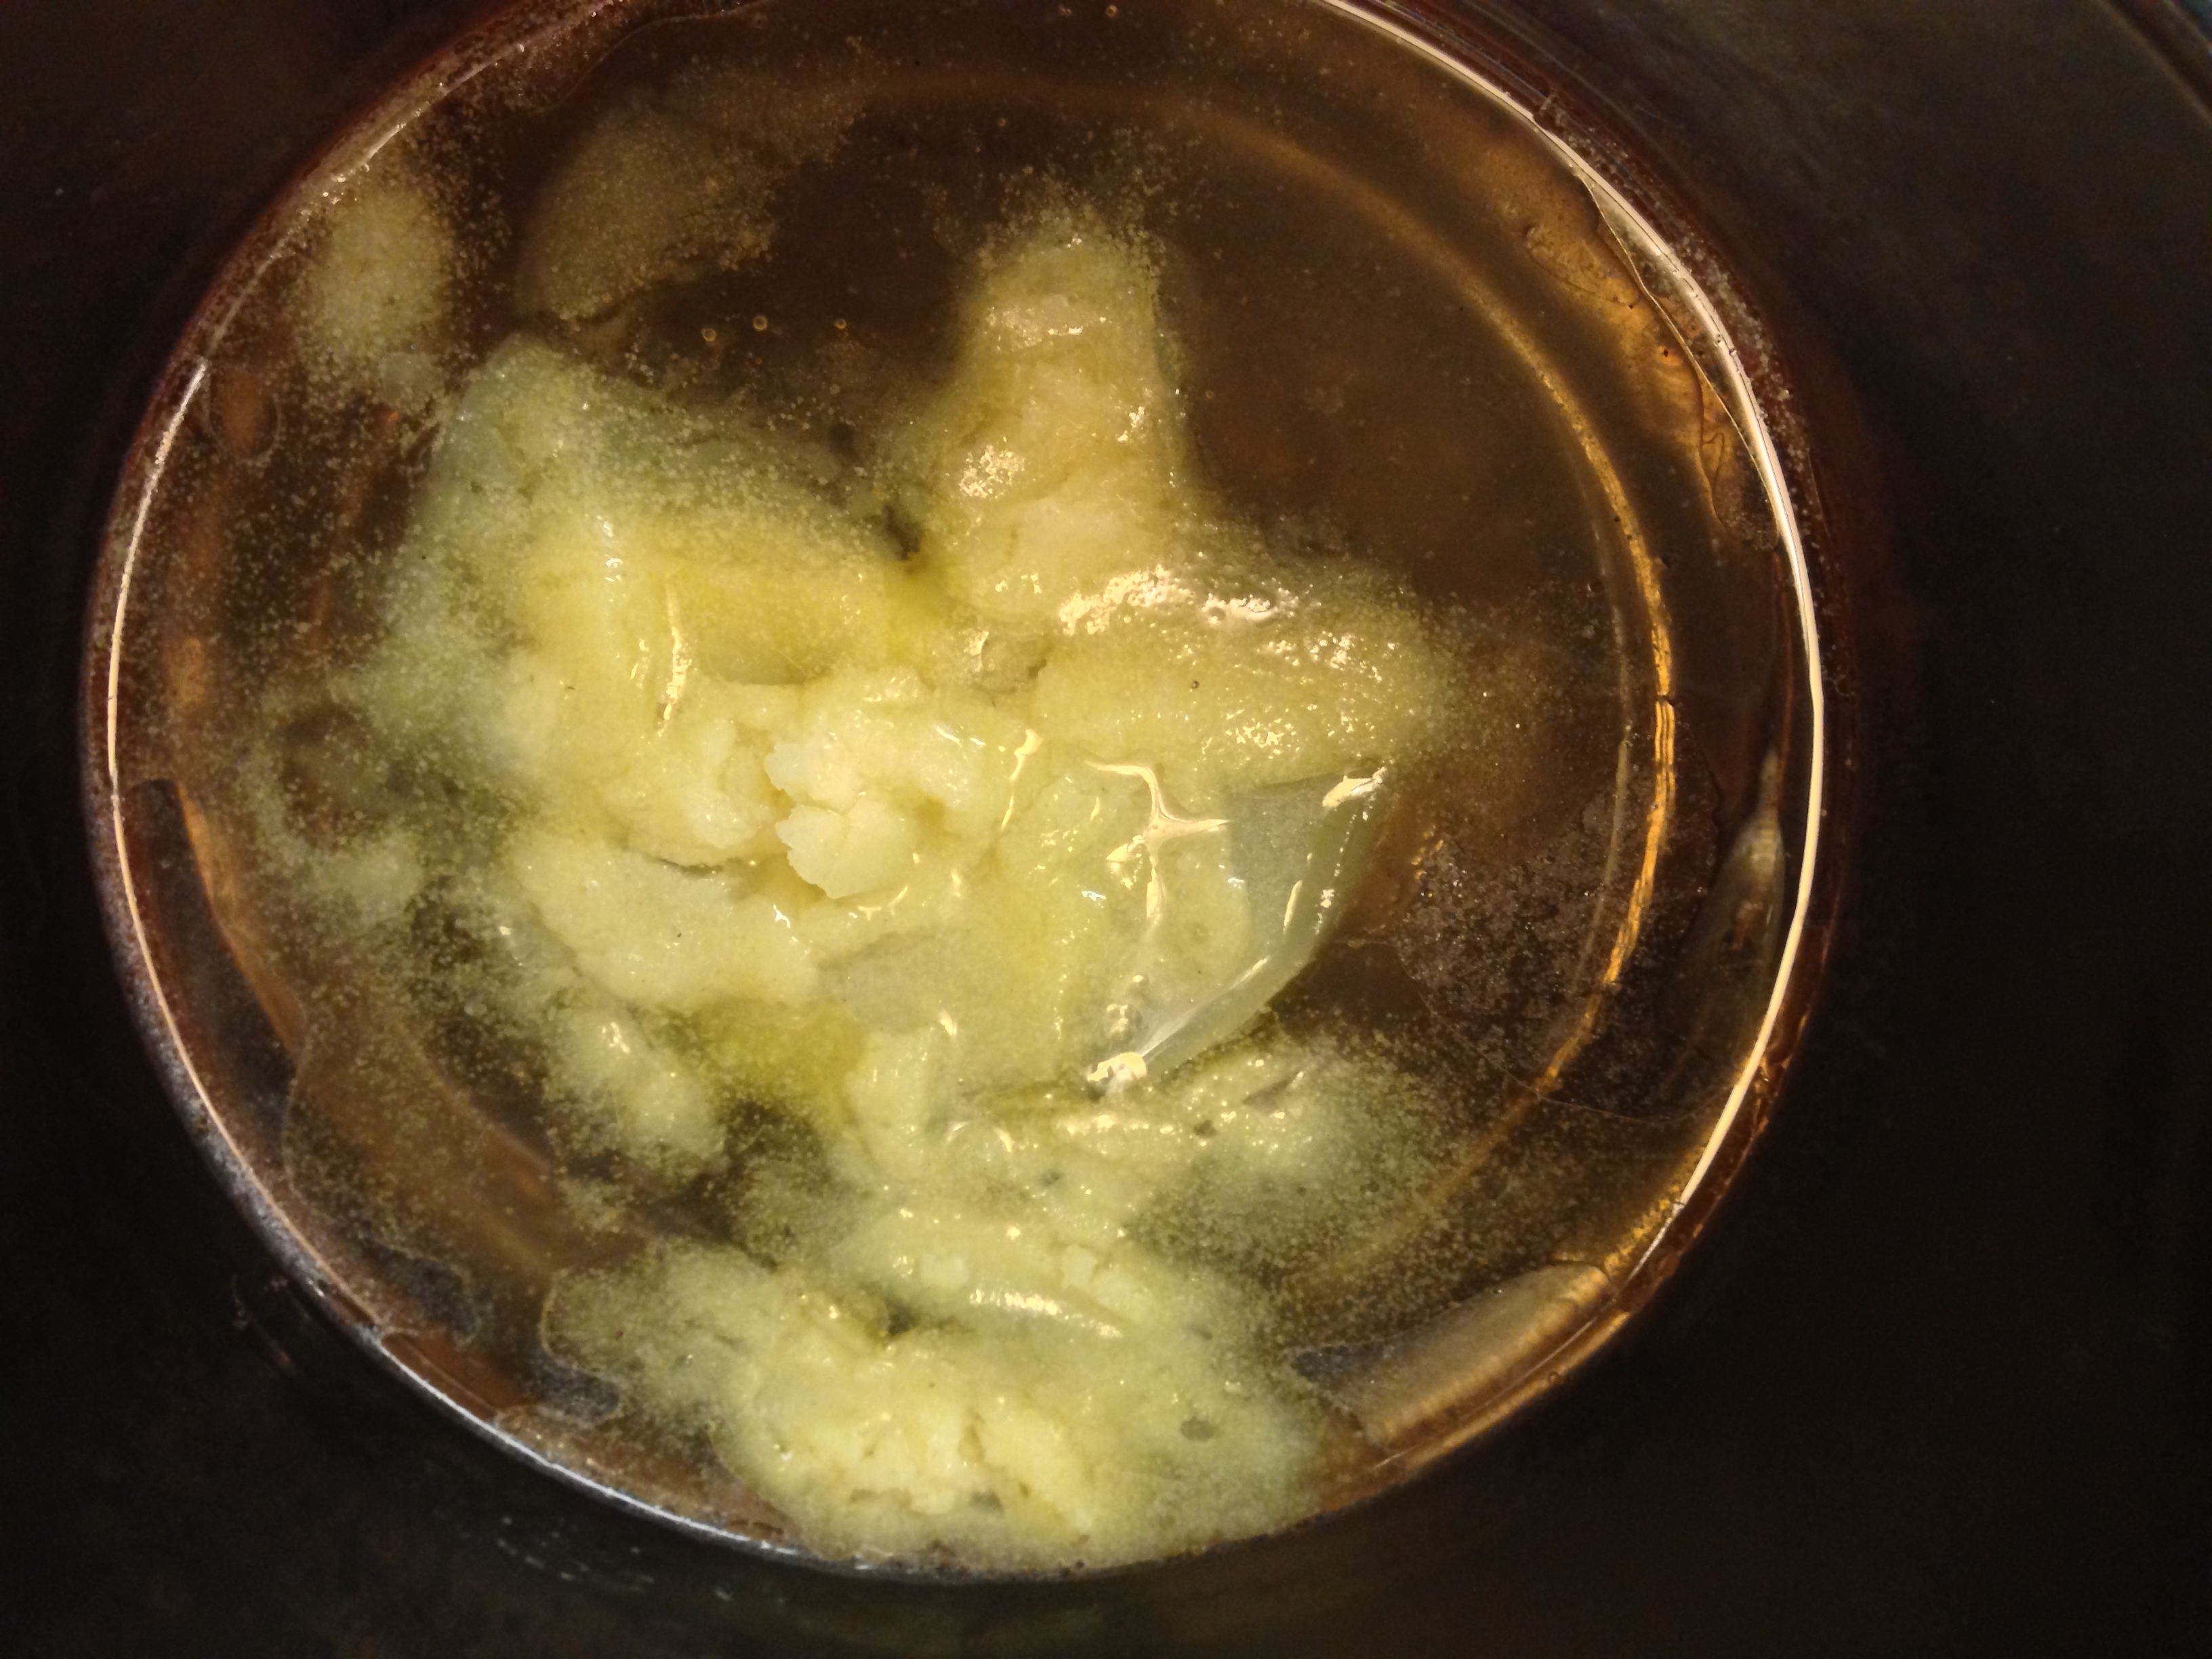
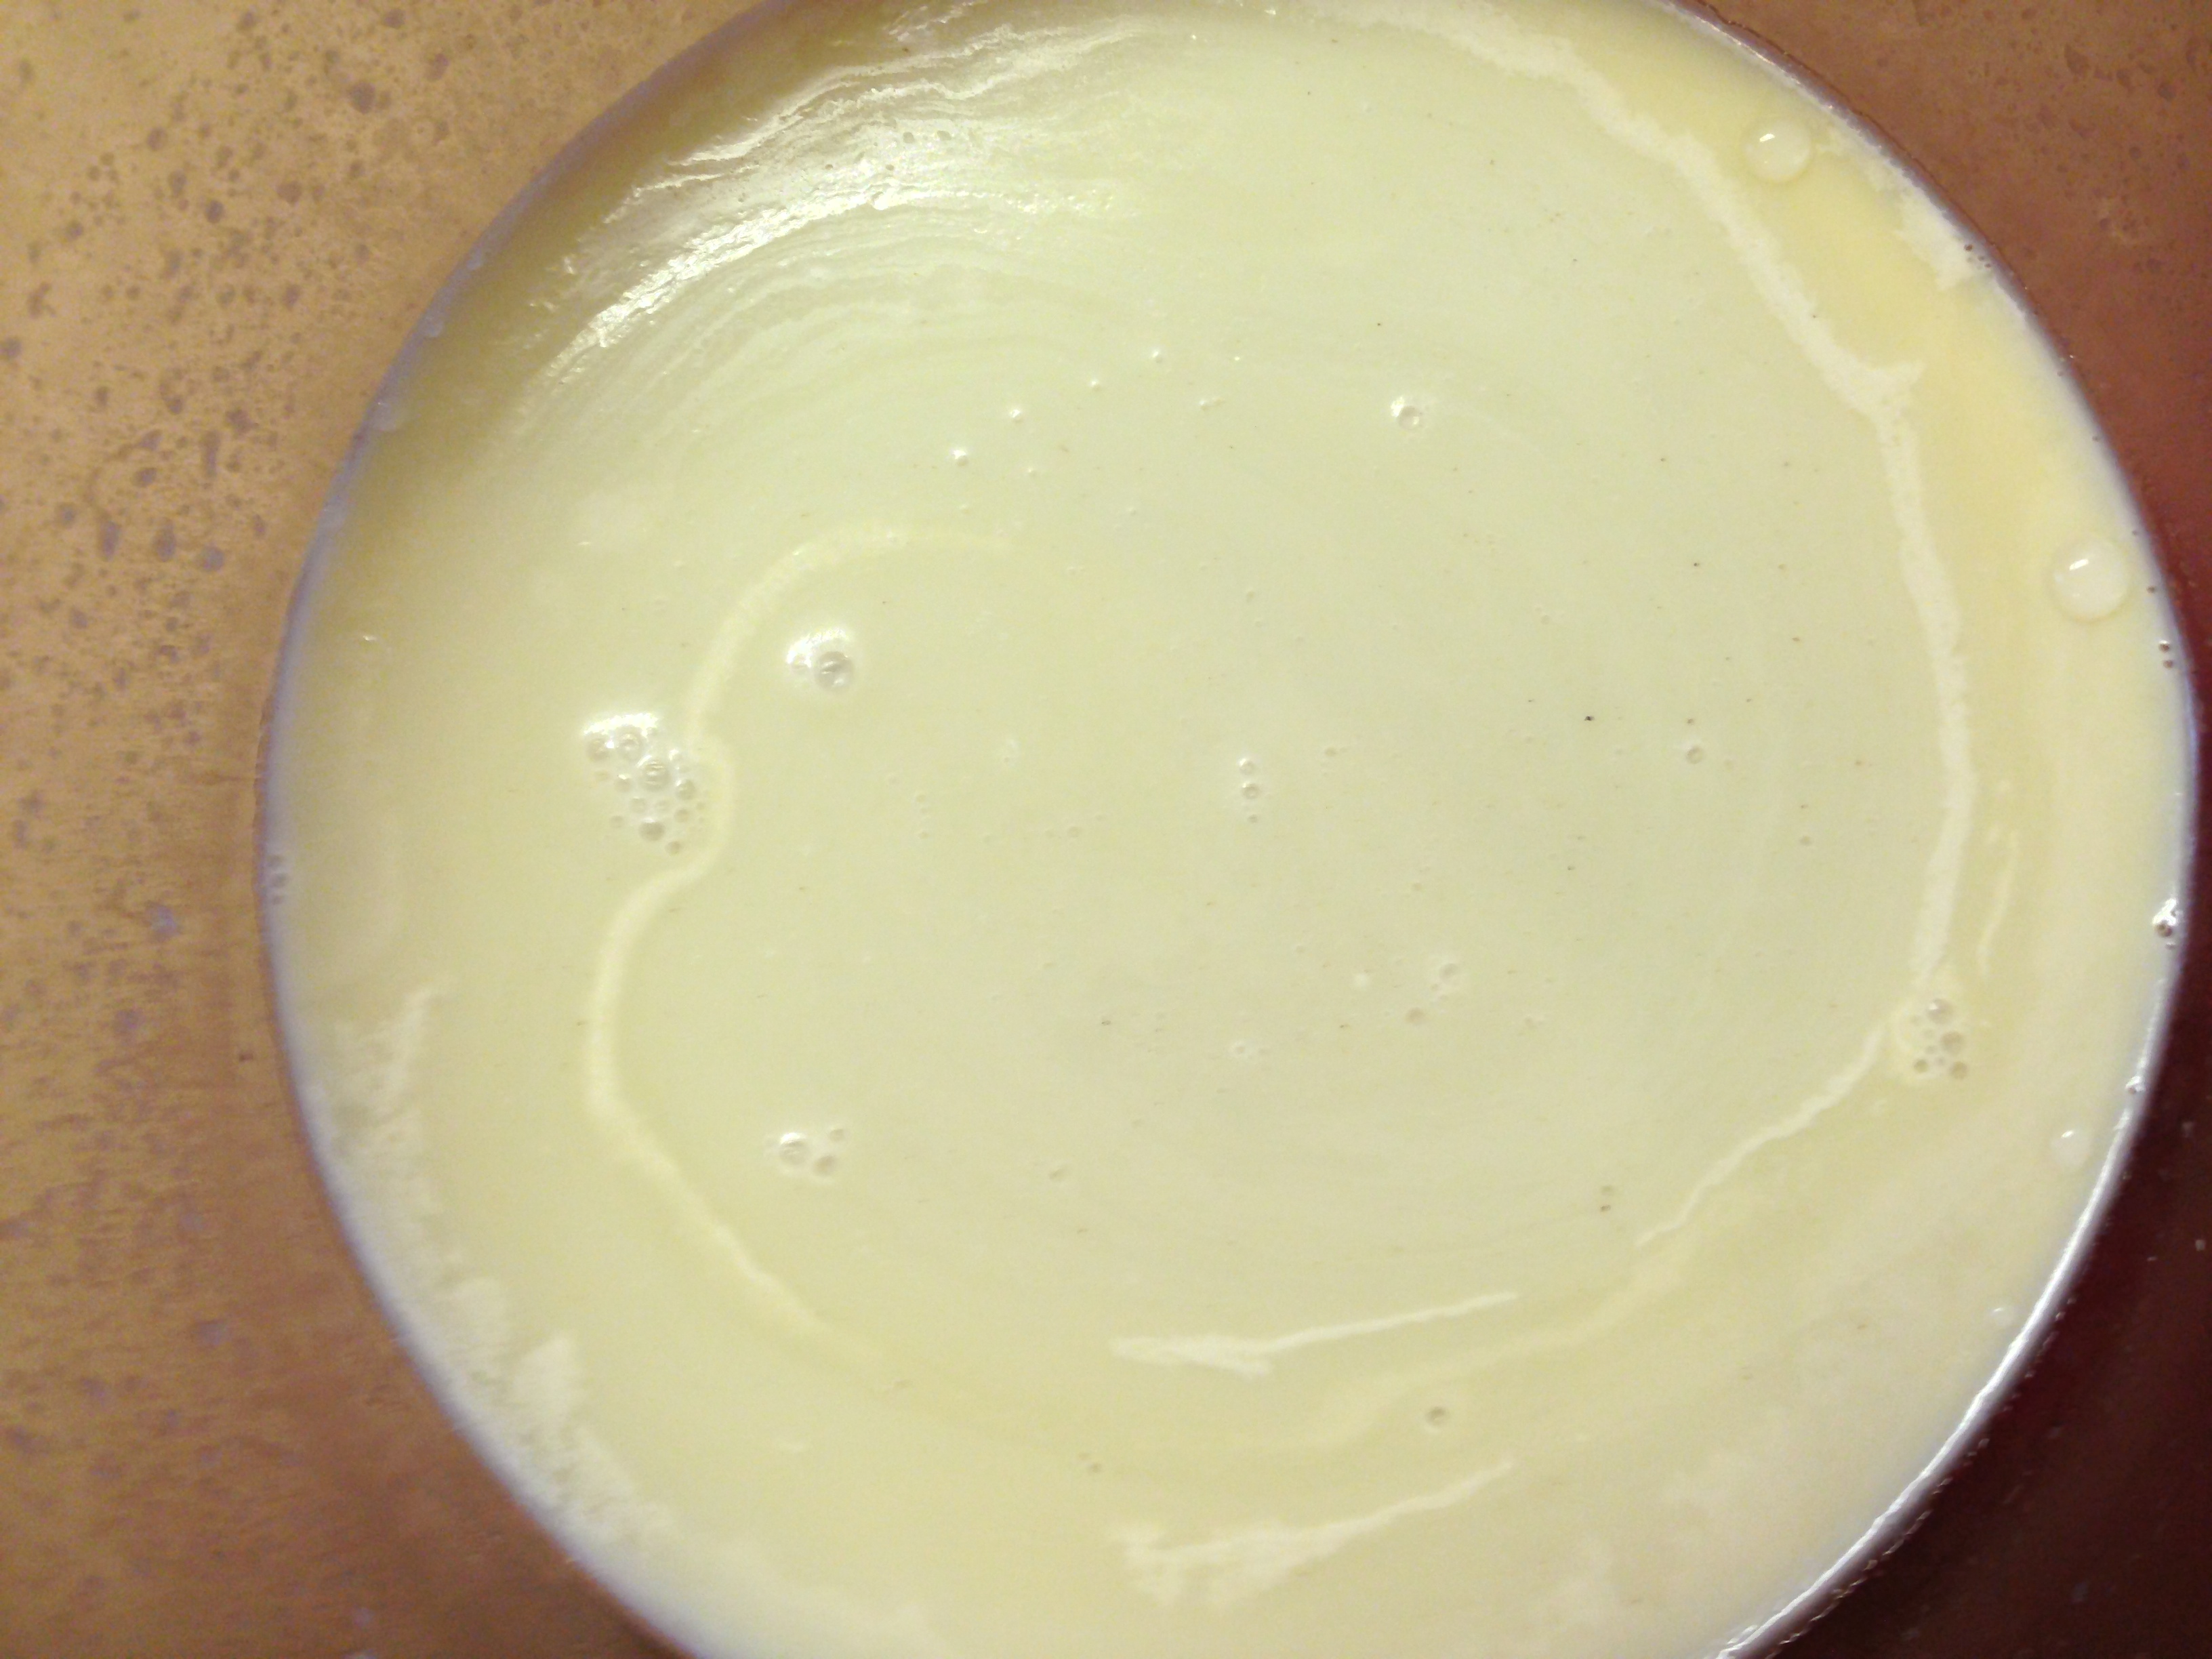
The tallow looked much better!
The tallow after the second washing.
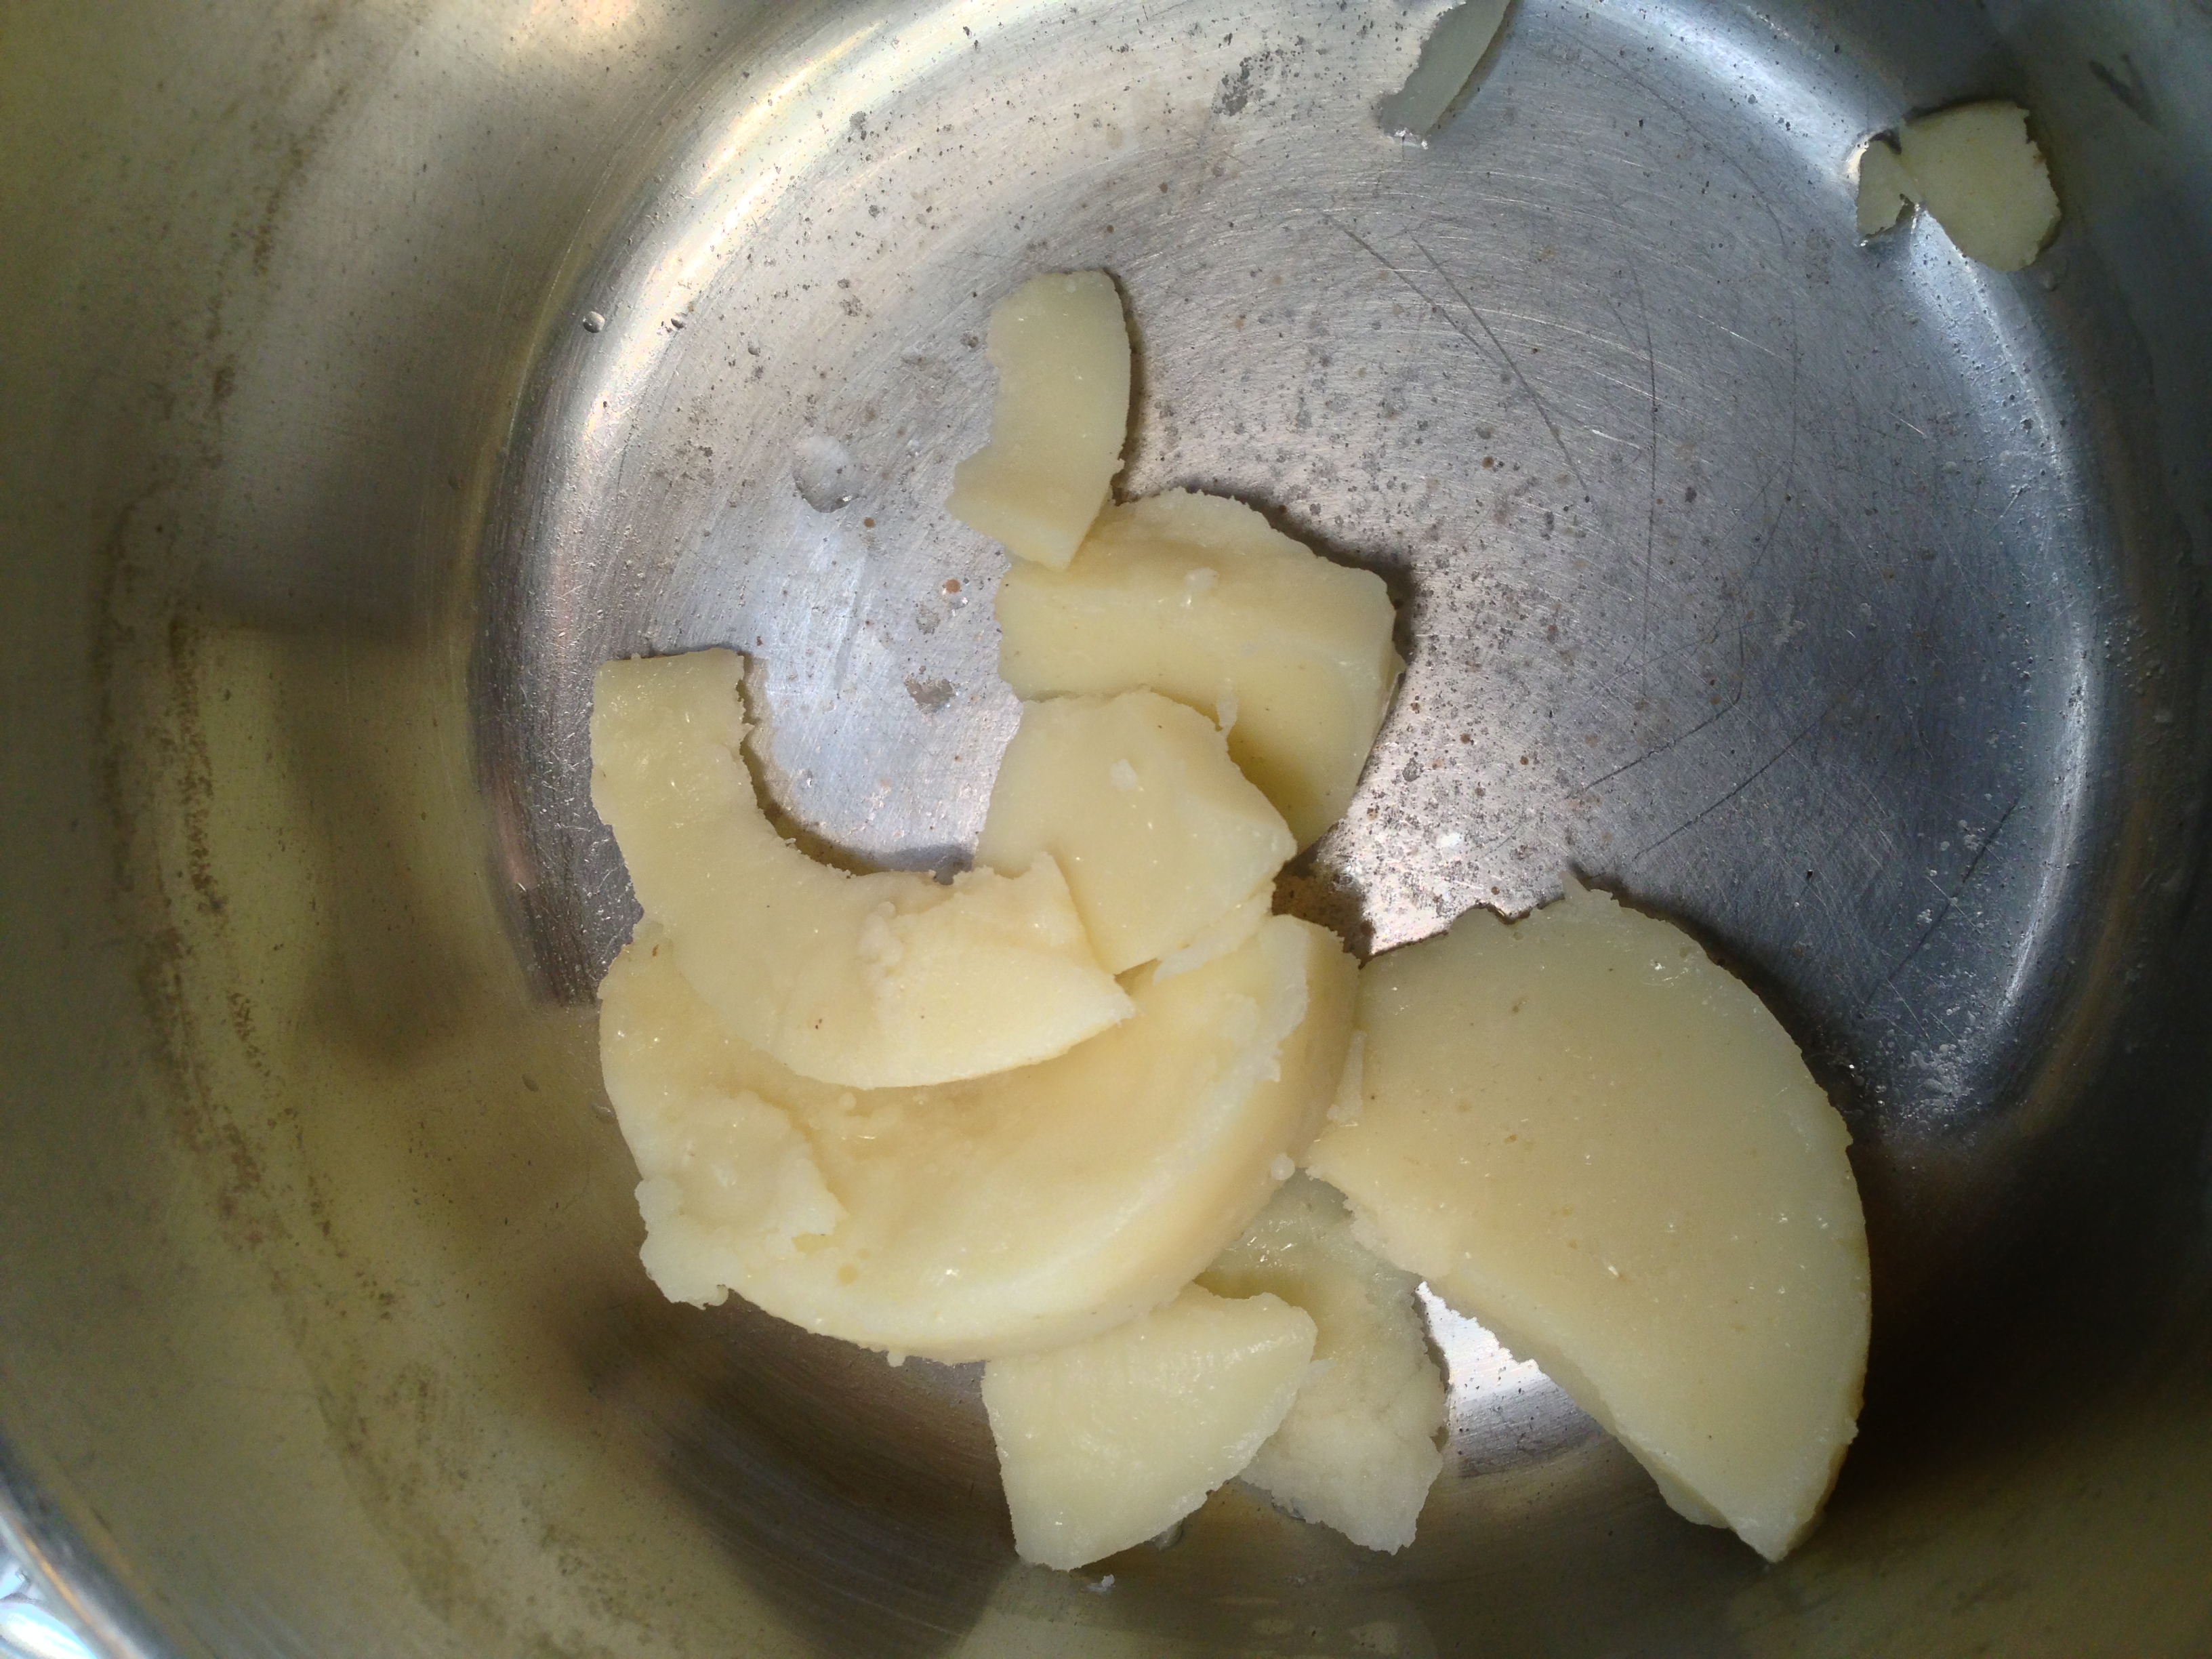
So I washed it a third time. Here’s how a third washing did:
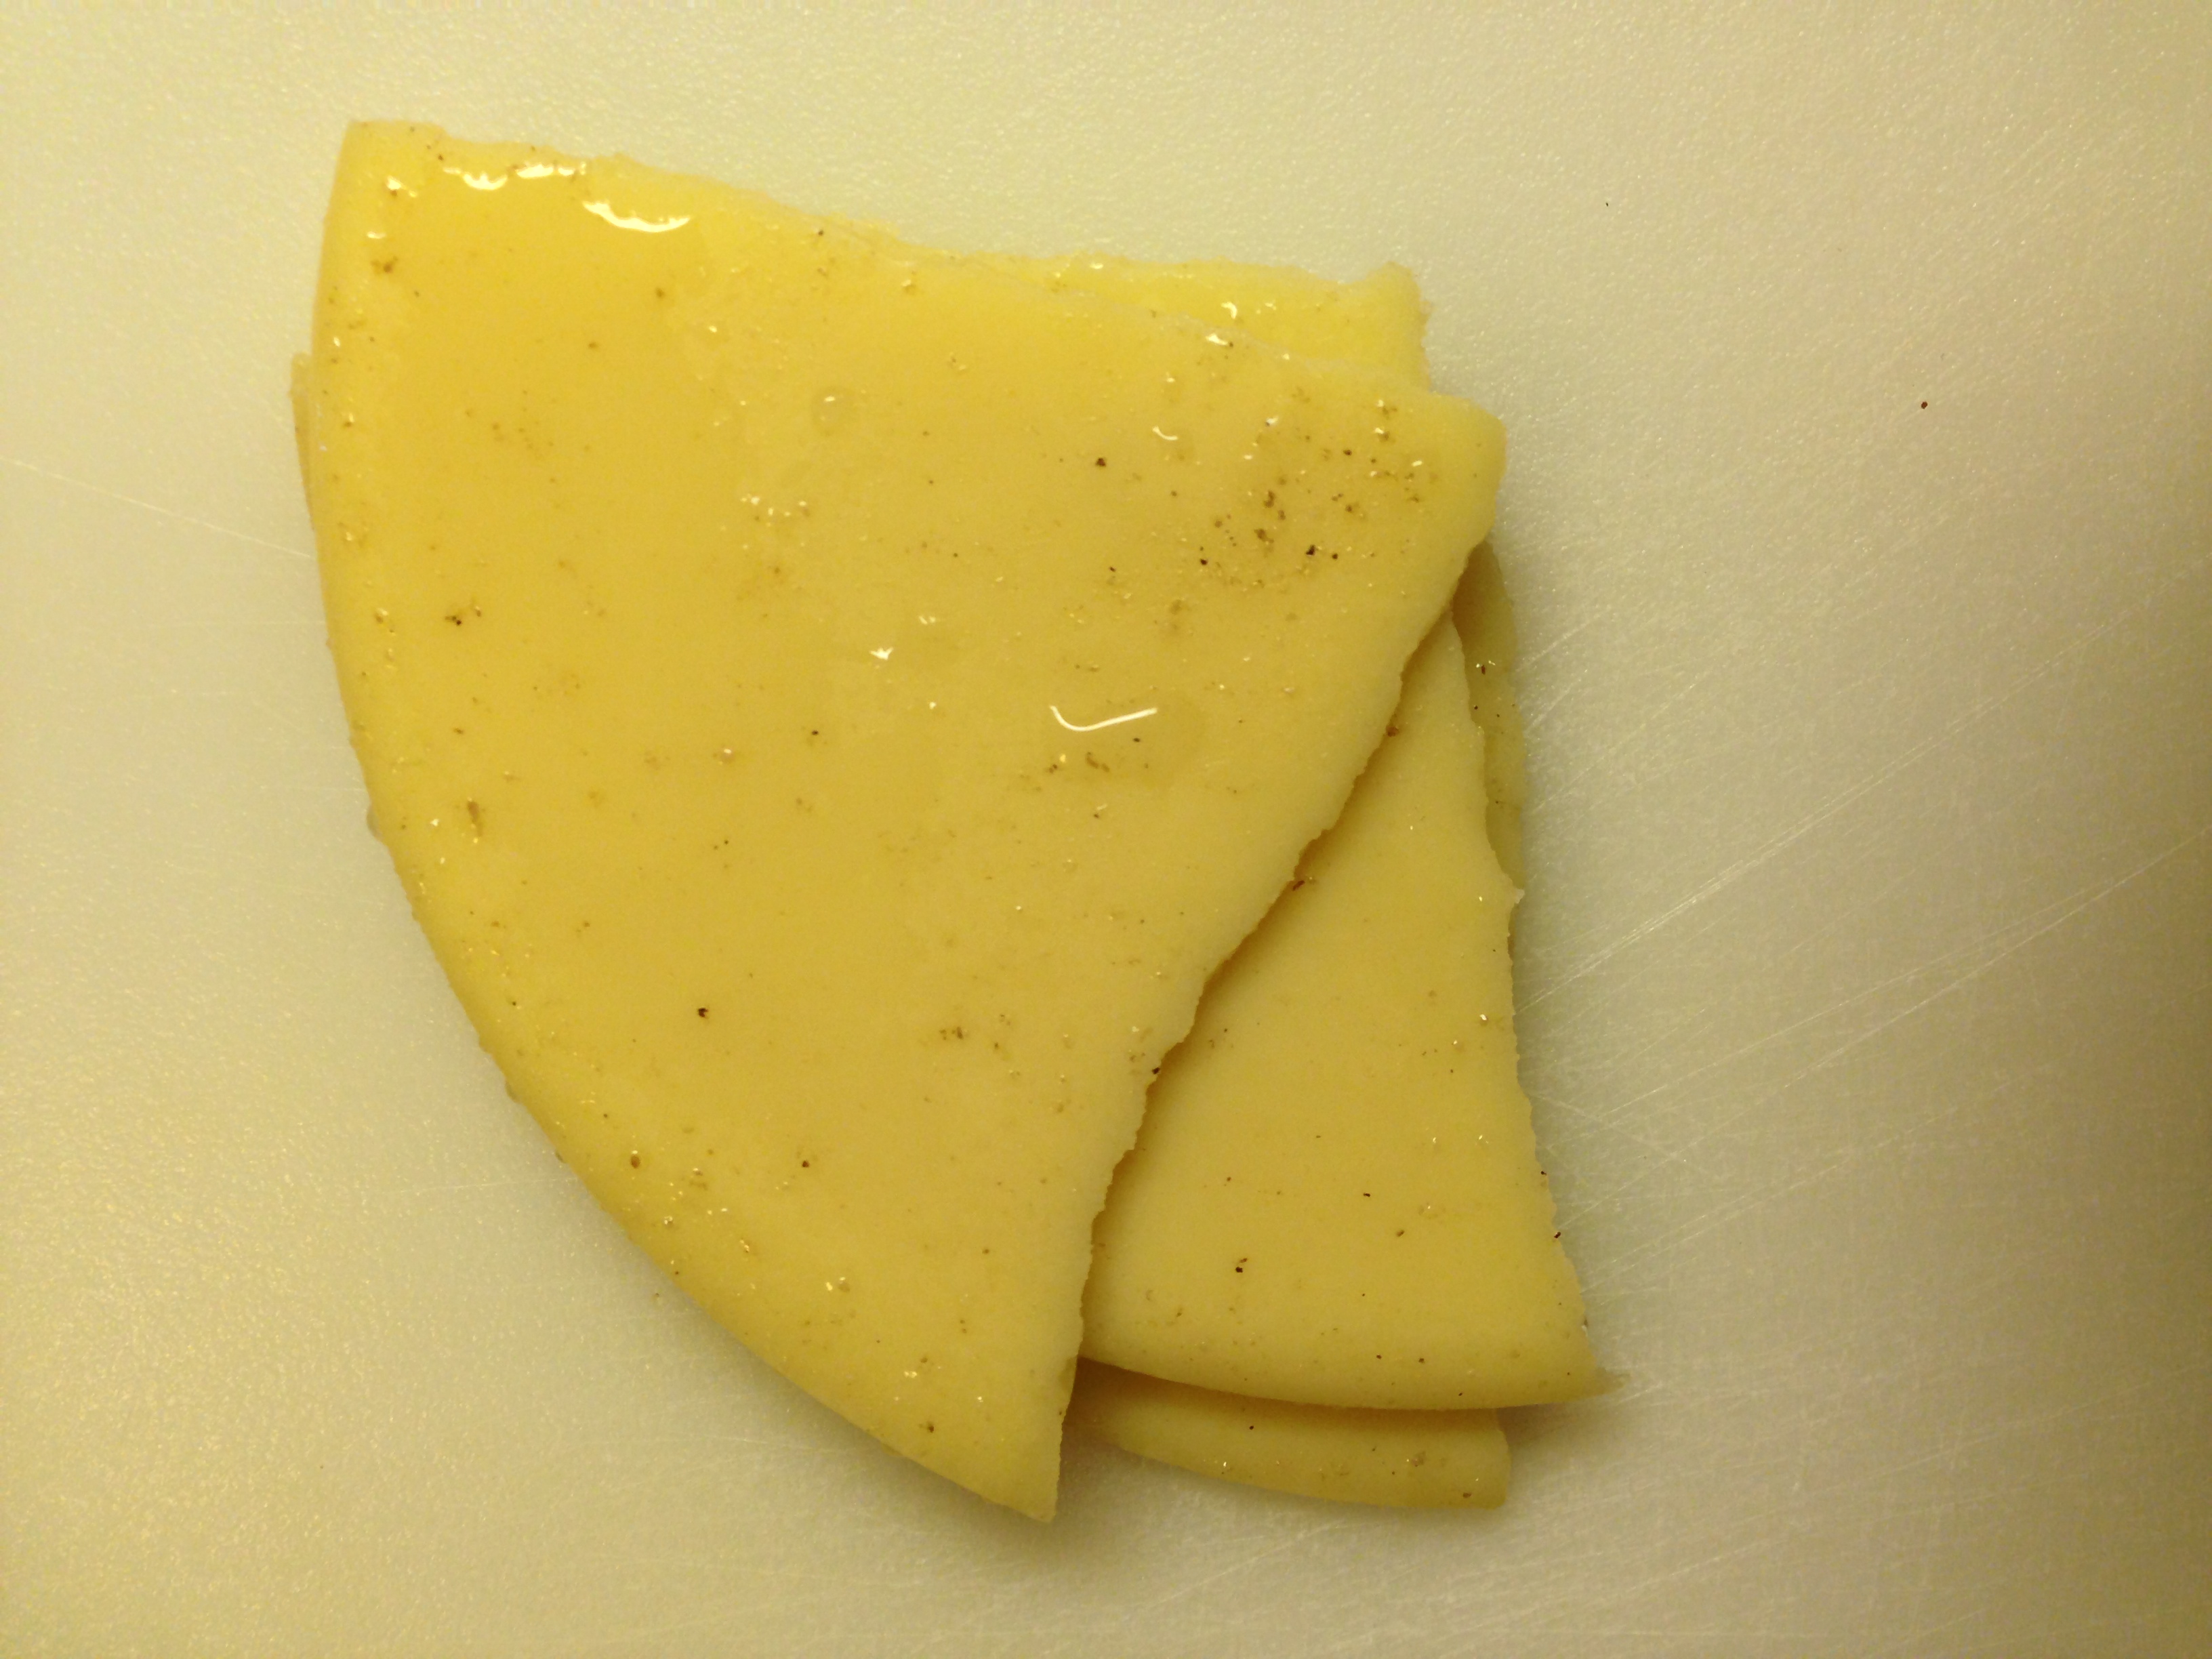
After the third washing and hardening in the fridge.
Looking very clean!
Water to dump after the third washing.
Huge improvement!

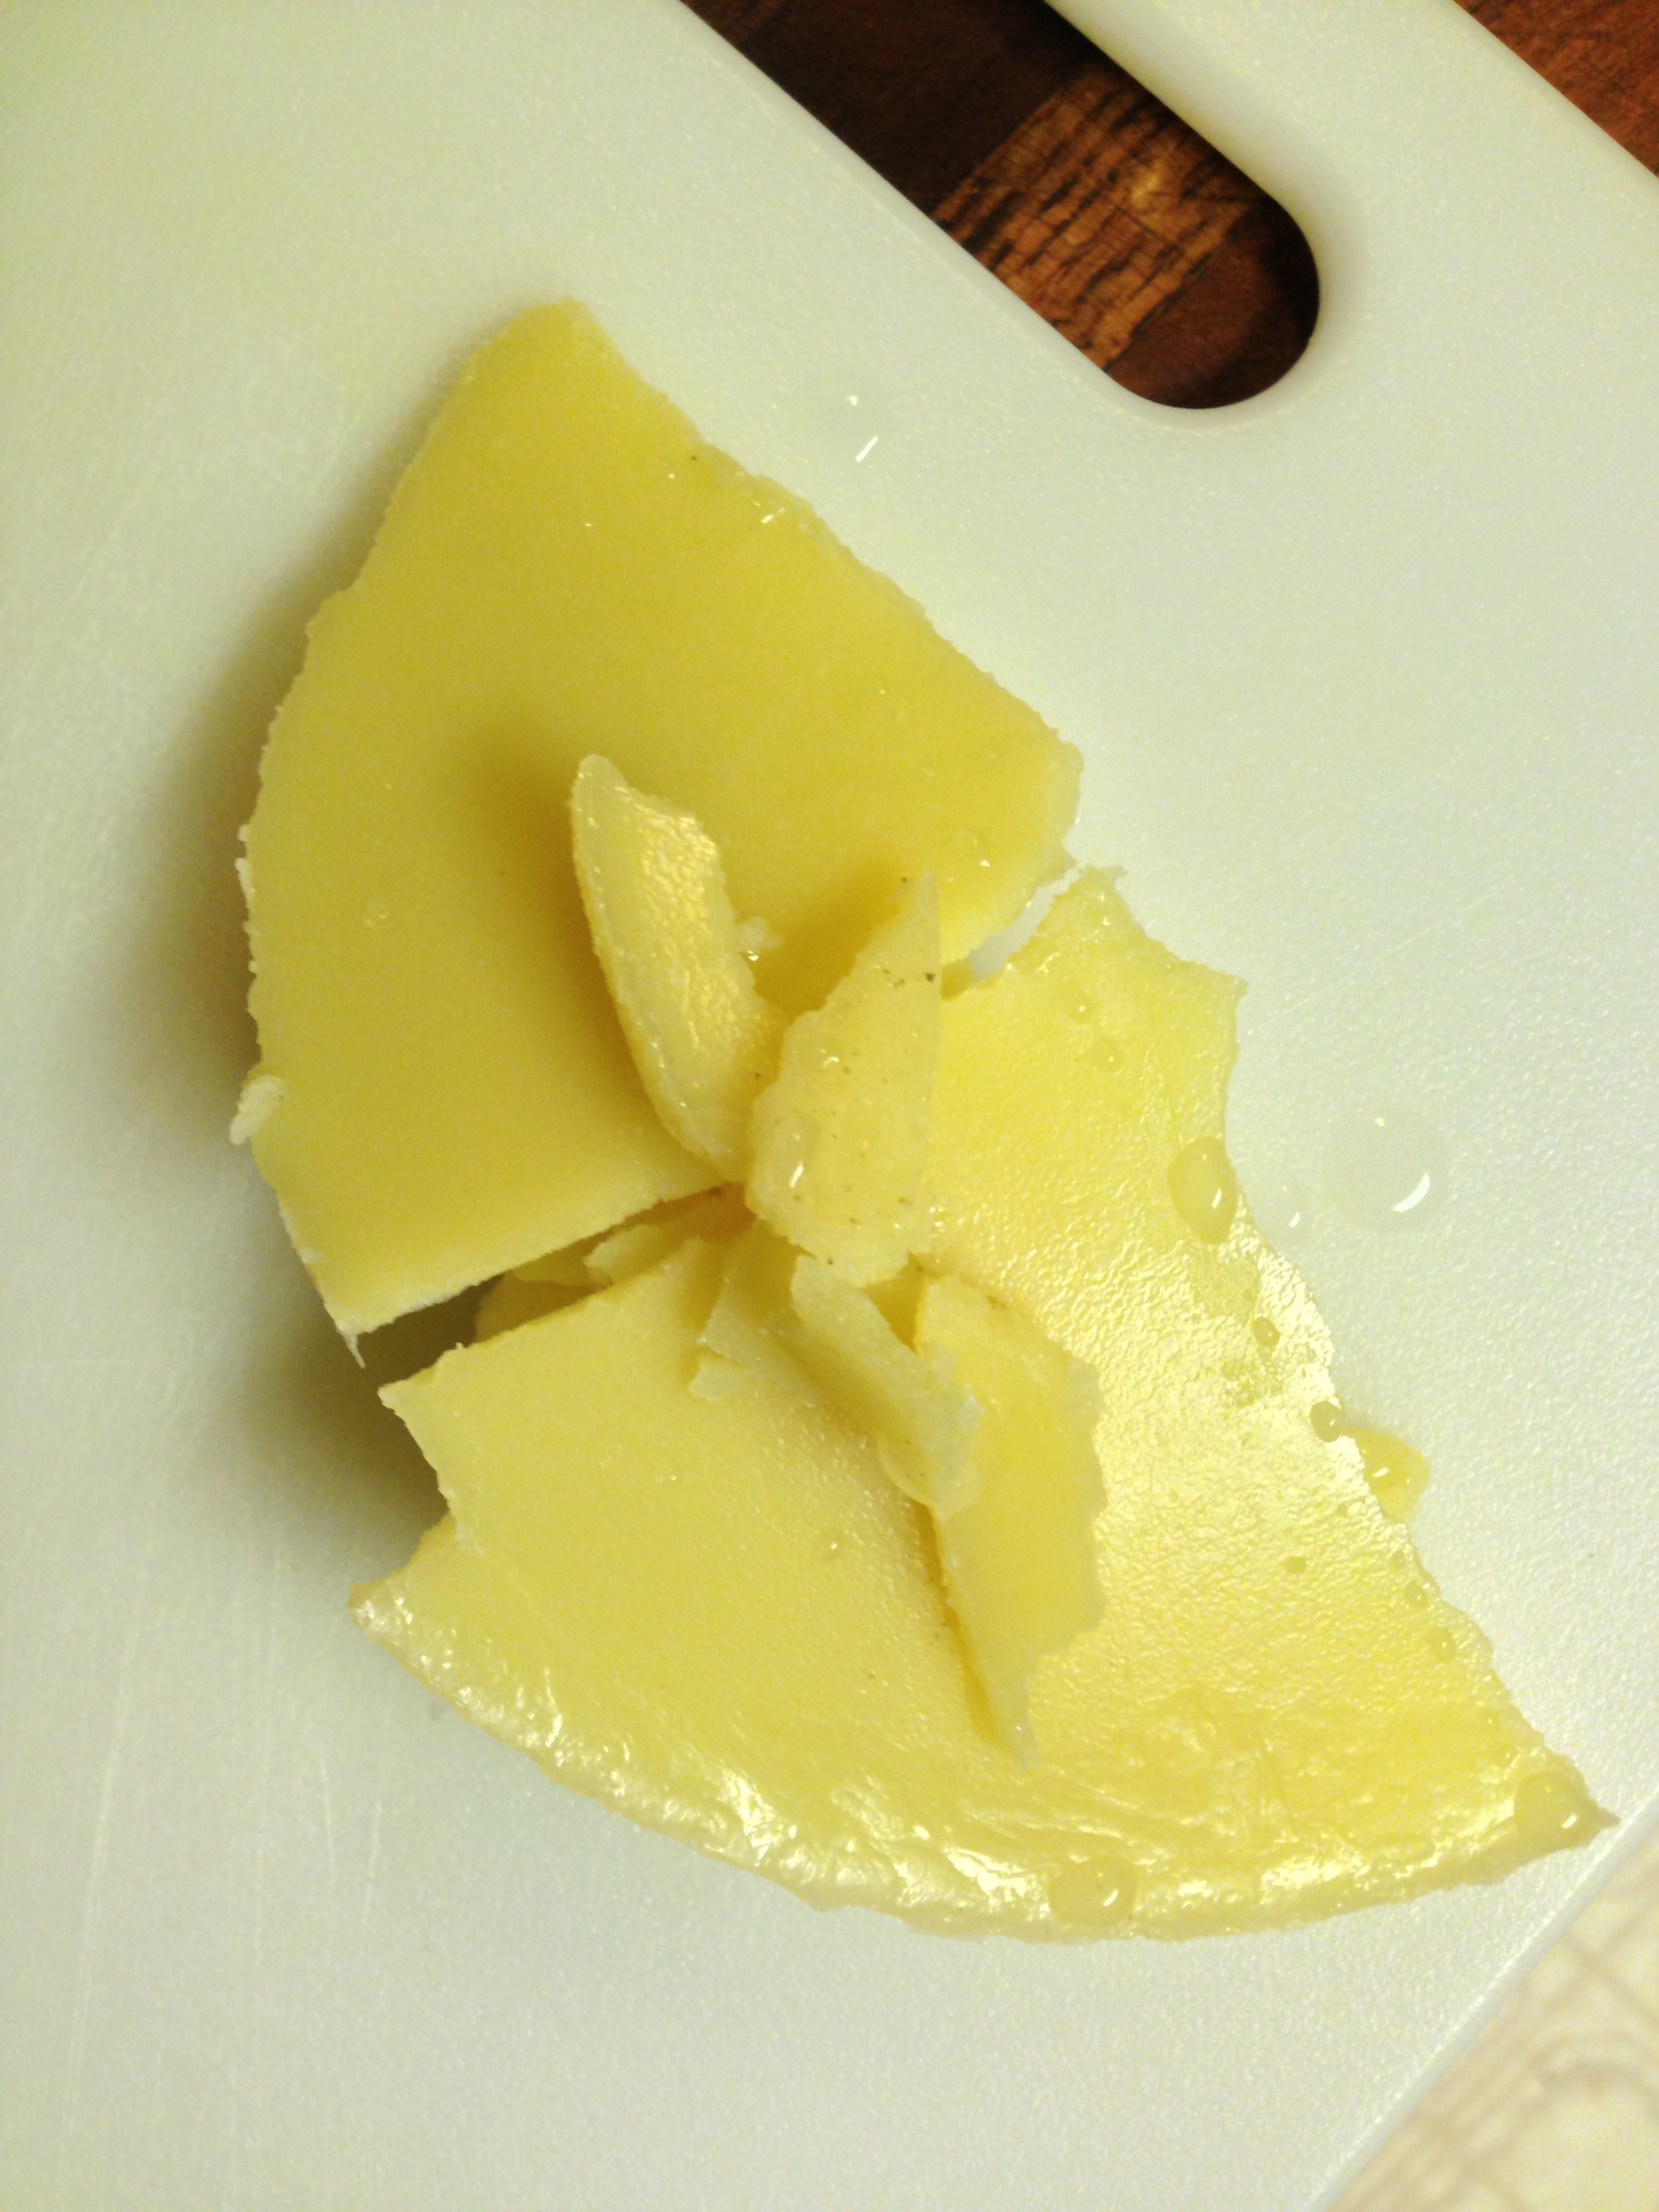
The tallow after the third washing.
Still, there were some stubborn bits of sediment remaining, so I decided to pull out a strainer and try to grab them for the fourth cleaning.
Most strainers are not fine enough to catch this sediment, but I had a tea strainer that seemed well-suited to the job.

The tea strainer I used to strain it after the fourth cleaning.

Straining the tallow after the fourth cleaning.
This was going to be the last time I could clean the tallow, so after I had – again – heated it with water until melted, I strained it into a glass to harden in the fridge. Less surface area=less moisture stuck to the tallow after it has hardened.
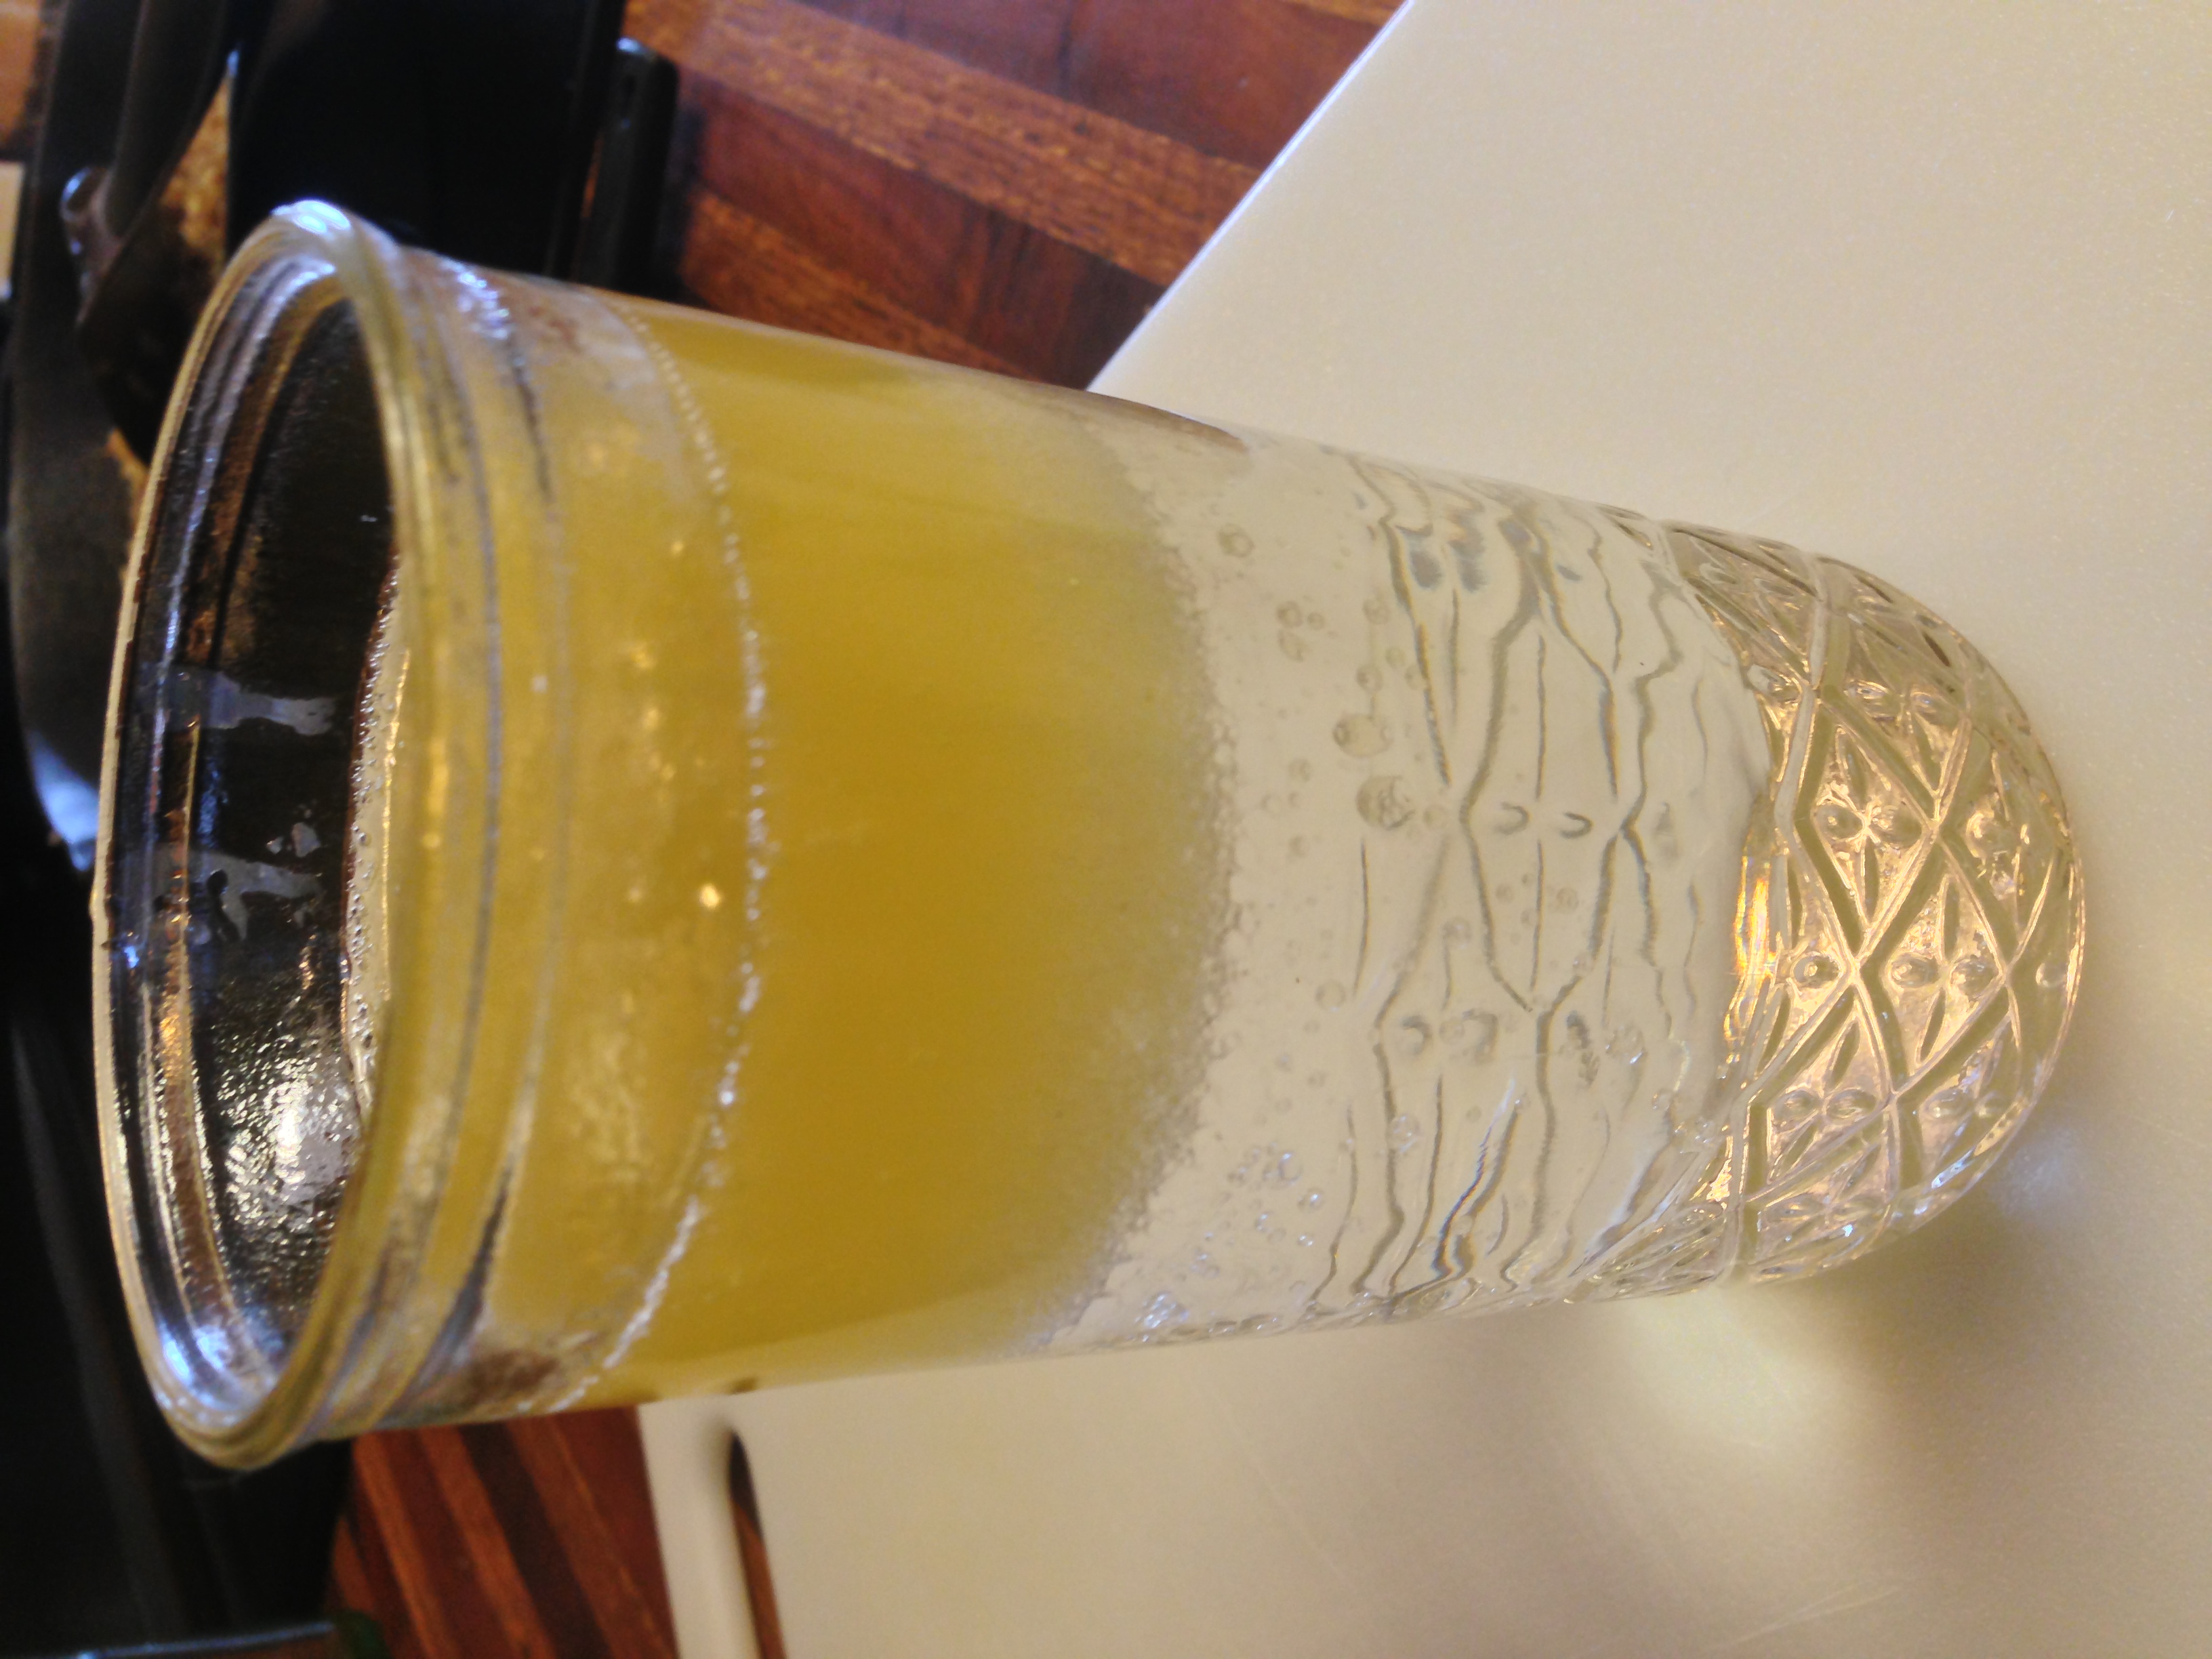
In the glass to go in the fridge after the fourth cleaning.
When it had hardened, I broke it off the top and threw it in the pan to make hand cream.
Four times cleaned, much whiter than it started, and in the pan to make tallow hand cream.
I did it exactly as I did in my tallow hand cream post, and in the end it came out much more white and clean looking than my first batch did by far!
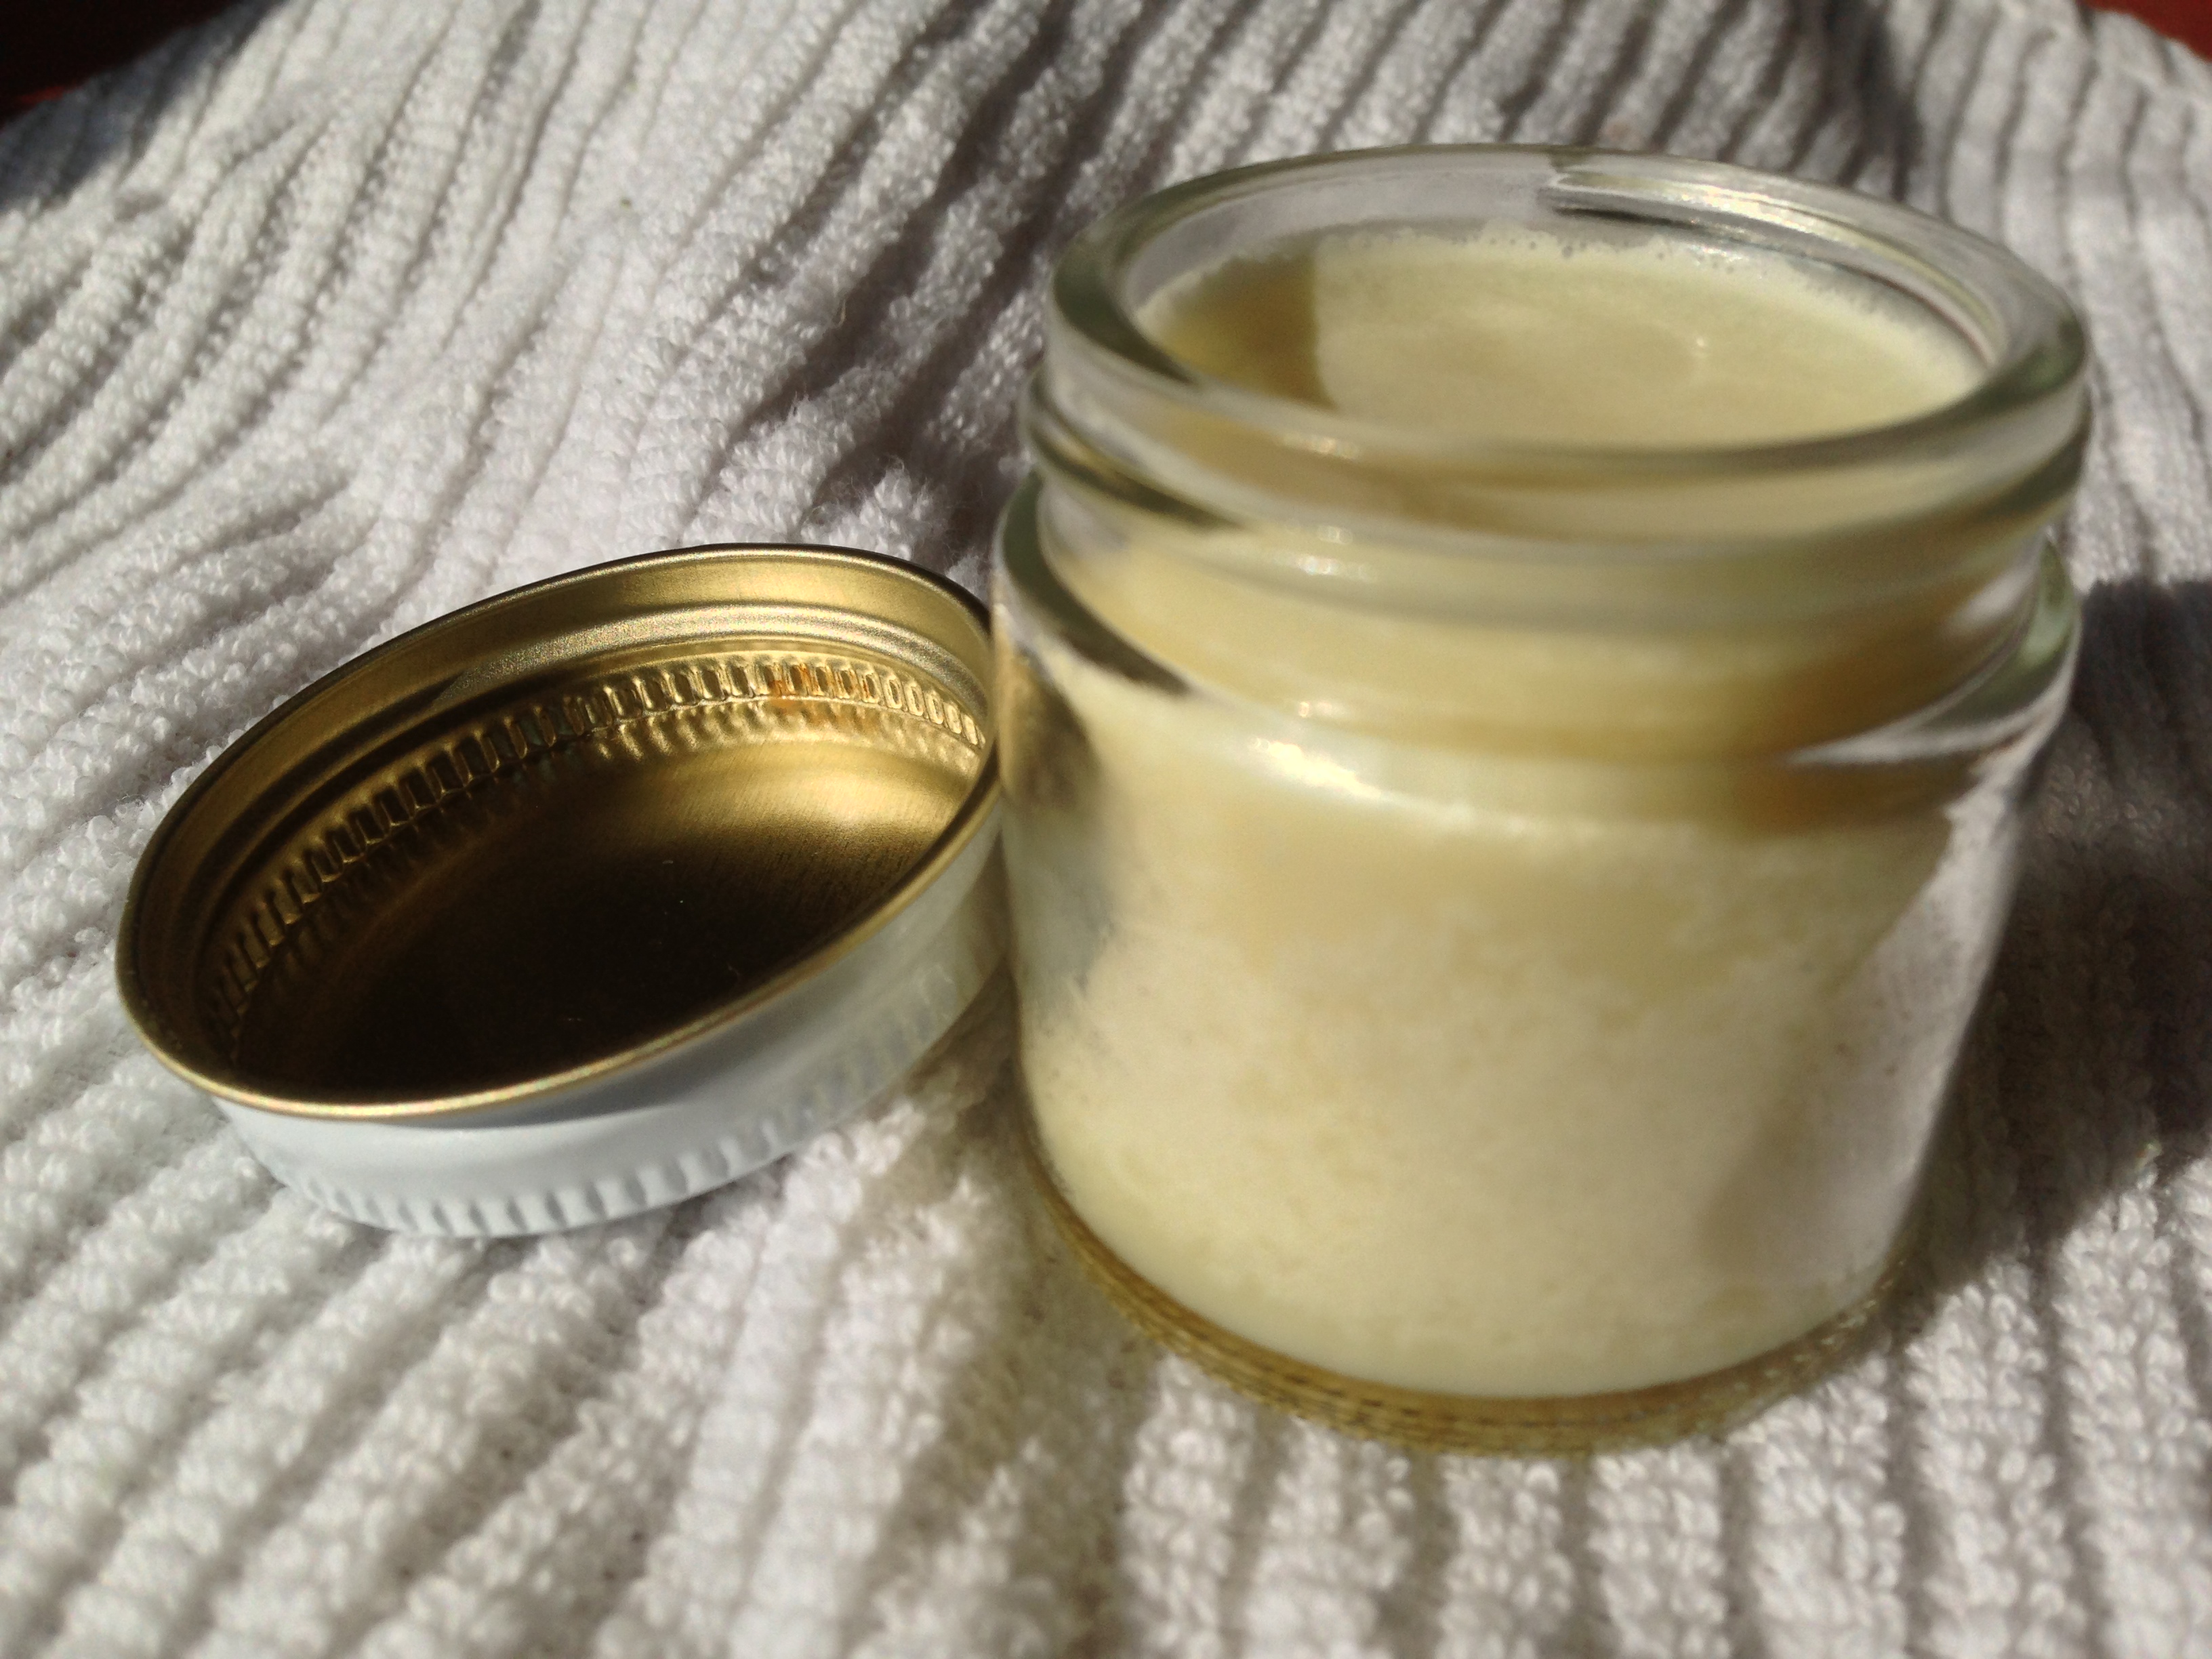
Finished hand cream!
Such an easy process, even if it takes some time. It’s well worth it to make such a nice, clean hand cream, though! It’s a little hard to tell in the photos, but this hand cream came out much whiter, brighter, and creamier than my first batch.
I used this cream on my face for two days, and my mystery “I’m 36 and still get pimples” face cleared right up!
Awesome!
So there you have it. How to clean your oil!
By the way, if you want to clean your cooking oil the old fashioned way, you’d simply add a cup of water to your deep fryer, heat it until it stops popping and crackling (that’s the water evaporating off), pour it through a strainer and store! Much cleaner than just straining it and storing it!
Have you ever cleaned your oil like this?
__________
UPDATE! 5/1/2019
Once you’ve cleaned the oil, it still has water in it. This reduces its lifespan and makes it spoil and turn rancid. (Bacteria in the water grows and gets ugly.)
So if you want your freshly cleaned water to last a good long time, toss it in a slow cooker, put a wooden spoon in it, and prop the lid on top of the wooden spoon. Lay a towel over the top of the whole she-bang, and turn it on to high.
It could take a whole day to do, but eventually all that water will boil right out of the oil, leaving nothing but pure, perfectly clean, ready-to-keep-for-ages tallow behind!
Even better, I’ve gently ladled that super hot tallow into sterilized canning jars, placed a sterilized canning lid on top, and set it on the counter and lo and behold those lovely POP sounds ring in my ear! I’ve read that you CAN “can” tallow, but you need to give it the water bath treatment. I’ve never done that; but with the water-free tallow just placed in the jar, I’ve had jars of tallow last me over a year – and I’m still opening them to use!
(Do this at your own risk, of course!)
So there’s another trick to cleaning your own oil. Fatworks is a company that sells jars of tallow, duck fat, lard, etc. and it’s a great option if you run out of time or run out of tallow….but at $16.25 per 14 ounce jar, it gets expensive!
Think about how much money you will save just doing this yourself!
According to those prices, my last time making tallow I made $165 worth of canned tallow!
Happy Oil Cleaning!
__________
This post shared with:


Pingback: Delicious Vegan, Gluten-Free, Fructose-Free Chocolate Cake AND Frosting! - Cradle Rocking Mama
Pingback: Gluten/Dairy/Egg/Soy-Free Pumpkin Pie & Crust - Cradle Rocking Mama
Pingback: Egg-Free, Gluten-Free Salmon Patties - Revisited! - Cradle Rocking Mama
Pingback: Tallow Hand Cream -
Pingback: 13 nifty cleaning hacks to cut down your cleaning time. Life just got easier