One of my favorite meals is Pot Roast. At the start of this elimination diet I felt confident I could maintain it because, well, my diet was basically variations of pot roast.
At the risk of sounding boastful, I must say that I make an awesome Pot Roast. Really. Ask anyone who’s eaten it!
I took the risk on sounding boastful simply because I know that I have nothing to boast about. It’s not my recipe! I’m just patient enough to do what the folks at Cook’s Illustrated told me to do.
(I’m happy to link to the recipe, but Cook’s Illustrated won’t show it unless you have a paid subscription. So, this nice person wrote the whole recipe out here, if you don’t want to pay to see one recipe. Of course, Cook’s Illustrated kind of rocks (if I weren’t broke I’d have a subscription) so buy one if you can but otherwise, she wrote it out exactly so you’re not missing out!)
Granted, I’ve made a few tweaks…a few shortcuts, if you will, but this is the Best Pot Roast you will ever eat in your entire life. Promise! The original and my shortcut version taste almost identical, because one thing I didn’t change were the key secrets to an amazing Pot Roast.
Why on earth does a boring ol’ pot roast deserve a whole post? Well, maybe for the simple fact that most pot roasts are truly awful!
Oh, there’s always something good about them: maybe they’re moist, maybe they have good flavor, maybe they’re fork tender…but not all at once! With this recipe, you can take the worst cut of meat and have an entree SO tender, SO juicy, SO flavorful, you’d think you were eating manna from Heaven.
The original recipe is not hard to do, but I don’t do it that way any more. Partially because I’ve taken as many shortcuts as I can, and partially because I cut even more steps in deference to our fructose issues and realized that ‘hey, it’s still pretty good without ___!’
So feel free – in fact, I encourage you – to make it the Cook’s Illustrated way.
Then come back here and make it my way, and see how much easier I make it for you!
So here’s what I do:
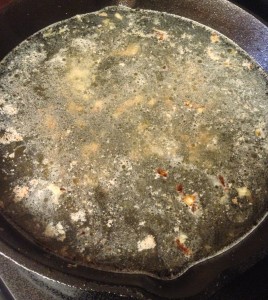
Start out with an onion. Chop it up and throw it in a pan to soften.
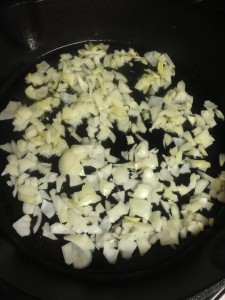
Onions softening. I used my cast iron pan for this part, as my camp soup pot isn’t really great on the stove top.
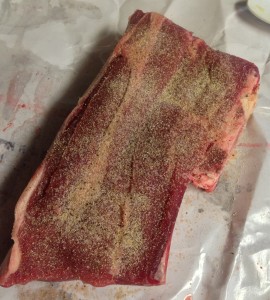
Then grab your roast; you can really get the cheapest cut of meat out there and it will be perfect when you’re done. Coat it in a thick layer of garlic powder, sea salt and black pepper.
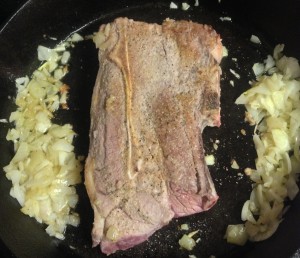
Throw it in the same pan as the onions to sear the outside.
At this point, Cook’s Illustrated says to wrap it in twine; I’ve never bothered. I just put it in my big ol’ pot and am done with it.
(Side note, I am not – yet – the Pioneer Woman. I don’t have 4 gorgeous le Creuset dutch/french ovens in my kitchen. I don’t even have ONE, though I lust after them! As Cook’s recommends you cook your roast in a dutch oven, I have to make do with my big black camp soup pot. You know what? It works just fine. So whatever you’ve got will be perfect!)
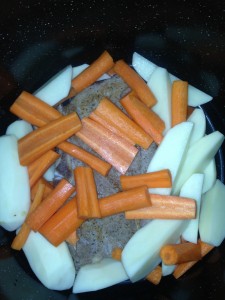
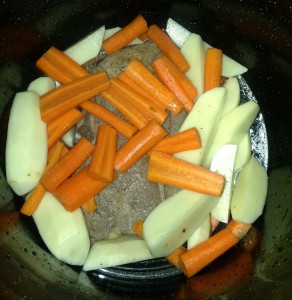
Normally you would toss in your roast and proceed with the rest of the recipe, however, I was making this roast just for me and I like my veggies really soft and mushy. So I put them in at the same time as the roast to cook. Ordinarily, you’d throw these in about 1-2 hours before serving.
This is where it gets interesting: Cook’s calls for putting 1 cup of each chicken and beef broth in the pot with your roast. For whatever cooking science reason, this combo truly does make a delicious roast! Chicken, alas, is not on my elimination diet, so I have to make do with just beef broth.
Most of the time, though, I don’t even have beef broth made up, so I just use plain water. Whatever your liquid of choice, dump it into the pan you browned your roast in and turn up the heat! Use this time to scrape up any browned bits off the bottom, add in whatever seasonings you can have (thyme is recommended), and bring it to a boil. (The goal is to have the liquid come to halfway up the sides of your roast, so adjust as necessary.)
Then dump that lovely “broth” over your roast!
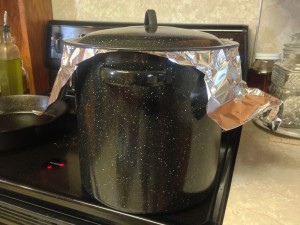
Next is another important part: put a piece of aluminum foil over your pot, then put the lid on. Press it down to make a nice seal.
Then throw the whole pot in the oven at 300 degrees F and walk away. Let it cook for at least 4 hours, but I’ve gotten busy and not taken it out of the oven for 8 hours before and it was still heavenly! Set a timer, though. Even though the smell will bring a smile to your face, after 3 or 4 hours of smelling it you’ll get used to it and – if you’re like me – might forget you have a roast in the oven!
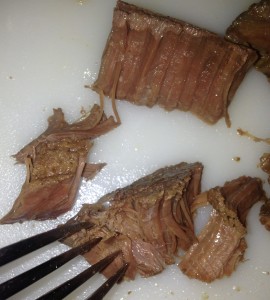
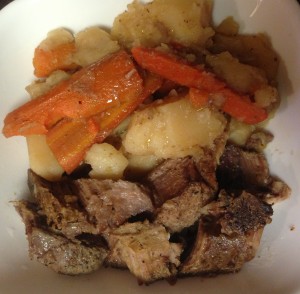
What comes out is delicious, beefy heaven!
And all together:
After you’ve taken the roast and veggies out of the pot, strain out the liquid in the bottom and use is as a “sauce” for your meal. It’s delicious!
So there you have it! The true key to a delicious pot roast really boils down to two things: cook low and slow, and keep the moisture in! Anything you do beyond that might improve it slightly, but sticking with those two essentials will ensure the pot roast will become a family favorite!
- roast
- 1 onion (optional)
- 2 potatos per person
- 3-4 carrots per person
- sea salt
- black pepper
- 1 cup beef broth (or water)
- 1 cup chicken broth (or water)
- garlic powder (optional)
- Chop your onions and throw them in a dutch oven (or skillet) to soften.
- Coat your roast with garlic powder, sea salt and pepper.
- Remove the roast when all sides are seared and add your chicken/beef broth to the pan and bring it to a boil.
- Place your roast back in the pan; make sure your liquid comes to halfway up the sides of the roast.
- Place a piece of foil on the top of the pan and put the lid on top to make a tight seal.
- Place in a 300 degree F oven and set your timer for 4-6 hours.
- If you like your potatos and carrots very mushy and soft, place them in the pot at the beginning of cooking. If you like them a little more firm, put them in the pot 1-2 hours before serving.
- Enjoy eating the perfect pot roast - and don't forget to use the broth in the pan at the end!
This post shared with:
and





Got this pinned! Thanks for linking up at Gluten Free Fridays! You are a rocking mama with such great recipes!
Aw, thanks!