


So a couple weeks ago, my dear friend Marc called me up one afternoon just bursting with excitement! He’d been watching Dr. Oz and heard the doctor talk about quinoa MILK.
Marc remembered that quinoa was the only safe food for Zac, and didn’t know if I knew you could make it into milk.
I didn’t.
So I was grateful for the call!
I went to the internet, and Google provided this lovely recipe for quinoa milk that looked pretty good from Alison at Omnomally.
Shortly after this, a new friend from the FPIES boards sent me a message: had I considered making quinoa milk? She’d found some in the store and immediately thought of us. (We really do have some awesome friends, you know?) Then she sent me a link to another quinoa milk recipe, and it was very similar to the original one I’d found.
It seemed like destiny: I was going to make quinoa milk!
So, I did.
It’s so ridiculously easy, I can’t believe it. I will make this every day, no problem!
Here’s what you do:
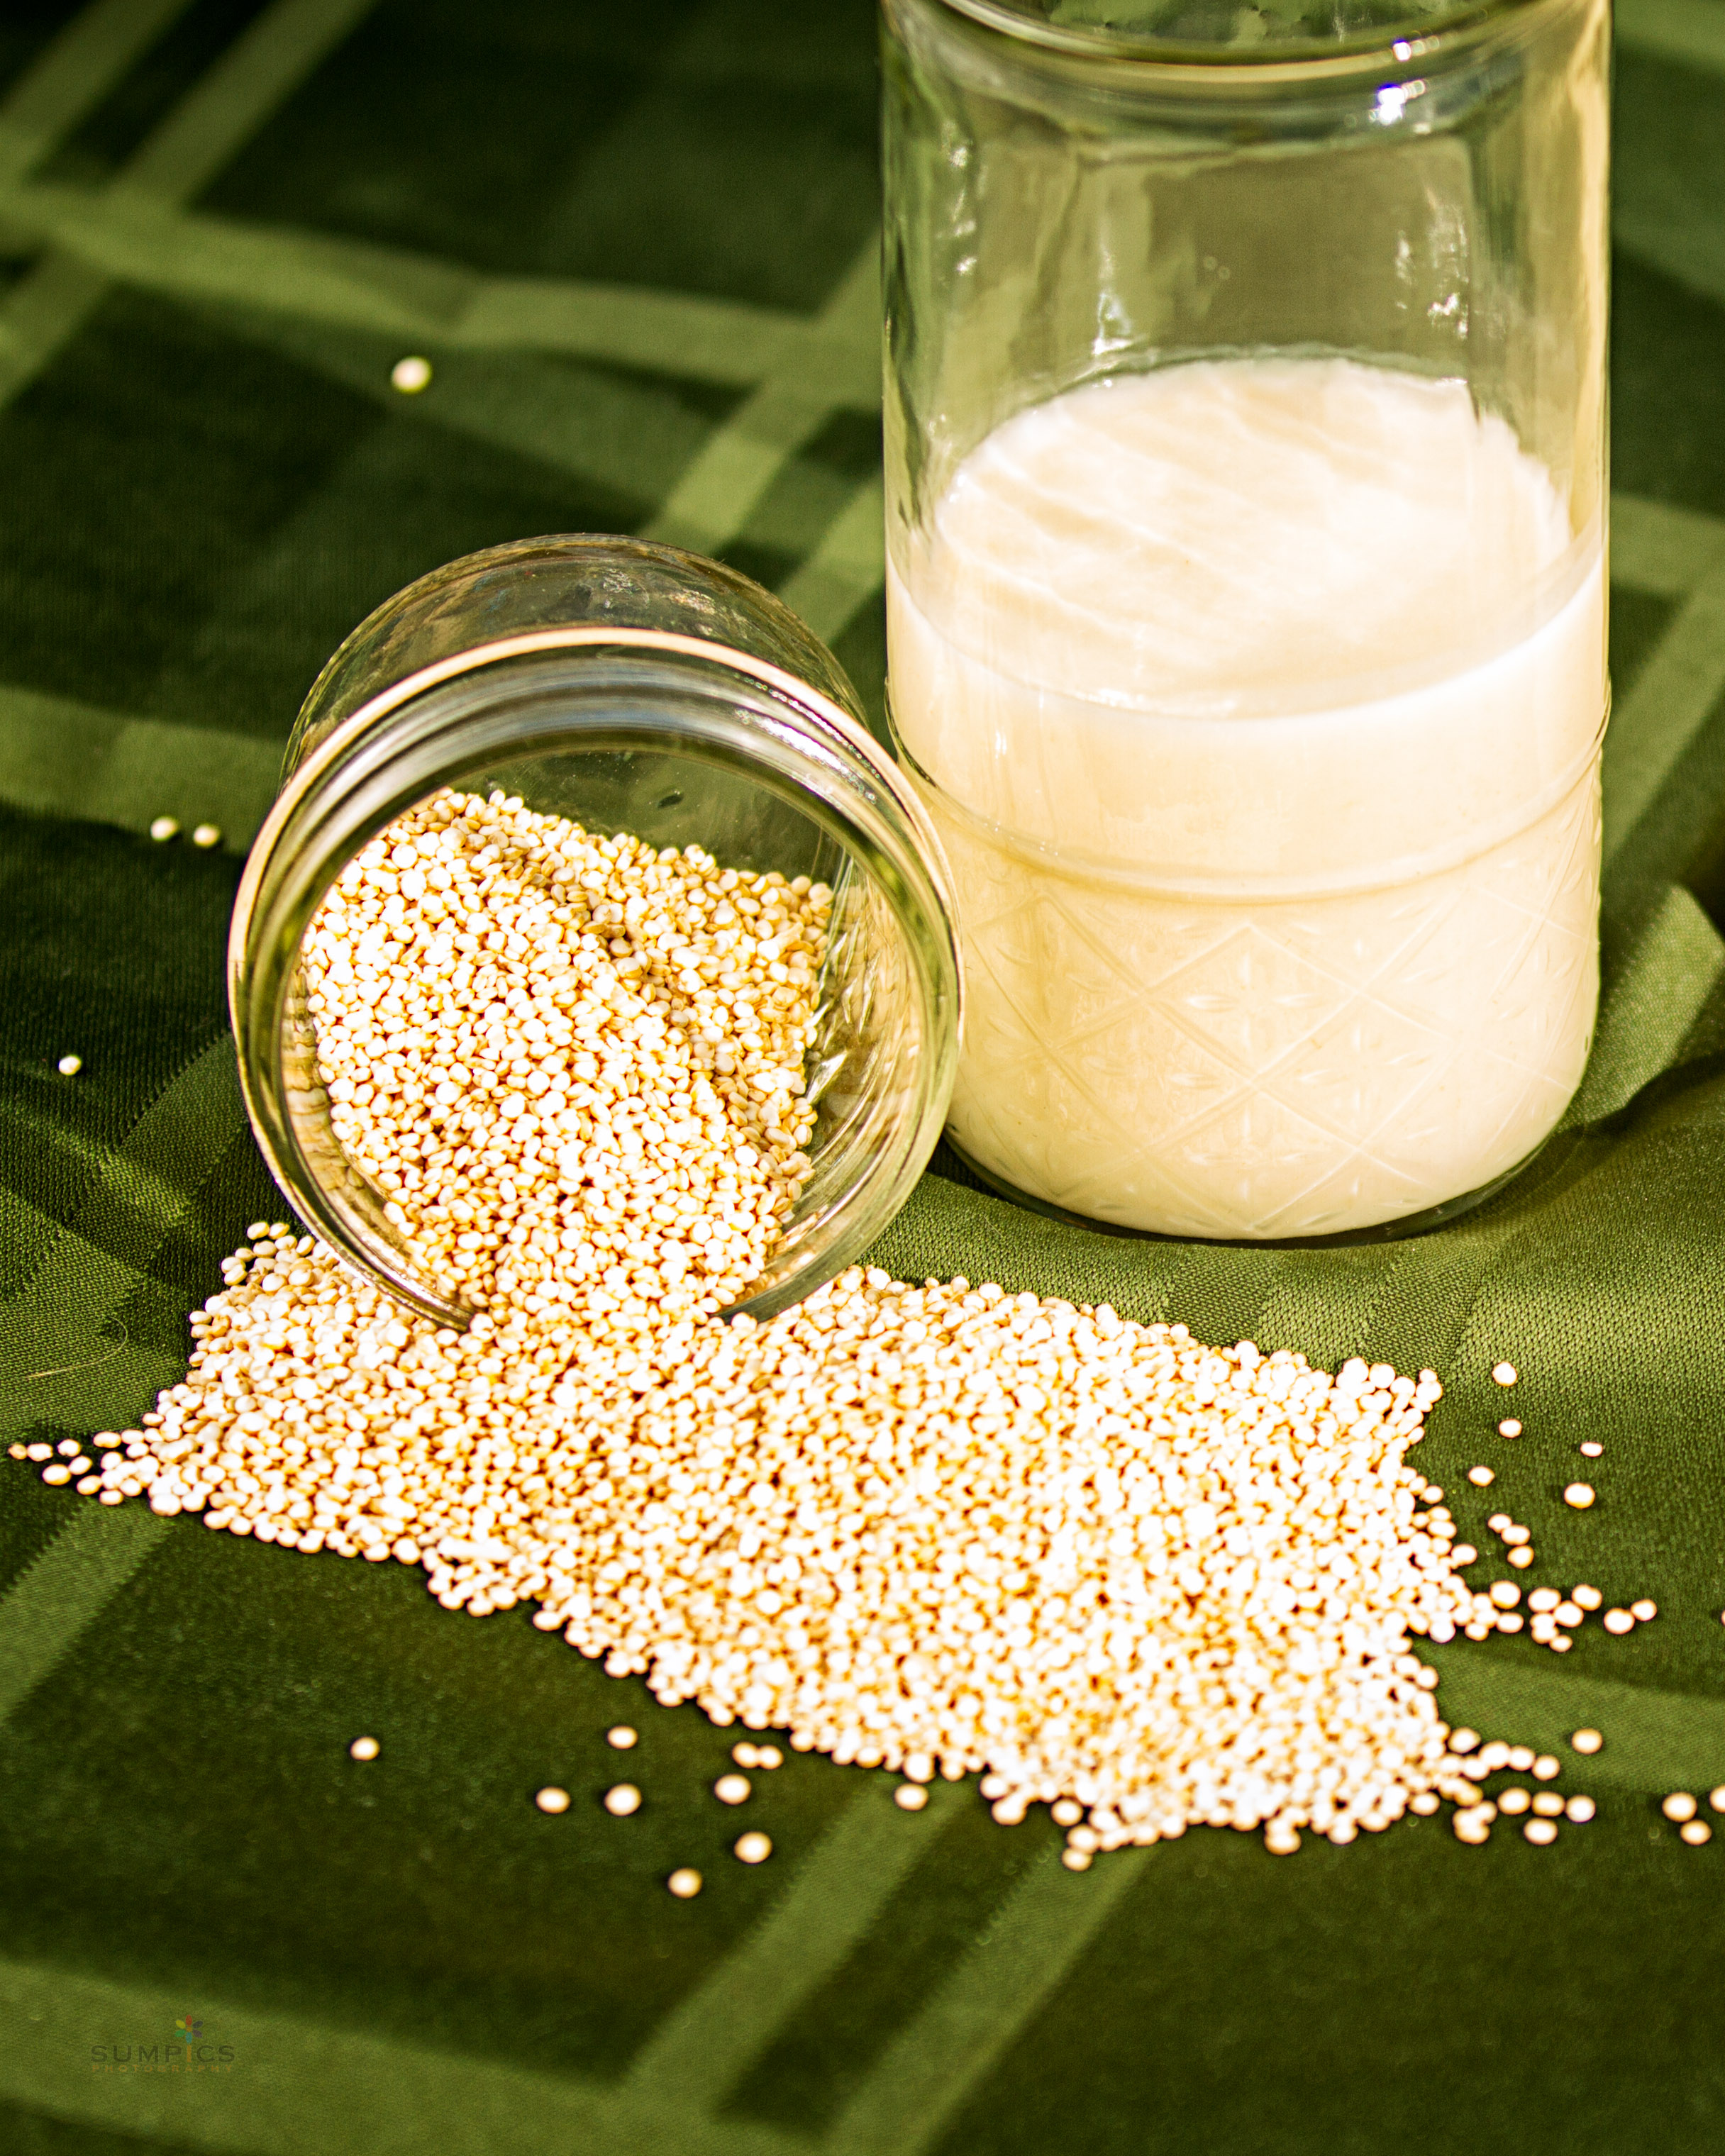
Cook up a bunch of quinoa seeds. (Some brands are pre-rinsed, others aren’t. If yours isn’t pre-rinsed, do the whole rinsing process first, of course!)
Take one cup of the cooked quinoa, put it in your blender, and add two cups of safe water.
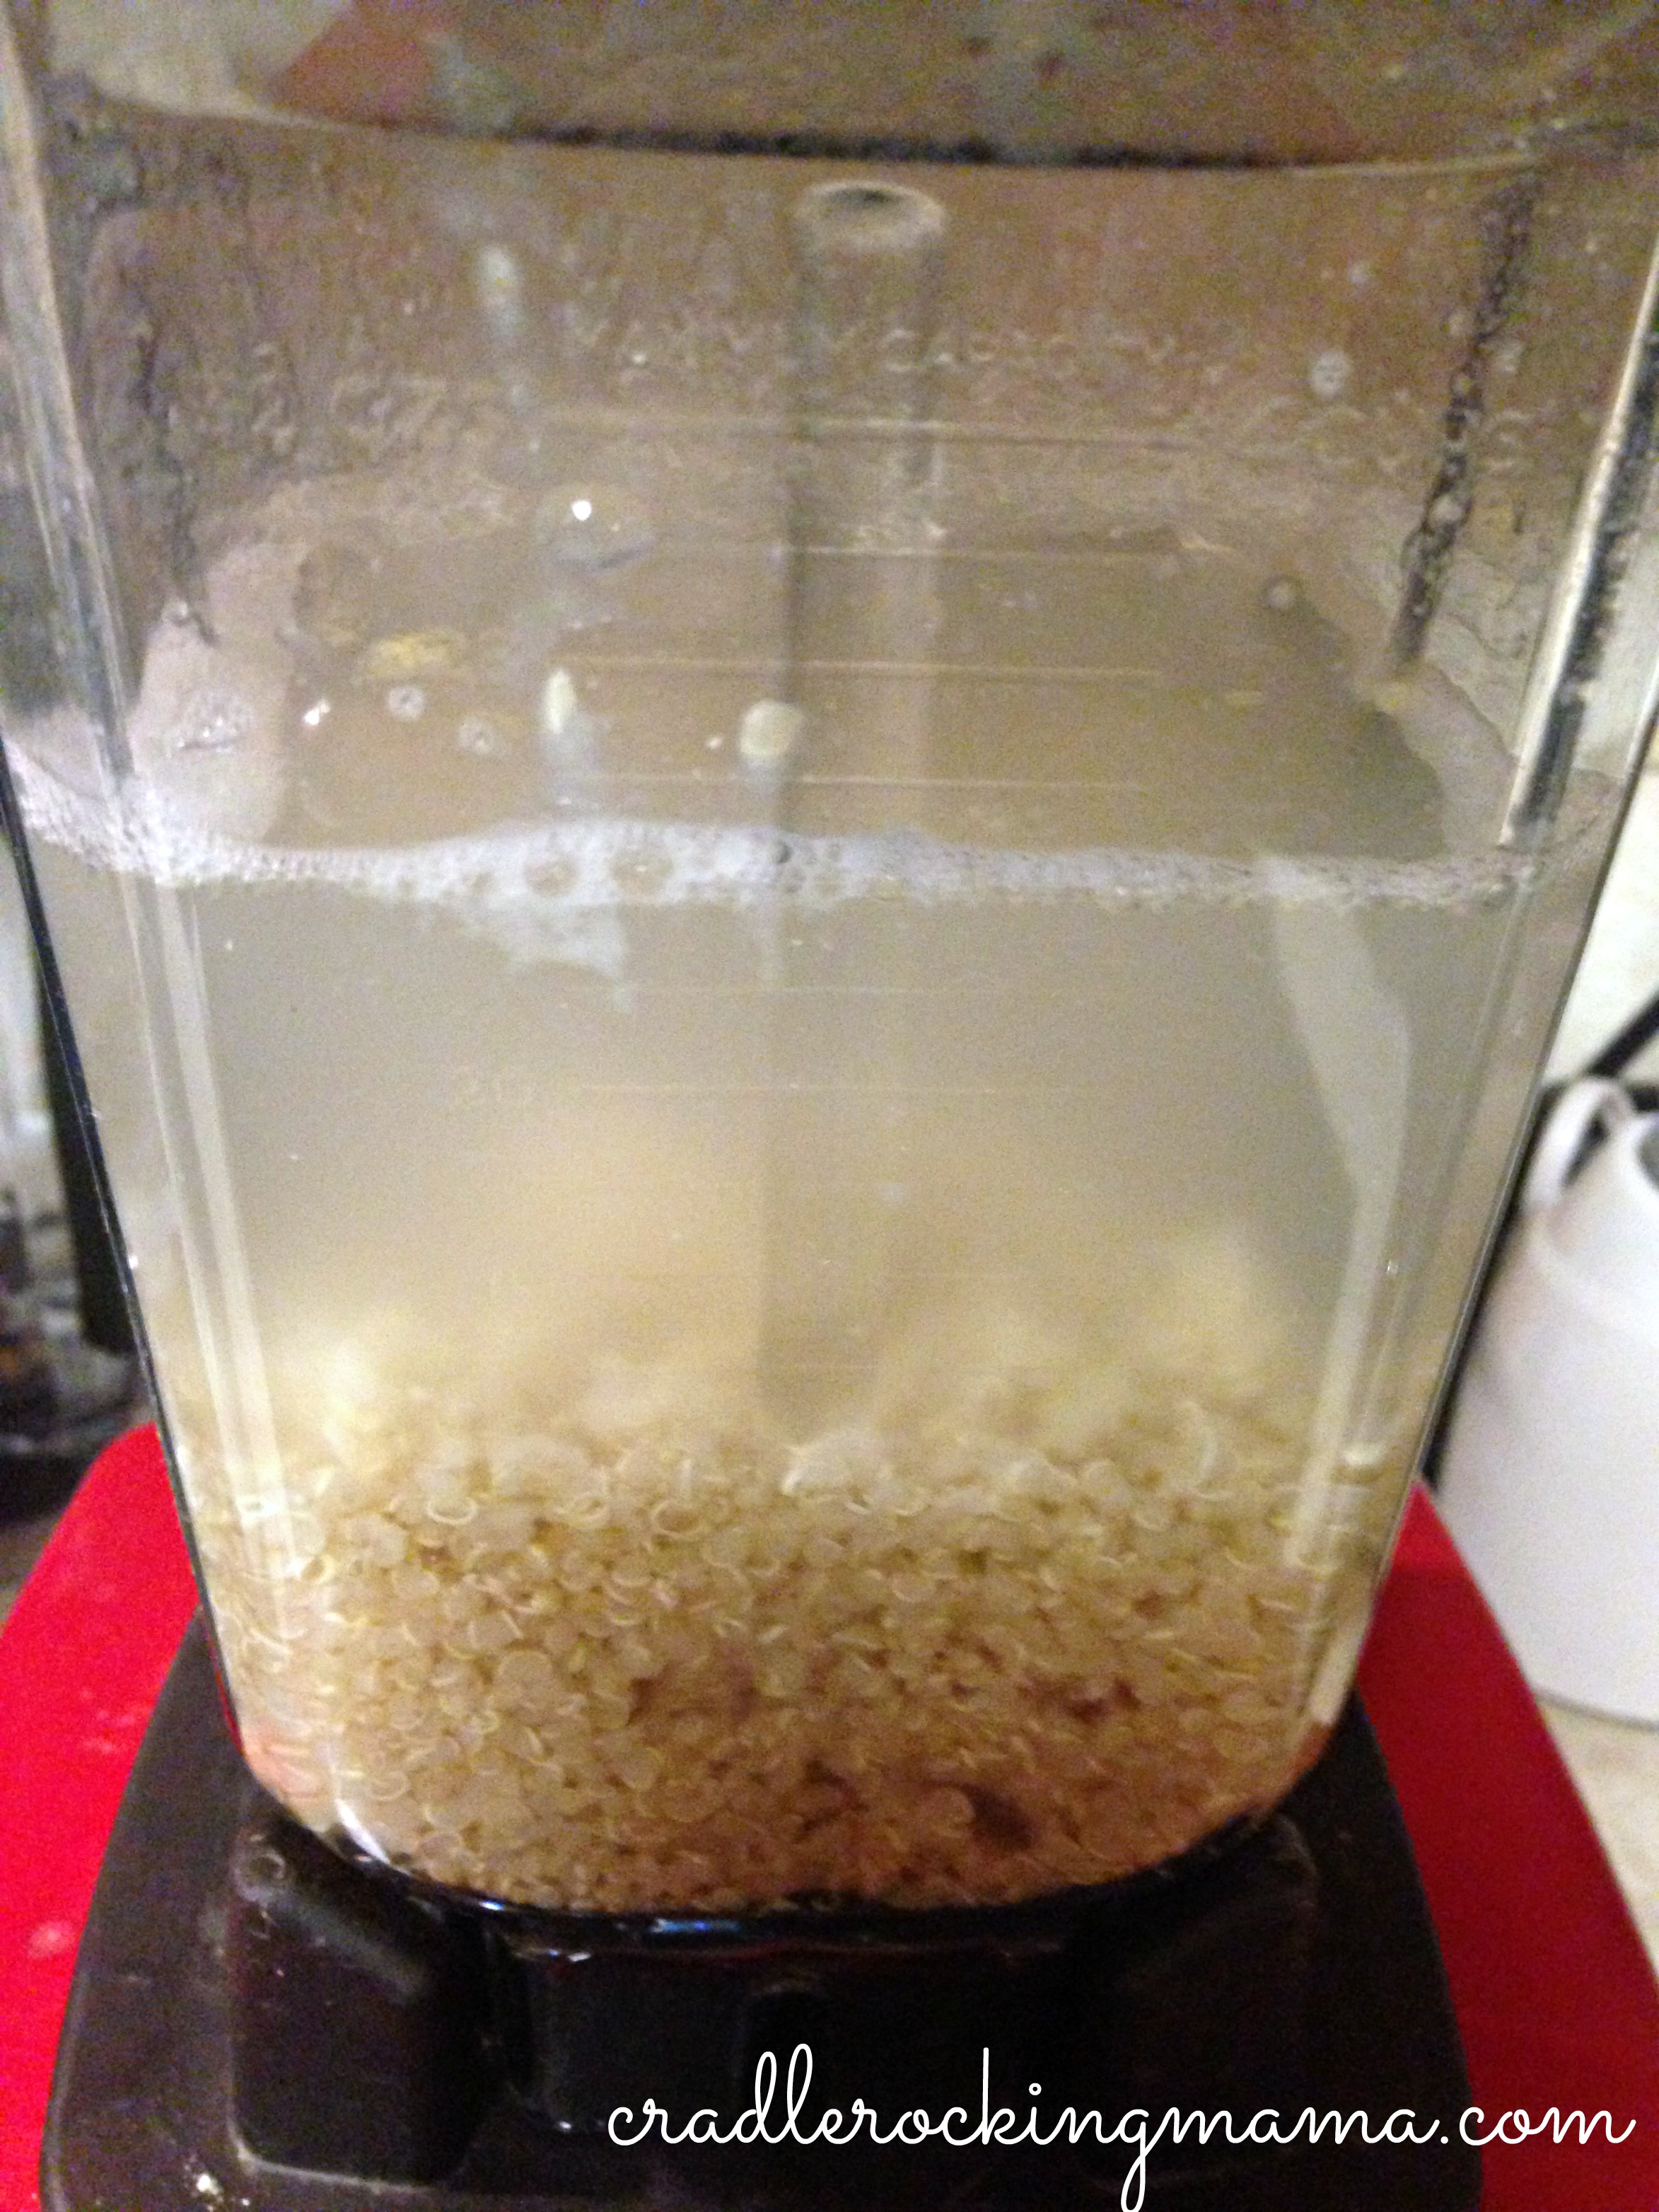
Quinoa and water ready to become milk
Turn it on!
Process until smooth.
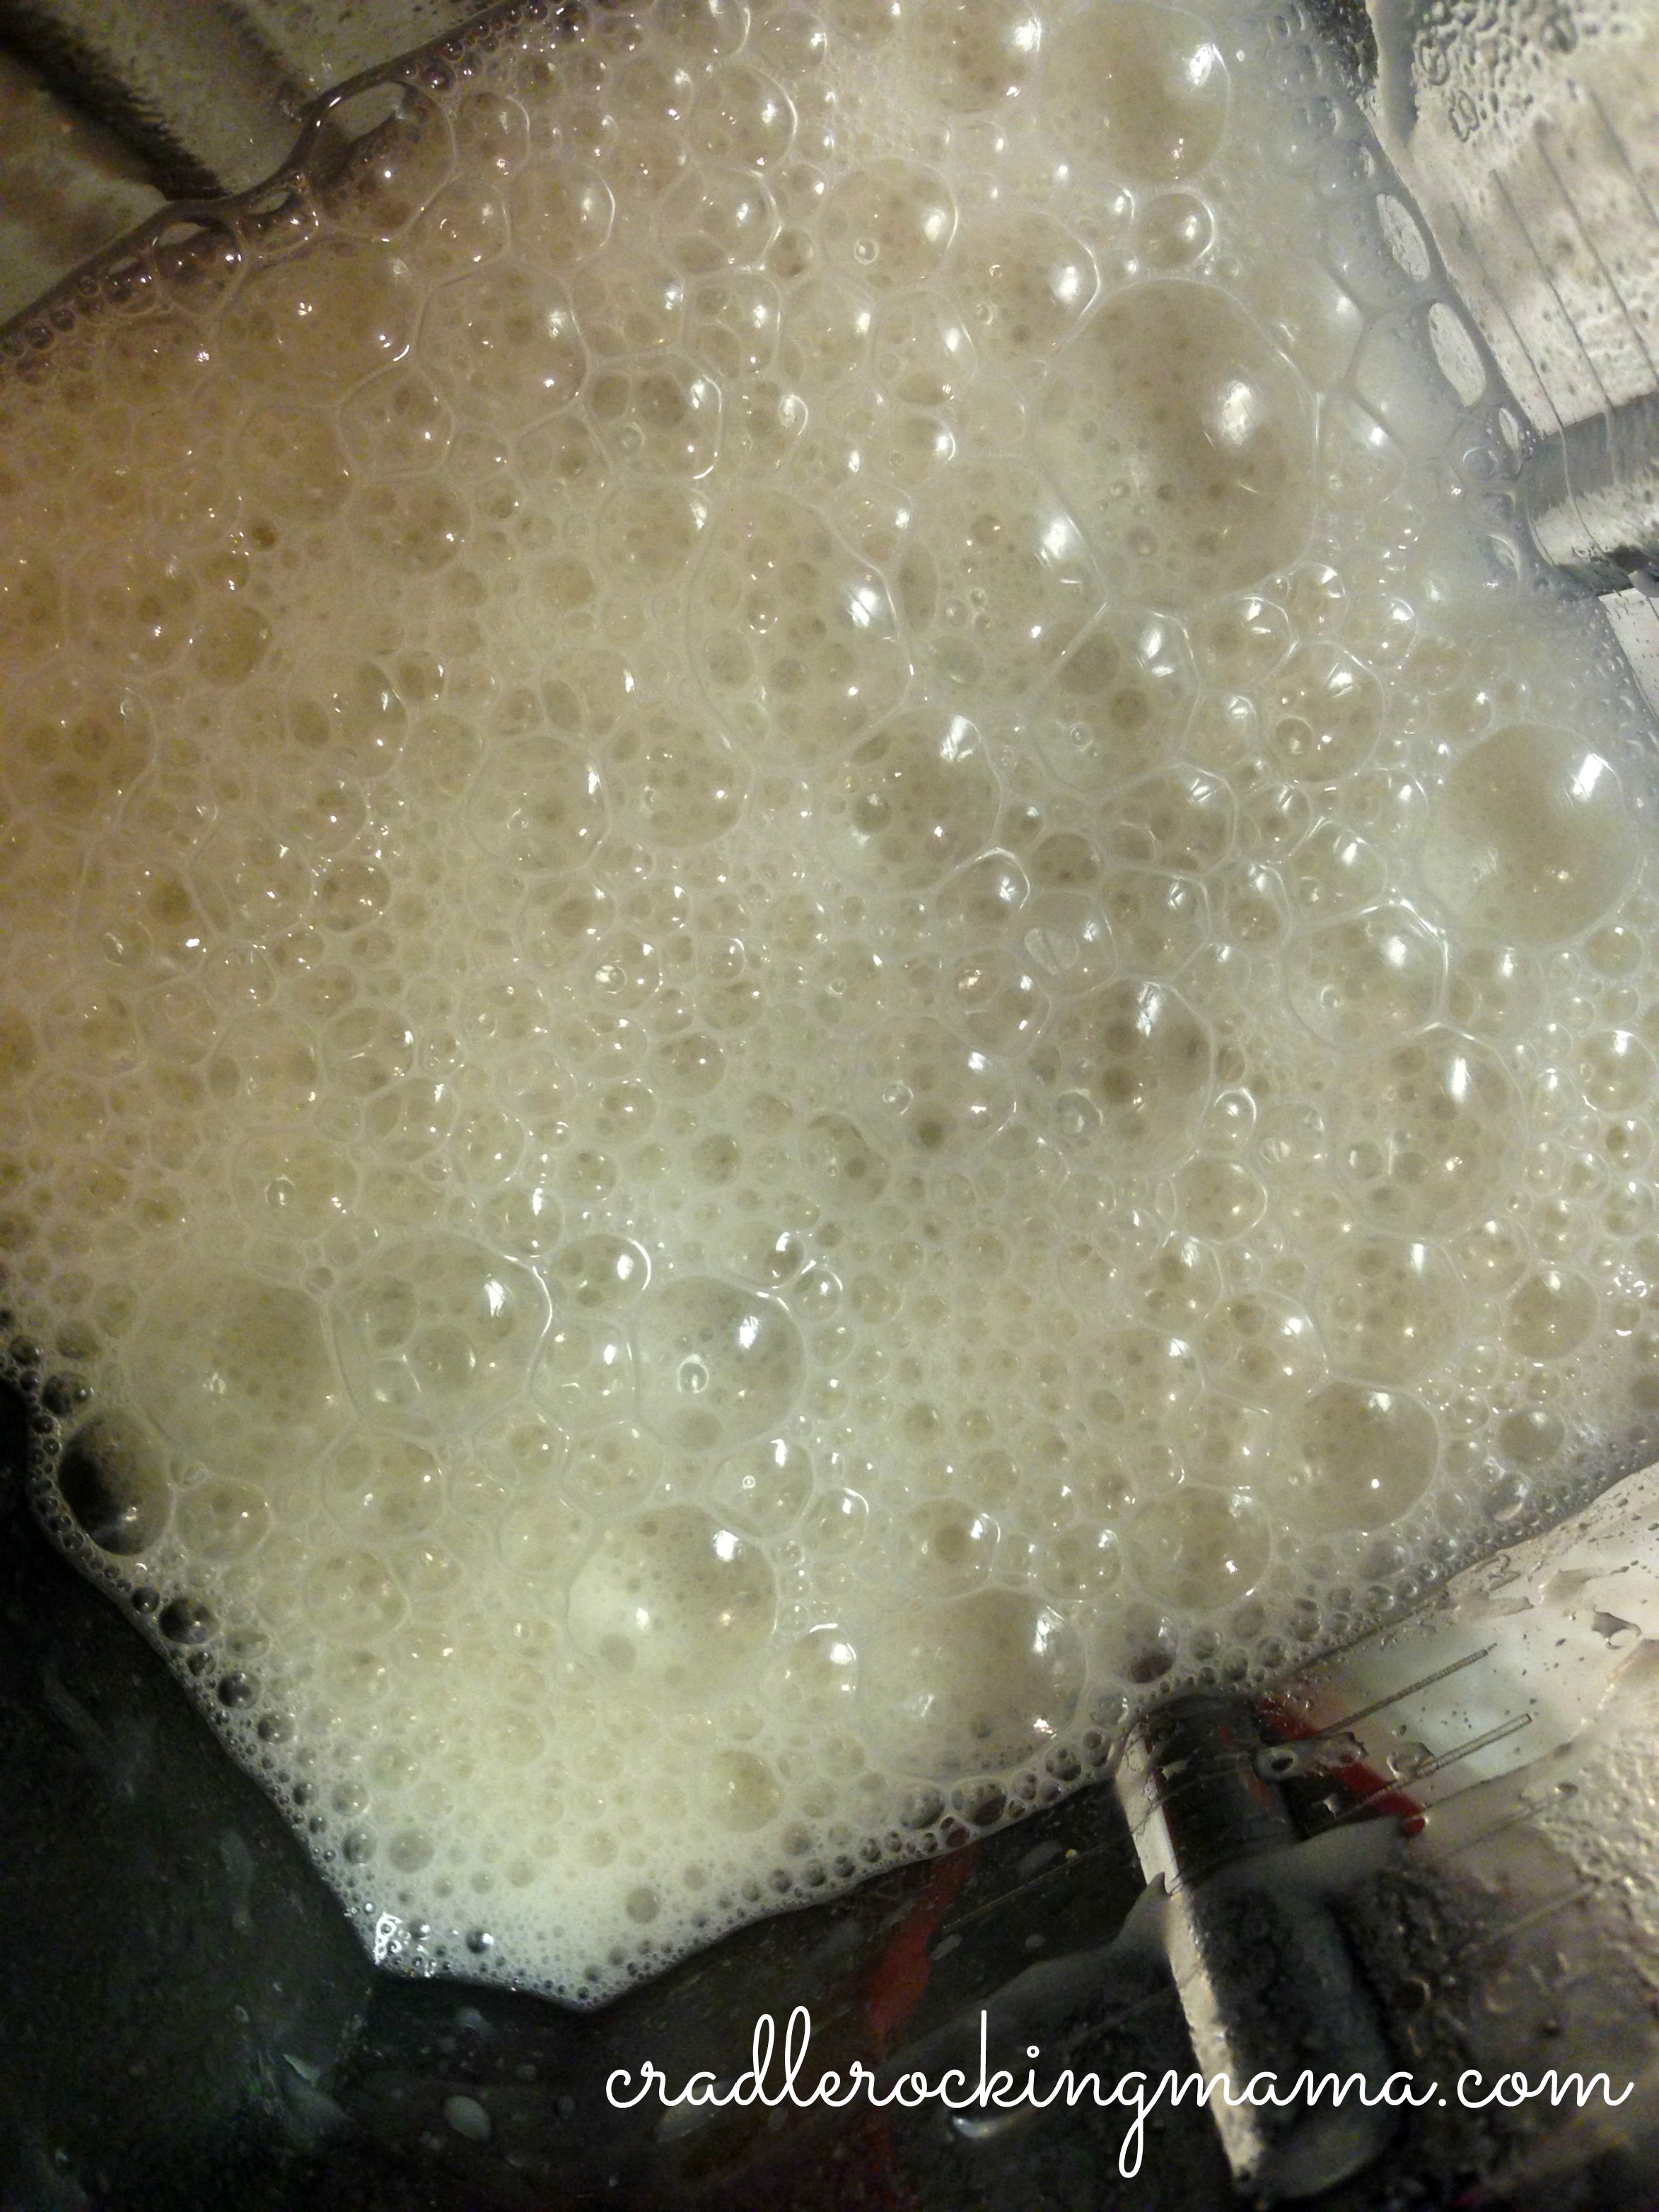
The frothy finished product.
Now, here’s the part where having a Vitamix will make all the difference in a recipe.
If you have a Vitamix (or other high speed blender), at this point just pour out the milk into a jar and put it in the fridge to cool.
I didn’t know this about the Vitamix, so I did the rest of the steps as outlined in the inspiration posts.
I took a nut bag, draped it over a glass container, and poured the quinoa milk through the nut bag to strain it.

Nut bag draped over my pitcher…
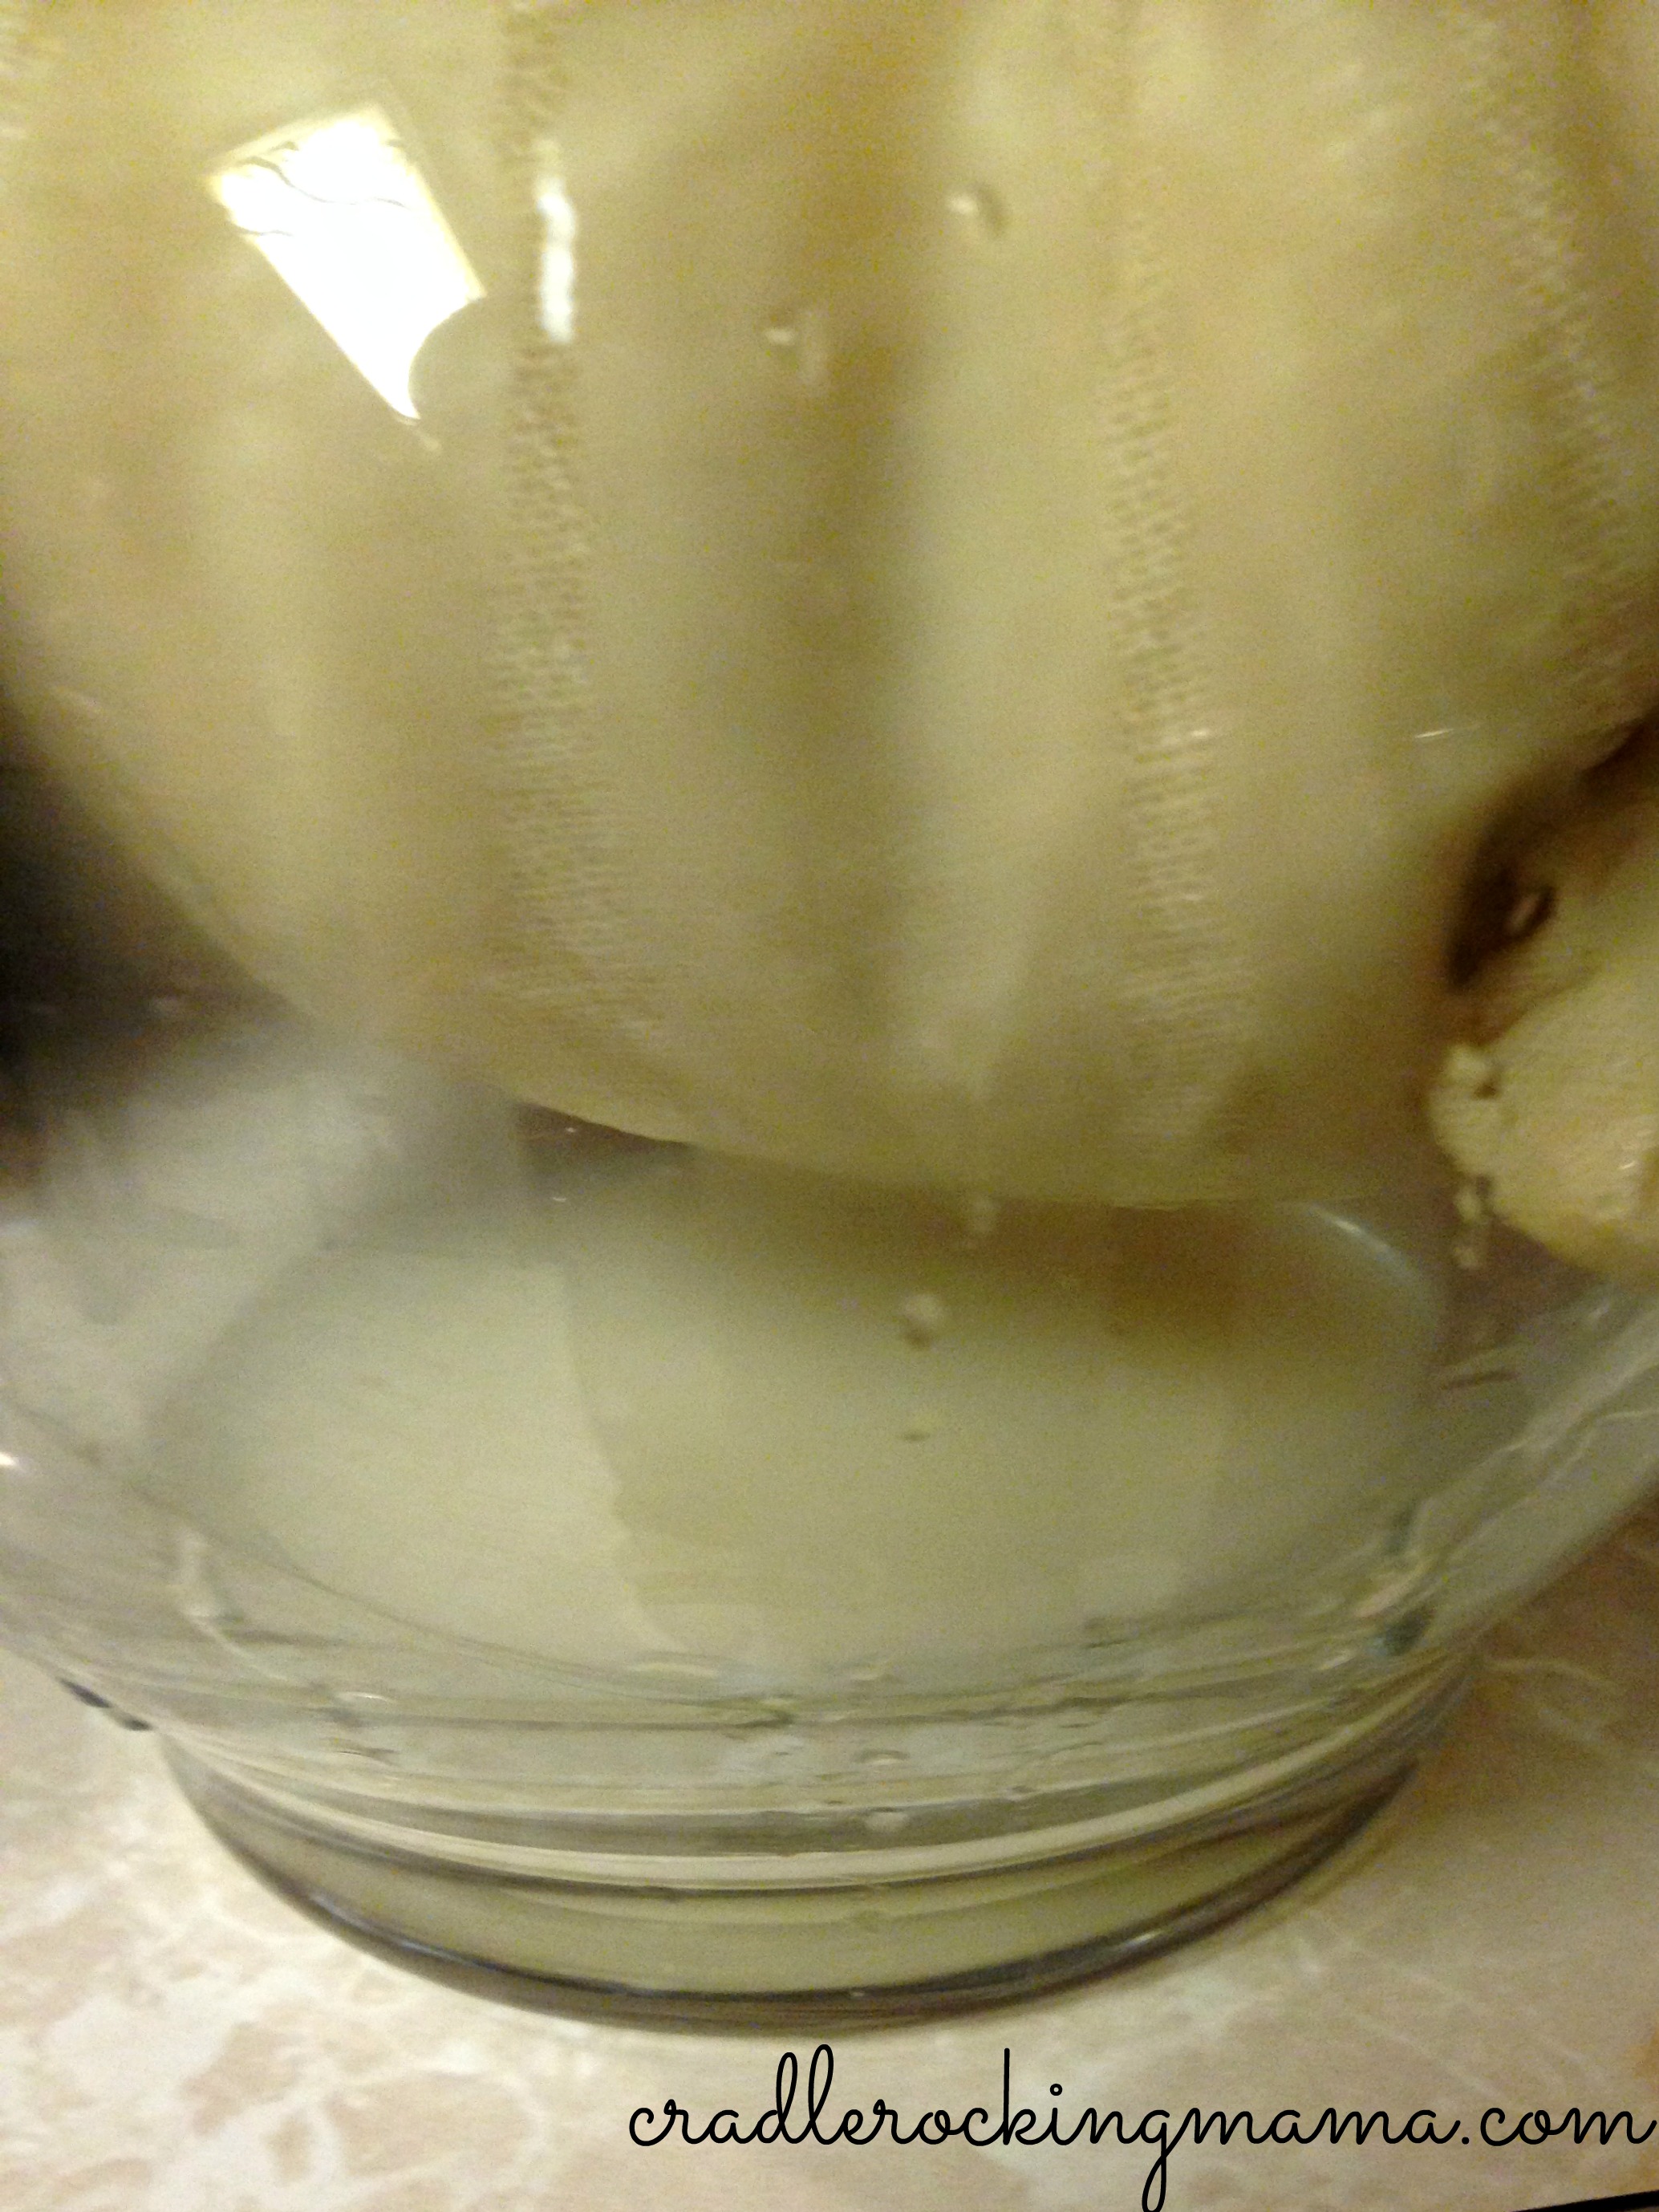
And straining the milk into the pitcher!
When I was done, I turned the nut bag inside out to scoop out any of the “pulp” from the inside and…nothing. Nada. There was a tiny bit of quinoa pulp on the inside of the bag, but not enough to mess with cleaning a whole nut bag for!
Obviously, if you don’t have a high-powered blender, you’ll need to strain your milk. If you have a Vitamix, though, you get a pass. Just pour and drink!
Delicious, homemade quinoa milk!
Do you know what is so exciting about this recipe? I finally get to taste test one of my creations!!
The verdict?
Well, Darrel and I drank some while it was freshly made and warm. It was sort of…meh. Borderline bad.
I stuck the whole pitcher in the fridge for a bit, and when it was icy cold I went back to try again. Better!
Then I added some stevia to mine and WOW! It tastes like a creamy milkshake!
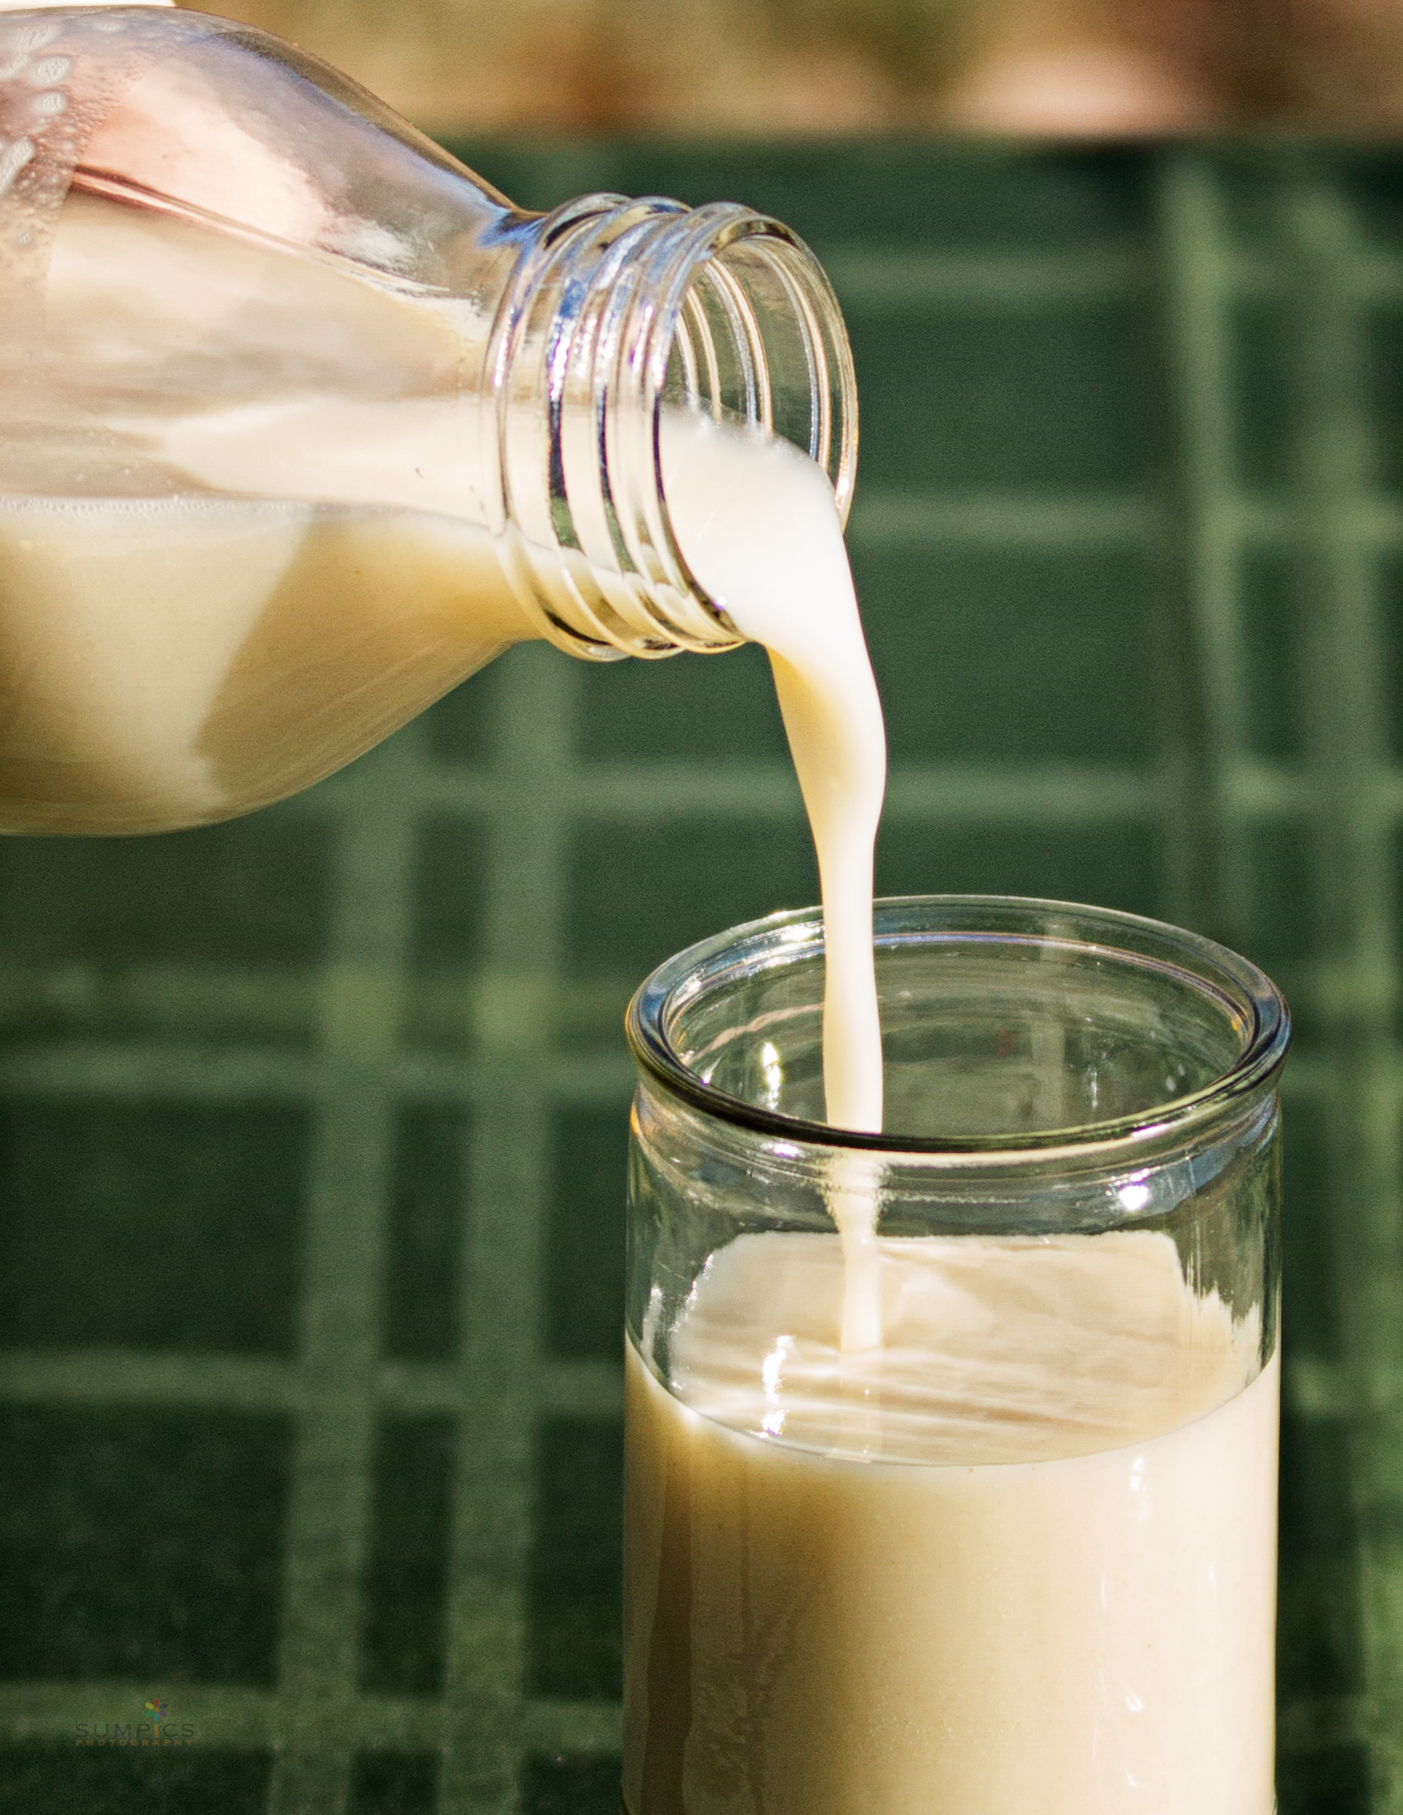
Thick, rich, and creamy. Yum!!
Most recipes I read said to blend the quinoa seeds and then add water to thin it out to a regular milk substitute consistency. I’d planned to do that, honest; there just wasn’t room in my blender bowl for much more liquid, so I thought I’d pour it directly into the pitcher.
Then I forgot to do it before the taste test.
So my first taste of this was at a 1 c. quinoa:2 c. water ratio. VERY thick, very creamy. Very much like regular old cow milk, in my mind!
I had to leave it completely unflavored for Zac, of course, as he doesn’t have anything else safe I can put in it. I also watered it down for him a bit. He doesn’t seem to like it as much as just plain old water, at this point, but I’m really excited for the discovery of quinoa milk!
(If we can just manage to pass two little old ingredients (a fat/oil and a starch) I could make a macronutritionally complete homemade formula for him to help supplement my pumped milk when I return to work! We’re 1/3rd of the way there!)
Back to this milk, though: I may try watering it down a bit for some cereal milk consistency, but I rather like it thick and creamy for drinking through a straw. It makes me feel like I’m getting a milkshake, and I kind of like that.
Oh, and how is this a Frugal Friday tip?
Because it’s DIRT CHEAP.
*Note: I originally said each box of quinoa provided 3 cups of seeds. It’s actually 1.5 cups per box, so I corrected the numbers to reflect that.
I looked on Amazon (as I’ve never seen quinoa milk in my local stores) and got some data for this nifty little chart:
|
Store Bought Quinoa Milk |
Store Bought Cashew Milk |
Homemade Quinoa Milk (thick) |
Homemade Quinoa Milk (thinned) |
|
|
Price per ounce |
20¢ |
8¢ |
5.6¢ |
3.4¢ |
|
Price per carton (32 ounces) |
$6.40 |
$2.56 |
$1.81 |
$1.08 |
That’s based on my determination that a box of quinoa seeds, uncooked, usually yields about 1.5 cups of uncooked seeds. So I get 3 one half cup servings of quinoa seeds out of that, and those boxes usually cost $4.08. (They’re measured by weight, so slight variations can occur.)
Granted, that doesn’t add in the costs of any extras you might put in your milk: maple syrup, vanilla, spices, etc. Still, I think it’s a substantial price difference!
Not to mention, here’s what you’ll find in most packaged quinoa/cashew/almond milks: organic evaporated cane juice, calcium carbonate, gellan gum, natural vanilla flavor with other natural flavors, sea salt, vitamin A palmitate, vitamin D2, D-alpha tocopherol (vitamin E), non-GMO Canola oil, calcium phosphate, magnesium phosphate, locust bean gum, guar gum, vitamin A acetate, vitamin D-3, selenium, zinc oxide, folic acid, vitamin b-12.
Sure, they’re adding vitamins to the products to make them ‘healthier’, but what are those vitamins made of? Are they bio-available? Who knows!
Homemade quinoa milk:
- Cheaper (by far!)
- Cleaner (only add whole ingredients you believe in)
- Safer for corn-allergic people (almost all of those vitamins are likely made with corn ingredients)
- No gums or weird thickeners (less intestinal aggravation)
- Safe, natural sweeteners (if you so choose)
BETTER.
HOPE THAT HELPS!

- ½ c. uncooked quinoa
- up to 7 cups of safe water
- any extras you like: vanilla, maple syrup, spices
- Cook quinoa; place ½ c. quinoa in a pan with 1 c. water and cook according to package instructions.
- Put the cooked quinoa (1 cup) in a blender with 2 cups of water, add any extras you would like (to taste, of course) and blend until smooth.
- If you have a high-powered blender (Vitamix or similar), you can skip to step #6 now. Otherwise…
- Strain the milk through a nut bag into a pitcher.
- Turn the nut bag inside out, scrape out the pulp and save it in a container for other uses (added to a smoothie, to a muffin recipe, to your breakfast cereal, etc.)
- Add as much or as little water to make the milk the consistency you need.
- Place the pitcher in the fridge and let chill.
- Enjoy your delicious, CHEAP milk alternative beverage!
Have you ever made quinoa milk? Would you be willing to try it?
Pingback: Unveiling: A Day In the Life of FPIES – The Summers Family - Cradle Rocking Mama