This is the second post of my series on “Traveling on a TED” – or, Total Elimination Diet. You can find the first post here.
__________
So to prepare all this food to go to work I had to do a lot of cooking, and I had my Excalibur running almost 24/7 for a few weeks.
To start with, I made a double batch of pot roast with potatos and carrots. Then I picked apart all the meat and portioned out single servings of meat and veggies into quart sized Ziploc bags. I carry a small pyrex dish with me at work, so I squeeze the food down to fit into that dish and freeze in that shape. Then it’s easy to rip off the Ziploc bag, plop the food in the dish and heat it up – whether in a microwave or oven. (Sorry I don’t have pictures of this step; I forgot to take LOTS of pictures as this was a busy time! Hopefully you can imagine what I’m saying.)
Then I had Darrel make a big pot of potato-carrot soup for me (recipe to come soon!). I use the bones from my pot roasts and steaks to make my own beef broth, so it’s a delicious, gelatinous broth that makes this soup extra rich and thick. Plus, the potatos sort of dissolve in the cooking process, thickening it up some more.

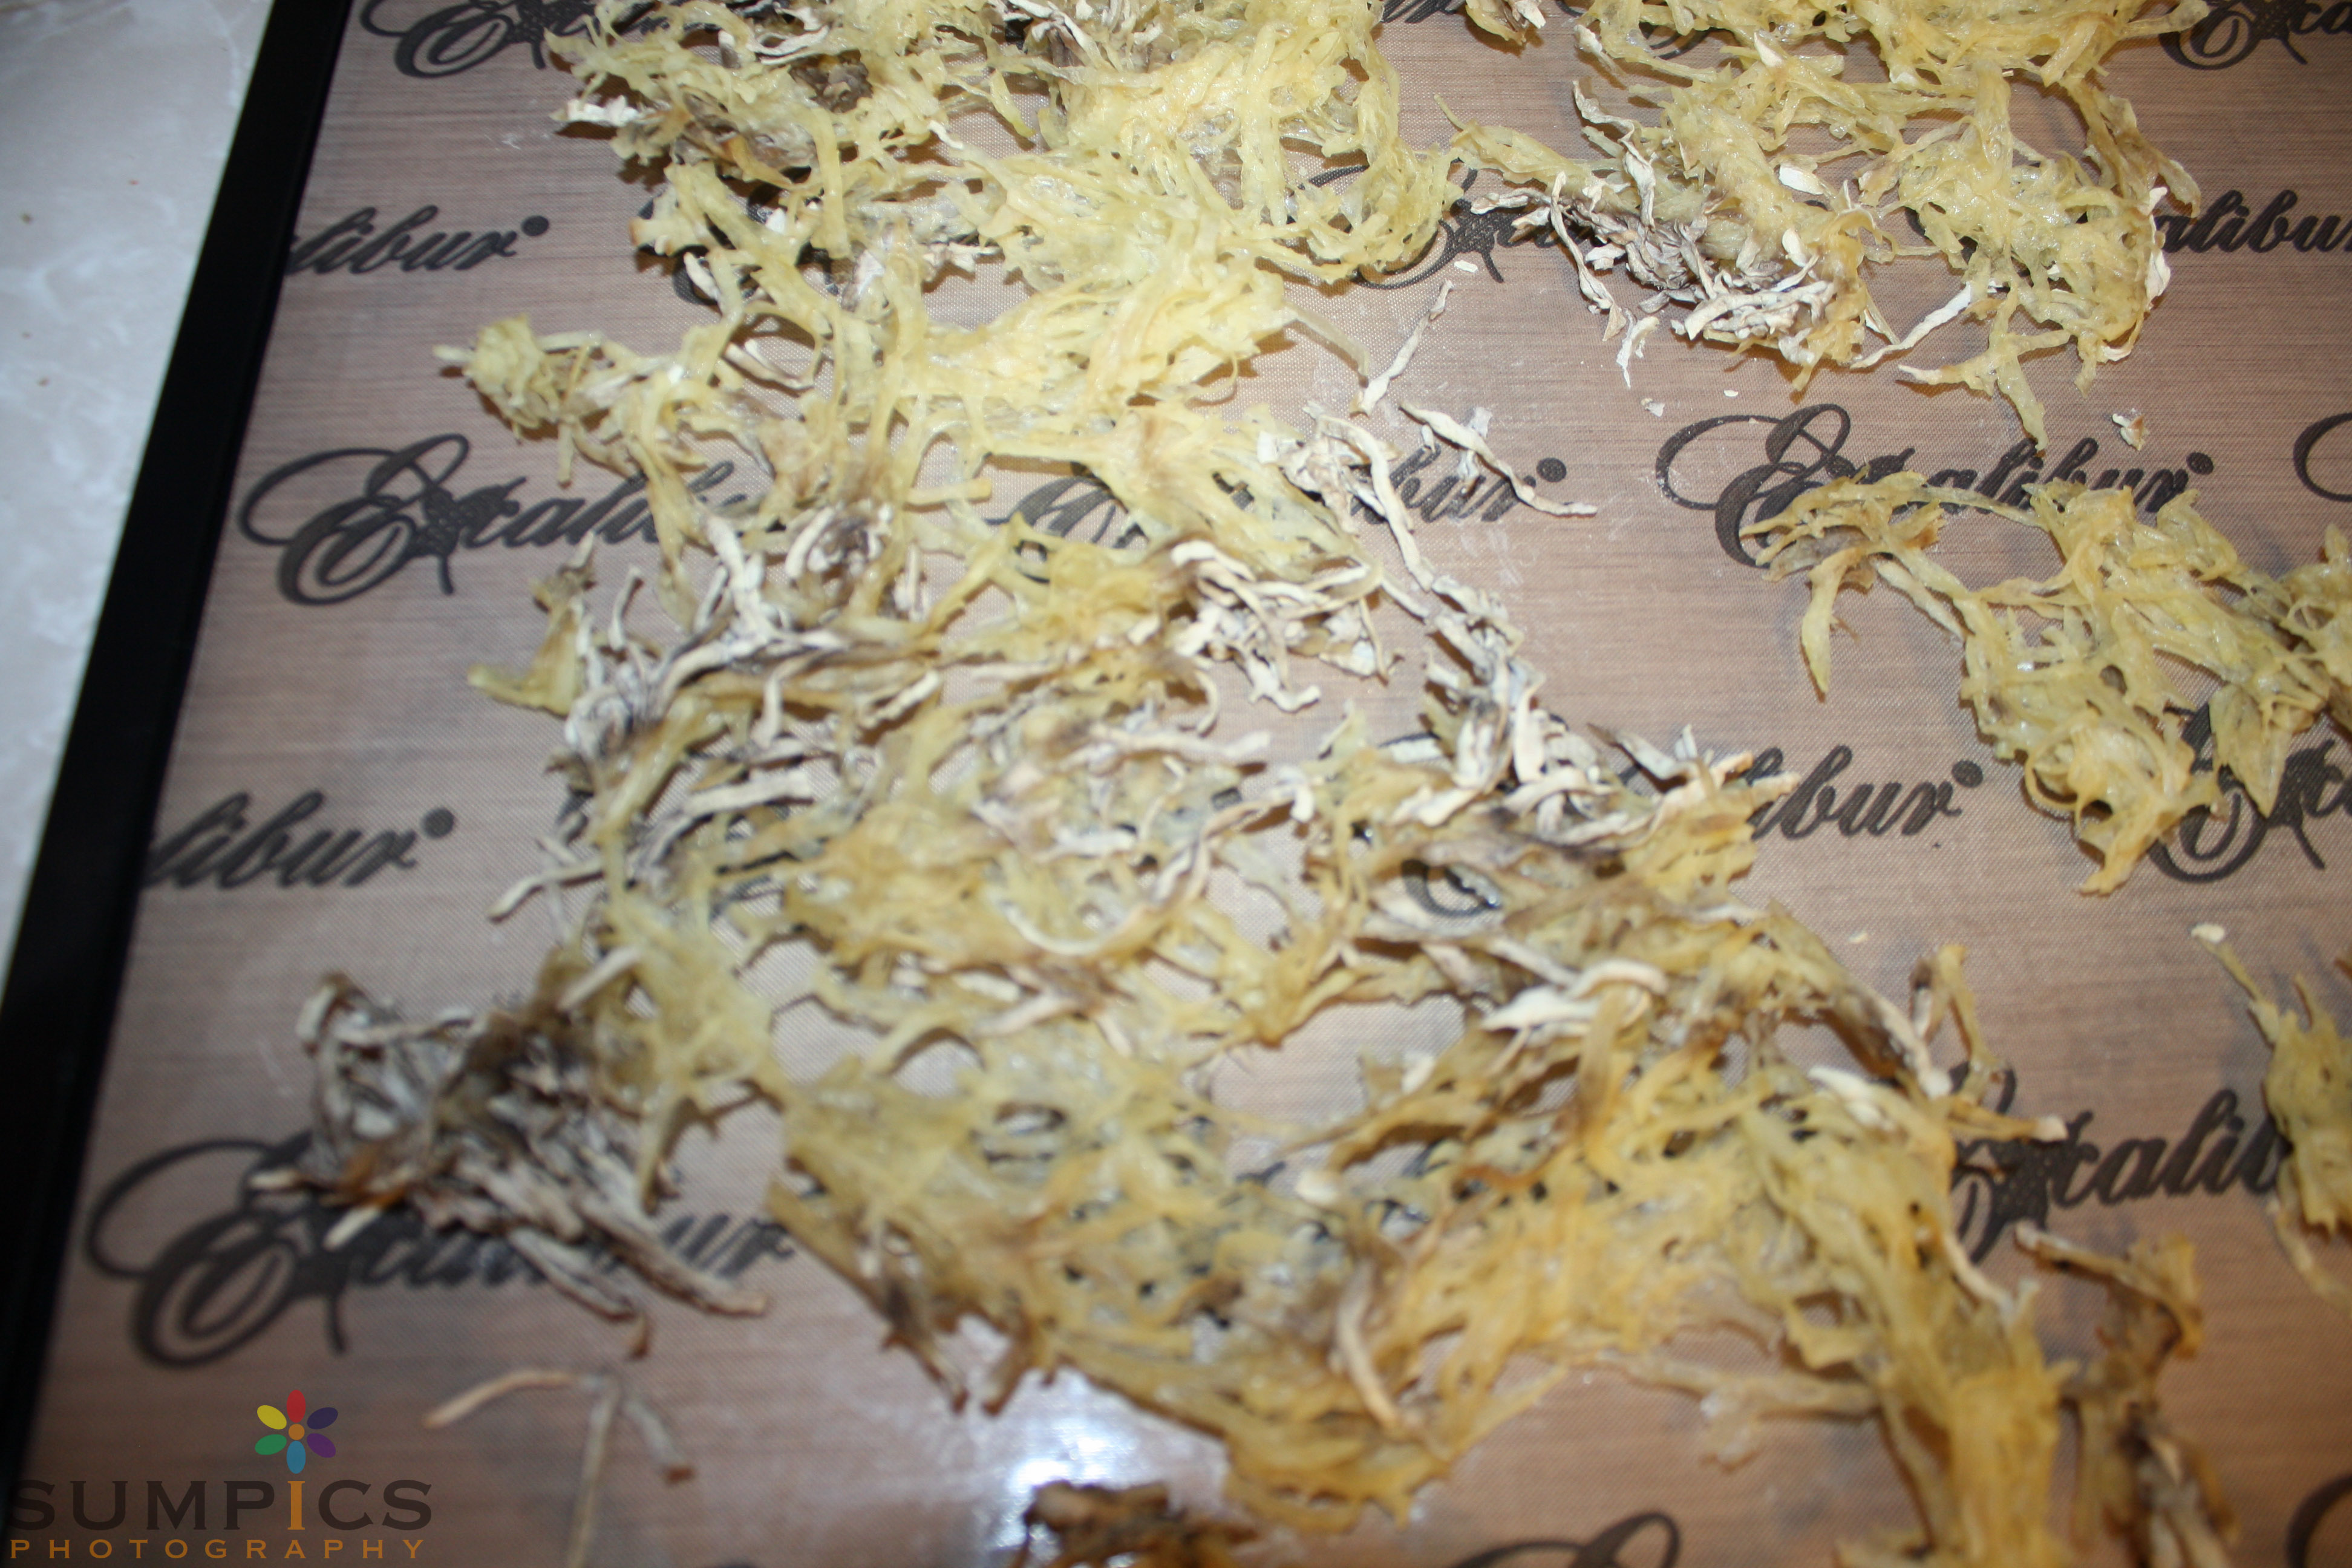
Soup ladled on the trays ready to dry…
Consequently, this is not a watery, runny soup, and I can easily ladle it in individual serving sizes on to the silpat sheets on the dehydrator trays and dry it. It took about 16 hours to dry the soup.
Dried soup!
Once dry, it’s nice and crumbly and I simply break it into small pieces and toss it in a pint sized Ziploc bag. Each bag will reconstitute into 1-1.5 cups of soup, depending on how much liquid I add, which is a full serving.
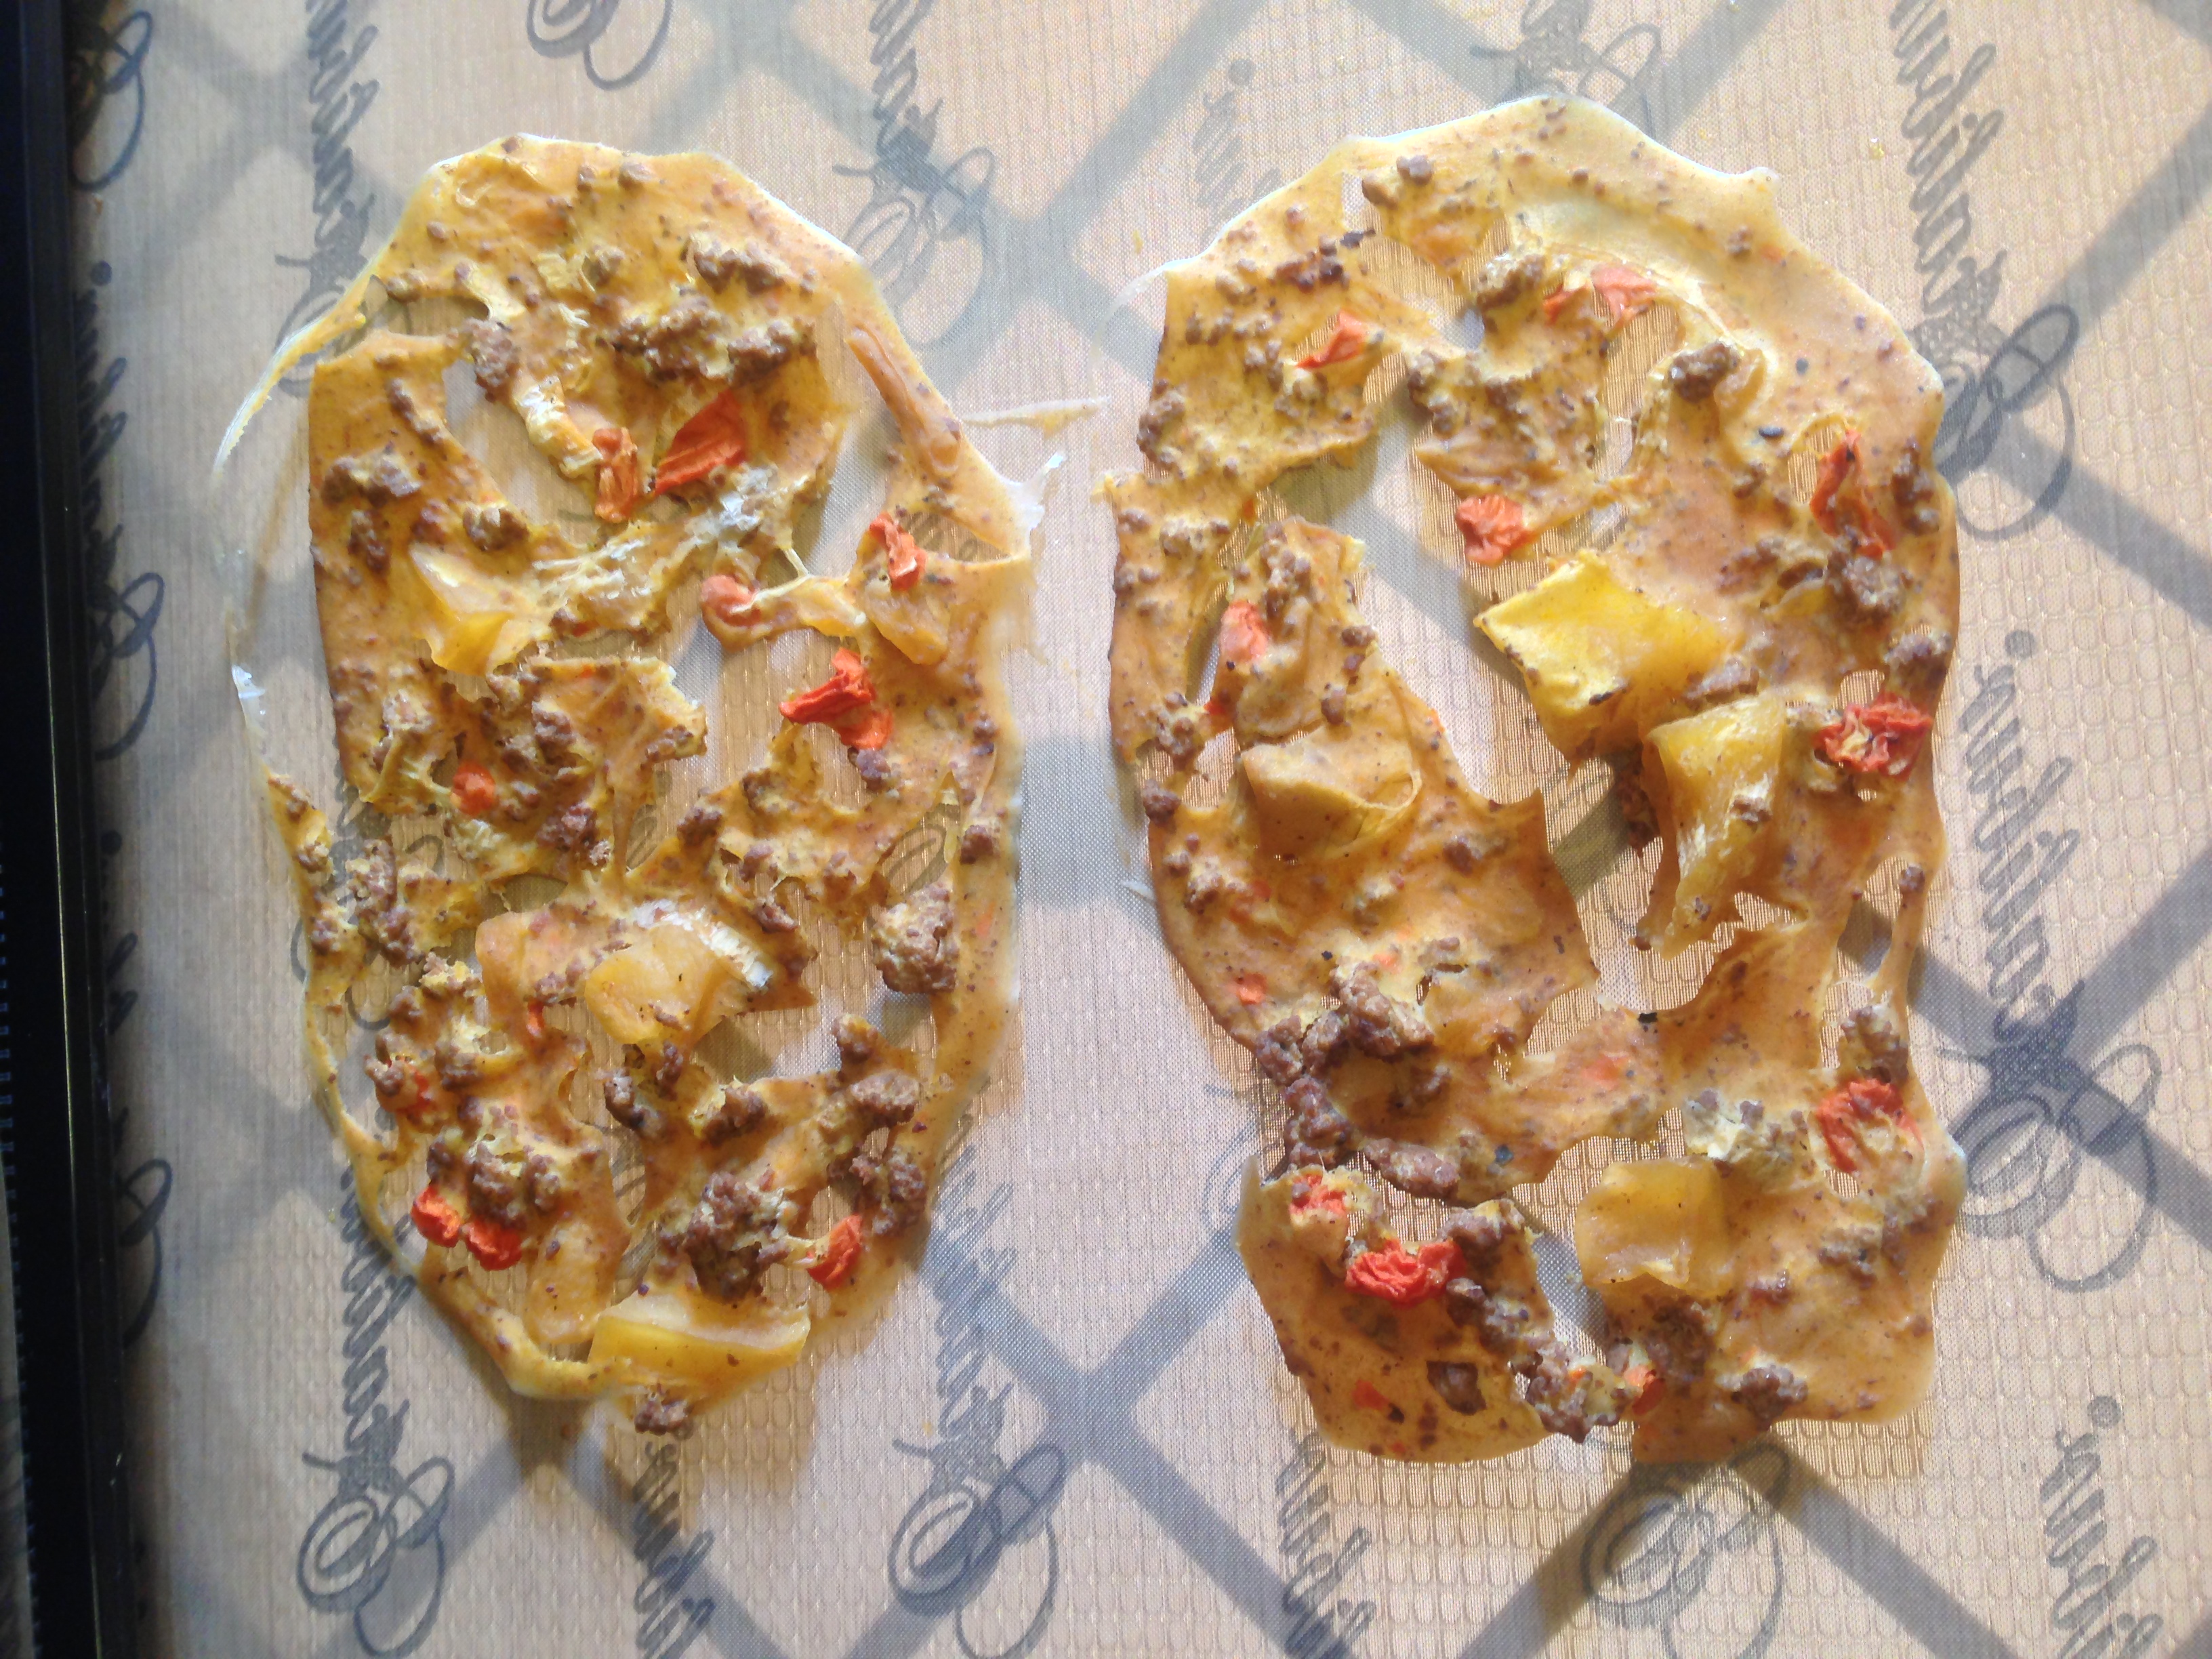
Then I made my Hamburger Hash. Just like in the normal cooking of hamburger hash, I cooked the meat first. In this case, though, I left out the onion and just cooked the meat by itself. Dehydrating ground meat is tricky; lots of people suggest rinsing it in water after cooking to knock off any excess grease or fat. The grease and fat can cause the meat to go rancid quicker, which is why a lot of dehydration experts will tell you it’s not a great idea to dehydrate meat this way.
For my purposes, and for anyone who is simply looking to make food that will keep for a short term purpose like travel or camping, I don’t worry too much about that advice. If I were to attempt to store my ground beef for longer, then I would rinse my meat. Besides, I’m using grass-fed and -finished beef; it’s so lean I usually have to add oil to it to make tacos! There’s not much to rinse off!
One good tip is to ensure you break it up as small and uniformly as possible. This will make it all dry faster and more evenly, and that’s a good thing, as Martha would say.
So I cooked the ground beef, which was about 1.5 pounds. For me, that’s 6 servings of meat for my hamburger hash. Then I laid it out on the trays and dried it, which took about 12 hours. After that I weighed it, divided that number by 6, and put the appropriate amount in a pint sized Ziploc bag.
The next step was the potatos, onion and carrot for the hash. Onion and carrot are easy; simply prep them how you want them – in my case shredded carrot and diced onion – and lay them on the tray to dry!
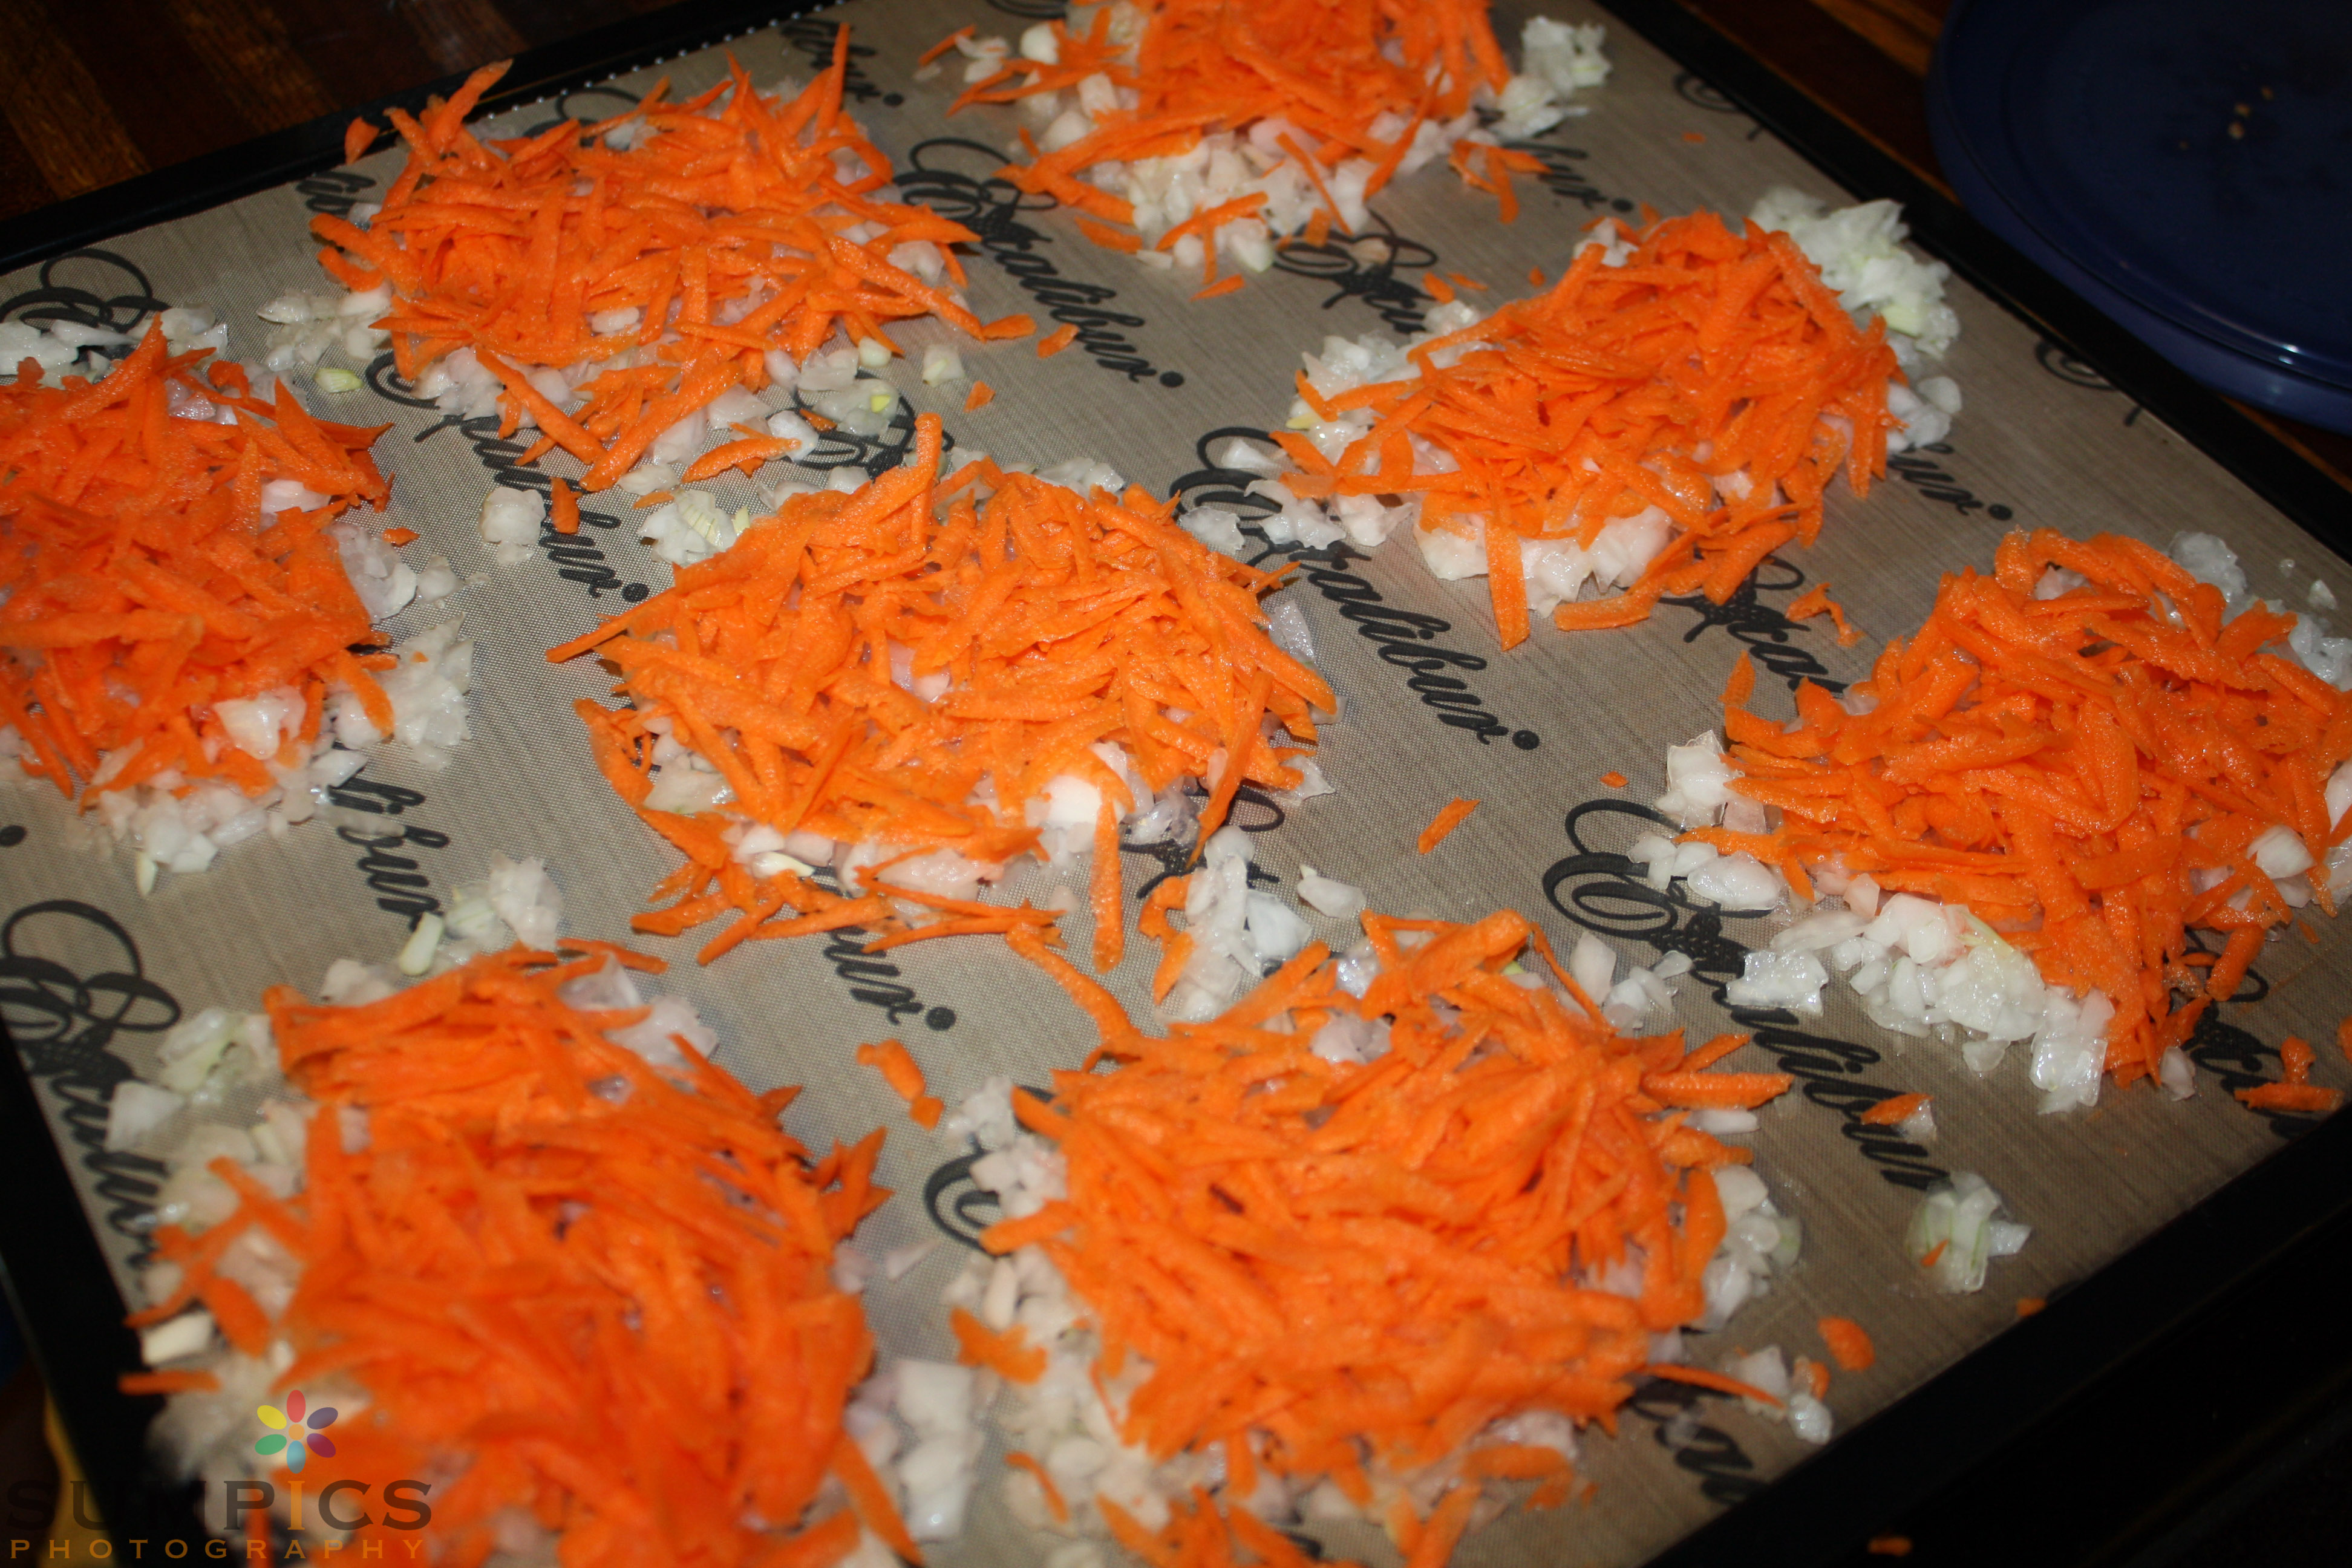
Onion and Carrot ready to dry
I put the two together because, well, why not? Saves time and electricity. I use about 1/2 of a carrot in each serving of hamburger hash for myself, and about 1/4th of an onion. So I just put the correct amount of each together on the tray, dried them (about 8 hours), and added them to the baggies of ground beef.
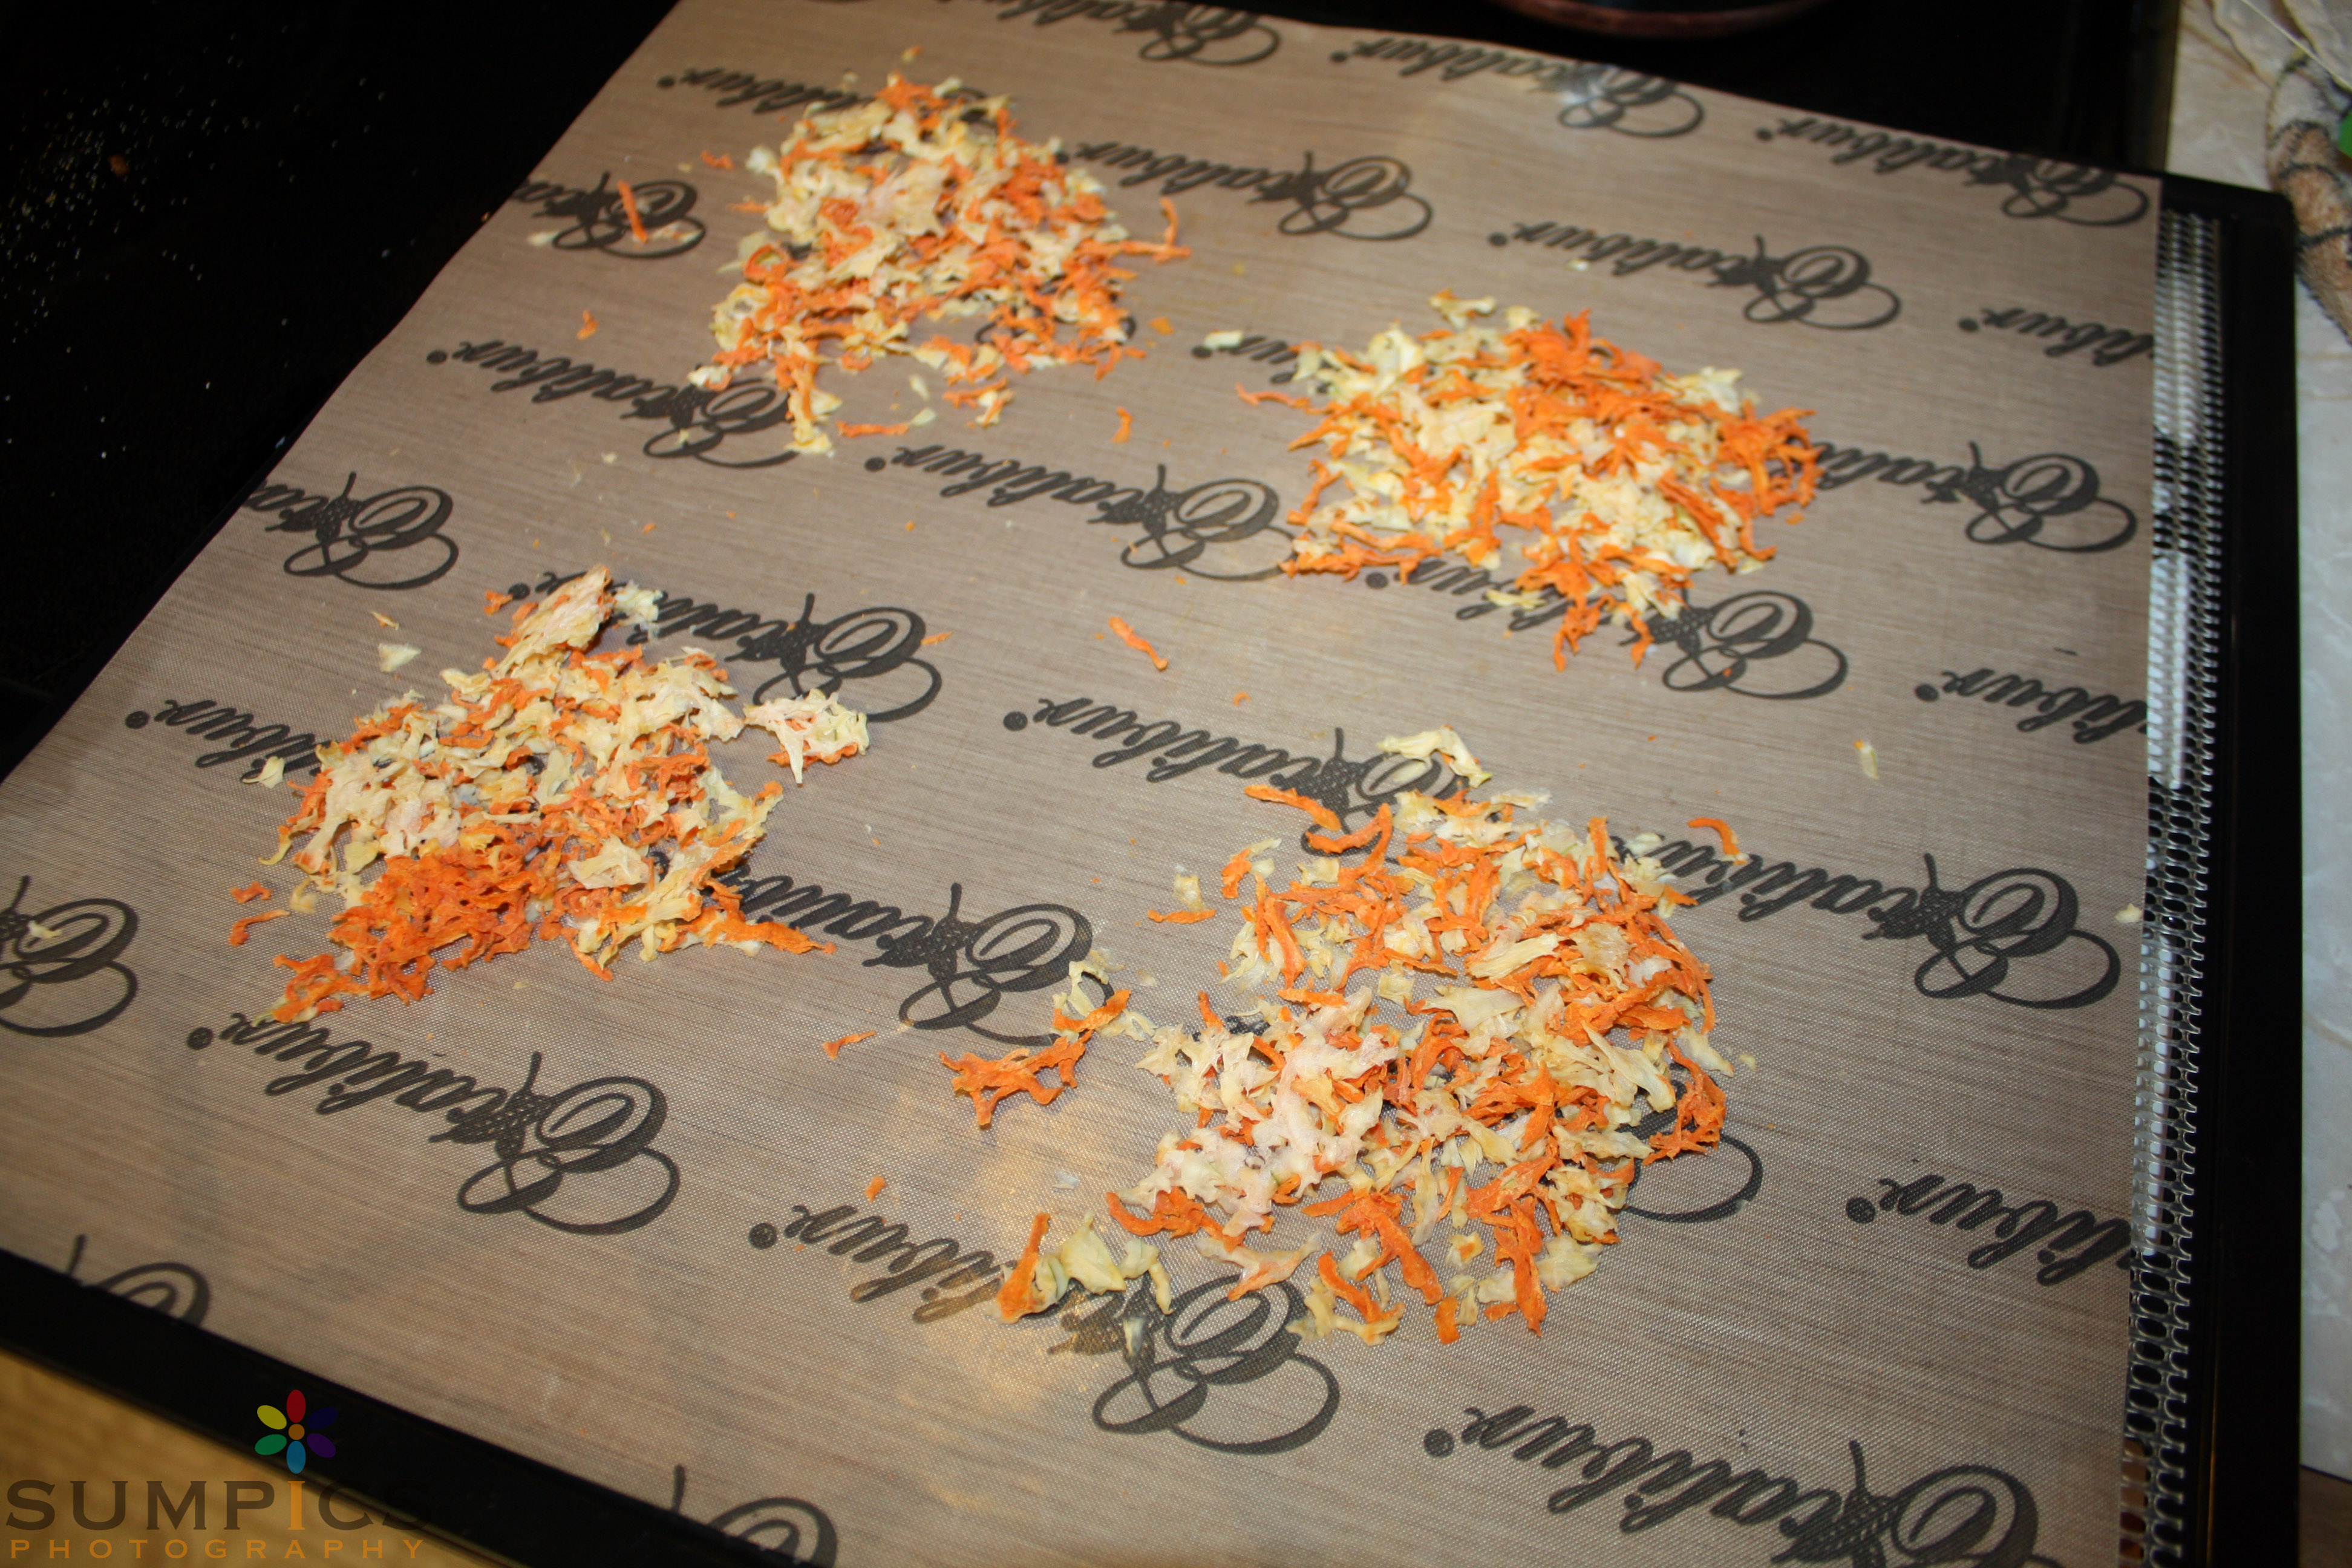
Onion and Carrot dried! This was a different sheet (which I didn’t realize when I took the picture) but I promise these piles were the exact same size as the undried ones in the previous photo,
Then the potatos. These are a little more involved; with potatos, you need to steam or boil them before drying to make sure they don’t discolor. I simply shredded a potato, dropped it on my steamer basket and steamed it for about 6-8 minutes. Then I laid the potatos out on the silpat sheets of my Excalibur and let it dry. This took about 14 hours.
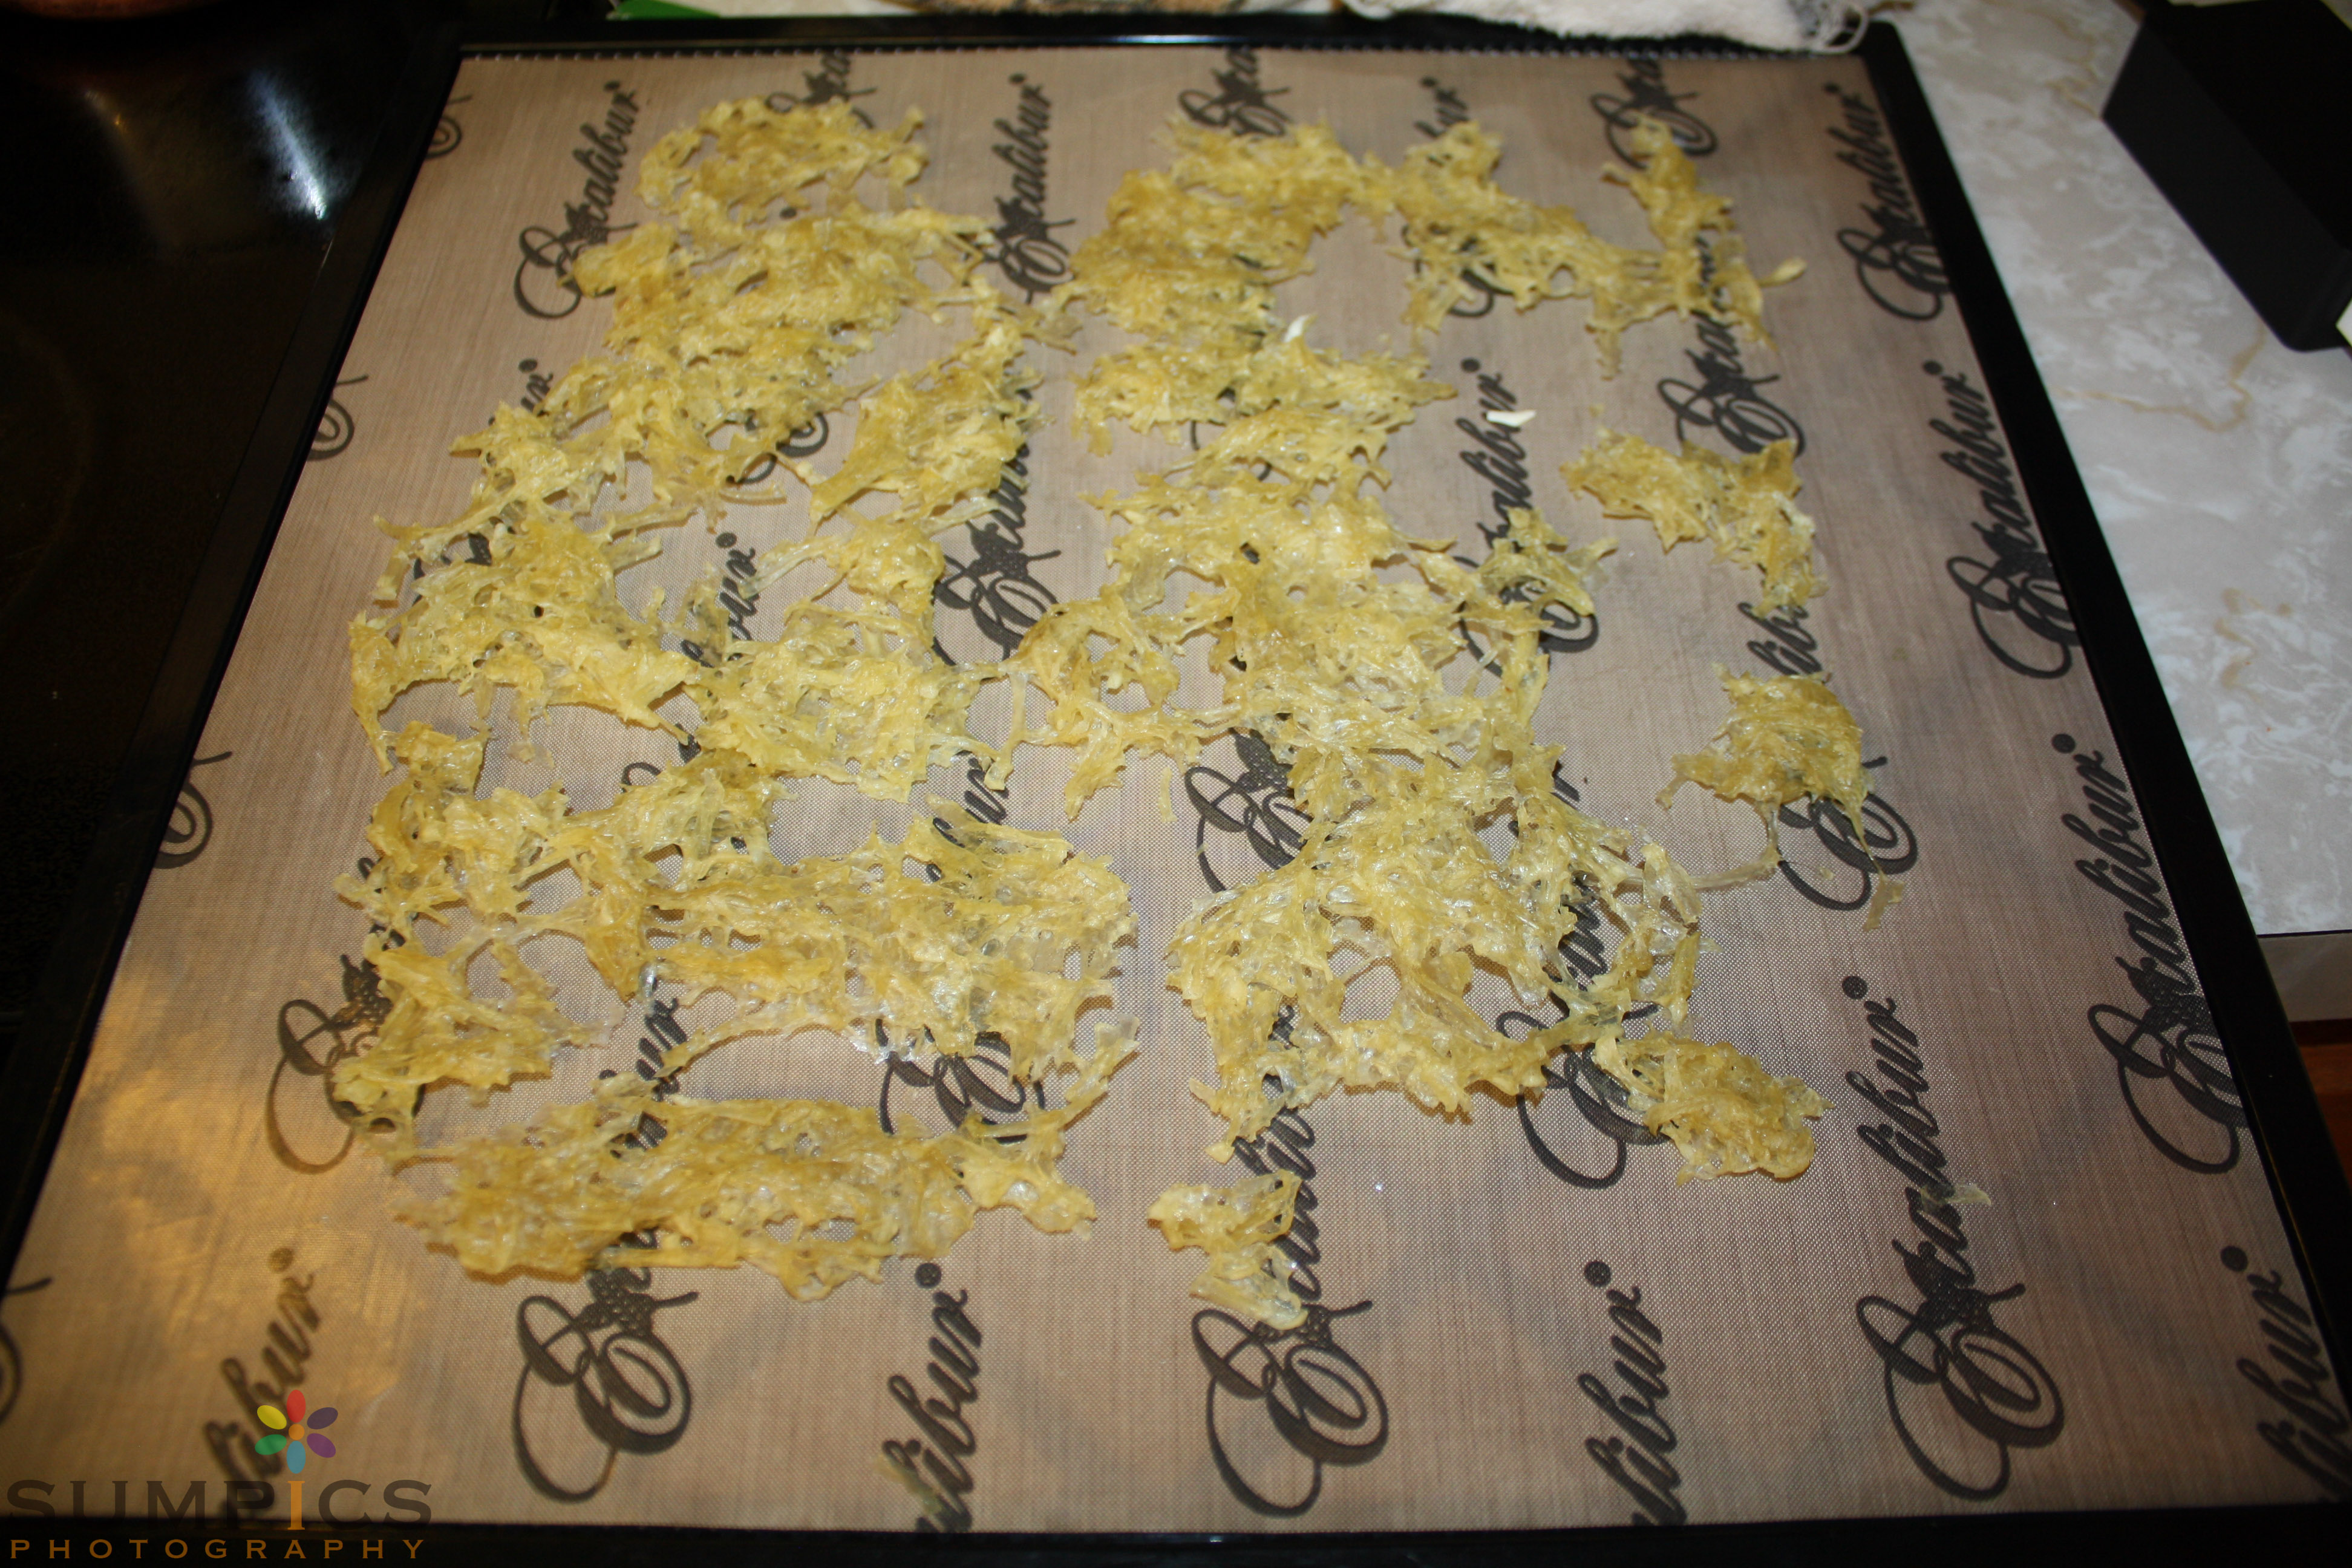
Dried potatos; they were much thicker filled up the sheet when raw.
These potatos didn’t steam long enough; you can see the slight discoloration on some of them. I ate it anyway, and it tasted fine.
Once they were dried, I broke them apart into small pieces and added the to the baggies of meat, carrot and onion. Voila! Hamburger hash, ready to go!
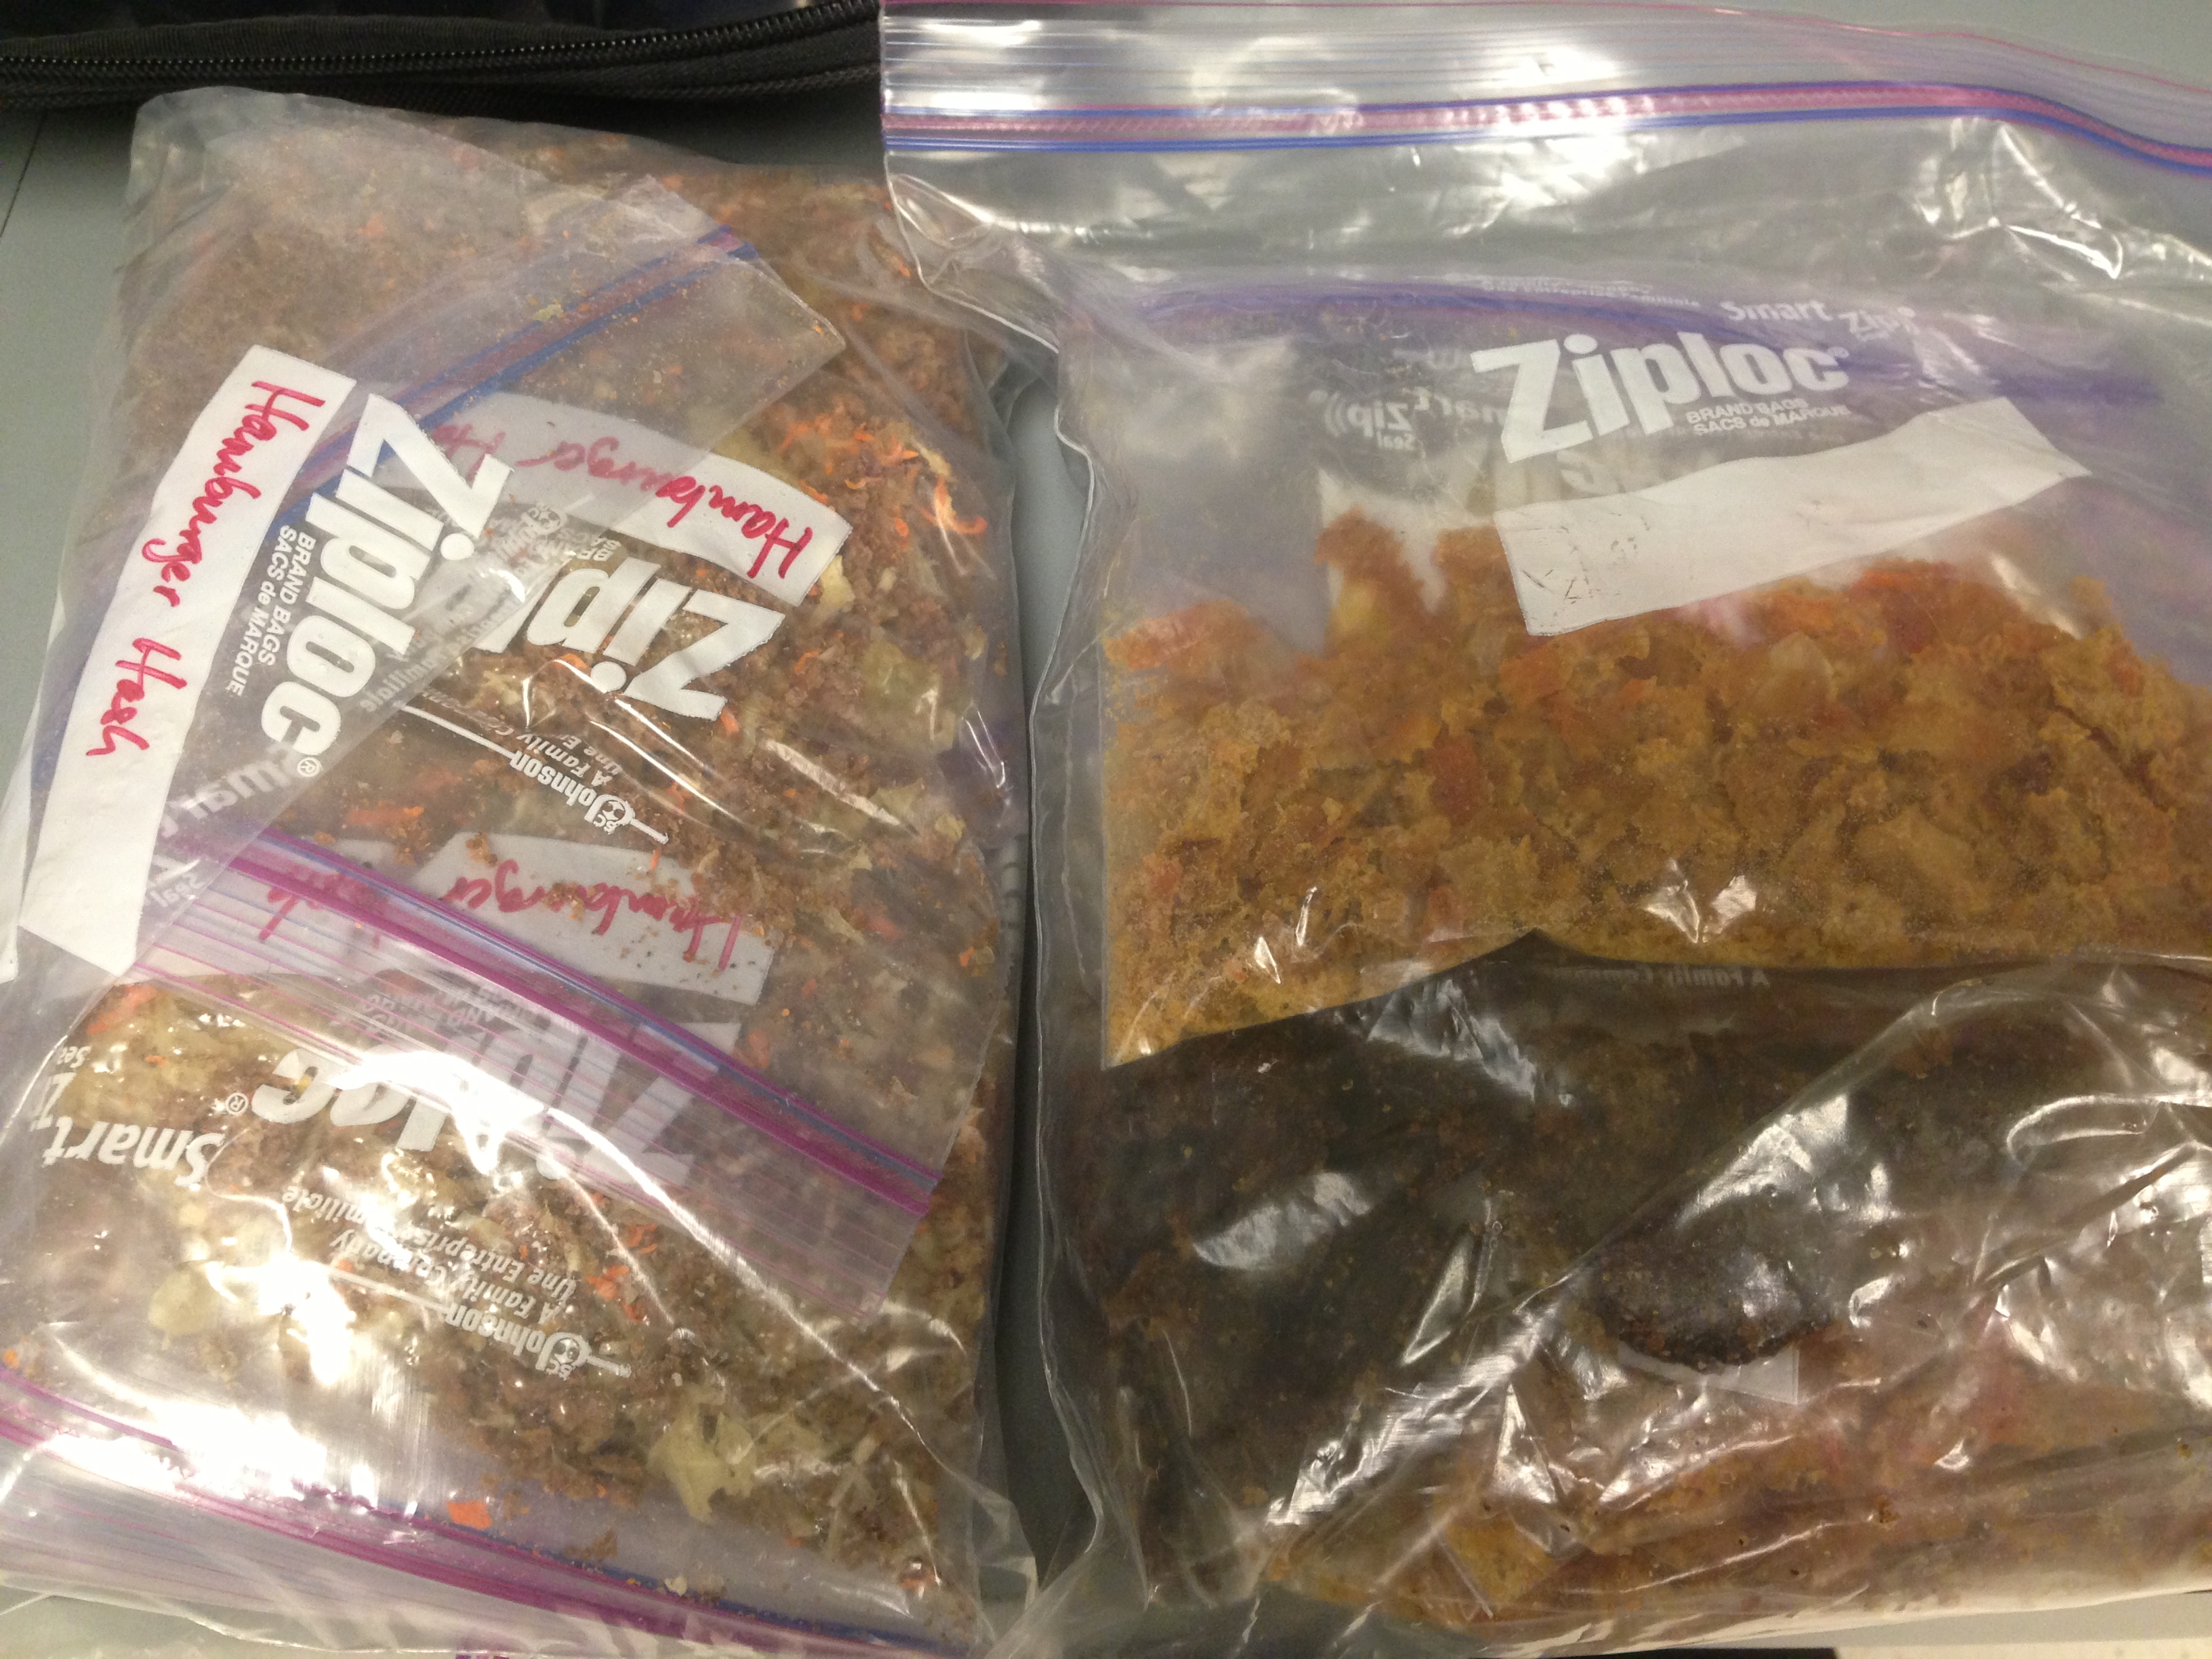
These two bags hold in them (with room to spare): 8 Hamburger Hash, 8 Potato-Carrot soup, 5 bags of beef jerky, and 1 bag of sliced potato for mashed potato. Amazing, isn’t it? And it all weighed about as much as a large paperback book.
While I was at it, I peeled a few potatos and sliced them evenly with a mandolin. Then I steamed those, laid them out on the sheets and let the dry. Once rehydrated, these were single serving mashed potatos ready to eat.
I also made a whole mess of beef jerky, exactly as I showed in the original recipe. For my nutritional needs, and understanding that I might be a little light on protein while at work, I portioned the meat out in 6 ounce servings. Once dried, it was considerably less than that! But it meant that for each baggie of beef jerky I was eating a full 6 ounces worth of meat. That helped keep my energy levels up while working. (It’s important to weigh your serving sizes before you cook or dehydrate them, as that’s what most serving sizes are based on.)
Then I made 8 onion bombs (again, recipe is coming soon!) and froze them. Two of those equals one meal for me, so that was 4 meals ready to just pop in the oven and eat.
For snacks, I mentioned raw carrots. The day I left for the airport, I peeled and sliced a whole BAG of carrots! They were certainly a good idea – I was easily able to squelch hunger pangs with a handful of carrot sticks until I could get my food cooked when working.
And right about then was when I ran out of time to make or do anything else. But it was enough for me to start work with, though I did find I was a little light on calories most days. I think I need to plan for more food than I took this first trip from here on.
As a nursing mother on an elimination diet, I keep track of my caloric intake. According to my “Lose It” app, I should eat about 2200 calories a day while nursing to maintain my weight and milk supply. I’ve found that I actually eat about 2800-3400 calories a day and my weight stays fairly stable and my milk supply is good.
While I was at work, I was almost exactly hitting the “Lose It” mark of 2200 calories a day, and by the last day at work I was barely able to pump anything. (If you follow me on Facebook, you know that I barely pumped anything the first couple times I pumped at work. I neglected to update that with the great success I had after the third pumping session – I brought home 78 ounces of milk in that 5 days!) But the last three pumping sessions were worse than the first three, and I think the lowered calorie intake contributed to that.
So that was how I prepared my food for work. I tried to make it as easy as possible while on the road, but it was still considerably more effort to eat than simply ordering room service or stopping at an airport fast food joint!
However, if you have strict dietary needs, it is entirely possible to eat very well with your own home cooking while traveling…you just have to plan ahead and prepare before you leave.
One important note: be sure to check the temperature on your dehydrator for each food item you dry. That is why I dried the meat and veggies separately; they each require different drying temperatures. So consider that when planning and preparing your food.
Of course, the question remains: how did I manage to COOK all that food while I was gone? That answer comes in the next post – all about cool gizmos!