


I was all set to share a tutorial on freezing cauliflower as a Frugal Friday post, when it dawned on me that it’s really not all that frugal an activity.
Oh, it’s not terribly expensive, especially if you buy organic frozen produce, but it isn’t exactly going to save you any money.
That’s when I realized I’m also sort of running out of frugal tips to share.
There’s lots of frugal tips out there, but I only want to share the ones we use; the ones I know work.
And I’m drawing a blank.
You know what my brain is FULL OF these days, though?
Preserving food.
So I’m shelving Frugal Friday for now, and introducing a new series: Practical Preserving!
Since I’m frantically trying to preserve foods this summer as they come in to season to trial on Zac throughout the year, I figure I’ll share what I learn about how to set foods by with you.
Why “Practical Preserving”?
The definition of “practical” says it all:
relating to what is real rather than to what is possible or imagined
likely to succeed and reasonable to do or use
appropriate or suited for actual use
It’s all about what works, what’s realistic, and what is – hopefully – easy.
So for the first Practical Preserving post, it’s all about cauliflower. Specifically, freezing cauliflower.
It’s really easy.
One thing I’ve learned with all this food preservation stuff, is that the first step to any process is to CLEAN YOUR KITCHEN.
(I know. Captain Obvious here.)
But I learned the hard way that you’ll need all the counter space you can grab, and you’ll get irritated if you keep having to work around, over, and by dirty dishes or spills.
Or maybe that’s just me.
Still, I wait to start any food preservation until I’ve fed the family and cleaned up from breakfast.
With the cauliflower, you’ll want the freshest cauliflower you can get. Farmer’s markets or your own garden are ideal.
Take that lovely cauliflower and chop off as much of the stems and leaves as you can. If you have a safe salt to use, you are in luck!
Organically grown, pesticide-free is actually code for “be prepared to jump when you accidentally touch a worm while chopping up this food”.
I actually squealed a little the first time it happened to me. But I don’t really like worms that much, so maybe you won’t be quite as wimpy about it.
Make up a nice big pot of salt water and soak the cauliflower in it for about ten minutes.
Since we don’t have a safe salt for Zac, yet, I didn’t actually do this step. From what I’ve read, though, all the little buggies squatting on your produce will just float away in the salt water bath.
Very cool.
Then just rinse the cauliflower well in fresh water and move on to the next step.
If you don’t have a safe salt, get ready to dig through that cauliflower with your bare hands to manually pick off as many bugs and worms as you find. (Yes, I wore gloves. Did I mention I don’t like touching worms?)
Anyway, whichever way you go with that first step, the next step is to get that head of cauliflower into smaller pieces suitable for freezing.
I’ll be honest, when I started with our cauliflower prep, my florets were nice and small, uniform in size, and quite gorgeous.
After 30 or 40 pounds, though, my cauliflower pieces got a LOT bigger. Since that didn’t seem to affect the quality of the blanch, I’m not worried about it.
Ideally, though, the cauliflower should be chopped into roughly equal sizes that are relatively small.
Once you have a pile of florets, go ahead and set up your assembly line.
On one side of your stove, you’ll have your big pile o’ cauliflower.

On the stove, a pot of boiling water.
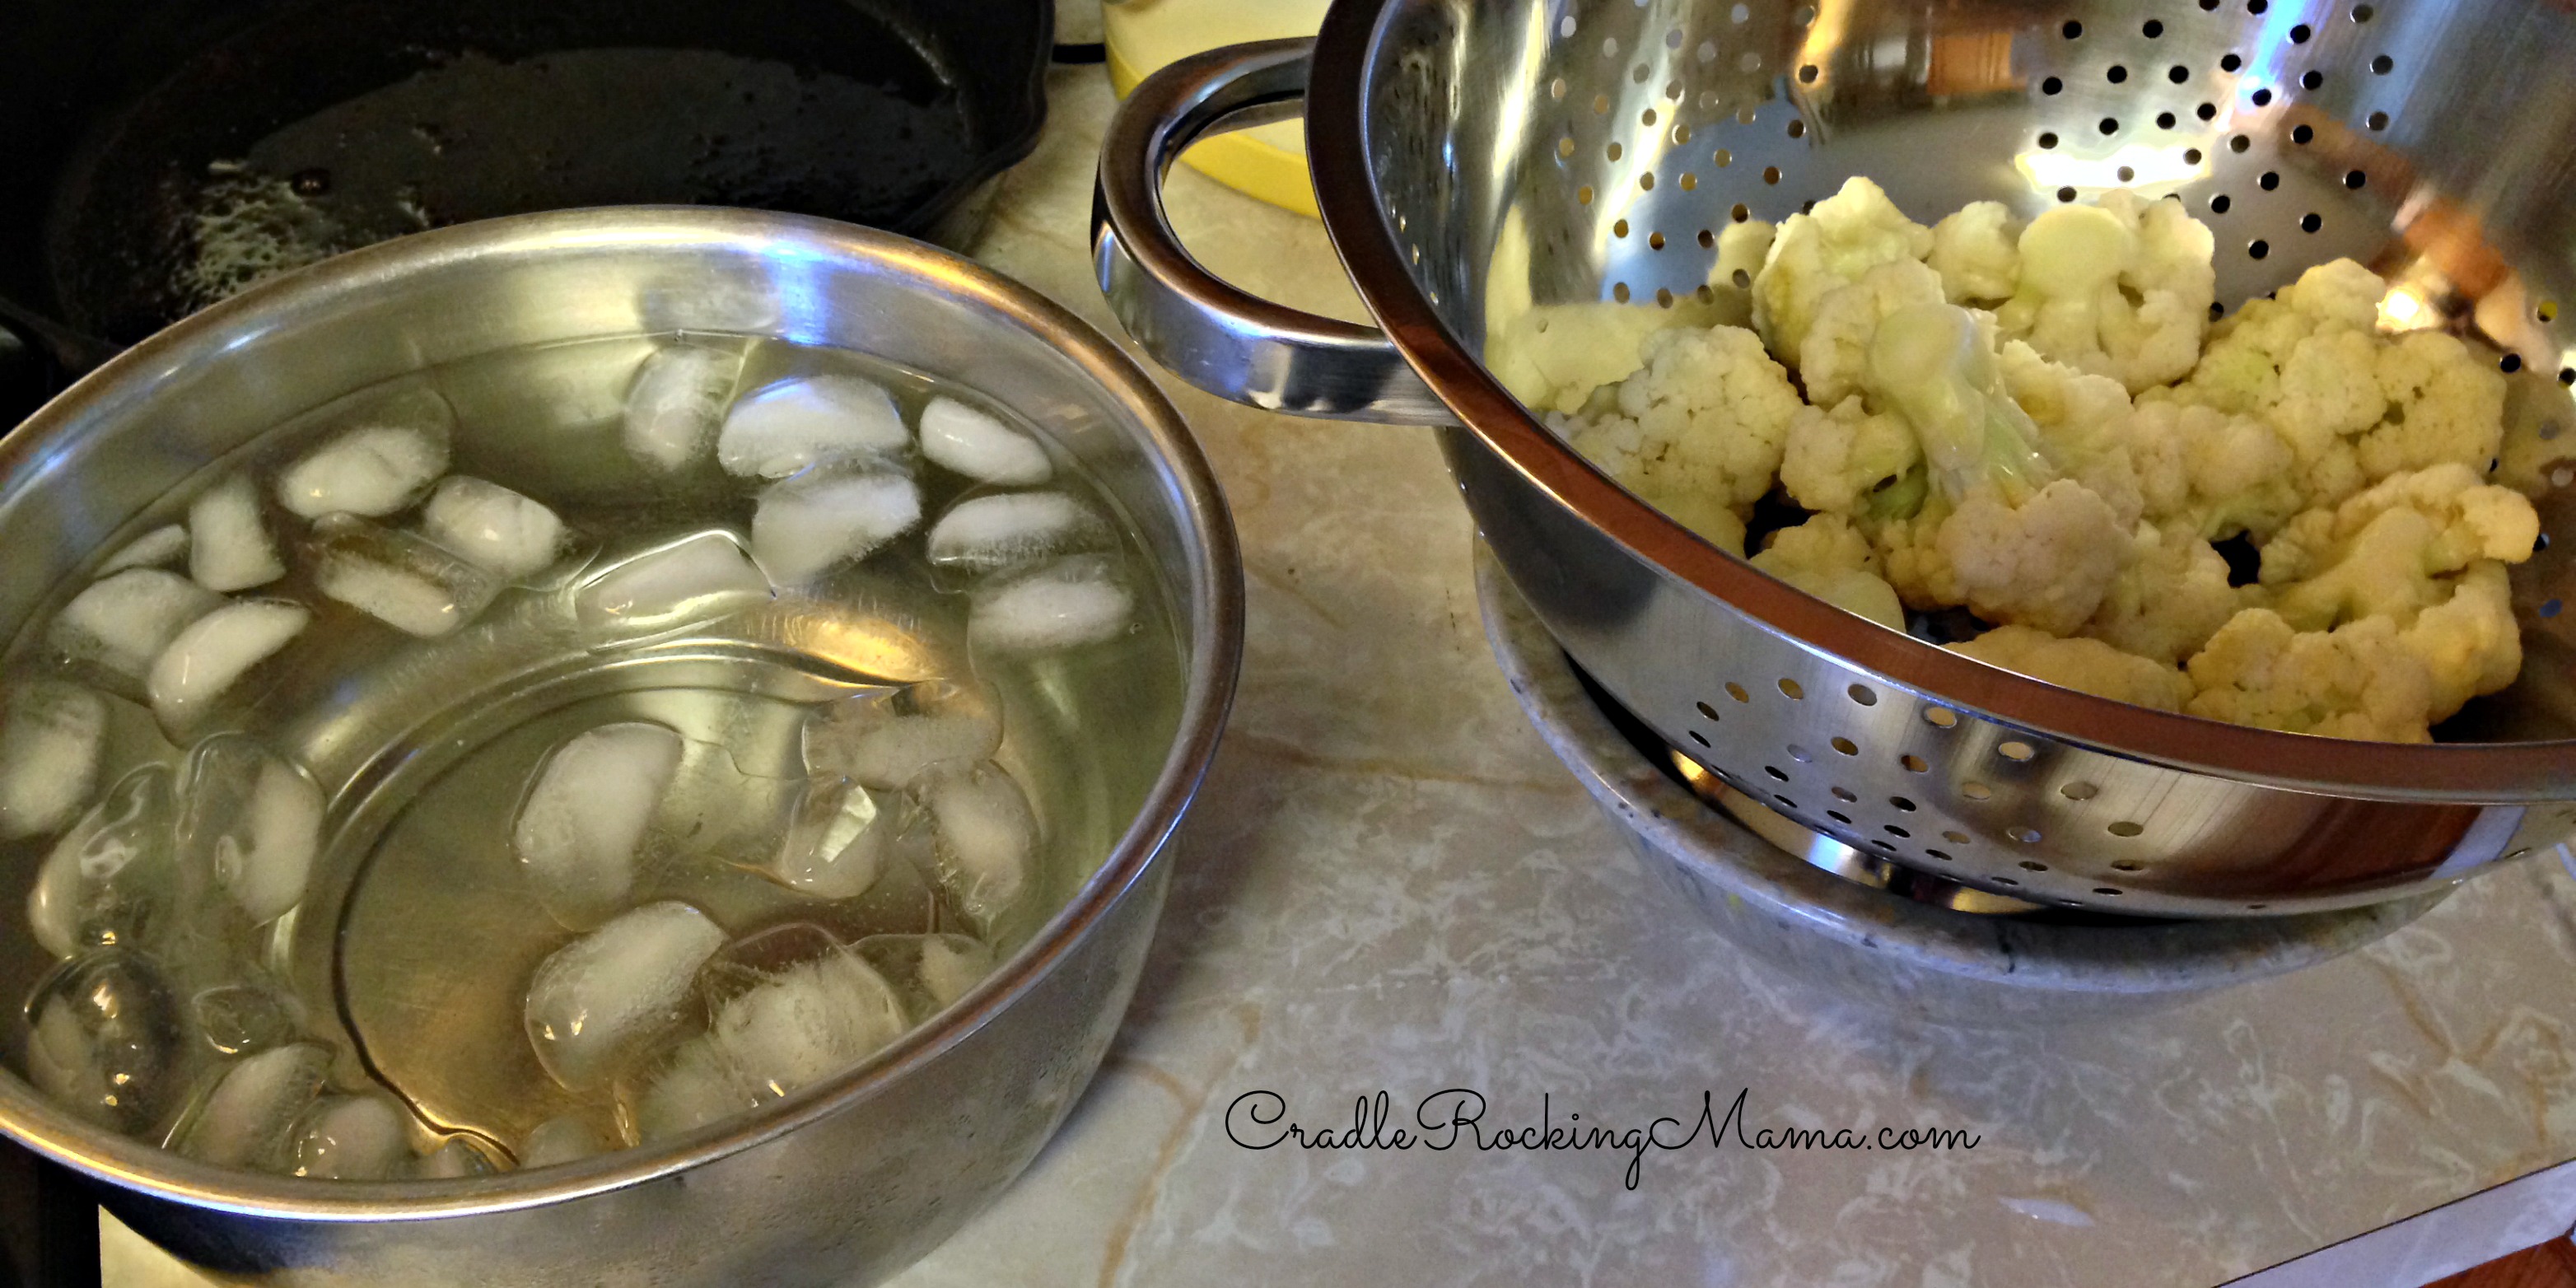
On the other side of the stove, a bowl of ice water and another bowl with a strainer for draining.
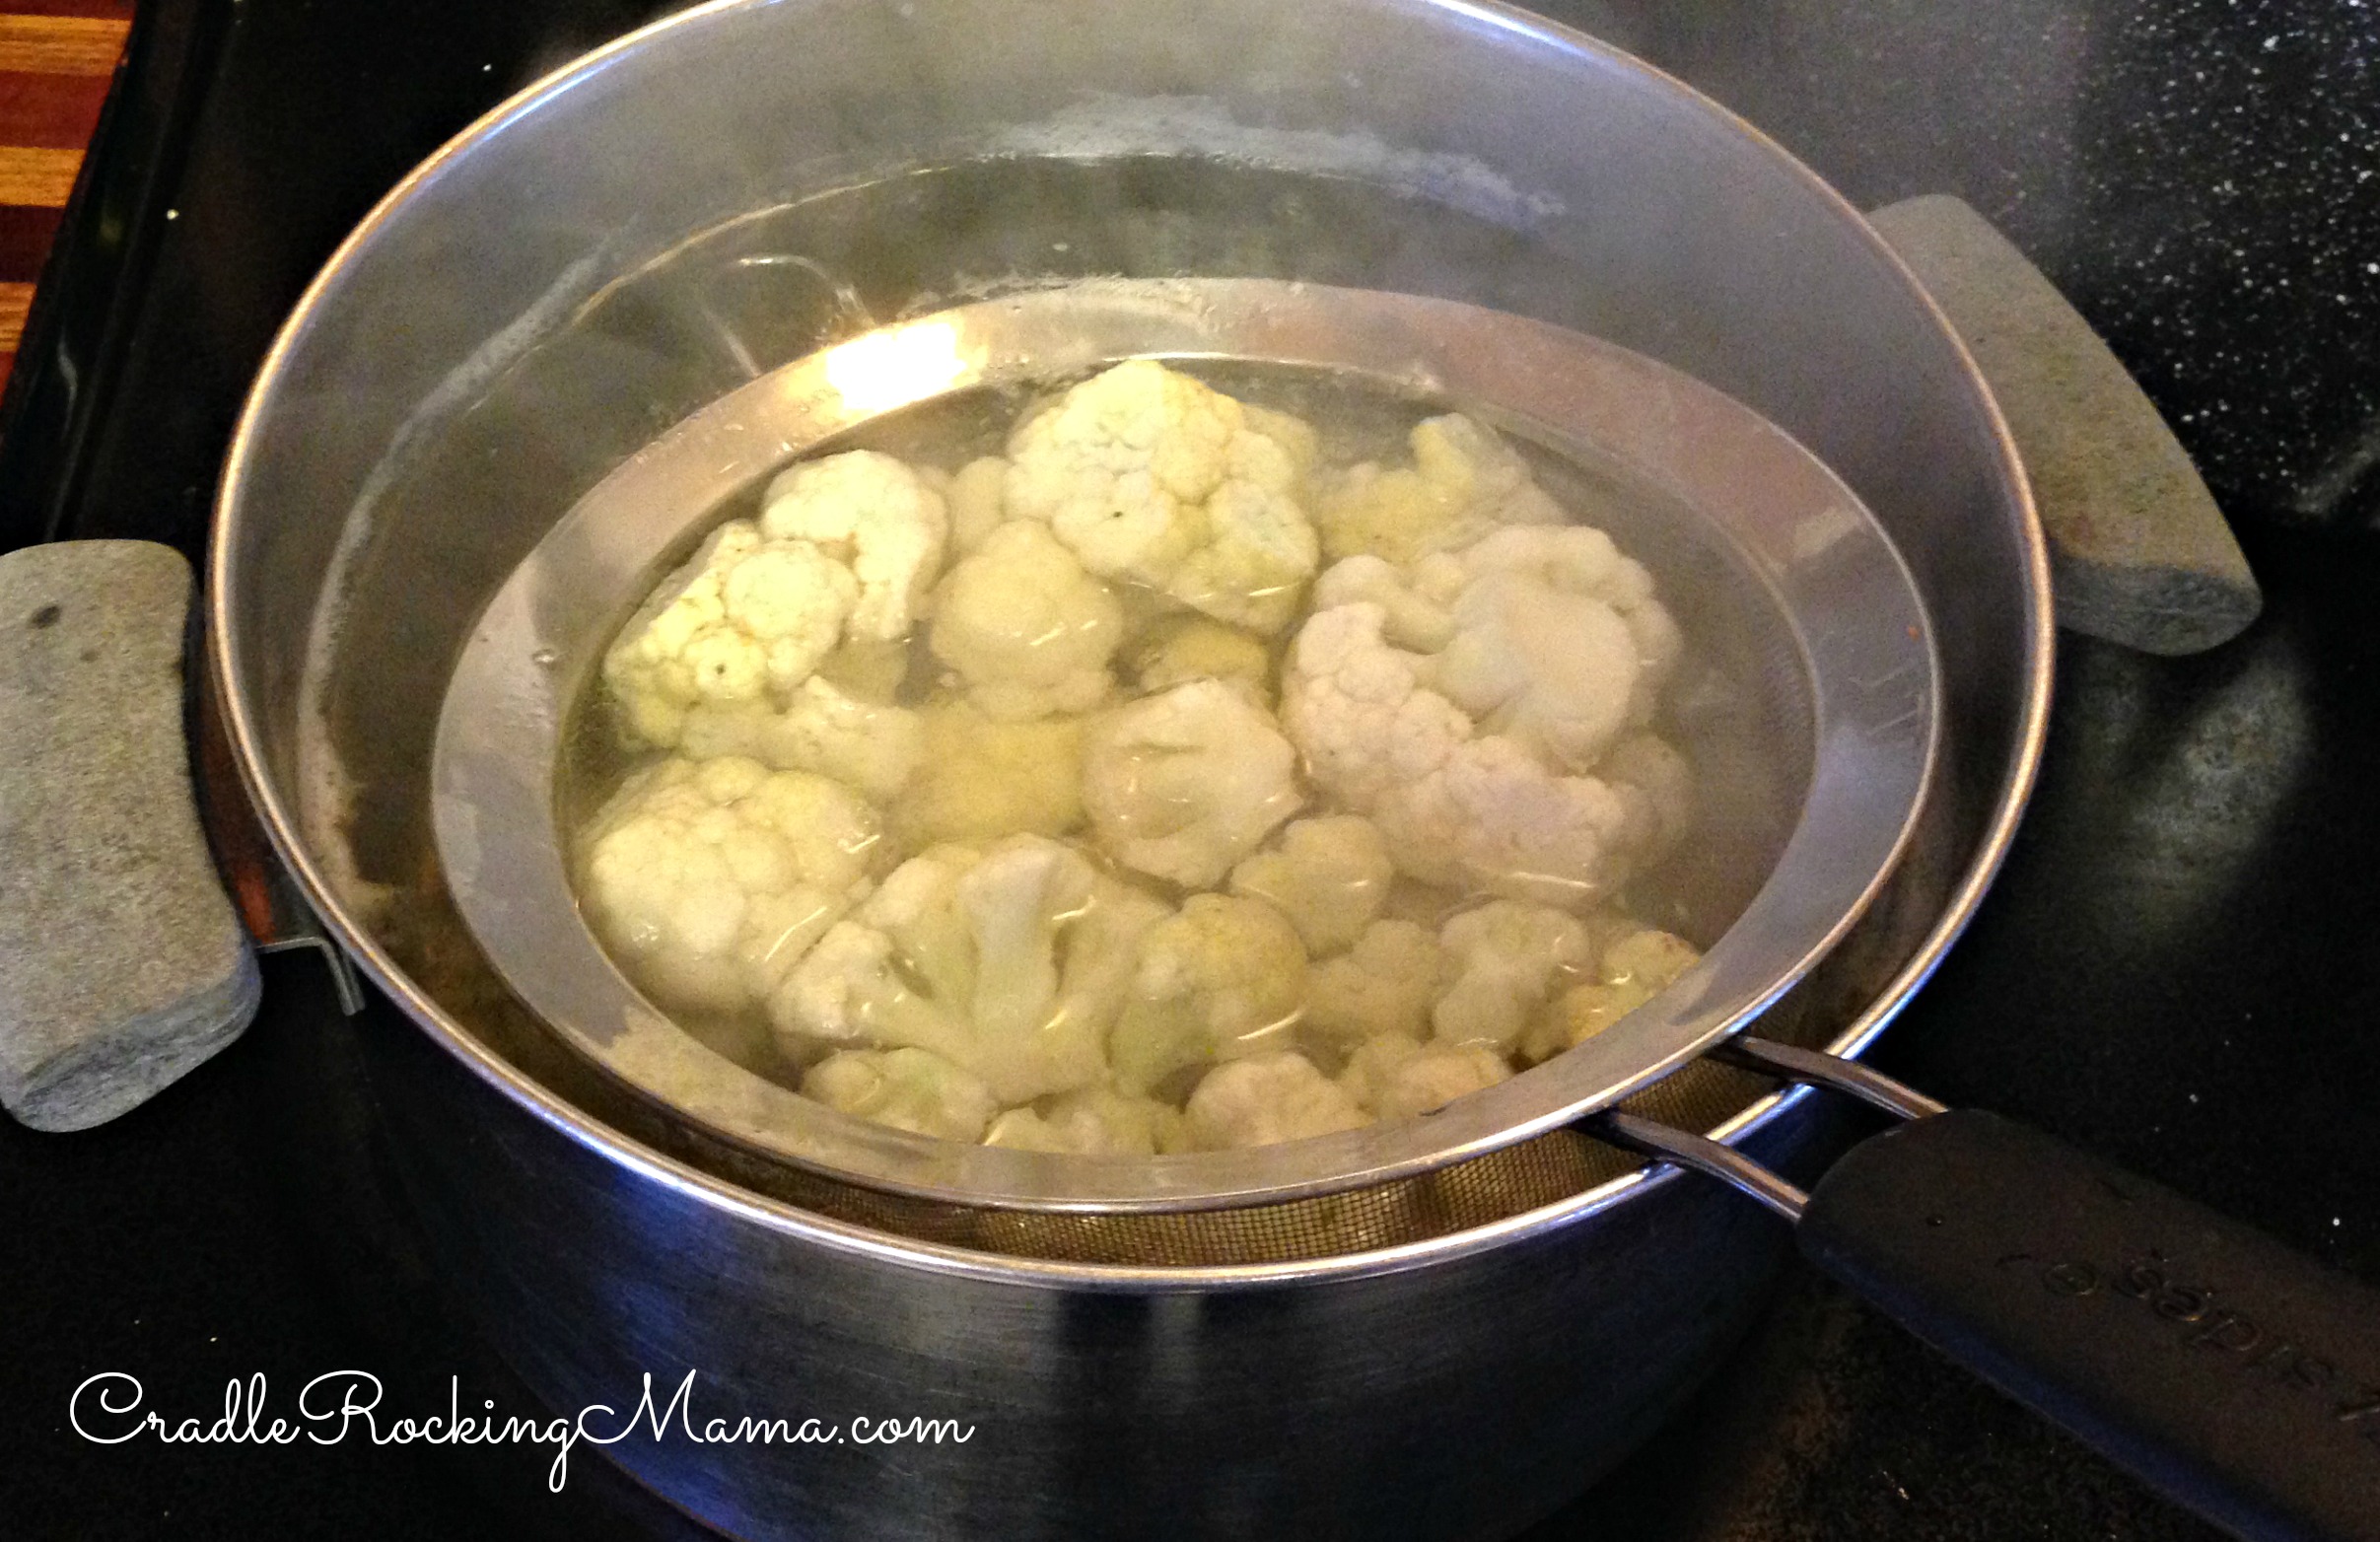
The process here is to blanch the cauliflower. Without blanching, it can turn colors and the quality will diminish in the freezer. With blanching, the frozen cauliflower will taste as good as fresh when you finally use it.
So don’t skip this step!
I invested in a couple more small strainers to make this faster and easier for me. So heres what you do:
Fill one strainer with a handful or so of cauliflower.
Drop the strainer in the boiling water and start the timer for 3 minutes.
When the time is up, grab the strainer (with a potholder, if yours doesn’t have a handle) out of the boiling water, shake off as much excess water as you can, and dump it in the ice water bath.
Originally I was just putting the whole strainer into the water bath. That was the neatest, tidiest way to do it…but it used up ice faster than I could make more!
I quickly learned that keeping a second strainer in the cold water bath and pouring the hot cauliflower in it, then returning the hot strainer to the boiling water, was the best approach. The ice lasted much longer that way!
Let the cauliflower chill in the ice water for 3 minutes.
Actually, it should be “time in the ice water=time in the boiling water”. That way, in case you get distracted and leave the cauliflower cooking for a tad too long, you can remember to let it chill for a little longer, too.
Once it’s been in the ice water long enough, shake off excess water and dump it into the strainer over an empty bowl to let it dry as much as possible in three minutes.
With everything set up and ready to go, I kept up a steady line of cauliflower for blanching. Each bowl of florets just got shuffled down to the next bowl according to the timer, until it ended up in the draining colander.
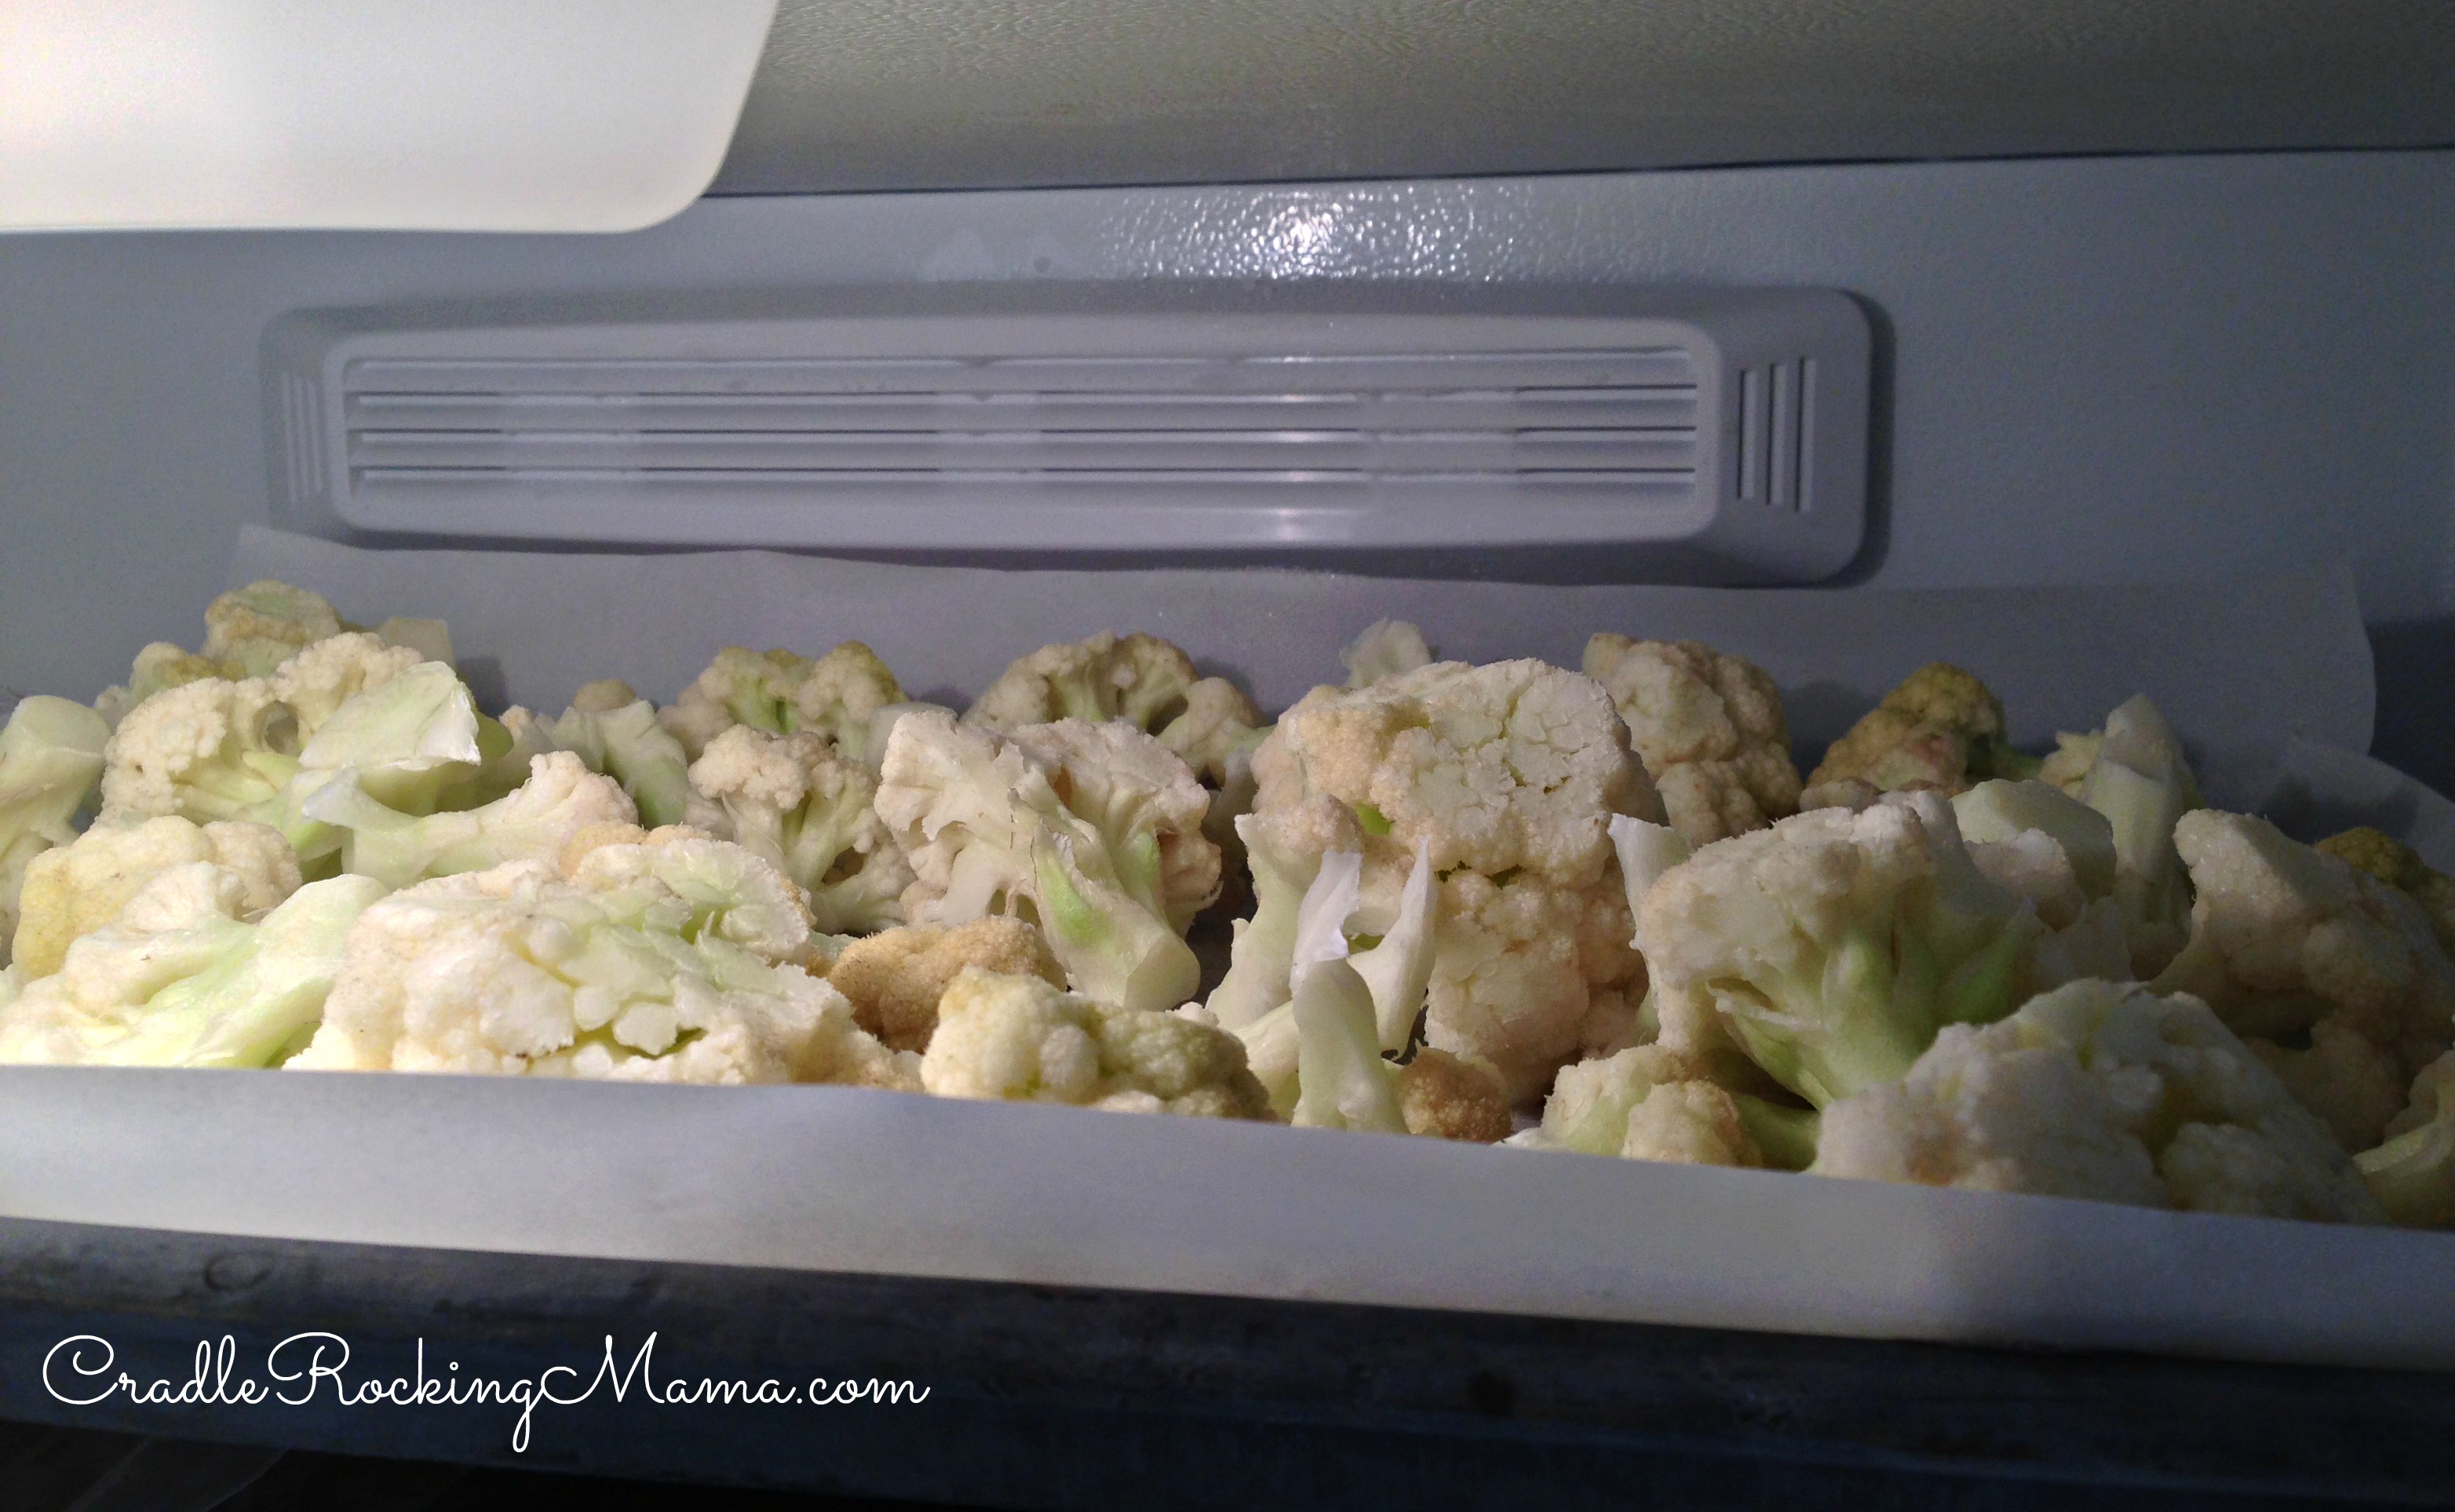
Once it had drained off most of the water, I dumped it onto a parchment paper lined cookie sheet to freeze.

Laying it flat on a cookie sheet means the florets won’t all freeze in a gigantic clump, so when you want to reach in to your freezer bag of cauliflower and pull out just a cup or so, you can!
After giving it a minimum of 3 hours in the freezer, you can bag the cauliflower up.
In a pinch, you can use Ziploc Freezer style bags and suck/squeeze as much air out as possible, but I strongly urge anyone who is serious about food preservation to invest in a FoodSaver vacuum sealer.
Air removal is one of the key elements to long term food storage, and these little babies do an excellent job of that!
See?
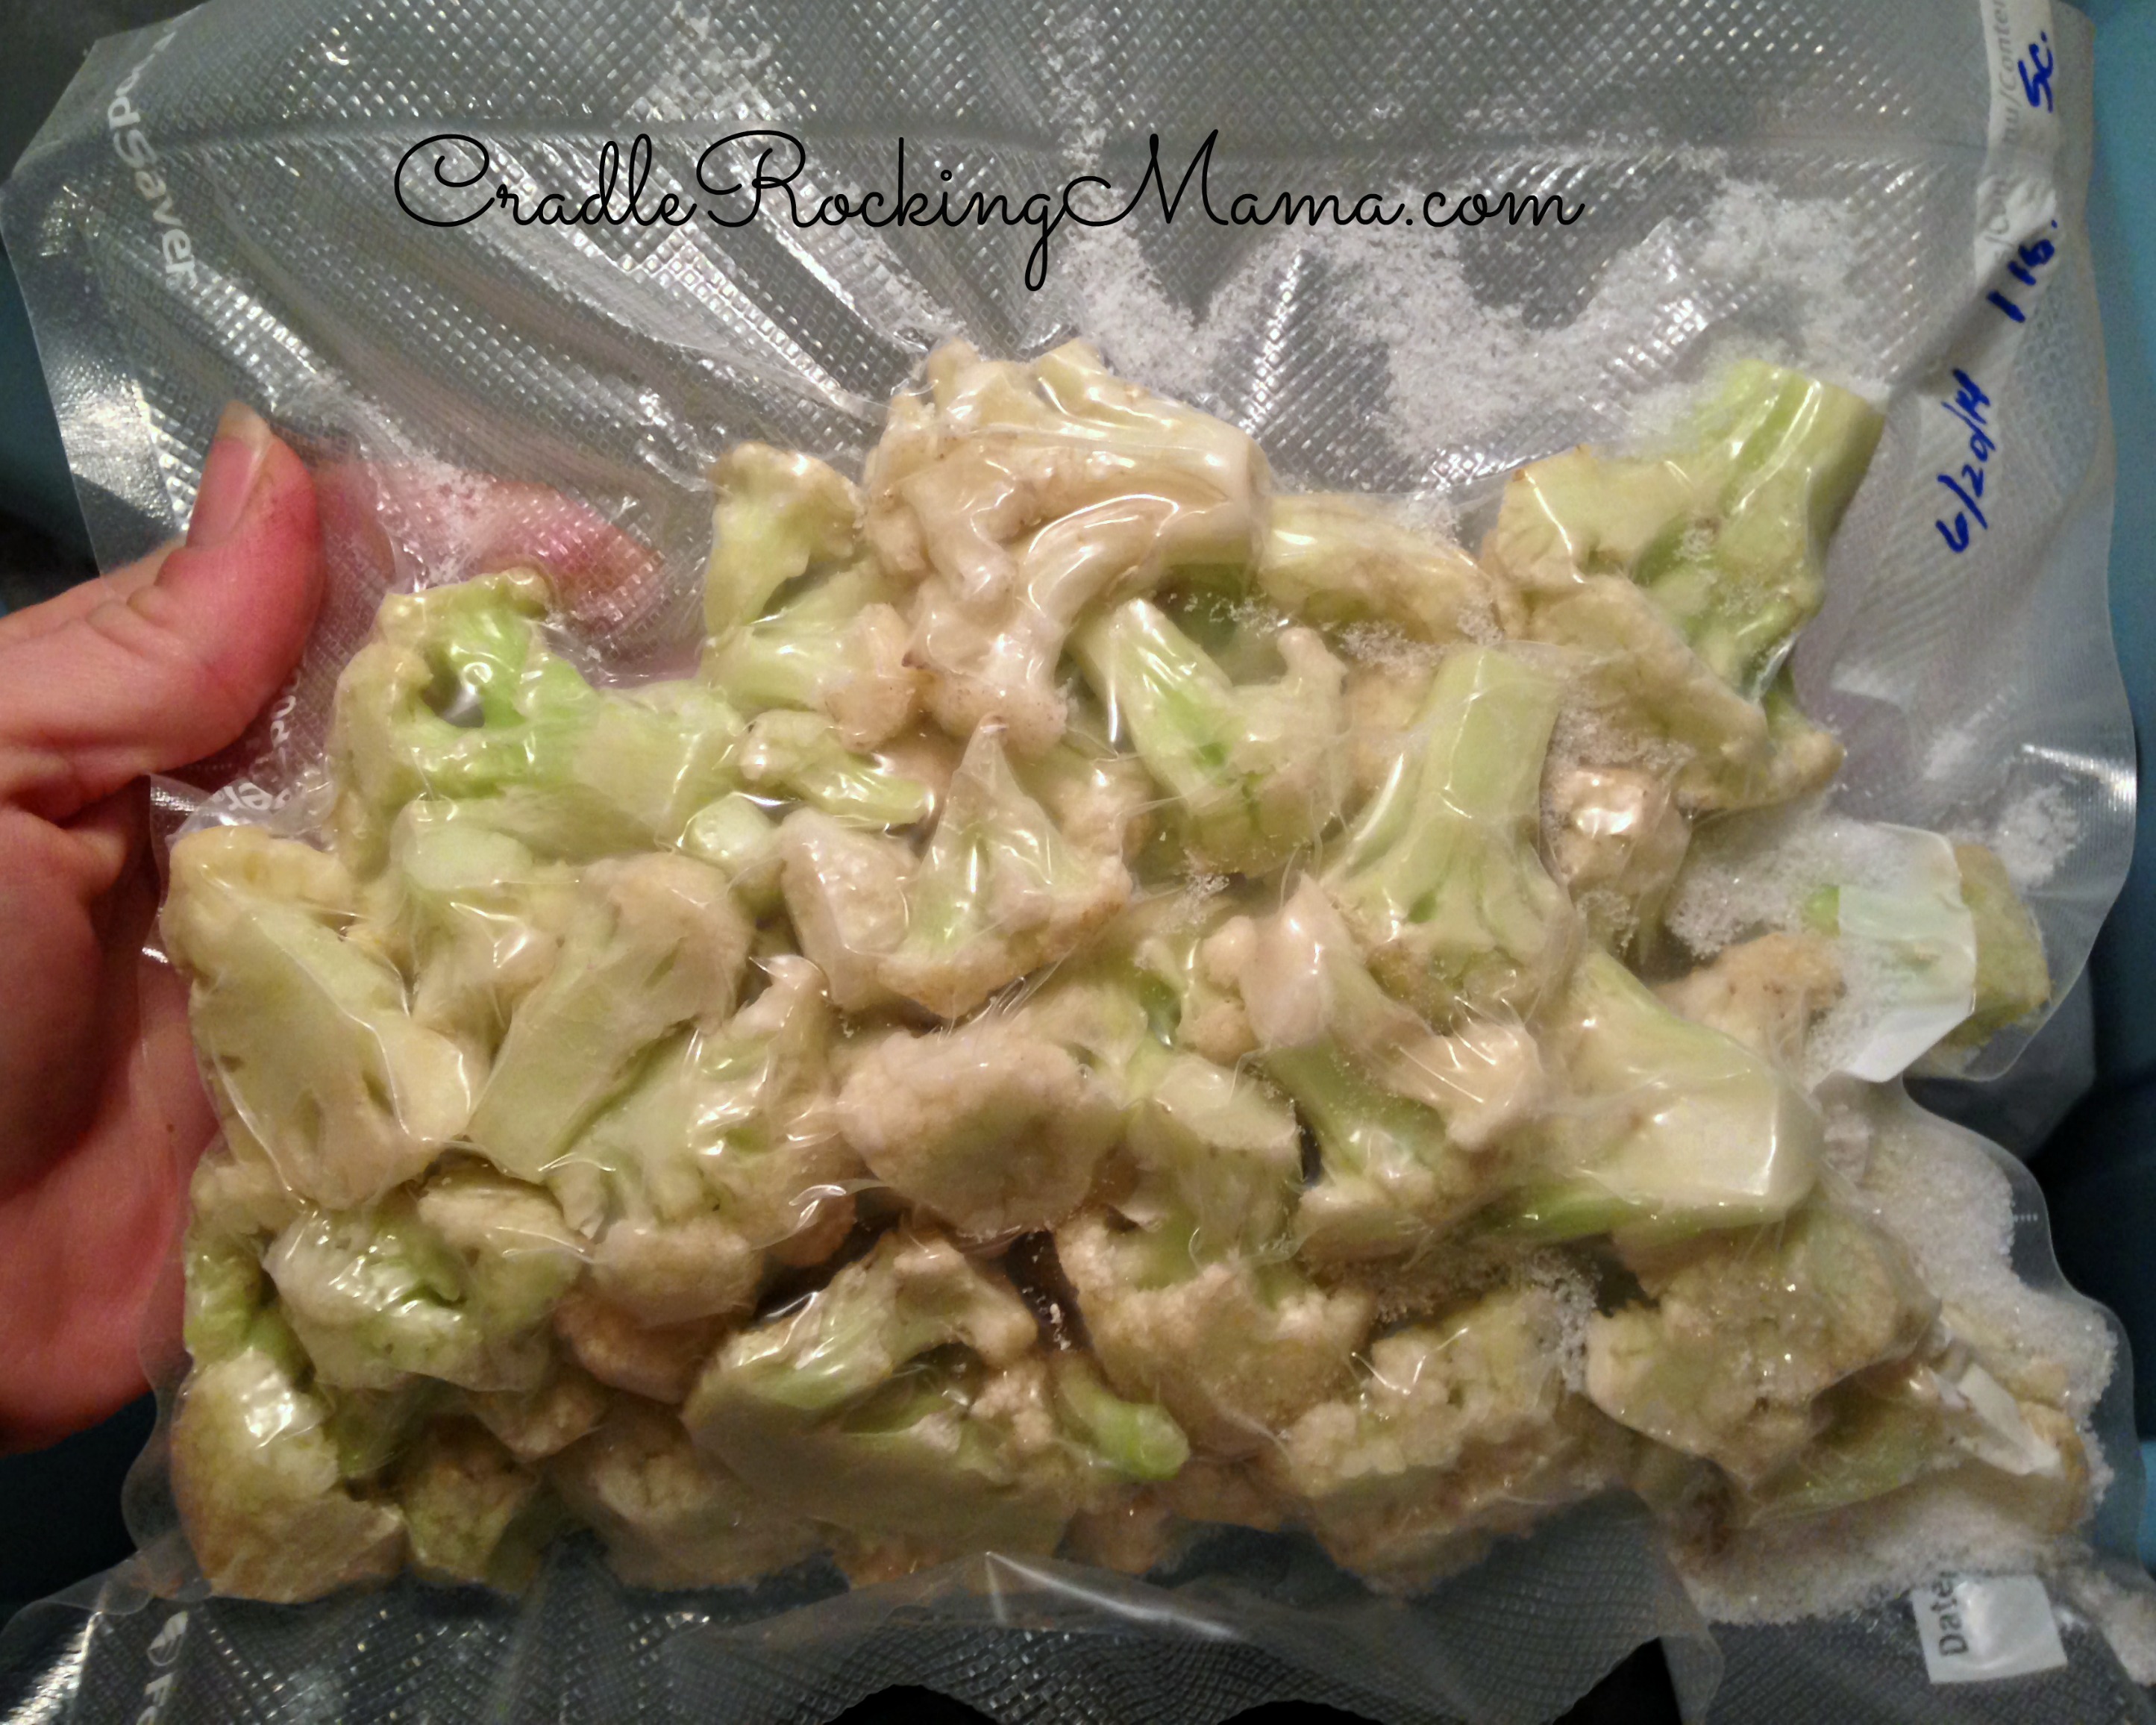
For our purposes, I portioned the cauliflower into 16 ounce bags (1 pound) for approximately 5 cups per bag.
Once they’re vacuum sealed, I labeled each bag and tossed it in the freezer.
I’ve had to toss a LOT of bags in the freezer. This is just one small side of our freezer:
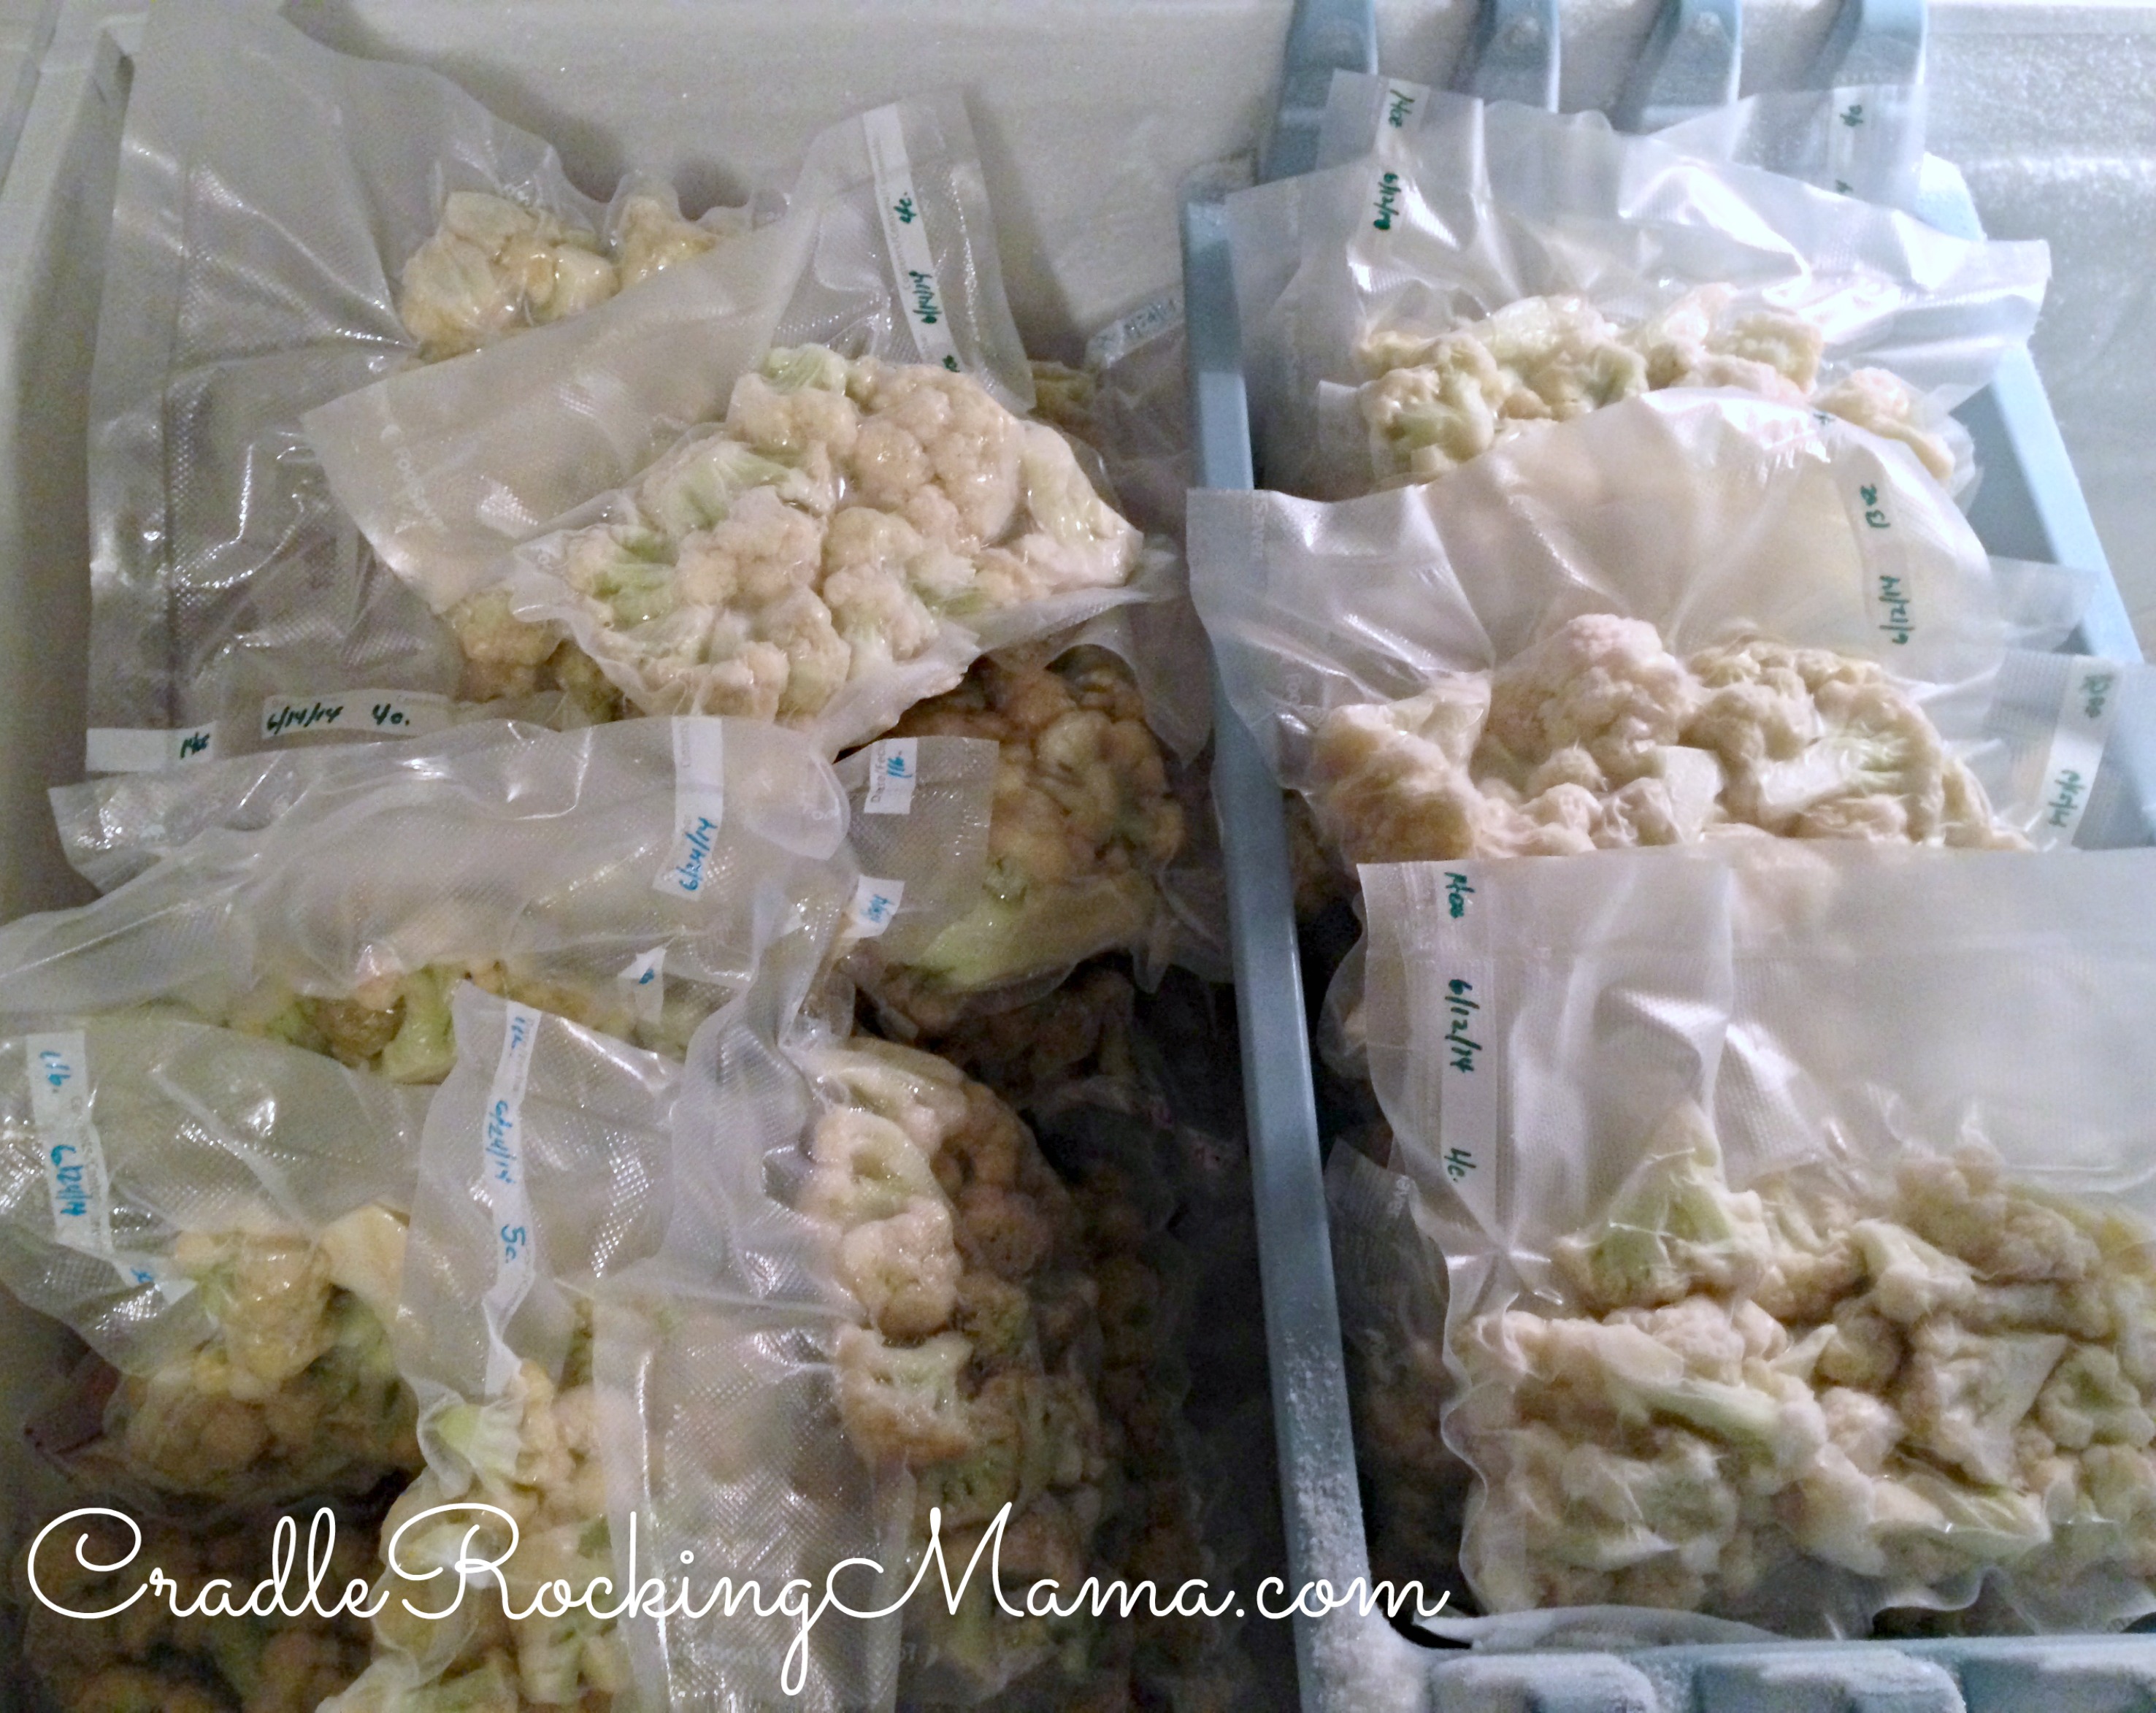
As of this morning, our freezer had 93.93 pounds (or 438 cups) of cauliflower frozen and sealed.
There is an additional 3 gallon bag’s worth in the fridge needing to be processed and frozen. And we’re buying more on Saturday.
Once you’ve hit 100 pounds of any food to preserve, I think you can consider yourself an expert at it, right?
Well, that’s basically it: how to freeze cauliflower safely and tastily.
It really is easy, but as with anything, the larger the quantity the more laborious it will be. I feel like all I’ve done the last 3 weeks is freeze cauliflower, though I know that isn’t true. At least we have enough cauliflower to last Zac for an entire year!
Happy Preserving!
Have you ever frozen cauliflower? Any tips or tricks that work for you?


I LOVE this new series of Practical Preserving! This is something I am going to use. I plan to try it this weekend (but I’ll likely only do one or two heads myself!) You make it look so easy. I do have a question, how did you trial salt to know which are safe?
Thanks! I hope it’s helpful for you!
We haven’t actually trialed a salt for Zac, yet. I’m sort of keeping things like salt and maple syrup in reserve to trial during the winter months when it’s harder/impossible to get fresh fruits and veggies for trial.
When we do, though, it will probably be just a “add some to every dish and see what happens” kind of trial. Very hard to give a straight serving of salt to trial, I think. 🙂
Real, good salt tastes so good. We use the pink Himalayan salt, and a couple of mine eat a ton of it. I buy it in 25 pound bags. I hope you can add salt soon. It adds nutrients. We also use Redmond salt, but most prefer the pink. We turned into salt snobs here. Kinda funny.
Wow! 25 pound bags? That’s impressive. 😉
I haven’t tried the pink Himalayan yet; we use Redmonds and I don’t think I could ever go back to Morton’s!
We will trial salt for Zac this year, but probably in the winter. There are too many fresh things growing right now to spend trial time on something I can easily get year round!
Pingback: Practical Preserving: How to Dehydrate Cauliflower - Cradle Rocking Mama
Pingback: Vegan Cucumber-Cauliflower Soup - Cradle Rocking Mama